Happy New Year everyone! It has been a while but between vacation, Christmas, and life, I have not had a lot of time. But I am back and ready to go!
This week at The Cutting Cafe we could choose any file we wanted to. I used the new 2014 Wine Glass Printable Set. It comes with a black background and a white background and sentiments. I am making New Year’s Cards and wanted them to be sparkling!
Be sure to head over to the Cutting Cafe Blog tomorrow to see all of the new projects from the design team. Leave a comment and you will be in a drawing to win three free files of your choice! Thanks for stopping by and here is the video…
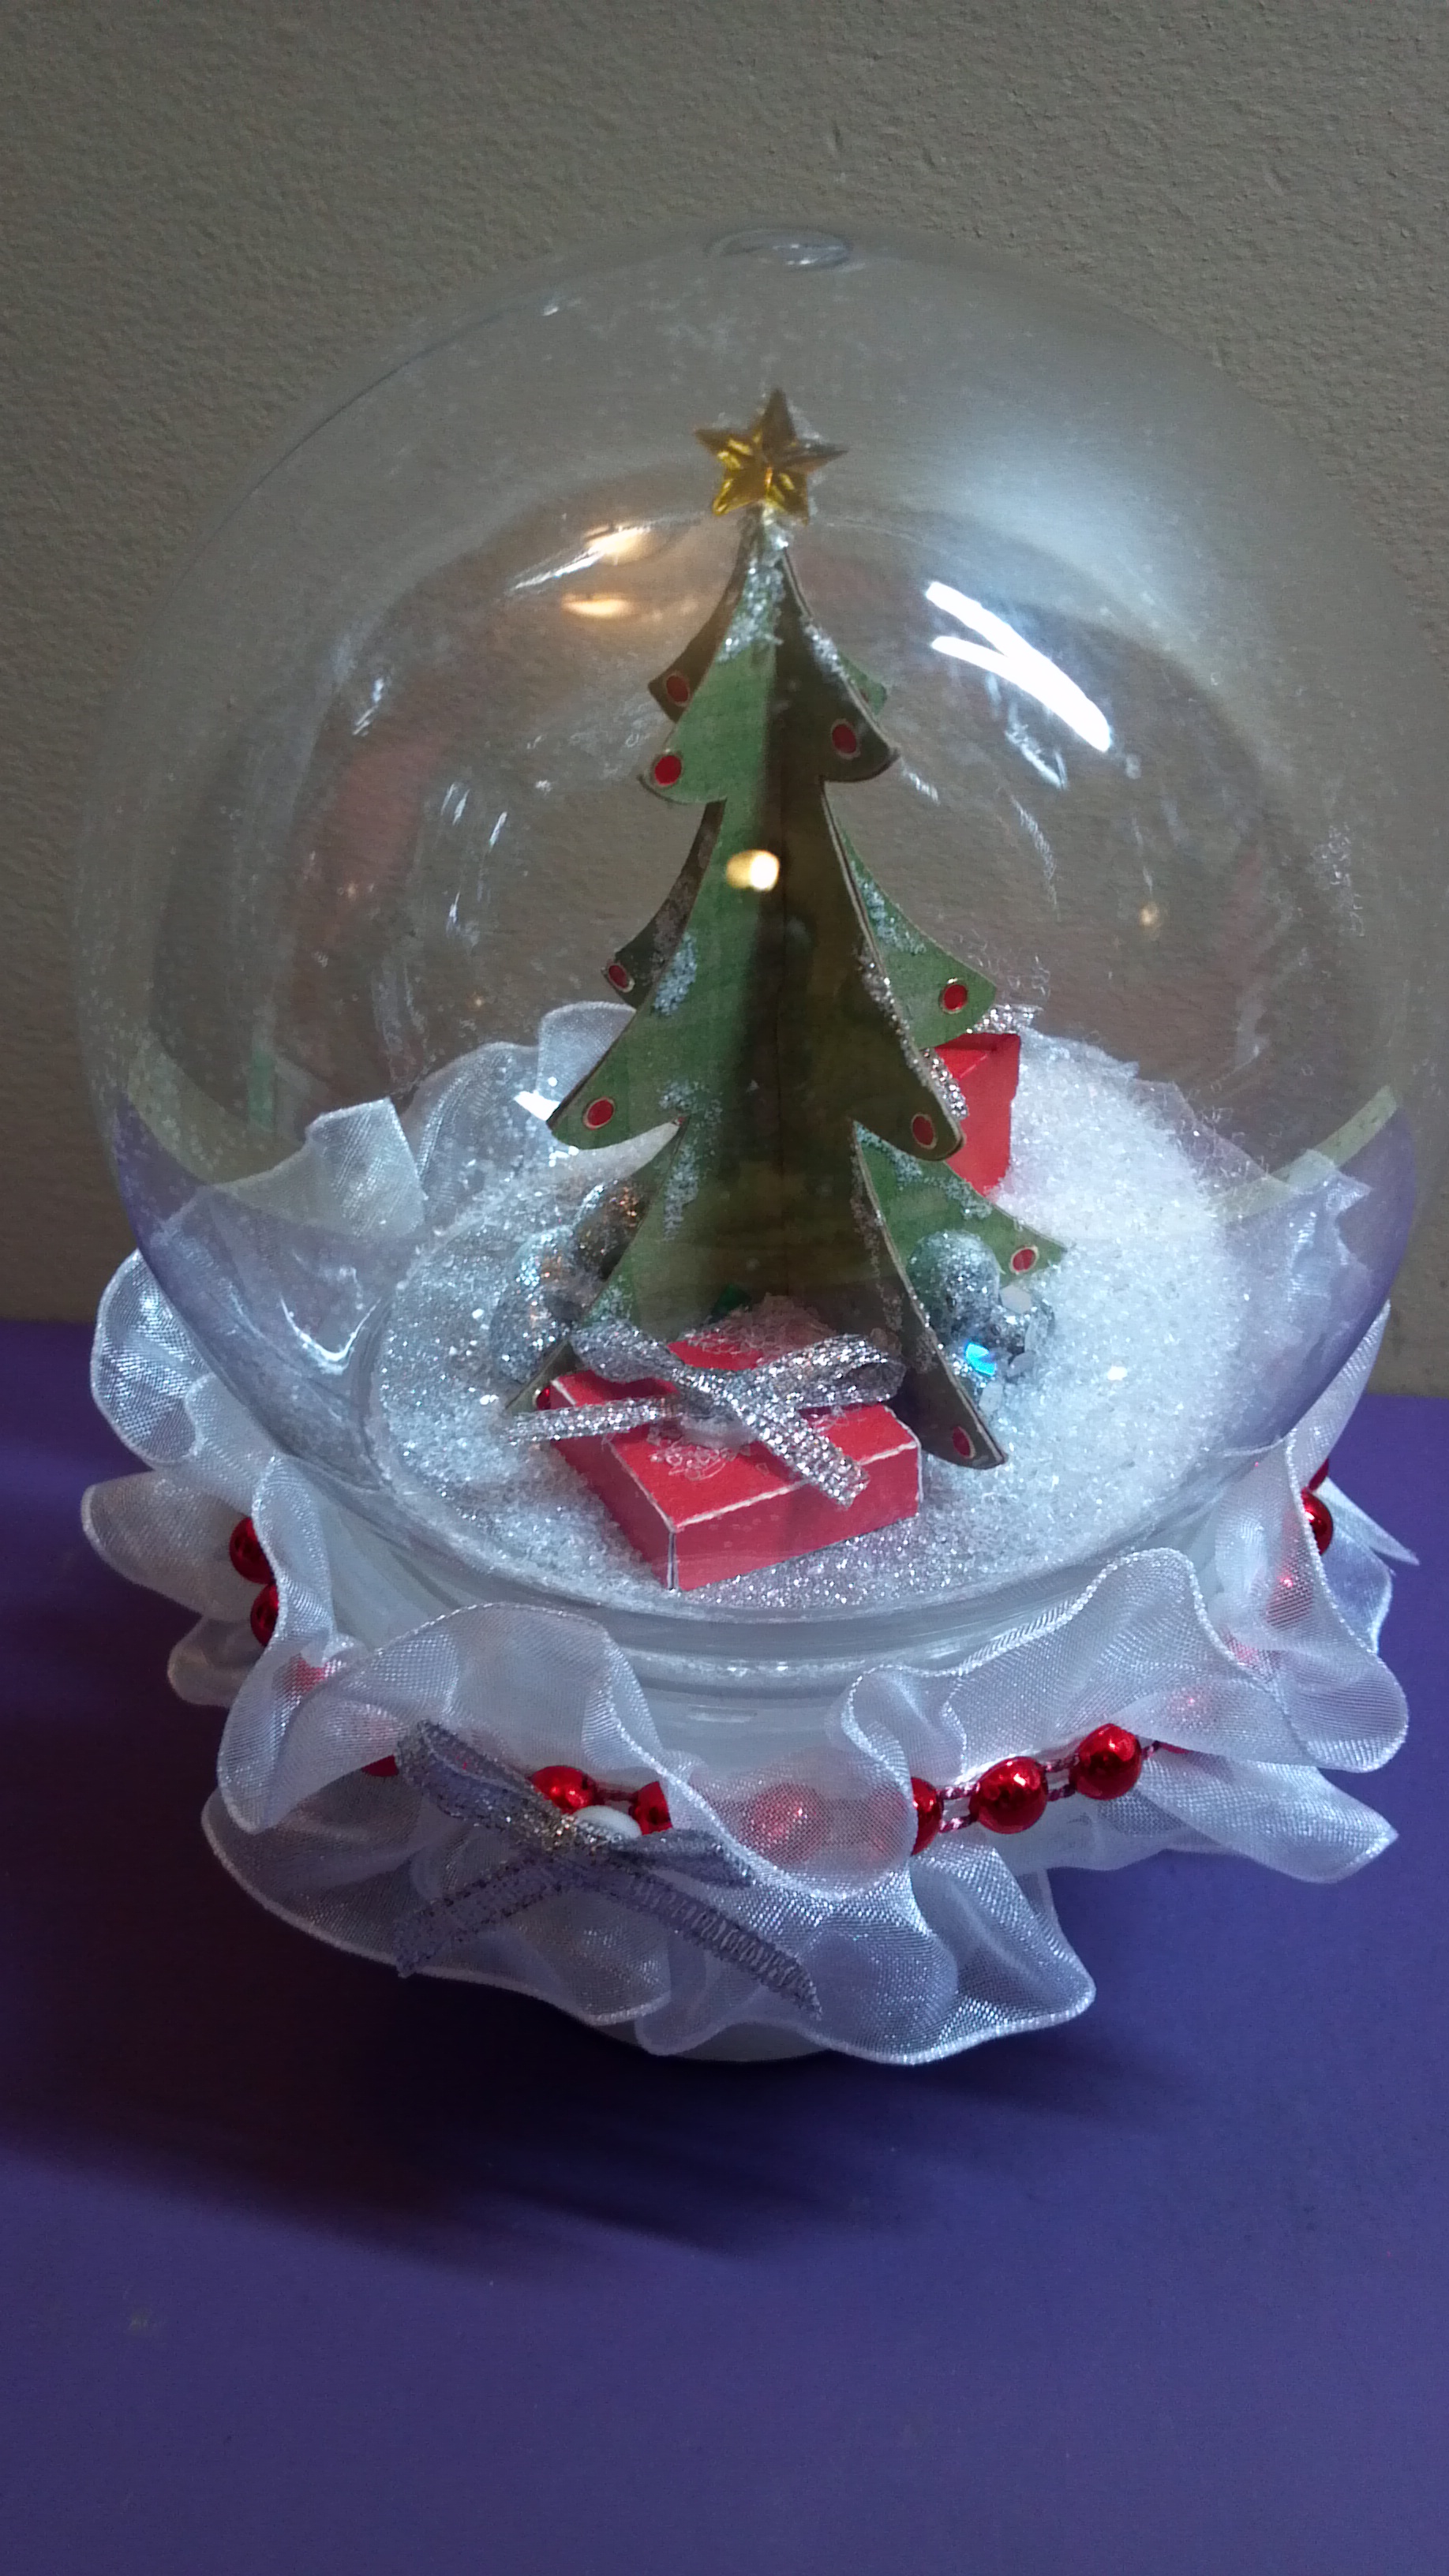
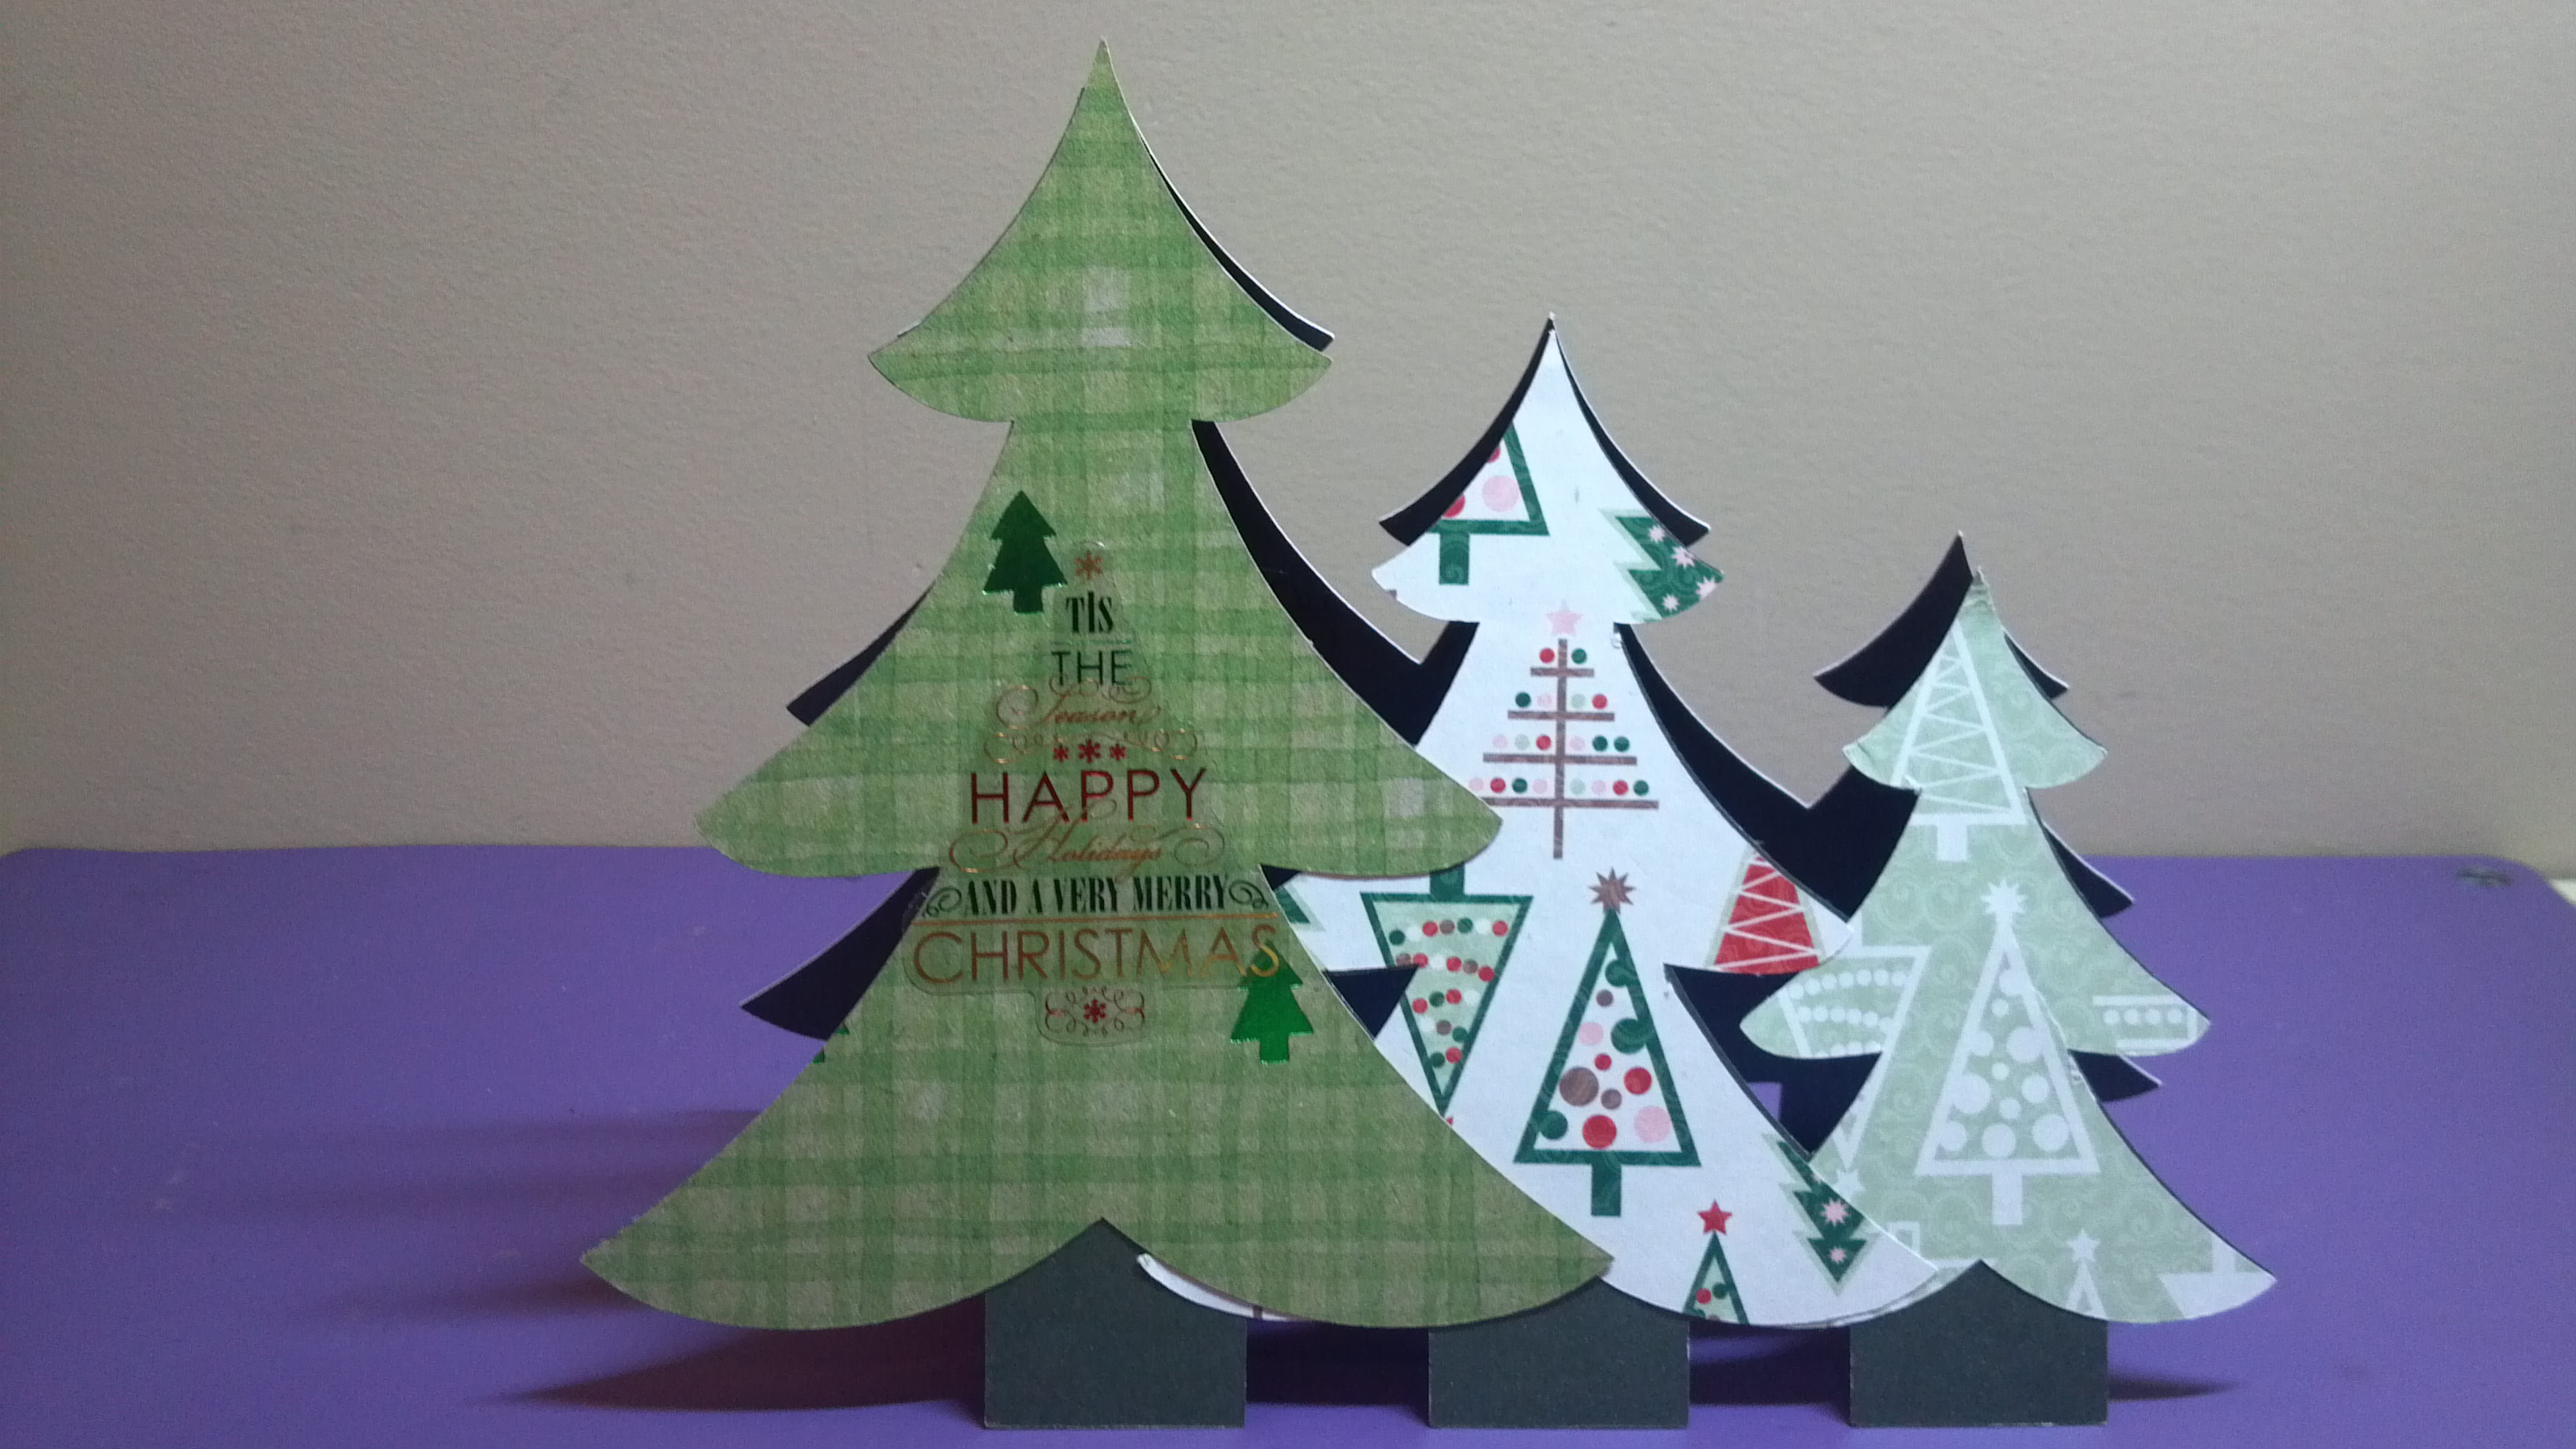
This week we focused on Christmas Trees at The Cutting Cafe! I used the 3D Christmas Tree Set and a plastic water globe from Michaels to make this cute little snow globe. I loved the way it turned out!
My video below will give you all the details!
There were several other files we could use which I will list below. With the choice of files we were given, you are sure to see lots of variety when you stop over to The Cutting Cafe Blog to view all of the design team projects. Make sure you leave a comment so you can be eligible to win three free files in next week’s drawing! Thanks for stopping by!
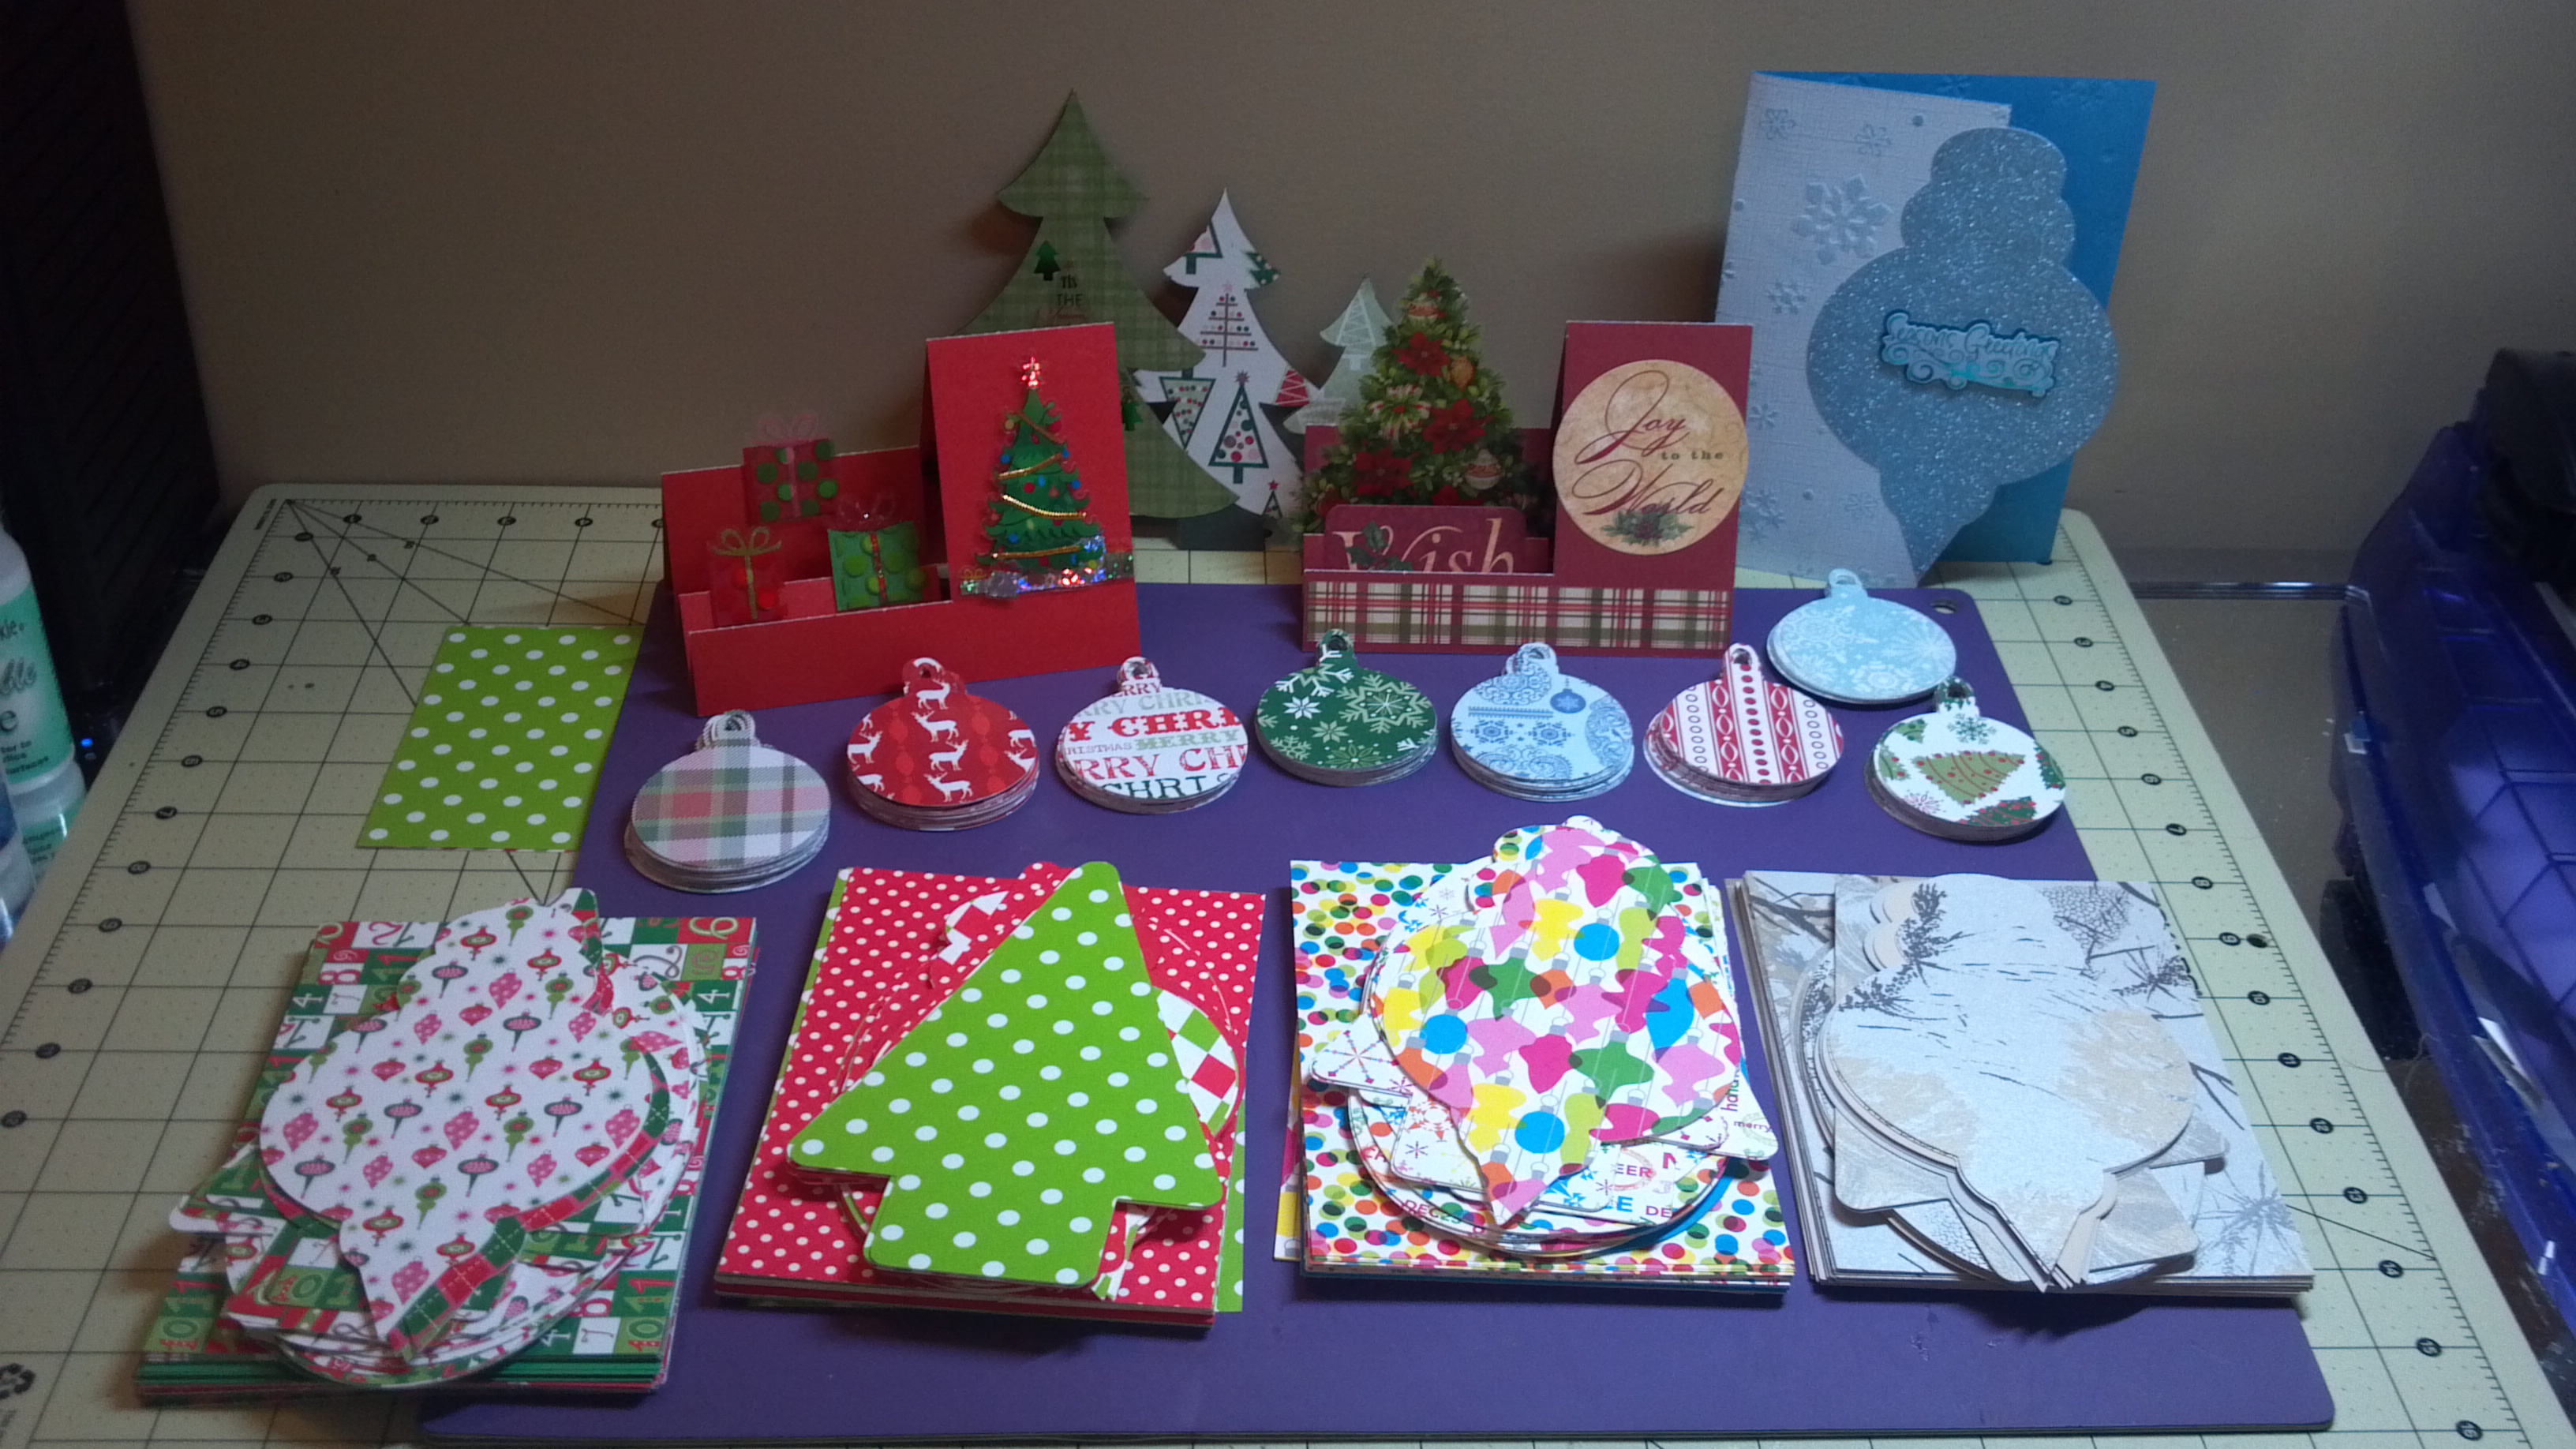
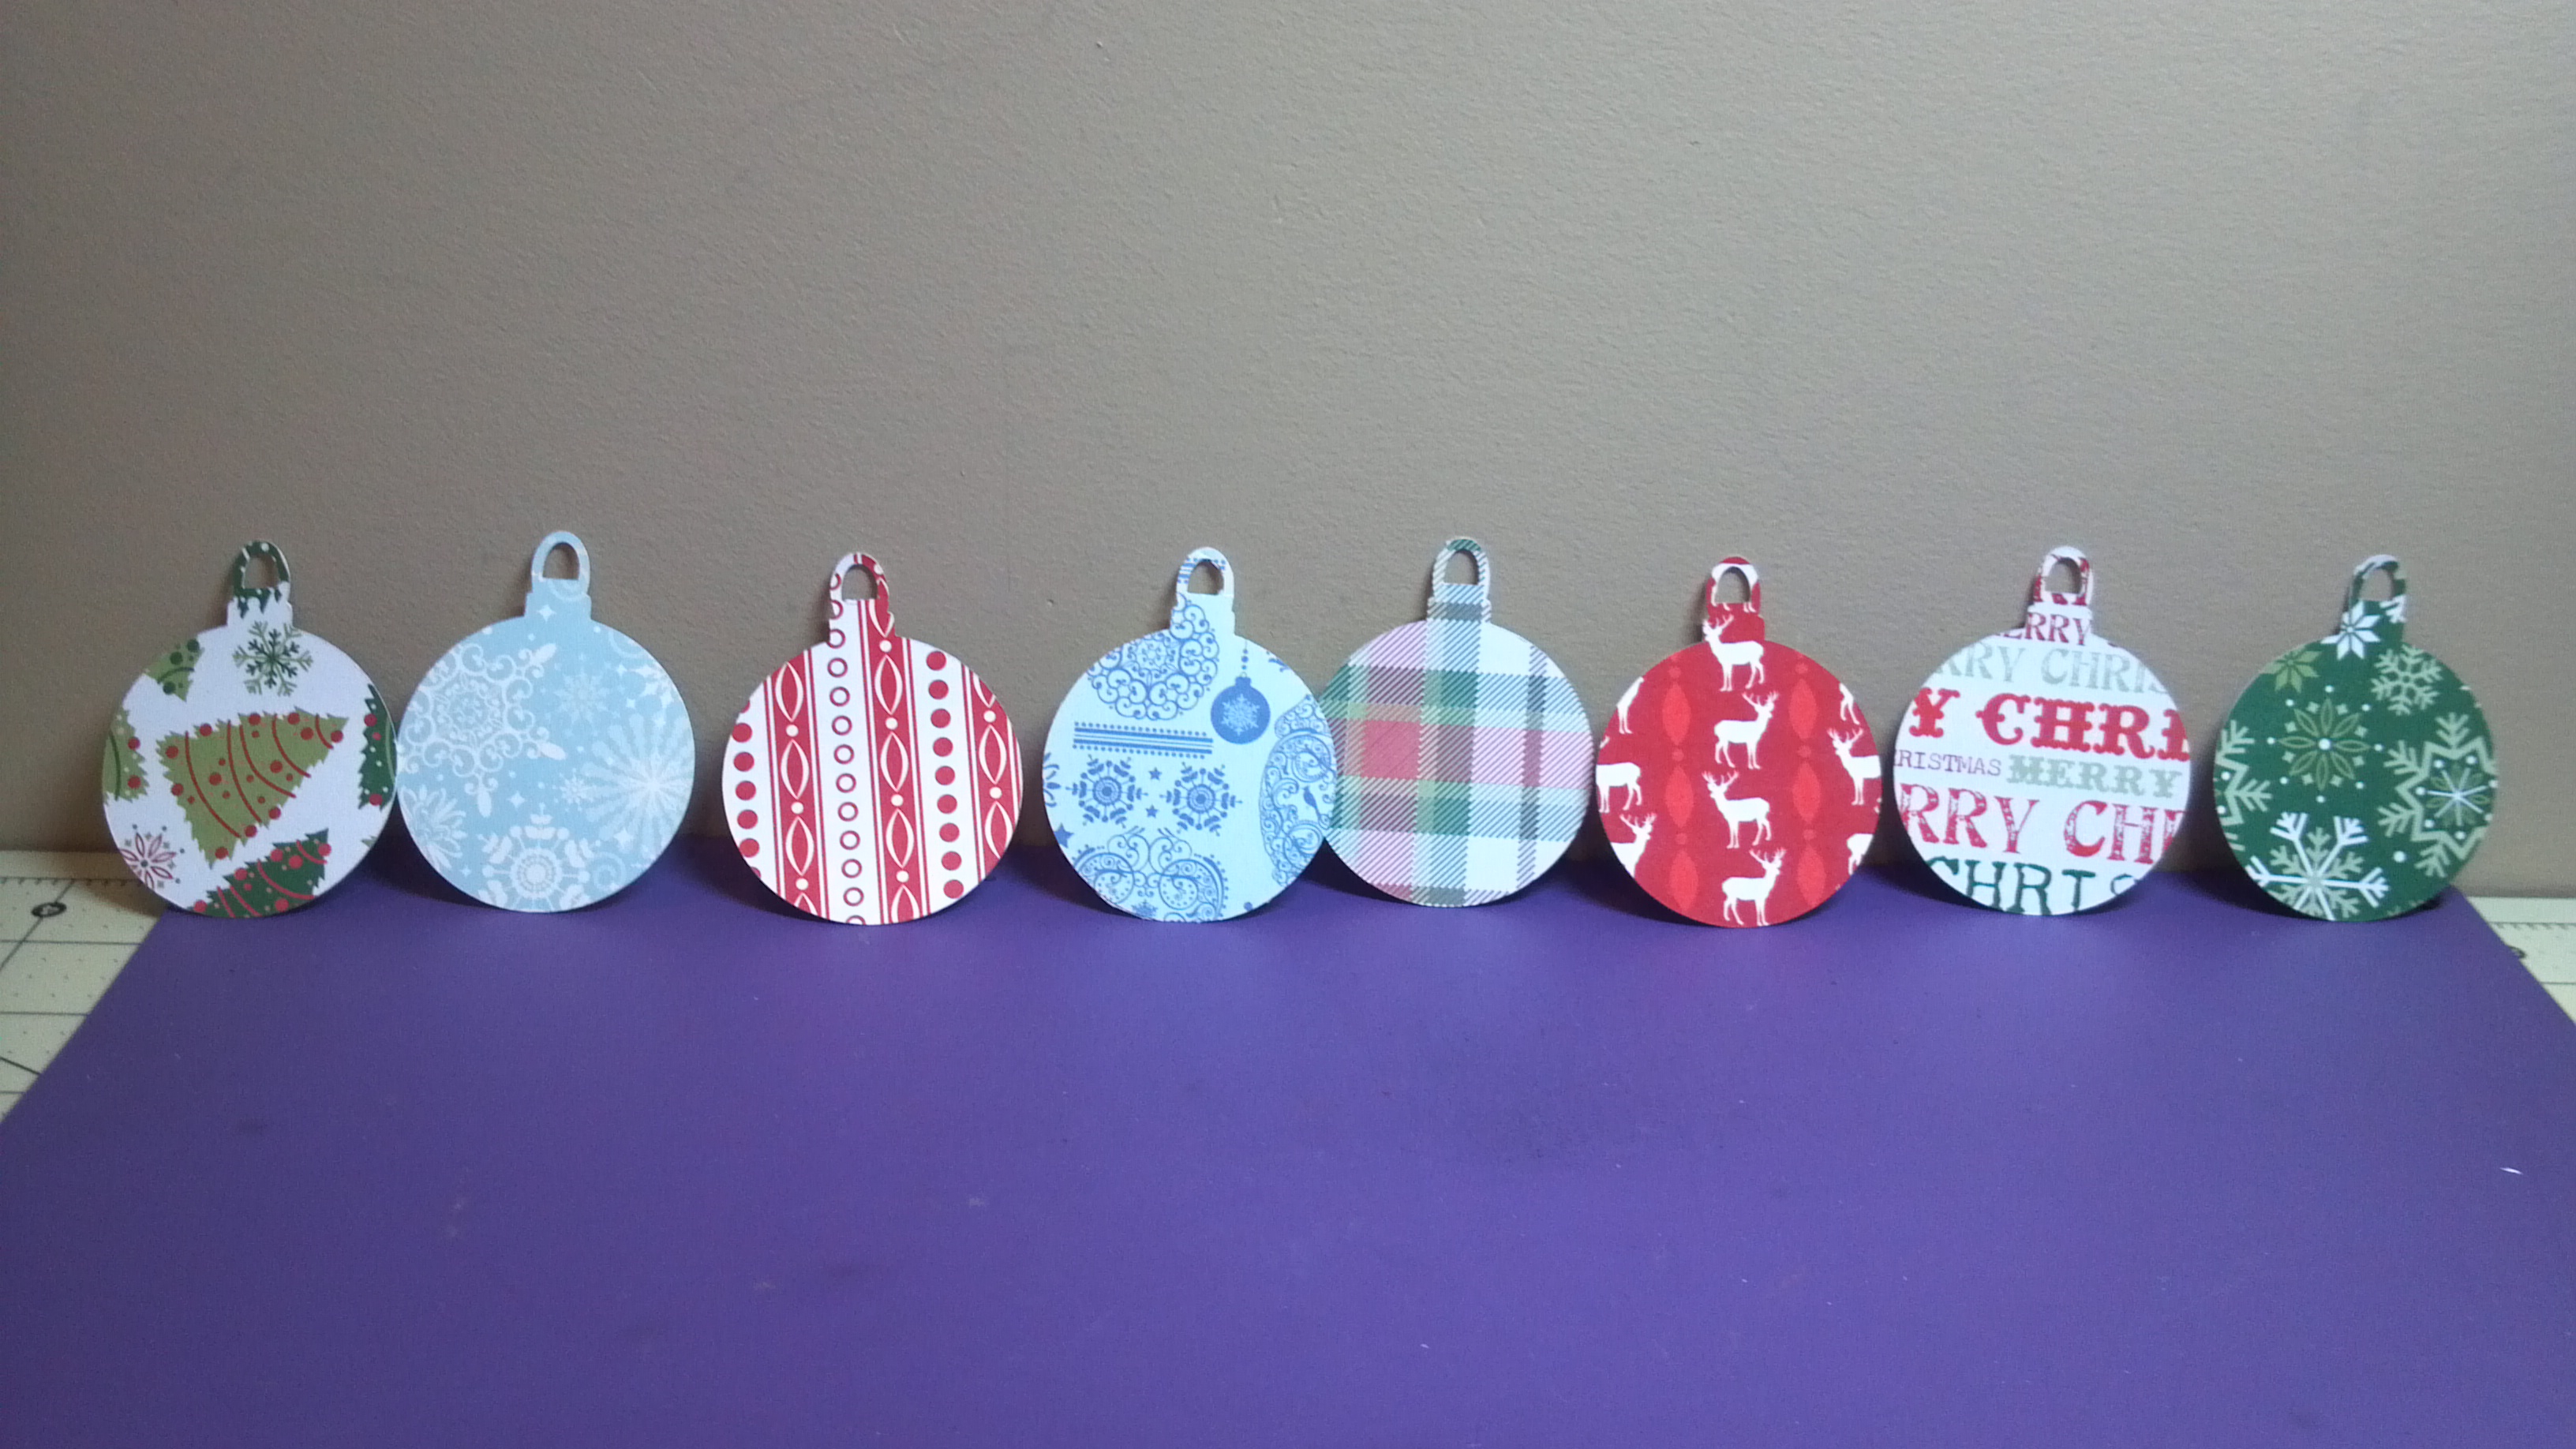
I have been working hard and the photo above shows an overview of all the projects I worked on yesterday! My husband’s organization is holding a holiday party and he came up with a cute idea for the door prize drawing. He wanted to hang circles with people’s names on them on a tree. I, of course, found an ornament file from the Silhouette Online store and made 160 of them for him!
Ornaments for Door Prize Tree
Next he needed some cards for his office staff and board chair…
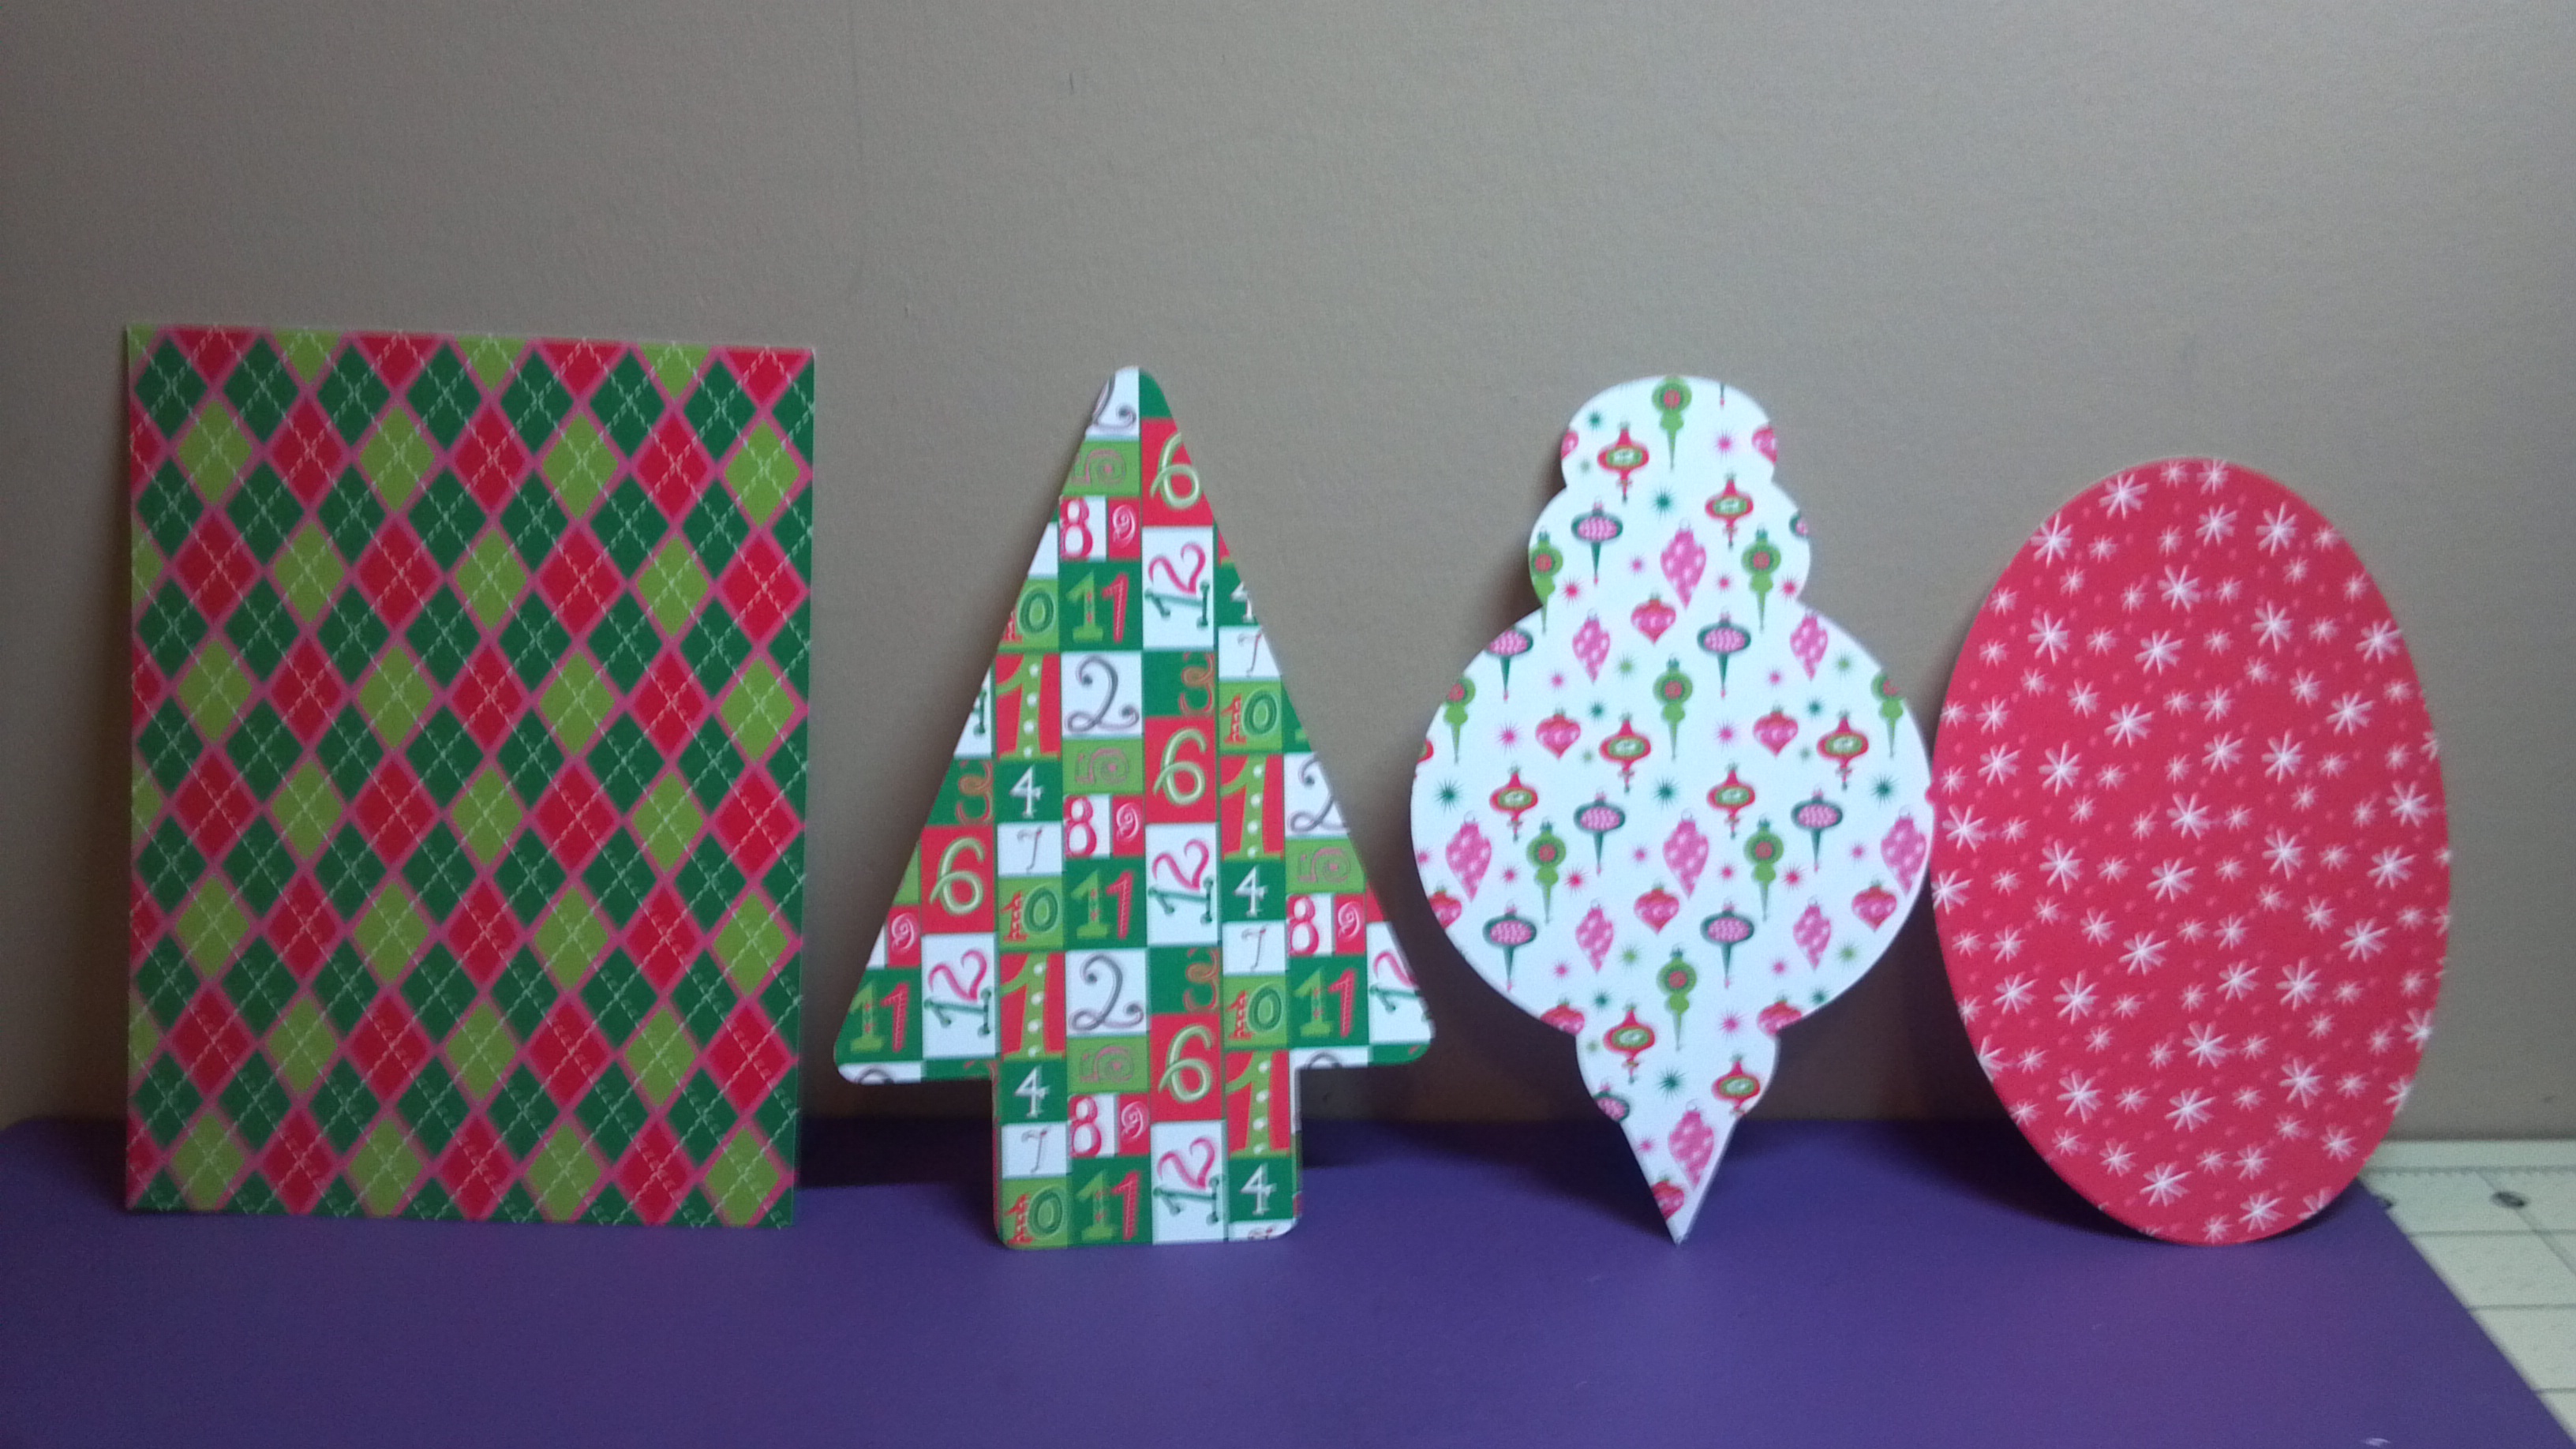
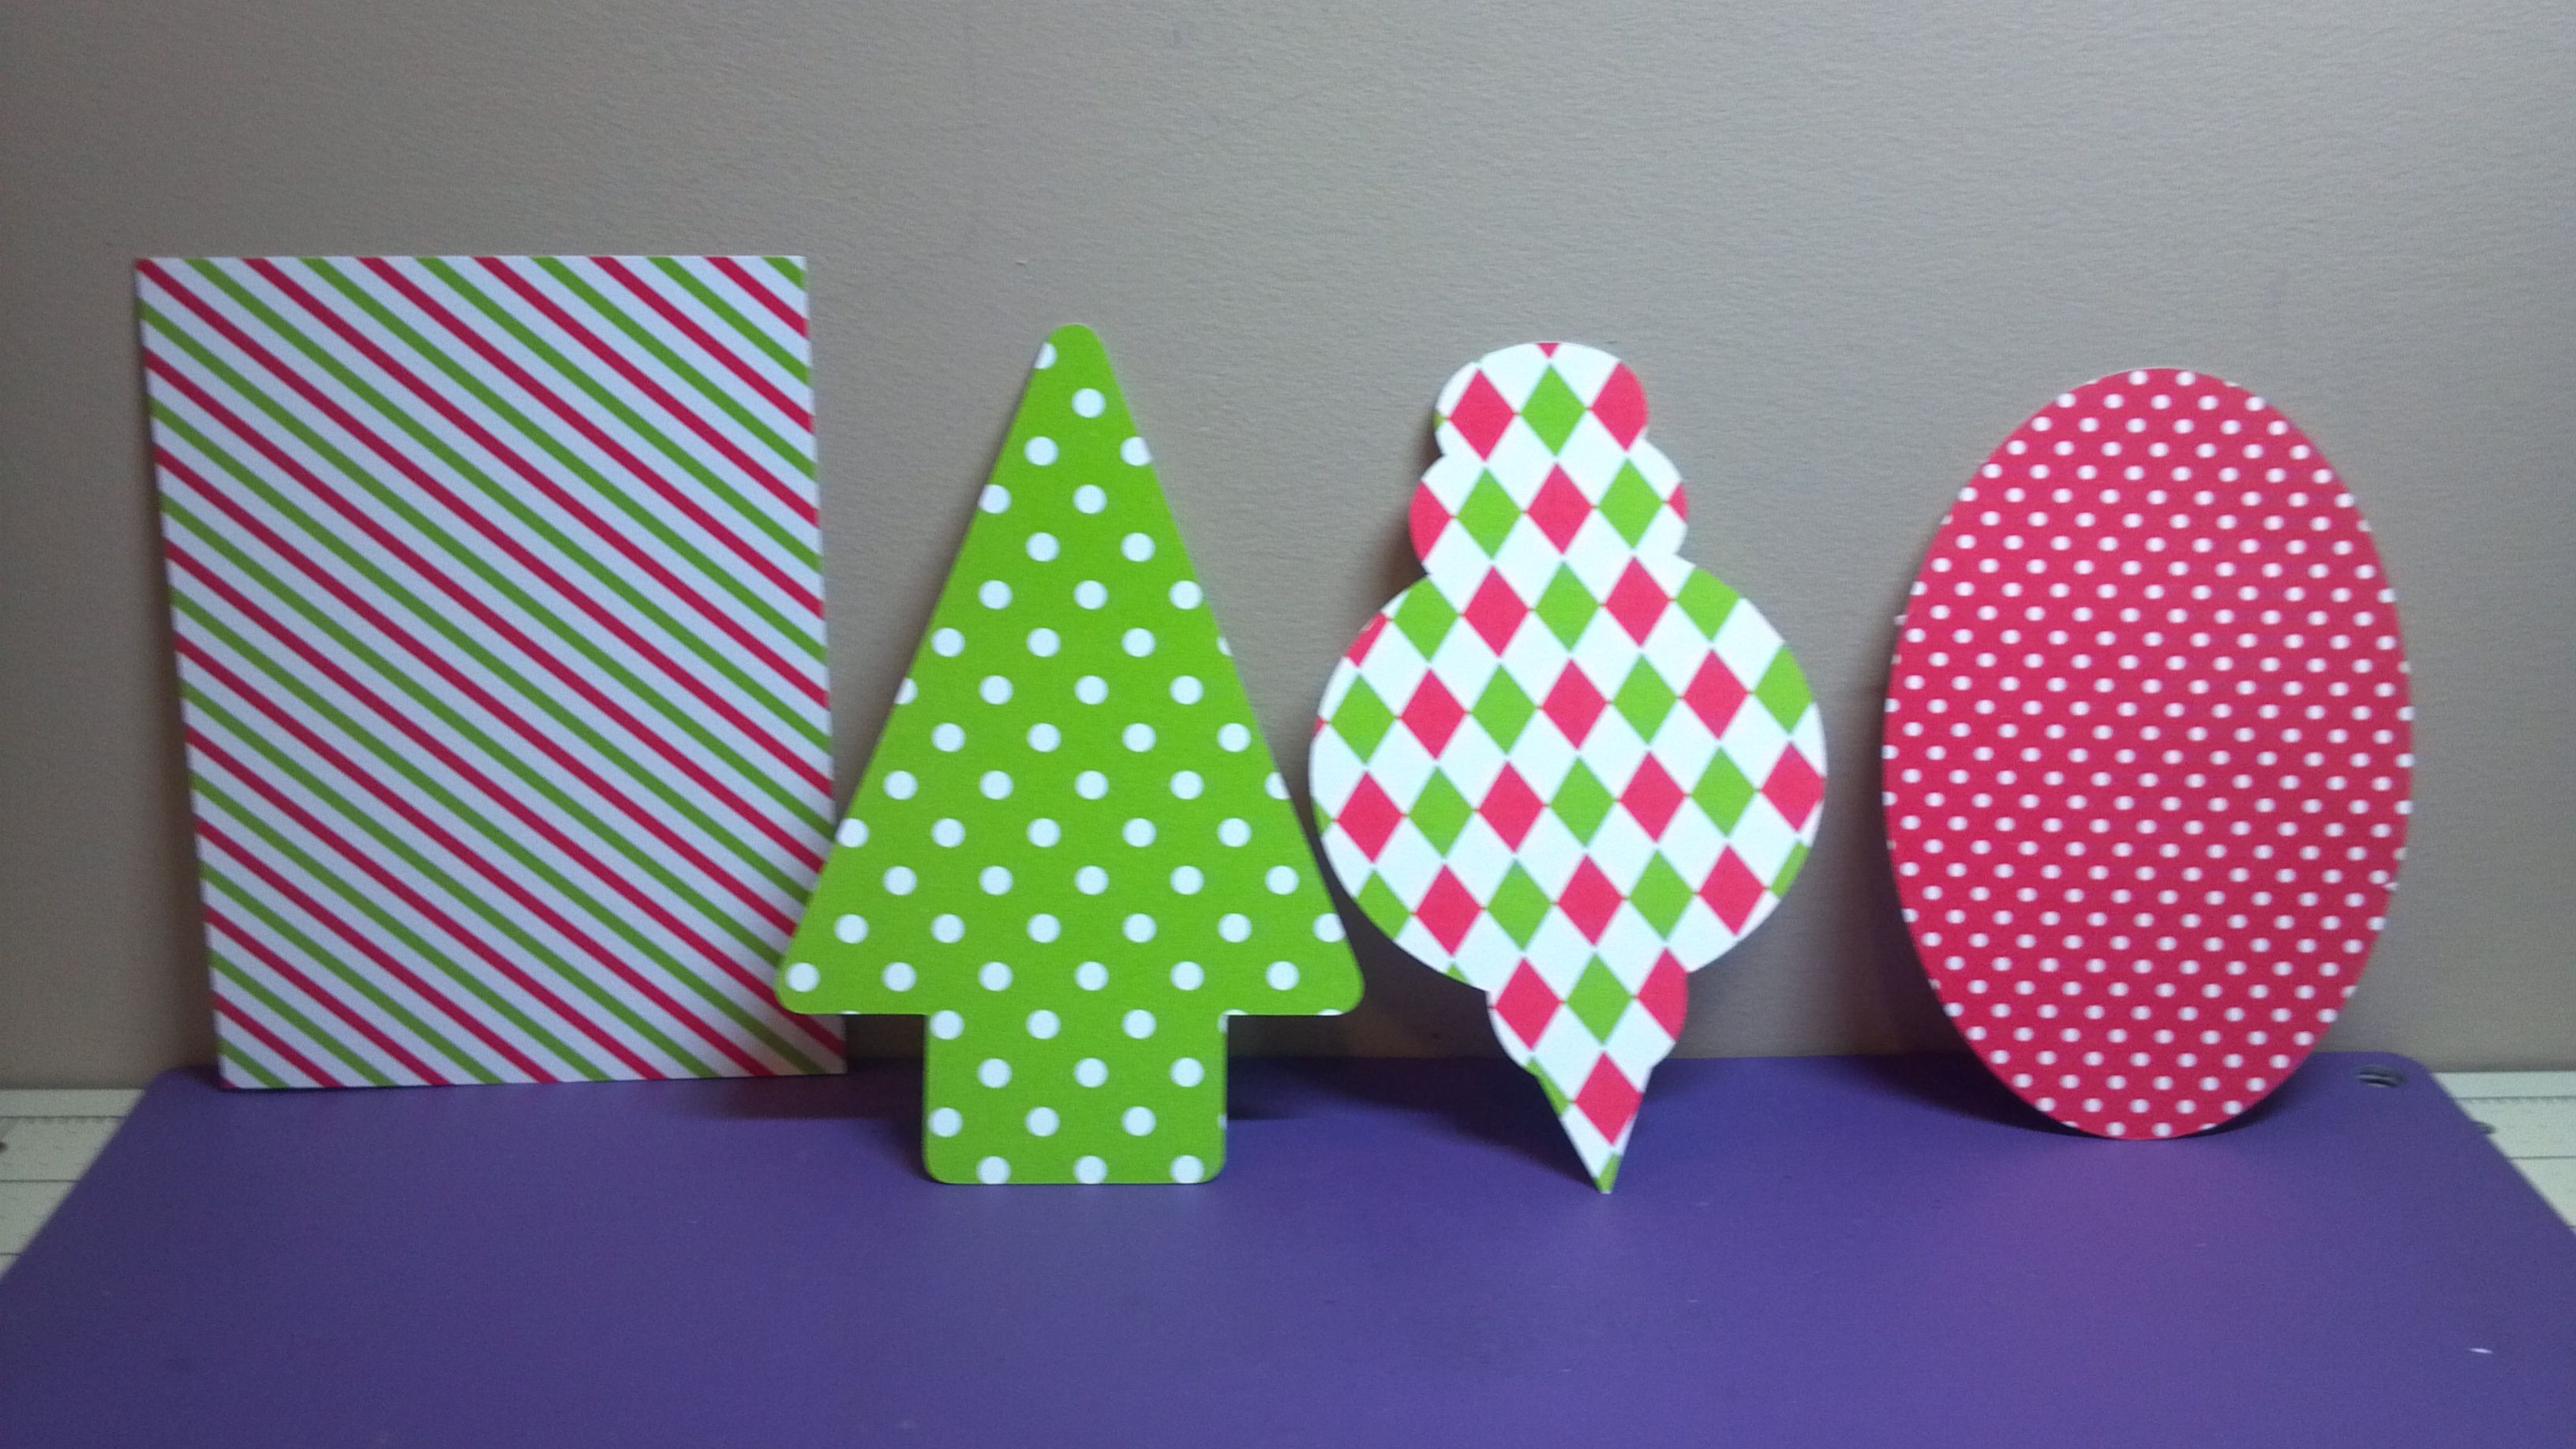
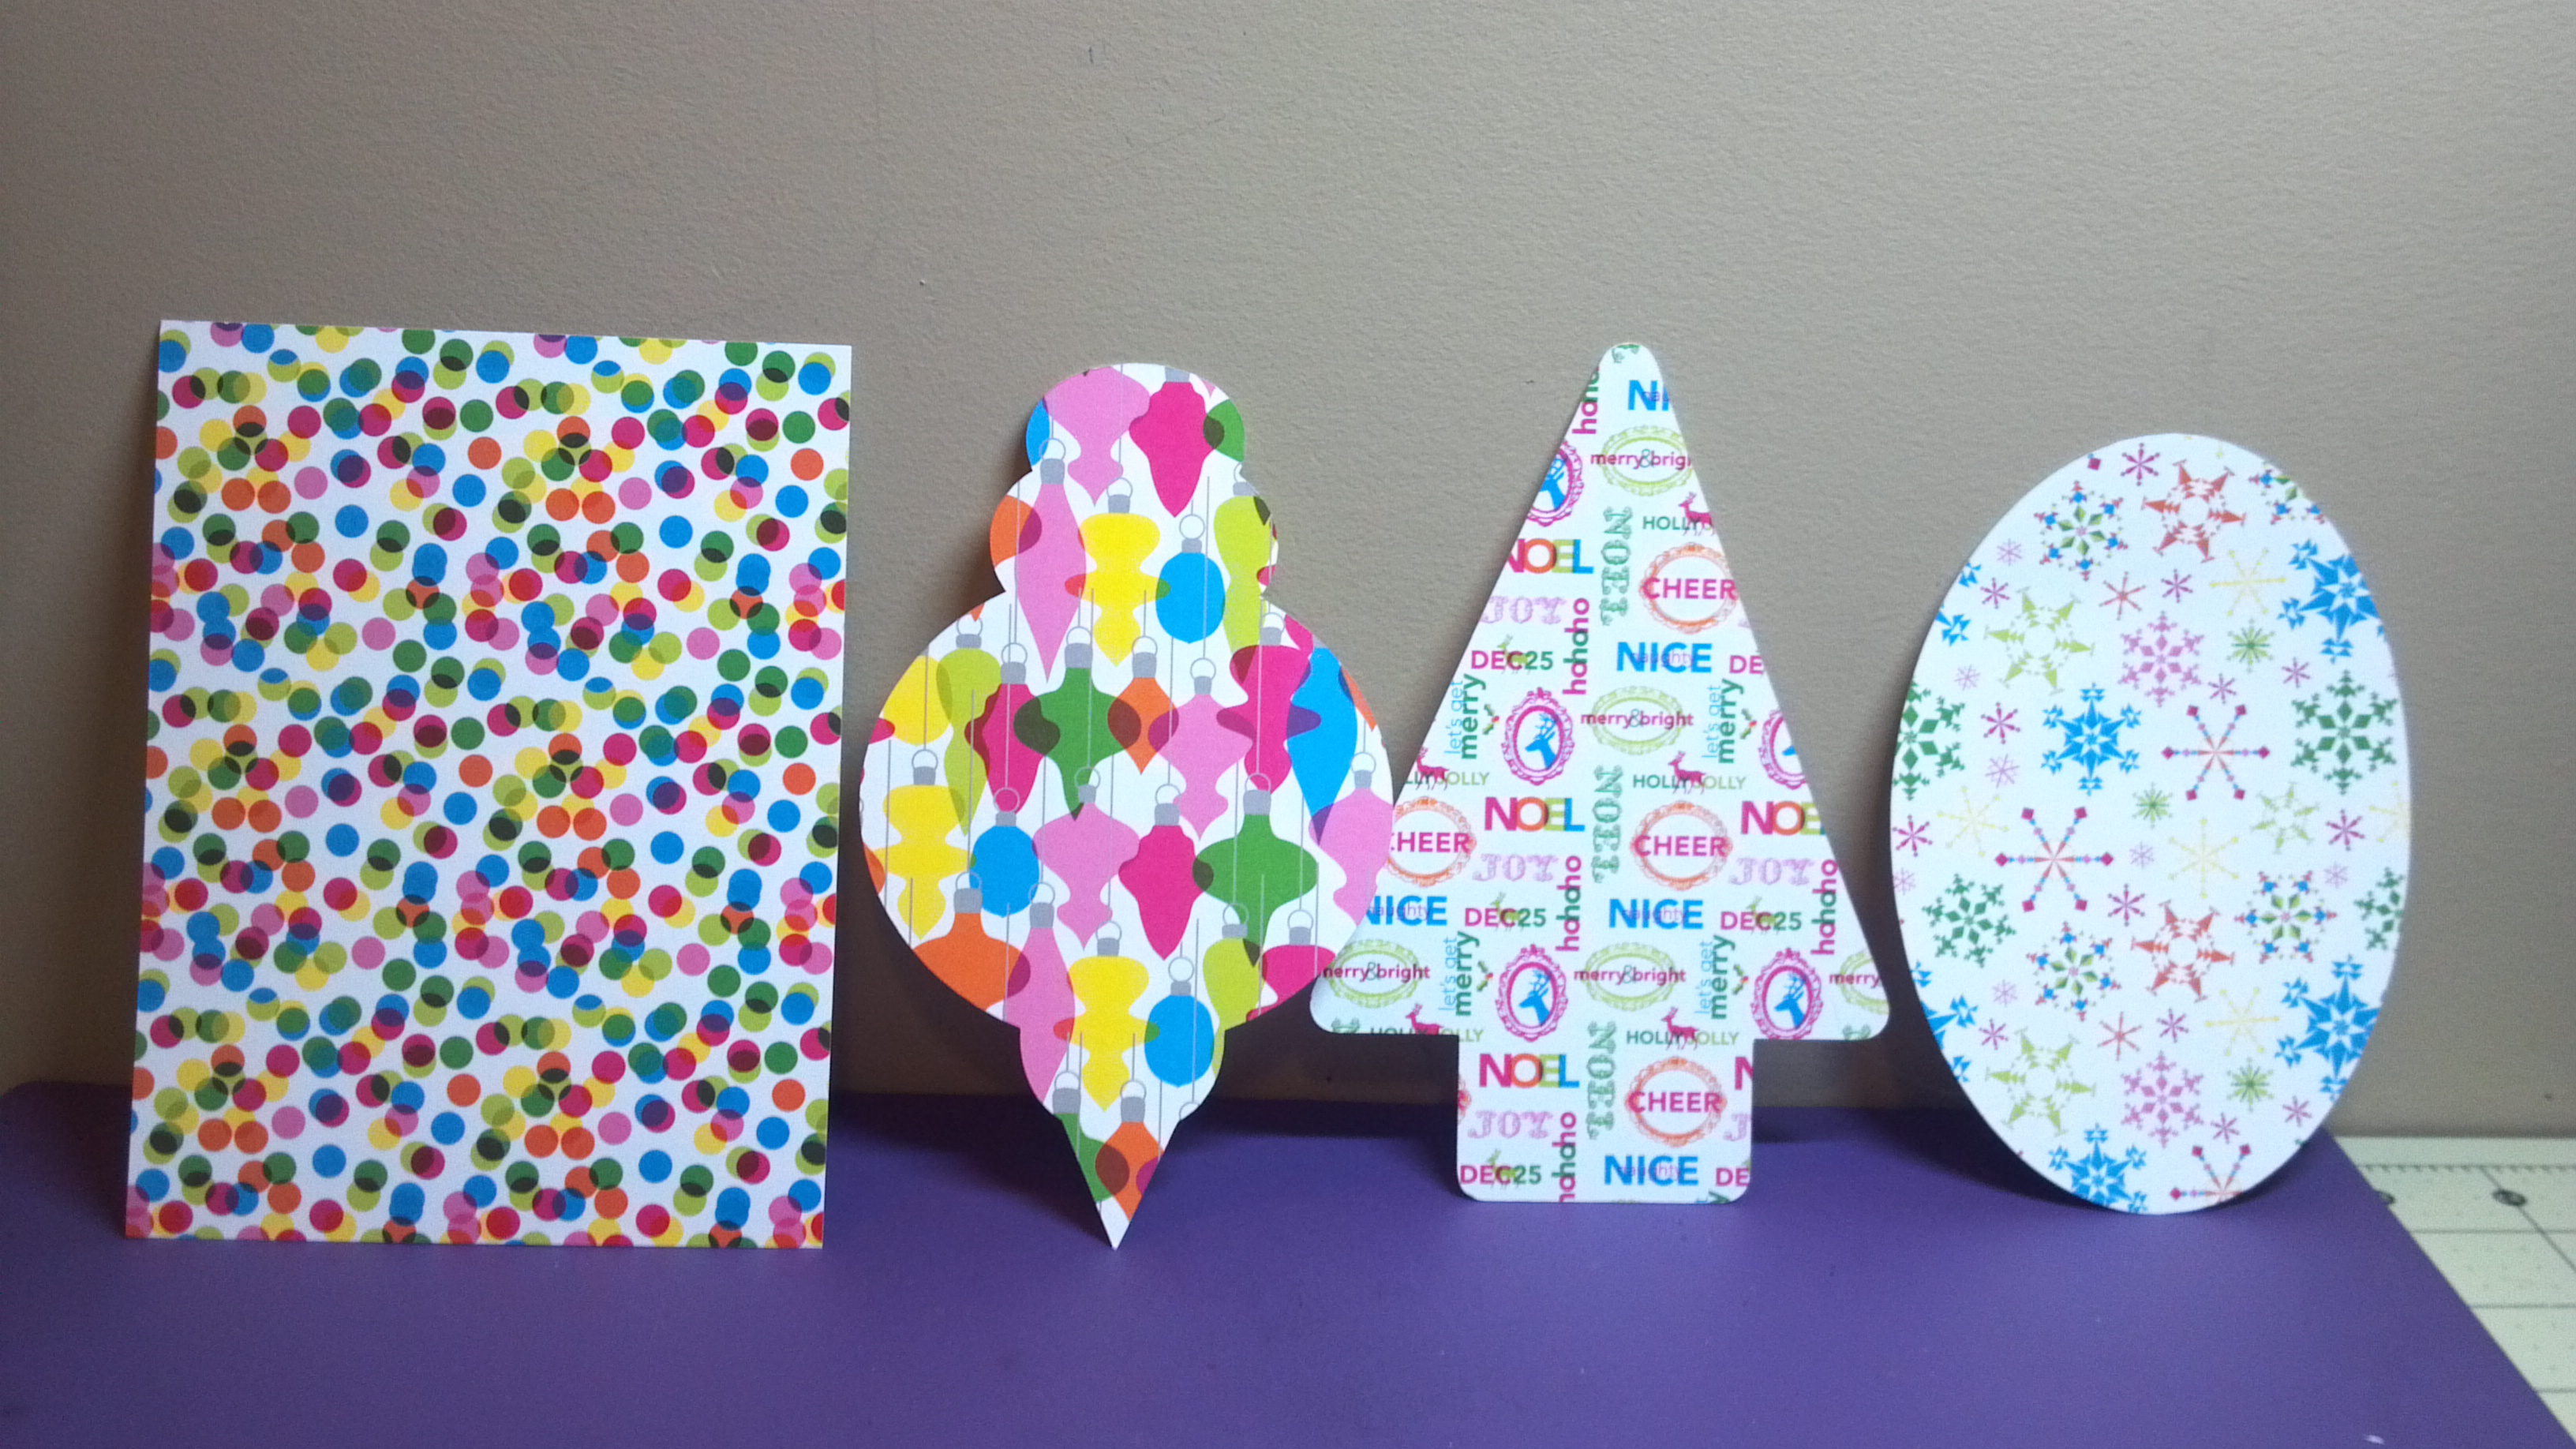
Then, I am doing a card-making session for people to make cards which will be given to a charity to hand out. I decided to pre-cut shapes to use to make things a lot easier! I used two of the files I just listed along with the Christmas Treat Box file to cut out shapes that will be used on card bases I bought from Michaels.
I made the rectangle and oval shapes myself in the Silhouette software. I cut 135 rectangles and 135 of the other three shapes to be used with them. Plus from the scraps I cut rectangles, strips, and banners people can use. I also got stickers, stamps, ink, tape runners, and ribbon for them to use. I will have to post pictures from the demo event. Thanks for stopping by. Here is my video…
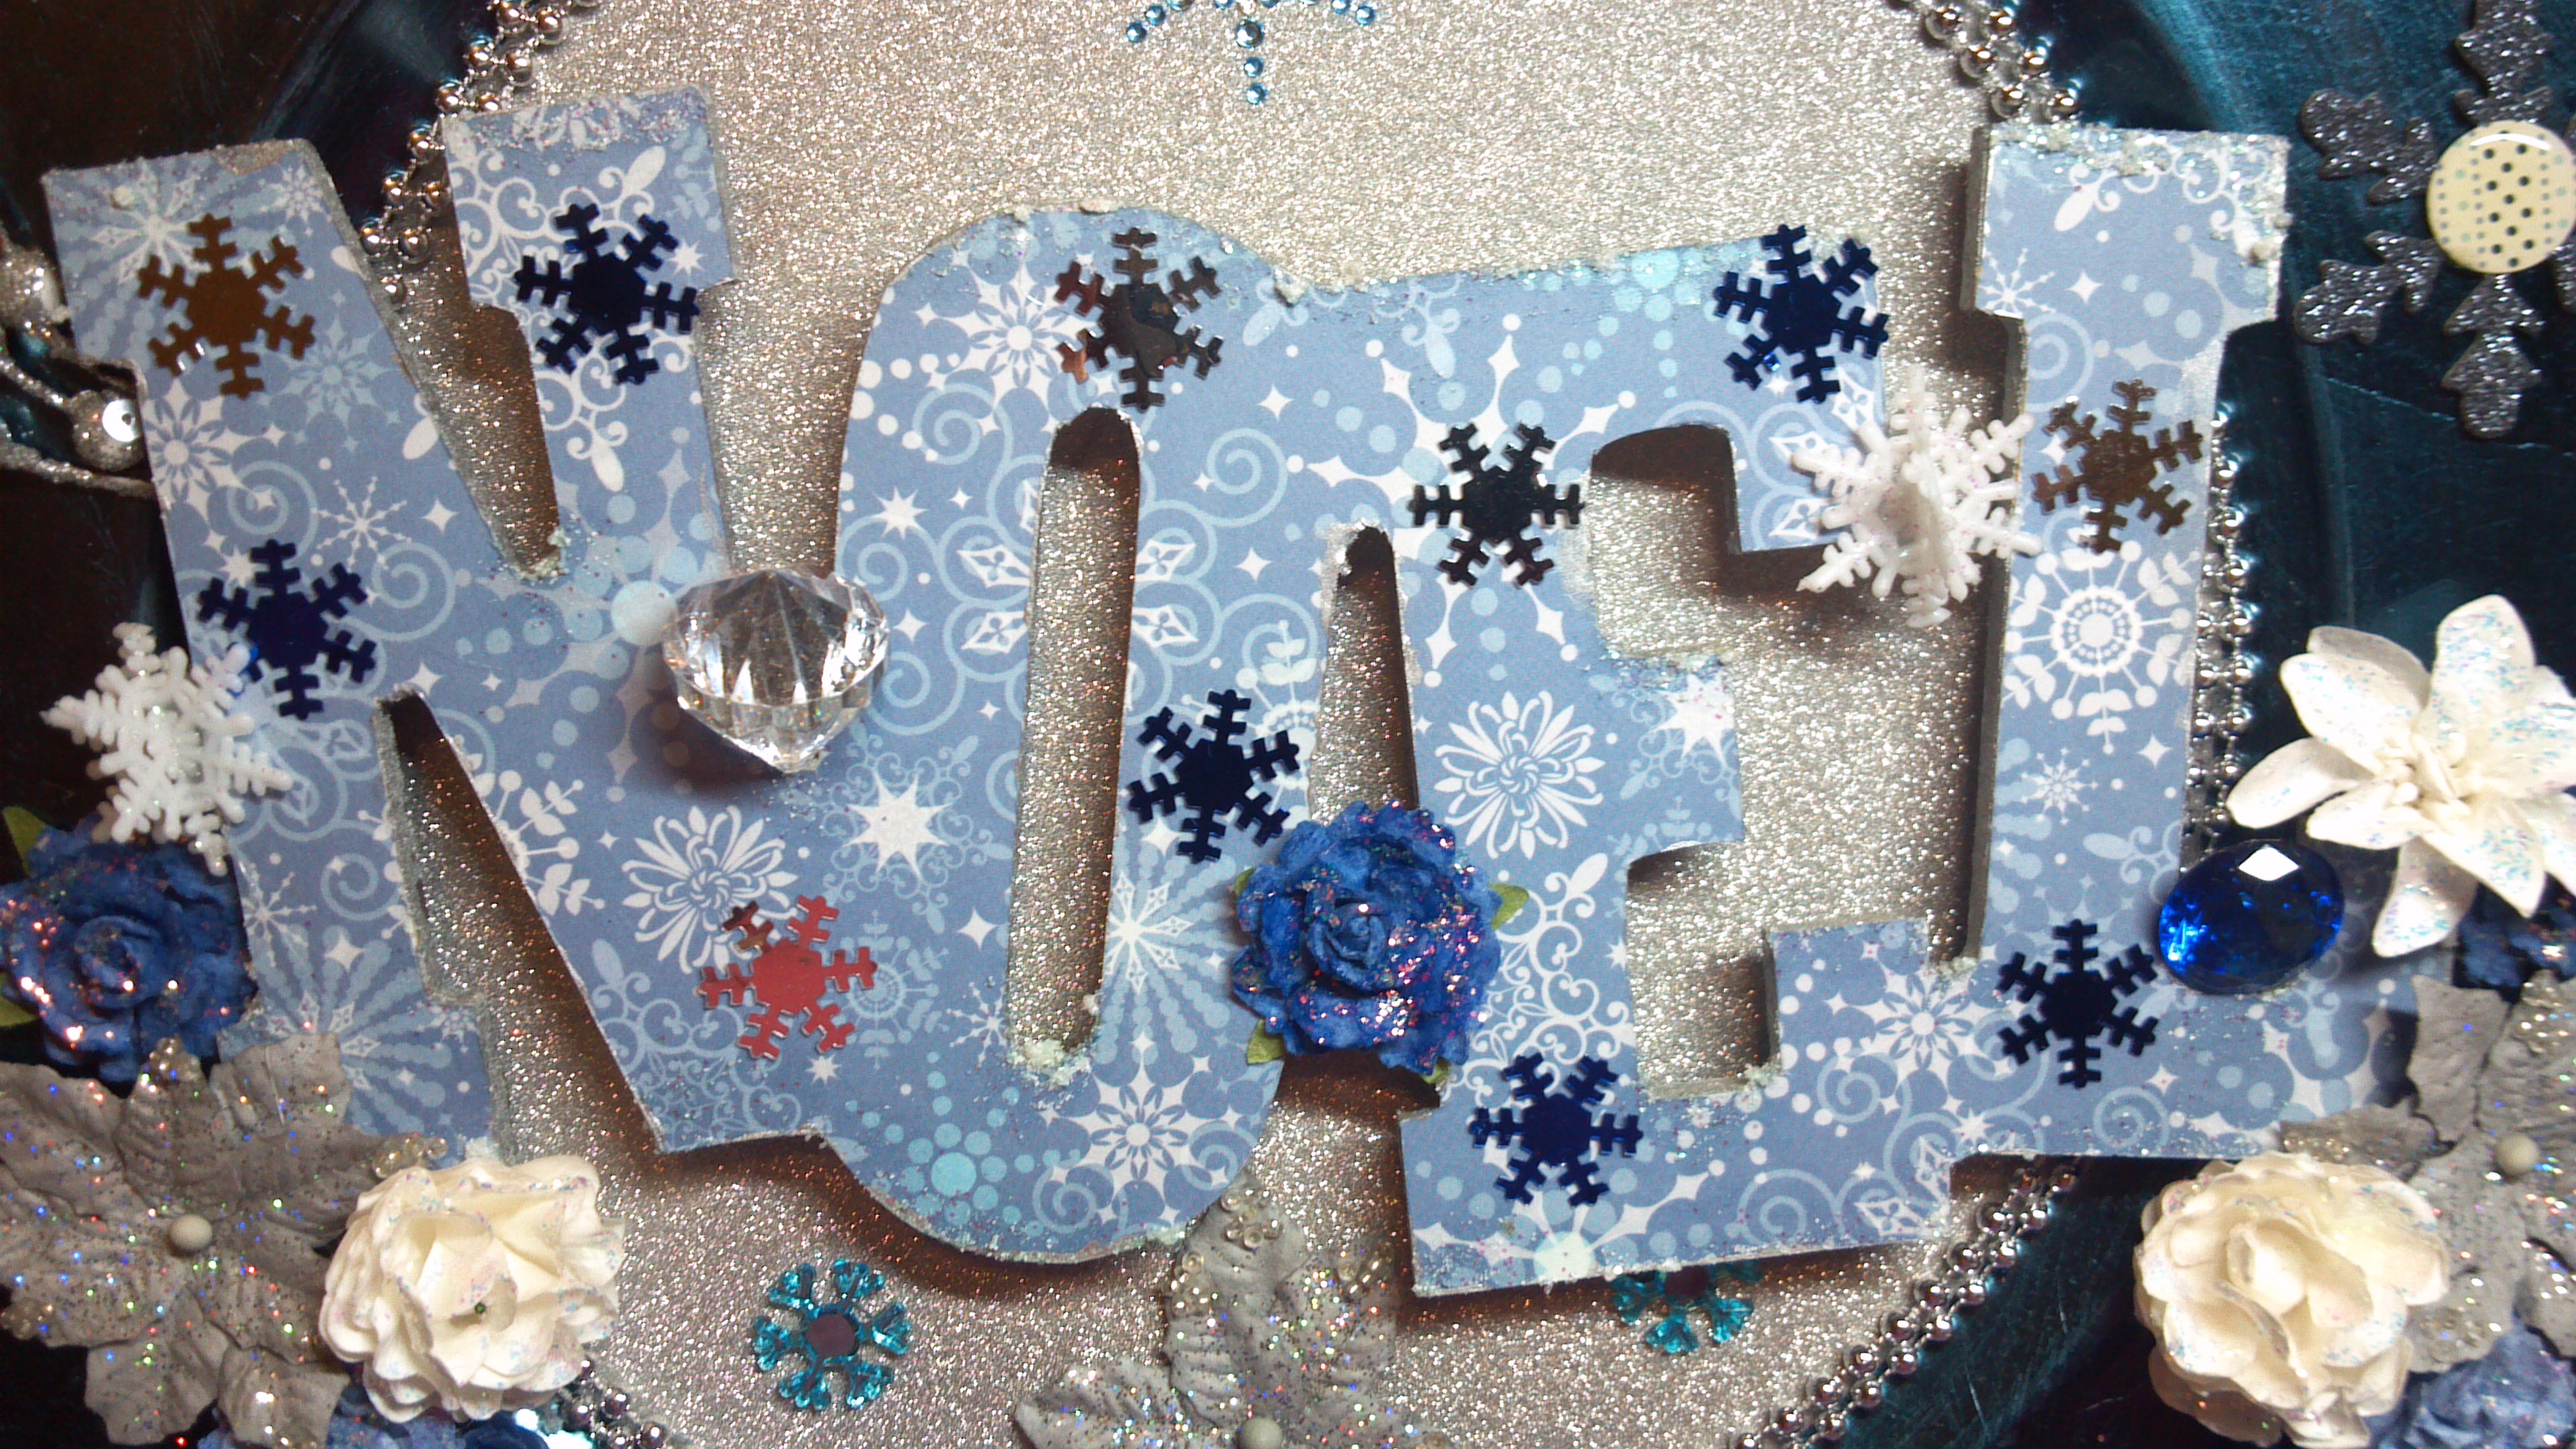
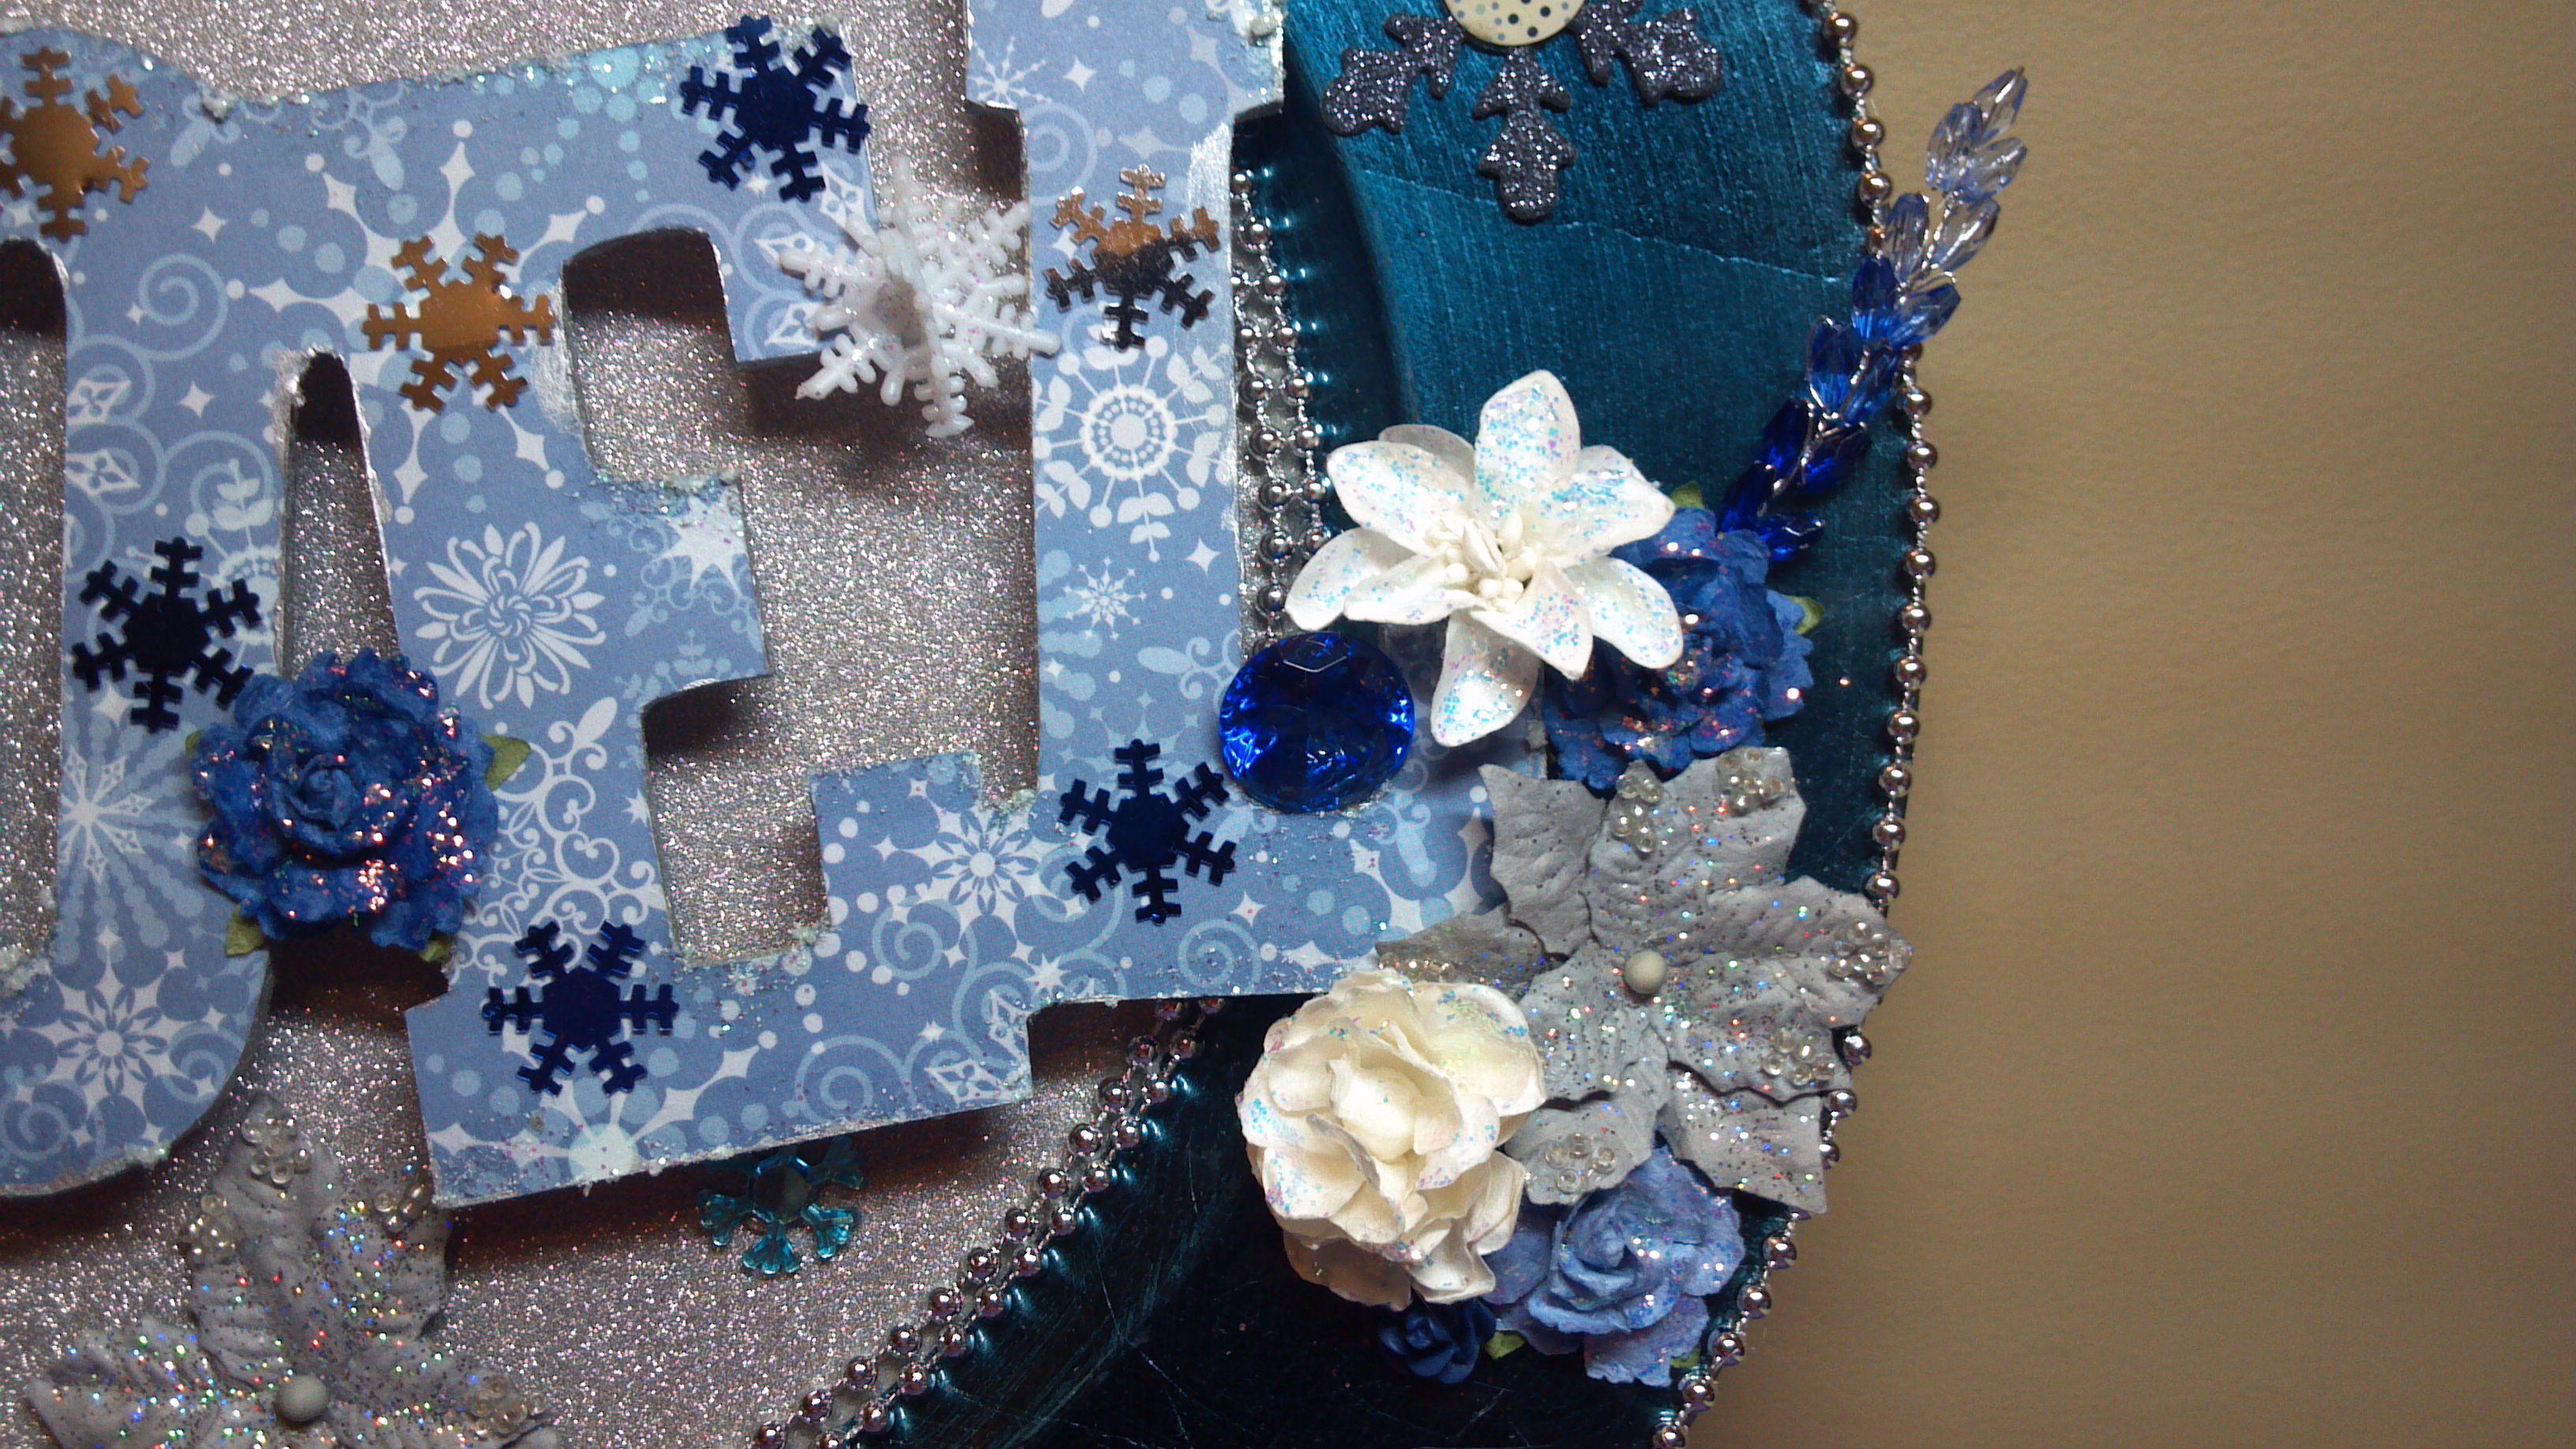
Today I am participating in the Walking in the Winter Wonderland You Tube hop, which is hosted by Tmika aka Scrapdaworld on YT! For this project, I decided to something a little different so I altered a charger plate. I used a wooden noel word and covered it in paper and added some glitter Snowtex on the word to give it a little dimension.
I covered the center with a glitter paper and added a double row of silver pearls and a single row on the outside perimeter. From there I just added flowers, baubles, and glittered chipboard snowflakes.
Several on the hop are giving away some prizes, including me! Here is by giveaway package:
To be eligible to win my giveaway, just head over to my YouTube channel which you can find from the link to your right or in the hop list I will post below.
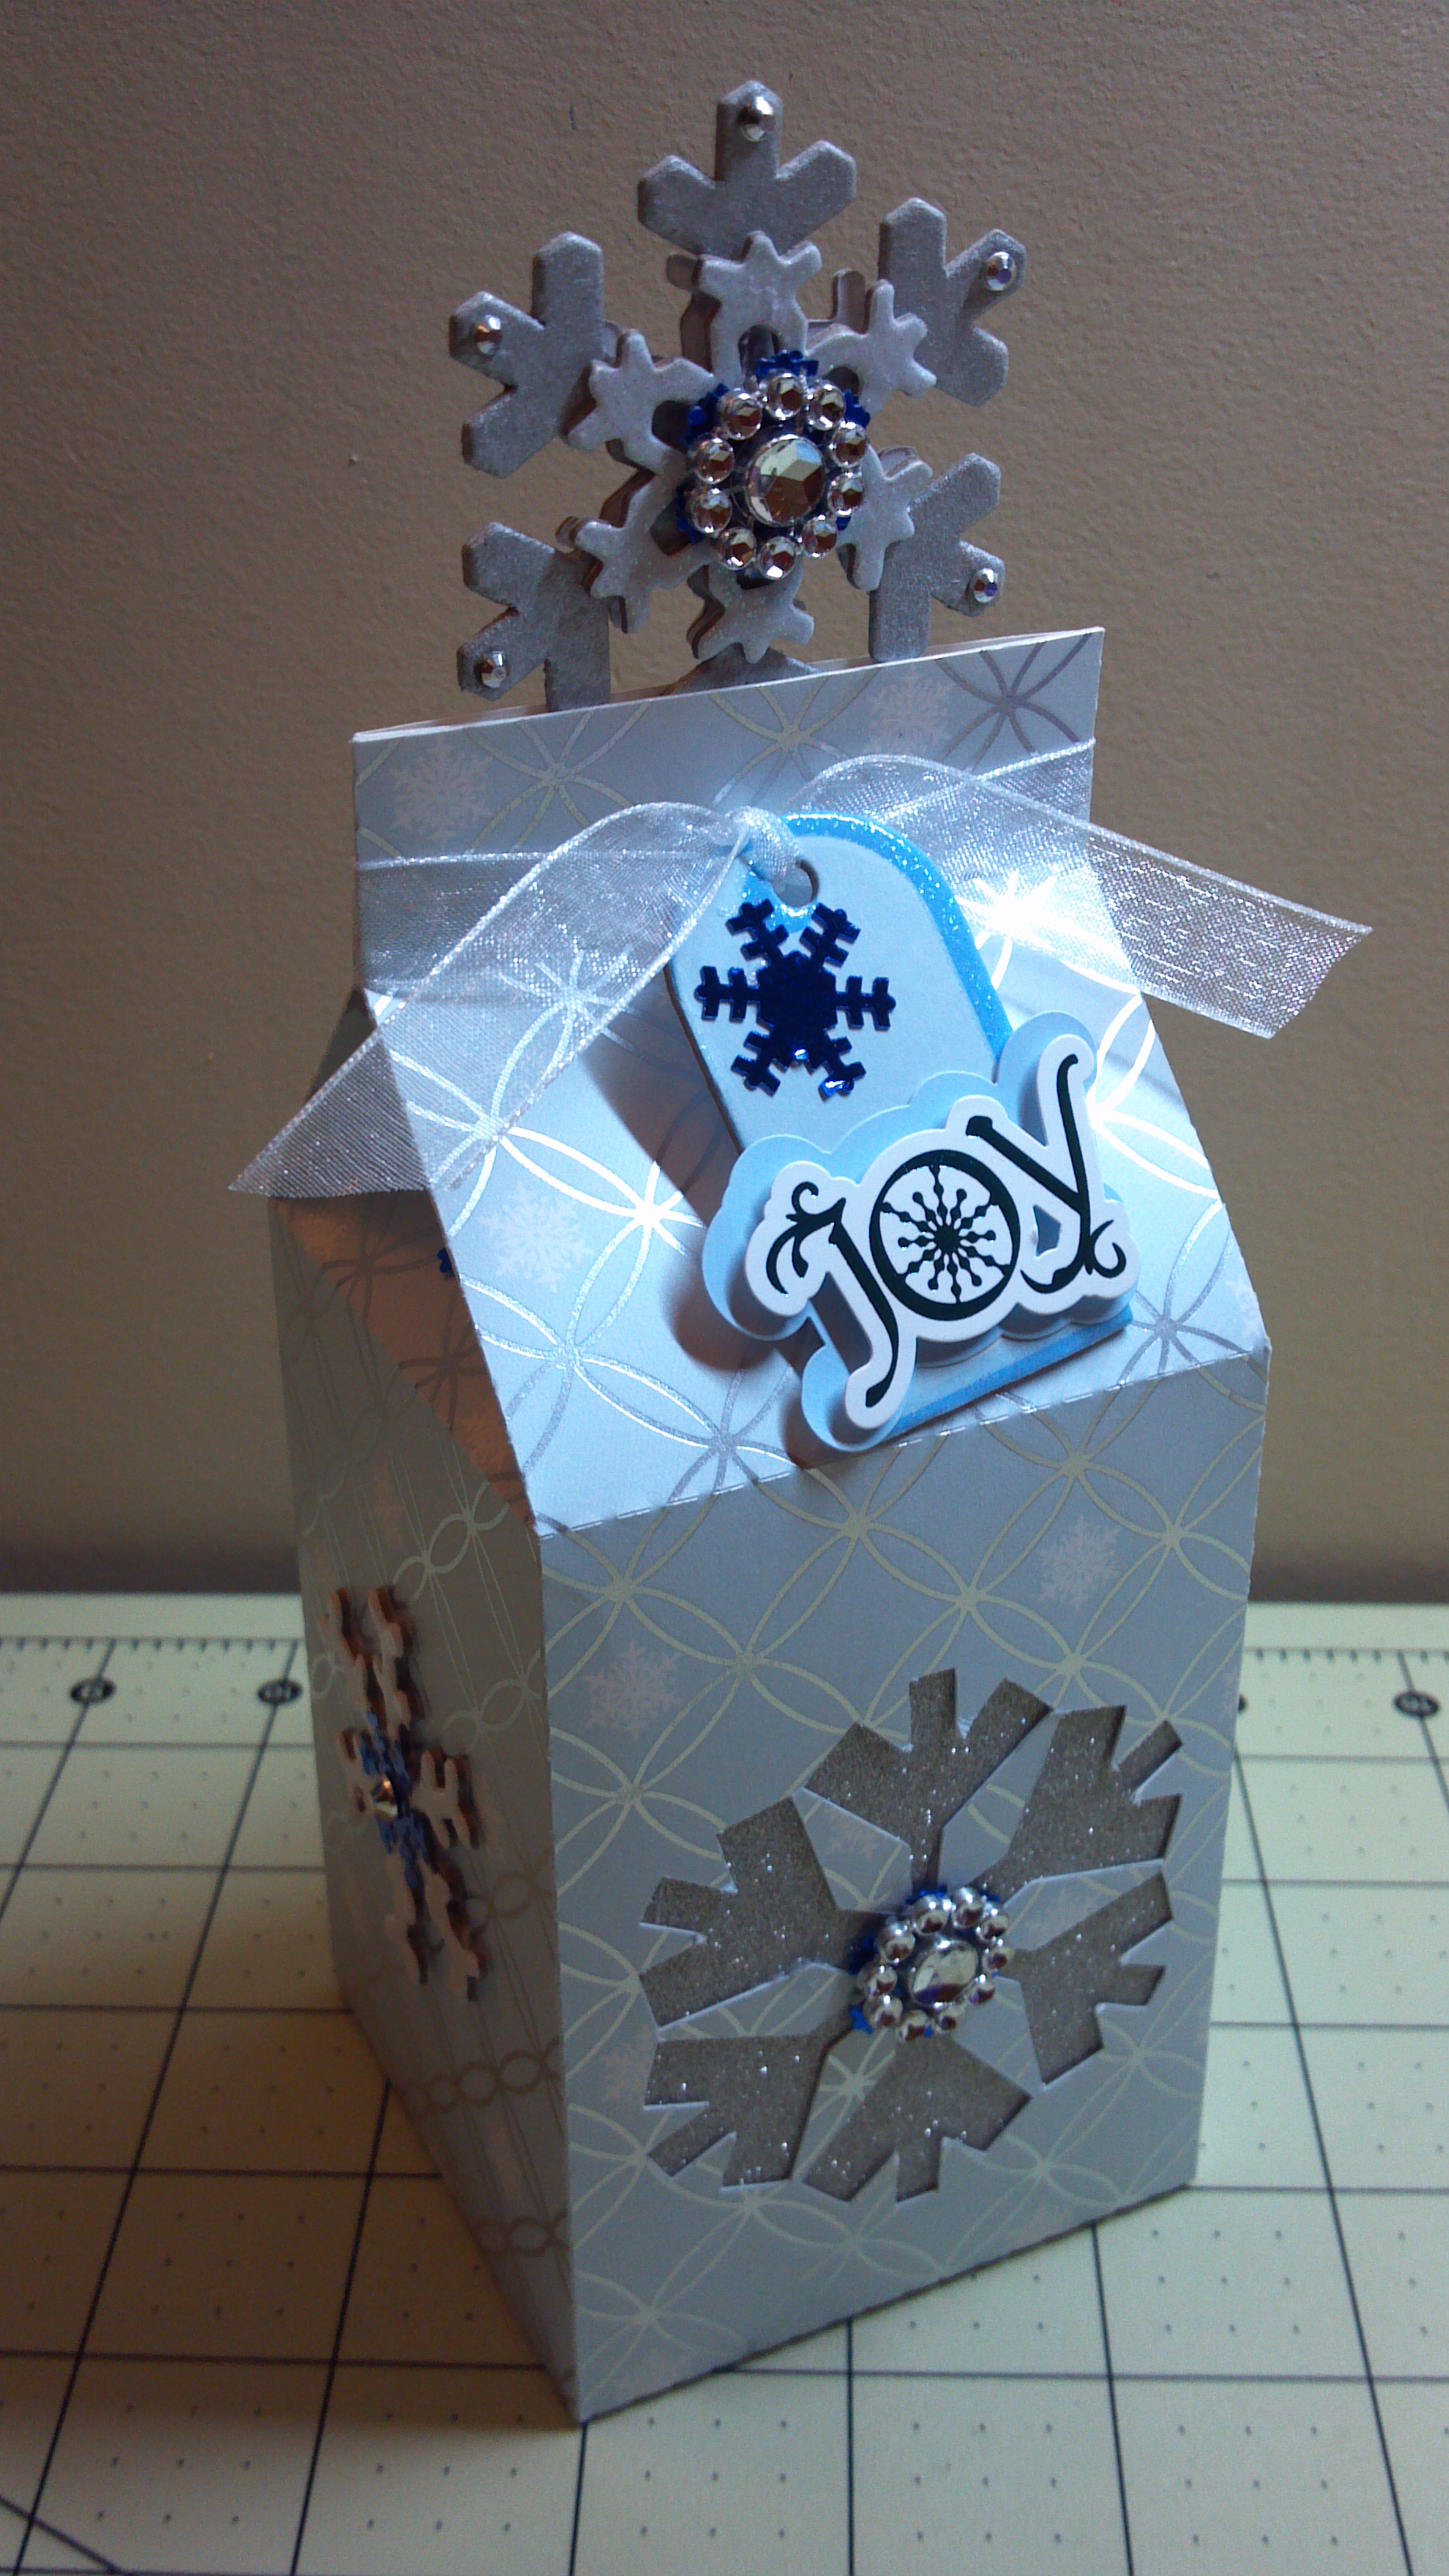
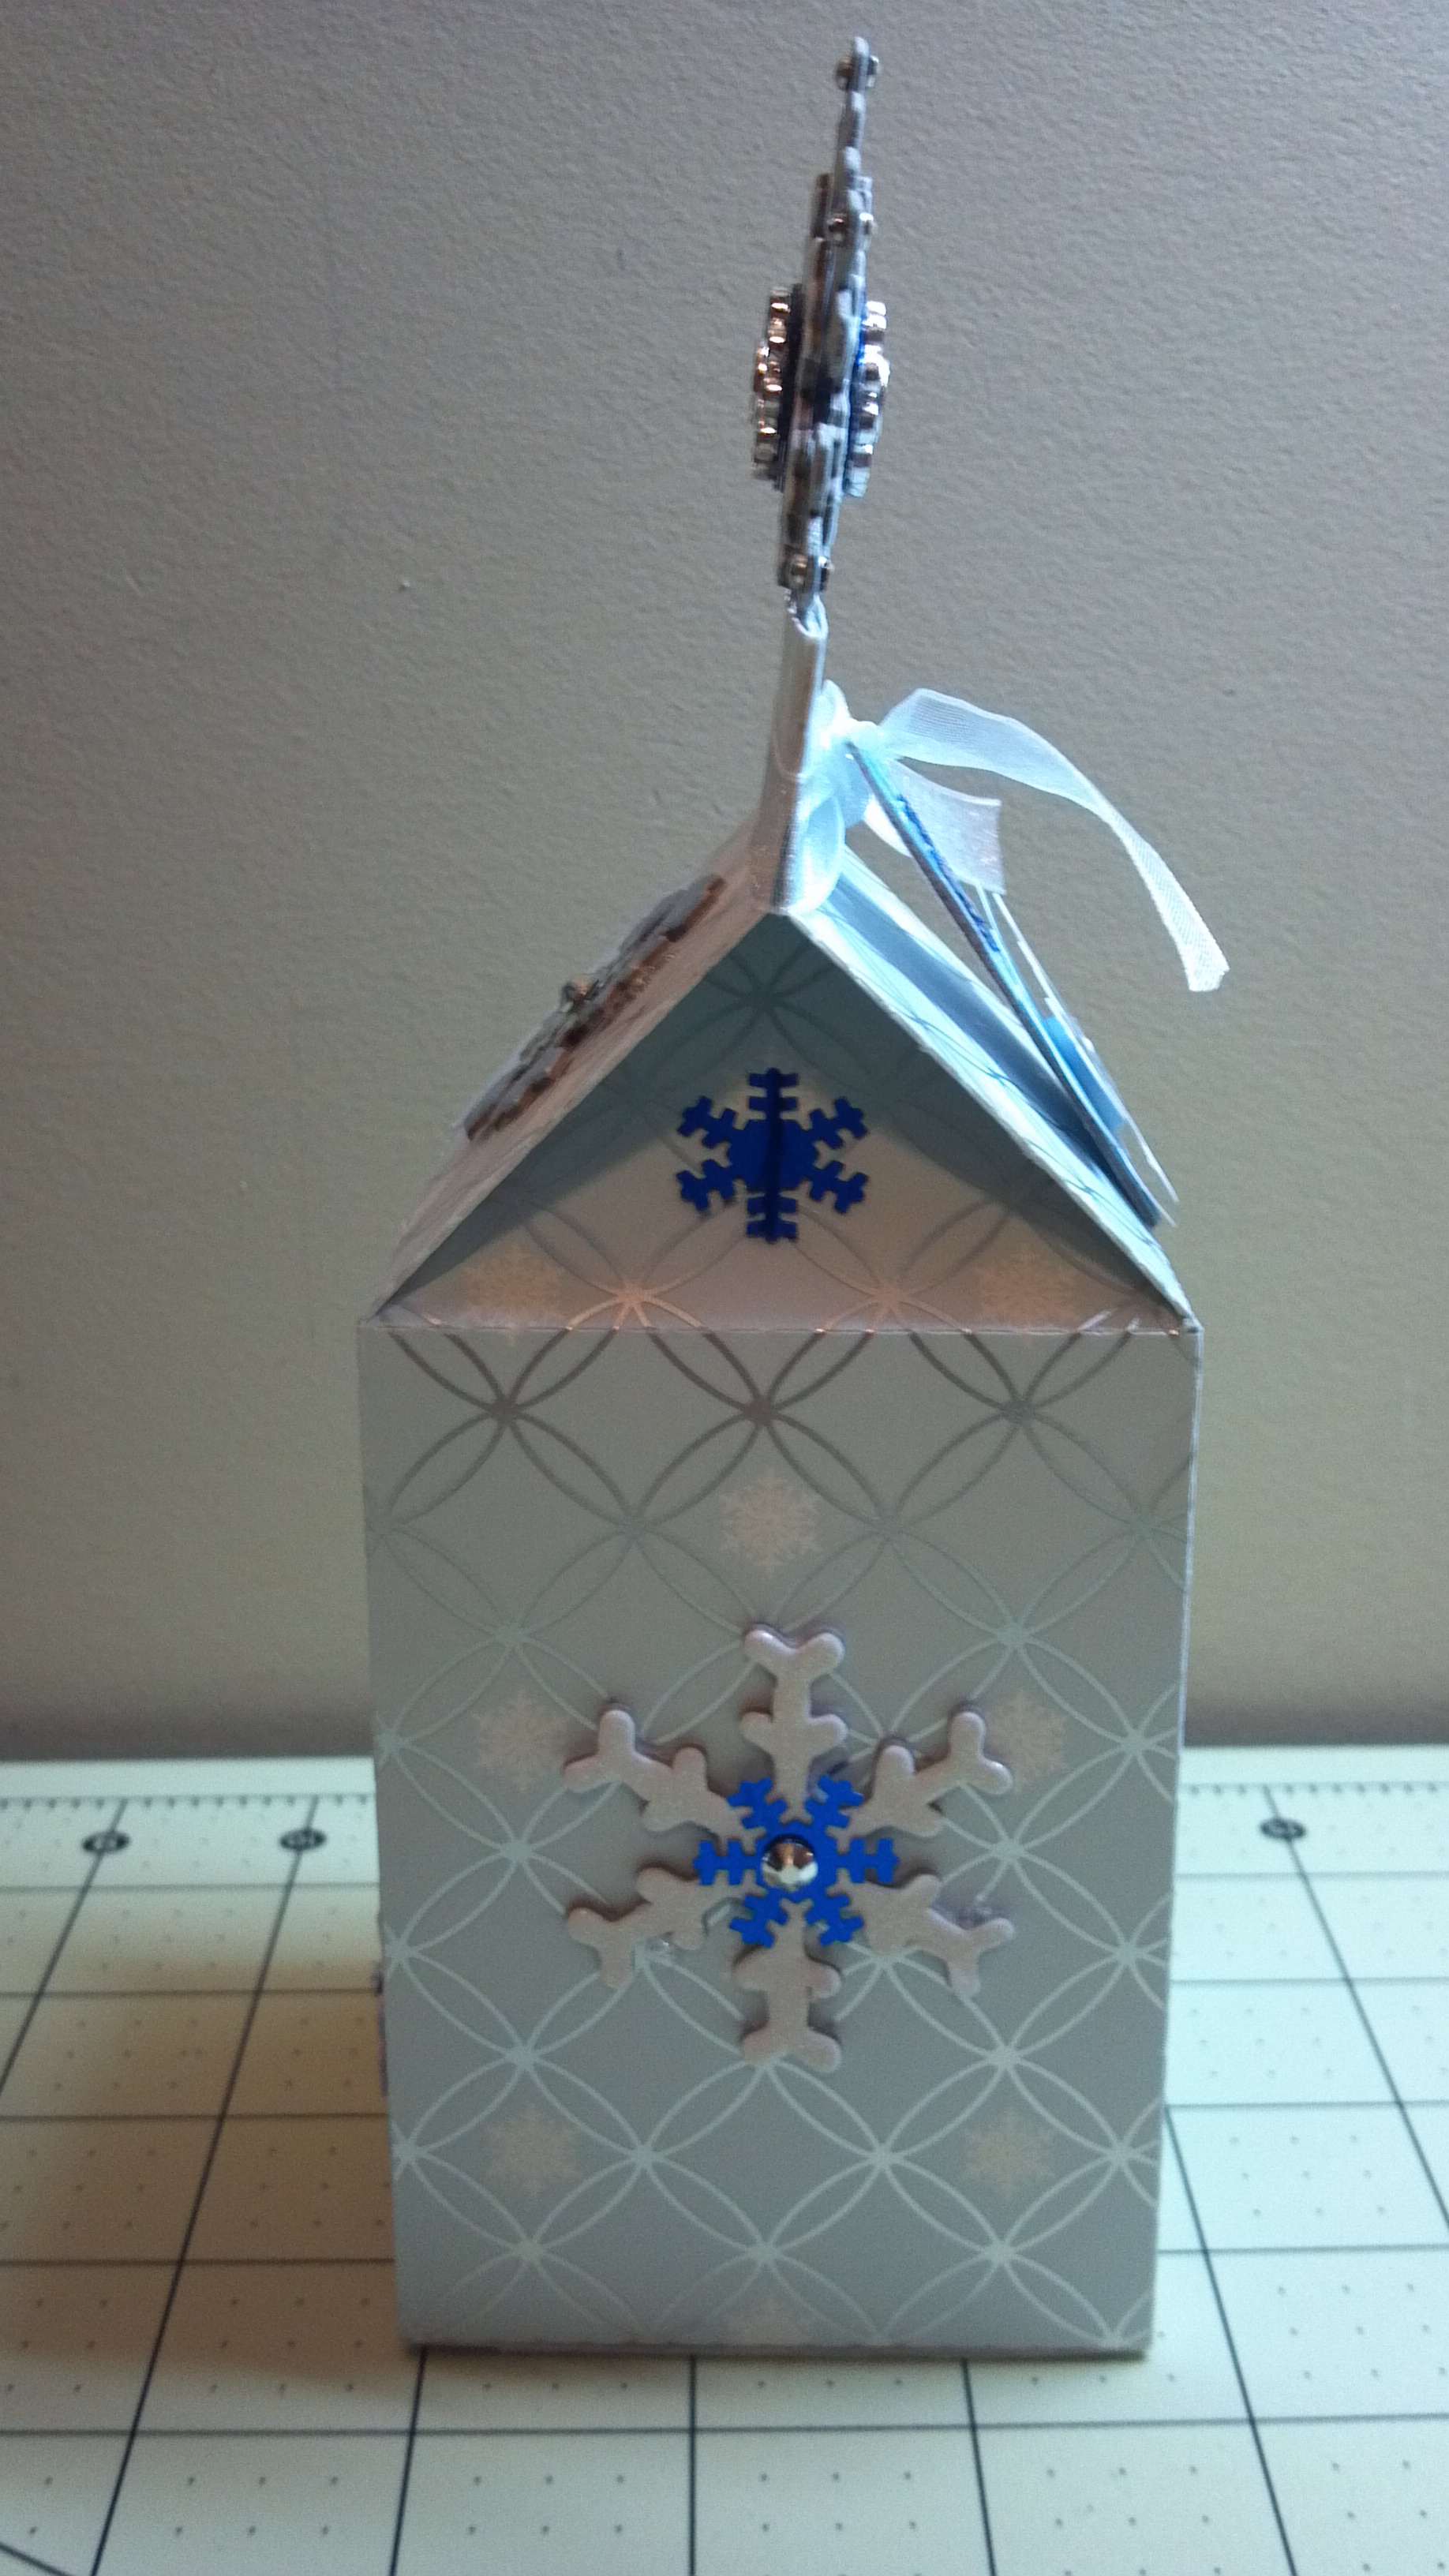
Hello and happy holidays! I hope you are having a wonderful Christmas season. This week we have started focusing on Christmas projects at The Cutting Cafe. We had a few files to choose from but I chose this cute Christmas Shapes Milk Carton! It was so easy to do and can hold different kinds of treats or just look cute on your desk or shelf for decoration.
I used old DCWV paper and chipboard snowflakes and tag. The large snowflake at the top is a chipboard piece from last year’s dollar bin at Michaels which I sprayed with Heidi Swapp tinsel color spray and added additional bling. I backed the cutout with silver glitter paper. There are actually many different shaped cutouts you can choose from. I like the way it turned out. Here are a few more views…
There are many wonderful Christmas box files and other projects from the design team will feature the Stocking Box and the Candy Cane Box Set. There is also a set of Christmas Bag Toppers that you can use. Head on over to the blog on tomorrow afternoon to see all of the design team projects. Make sure you leave a comment as each week a name is drawn from the previous week’s post comments. The winner gets three free files of their choice.
Also, a design team call is open. If you would like to be a part of the team, here is the information. You have until December 15th! Good luck!
Thanks for stopping by! Before you go, here is my video…
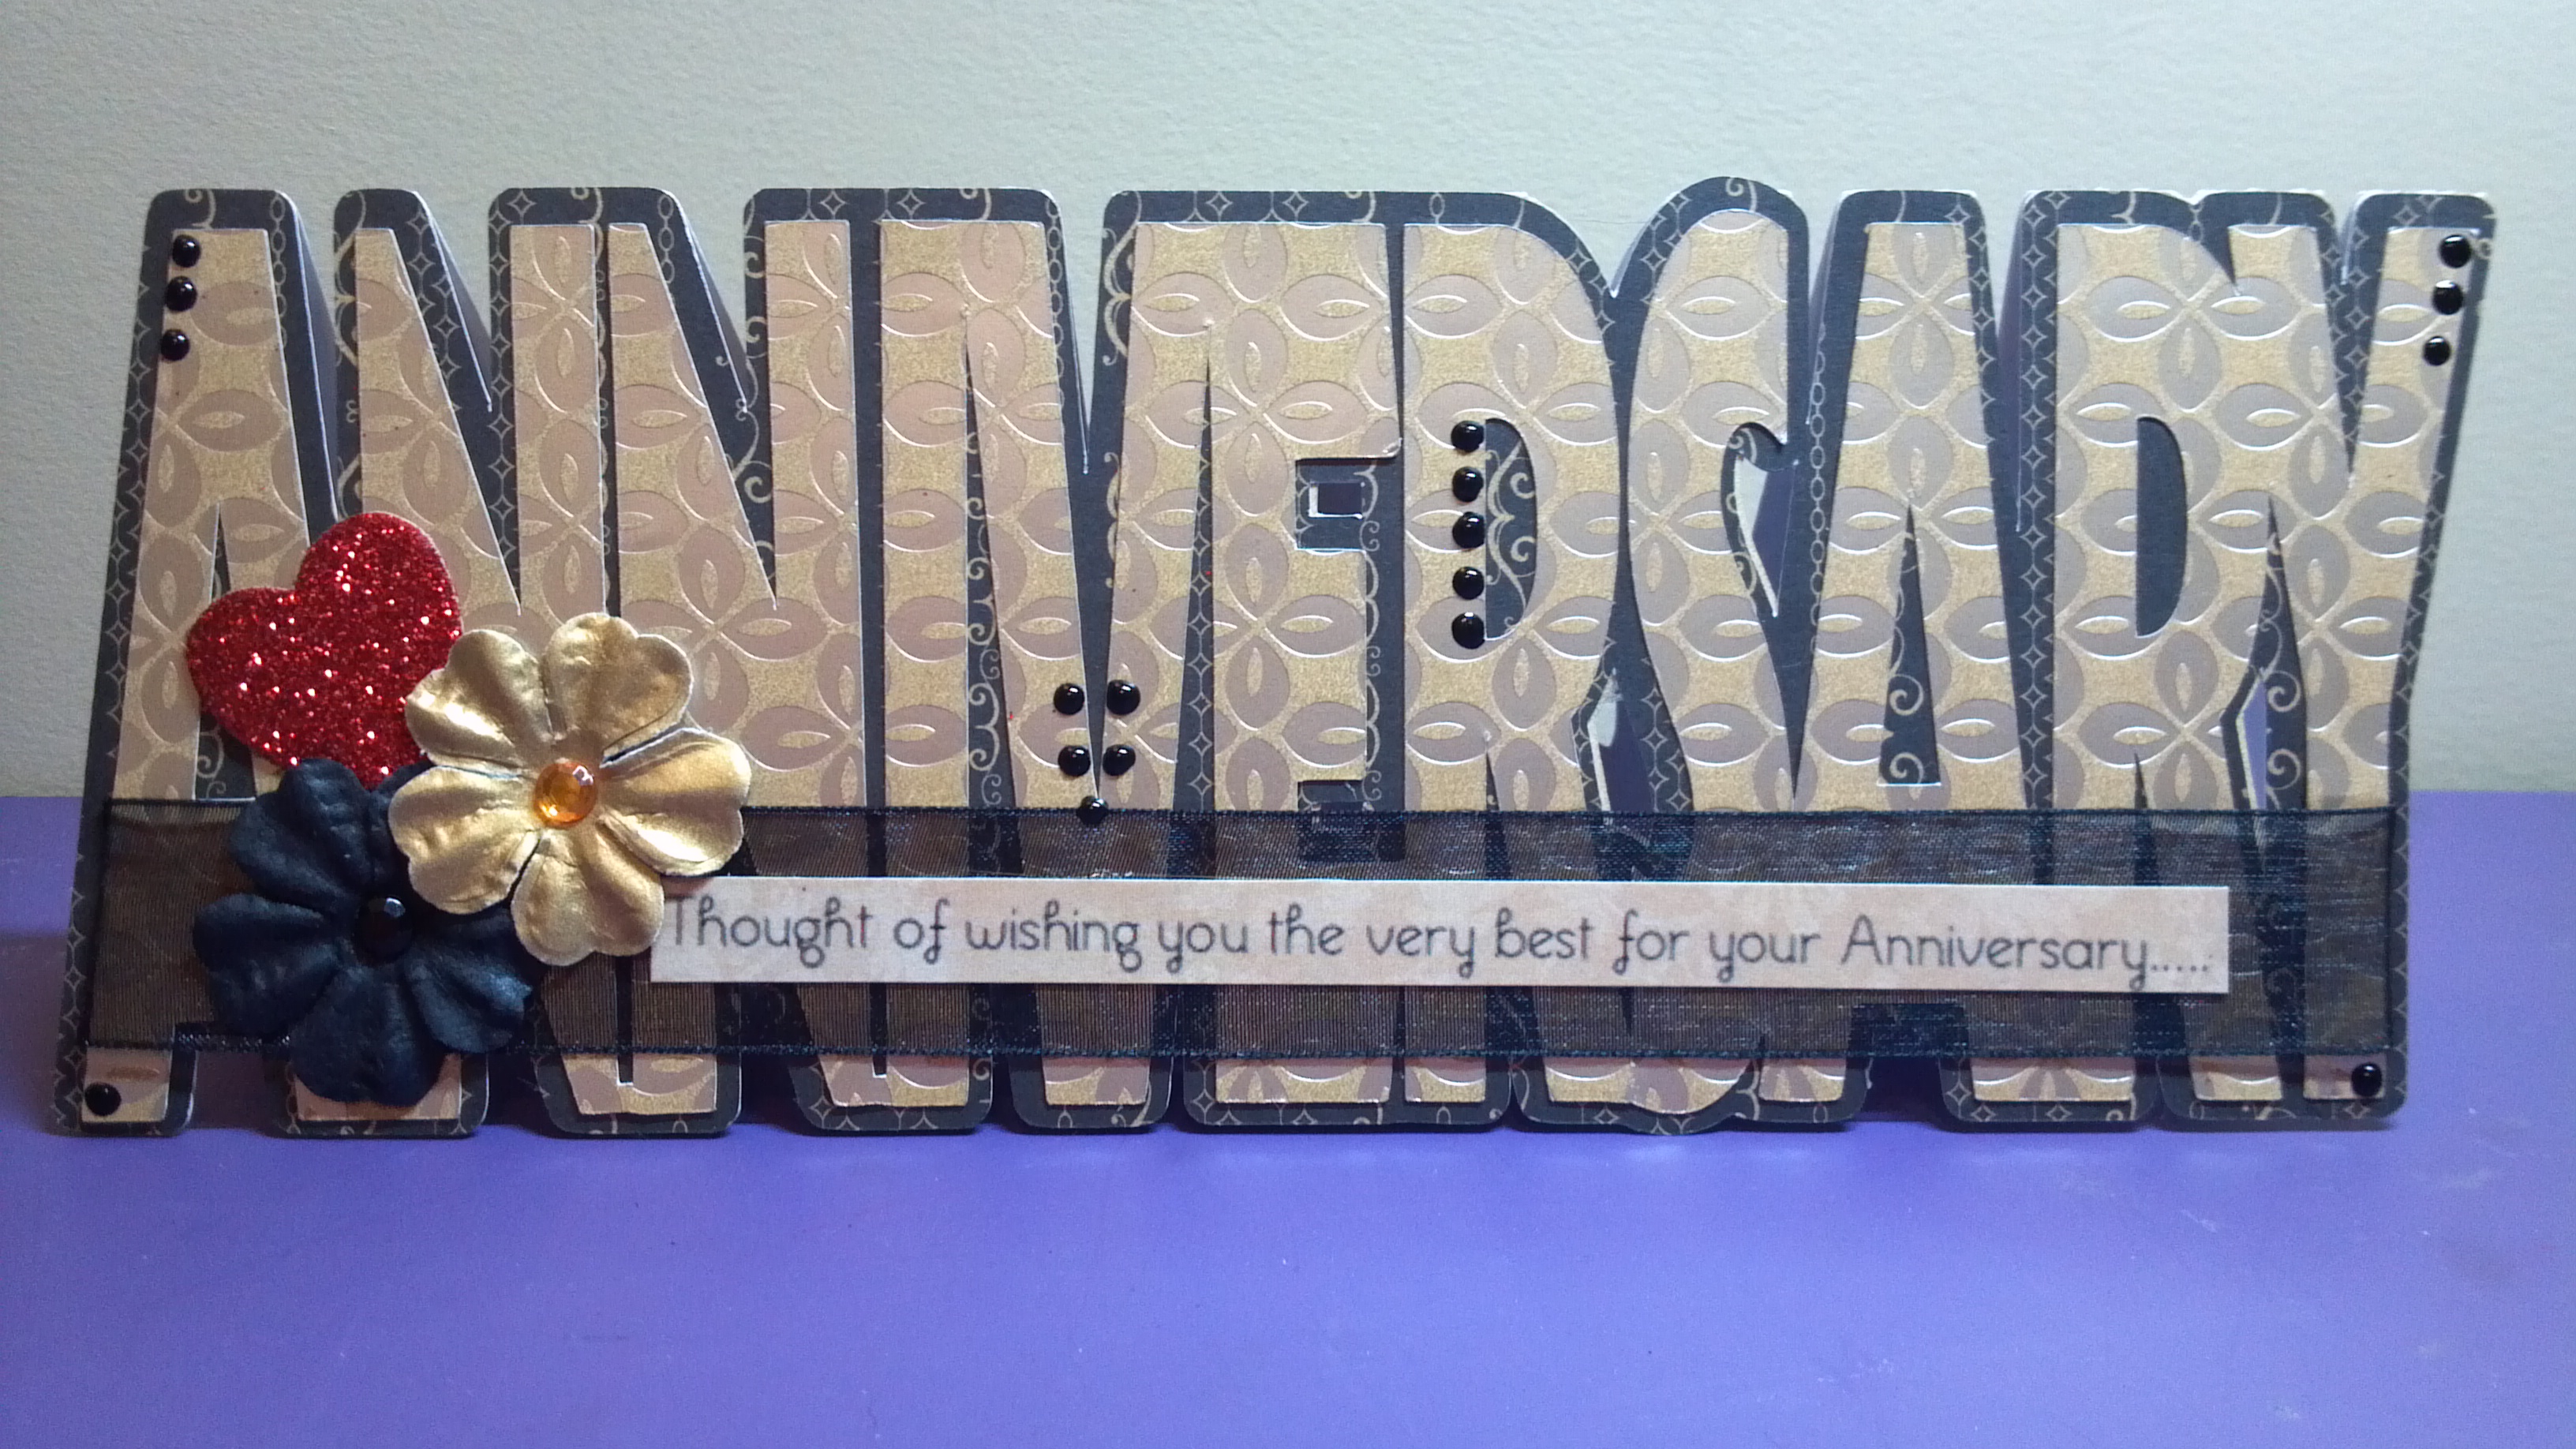
It’s project time at The Cutting Cafe and this week we could choose any file we wanted to work with. There are so many available, but before we move into Christmas projects, I decided to make an anniversary card for my aunt and uncle who are celebrating 34 years of marriage!
The Anniversary Shaped Word Card Template is a breeze to make. I cut out a base in kraft cardstock, a topper in black and tan, and the word in tan with a gold metallic pattern. I added sheer black ribbon, some flowers, and a red glitter accent heart for love. I also added dots on some of the letters with a Viva Decor pearl pen. The sentiments from both outside and inside come with the file along with several others.
Anniversary Card Angle View
Anniversary Card Inside
I love the way it turned out. Thanks for stopping by. Remember to go to The Cutting Cafe Blog later tonight to see all of the projects from the design team! Each week Regina pulls a name from the comments made the week before, and that person gets to have three files of their choice. So………..leave a comment! Before you leave, check out my video too! Happy Thanksgiving everyone! I have a lot to be thankful for so I celebrate gratefully for what God has done for me. May you have a blessed holiday!
I made four gift card holders to give to young panelists for a program that I put together for my organization’s big manufacturing expo. They were very simple to make with the files. I just added patterned paper and the sentiment from the Thankful Circle Word set. If you don’t even have to have an electronic die cutting machine. All of the files at The Cutting Cafe come in a PDF format so you can hand cut them.
Head over to The Cutting Cafe Blog later this week to see all the design team projects! Make sure you leave a comment so that you can be eligible to win three files of your choice during next week’s drawing.
Thanks for stopping by, but before you go, take a look at my video of the project:
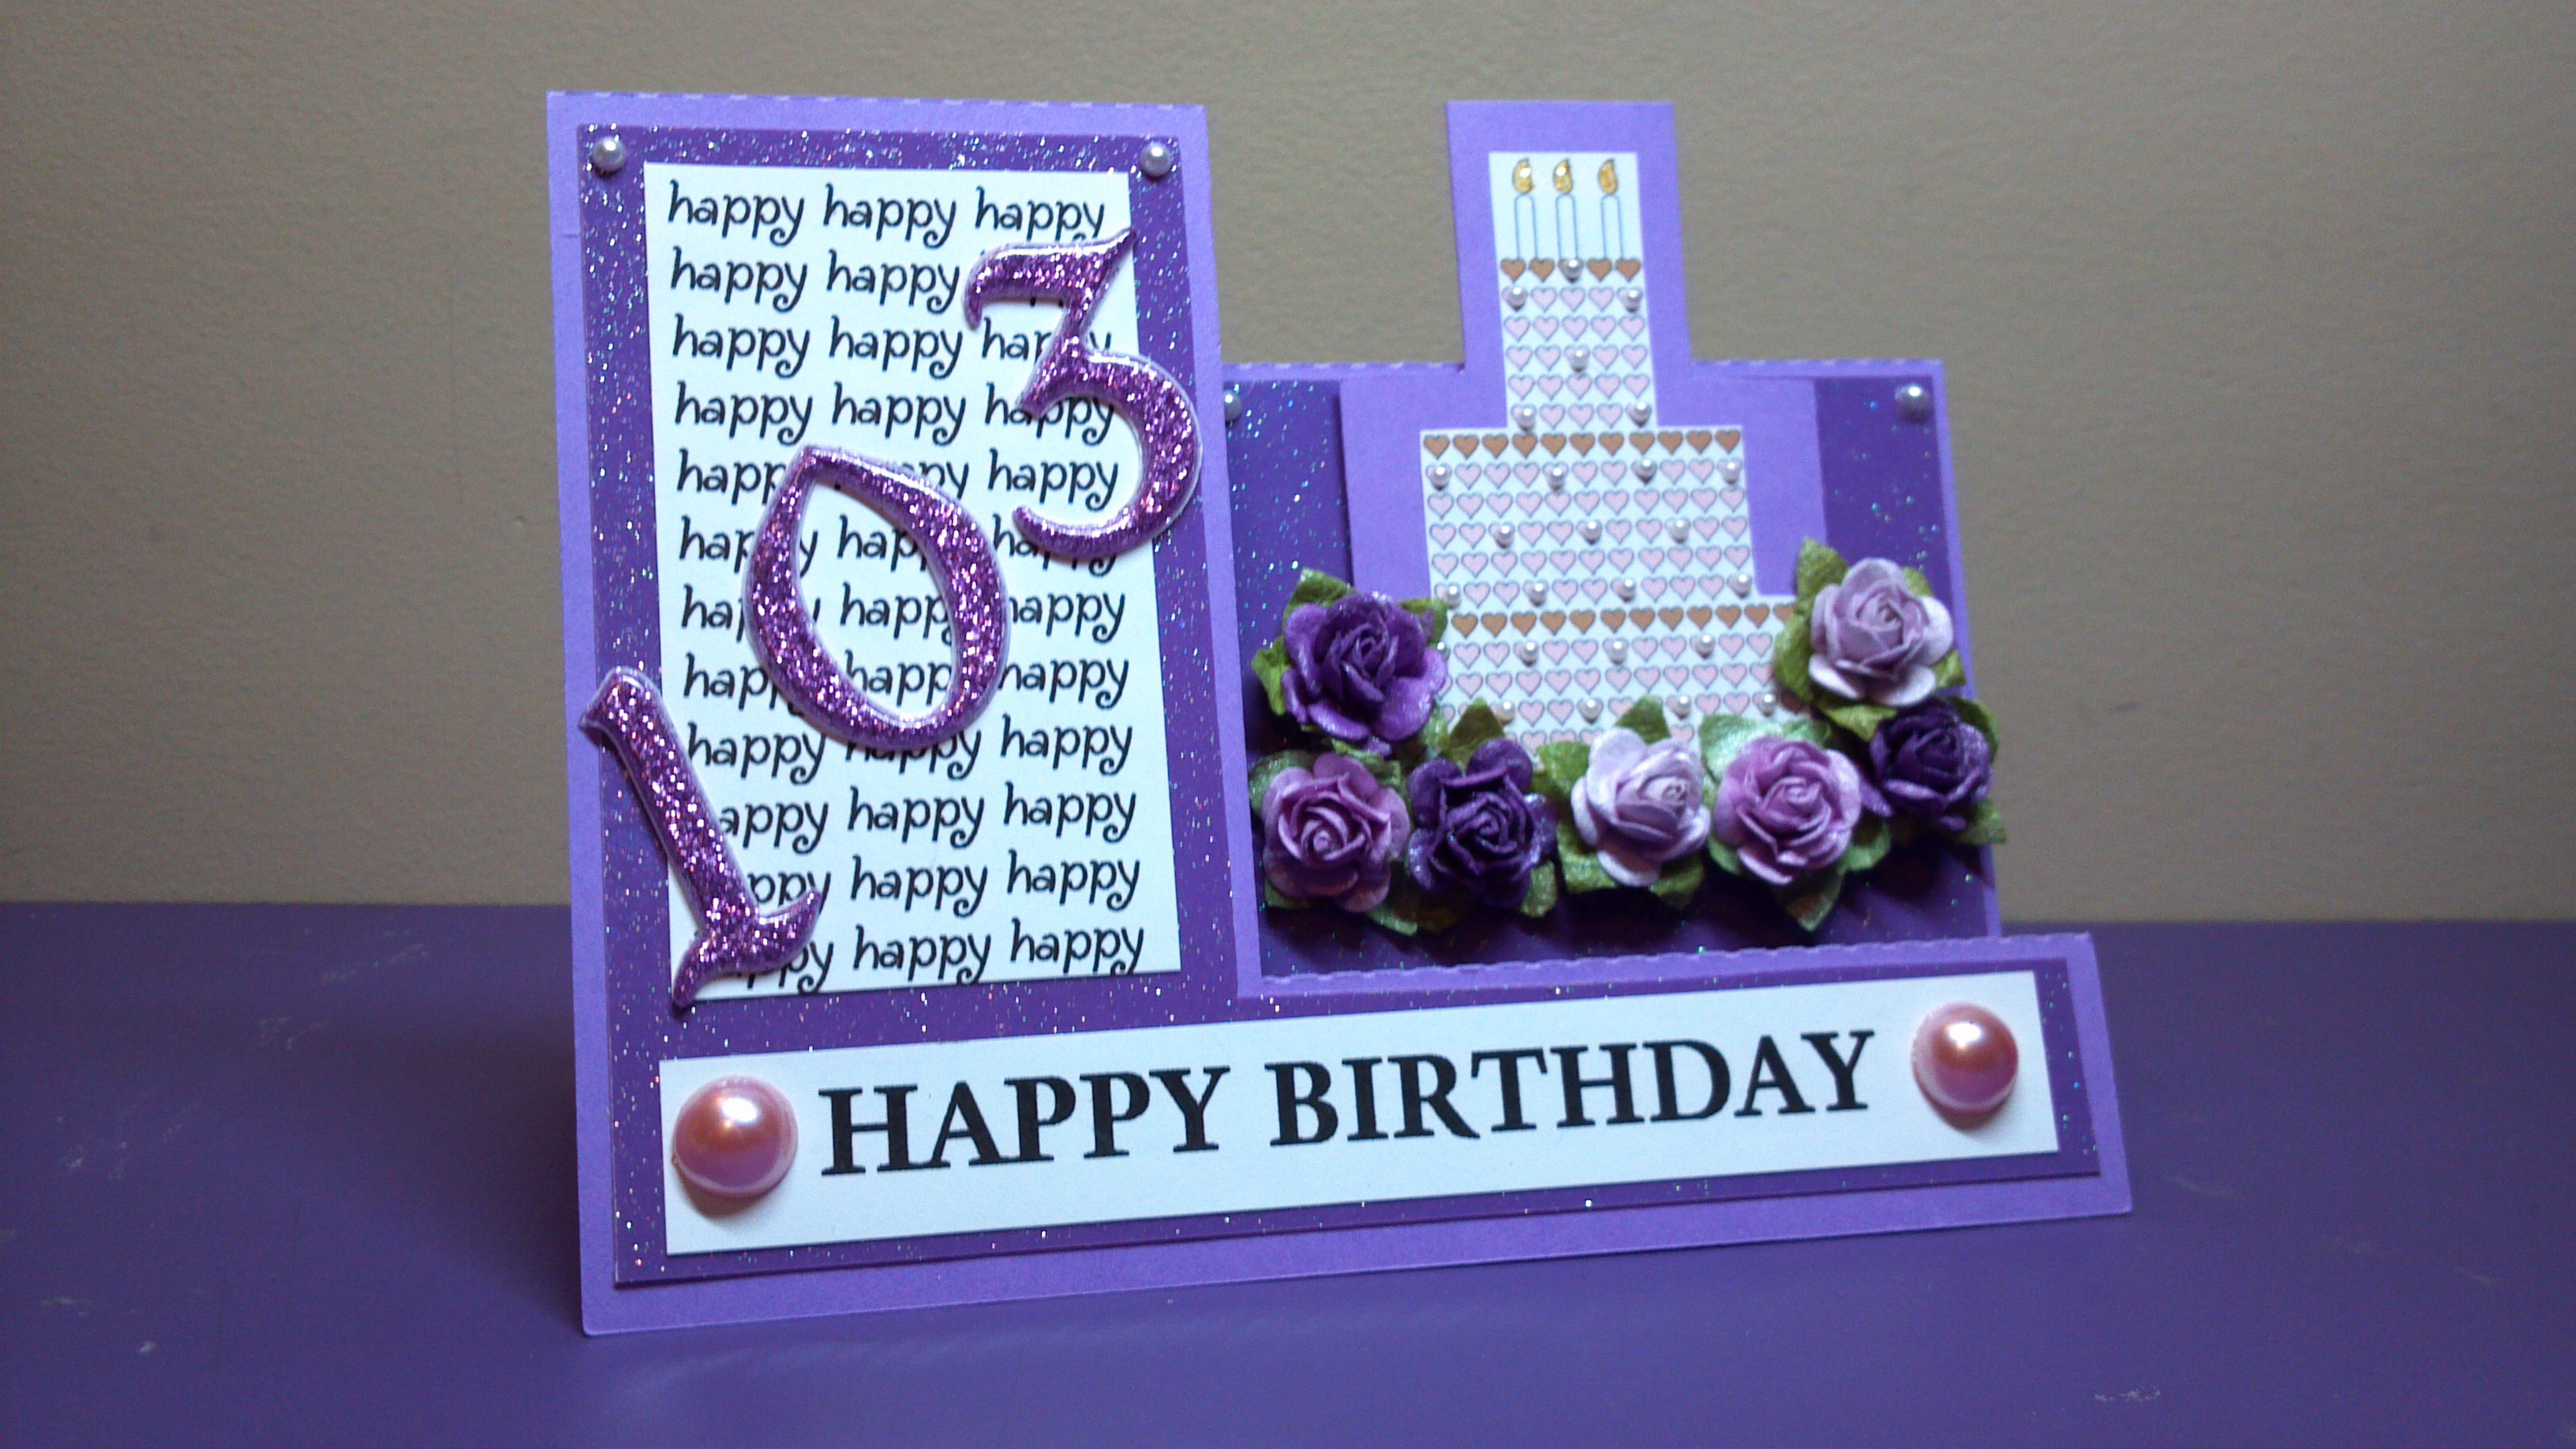
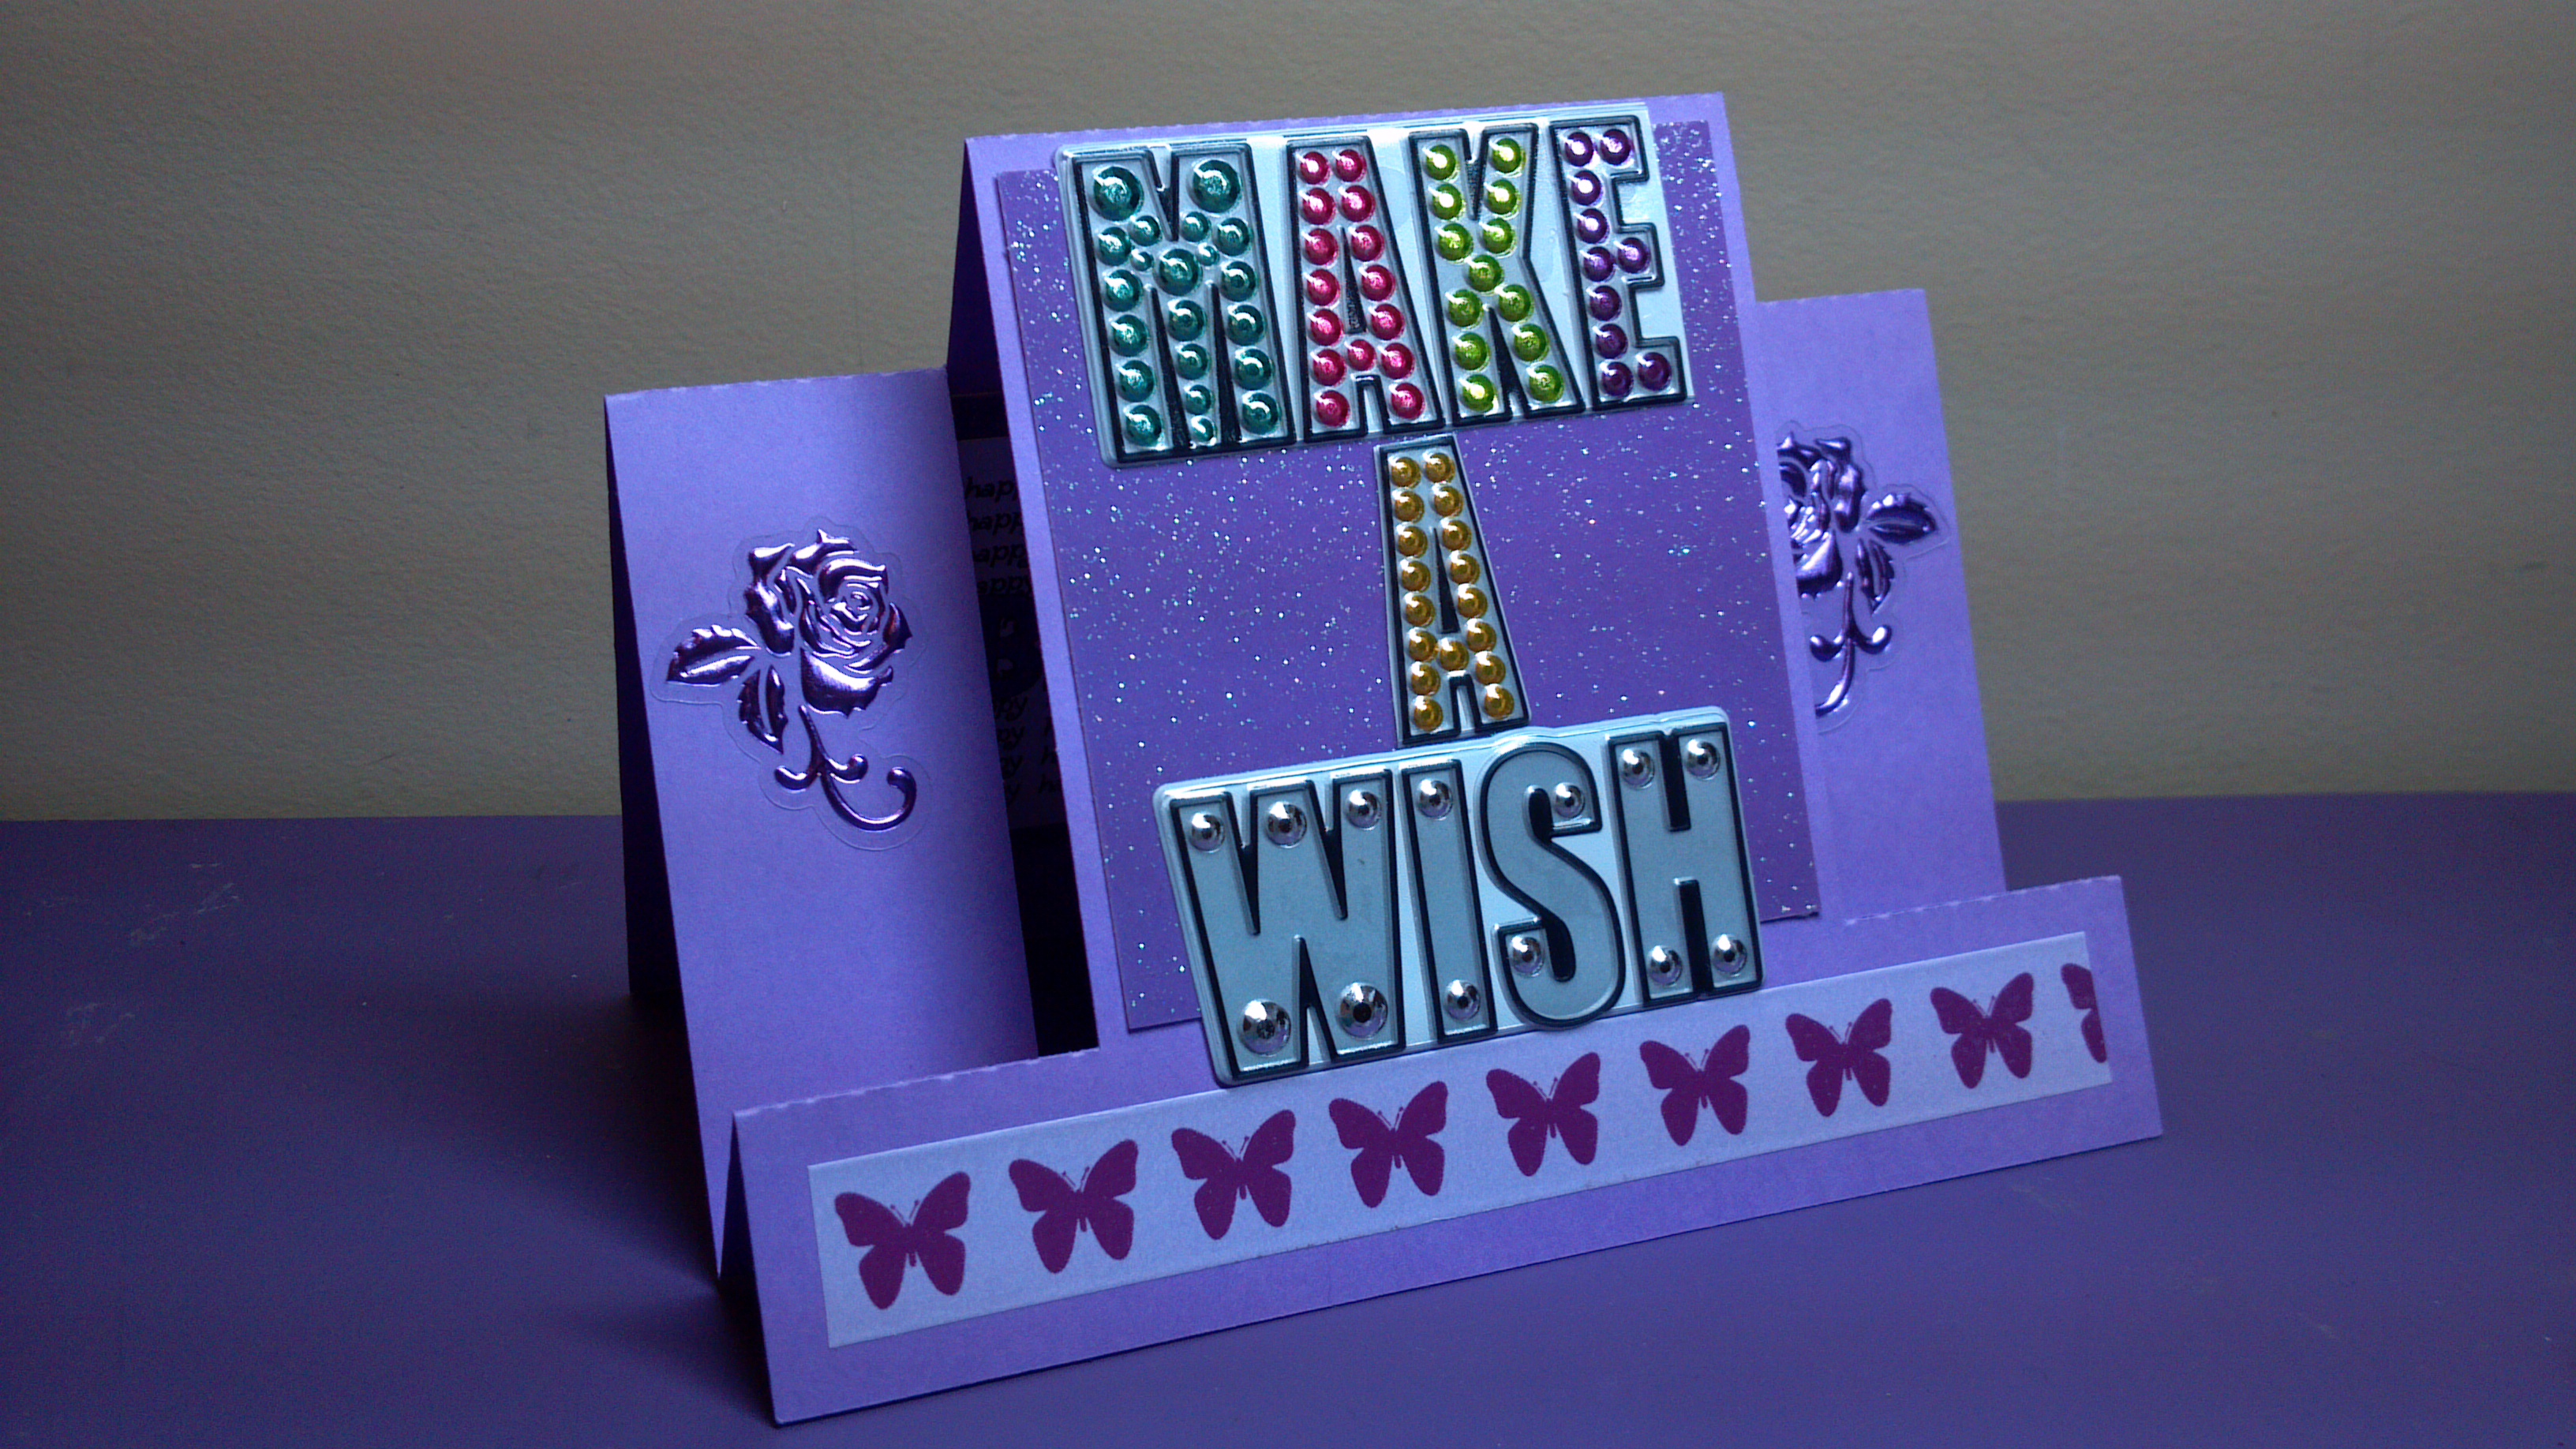
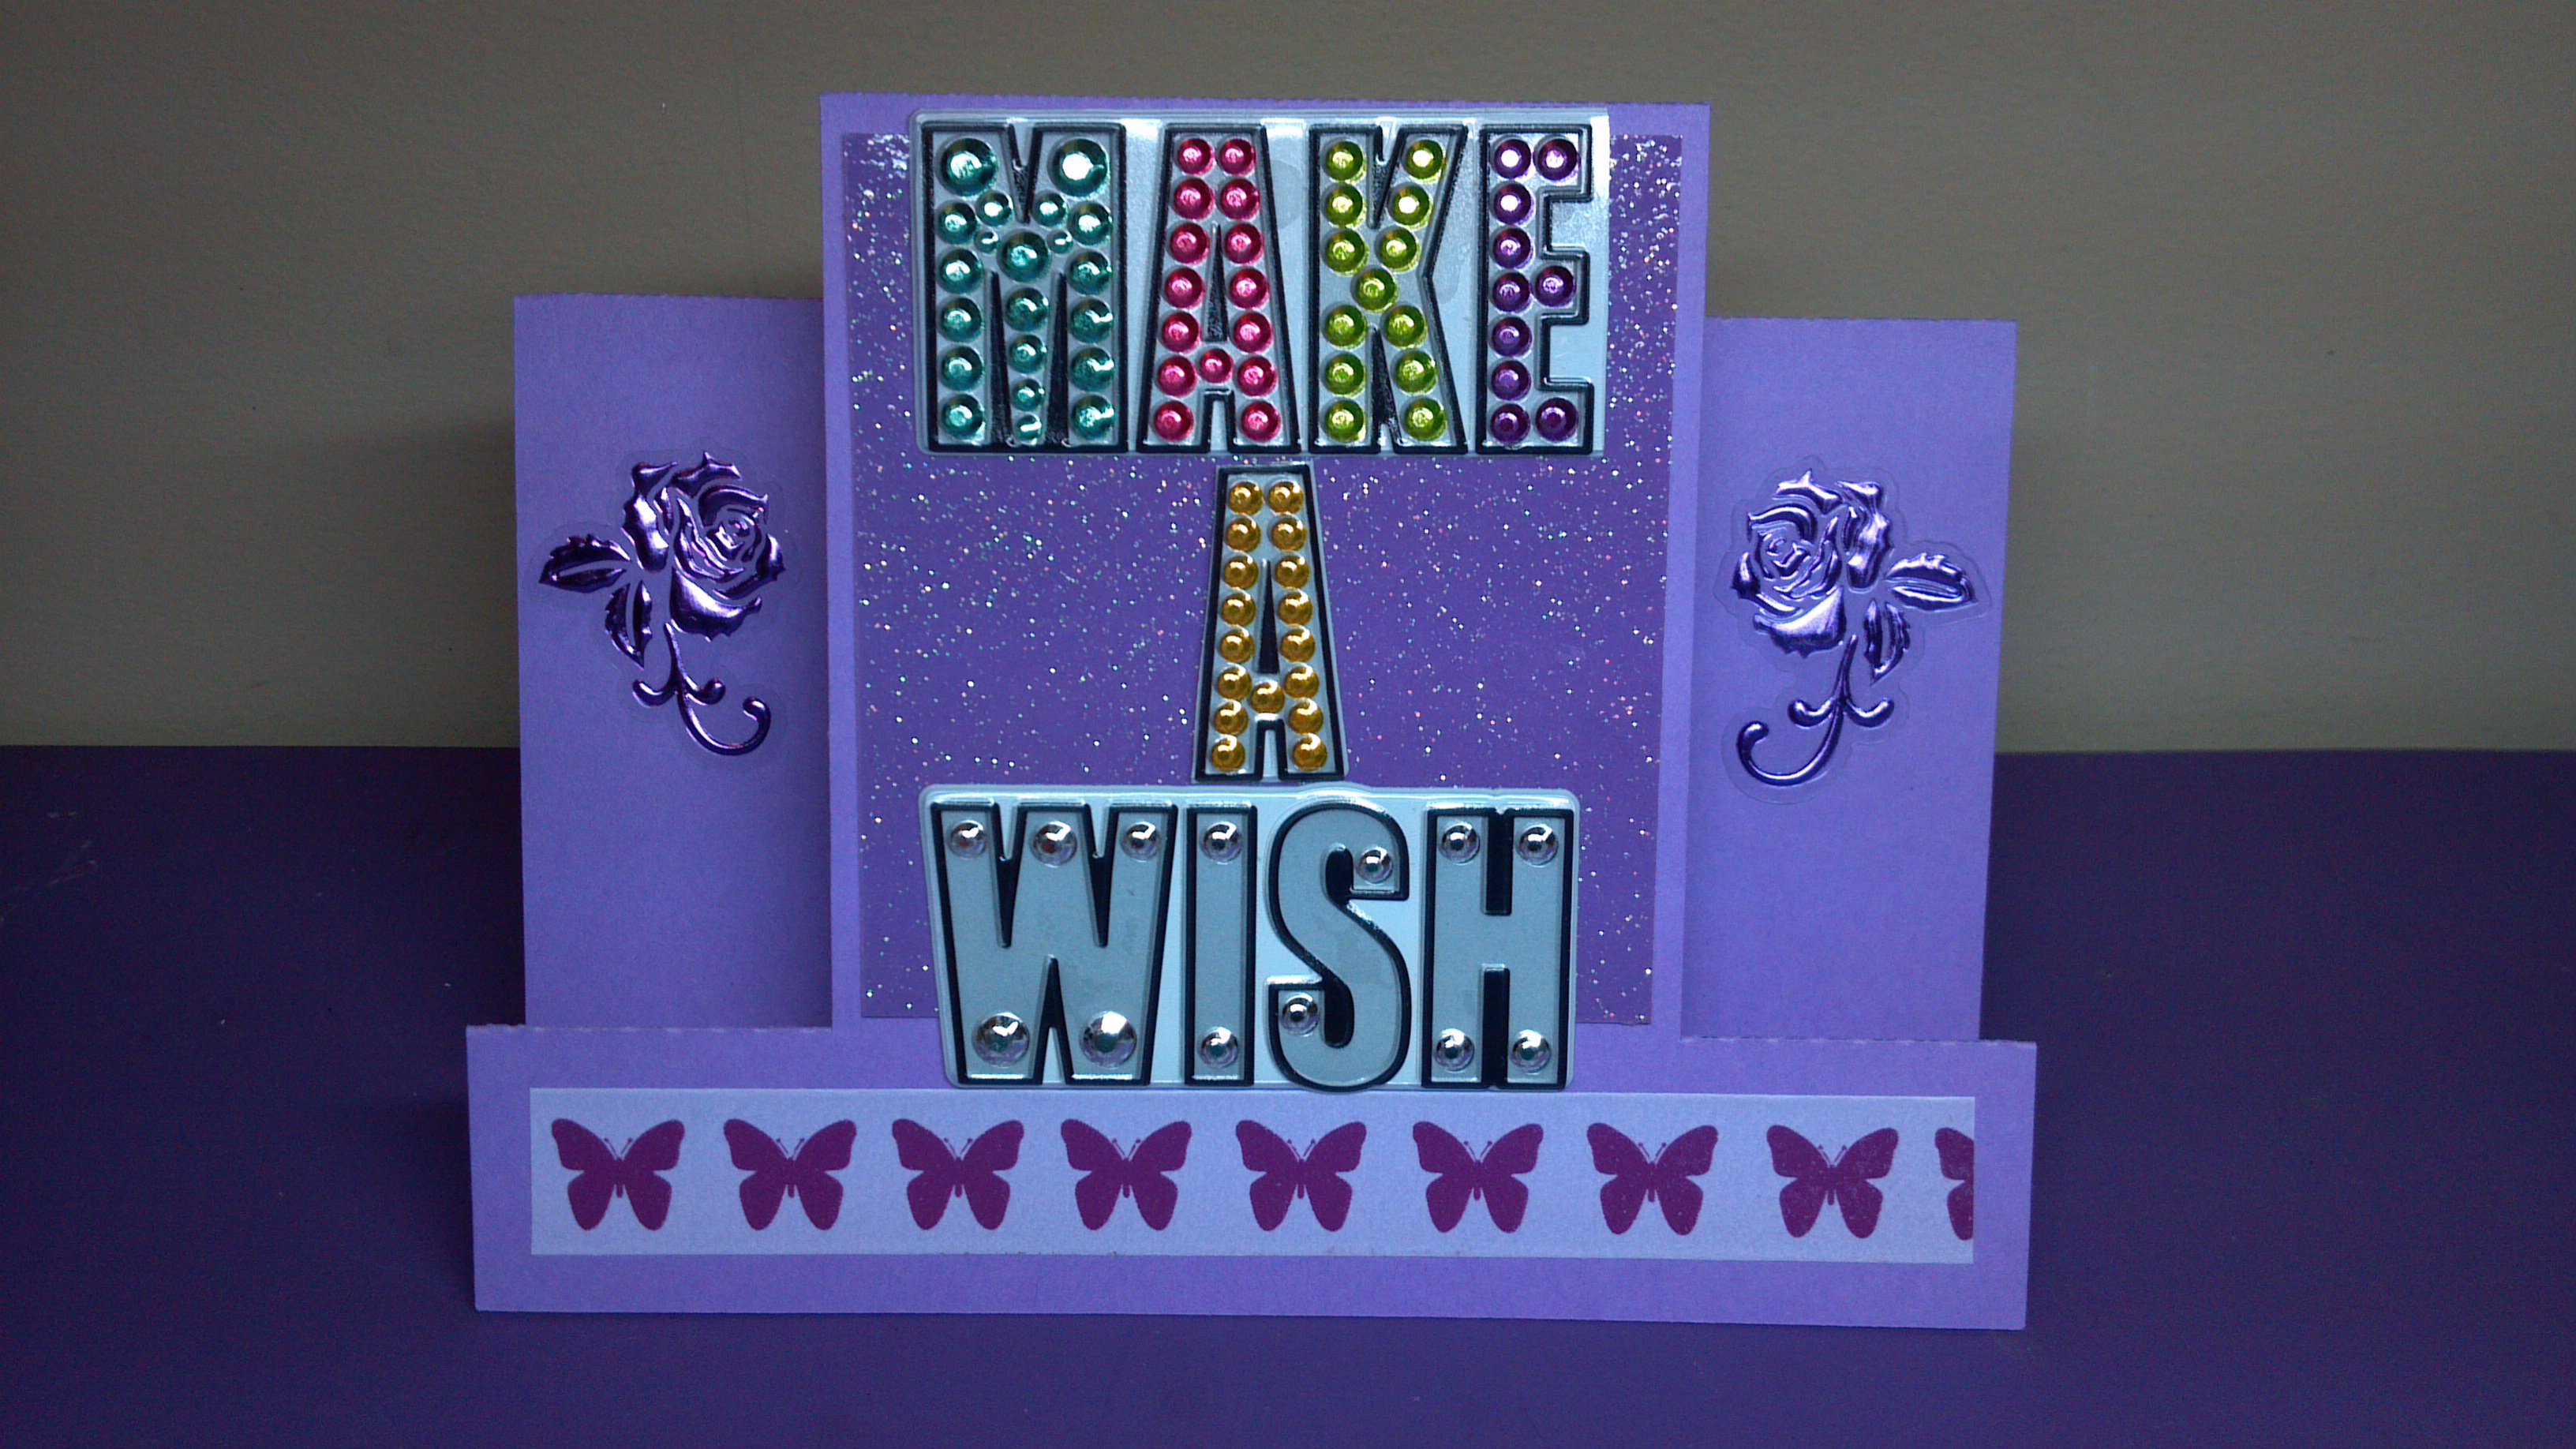
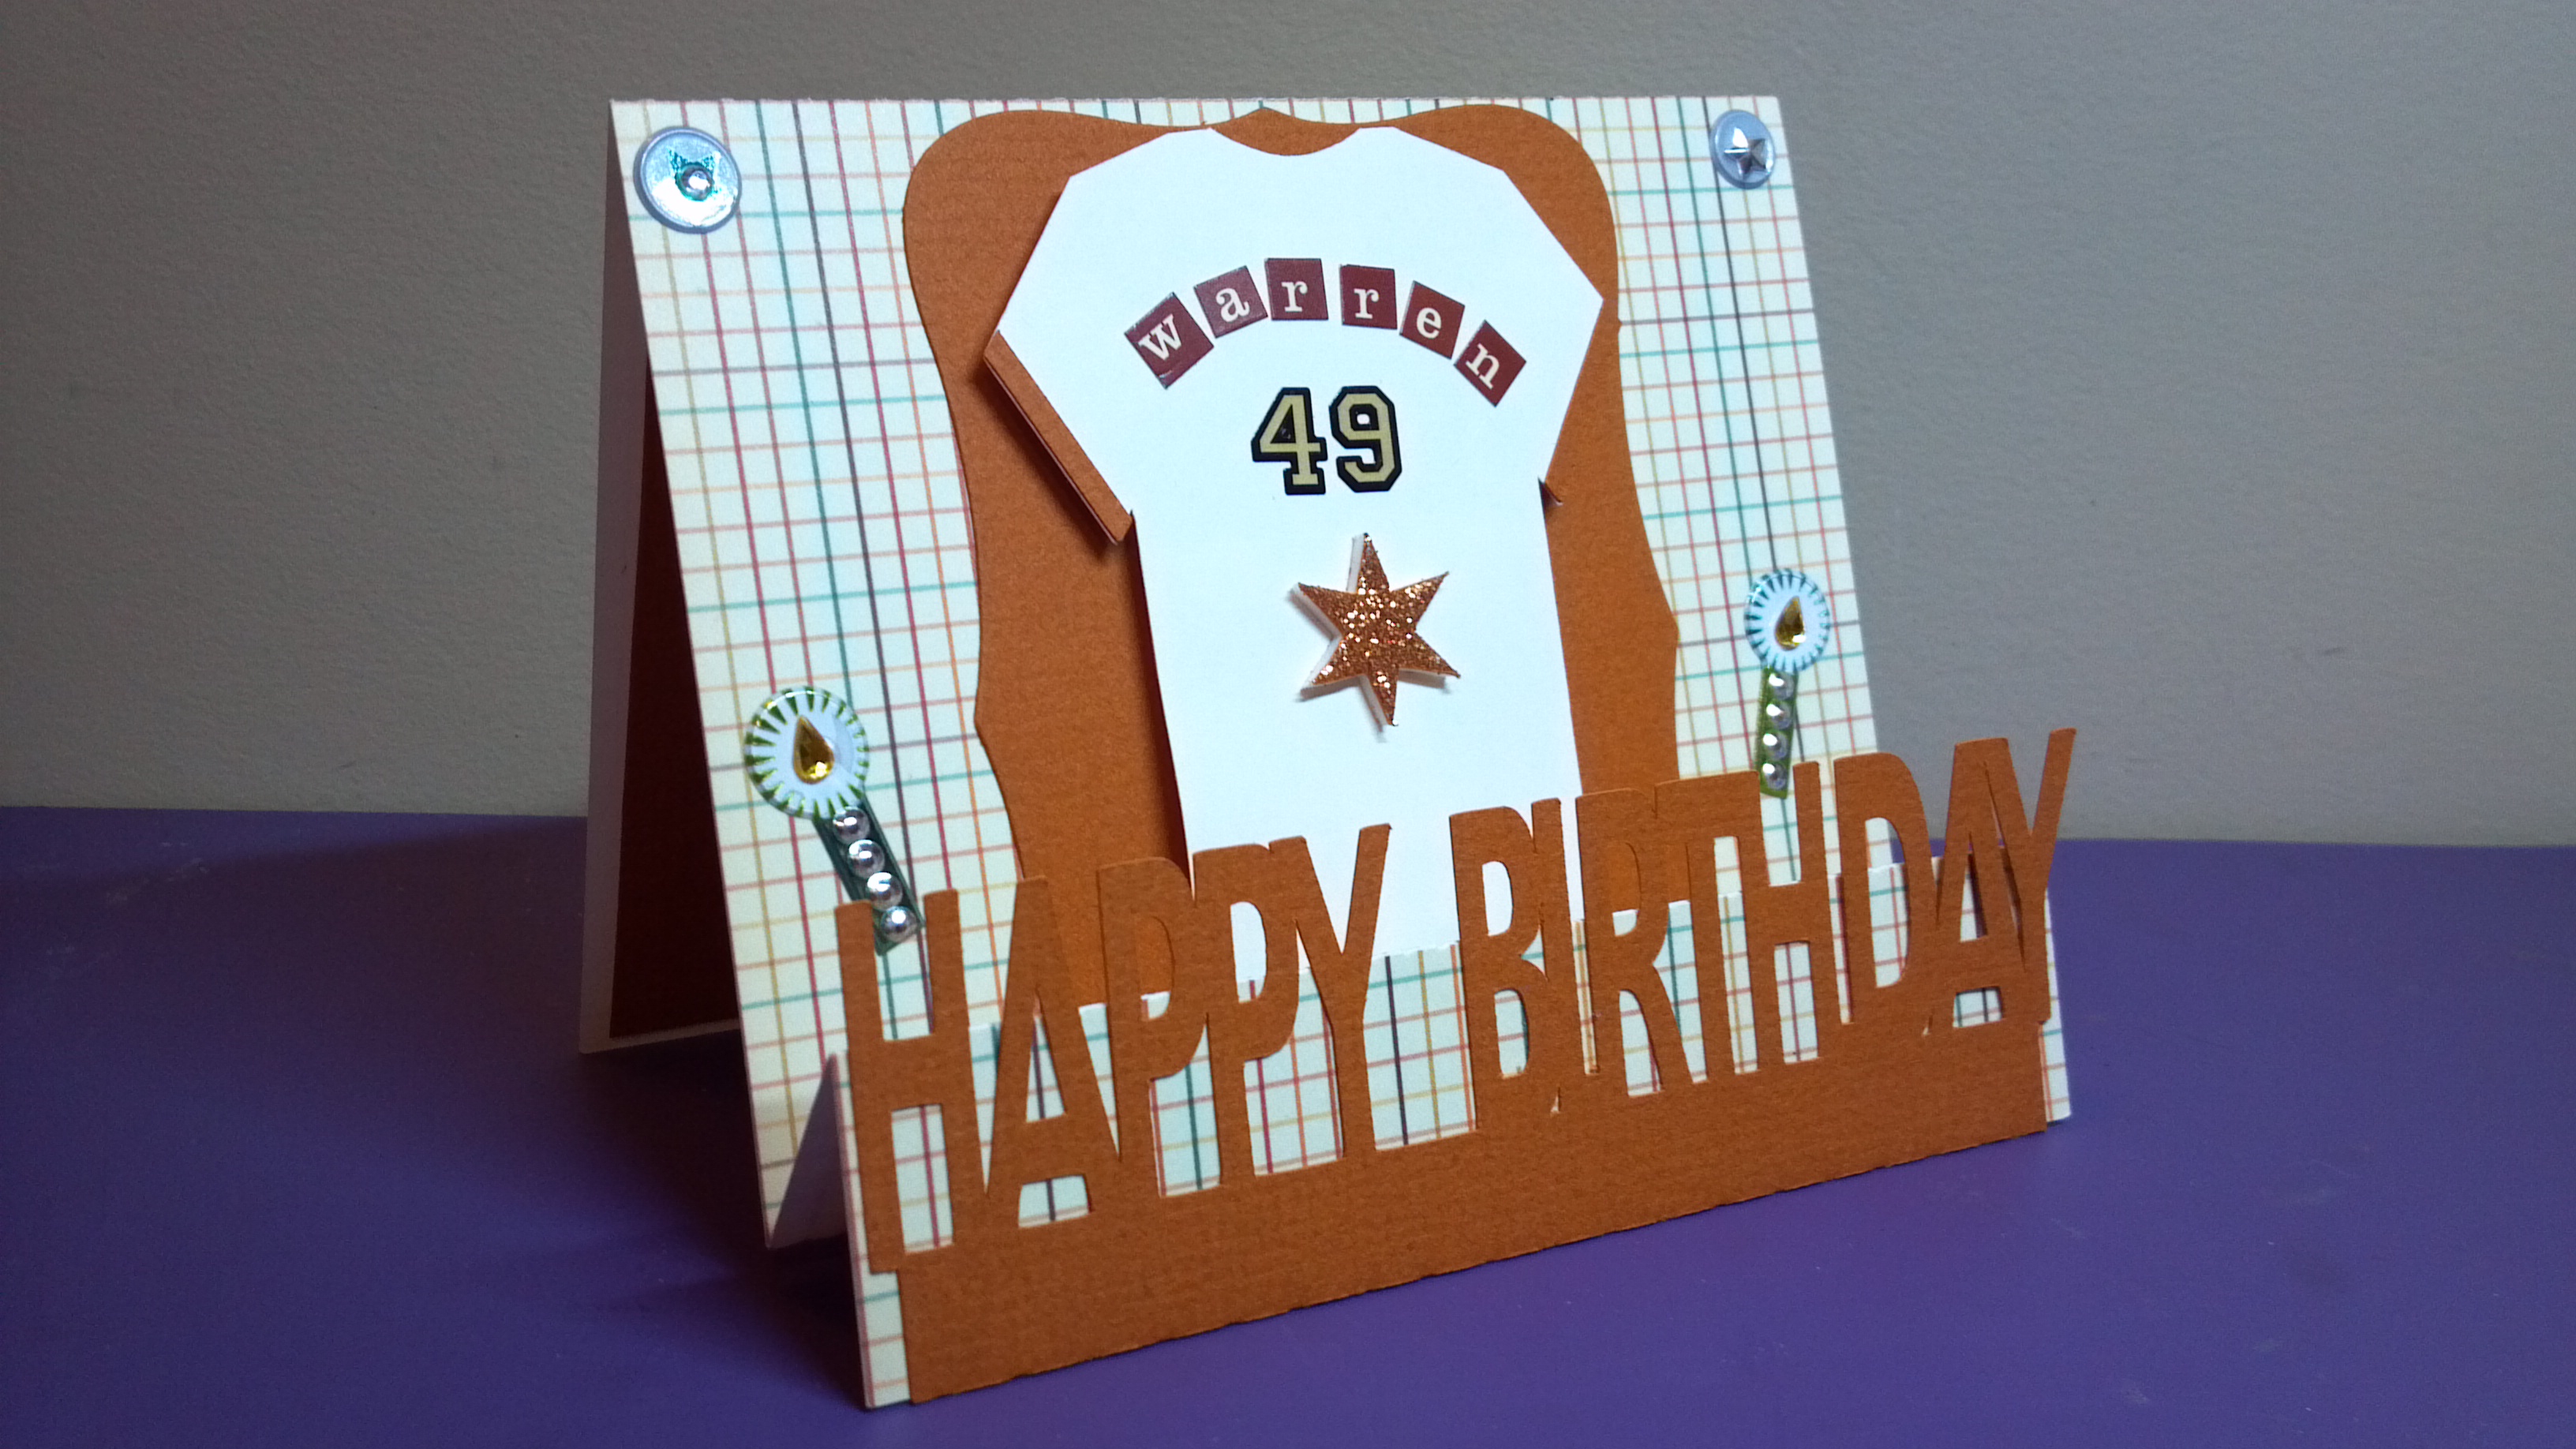
This week at The Cutting Cafe we got to use a very versatile file…The Step Card Template File. This file contains five different versions of the step card. The hard part was to choose which one to use. I couldn’t choose so I kept making them. I have three of the versions here for you.
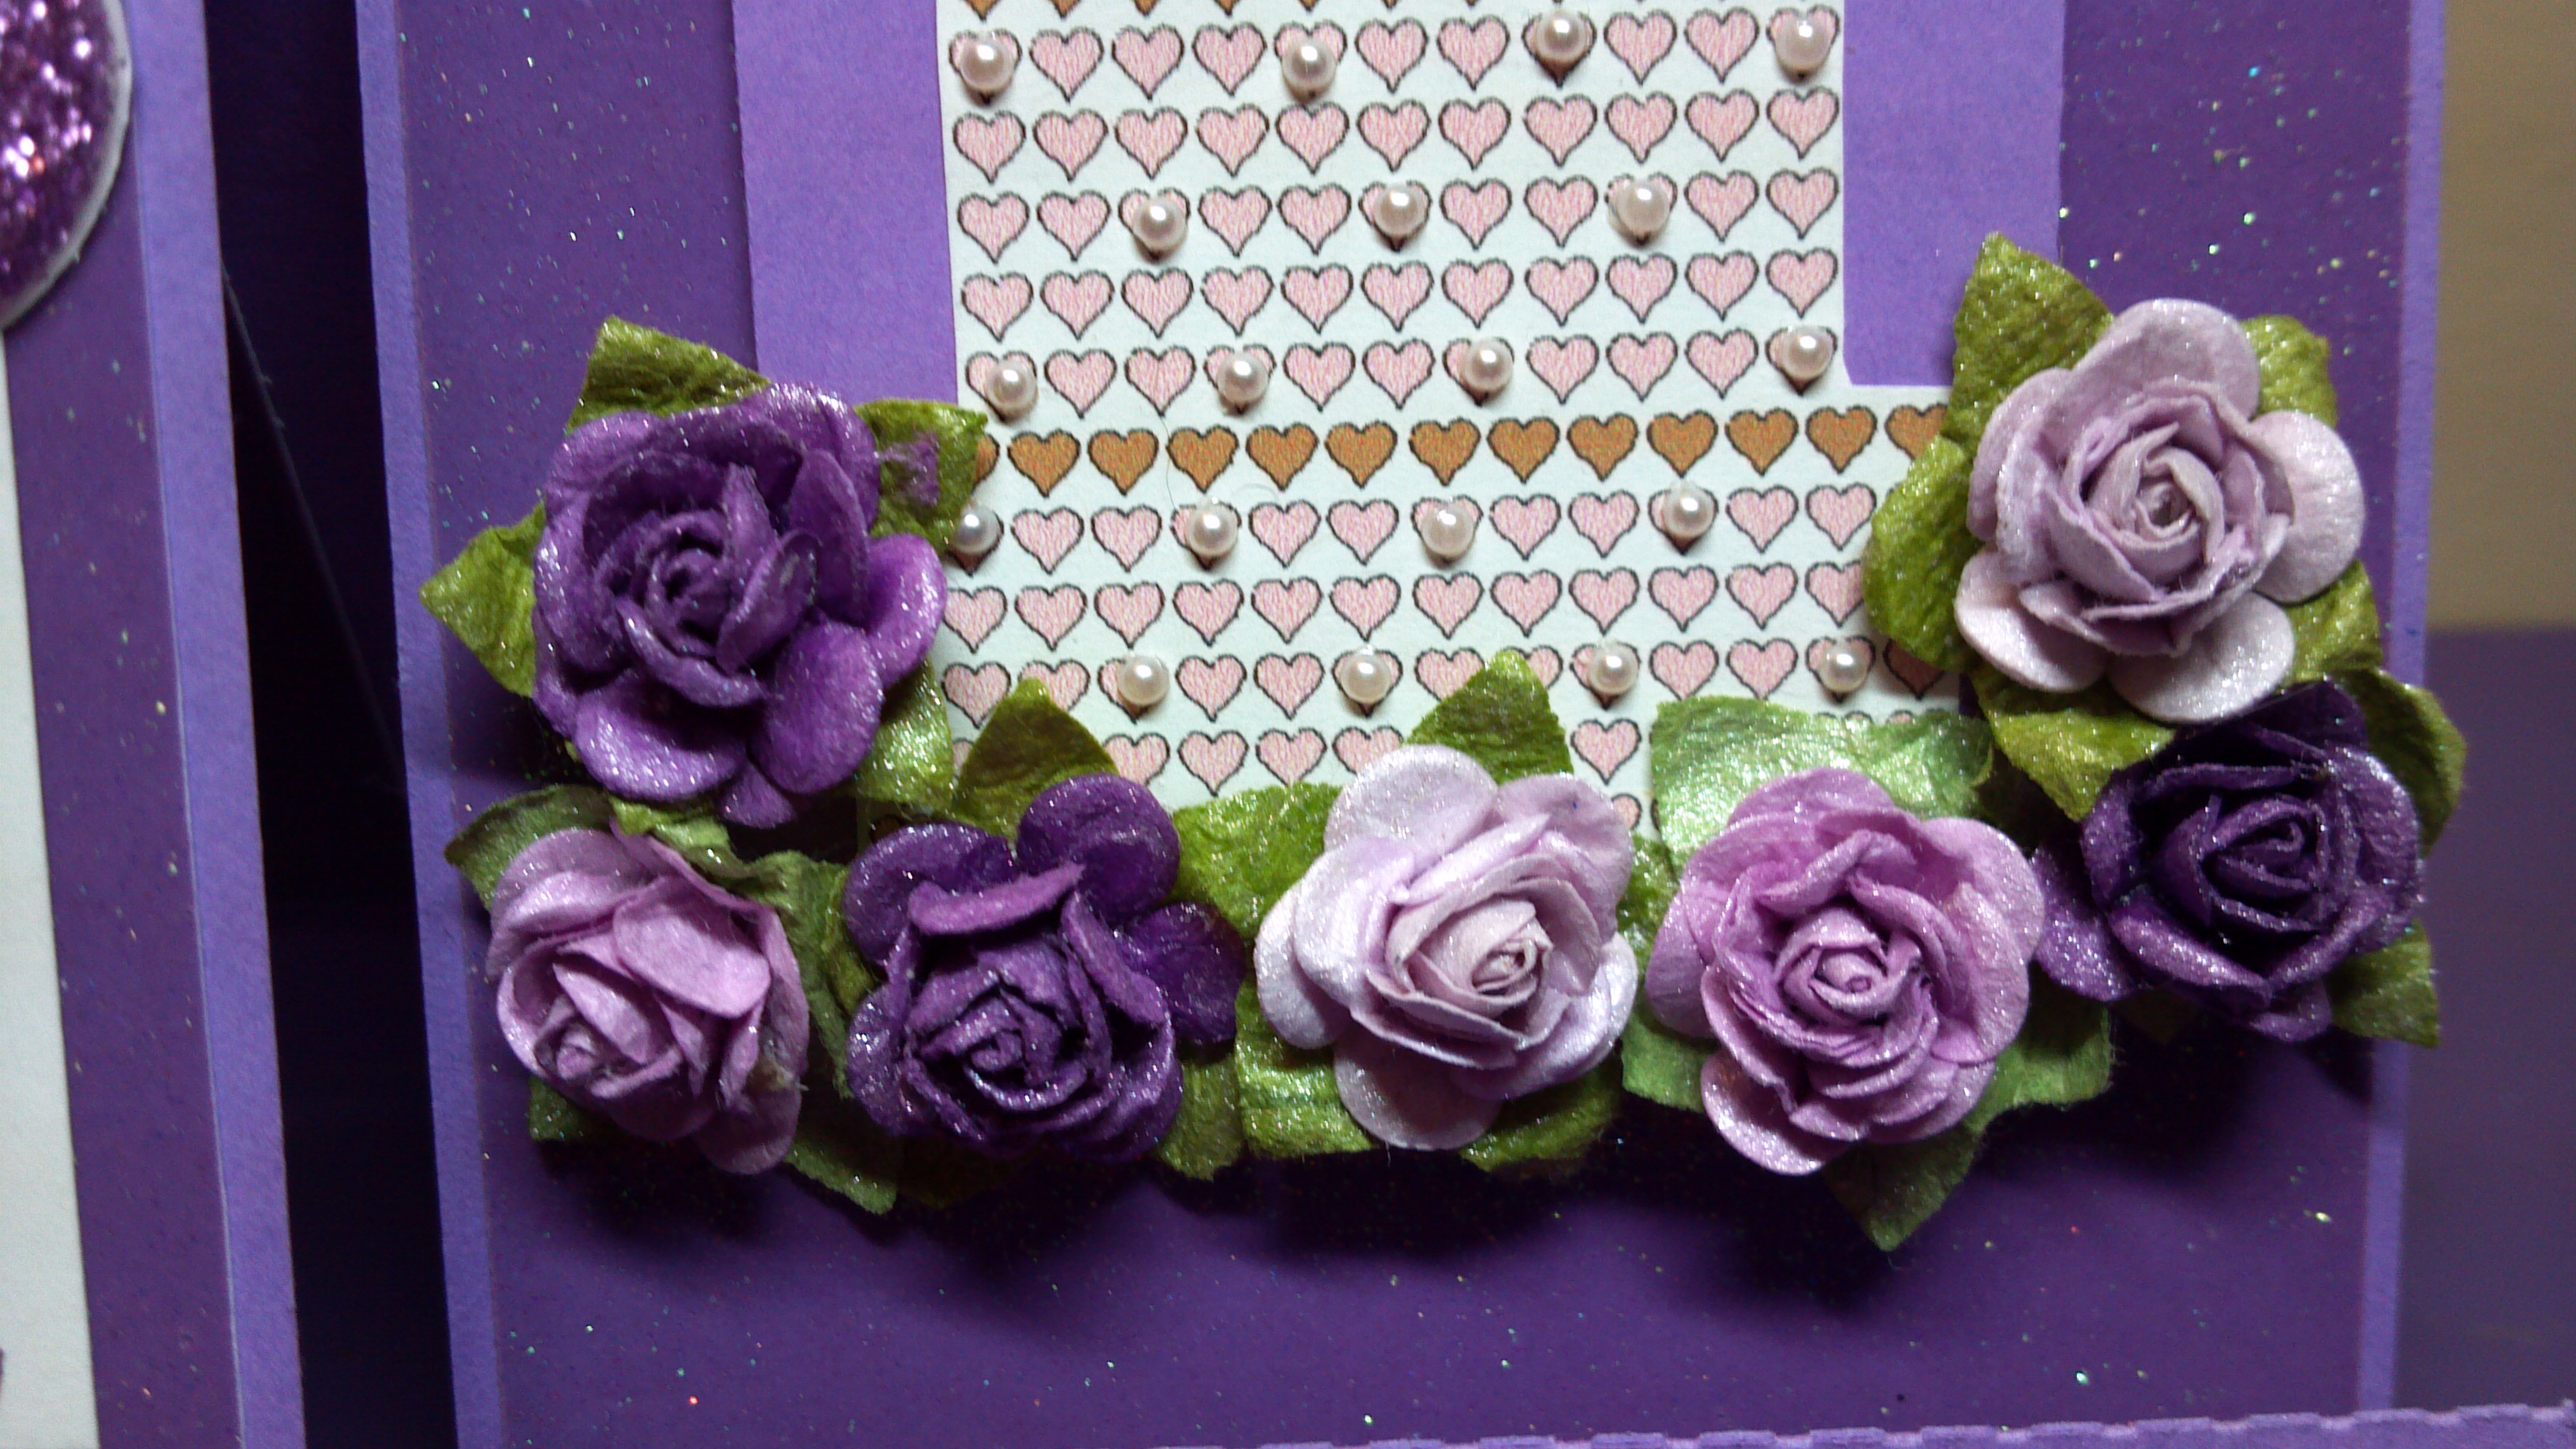
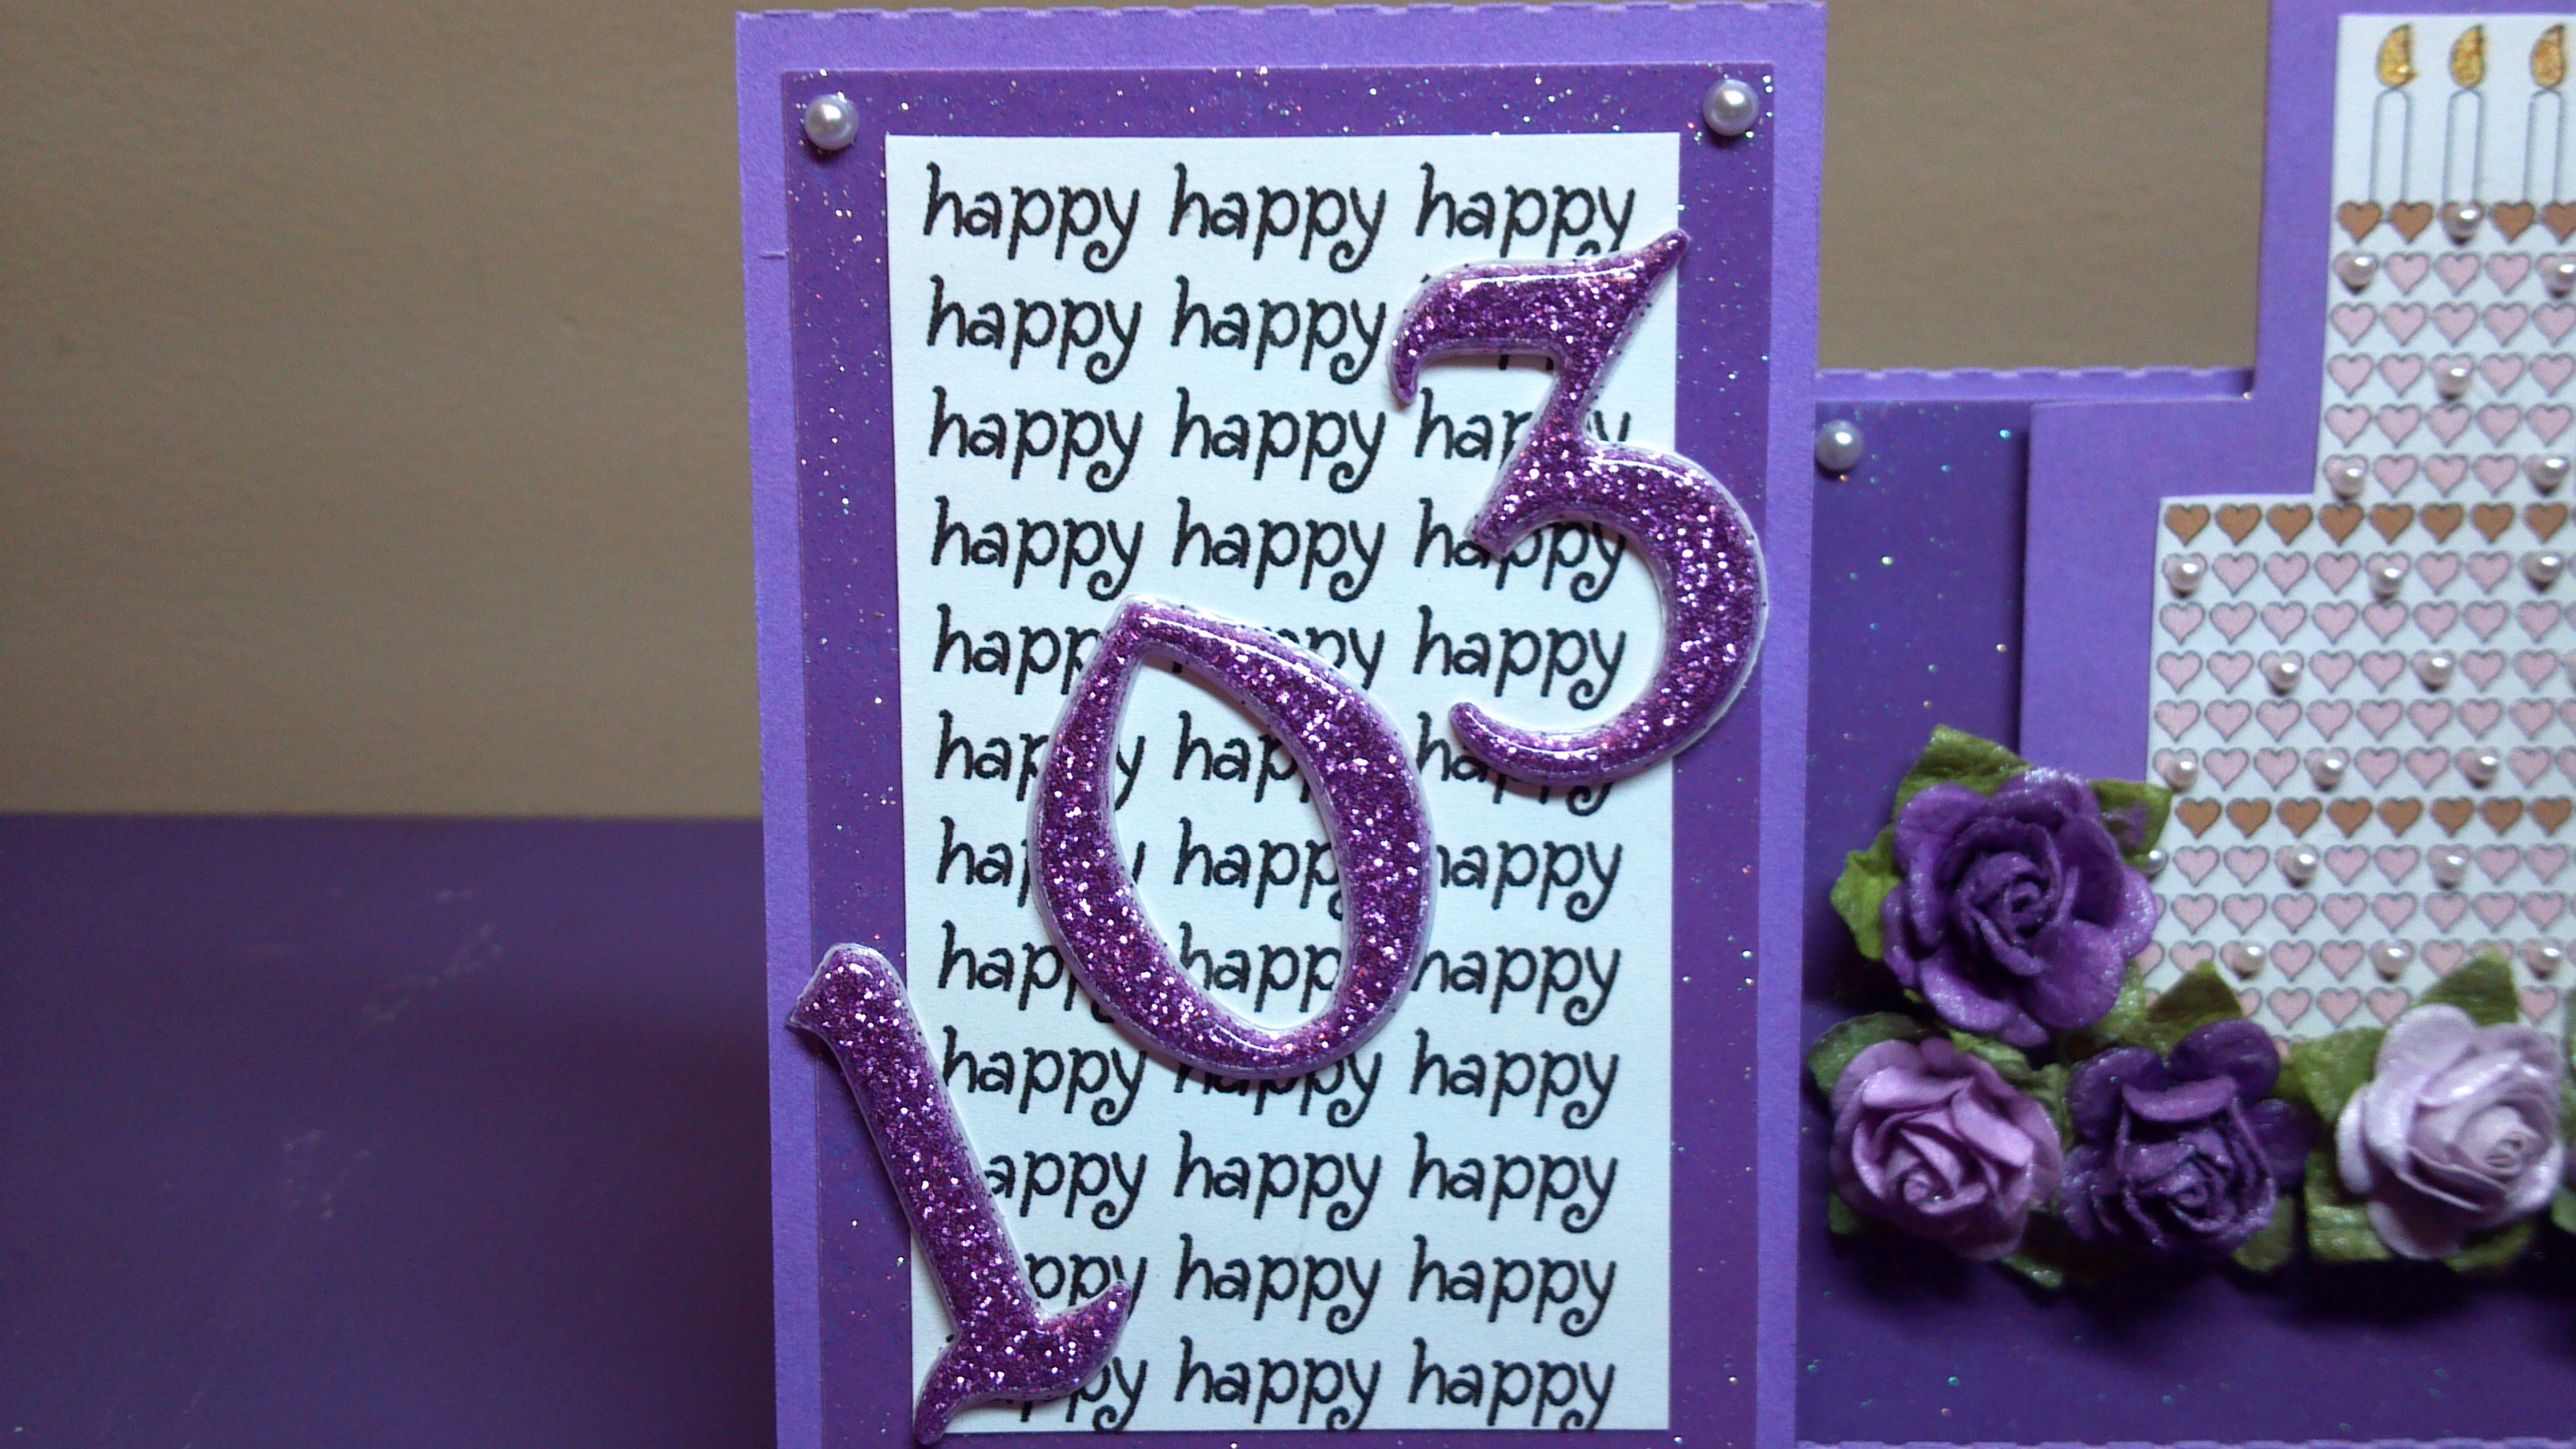
First up, is my grandmother’s 103rd birthday card. Yep, that’s right…she just turned 103! Praise God and Praise God for her long life! Here is her side step card…
103rd Birthday Card
Next I needed a birthday card for my friend Vicki so I used the center step version for hers…
Center Step Birthday Card
And finally I used the one step card for my boss’ birthday card…
One Step Birthday Card
I love step cards as they are so fun and versatile! Make sure you stop by The Cutting Cafe Blog to see all the design team members’ projects on Wednesday afternoon. Leave a comment and you can win three files of your choice next week! Thanks for stopping by. Below is my video and below that is a list of additions files from The Cutting Cafe I used with each card.
This week we used the new Pizza Box Template file for our projects for The Cutting Cafe and it is so cute! It can be cut out plain or with a window and it comes with multiple inserts to divide the box. The file makes a great small gift box or you can do something different like I did…
Happy Birthday Pop Up
I added a happy birthday pop up to the inside and there you have it…a birthday card. I have been into doing non-traditional cards lately so this one fits right in!
For more info on my project, see the video below. Also, visit The Cutting Cafe Blog to see all the other design team member projects. Make sure to leave a comment so you can be in the drawing to win three free files.
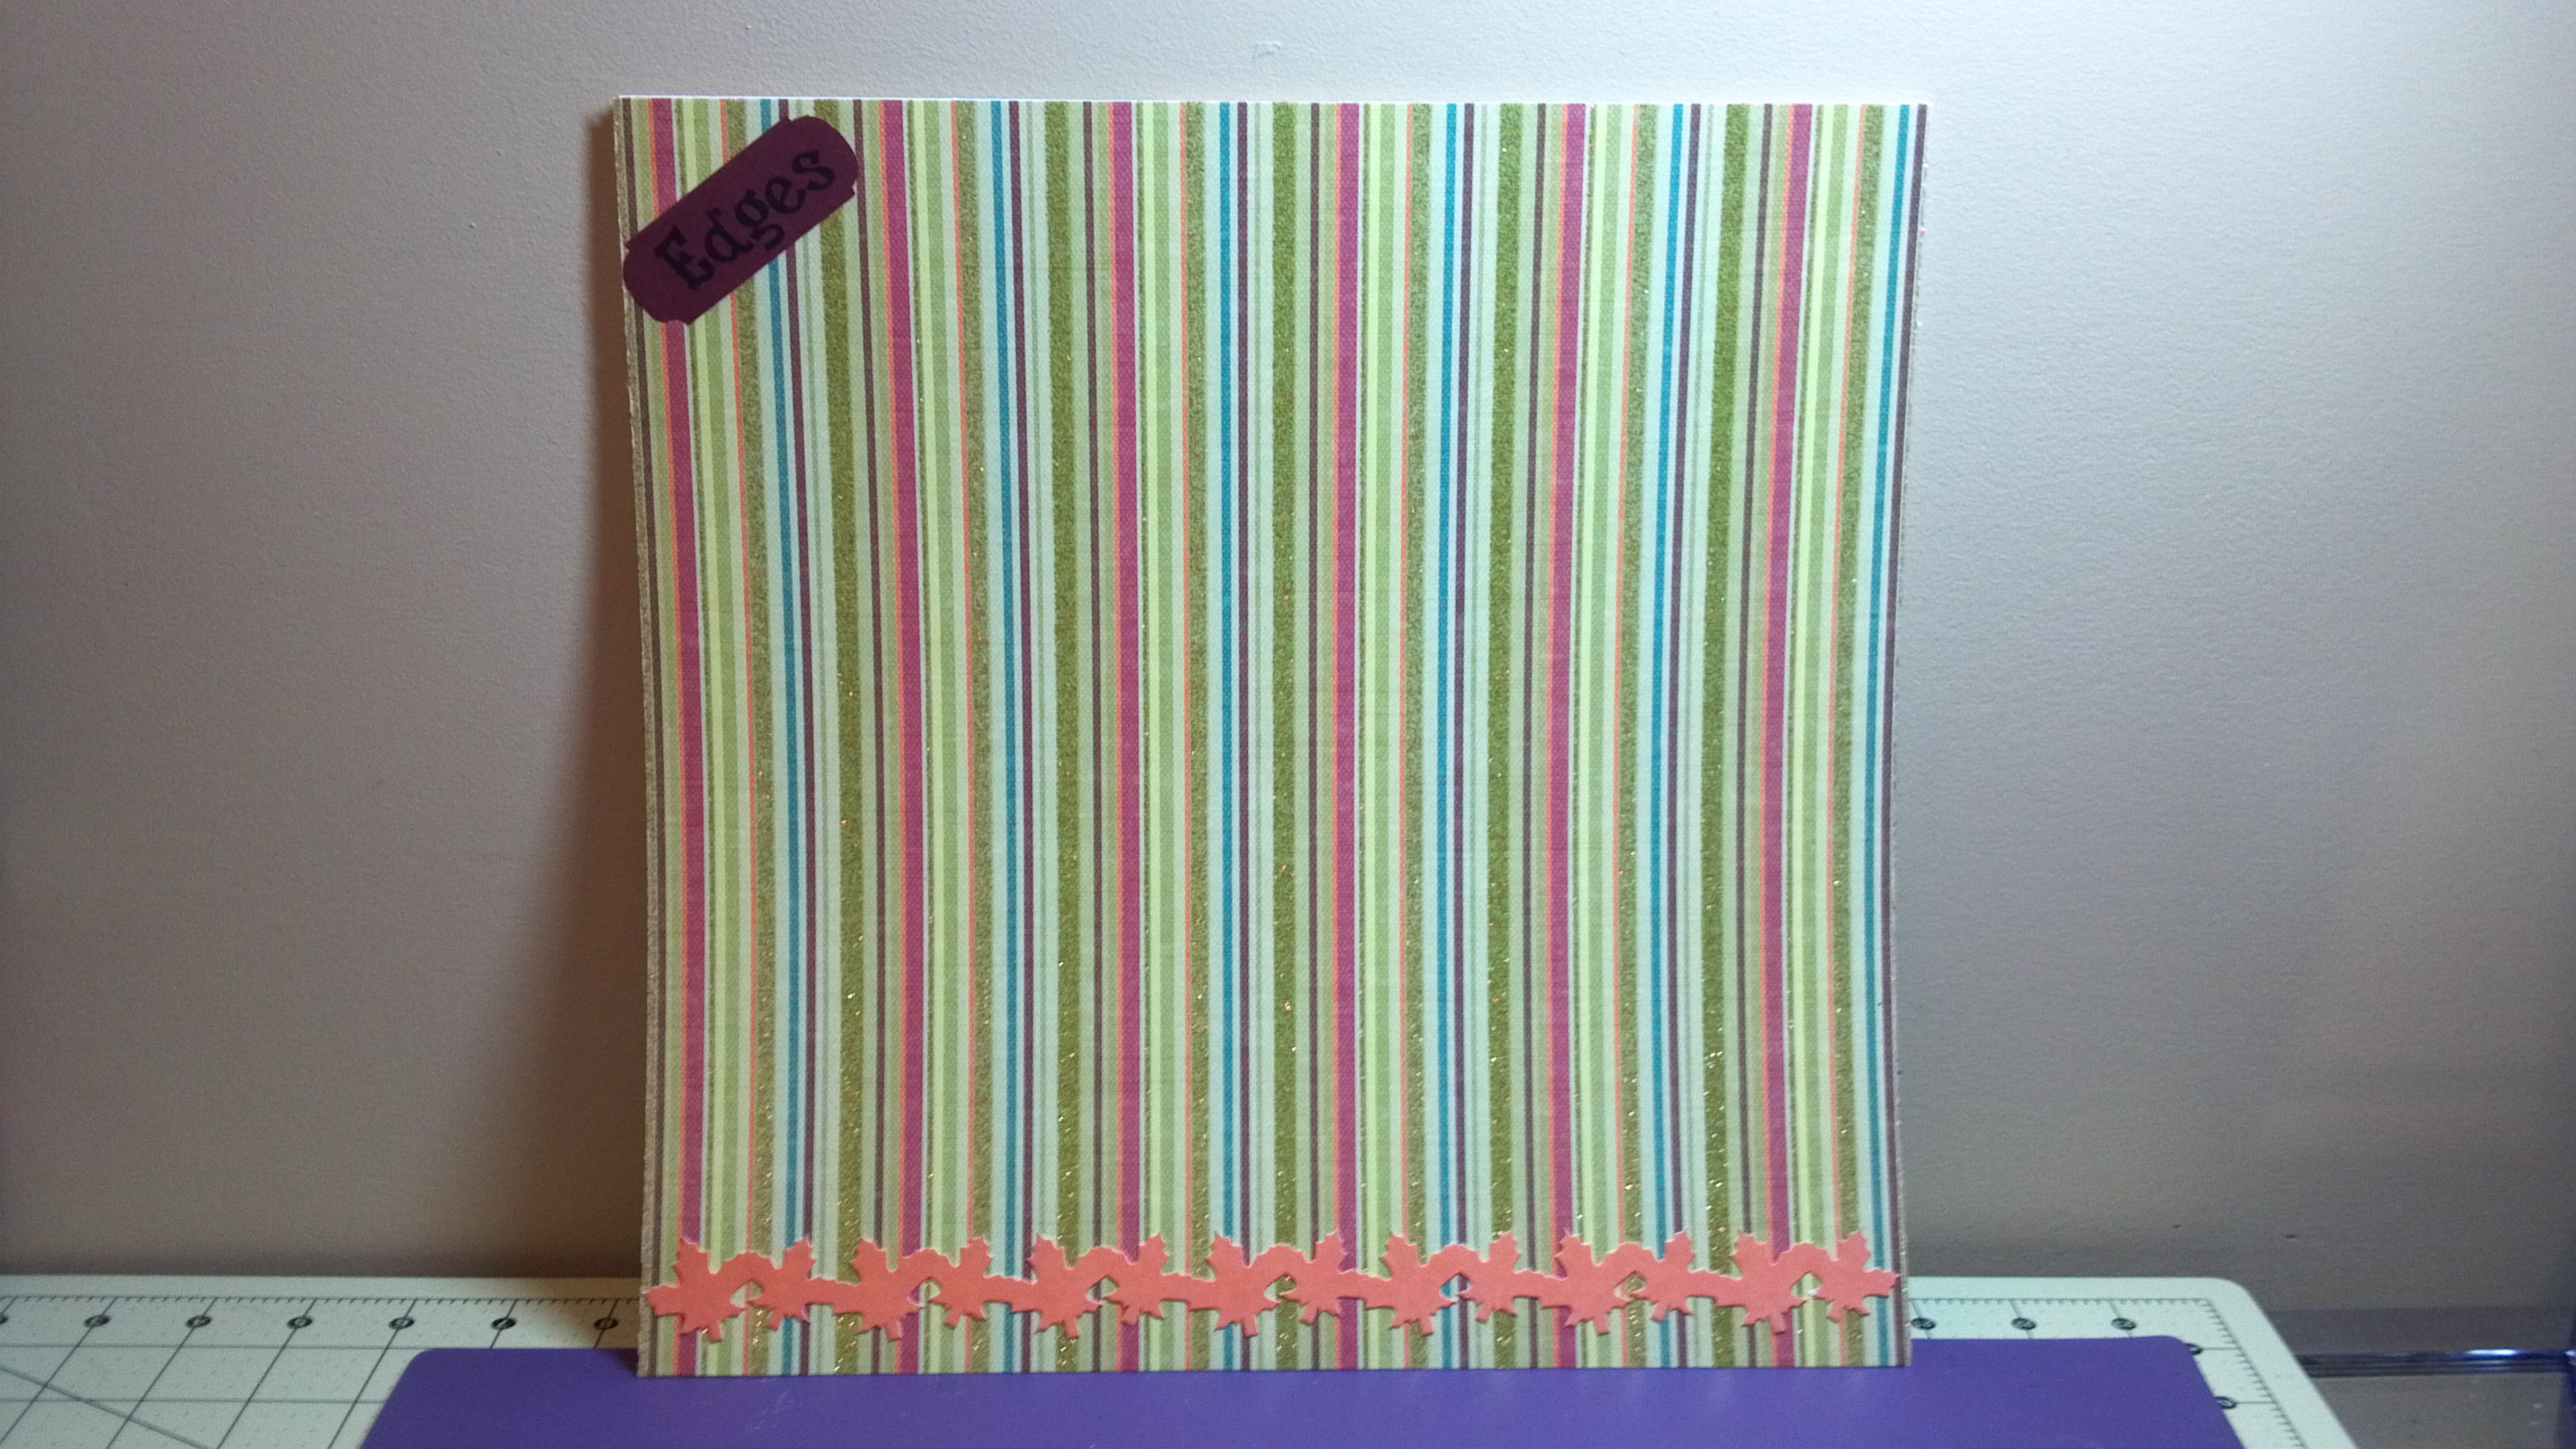
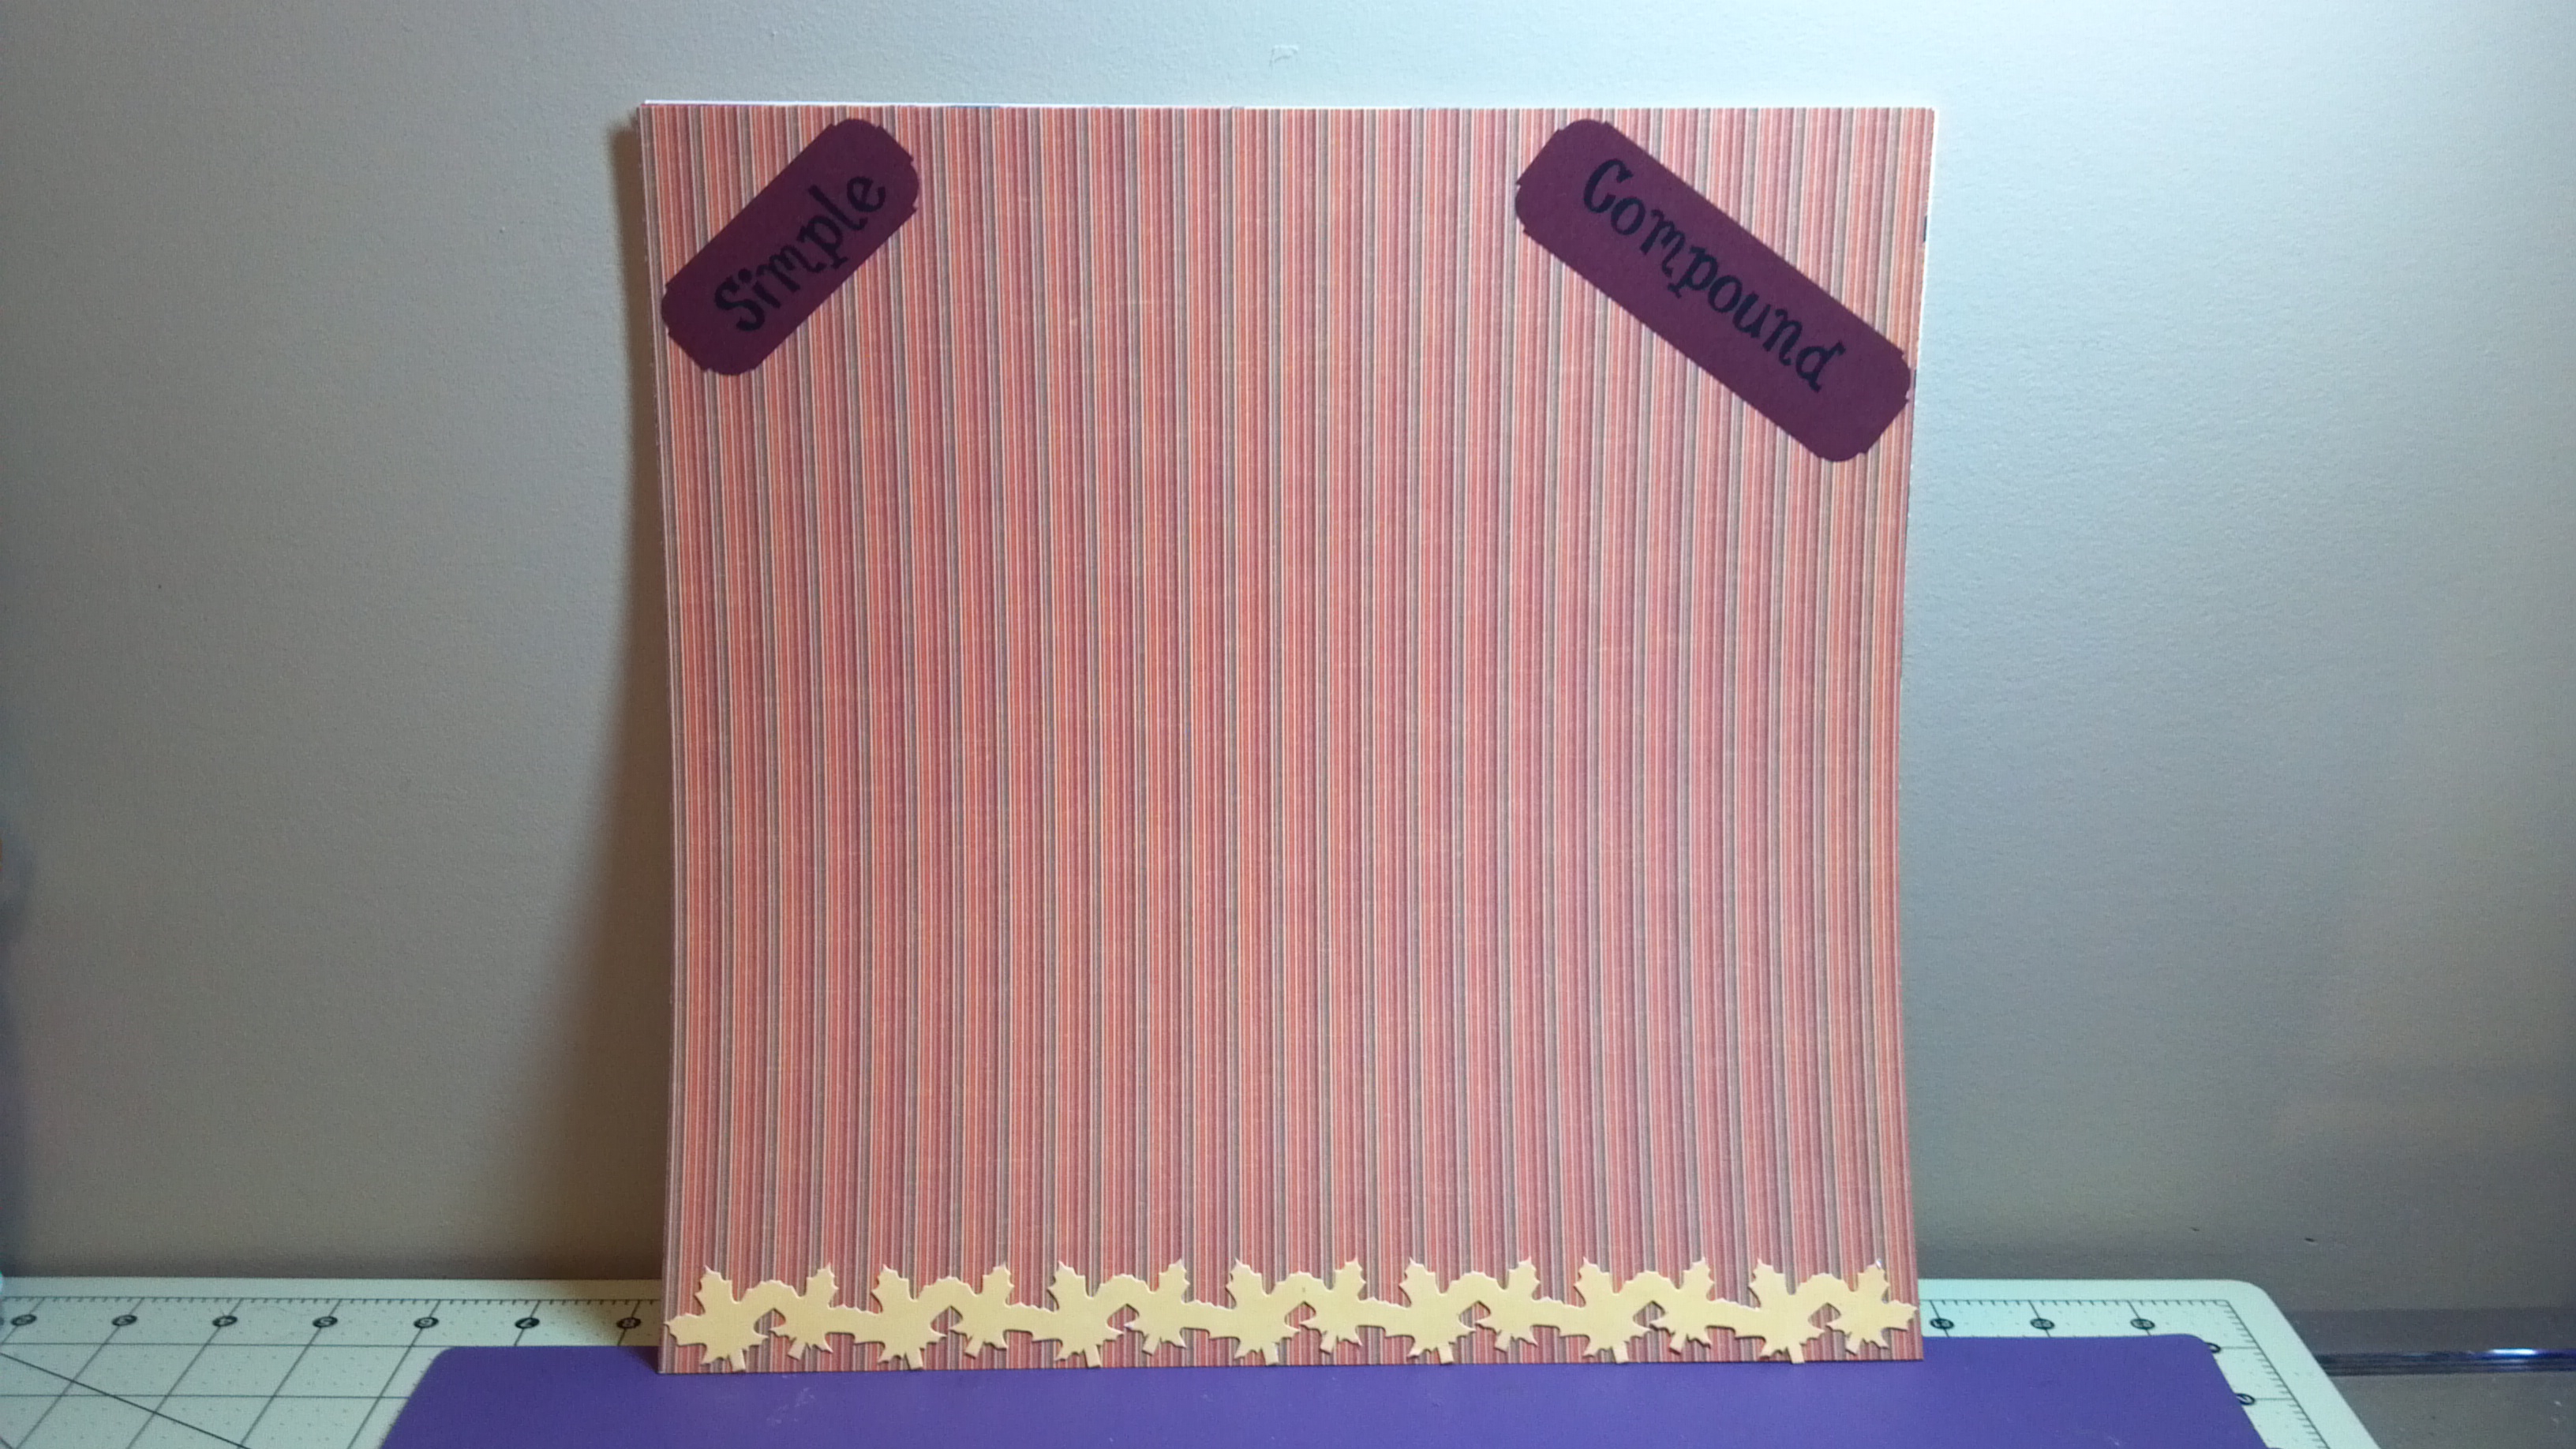
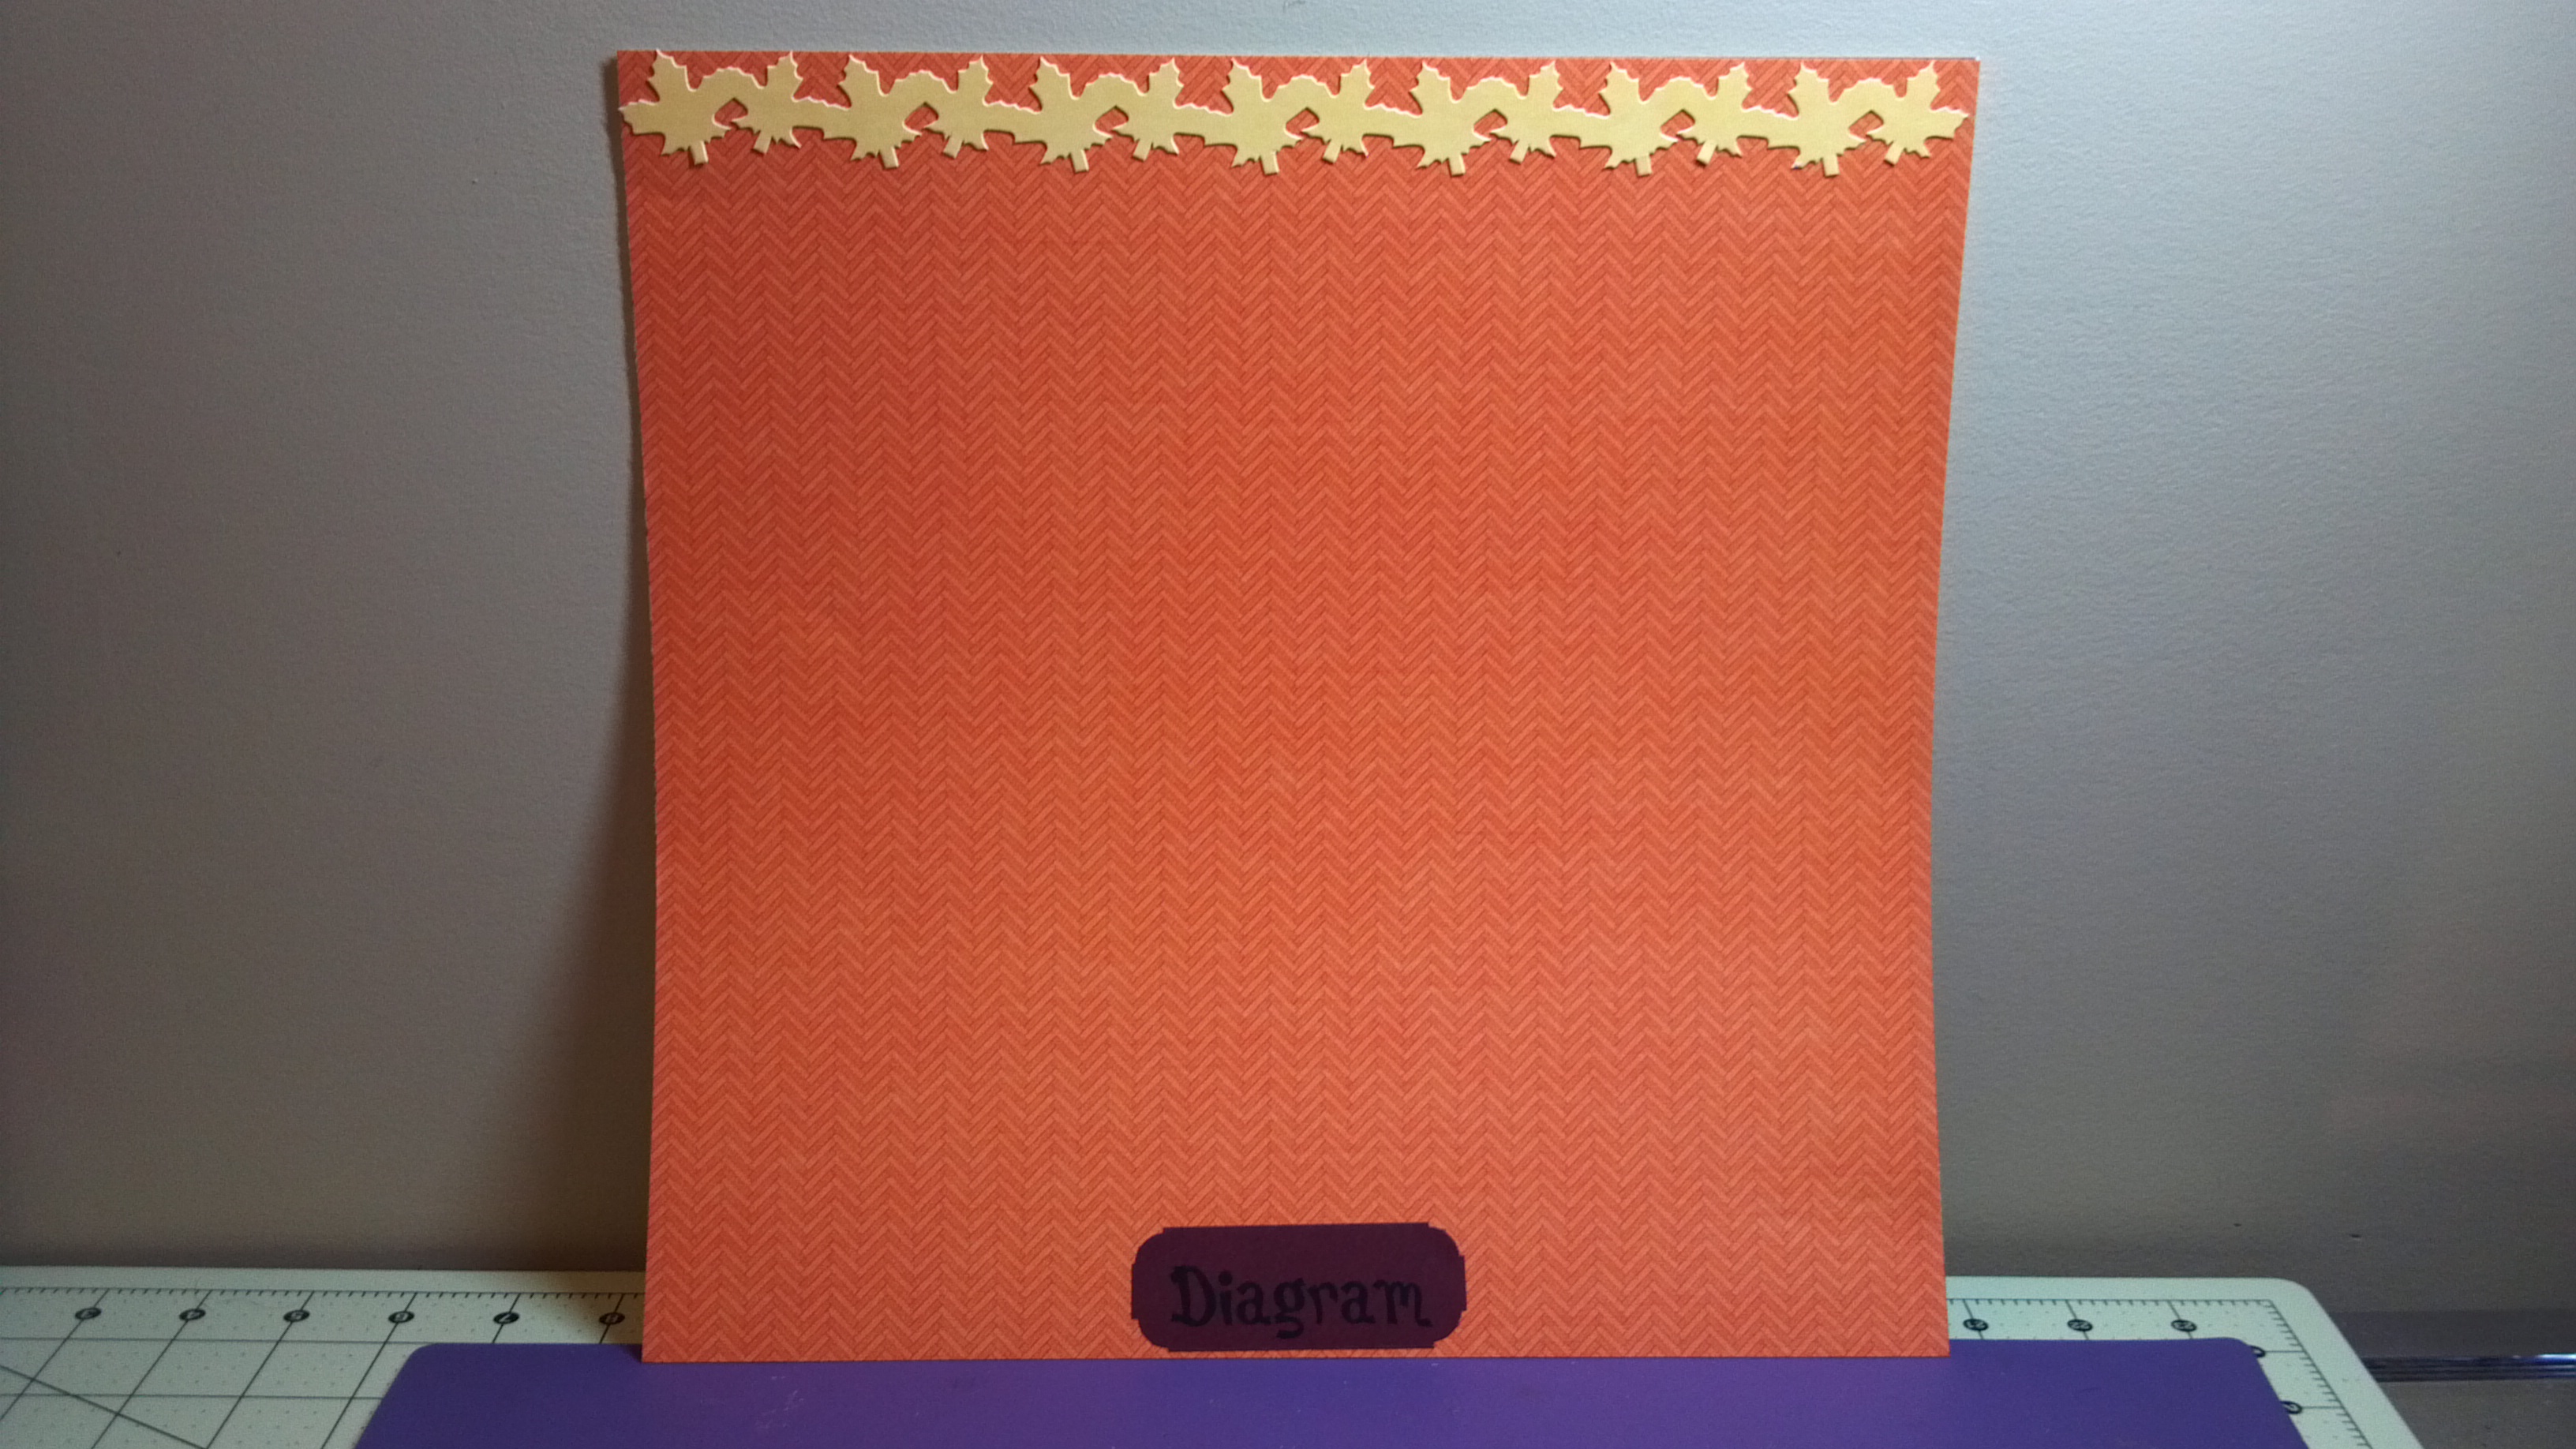
One of the children that has my heart had a project for his 1st grade class. He had to make a leaf scrapbook to put many different leaves in and label them. He needed to find leaves and do the writing. The scrapbook itself could be decorated in any way and they encouraged family involvement so his mom ask me to help since she is not crafty with paper.
I did some simple pages to allow him space to put the leaves on it and label them. I also gave him some acrylic leaves to use to add accents to the pages. I just thought I would share the pages. Most were two page spreads but I am only showing one of most of them here. Thanks for stopping by!
I learned how to weld letters and make a shadow on my Silhouette Cameo for this project.
I am an association management professional who has always loved fashion, sewing, crafting, writing, cooking, and shopping. I am married to a wonderful man and have a great family foundation. I like to share inspiration with as well as get information from others and hope this site will let me do just that. Happy crafting!