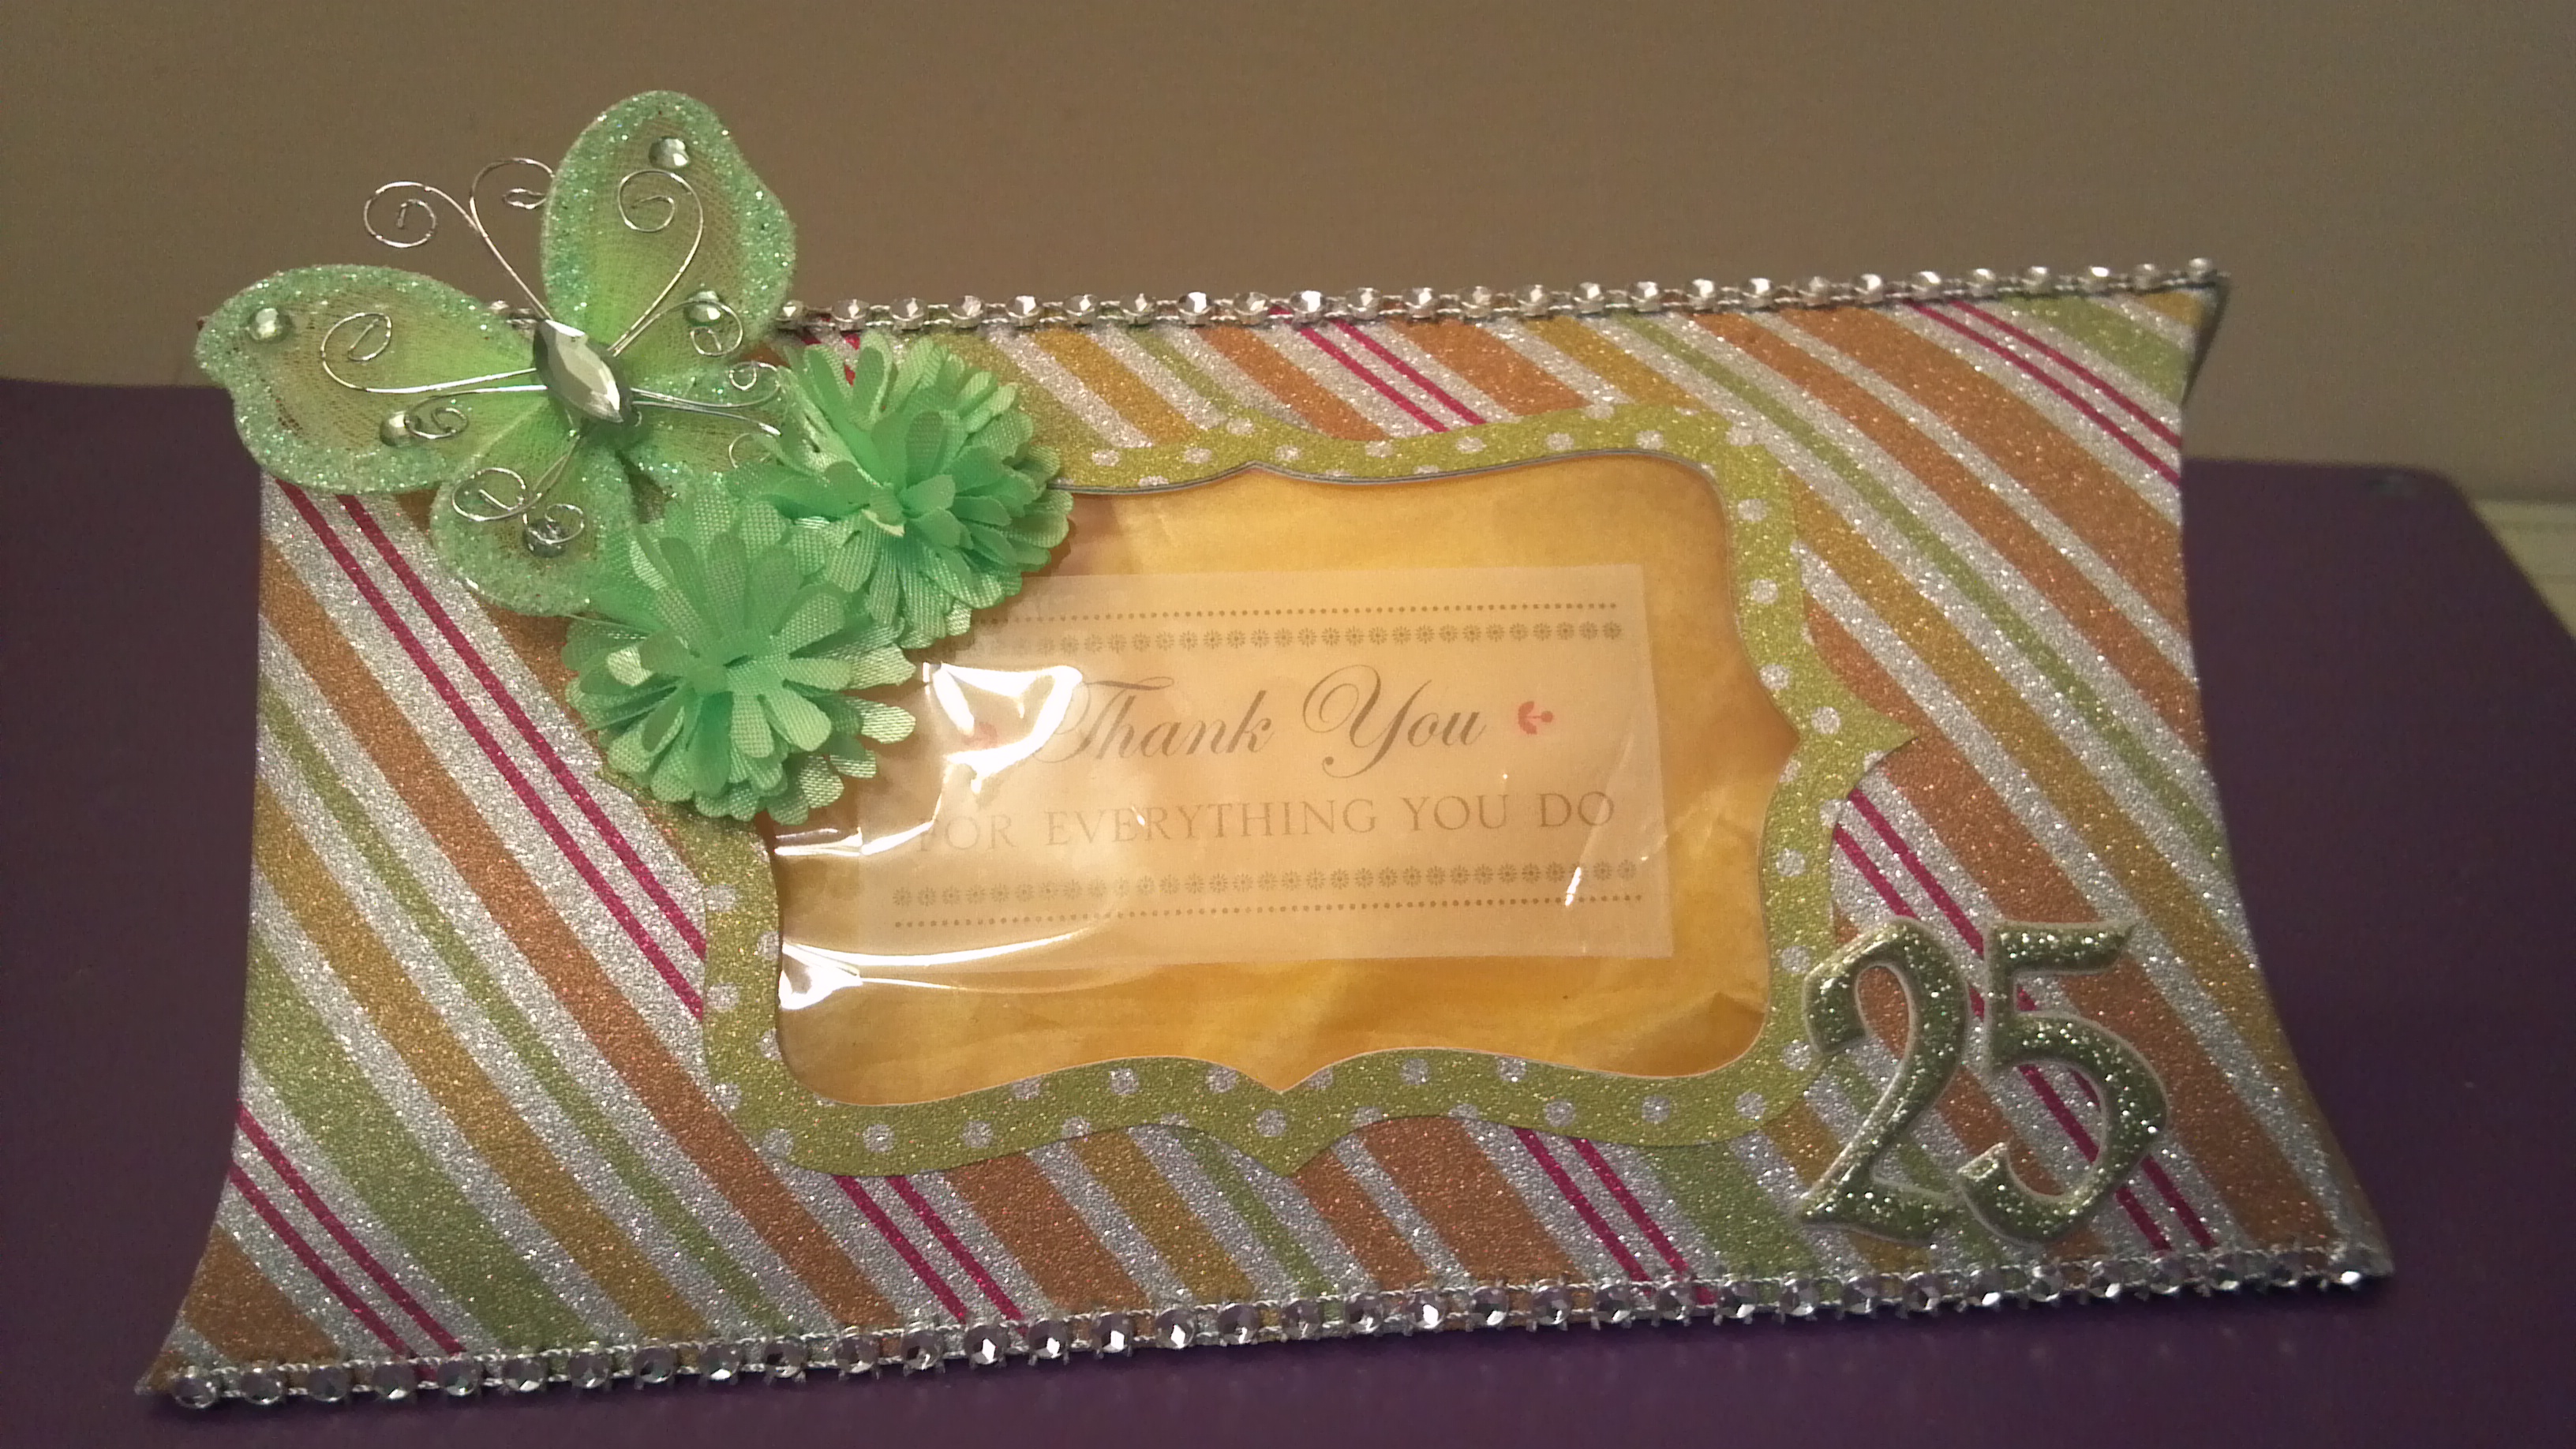
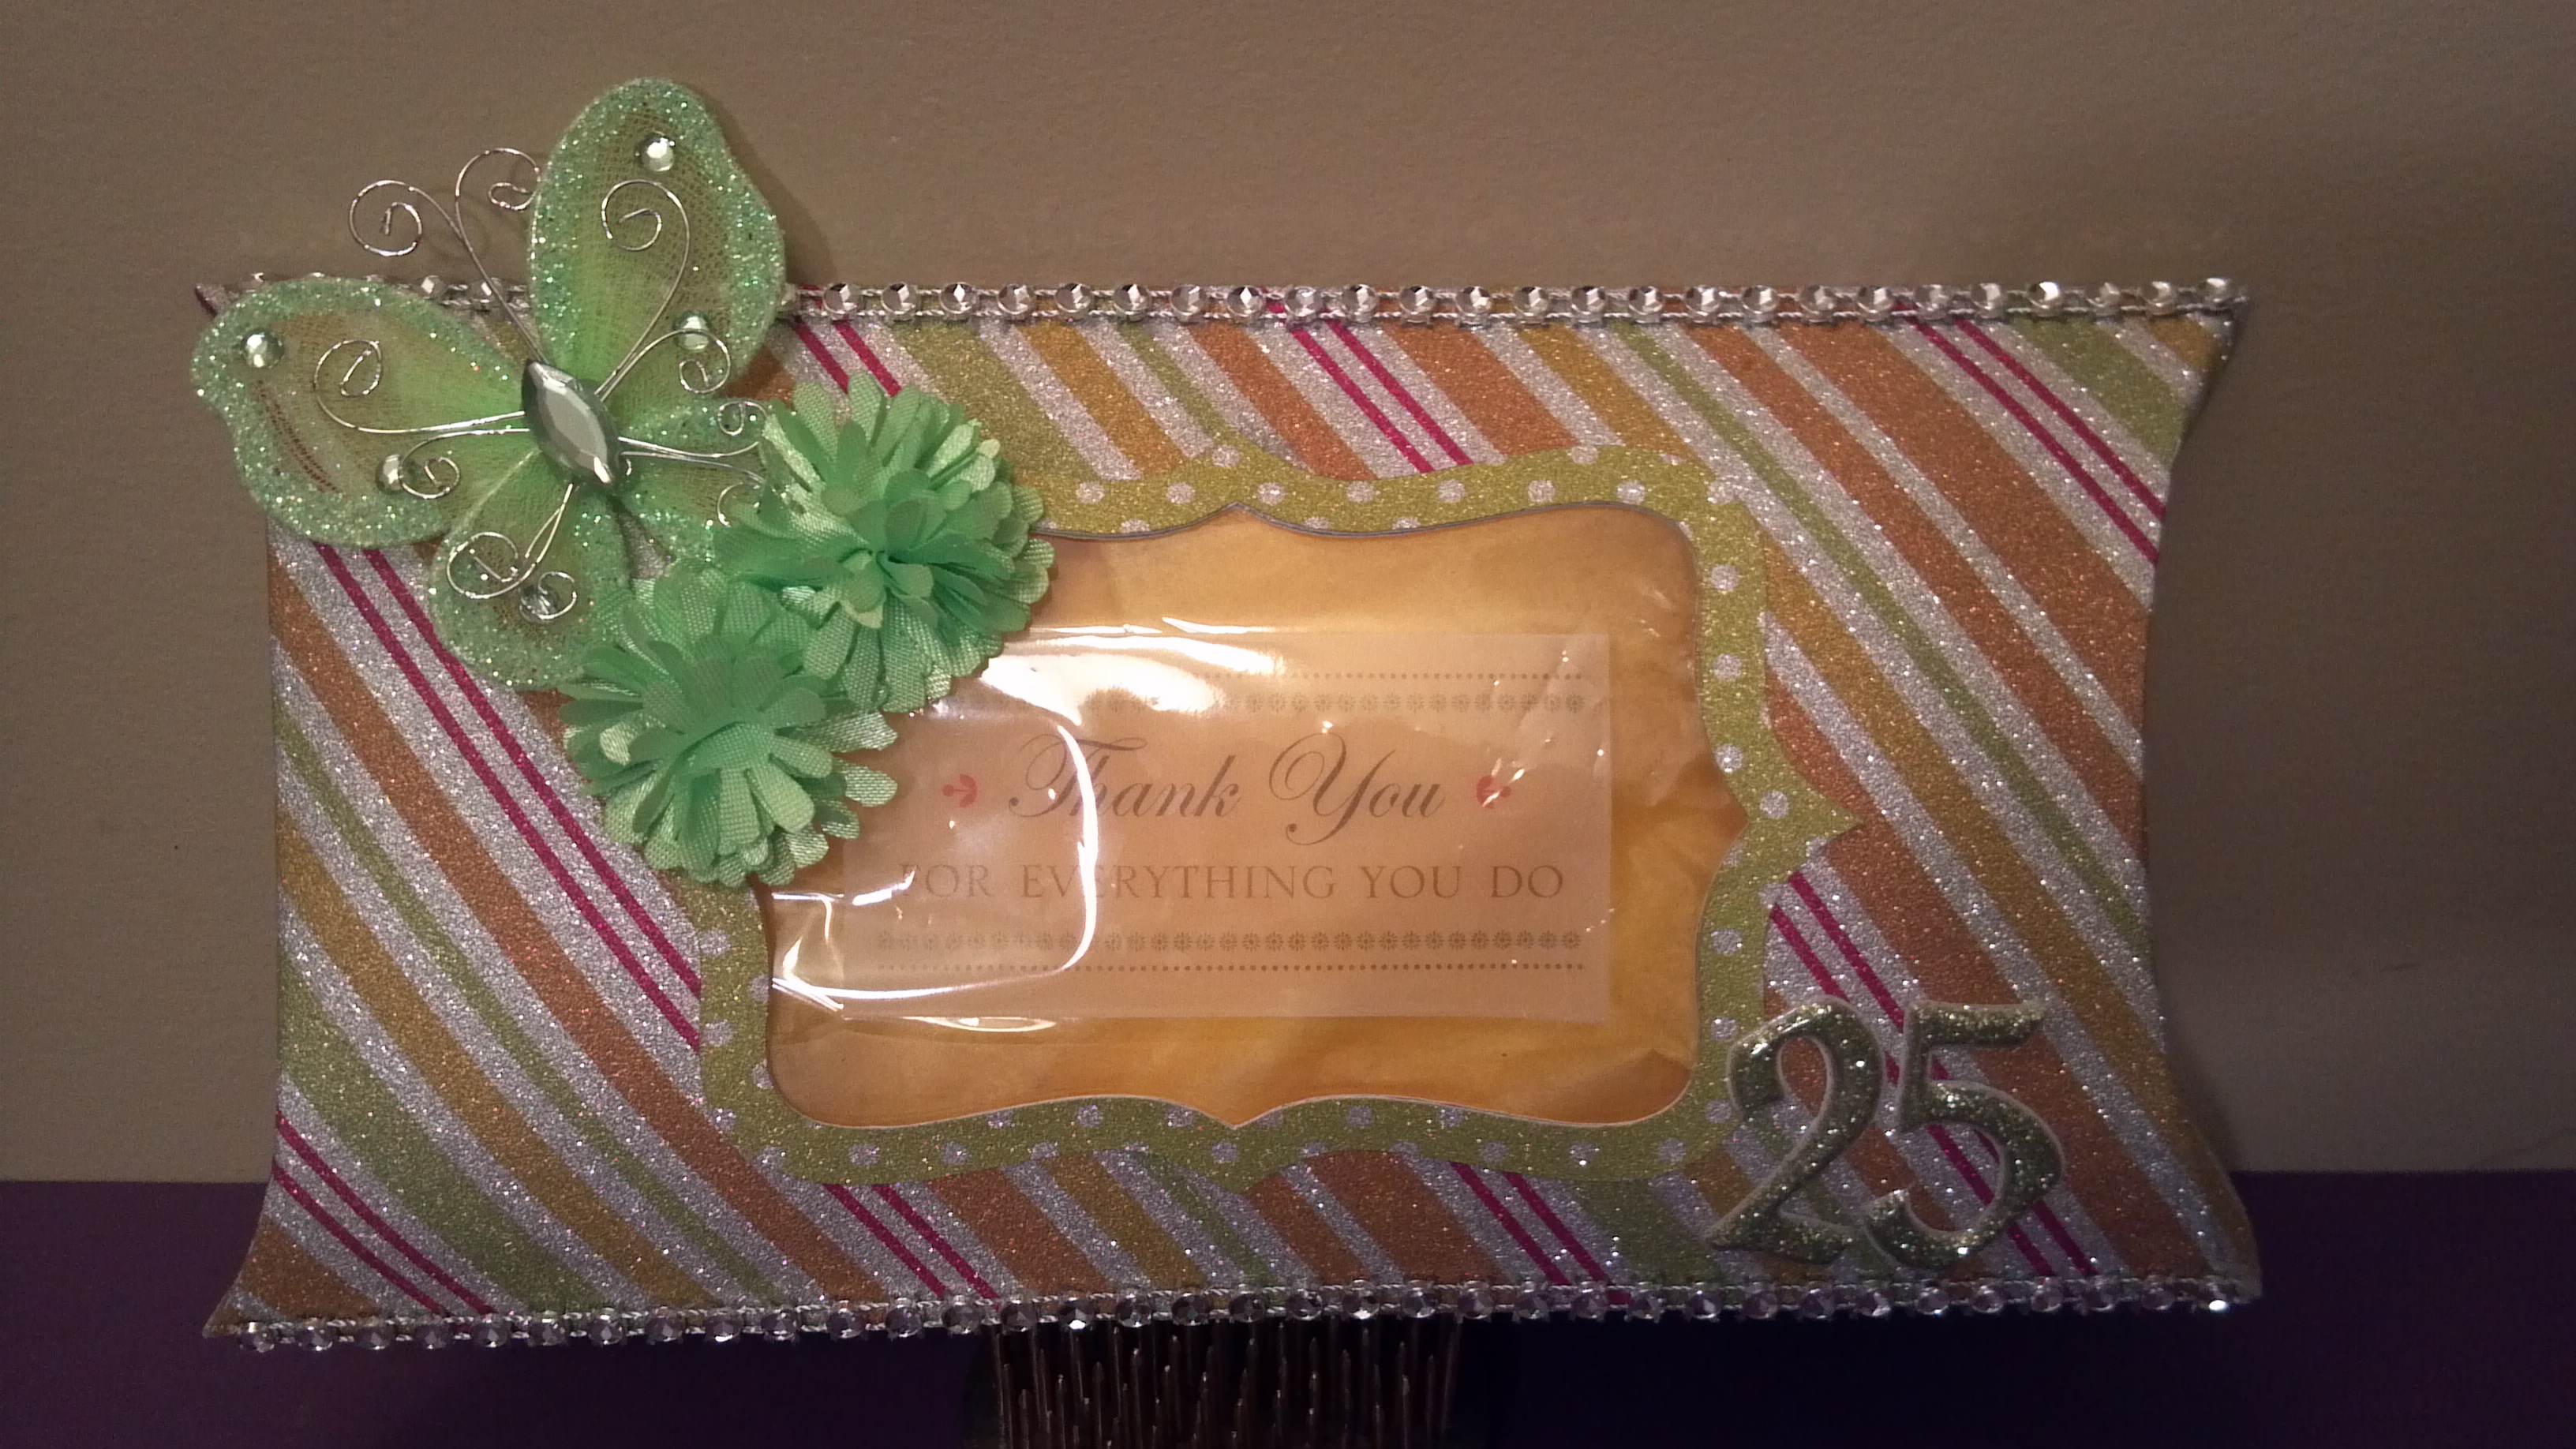
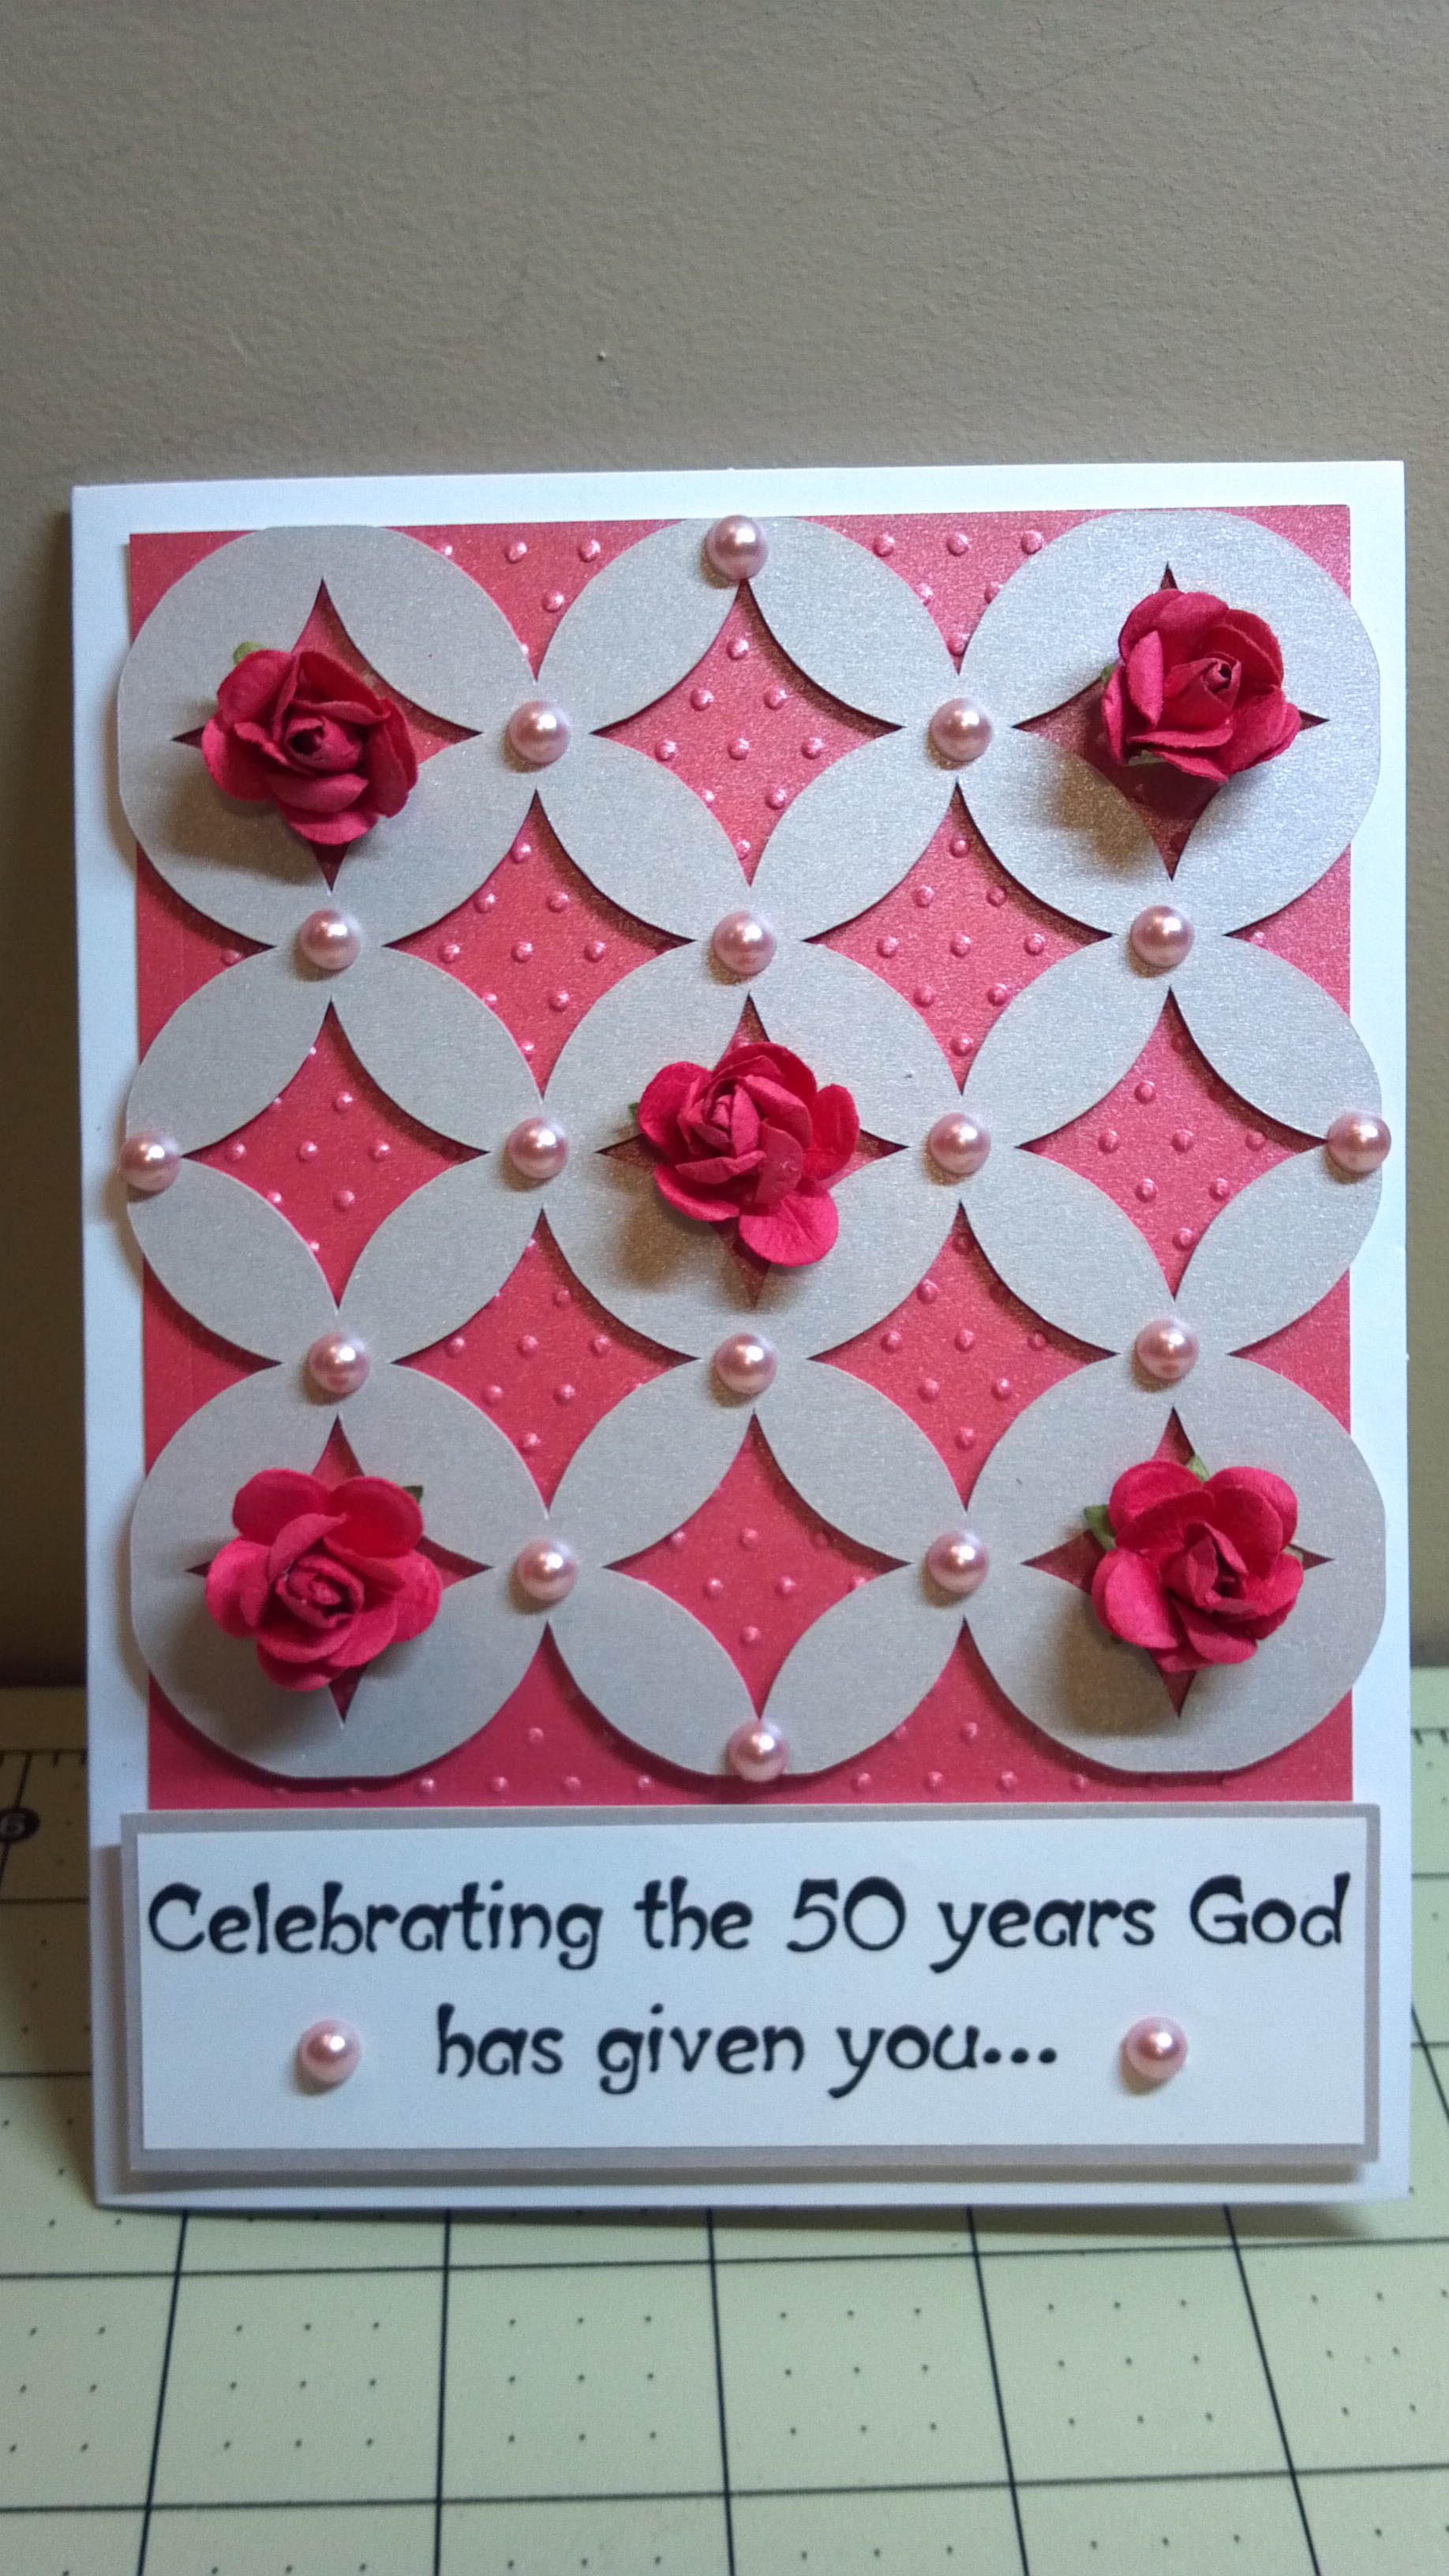
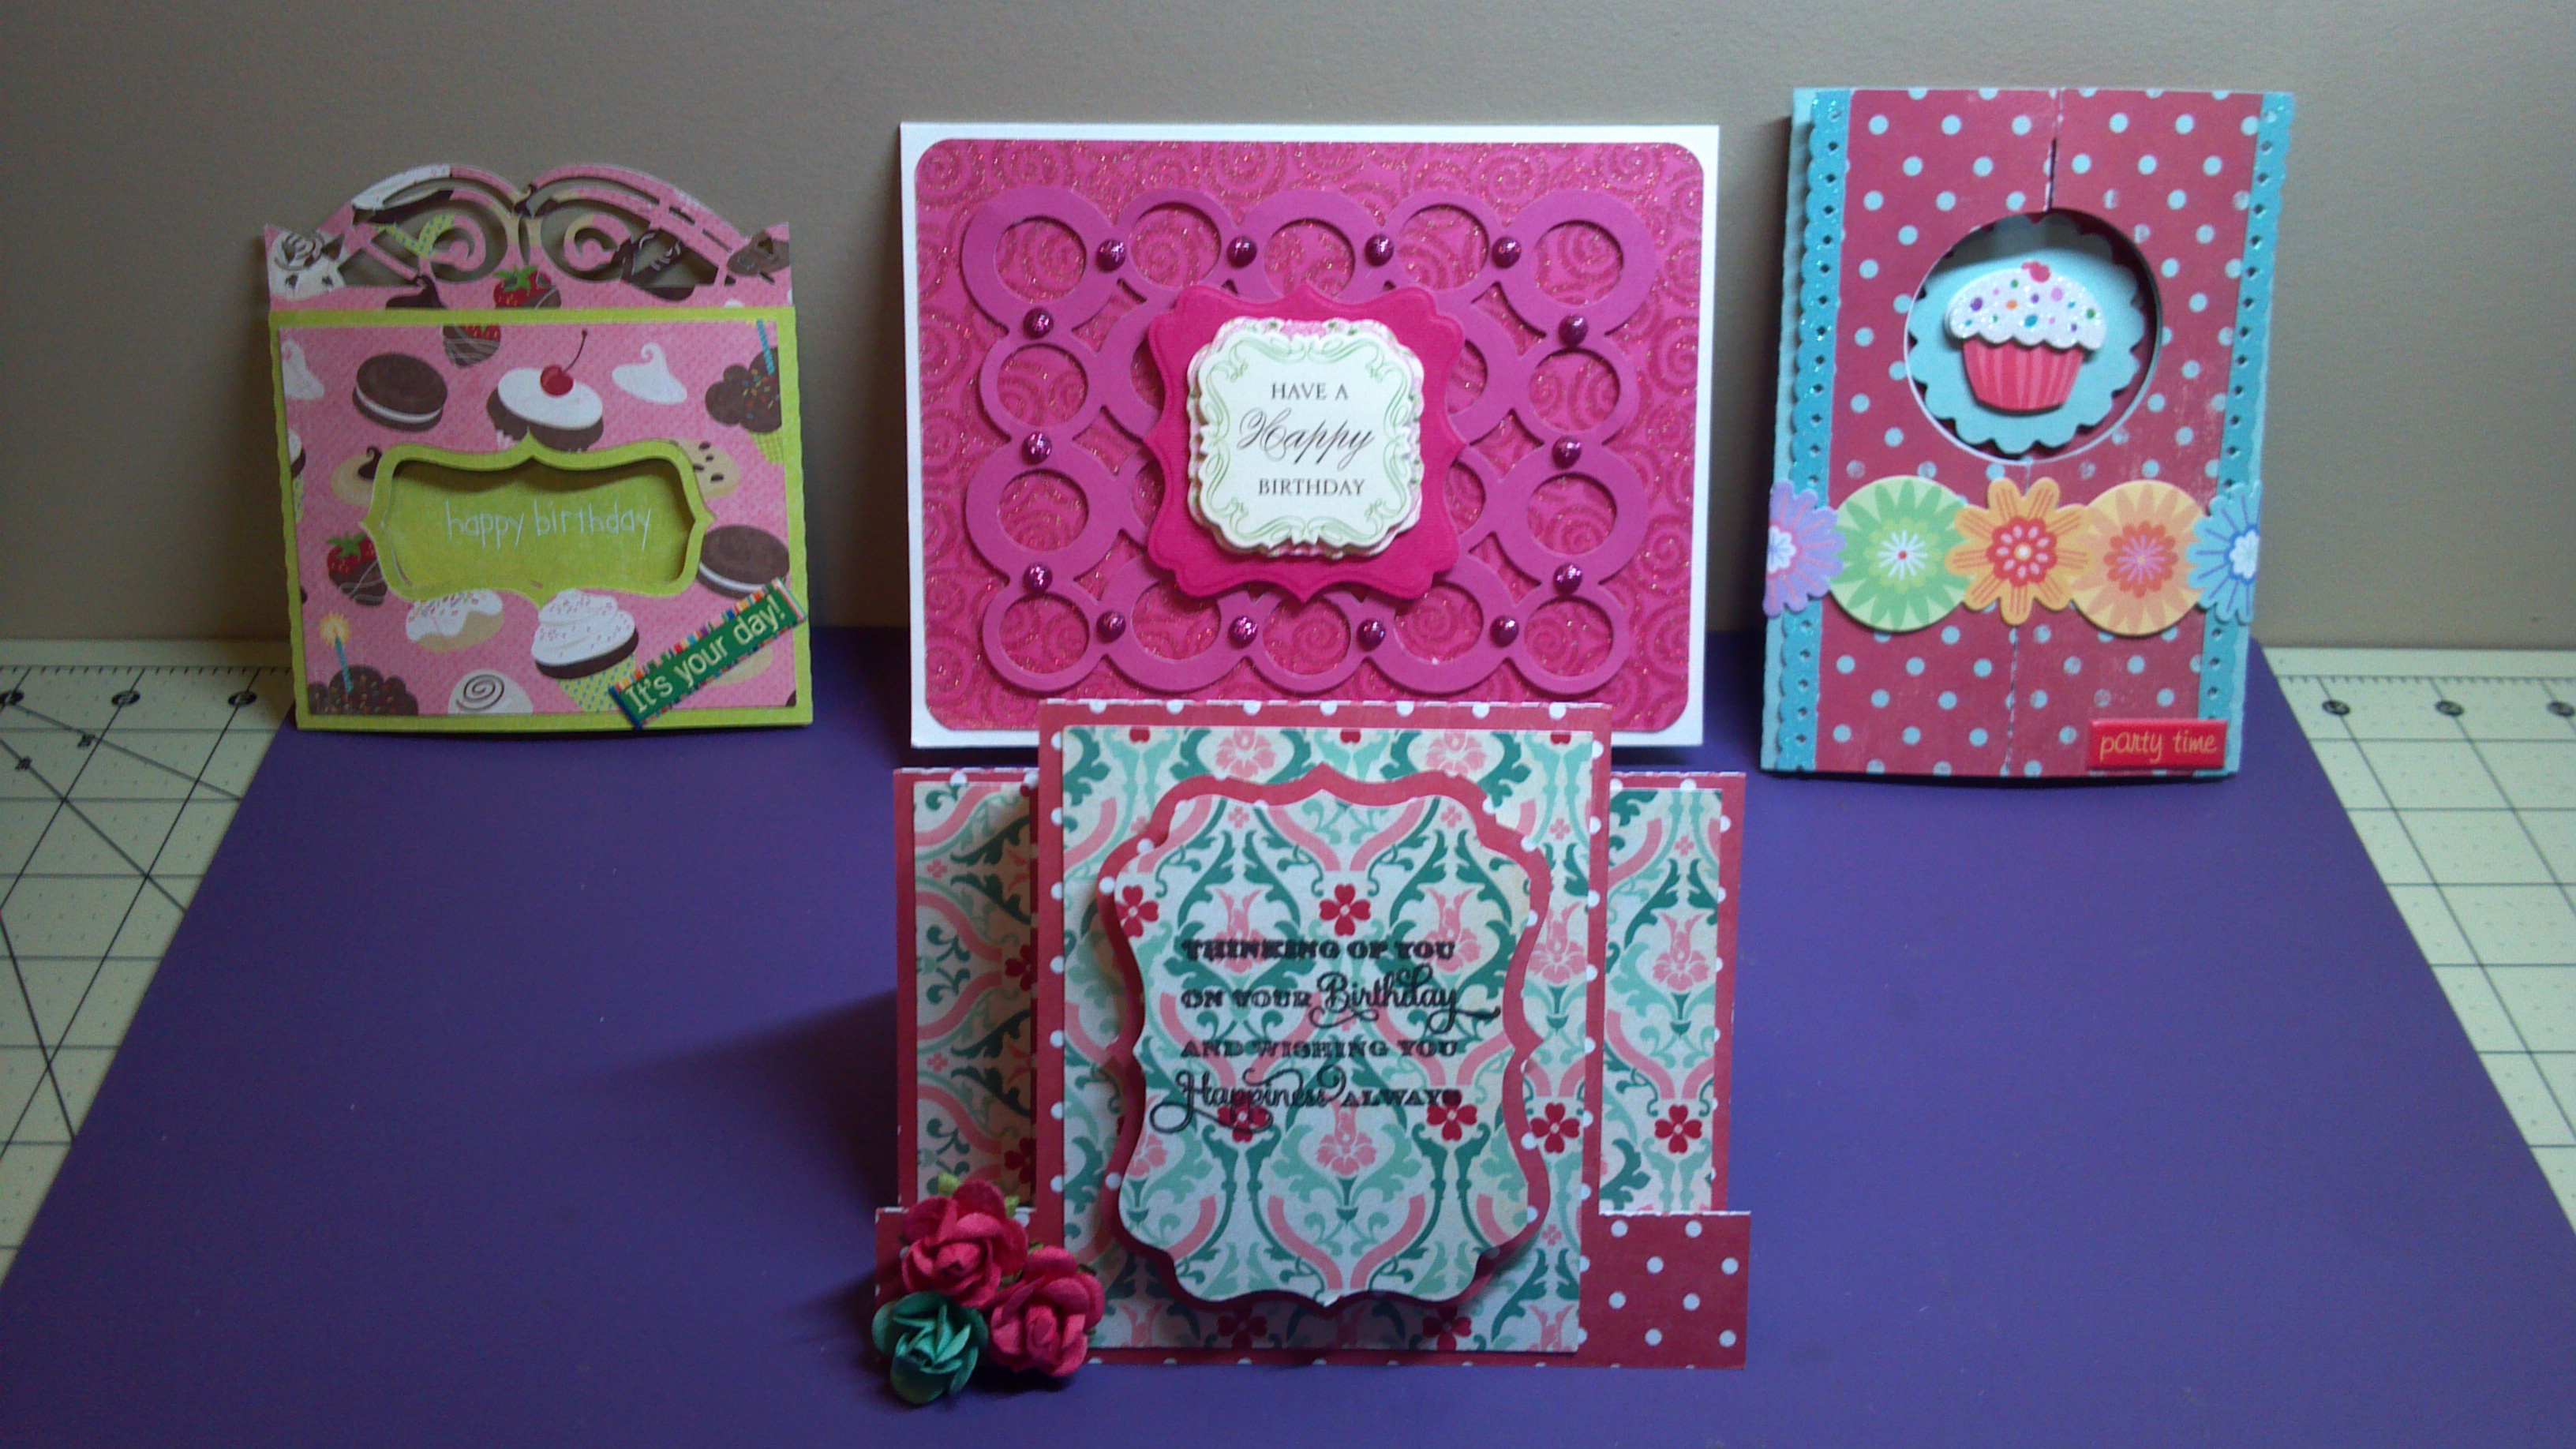
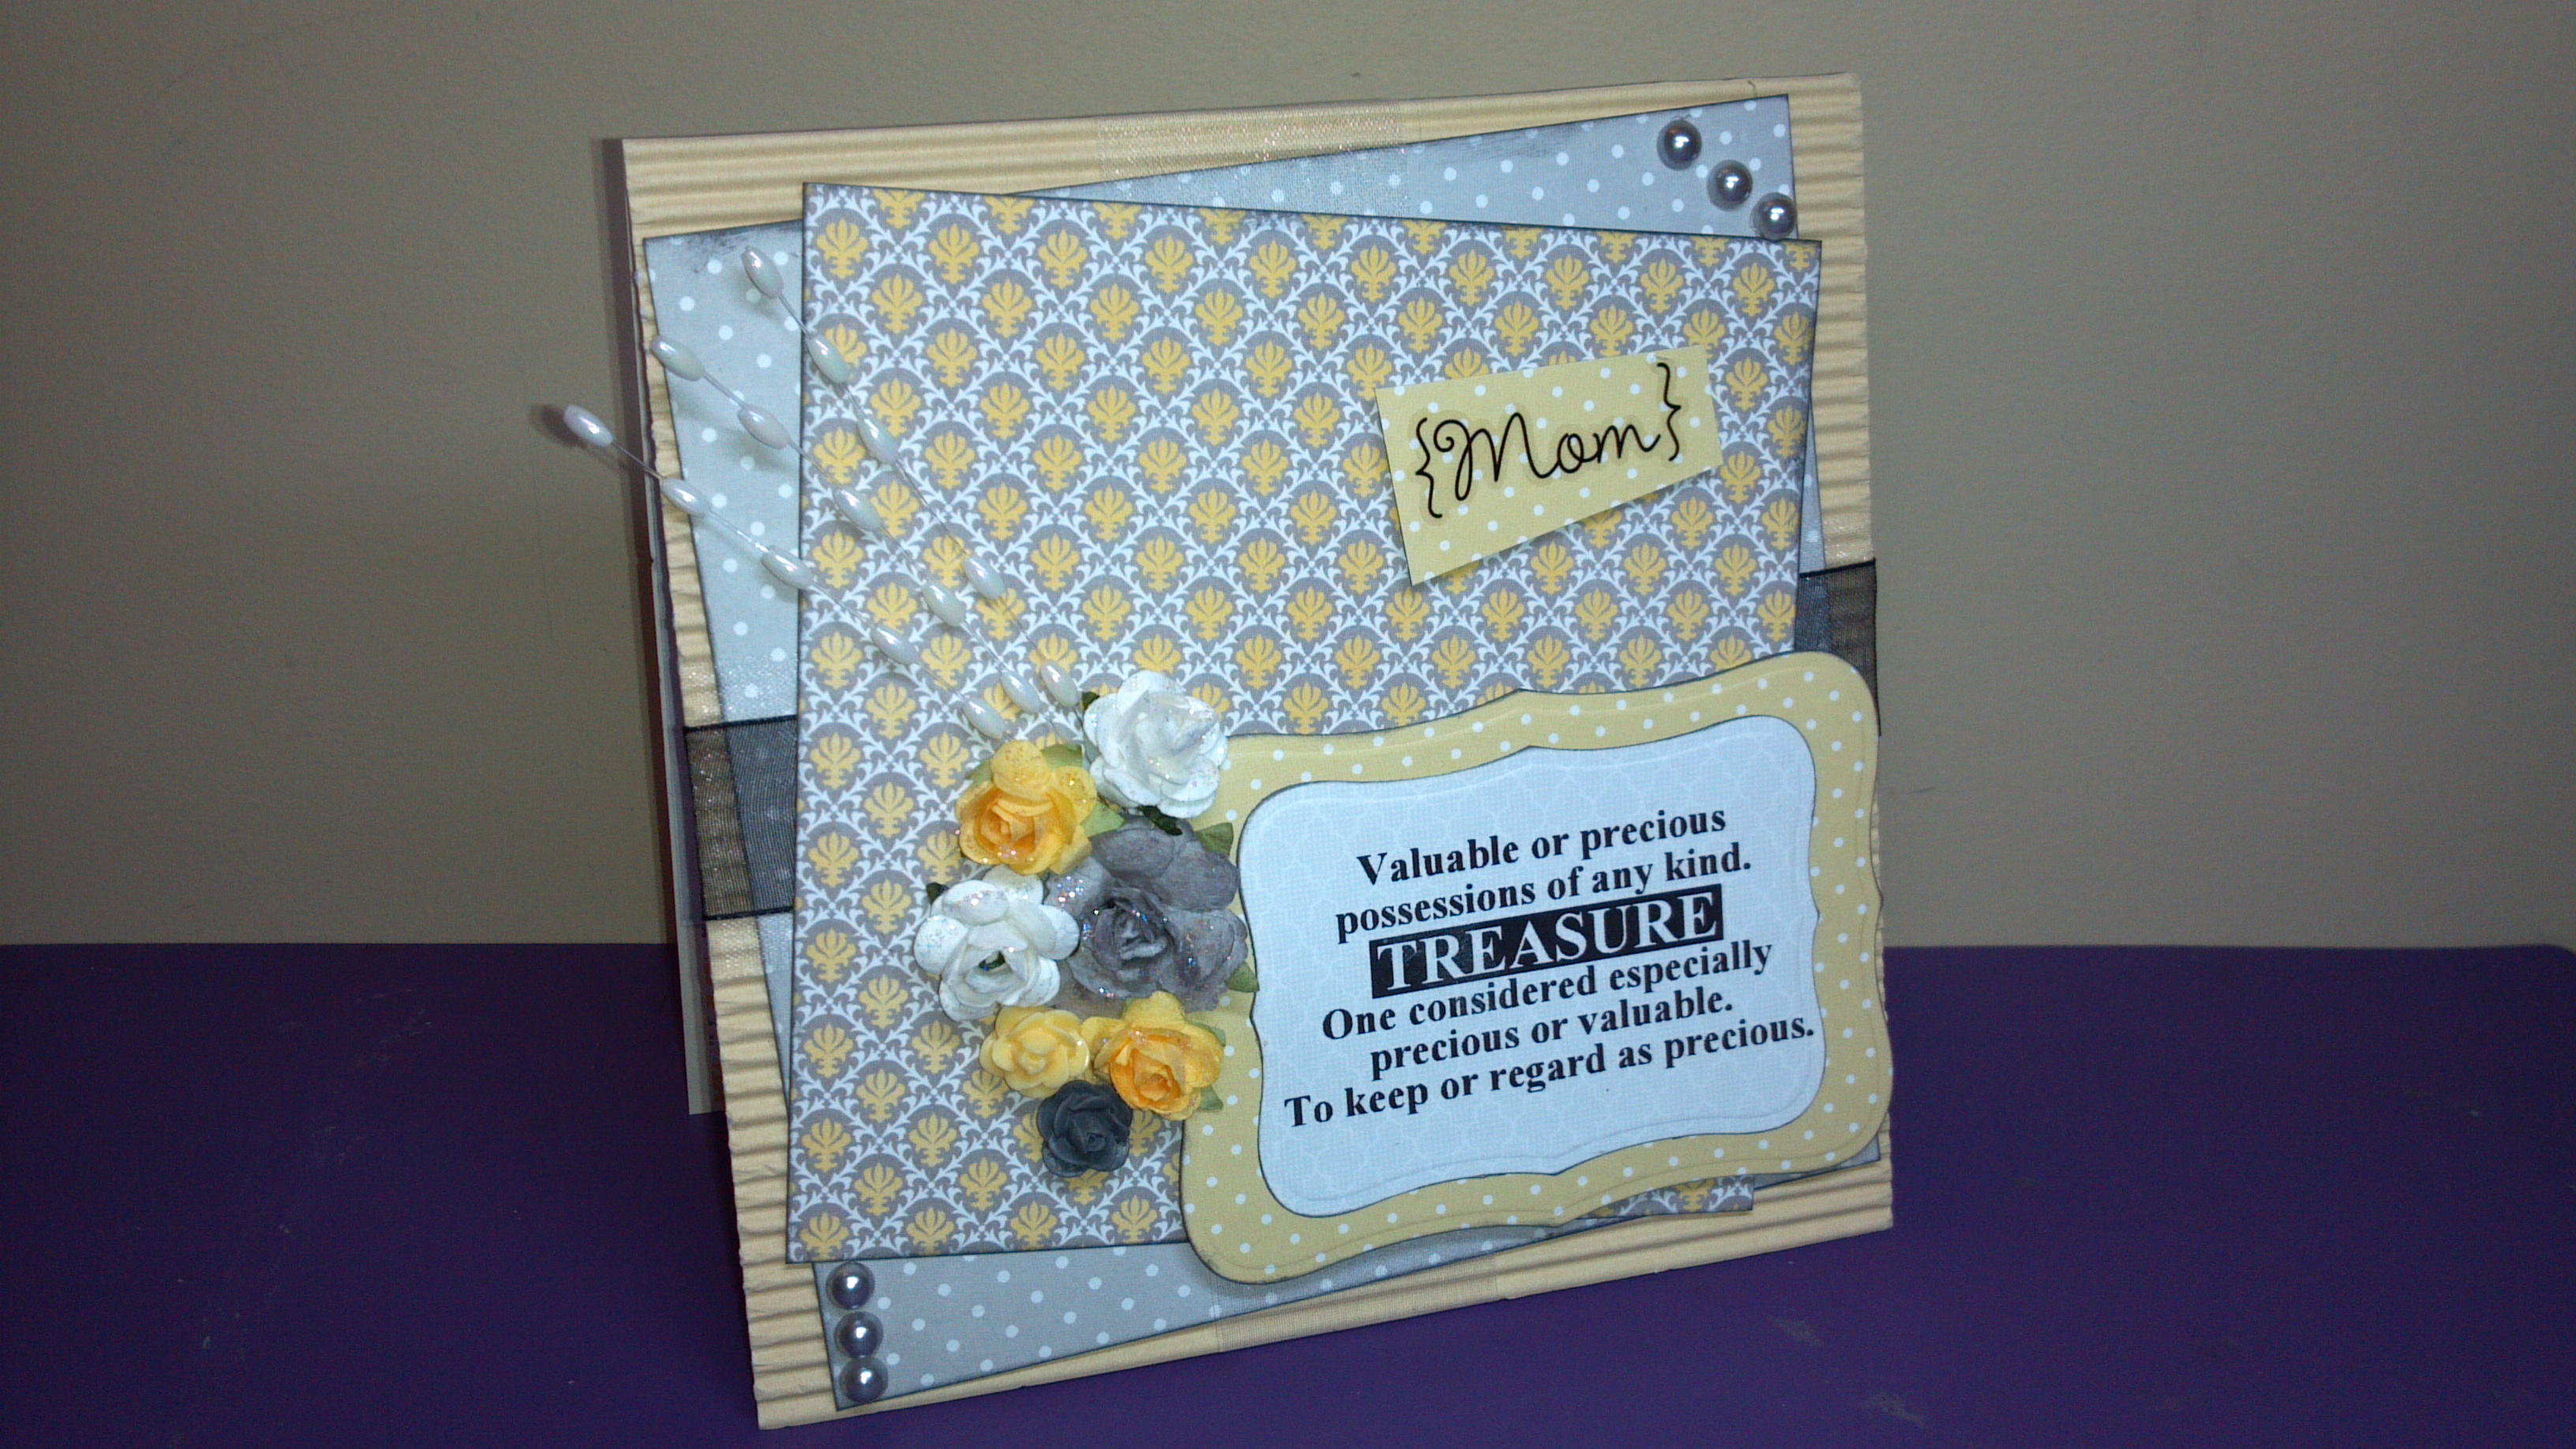
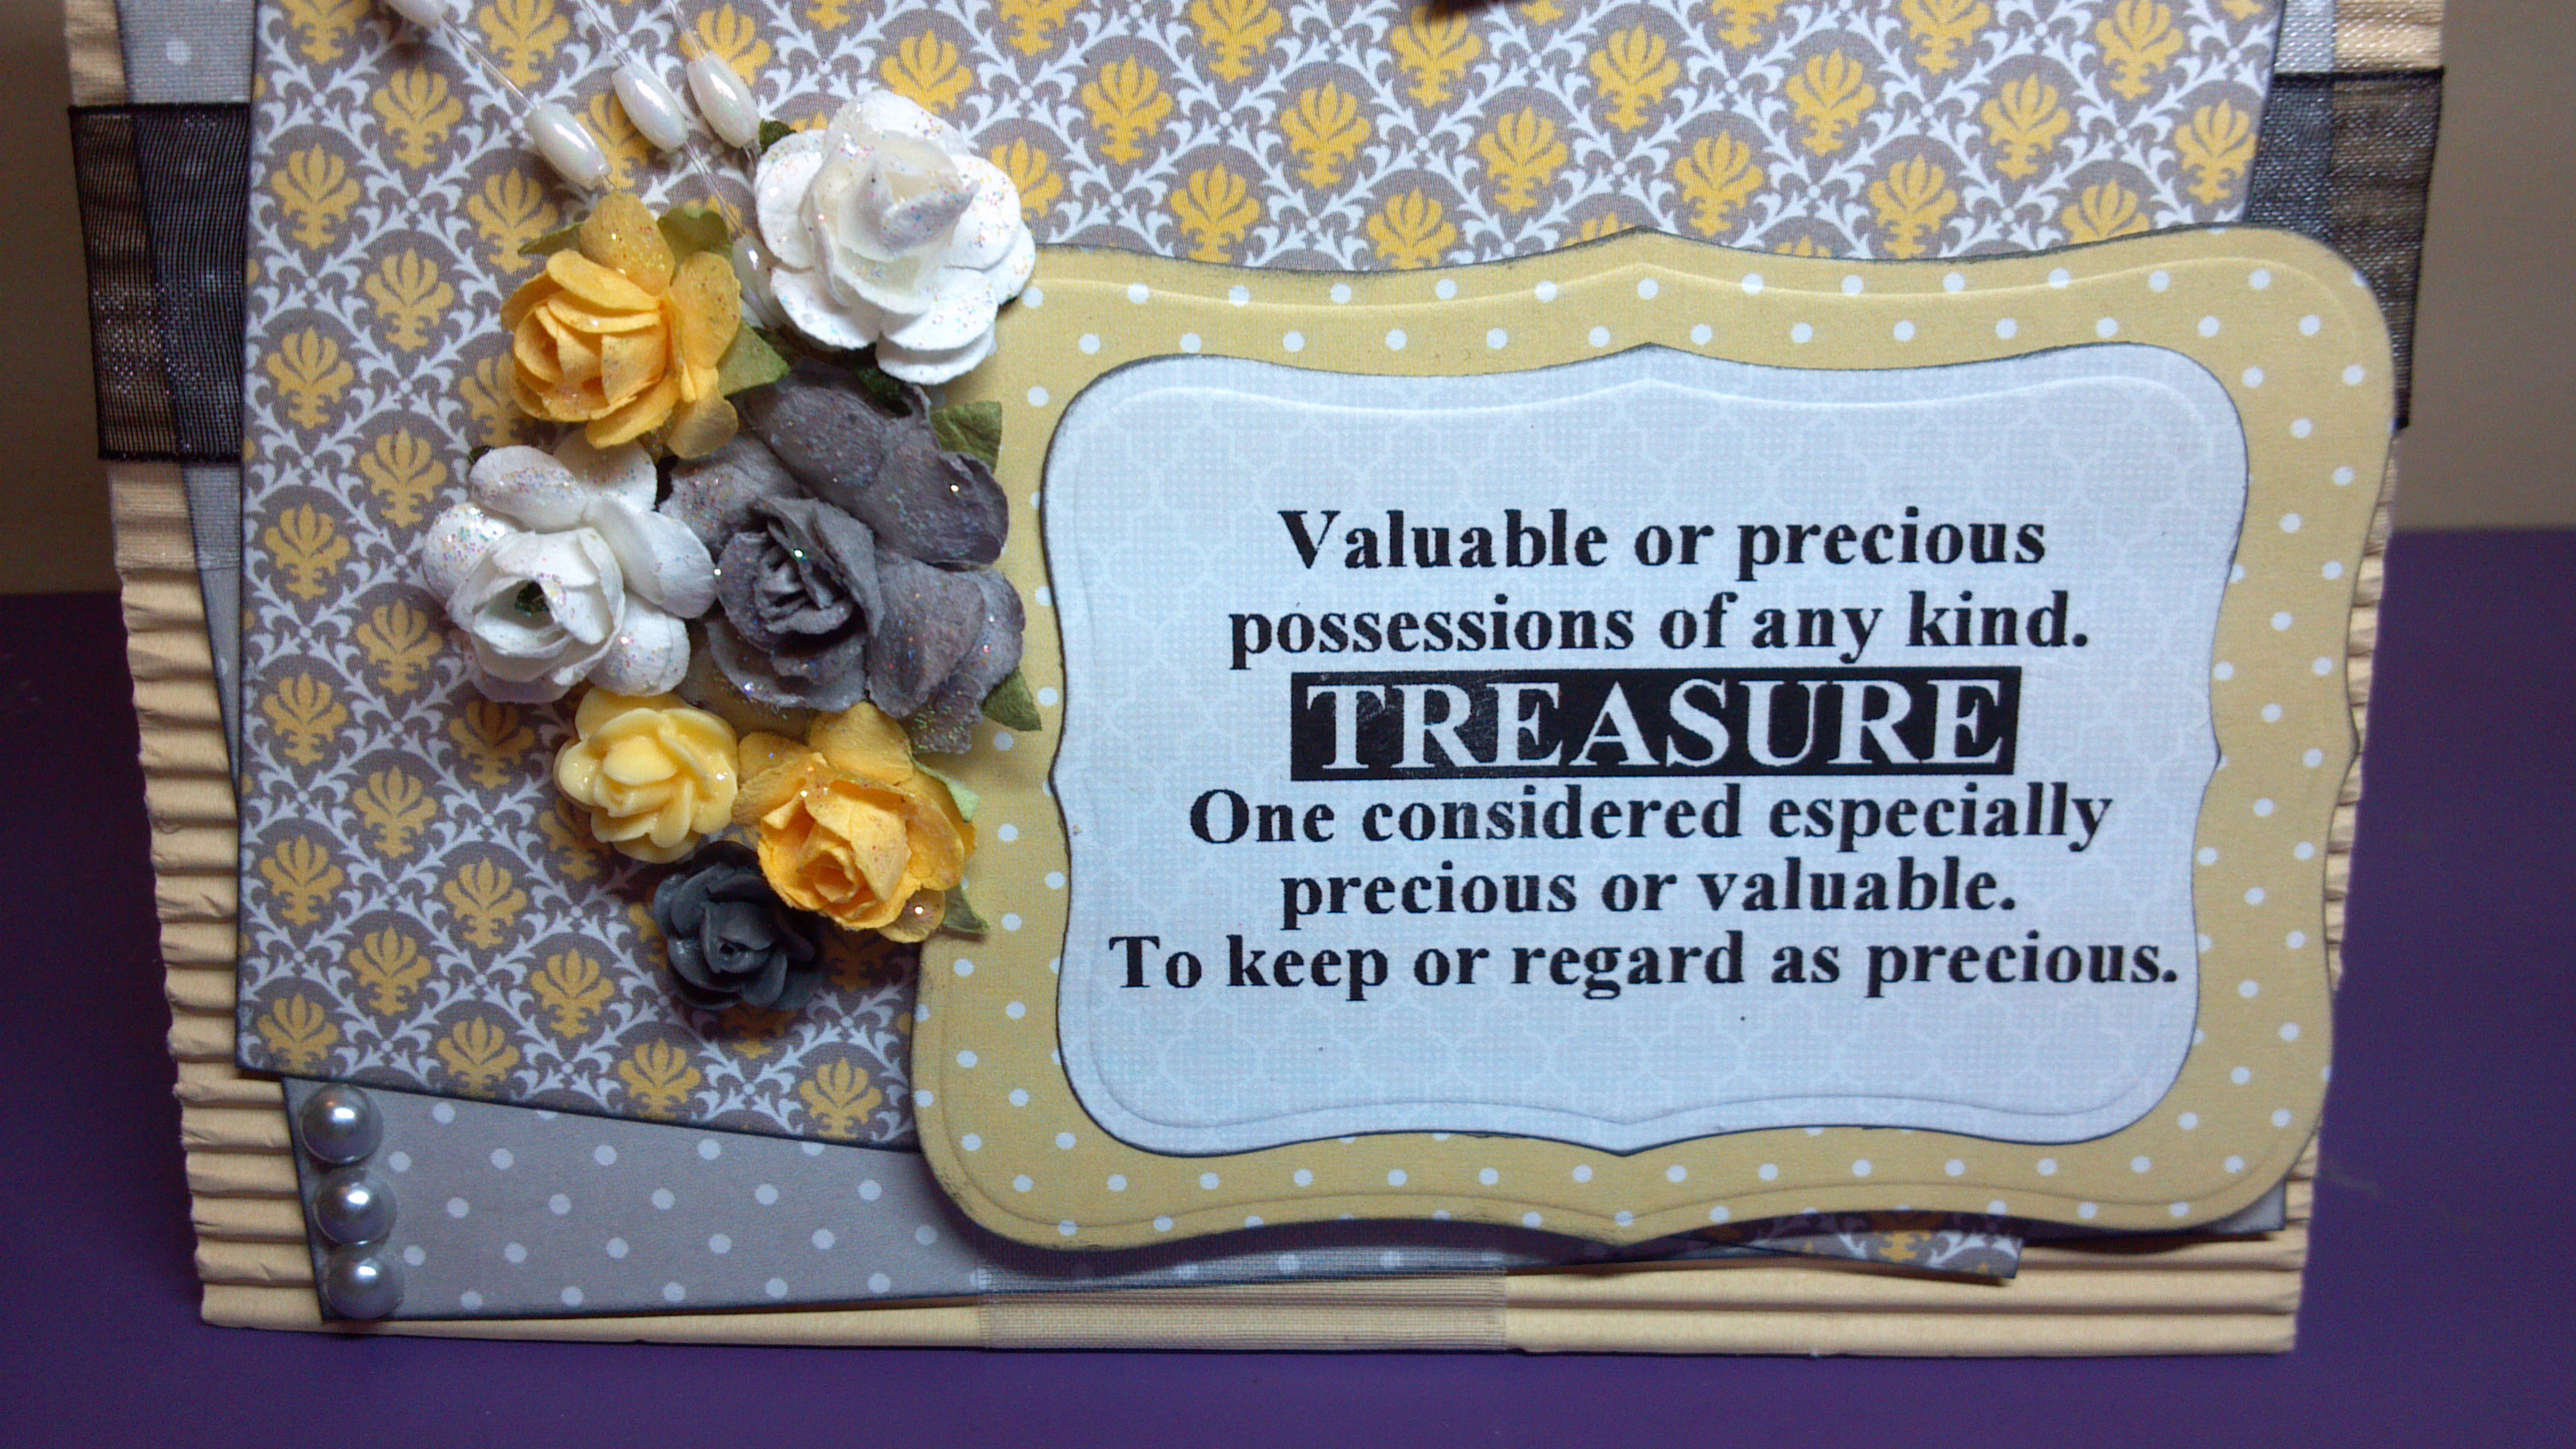
This week at The Cutting Cafe we are focusing on gratitude! We could use the Grateful Word Shaped Card or the With Gratitude Printable Stamp Set which is what I used. For this card for my mother-in-law, I layered patterned papers from Teresa Collins and used the treasure sentiment from the stamp set. I layered and Stickled flowers also. I like the way it turned out. Here are more views…
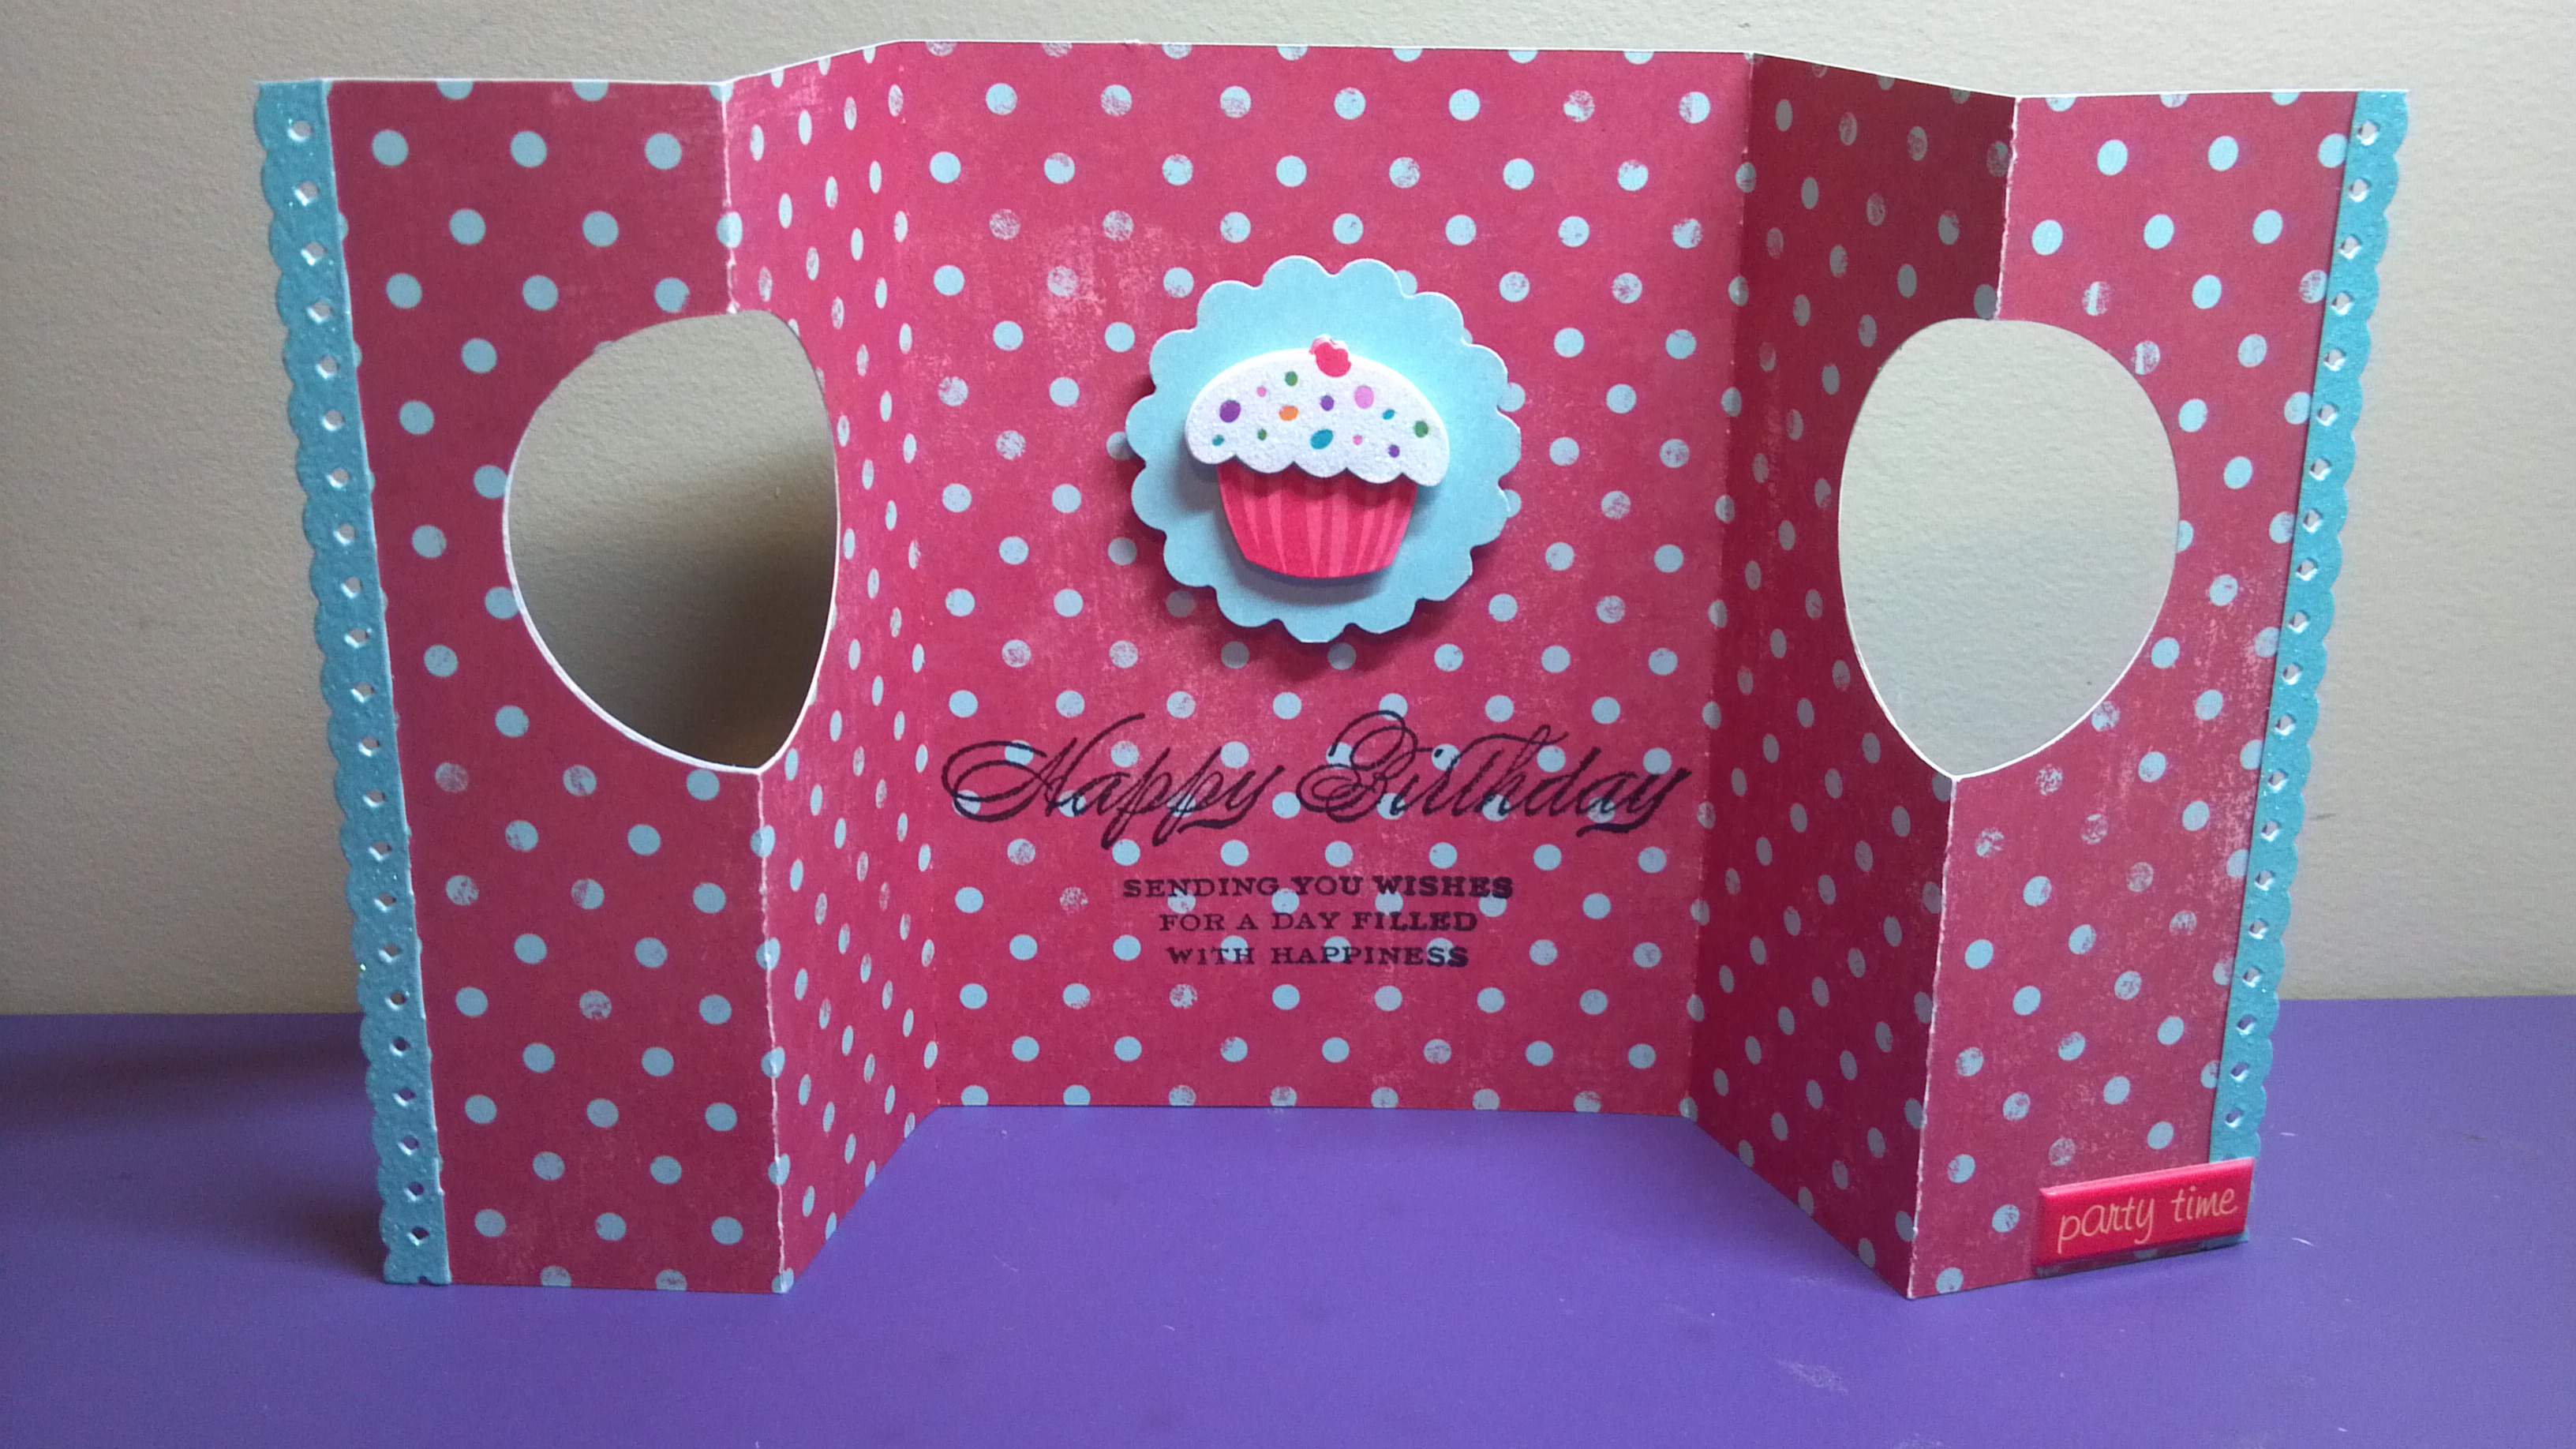
Valuable Treasure Birthday Card – Inside
Make sure you head over to the blog later Wednesday to see all the design team projects and leave a comment to be eligible to win three files of your choice in next week’s drawing. Thanks for stopping by and be sure to watch the video before you go!
It is time for another design team project for The Cutting Cafe! This week we could use any Halloween files we wanted to. We could make something for Halloween or some other theme. I went with a birthday theme for a card for my uncle. One of my aunts loves to say, “don’t be scared,” so I used that phrase for the sentiment which I put on the Eek Background Printable Stamp, and layered on top of the Chevron Halloween Background Set. I used the Distressed font from Creating Keepsakes.
Don’t Be Scared Birthday Card – Inside View
On the inside I used more of the Chevron and the sentiment reads …it’s just another birthday! Have a happy day! I used Spellbinders dies to make the shapes my sentiments are on. Here are close-ups of the top and bottom embellishments…
Don’t Be Scared Birthday Card – Close Up View
Don’t Be Scared Birthday Card – Bottom Embellishments
Be sure to stop by The Cutting Cafe Blog to see all of the design team projects which are posted on Wednesday afternoon. If you leave a comment, you will be eligible to win three free files during the next week’s drawing…so comment away!
Thanks for stopping by. Before you leave though, take a peek at my video …
A few weeks ago I was traveling for work when The Cutting Cafe Design Team was assigned the Chinese Takeout Box Set to work with. I hated to miss that challenge! Well, I am using it now! One of my staff has a birthday so I made this cute box to hold a gift card for her. I loved the way it turned out.
Chinese Takeout Birthday Box Back View
Chinese Takeout Birthday Box – Top View
Chinese Takeout Birthday Box Close Up Flower Detail
For the details, check out my video! Thanks for watching.
My boss love’s beer! Did I mention my boss loves beer? Also, during boss’s day, our organization’s Board of Directors was meeting at our facility so my boss was a bit stressed. So since he could not have a real beer, I made him a paper one LOL. The foam lid comes off and I filled it with some goodies.
I used a file from SVG Attic to create the mug and I added glossy accents and Stickles to create drips and frost. I added a Spellbinder cut out with a sentiment using the CK Frosty font from Creating Keepsakes, and a bottle cap with his initials on the back. Below are a few more pictures and a video. Thanks for stopping by!
Close up of Sentiment
I used glossy accents to add to the drip effect
I used frosted lace Stickles to add frost elements around the bottom of the glass
I added a bottle cap with initial jelly dot on the back of the sentiment
Pillow boxes are so versatile as they can be made in multiple sizes and decorated any way you like. They can have window cut outs or they can be plain and they make great goodie holders! This week at The Cutting Cafe, we worked with the different pillow box files Regina has available. I used the Assorted Pillow Box Set and it is very versatile in that you can just make it plain, or you can add various shaped windows such as a circle, star, or frame like I used.
For my project, I used striped and polka dot glitter papers from DCWV, an Anna Griffin vellum sticker, some flowers, a butterfly, and Thickers to decorate the box. Unfortunately I forgot to take a picture of the back which said happy anniversary but you can see it in the video below. I gave it to one of my staff with a gift card for her 25th work anniversary.
Be sure to stop by The Cutting Cafe Blog to take a look at all the other design team pillow box projects. If you leave a comment, you will be eligible to win three files of your choice in a drawing next week. Thanks for stopping by and here is the video I mentioned earlier…
Head over to The Cutting Cafe Blog to take a look at all the design team projects for this week. Leave a comment and you just might win three free files next week! Thanks for stopping by!
I love the bling leaves and how they added a colorful element to the card. I used patterned paper from My Mind’s Eye and Fancy Pants. If you want more info on how I made the card, here is the video…
Be sure to stop by The Cutting Cafe Blog to see all the design team projects. Leave a comment and you might win three free files next week!
I just made a simple card using the topper from the set. I found the cute paper from Queen & Co. and it fit the bill! I just kept it very simple but it is a funny card for my cousin who is turning 16 and just starting to drive. The sentiment says beep beep at the top and get off the road, 16 year old driver coming soon.
Take a visit to The Cutting Cafe Blog on Wednesday afternoon to see all the projects the team comes up with. Leave a comment for a chance to win three files! Thanks for watching! Here’s the YouTube video…
This file is very easy and can be done easily by hand, so you do not need to have an electronic cutting machine. That is one great thing about Regina’s files…they come in multiple formats including PDFs so that those without an an electronic cutter can still make beautiful items!
I used a cute orchard patterned paper, some bling leaves, bling mesh trim, and a woodgrain patterned ribbon. I finished it with a rust color leaf, a gold bow and a thanks sentiment. Here are a few other views:
Head on over to The Cutting Cafe Blog to see the new projects from our team. By leaving a comment, you always have a chance to win three files of your choice the next week. Thanks for stopping by. Here is a quick YouTube video before you go…
The month of August was a very busy month as I had several birthdays and anniversaries to do cards for and a frame. Plus I promised I would make a few Christmas cards for a friend’s mother. I had planned to do posts as I went along, but I am just now getting to the post. So, I am doing a group post. If you want to know more about any one item, I do have videos on my YouTube channel of them all. To get to my channel, click on the My YouTube Channel to the right of this post. Thanks for stopping by!
I am an association management professional who has always loved fashion, sewing, crafting, writing, cooking, and shopping. I am married to a wonderful man and have a great family foundation. I like to share inspiration with as well as get information from others and hope this site will let me do just that. Happy crafting!