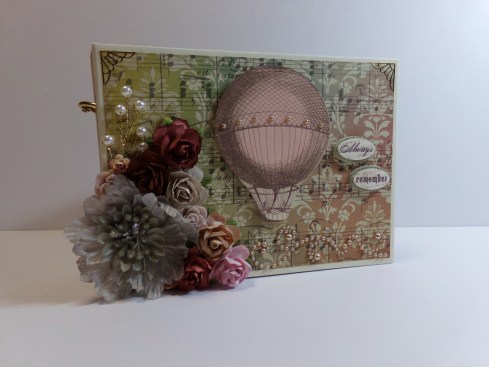
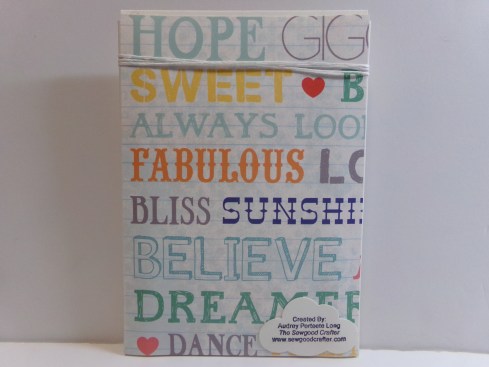
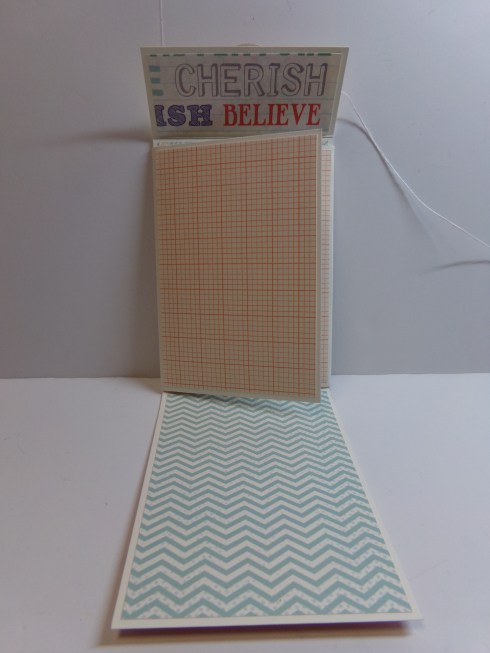
What is a blessings book? When you are facing challenges or feeling sad, it is a place to write down the blessings you have received in your life so you can remind yourself that if God blessed you once, He can bless you again!
Make sure to stop by The Cutting Cafe Blog to see all the design team projects made with this set. Leave a comment and you will be entered into a drawing to win three free files! Continue reading →
I think it came out adorable. Be sure to stop by the blog and see all the design team projects. This week we could use whatever files we wanted to so there will be quite a variety. Here are pics of the inside and back. I used an Anna Griffin die for the Dad on the inside.
Inside – I will add a poem on the right side.
The back features the Different Way to Say Dad Background Printable Stamp.
Thanks for stopping by! Here is a video of my project…
I used scraps from recent projects along with some stickers and foam squares. I have seen many videos making embellishments and decided to try some. I had fun making them and will make more in the future as it is a good way to use up scraps and use your punches.
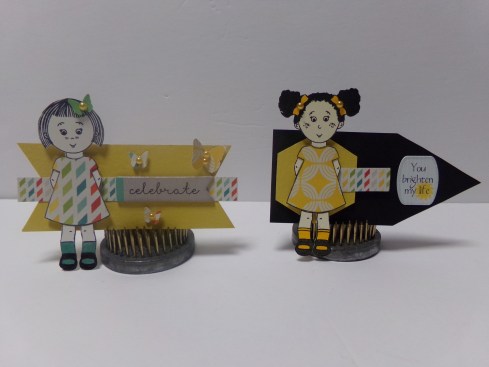
Embellishments with the full doll stamps
And lastly, I made paper clips which are all the rage these days with the planner craze and the popularity of flip books.
Paper Clips
Thanks so much for stopping by! As usual, I have a video to share all the details…
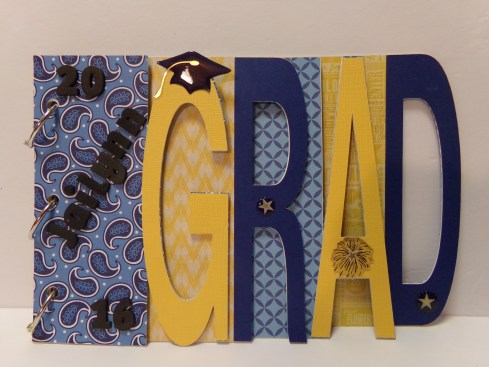
Hello! It is design team time for The Cutting Cafe! This time we were given the opportunity to work with word or shape books. There are many to choose from in the store but since graduation is coming and I have a cousin that is graduating, I chose the Grad Word Book.
It comes with the pages and the single letters to use on top as an additional layer. I used his school colors and kept it simple enough so that he can put a few pictures from the day in it. Here are a pictures of the inside…
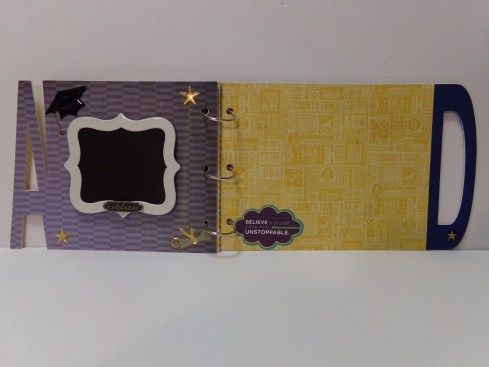
First Page
Second Page
Third Page
Love this sentiment!
Back Cover
I have never made a word book and had fun making this one. For specific details, see my YouTube video below. Be sure to stop by The Cutting Cafe Blog today or sometime this week to look at all the design team word and shape books for plenty of inspiration. When you stop by, leave a comment because we love reading them and because you will be entered into a drawing to win three files of your choice on the next posting which will be May 21!
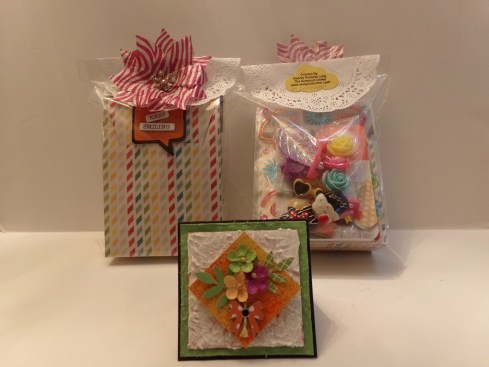
My friend Tmika host great swaps all the time on YouTube. The latest one has us using techniques and embellishments. The 3 x 3 cards had to have a combination of four or more things going on. I used five techniques…dry embossing, distressing, texture paste stippling, glittering the texture paste, and splattering/ misting, and four embellishments…flowers, punches, twine, and a dazzle sticker.
Here is a close up of the card…
Card Close Up
As always, packaging is a big part of a swap. Here is how I packaged mine…
Packaging
KODAK Digital Still Camera
Here is a view of the card and the front and back of the packaging…
Card, Packaging Front and Back
My mom helped by picking out the doodads I gave my swap partners. Thanks mom! Lastly, here is my video. Thanks so much for stopping by!
I did a one-on-one mini album swap with Sandi who is Decor8yourlife on YouTube. She likes both vintage and shabby styles so I sort of combined the two. Here is a series of pictures…
Spine
Back
Inside Front Cover and FIrst Page
2nd and 3rd Pages
The second and third pages have flip outs
4th and 5th pages
6th and 7th Pages
The 6th and 7th pages have flip down and flip up pages
8th and 9th Pages
Last Page and Inside Back Cover
Also, here is a video showing the entire album and what products used. Thanks for stopping by!
I made my first Flip Book! I participated in a one-on-one swap with Kamisha who is VisionsofParis115 on YouTube through the Facebook Group Crafters with Artitute! I had just learned about flip books when the swap went up so I thought what better way to jump in. In a way, the flip book is the new pocket letter.
I decided that I wanted my book to be more than a pen pal letter so I went more of a photo book route with it and I hope Kamisha is ok with the direction I chose. Here are some pictures…
Inside Cover
Pages Open
Opened Completely
Back of Flip Book
I like the way it turned out. Here is a video explaining more of the details…
And here is the video of the book Kamisha made for me…
Hello All! It’s time for another design team project for The Cutting Cafe! This time we were to use the Sentiment Stems and Flower Tops Printable Stamp Set. This set has many variations of stems, some with words, some with designs. They come in two sizes and several ways, straight, curved, and wavy. The choices are many!
Back
This project was easy to do and the sentiment stems and the sentiment just for you enhanced it well. Here is what the inside looks like…
First Pages
Fully Opened
Remember to stop by The Cutting Cafe Blog on the 7th and 21st of each month to see all the design team projects. When you do, be sure to leave a comment. This enters you into a drawing to win three free files.
Thanks for stopping by! I have a video of my project for you…
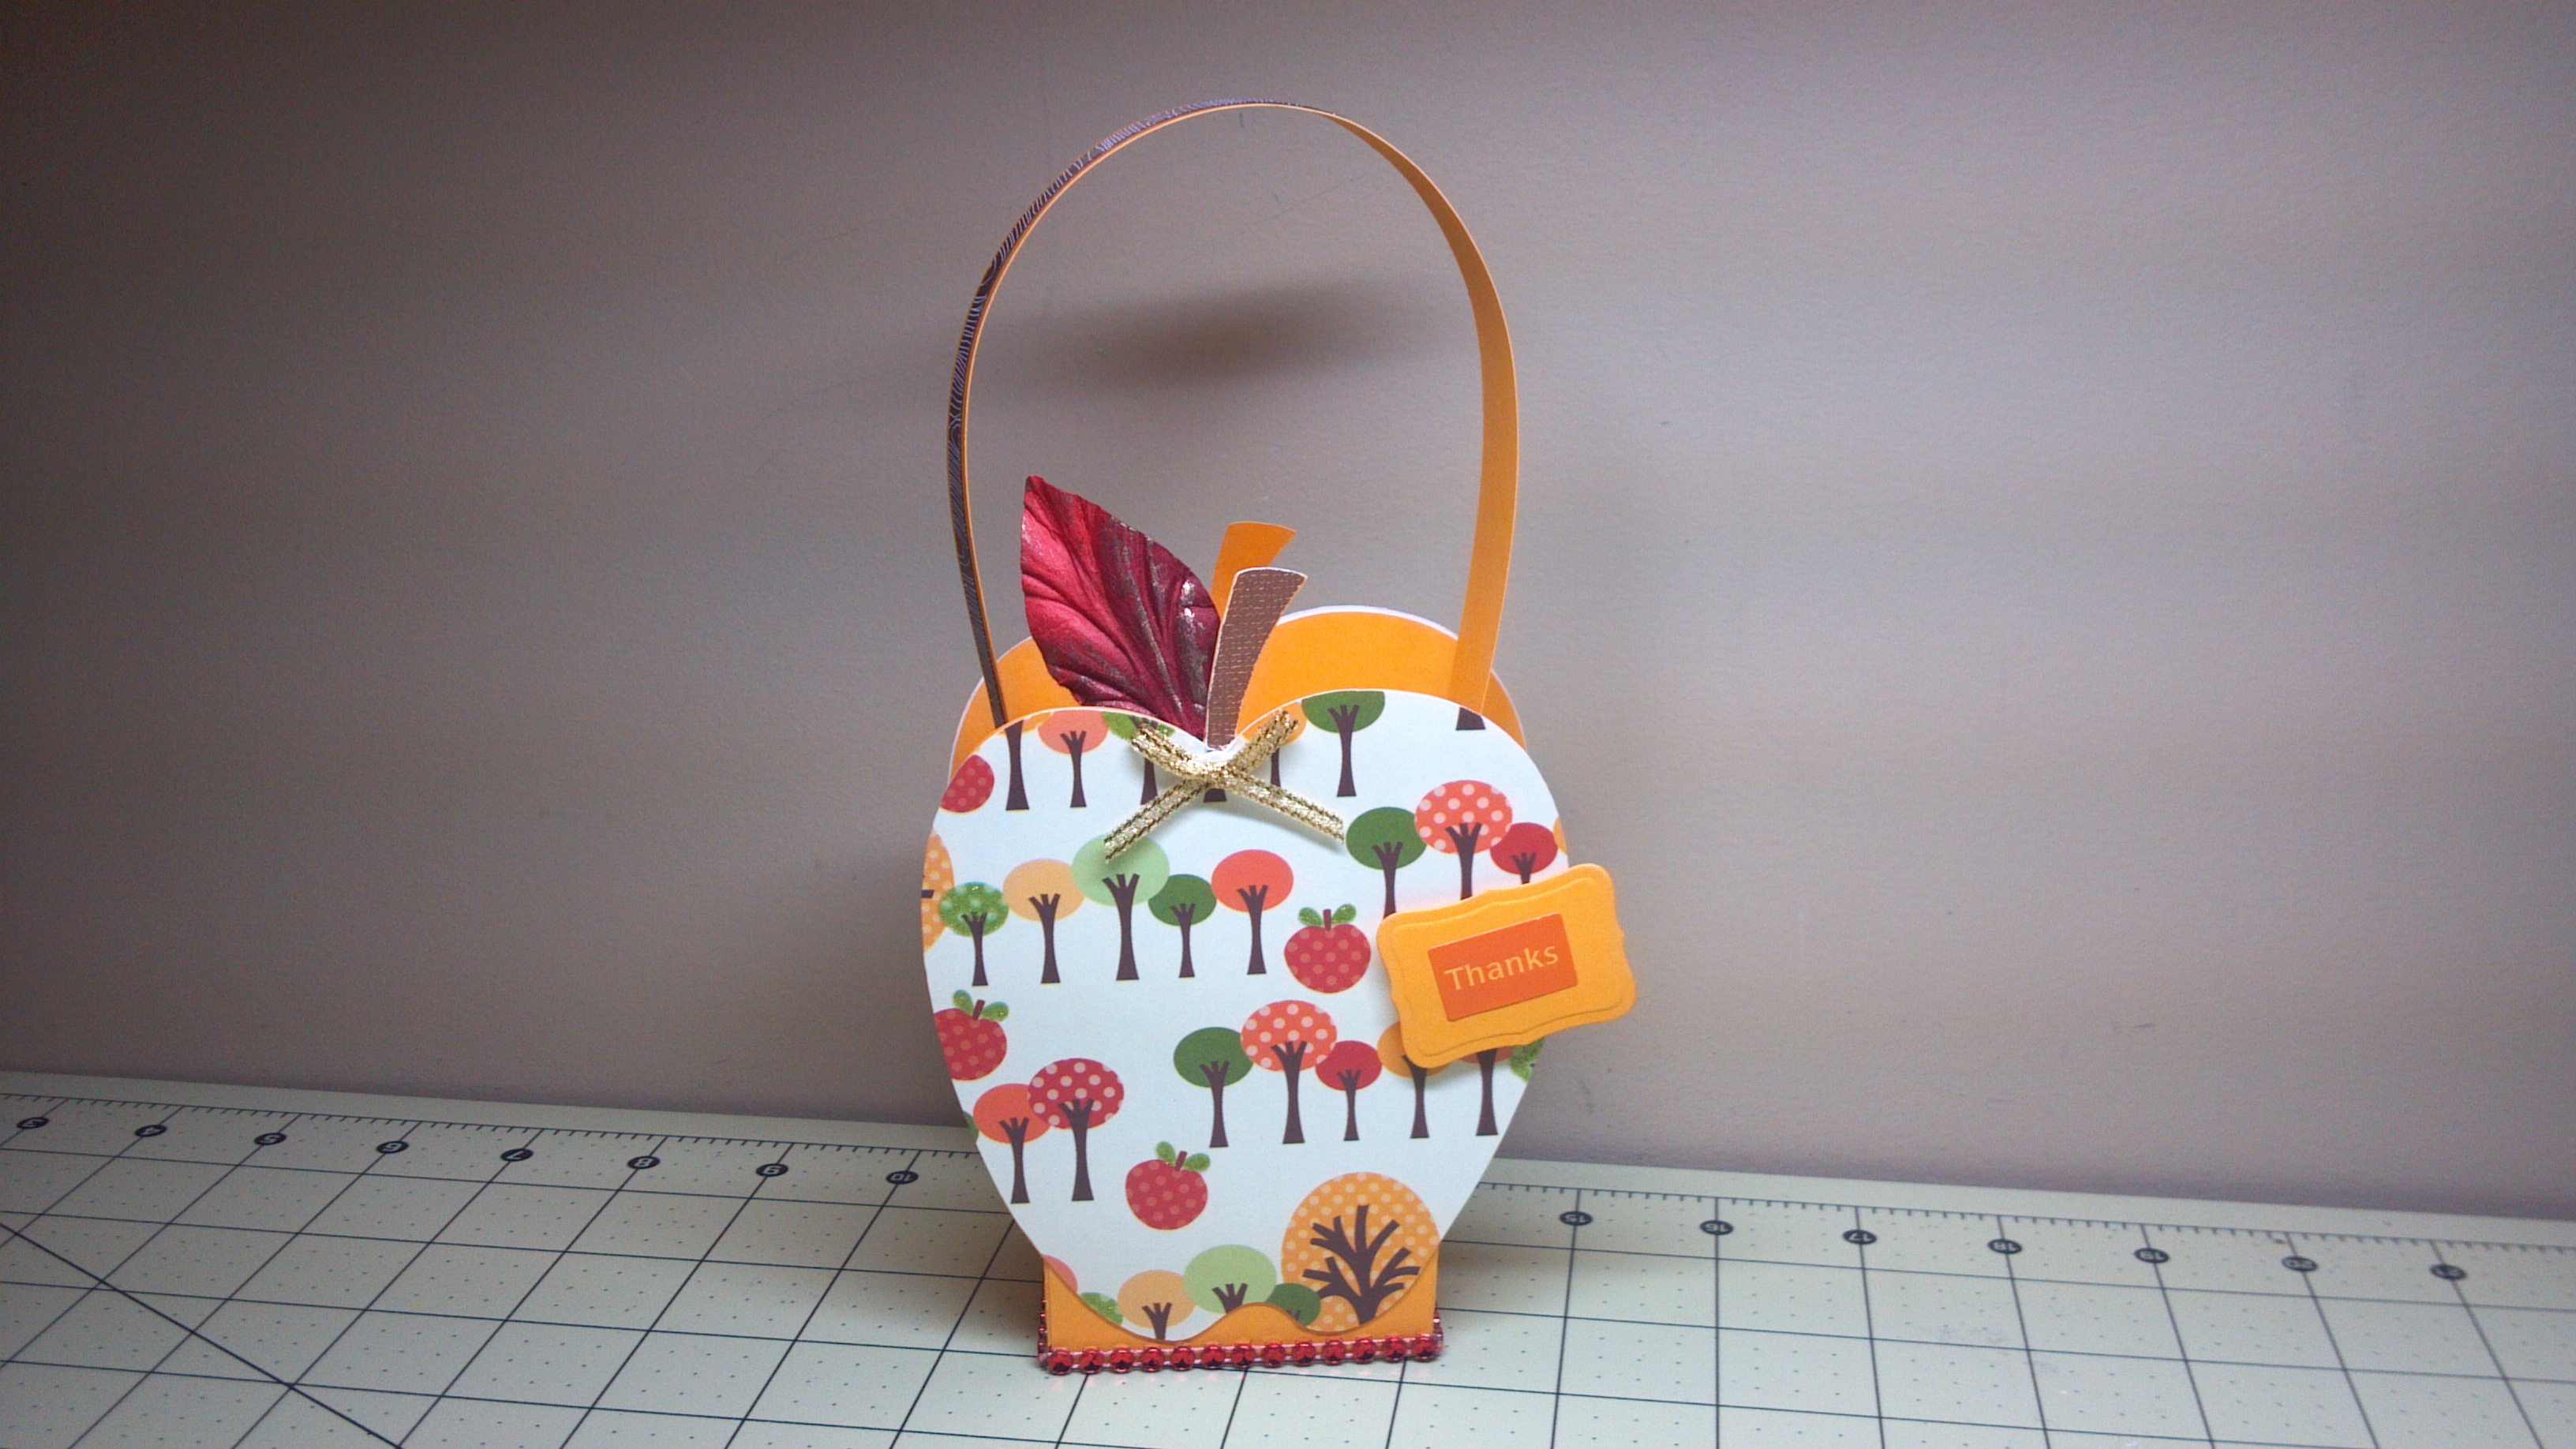
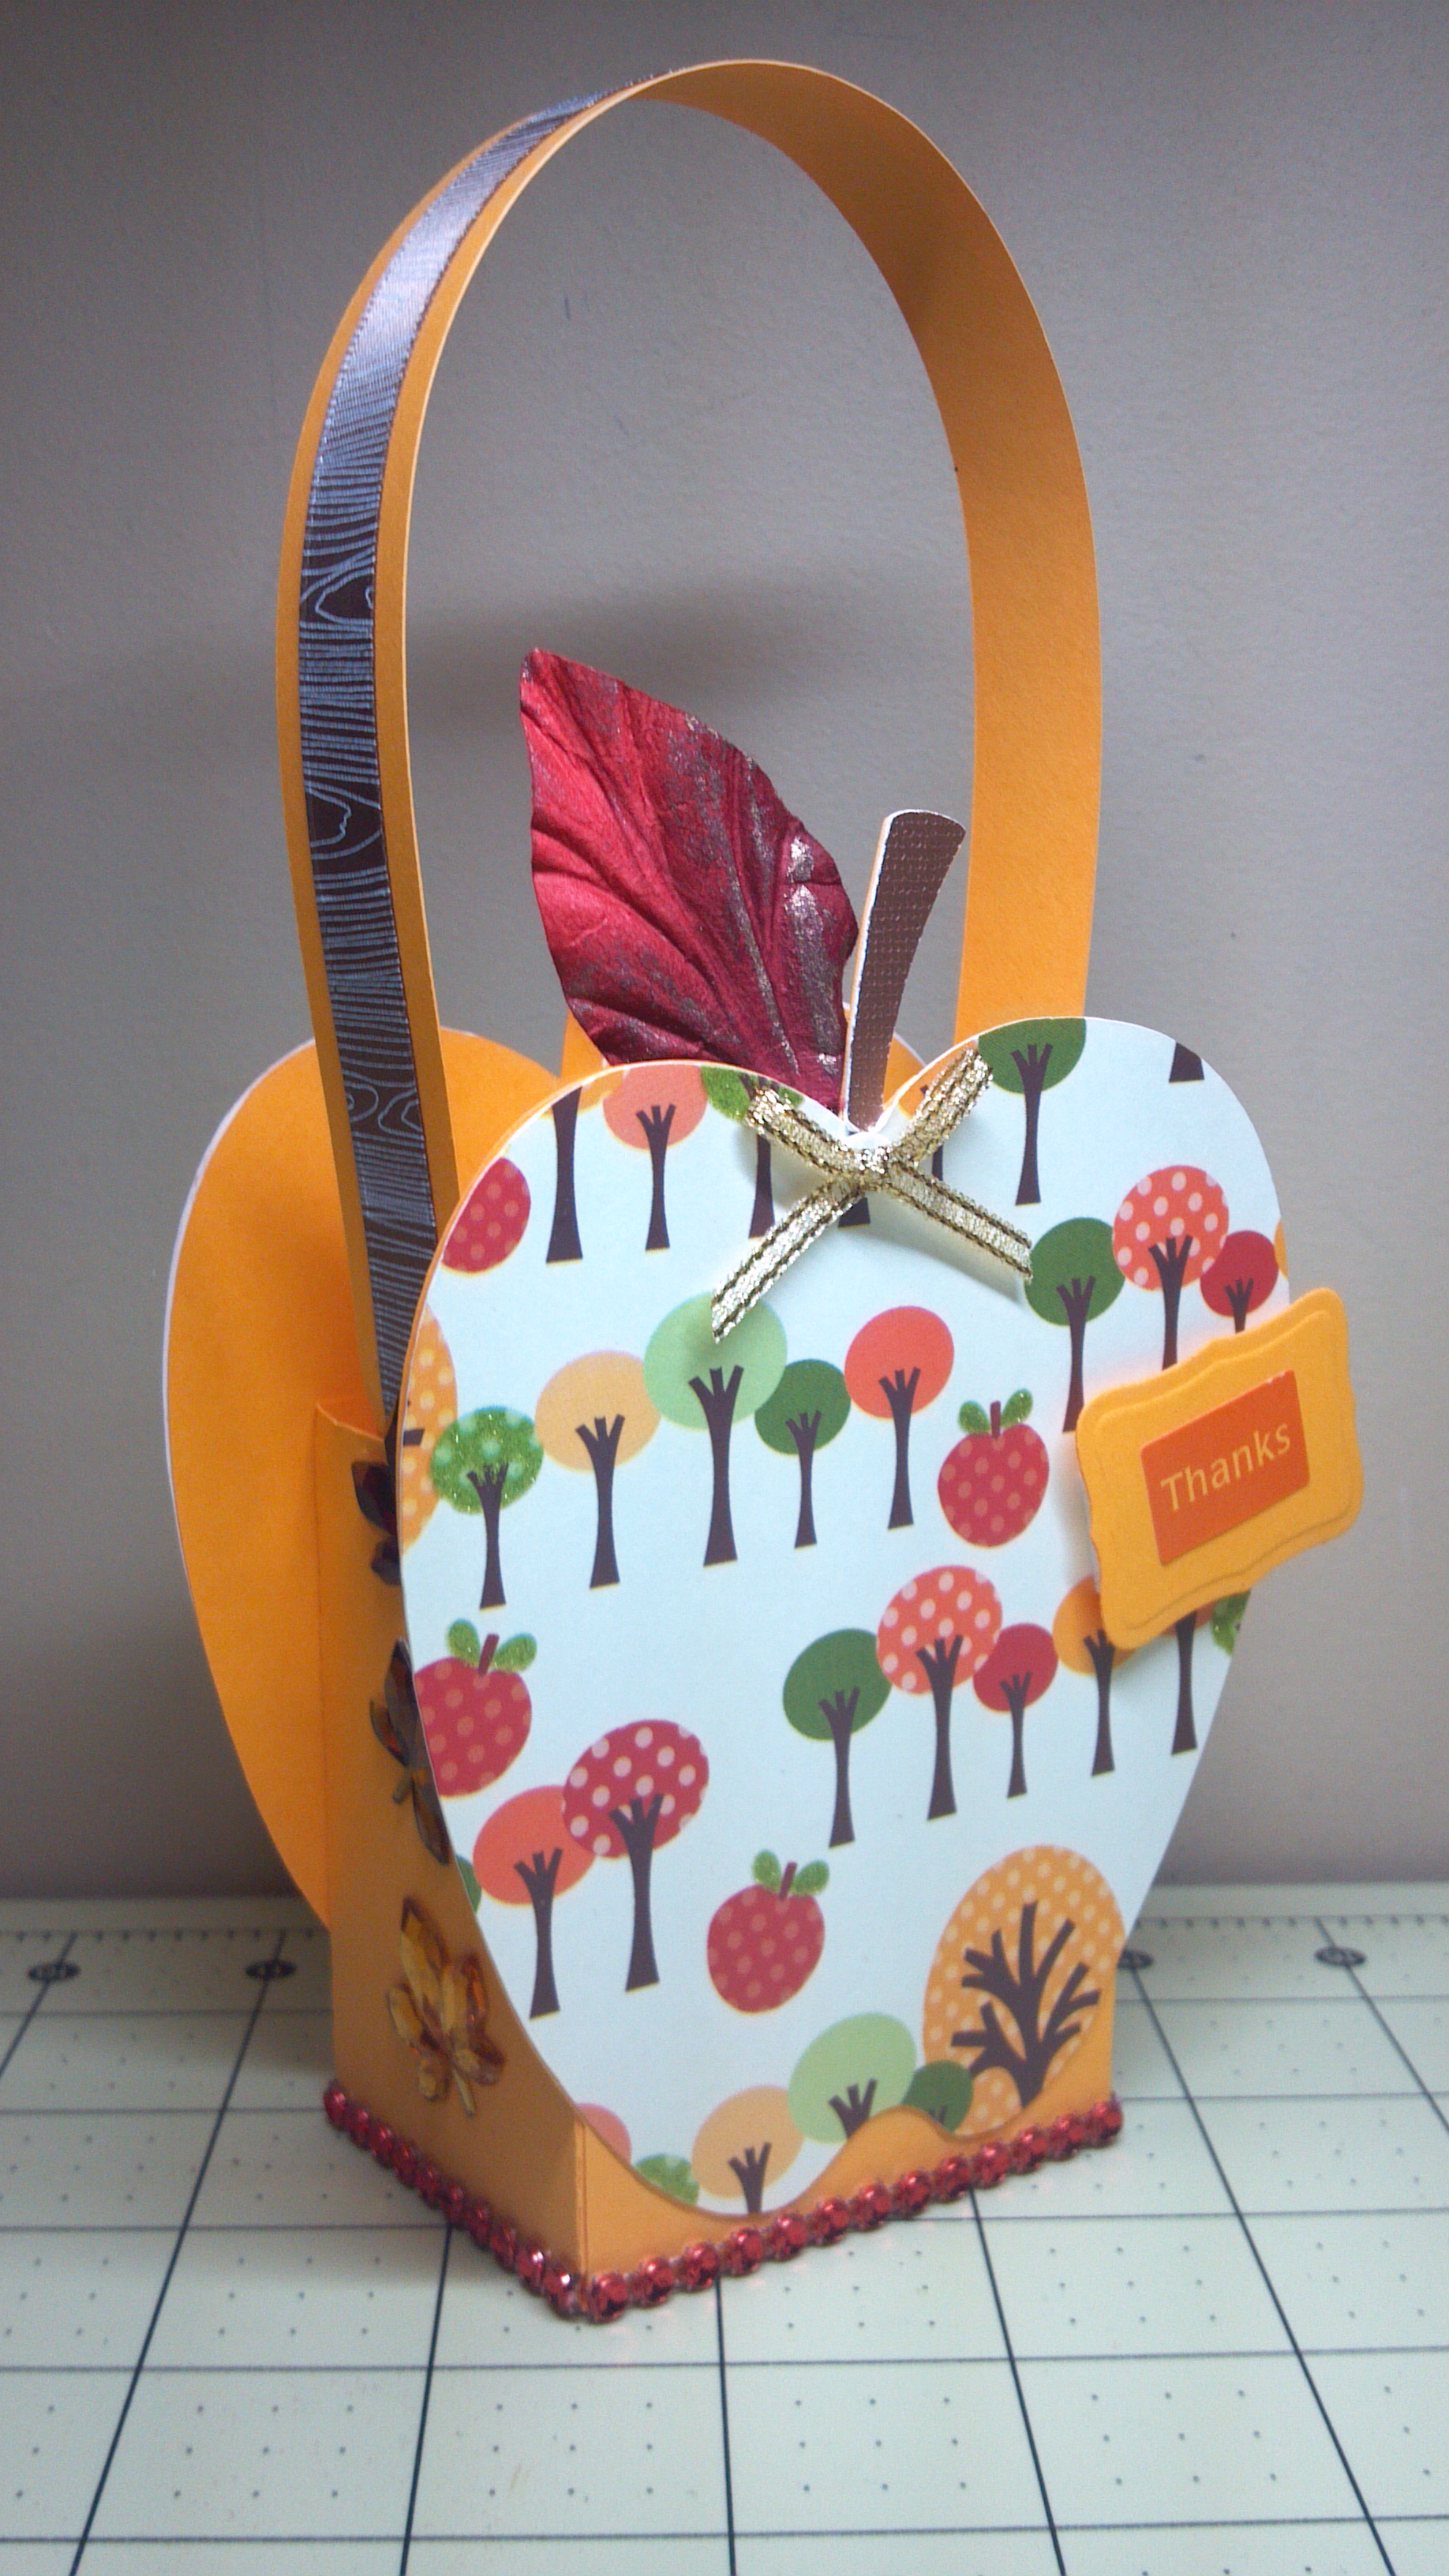
This file is very easy and can be done easily by hand, so you do not need to have an electronic cutting machine. That is one great thing about Regina’s files…they come in multiple formats including PDFs so that those without an an electronic cutter can still make beautiful items!
I used a cute orchard patterned paper, some bling leaves, bling mesh trim, and a woodgrain patterned ribbon. I finished it with a rust color leaf, a gold bow and a thanks sentiment. Here are a few other views:
Head on over to The Cutting Cafe Blog to see the new projects from our team. By leaving a comment, you always have a chance to win three files of your choice the next week. Thanks for stopping by. Here is a quick YouTube video before you go…
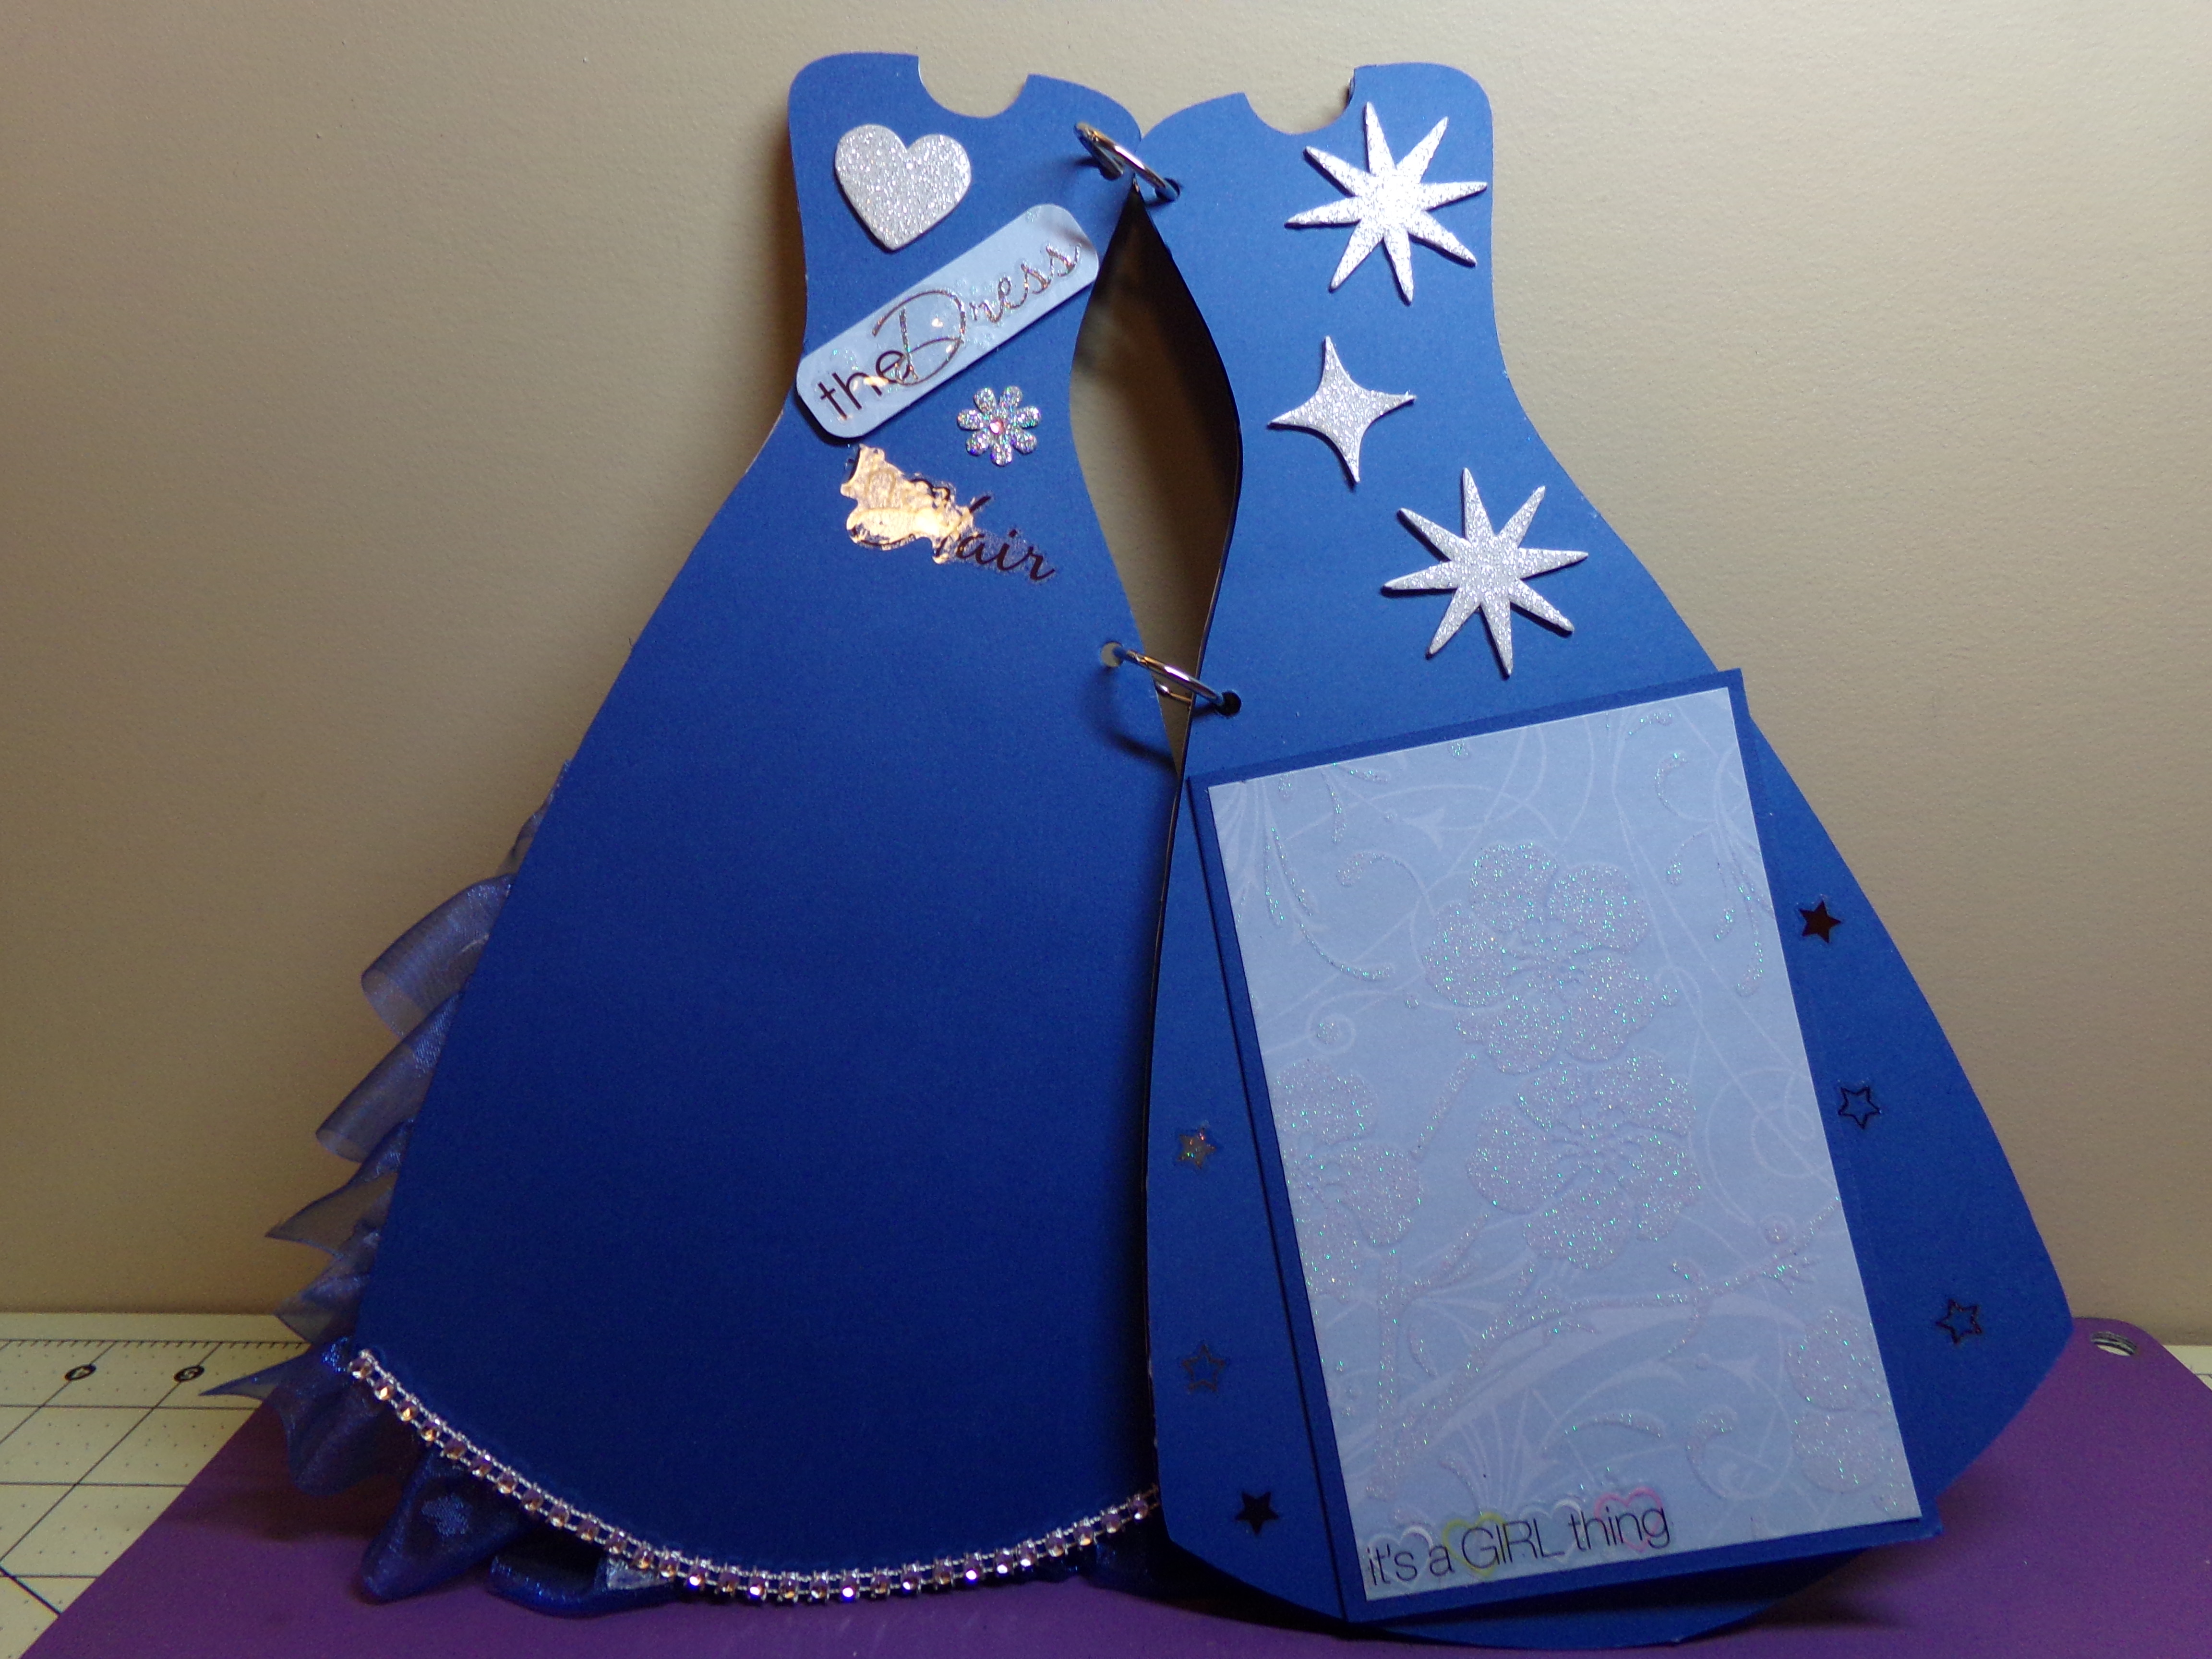
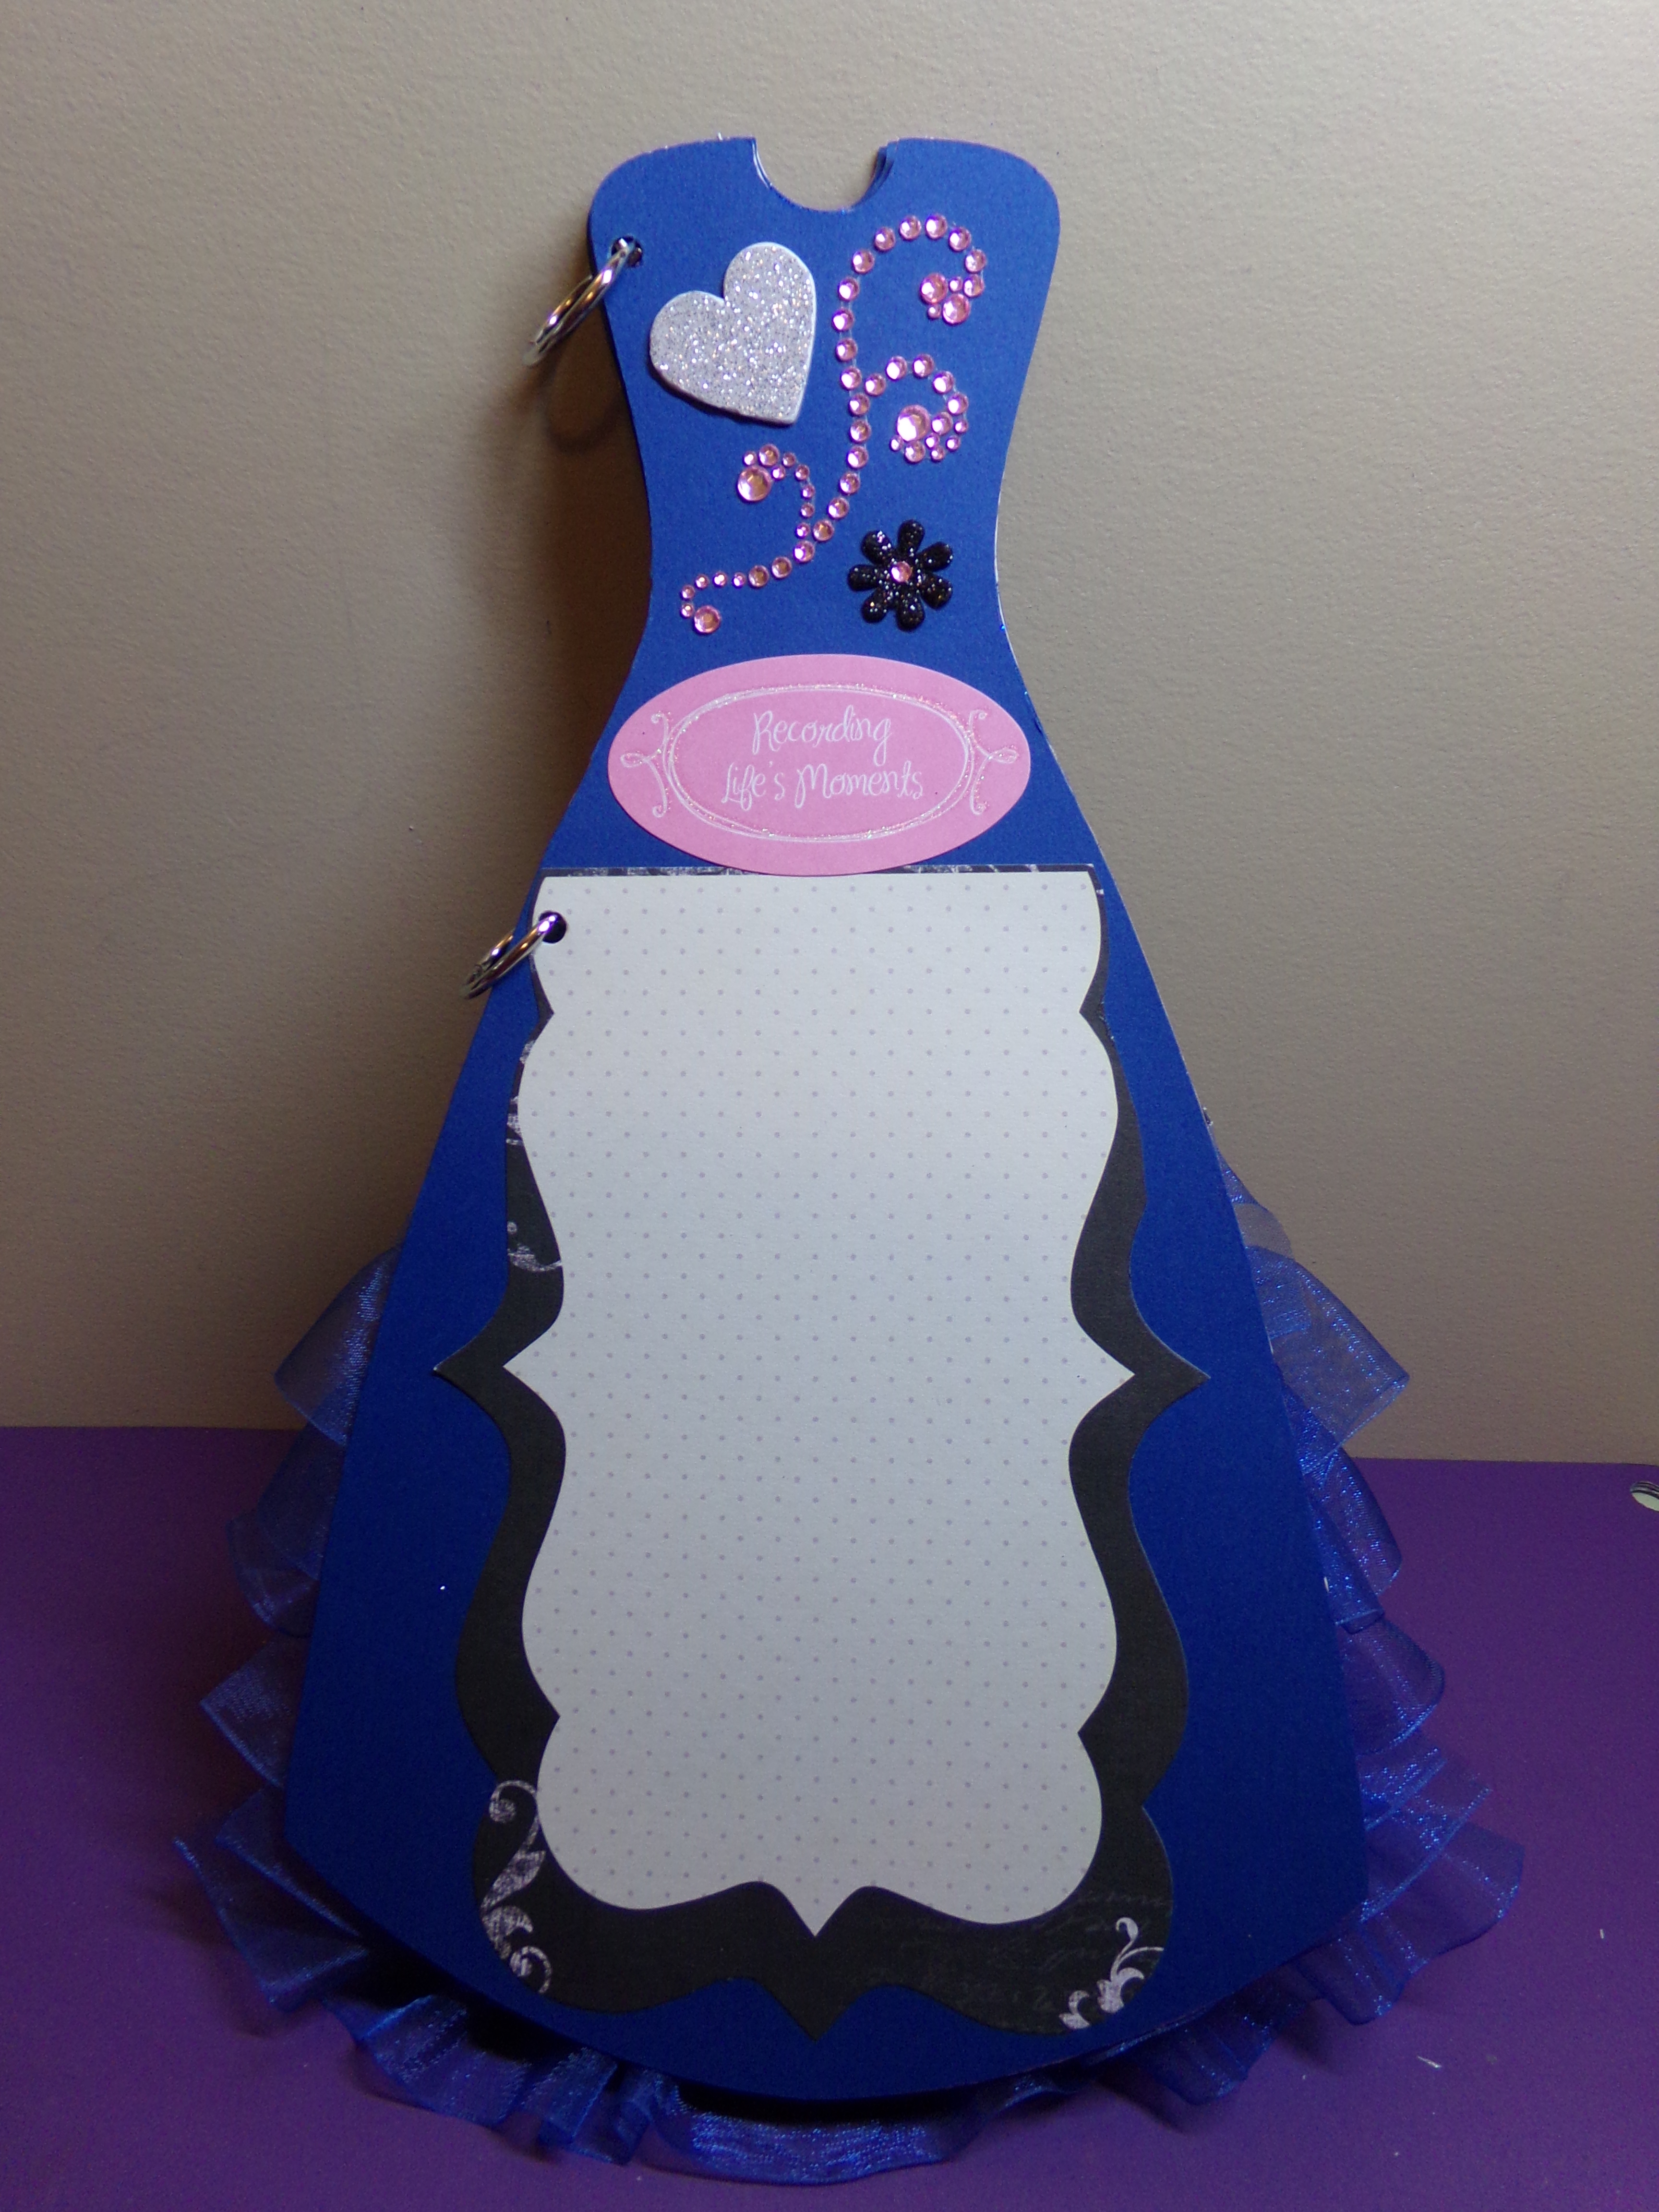
I love the way my project turned out. It is for a little 7-year-old girl in my life who was in a pageant recently. She won the formal category, along with a couple other categories, and placed in the top 30 out of a lot of other contestants (148 others I think). Her dress was royal blue and silver and it had organza ruffles from the waist to the floor. The top was sleeveless and has silver sequins and beading.
She asked if I could “make her one of those things to put the pictures in.” She meant a photo album but she couldn’t think of what it was called at the time she asked. So, I made her one just for her to put her favorite pictures from the event in. I can’t wait to see her face when she sees it! She is going to love it!
Dress Shaped Mini Album – First Two Pages Opened
I enlarged the dress shape 165% making it around 11.9″ x 6.5″ so it is a nice size. I actually cut out old gift boxes as the page bases and covered them with paper. I just added embellishments and a few fold outs so that she could get more than one picture on several of the pages. Below are the individual pages and the video. Be sure to stop by The Cutting Cafe Blog on Wednesday afternoon for Inspiration Wednesday to see all the design team projects! Leave a comment and you just might be selected to win three free files next week!
Dress Shaped Mini Album – Page 1
Dress Shaped Mini Album – Page 2
Dress Shaped Mini Album – Page 2 Opened
Dress Shaped Mini Album – Page 3 – The bottom flap opens to hold pictures
Dress Shaped Mini Album – Page 4
Dress Shaped Mini Album – Page 5 – the flap is a three way folder for pictures
I am an association management professional who has always loved fashion, sewing, crafting, writing, cooking, and shopping. I am married to a wonderful man and have a great family foundation. I like to share inspiration with as well as get information from others and hope this site will let me do just that. Happy crafting!