I finally got around to making my first folio and a matching box. I used a Paper Phenomenon/Kathy Orta tutorial called Gift Card Box Folio. It was fairly easy to make. Measuring and cutting the mats took the most time. I used cream cardstock for the base and a few photo mats. There is no chipboard in this at all. It is all paper.
And speaking of paper, I used the Painted Posies paper stack by Craftwell and did more mixing of patterns than I normally do, but I like the way it turned out.
Warning…I have photo overload and have added captions to all the photos so you can tell what I am showing. At the end is my YouTube video. Thanks so much for stopping by!
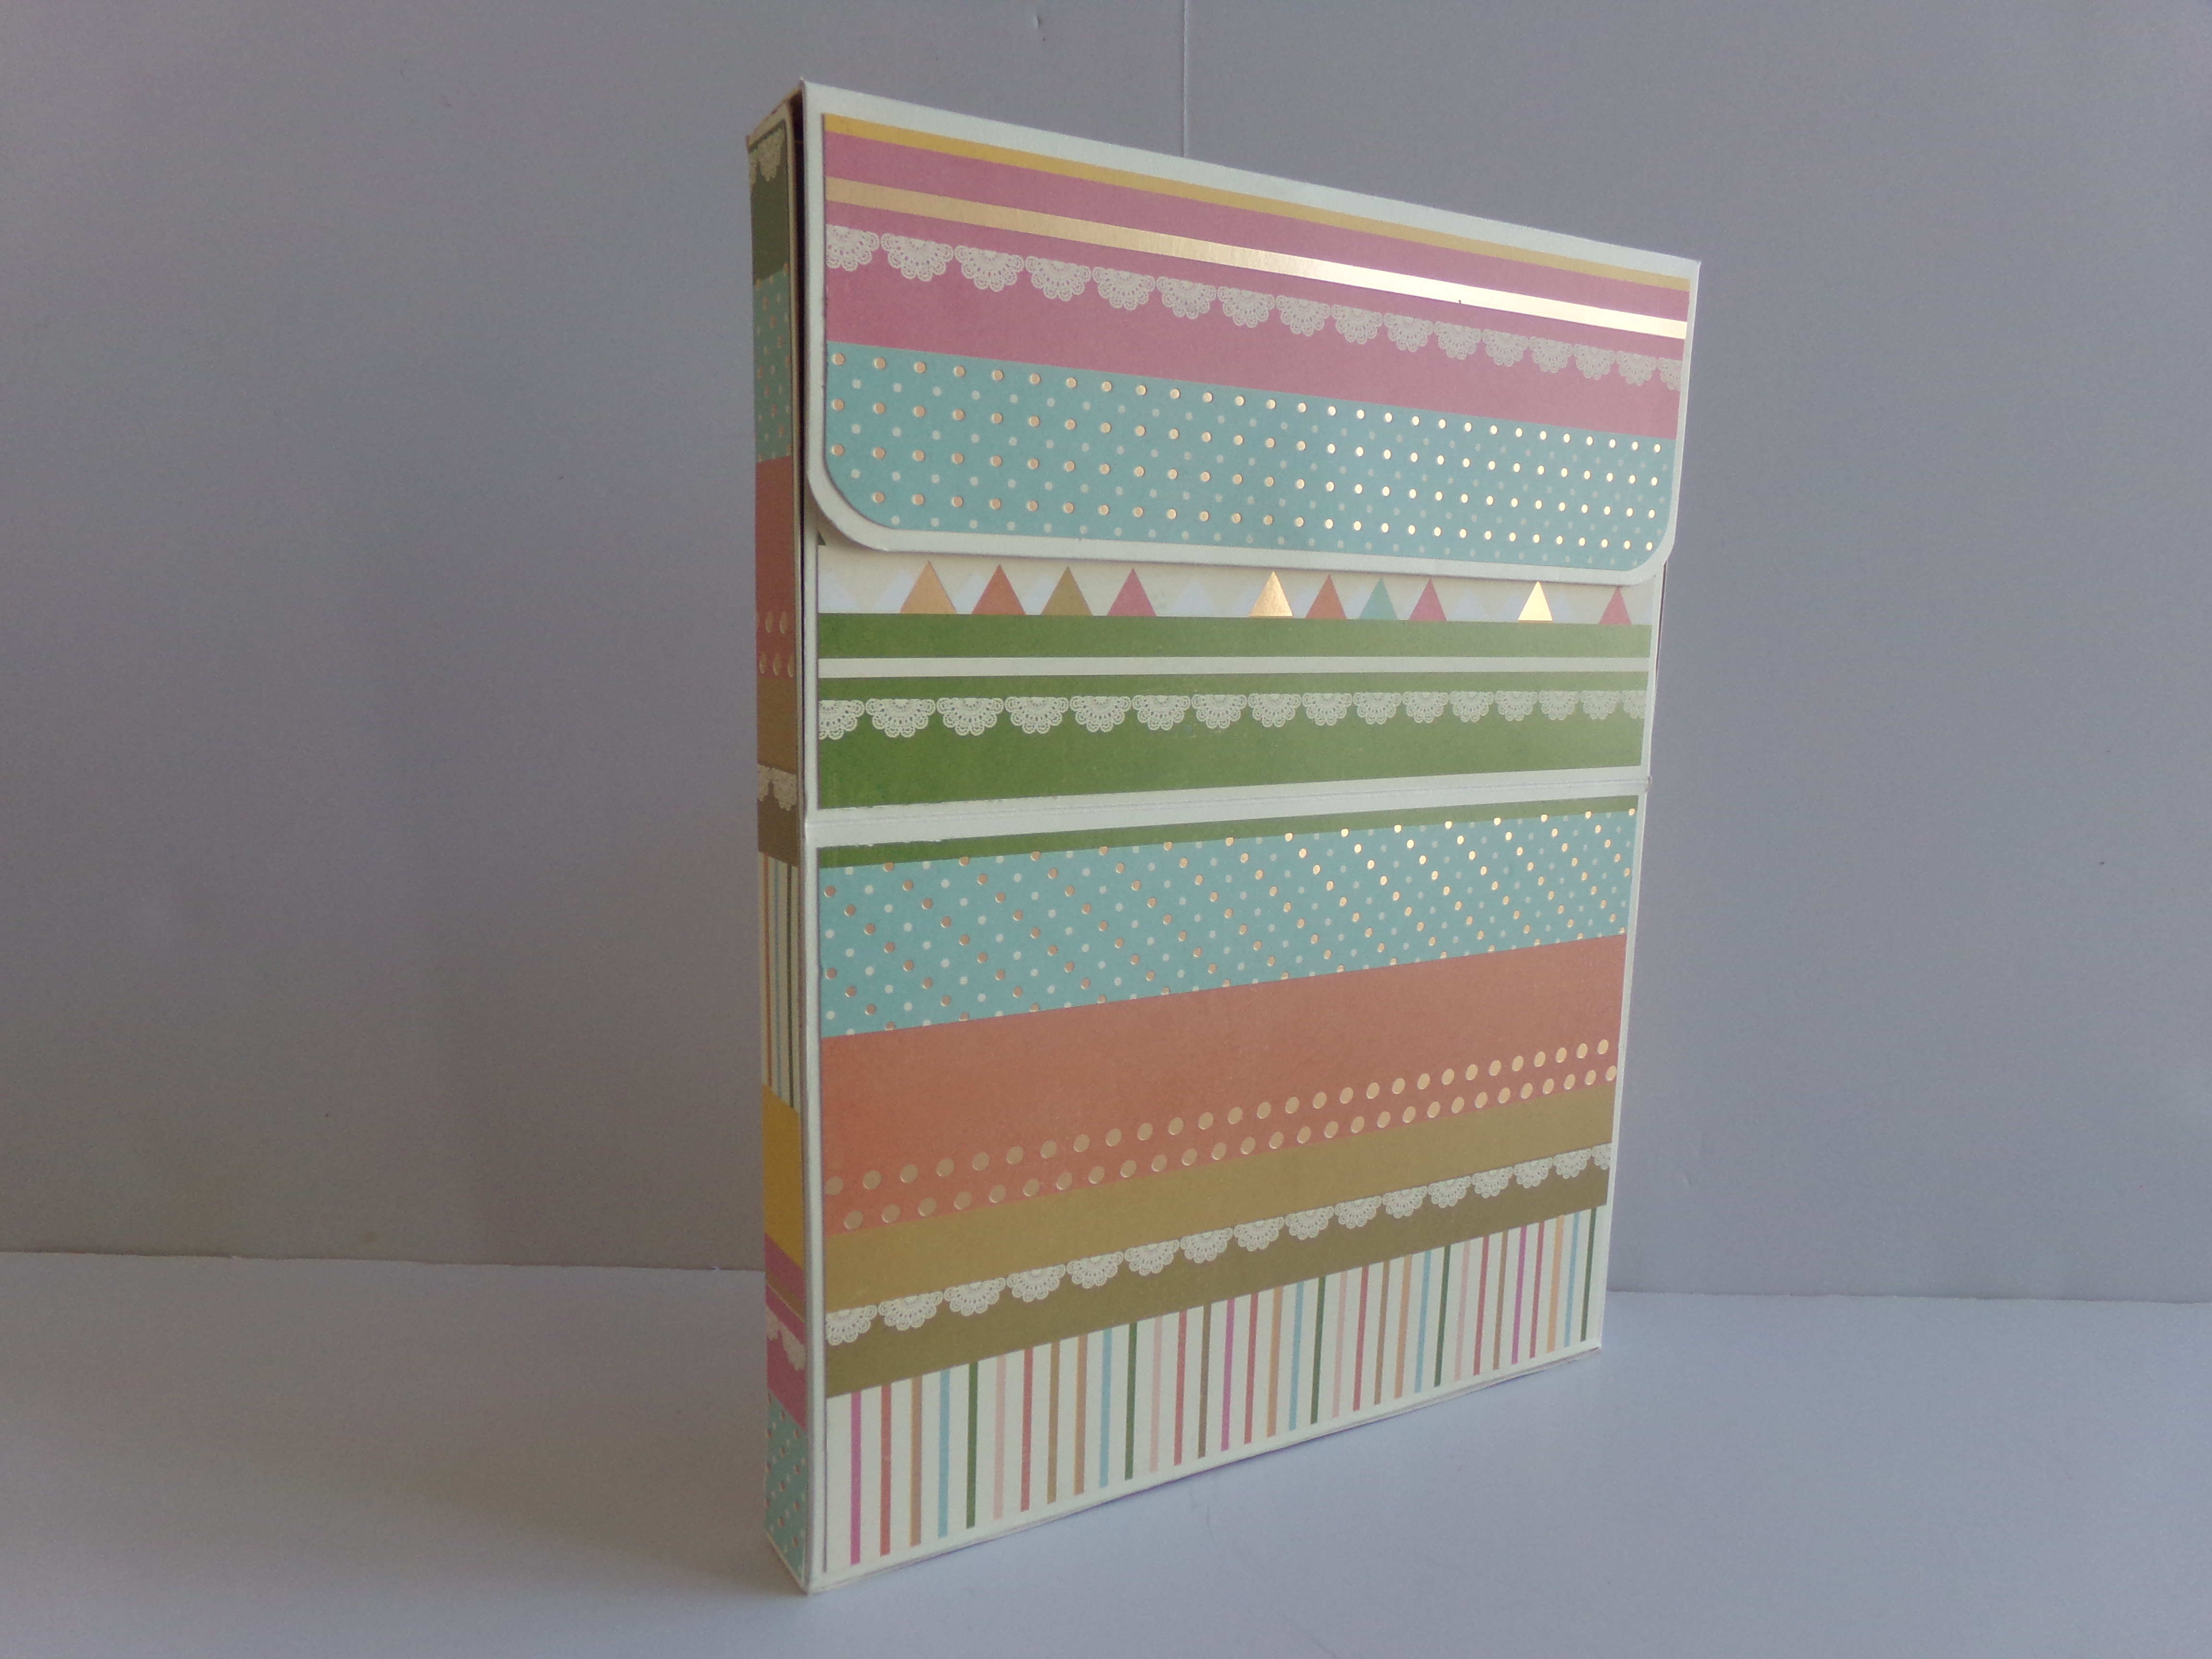
Folio Box Front
Back of folio box
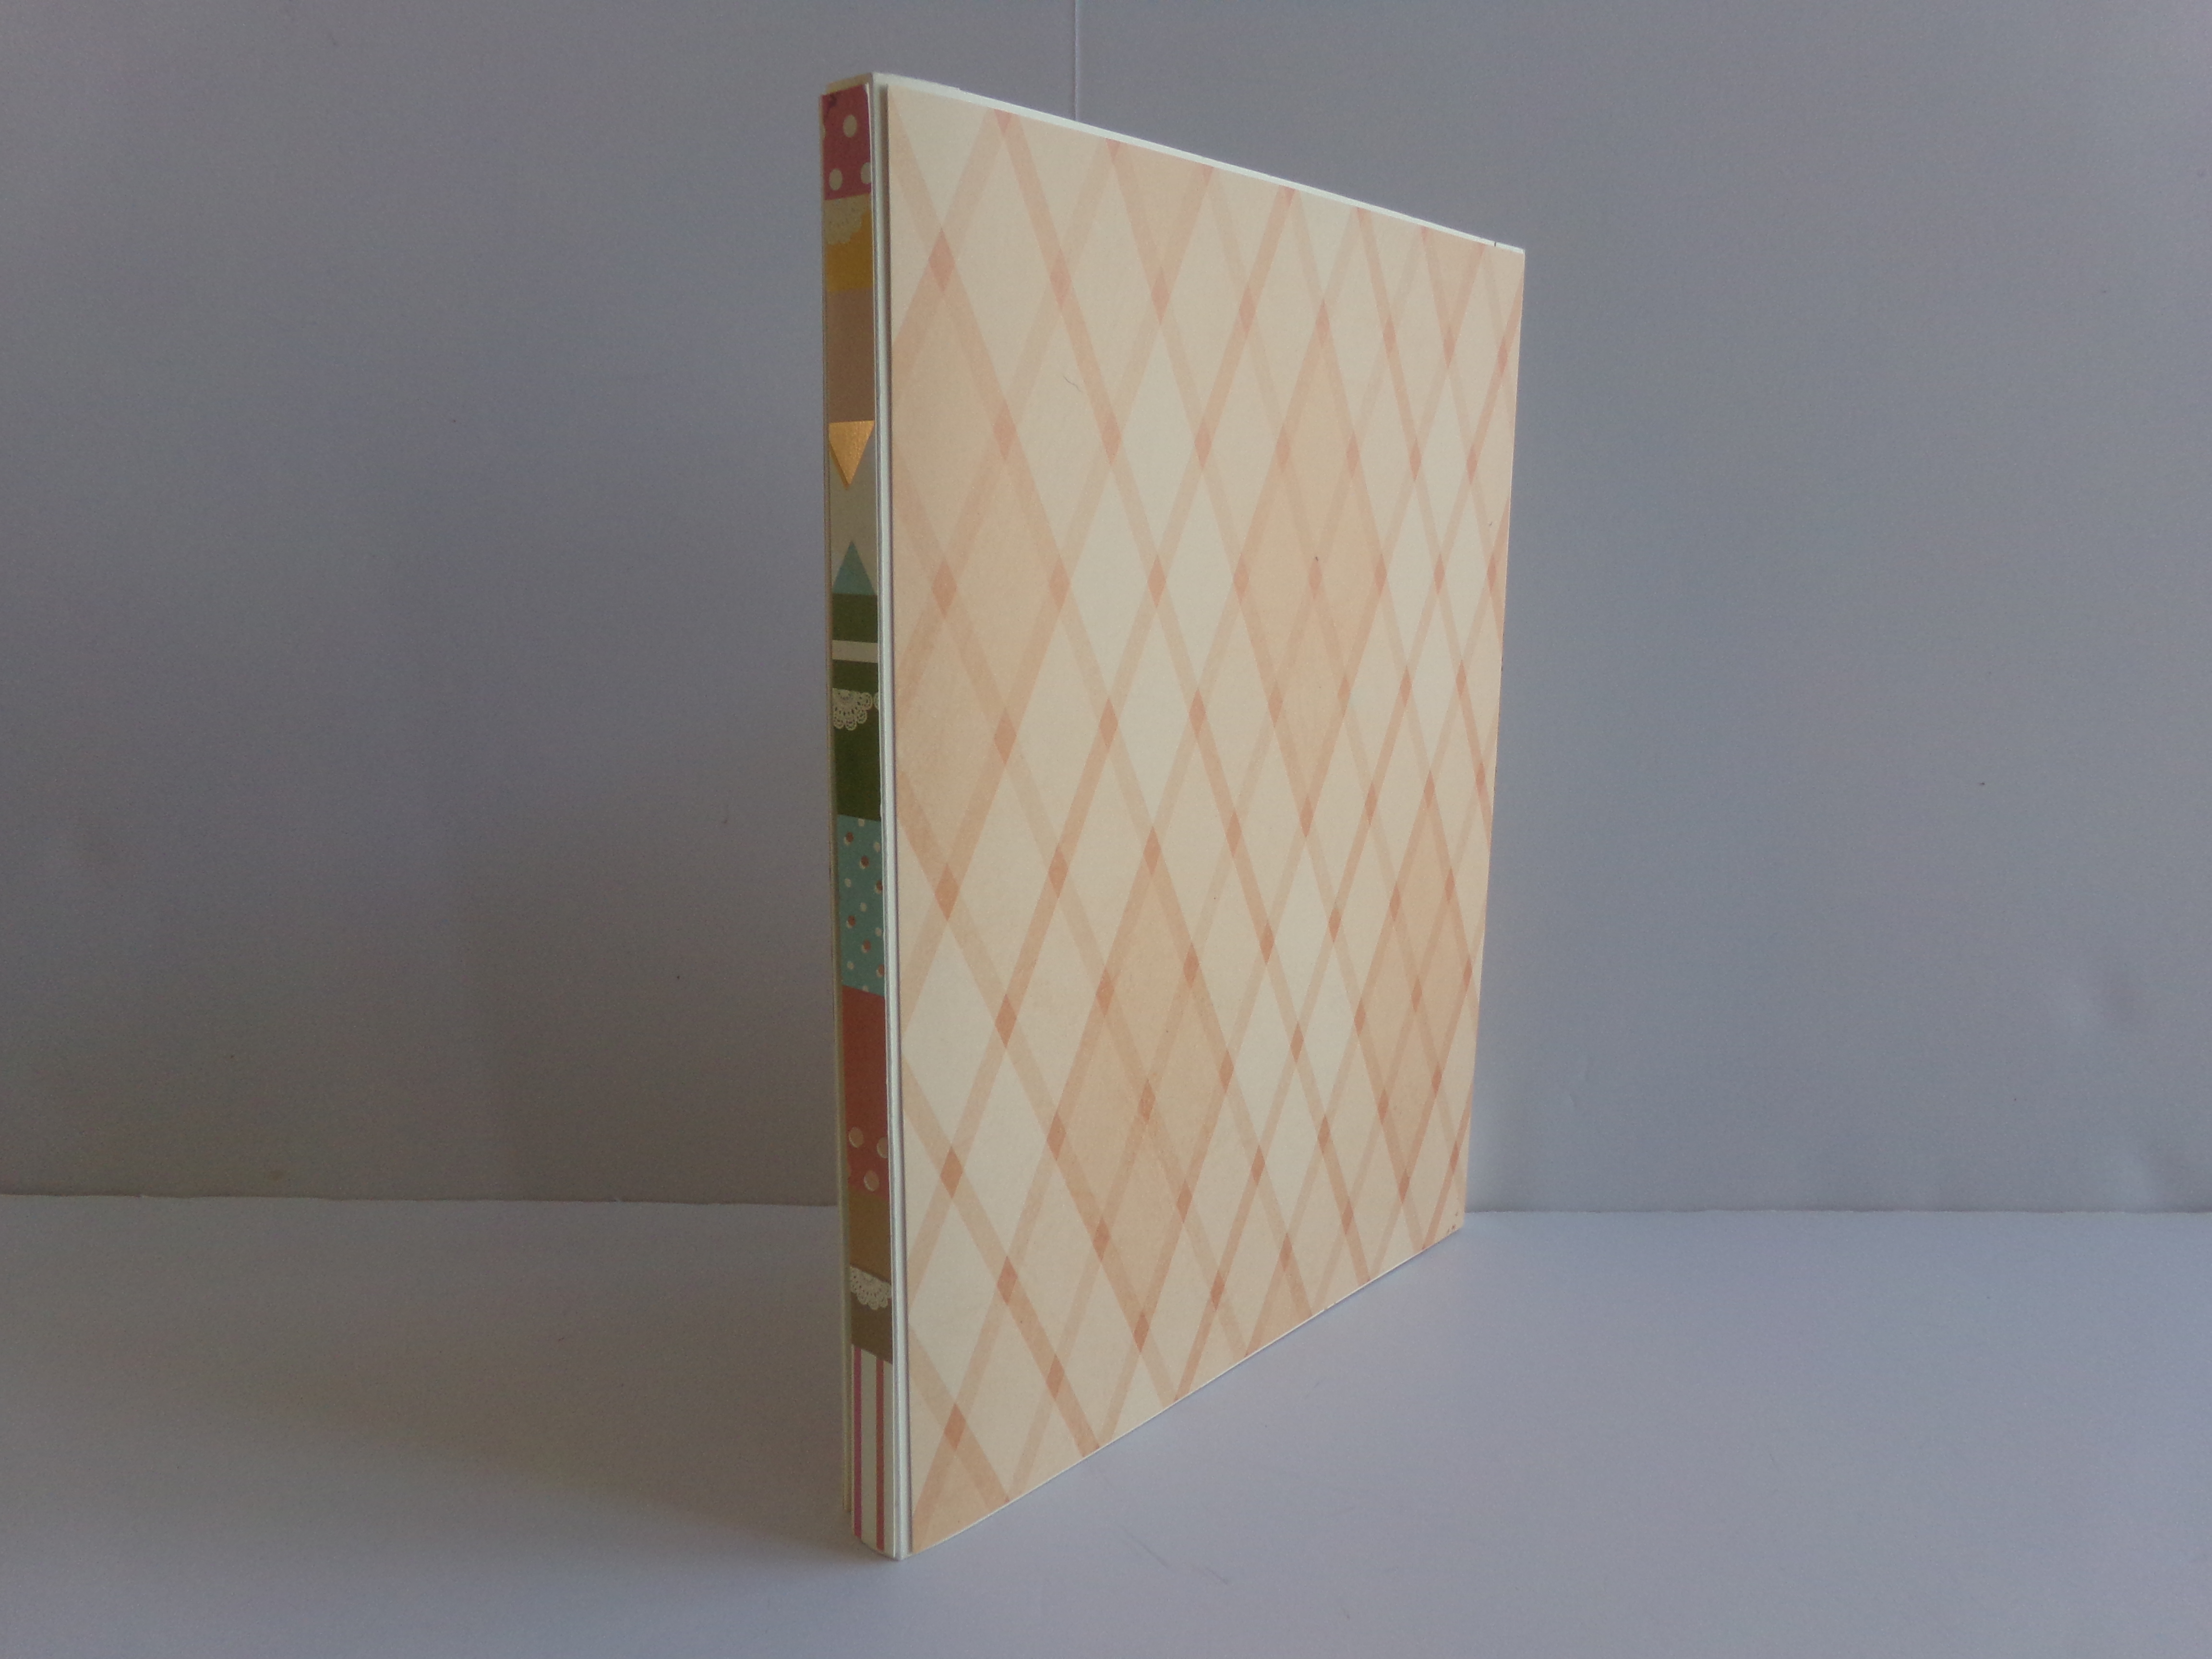
Side view of folio box
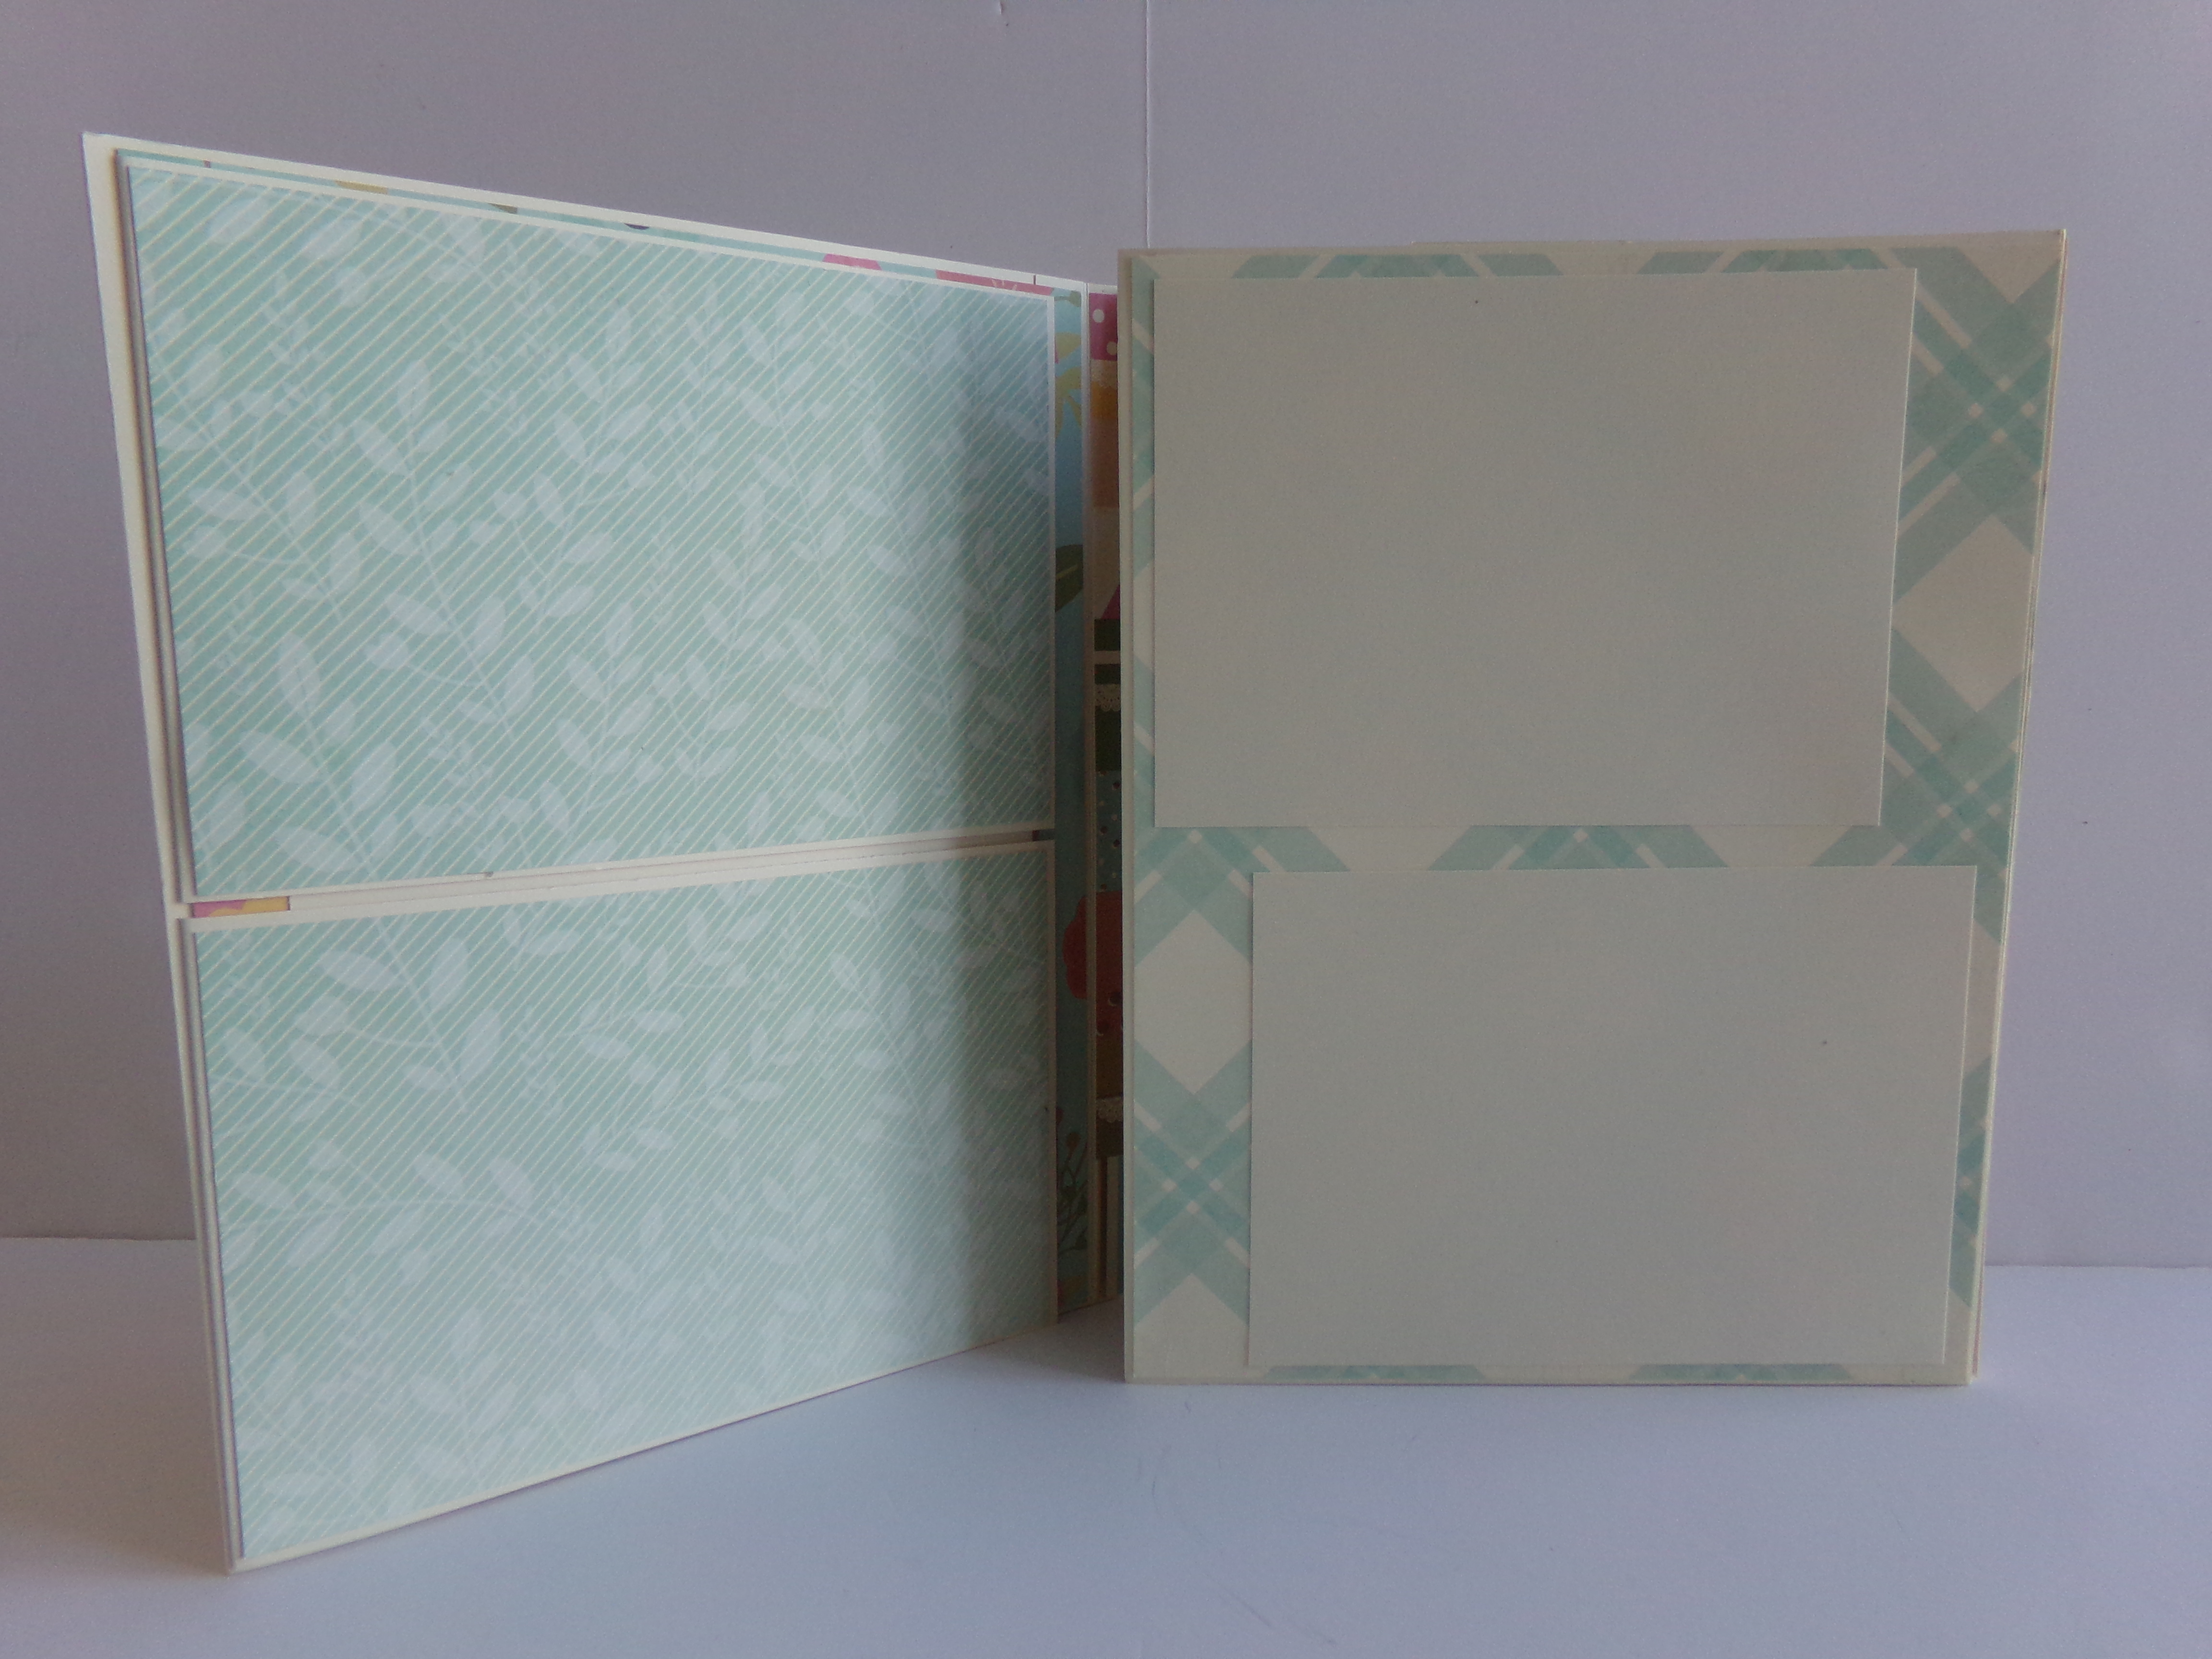
Folio box opened without folio in it
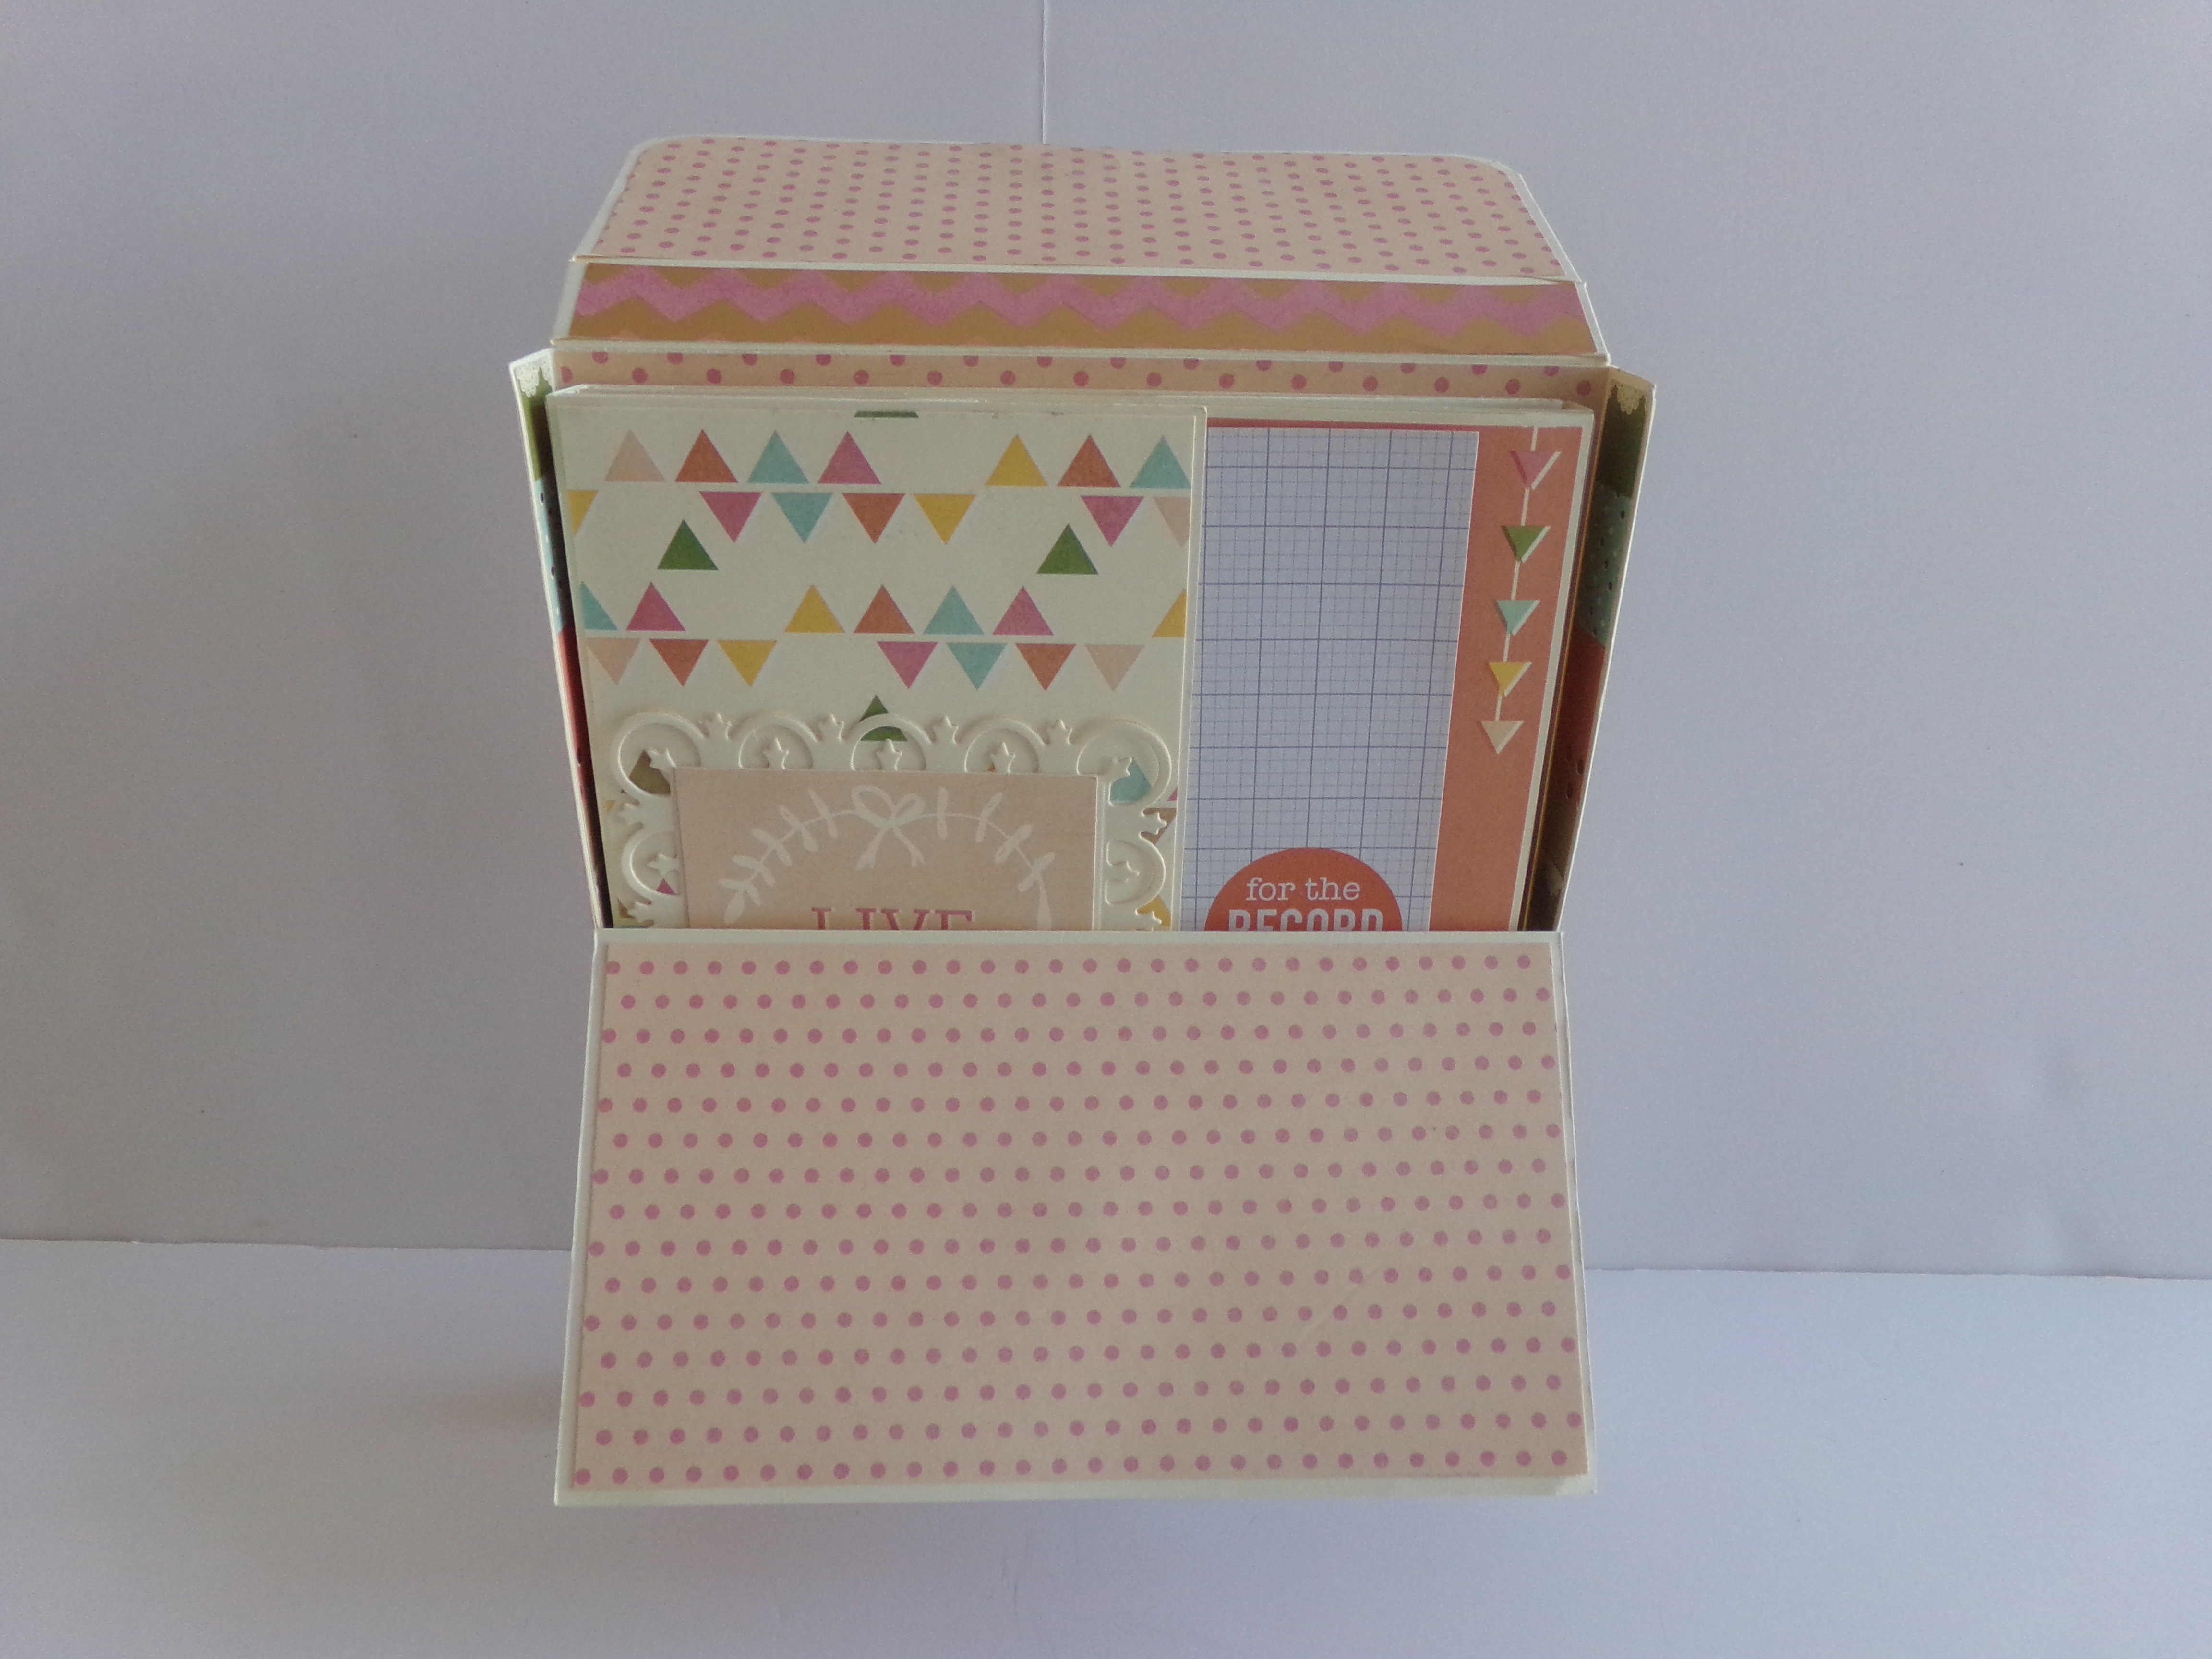
Box opened with folio inside
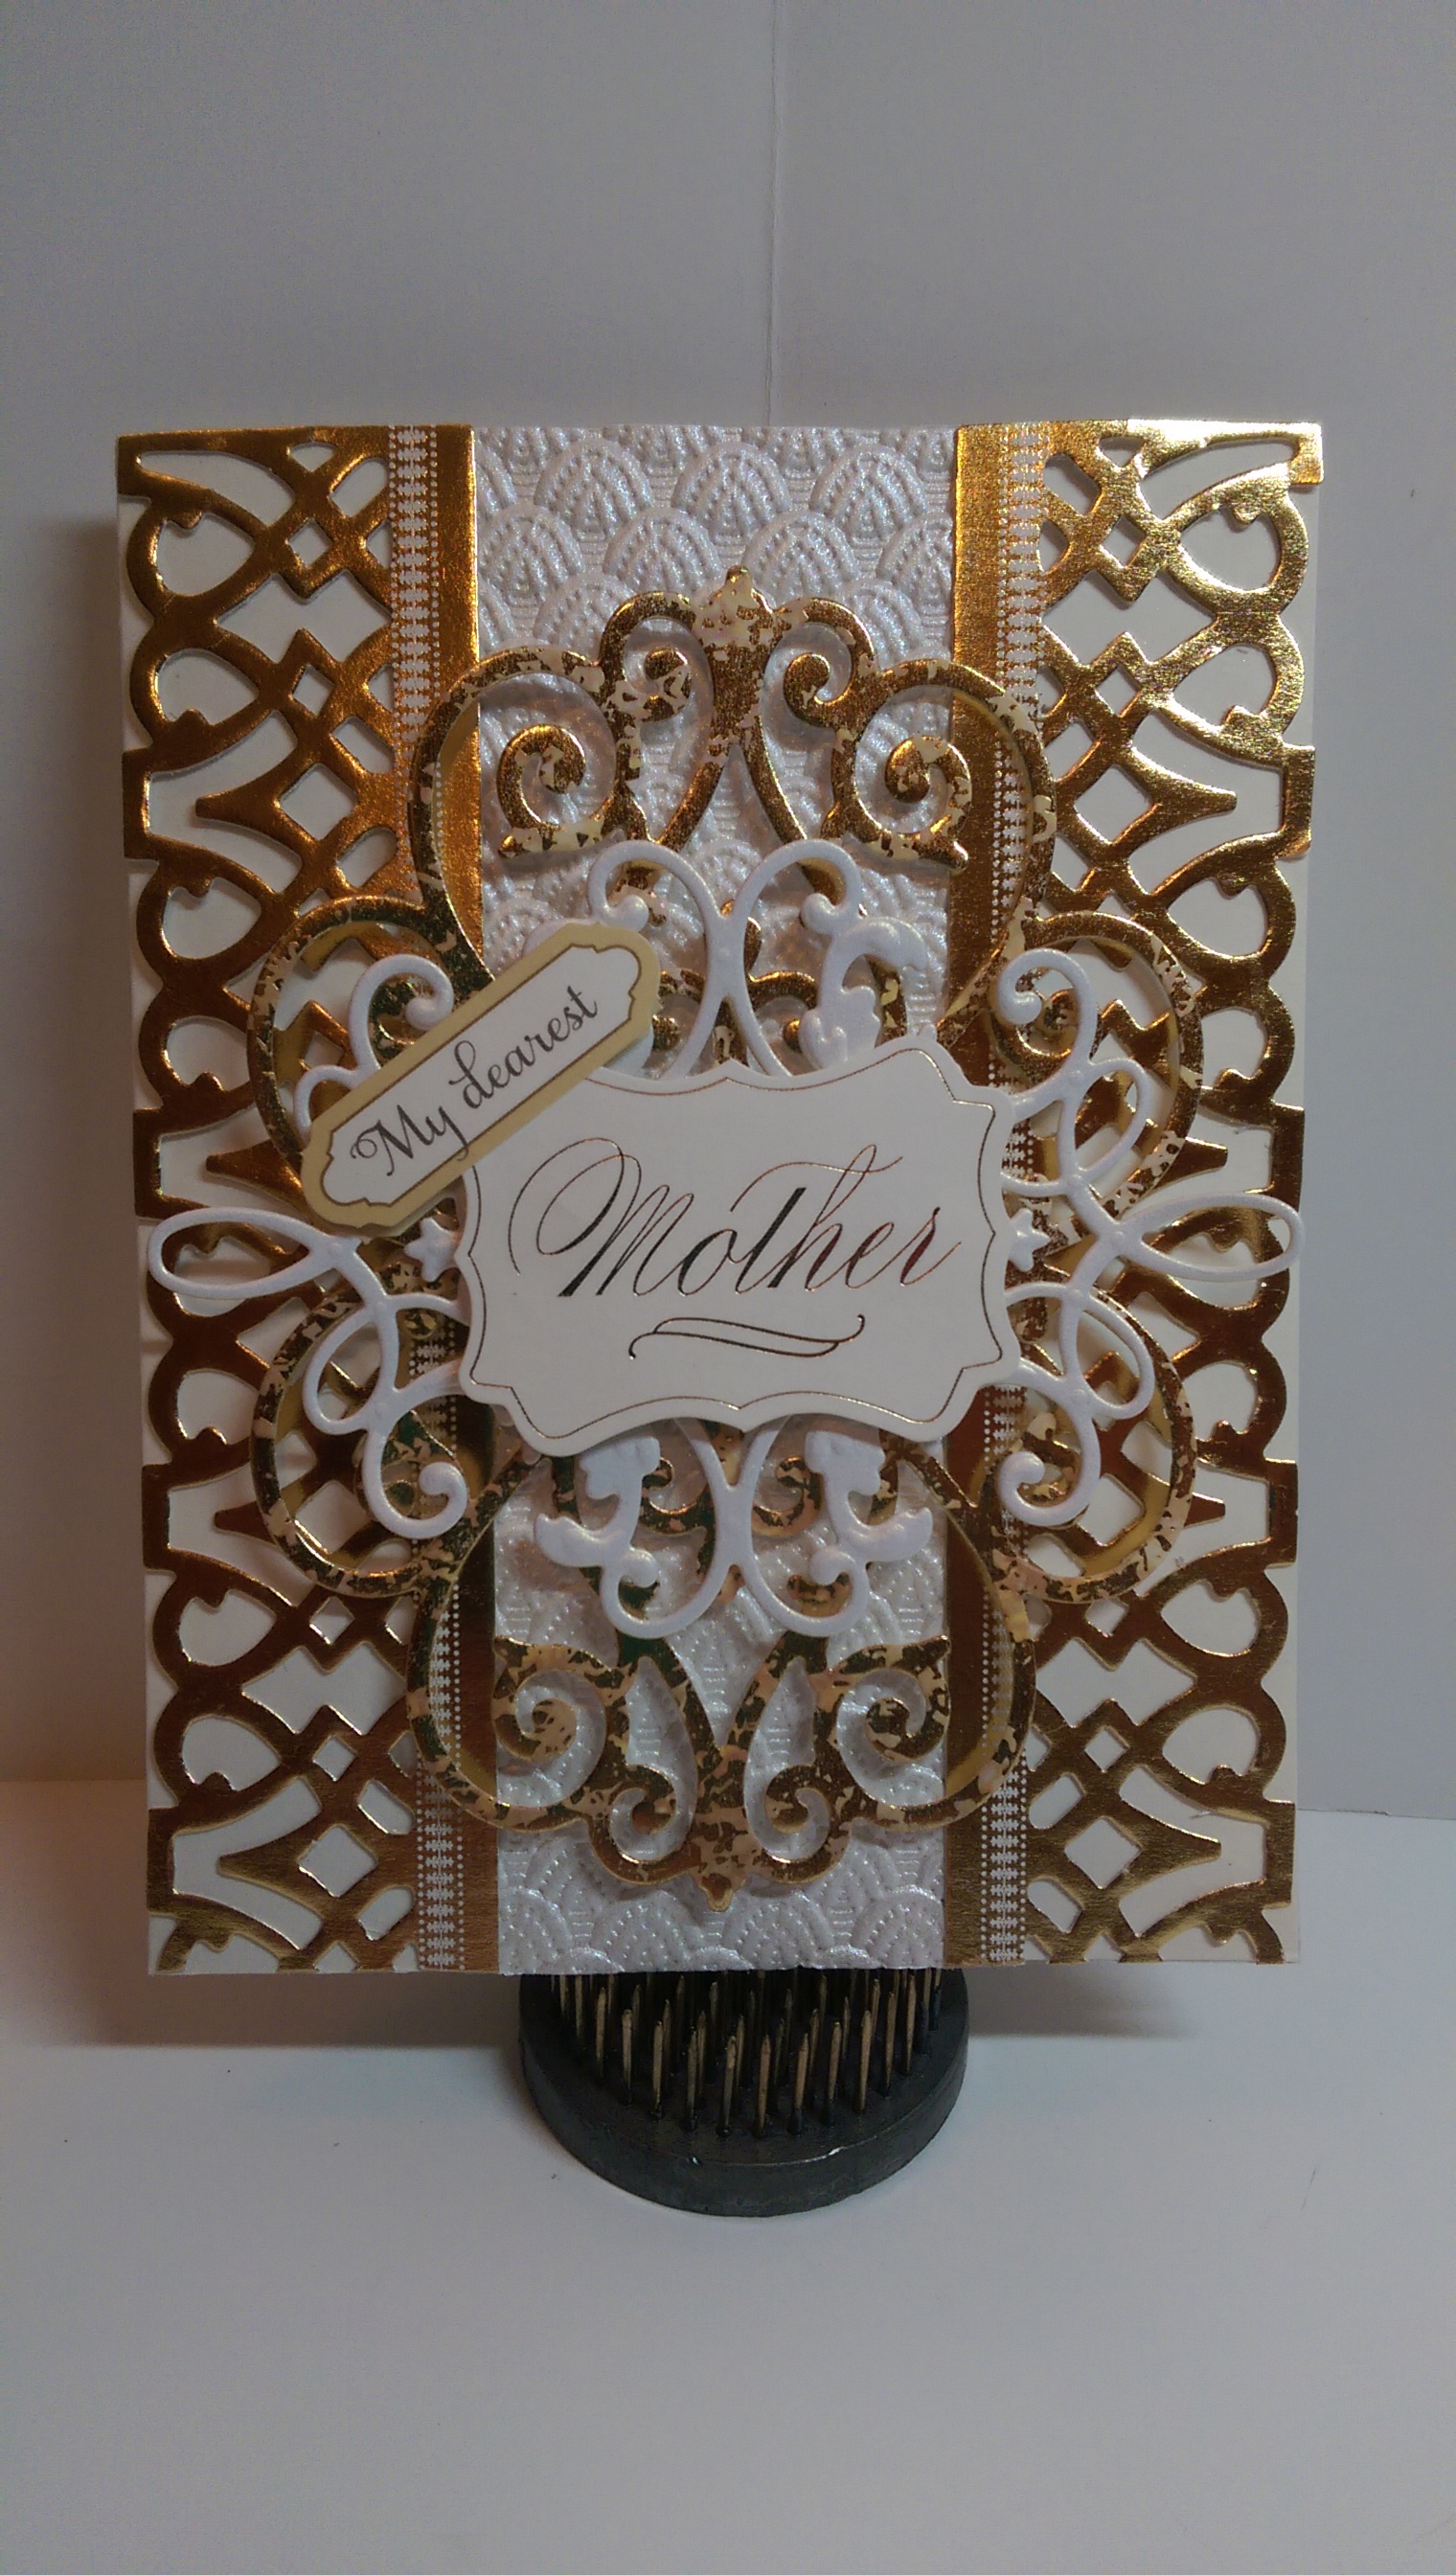
Front cover of folio
First flap opened
Full view of the first section of folio opened
Here is the first flap of the second section
Two swing out photo mat flaps
Folio right flap opened
Next page of the right side opened
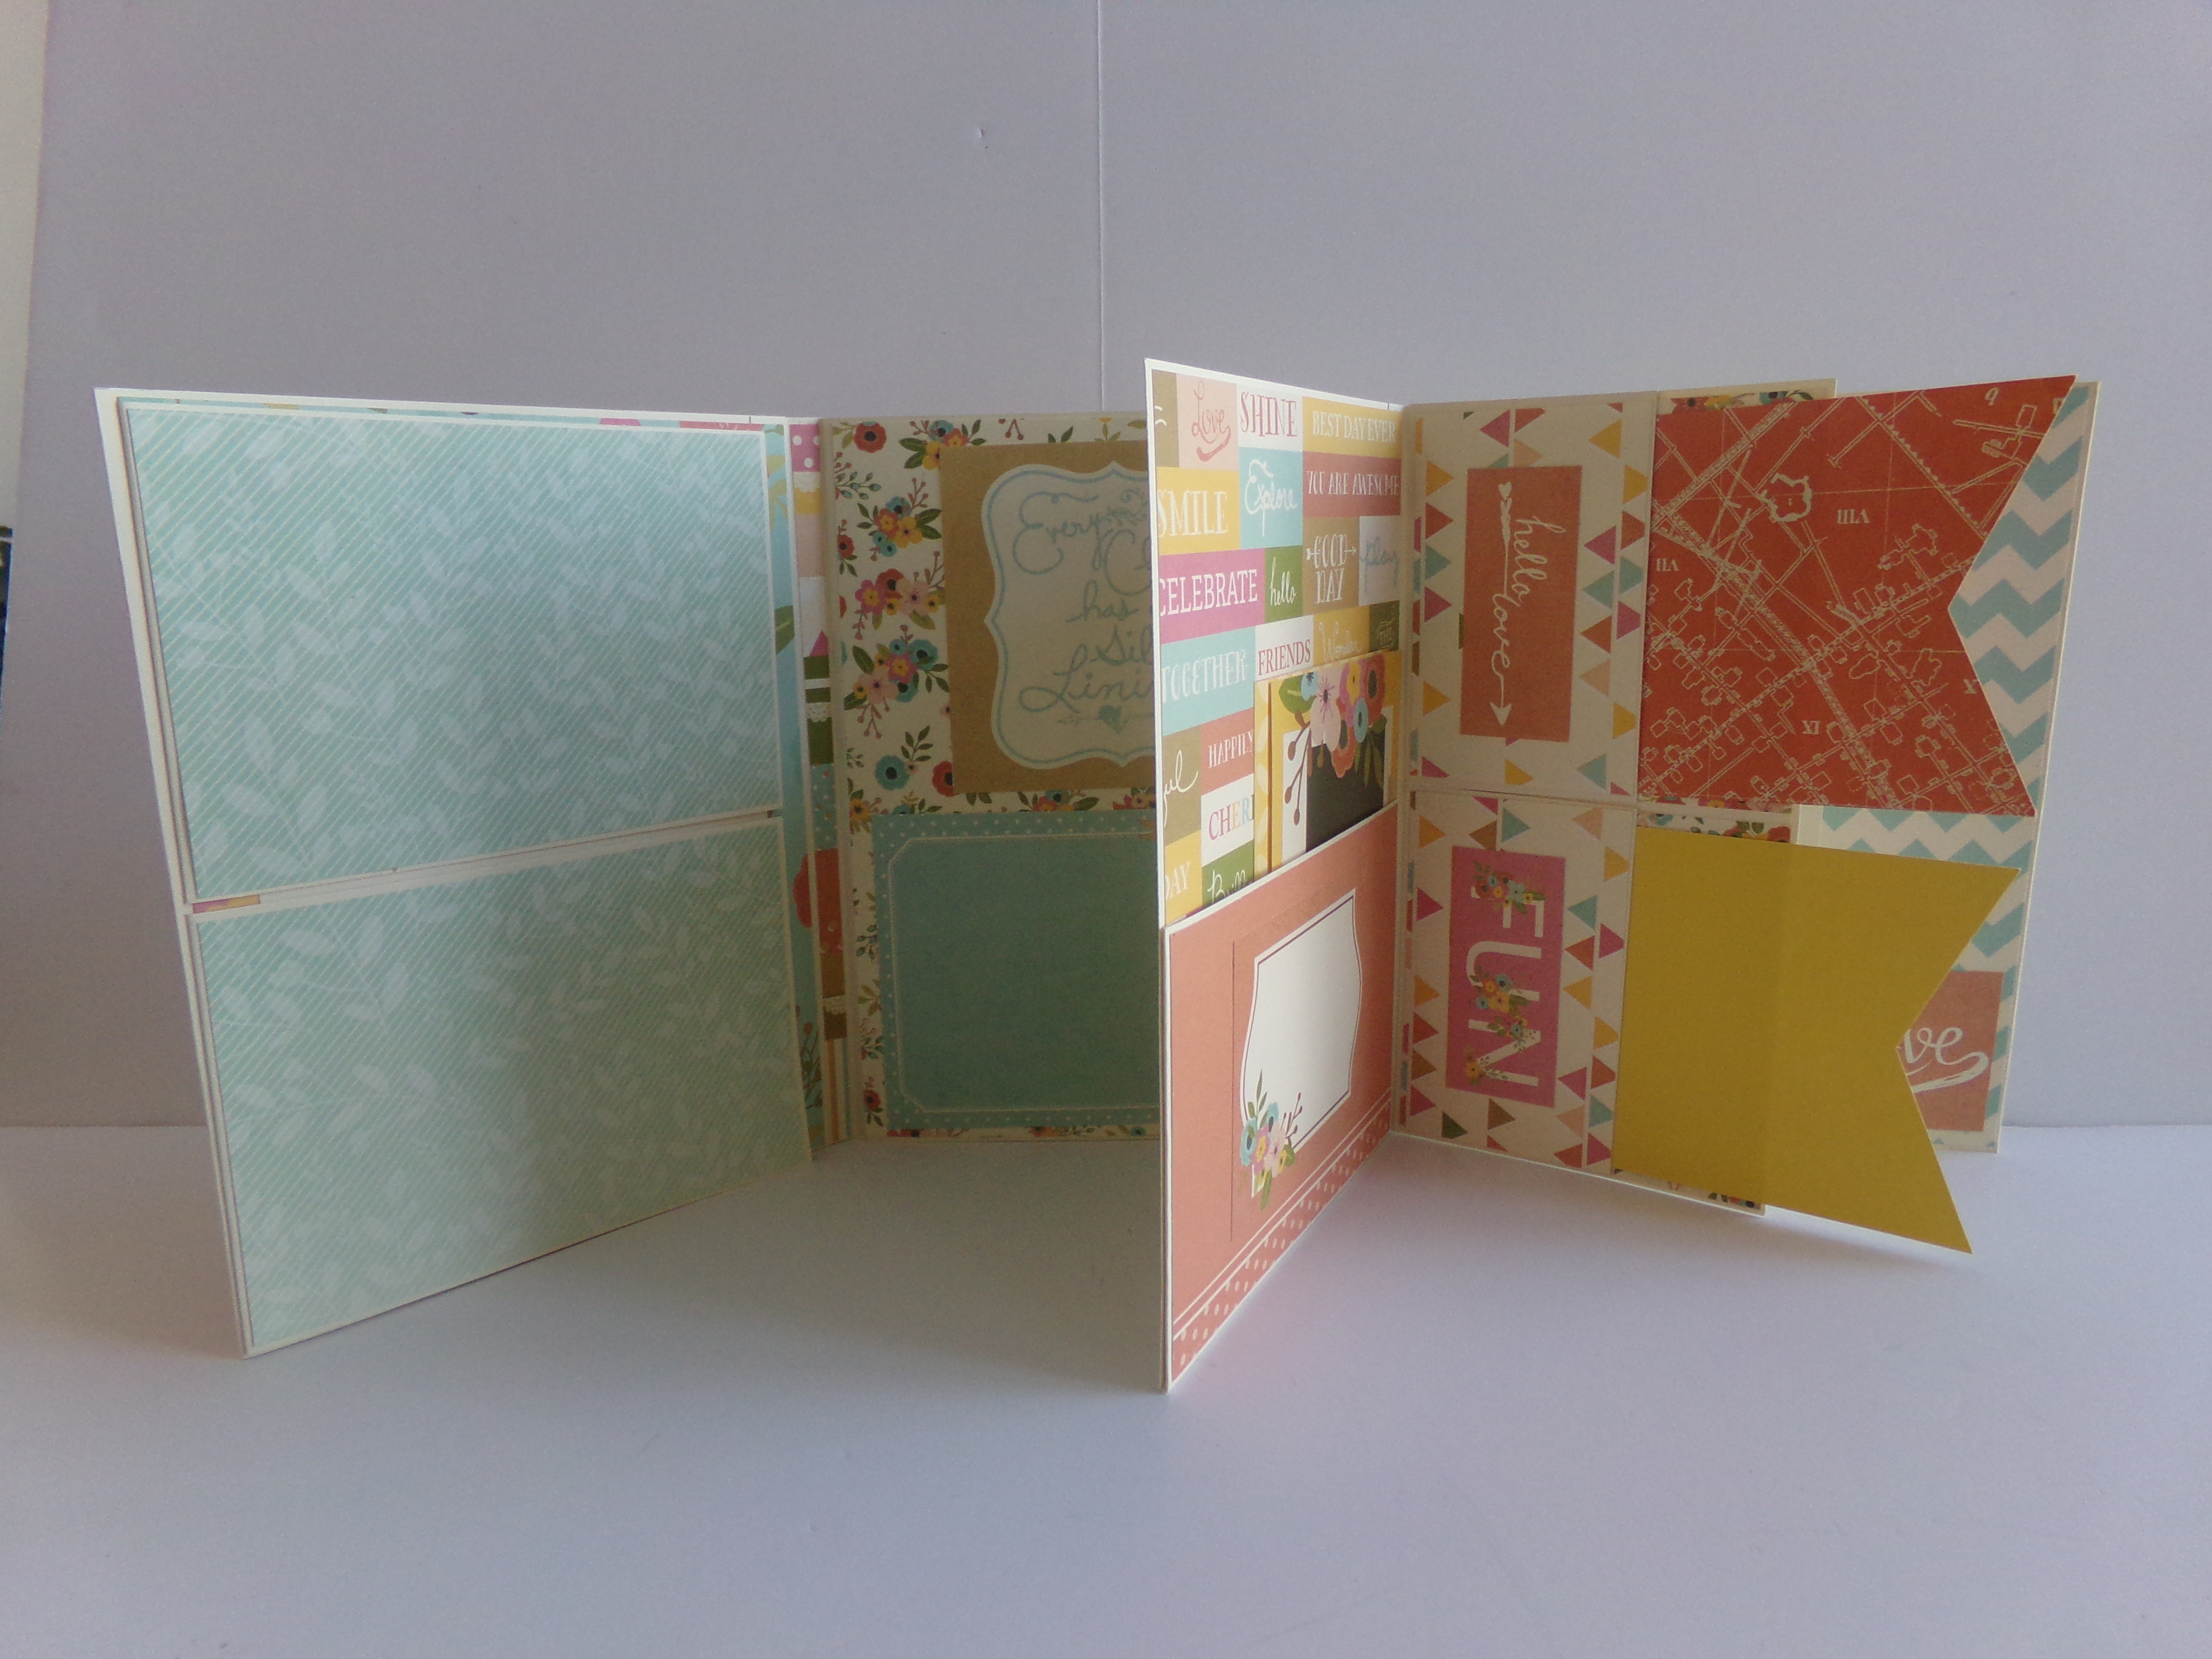
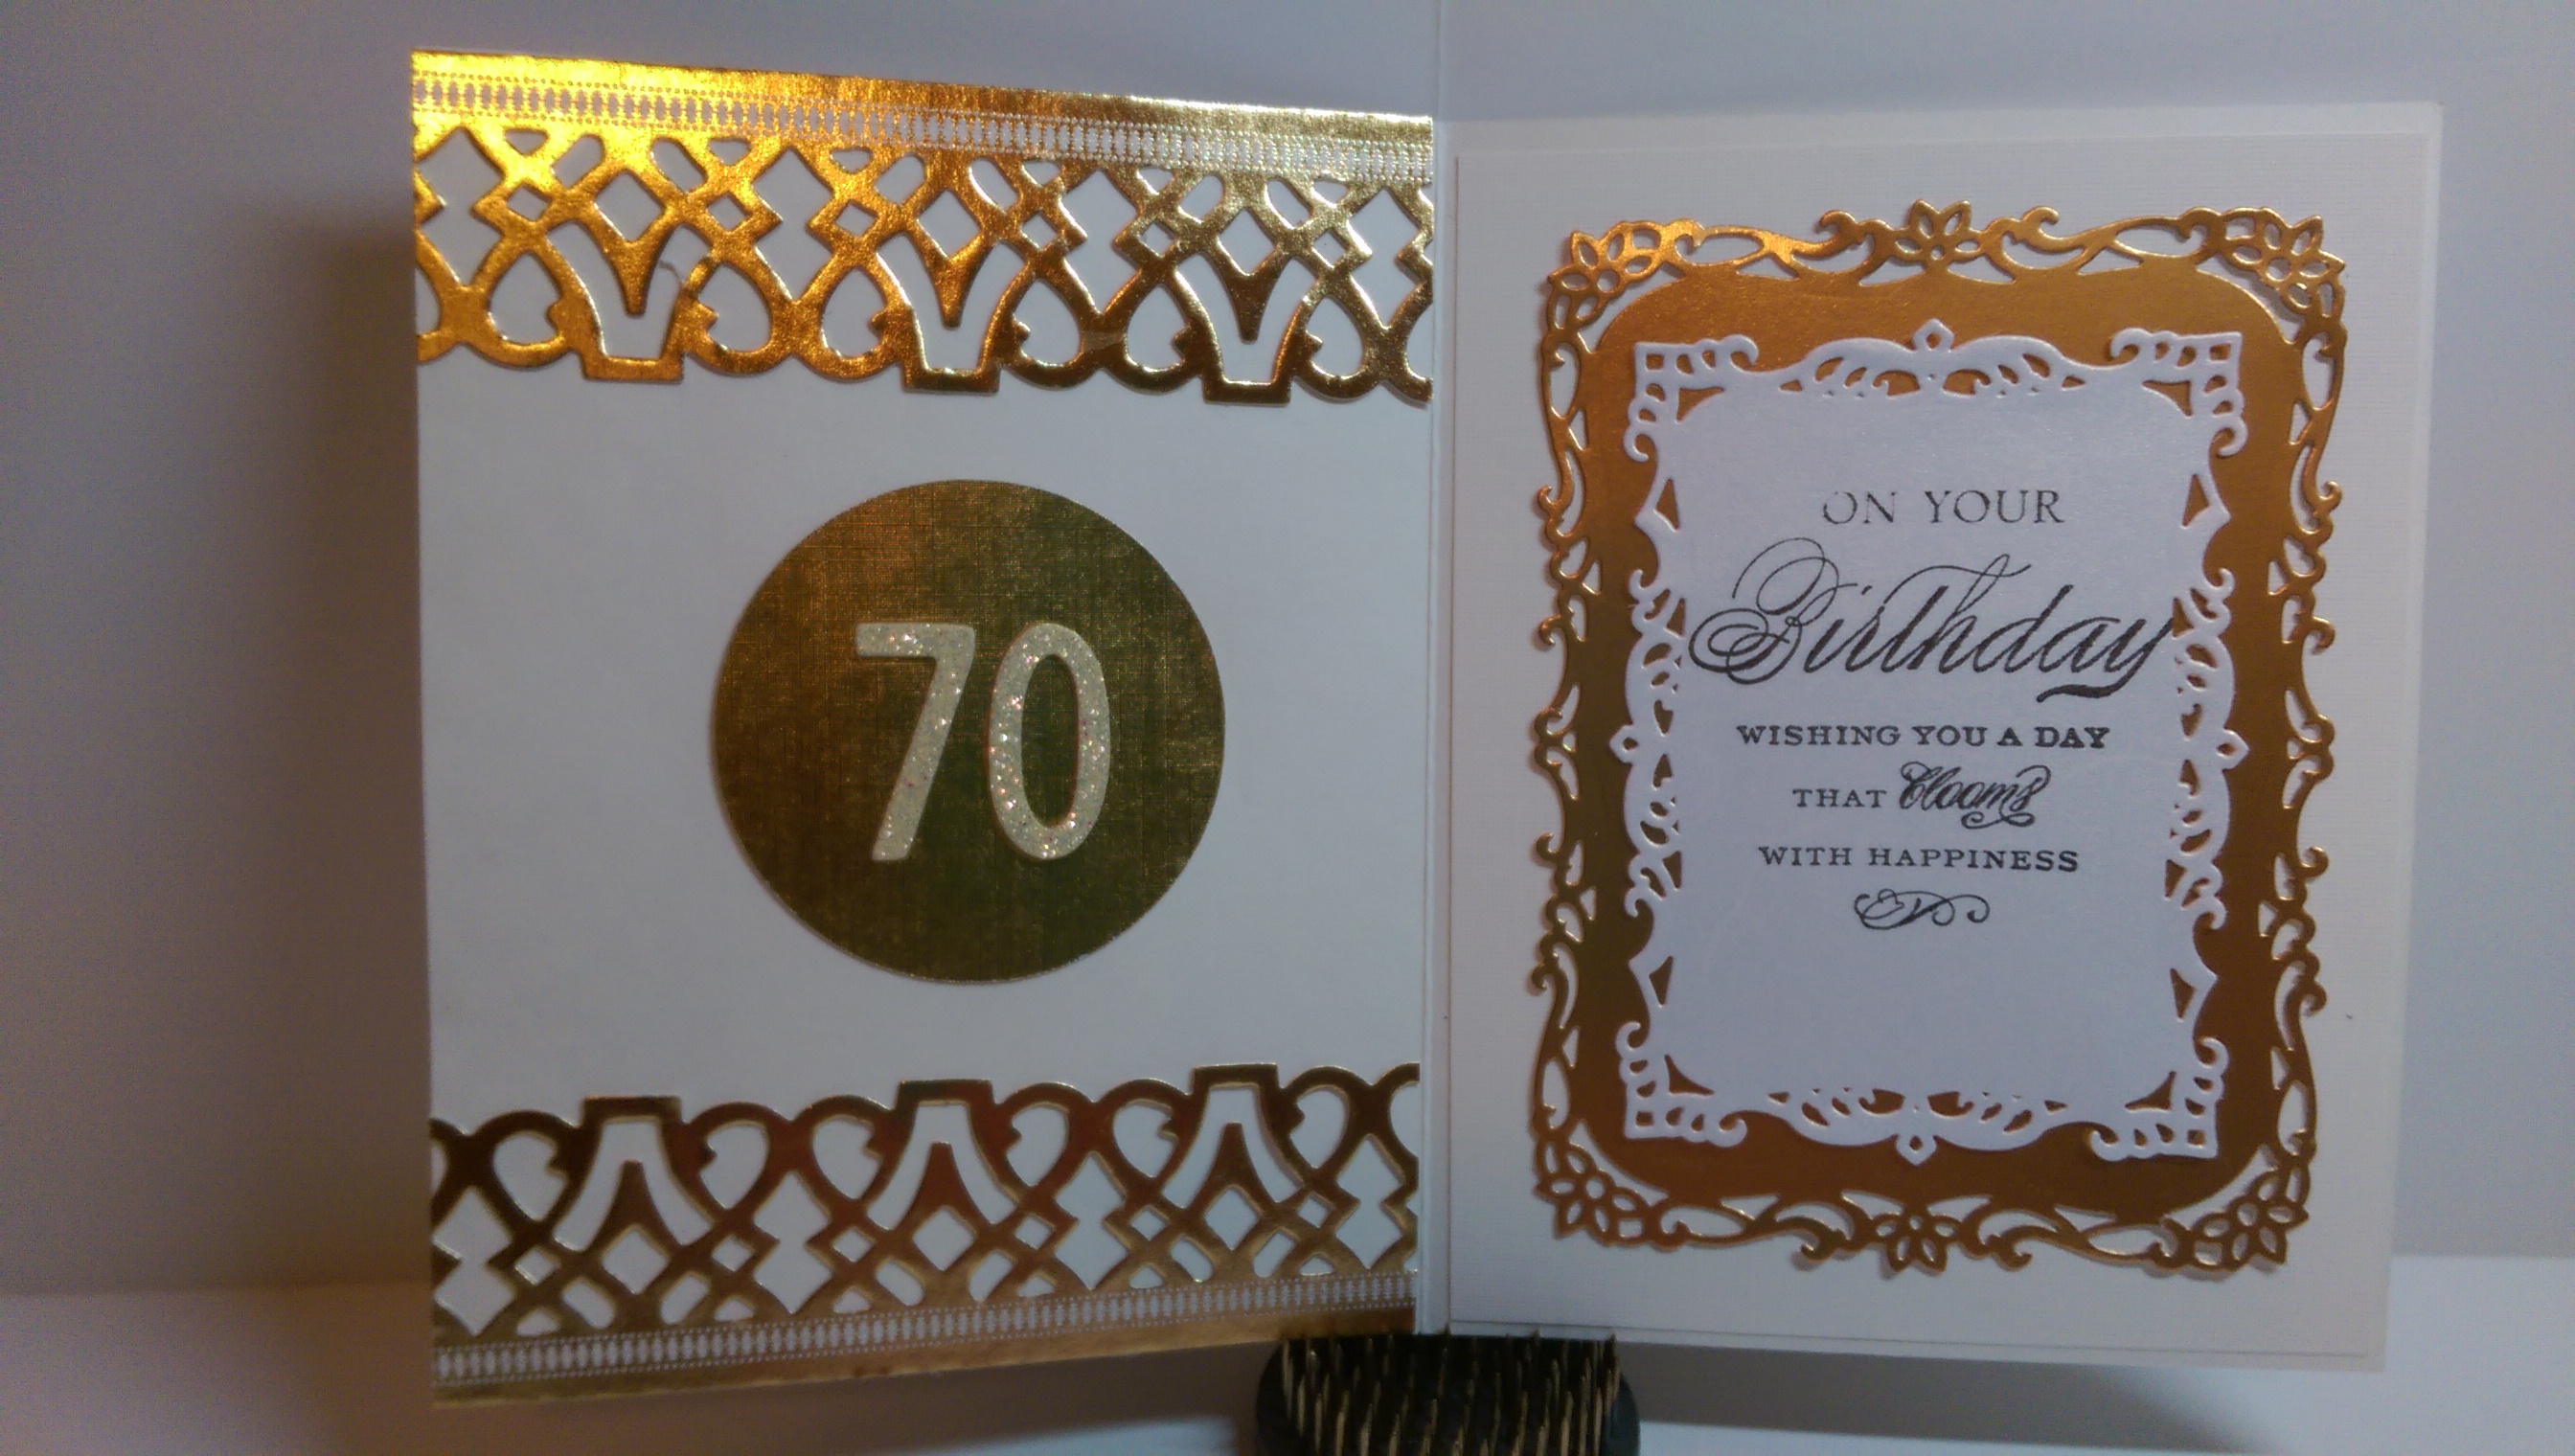
Folio pages
Here is a close up of the left page of the final section
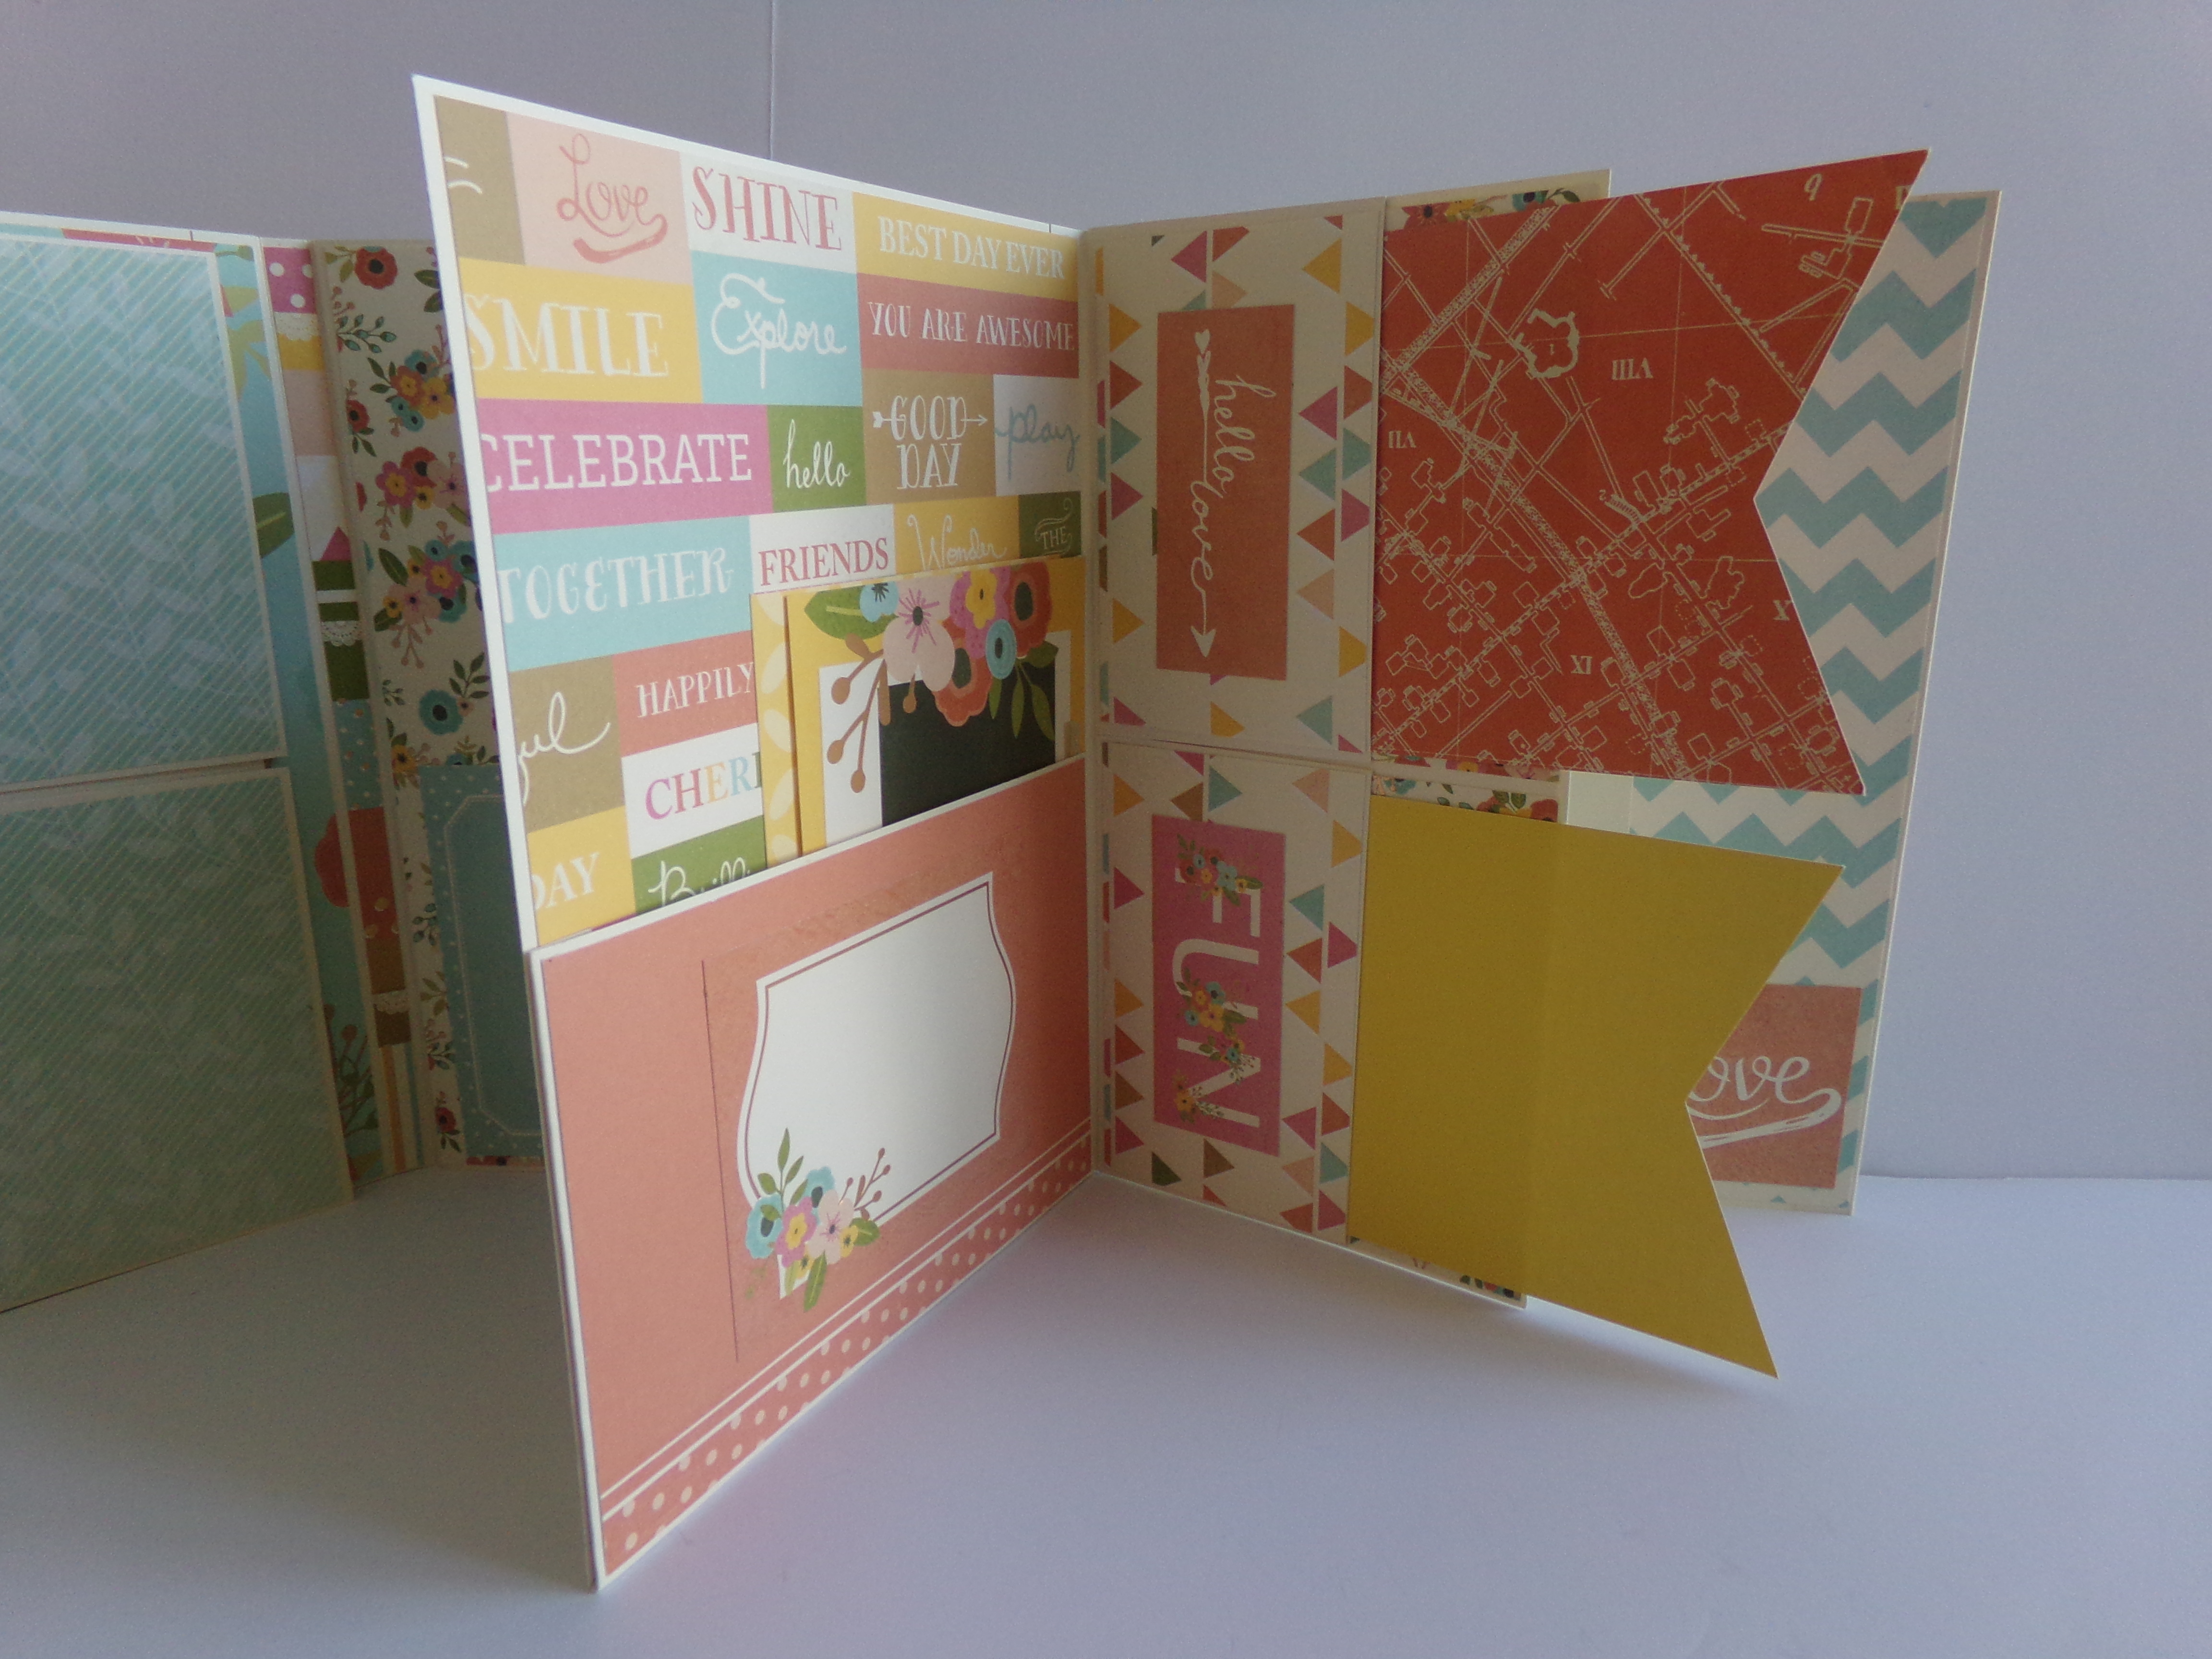
Here is the final section which is the center of the folio when all the flaps have opened out
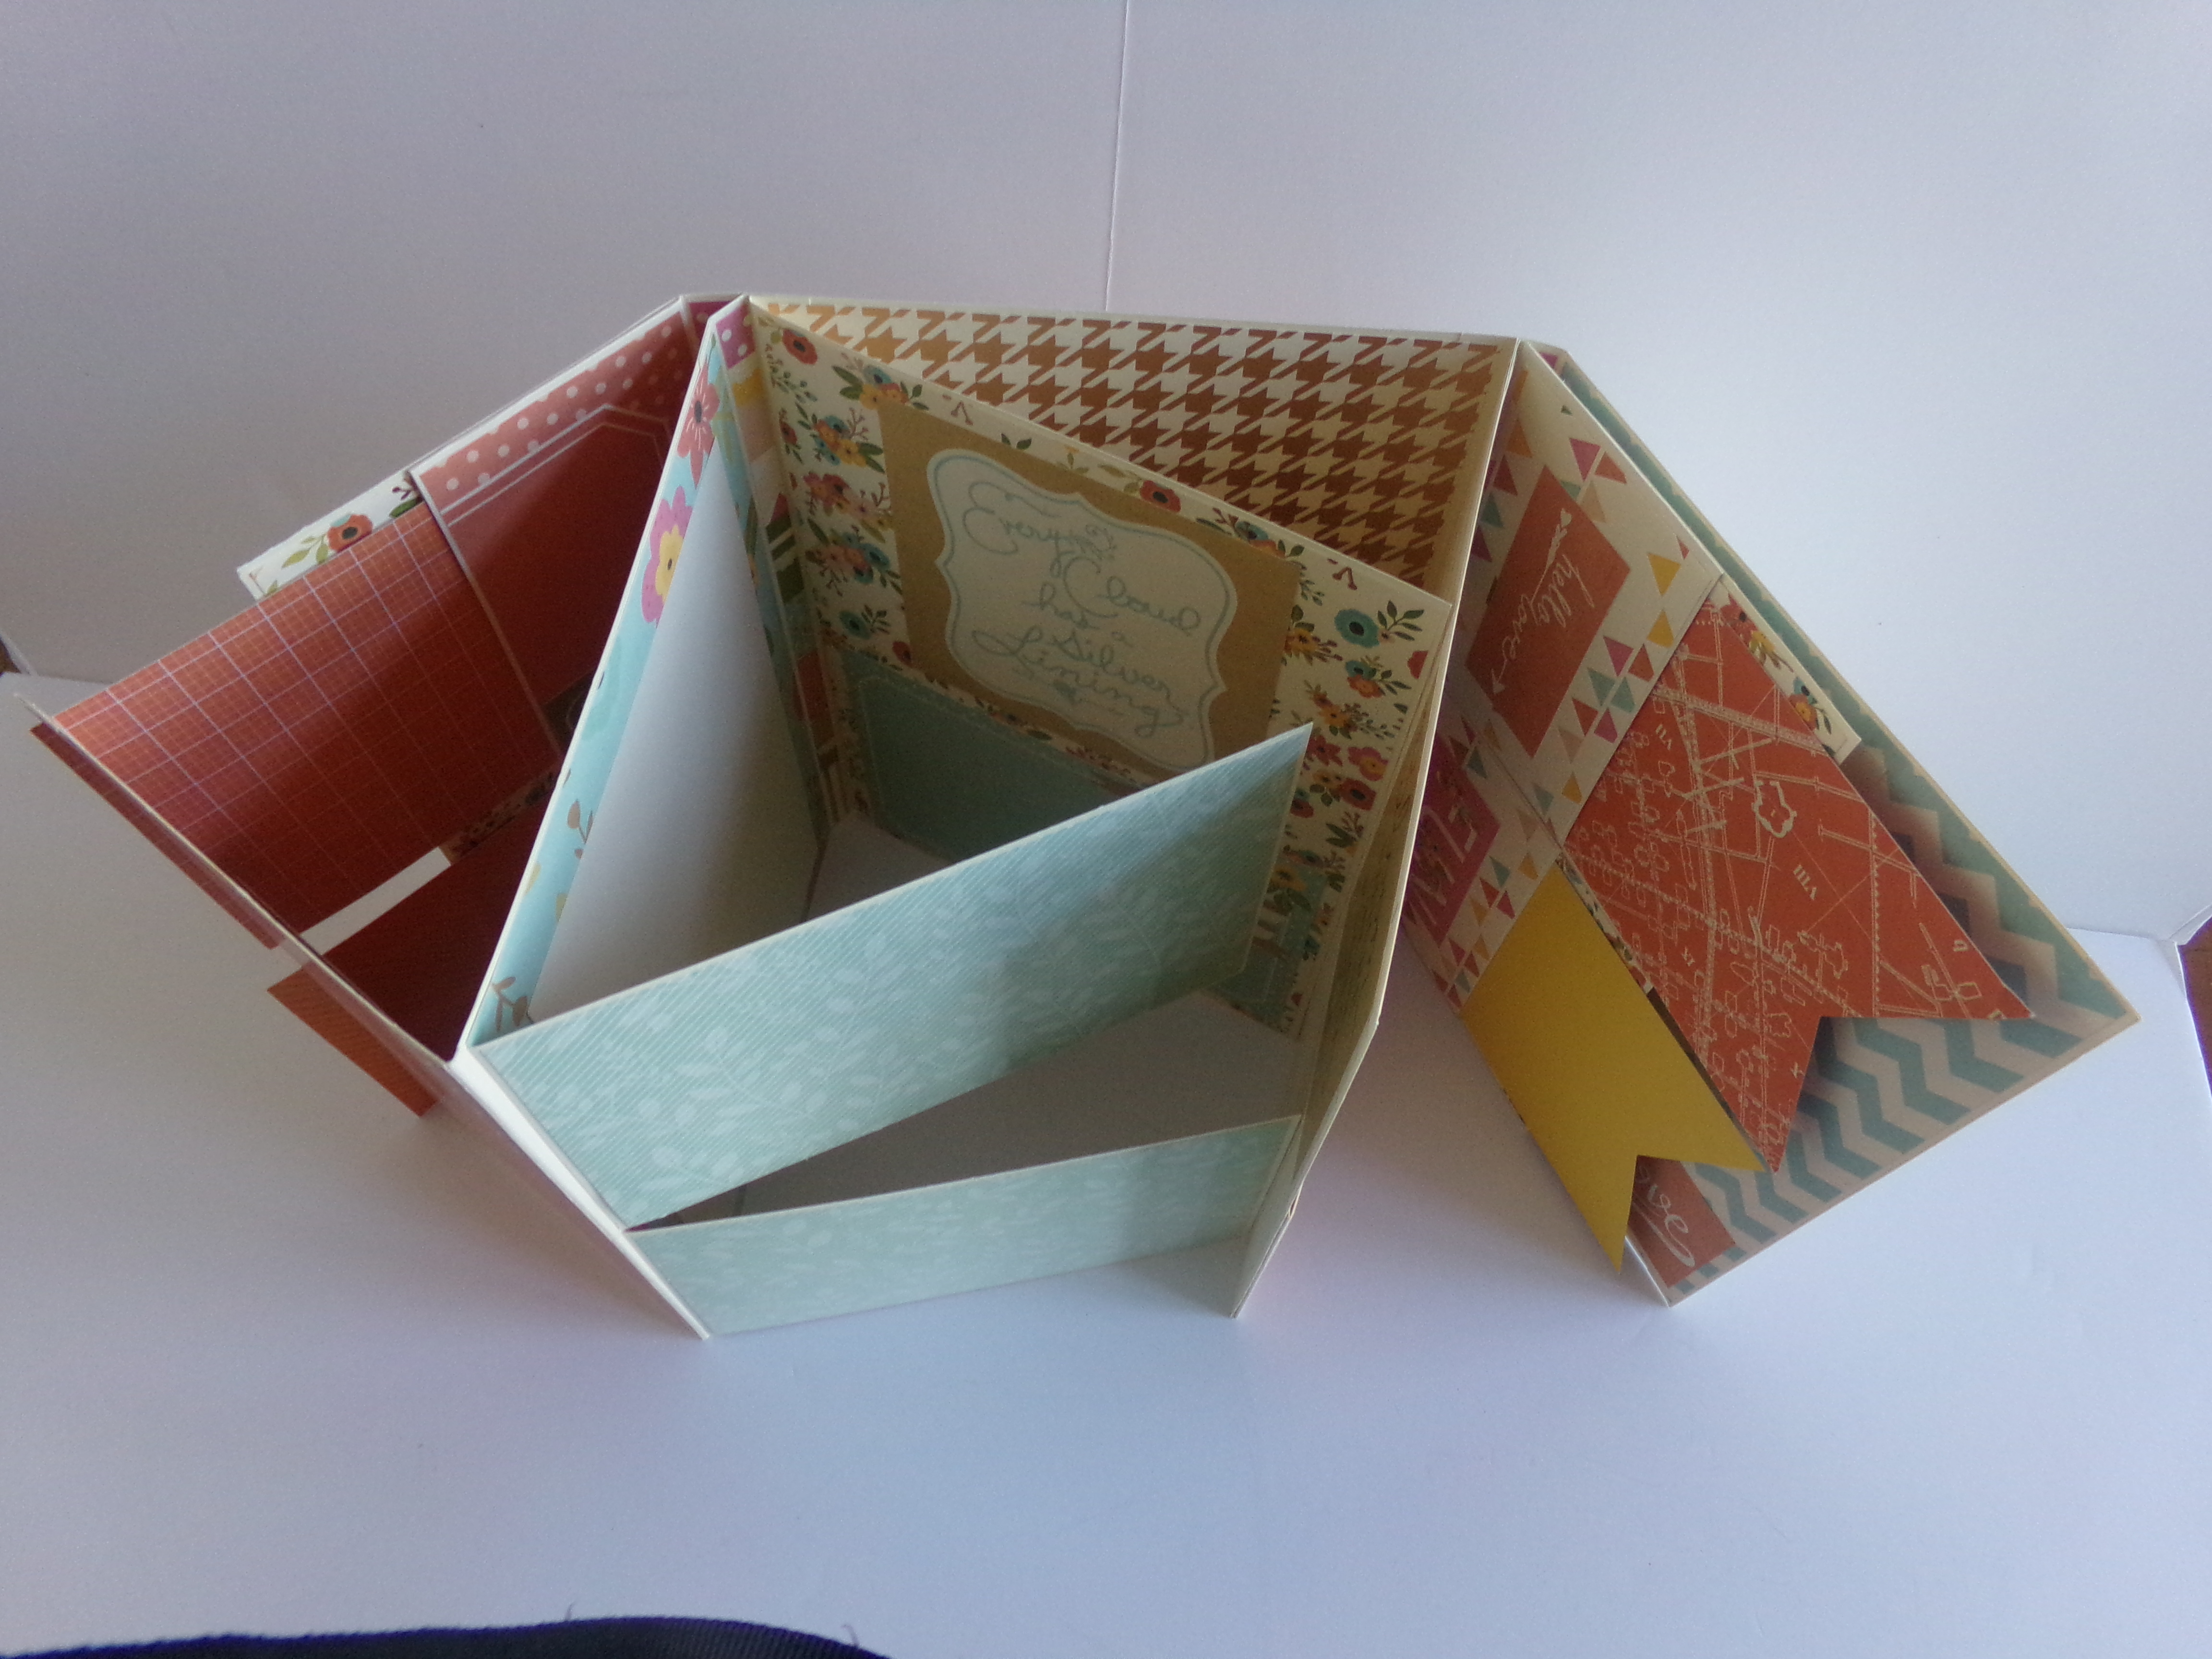
View looking down on opened folio. There are many flips and flaps
Back of Folio
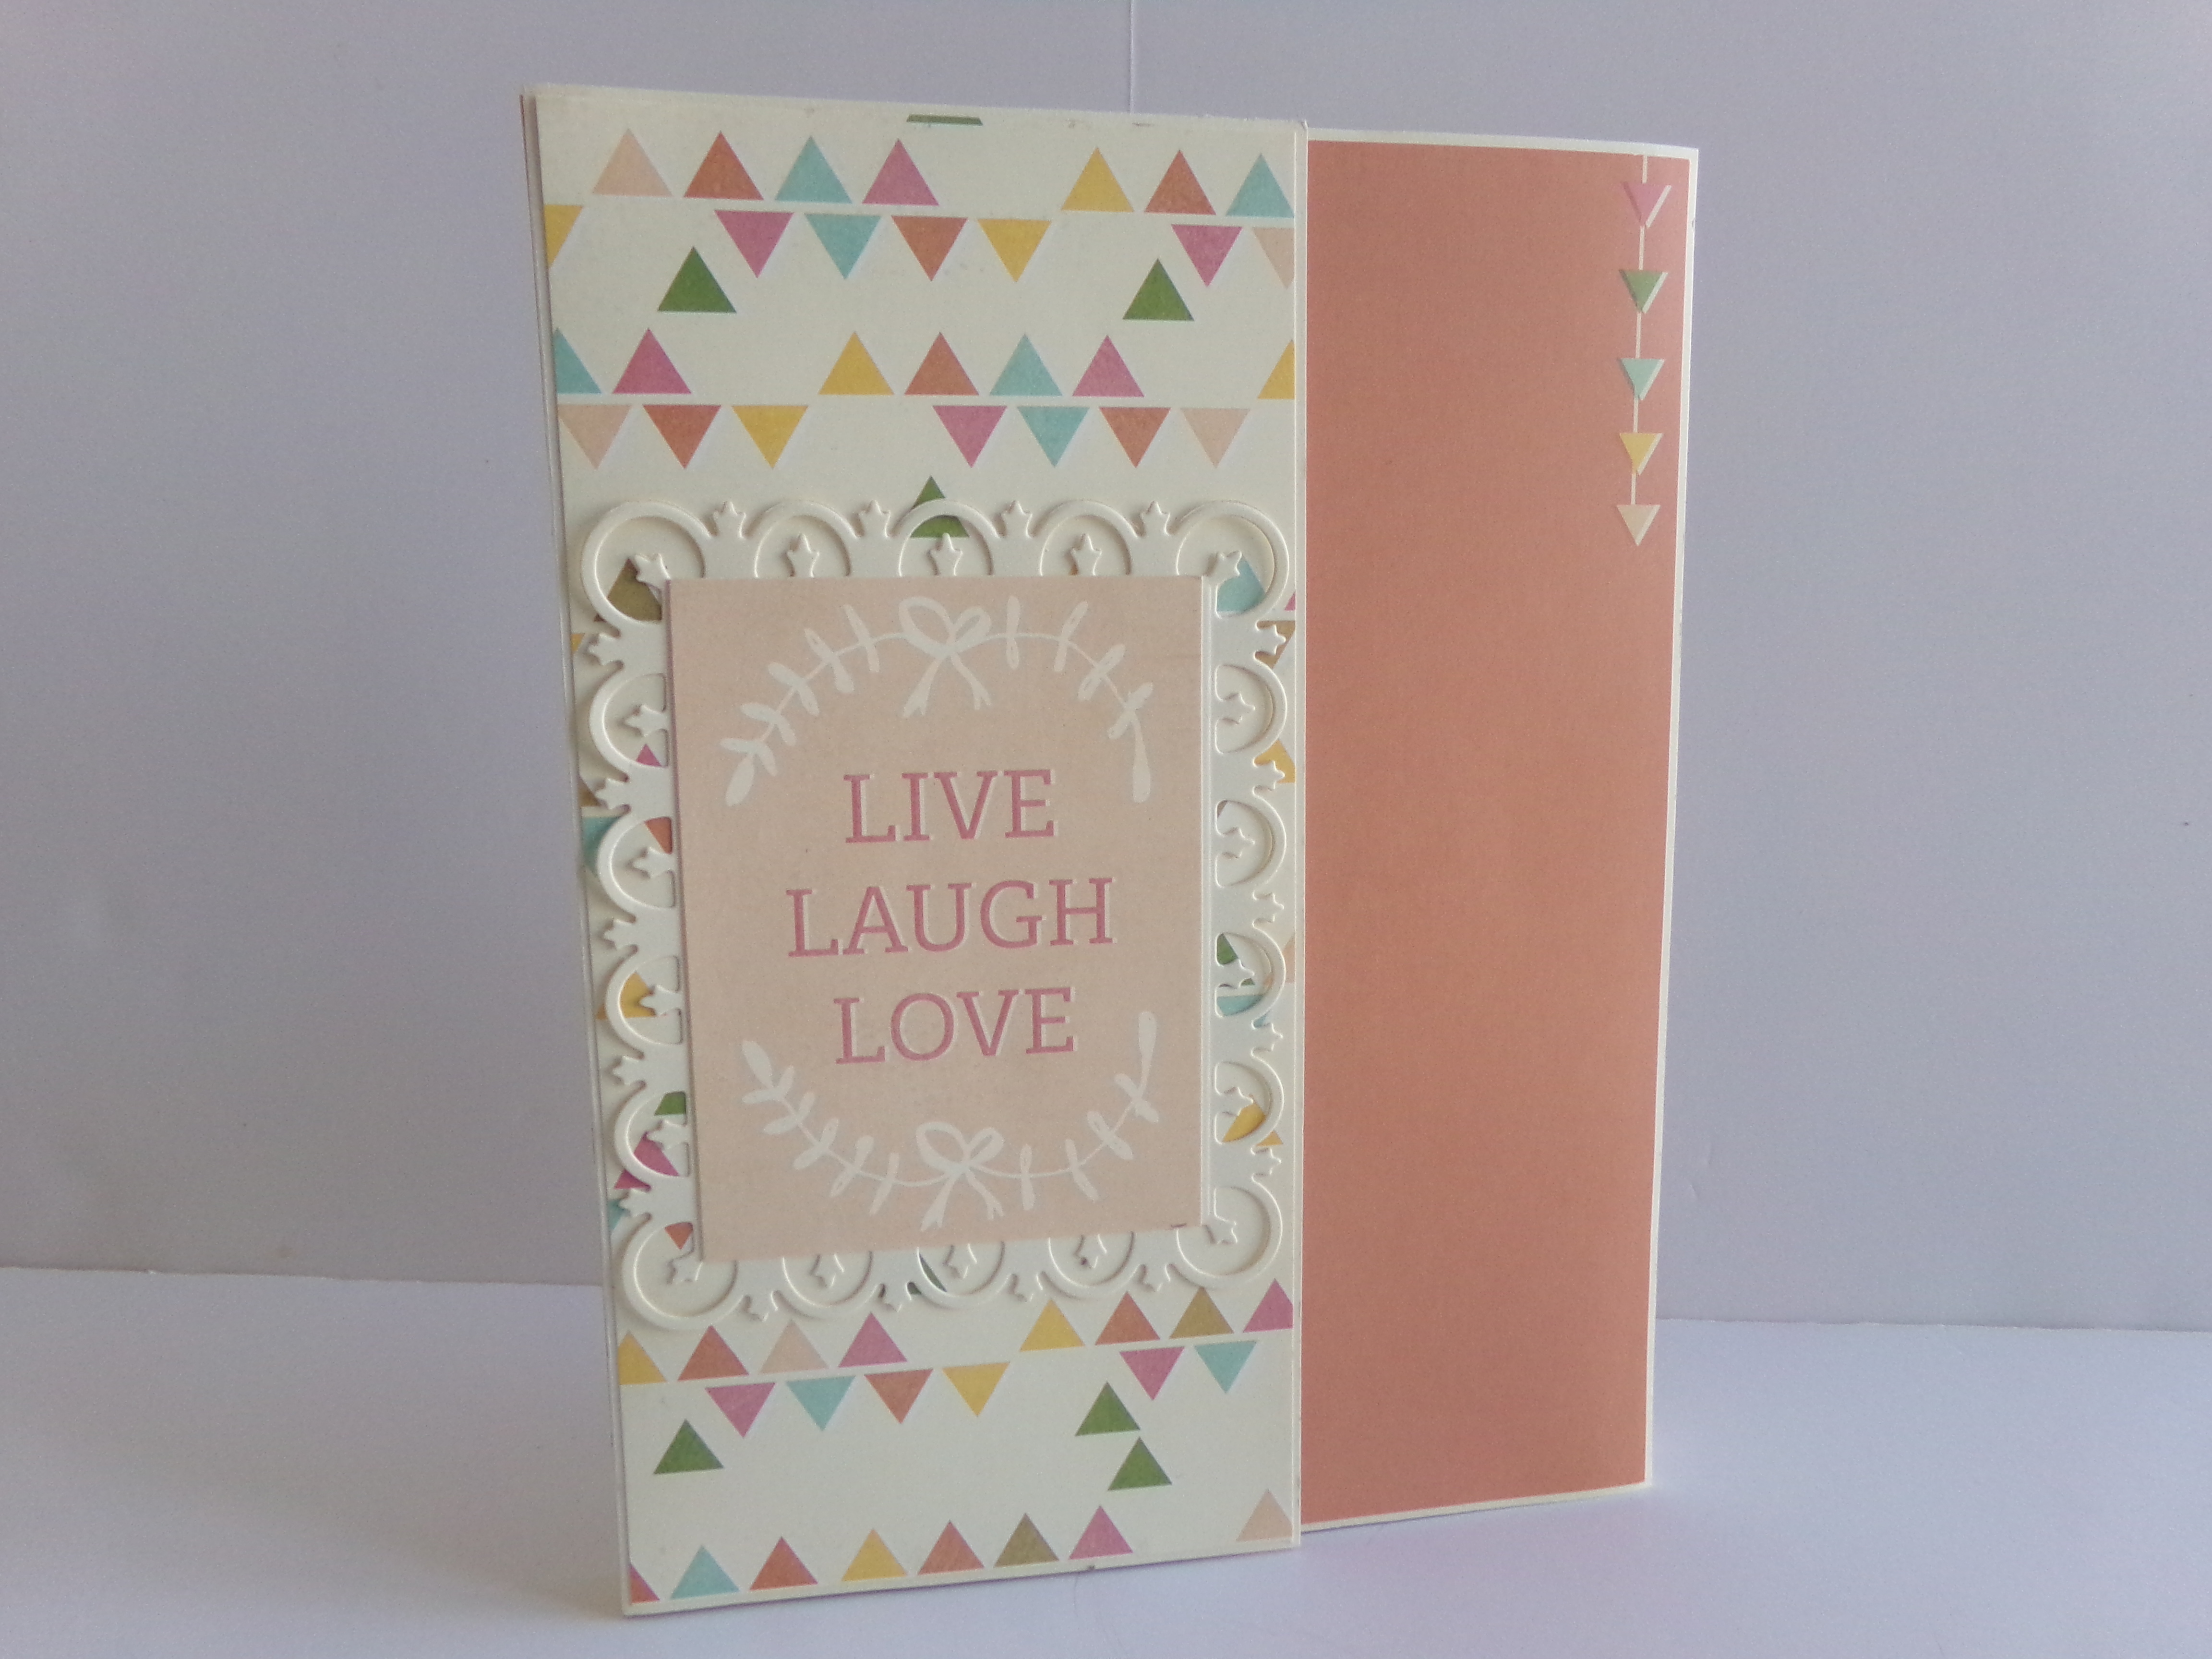
Here is the front of the folio without the cards in the inside pockets. It has a cleaner look and is an option
This week my wonderful mother turned 70 years young! Happy Birthday Mom! Here is the card I made for her…
Mom’s Matching Birthday Card
And here is the video on it…
We had a wonderful party and I took on a project. My mother has always loved grandfather clocks. She has a full-sized one that we have had forever. I decided to make one for her special birthday. It was an undertaking, but I got it done…
70th Birthday Clock
I am absolutely thrilled with how it turned out! She loved it. Everyone at the party loved it. I love it. I used a Paper Phenomen/Kathy Orta tutorial. For the most part it was great but there were a few things left off the cutting guide which meant I had to go back and cut more chipboard. I had to make a couple other adjustments and added some added support in places, but it worked out. I will warn you, picture overload is coming. It was a bit difficult to photograph and film, so I hope you can get the just of it. In person, it is absolutely gorgeous. To find out the materials I used, please watch the video I will have at the end of the post. Now for the photos…
70th Birthday Clock – The Beginning
70th Birthday Clock Back
70th Birthday Clock Side
Yes, this is a real working clock! I purchased the mechanism from JoAnn Fabrics.
This sections opens as shown above. A mini album that I still have to make will go inside. I will post it when I get a change to get it made. It will house photos from her birthday party.
The Clock at the Birthday Party
Now here is the video for more details. Thanks so much for stopping by!
I am an association management professional who has always loved fashion, sewing, crafting, writing, cooking, and shopping. I am married to a wonderful man and have a great family foundation. I like to share inspiration with as well as get information from others and hope this site will let me do just that. Happy crafting!