This week I was able to complete one project, again at the last minute. Actually the video is still uploading as I type at 11:55 p.m. CDT!!! But it is finished! I am so thrilled that many others have joined in on the fun. I finished one of the mini albums and will probably gift it to my mom. Thanks for stopping by!
I finally got around to making my first folio and a matching box. I used a Paper Phenomenon/Kathy Orta tutorial called Gift Card Box Folio. It was fairly easy to make. Measuring and cutting the mats took the most time. I used cream cardstock for the base and a few photo mats. There is no chipboard in this at all. It is all paper.
And speaking of paper, I used the Painted Posies paper stack by Craftwell and did more mixing of patterns than I normally do, but I like the way it turned out.
Warning…I have photo overload and have added captions to all the photos so you can tell what I am showing. At the end is my YouTube video. Thanks so much for stopping by!
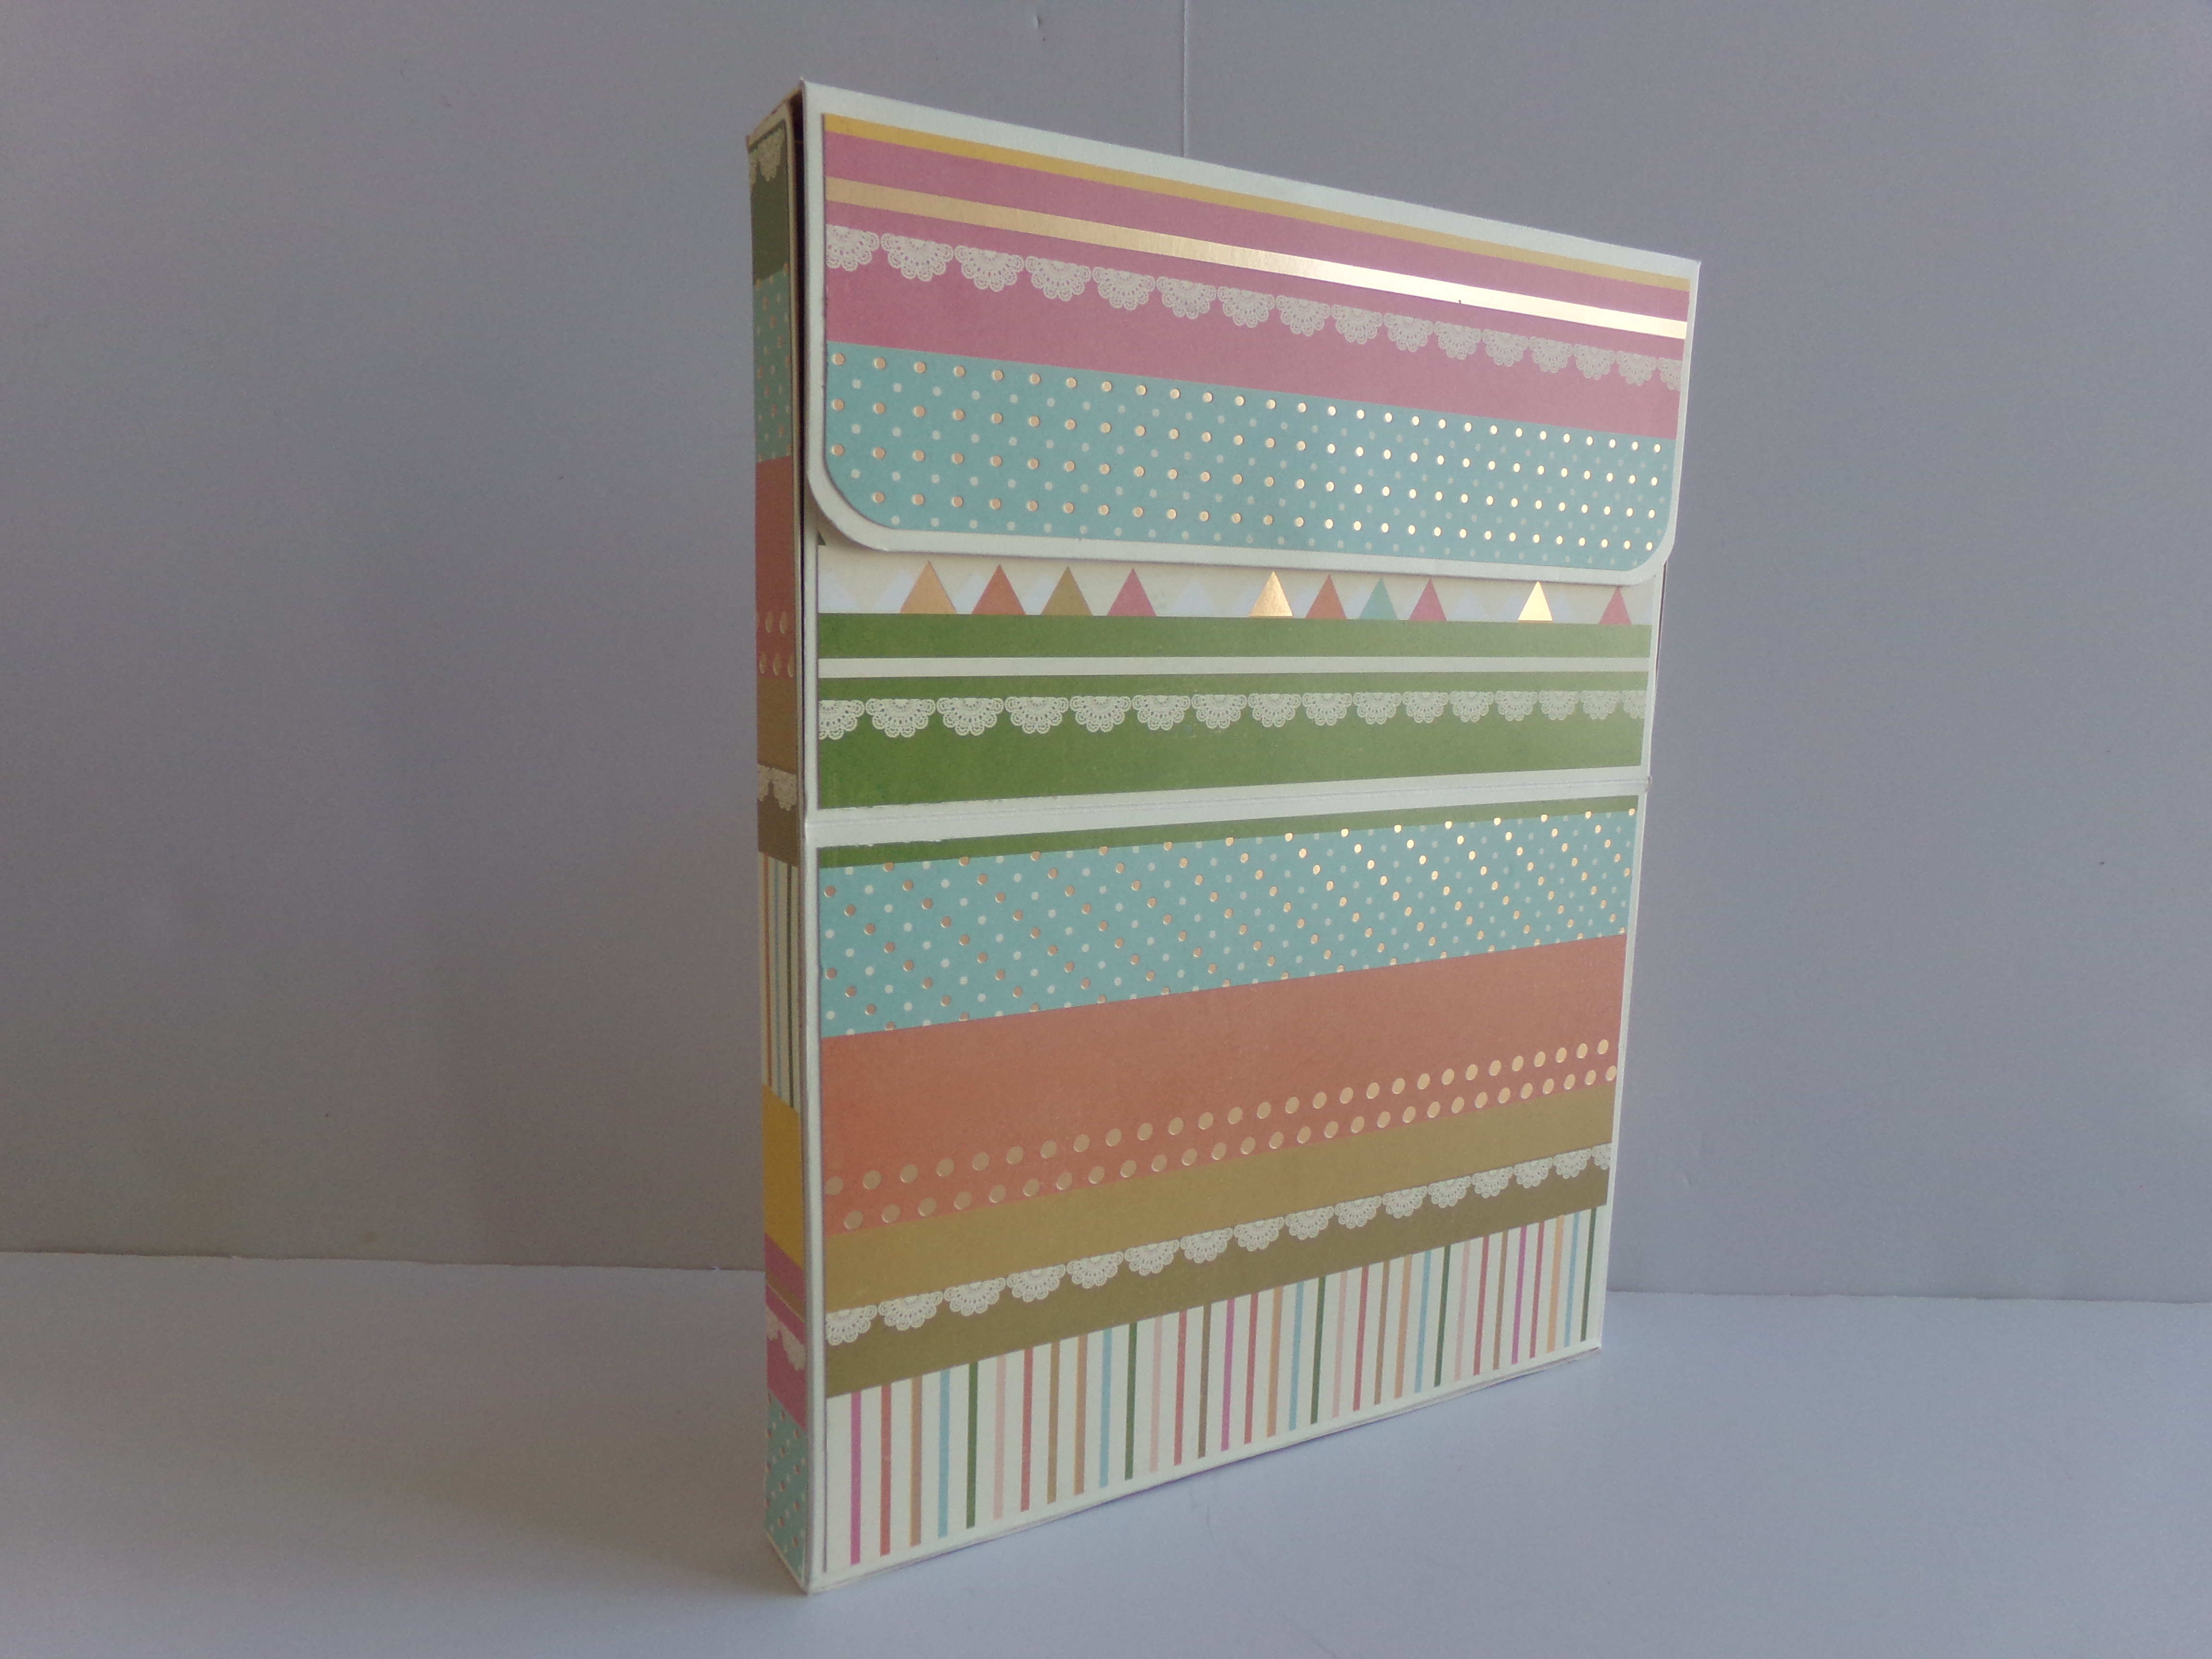
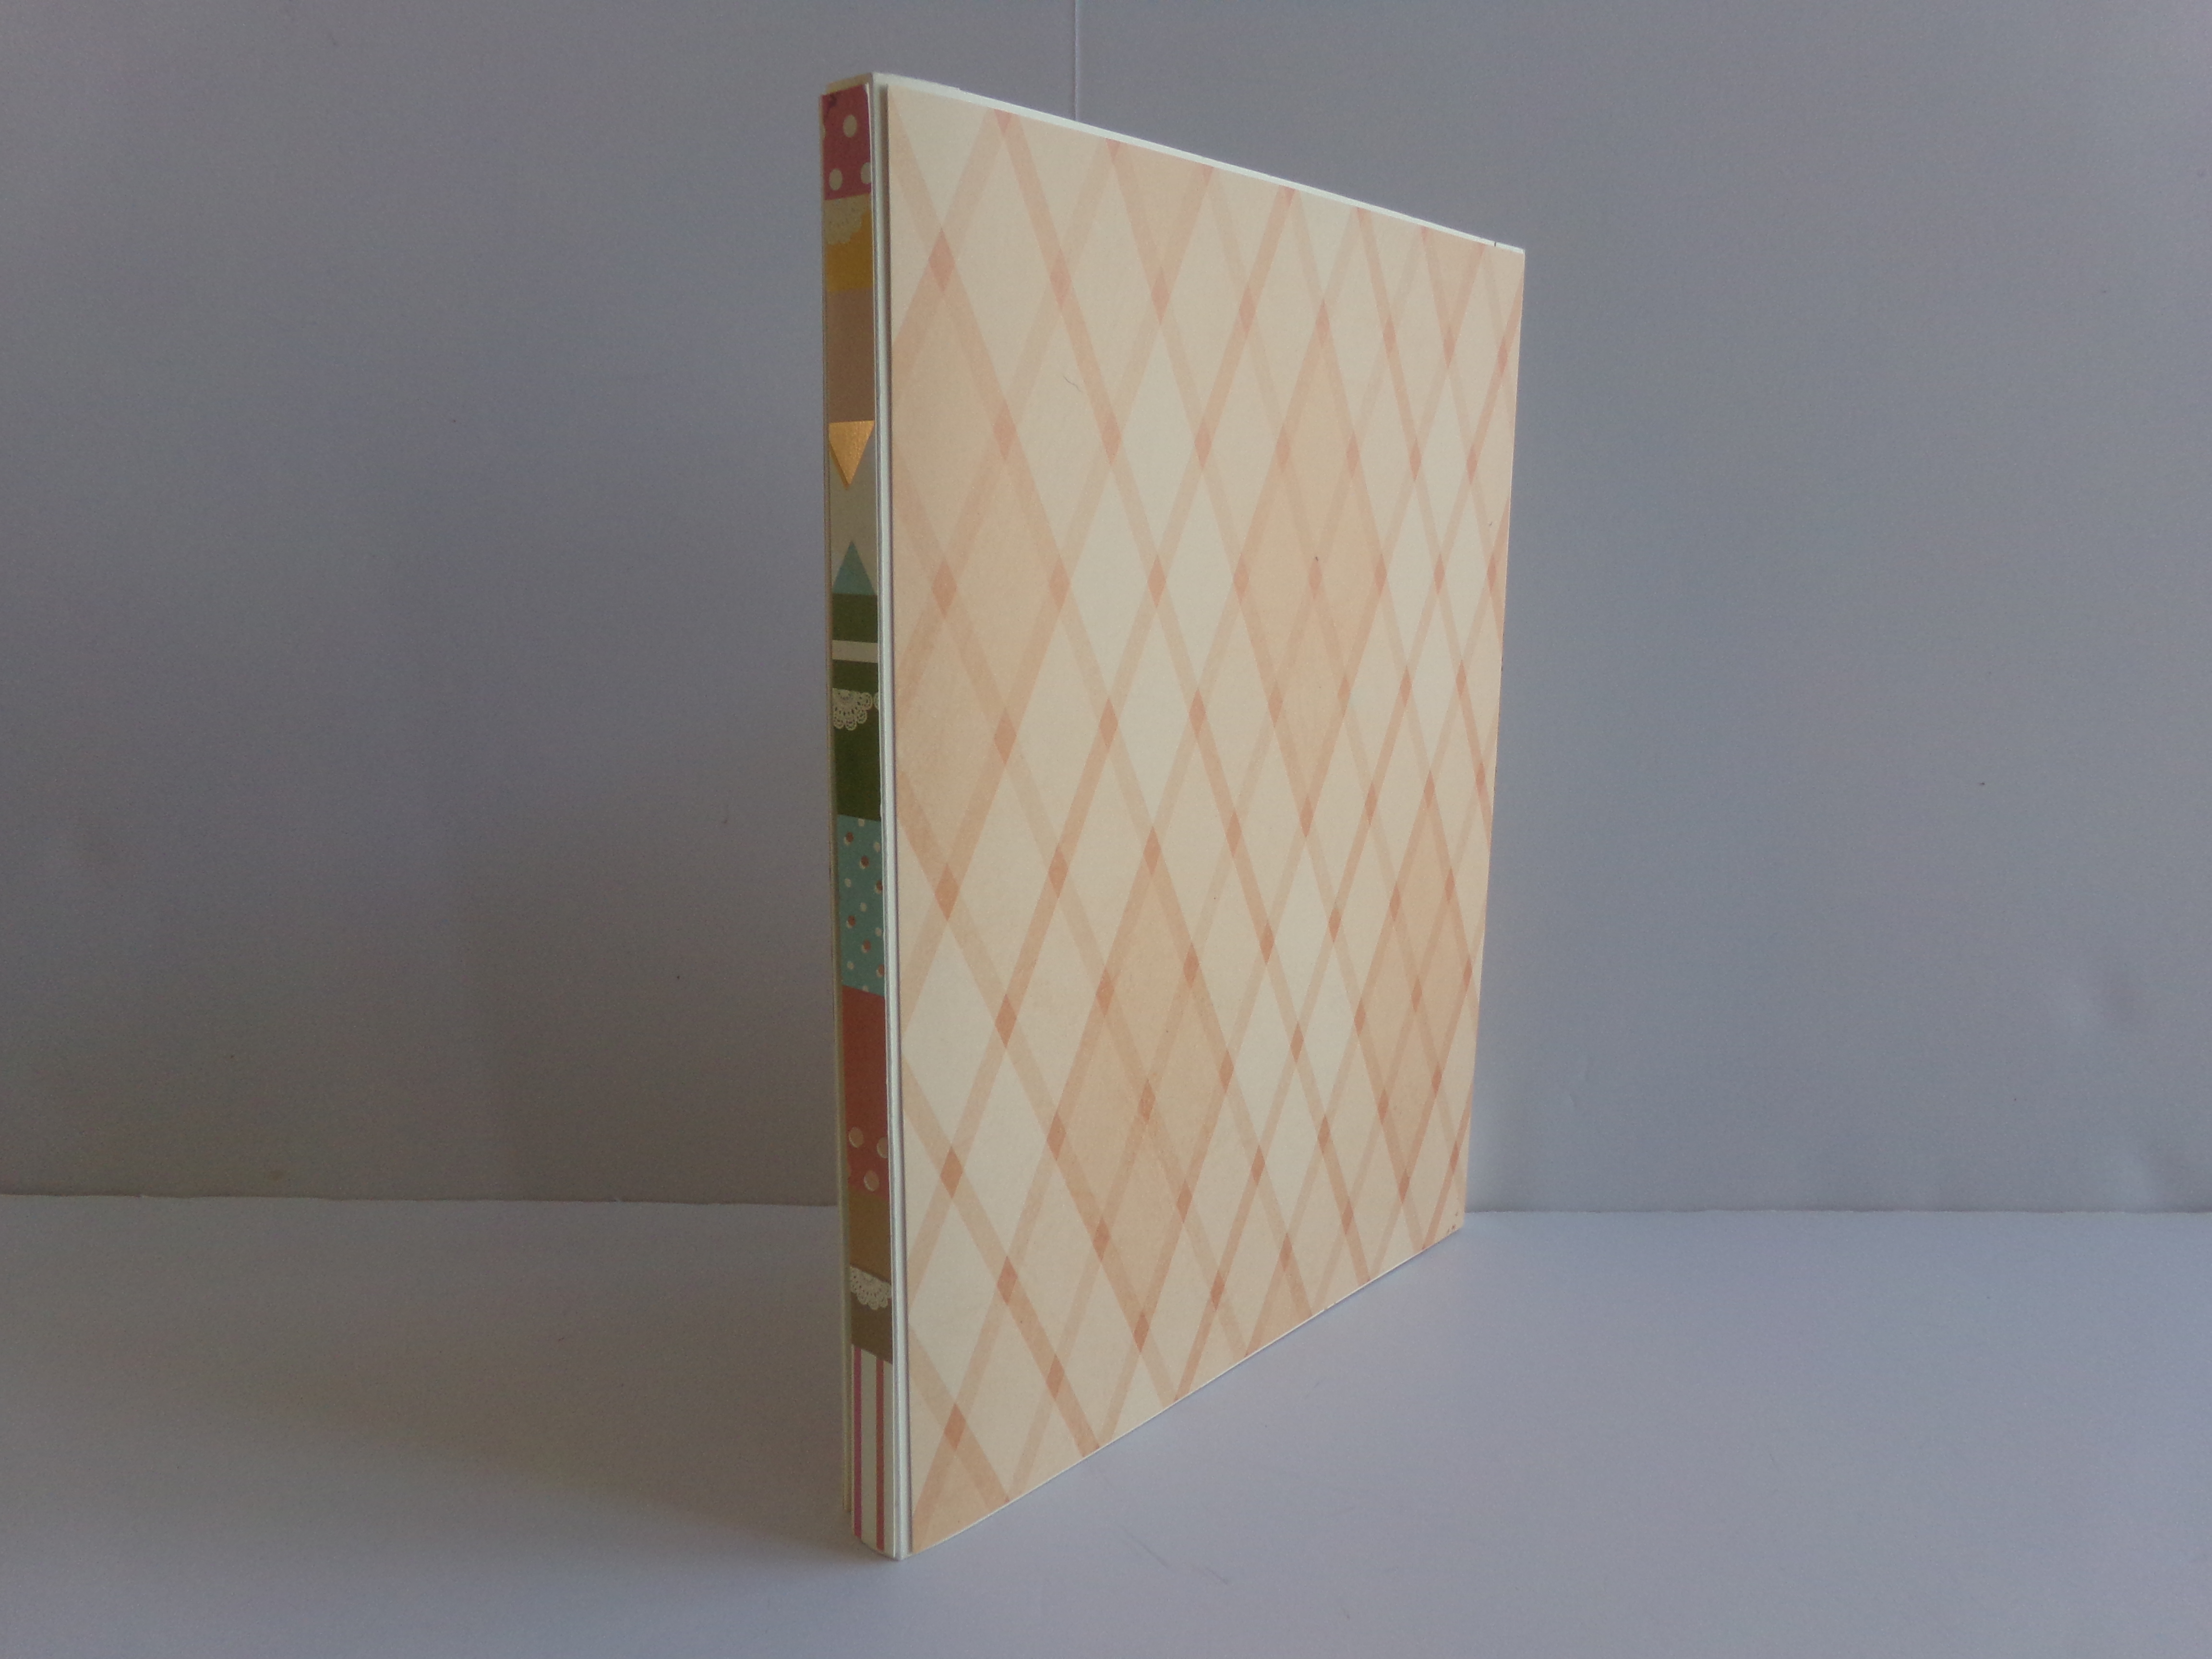
Folio Box Front
Back of folio box
Side view of folio box
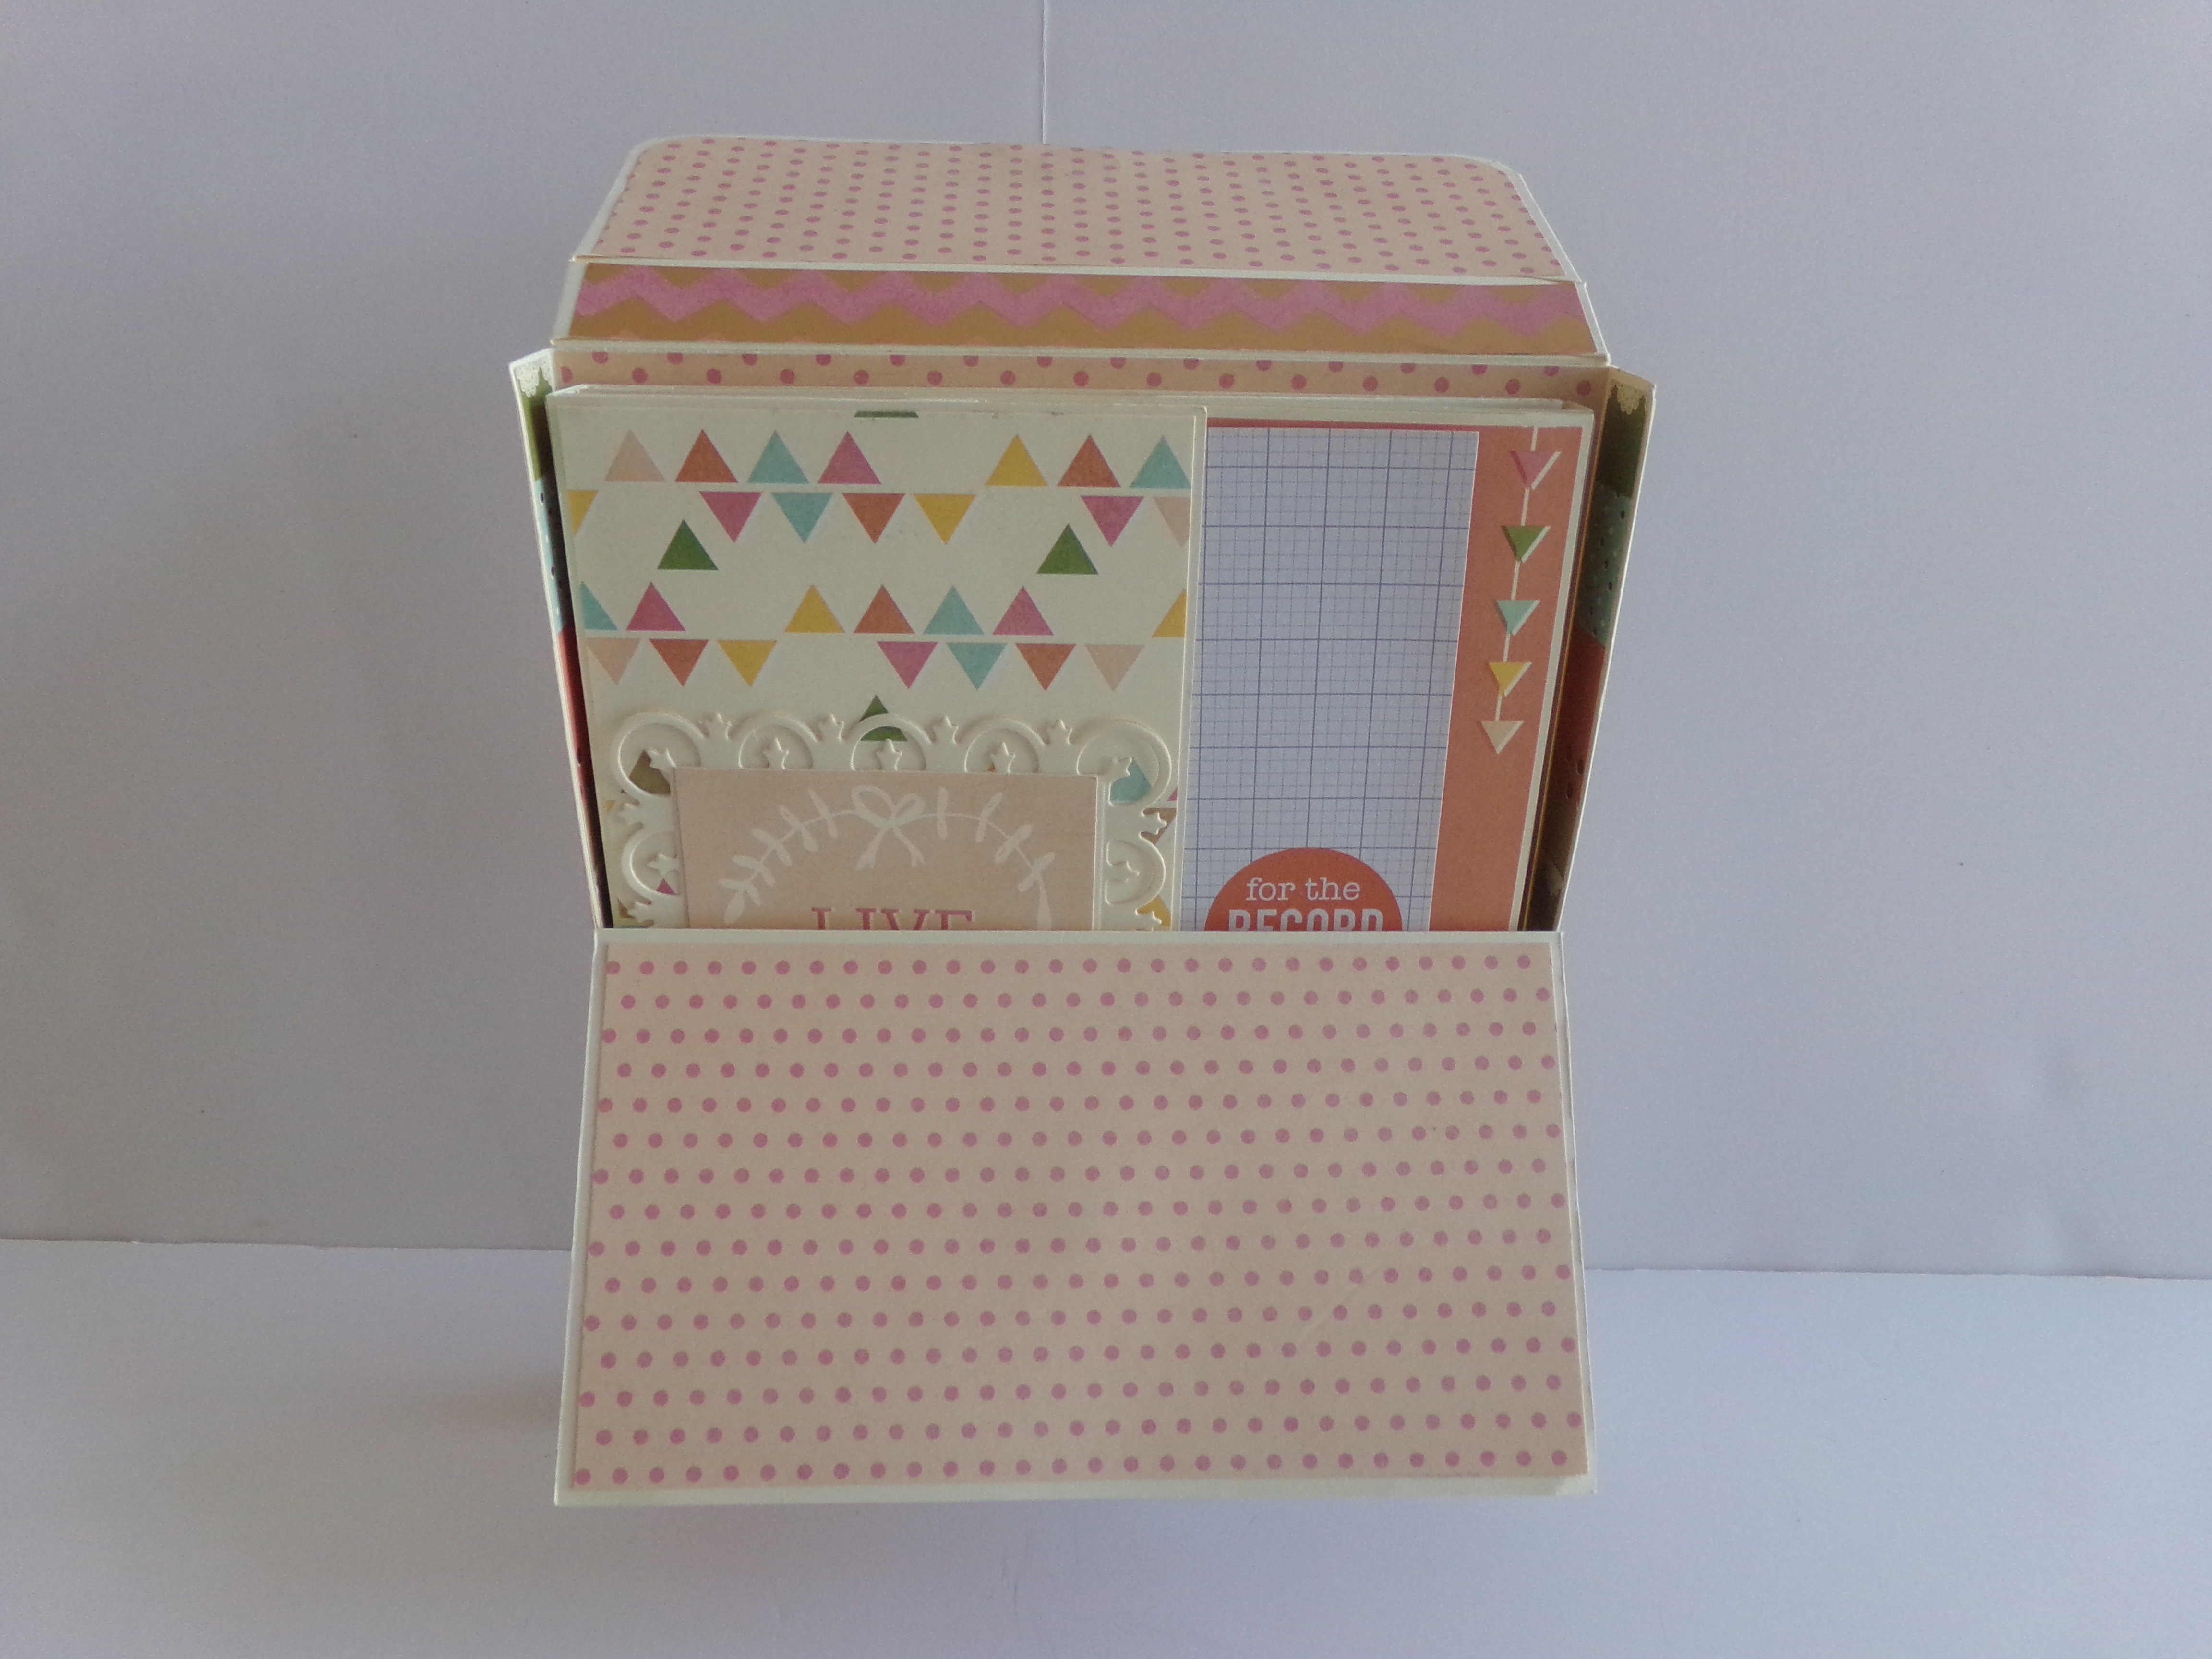
Folio box opened without folio in it
Box opened with folio inside
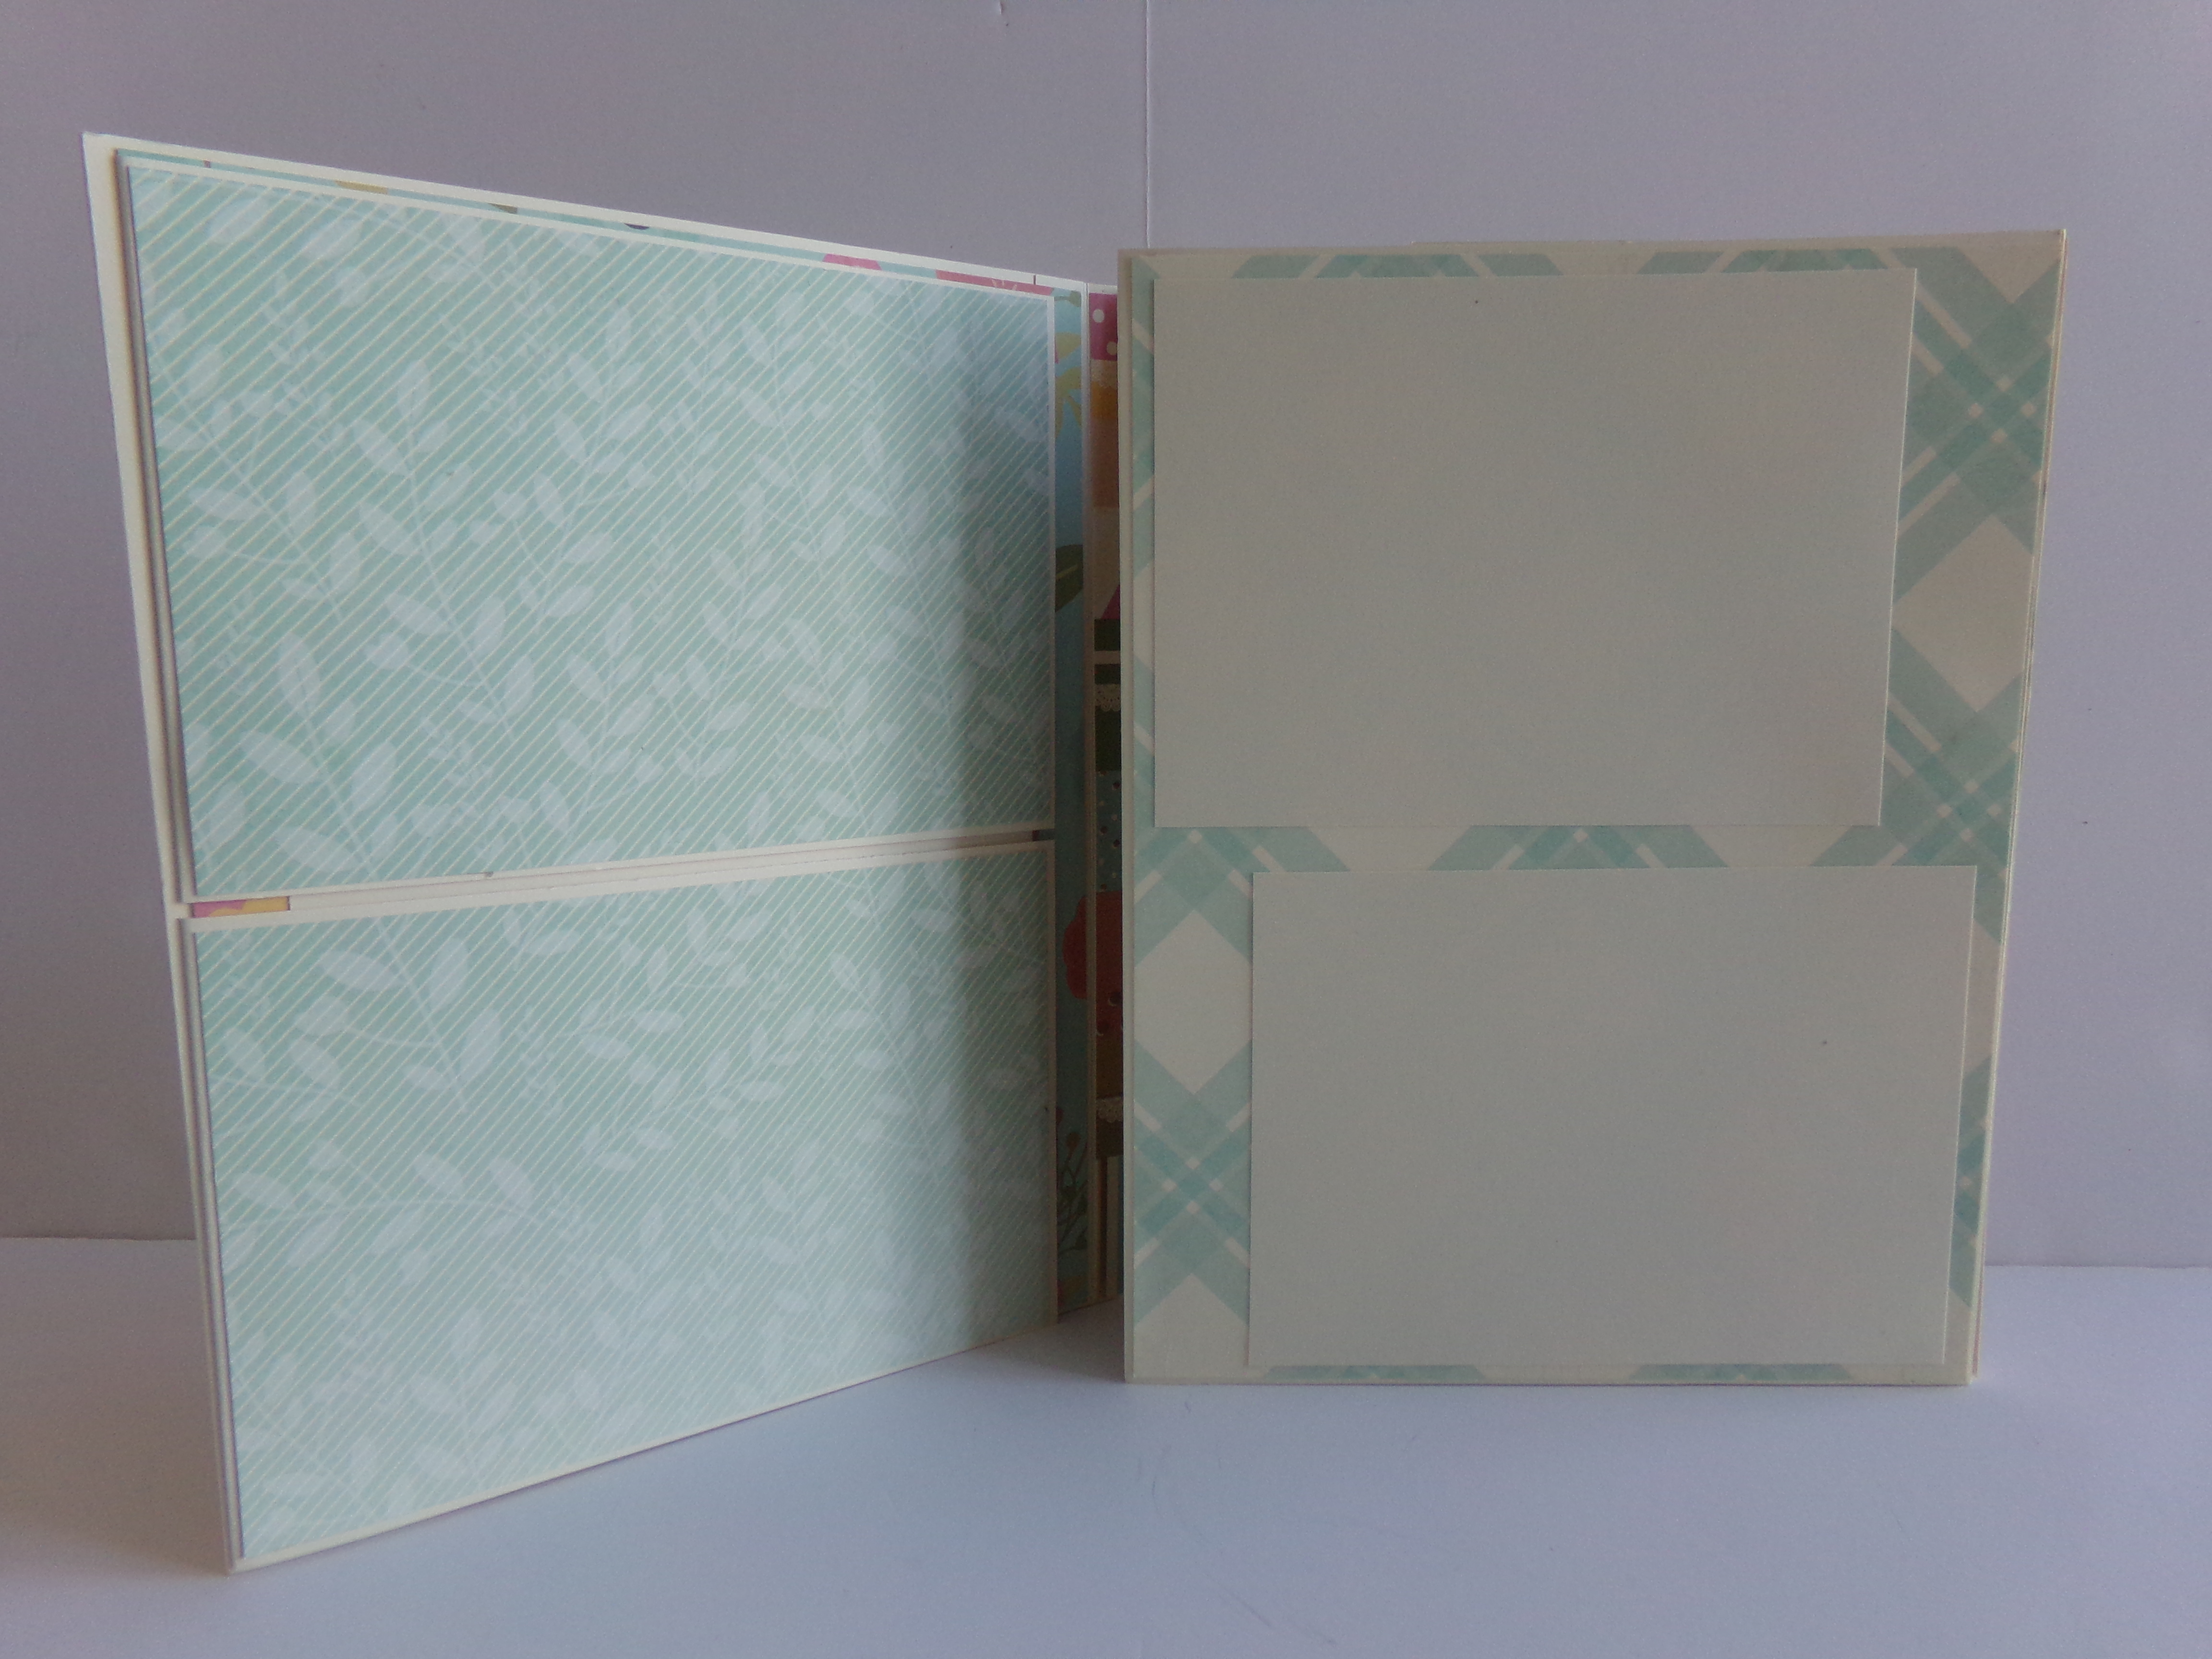
Front cover of folio
First flap opened
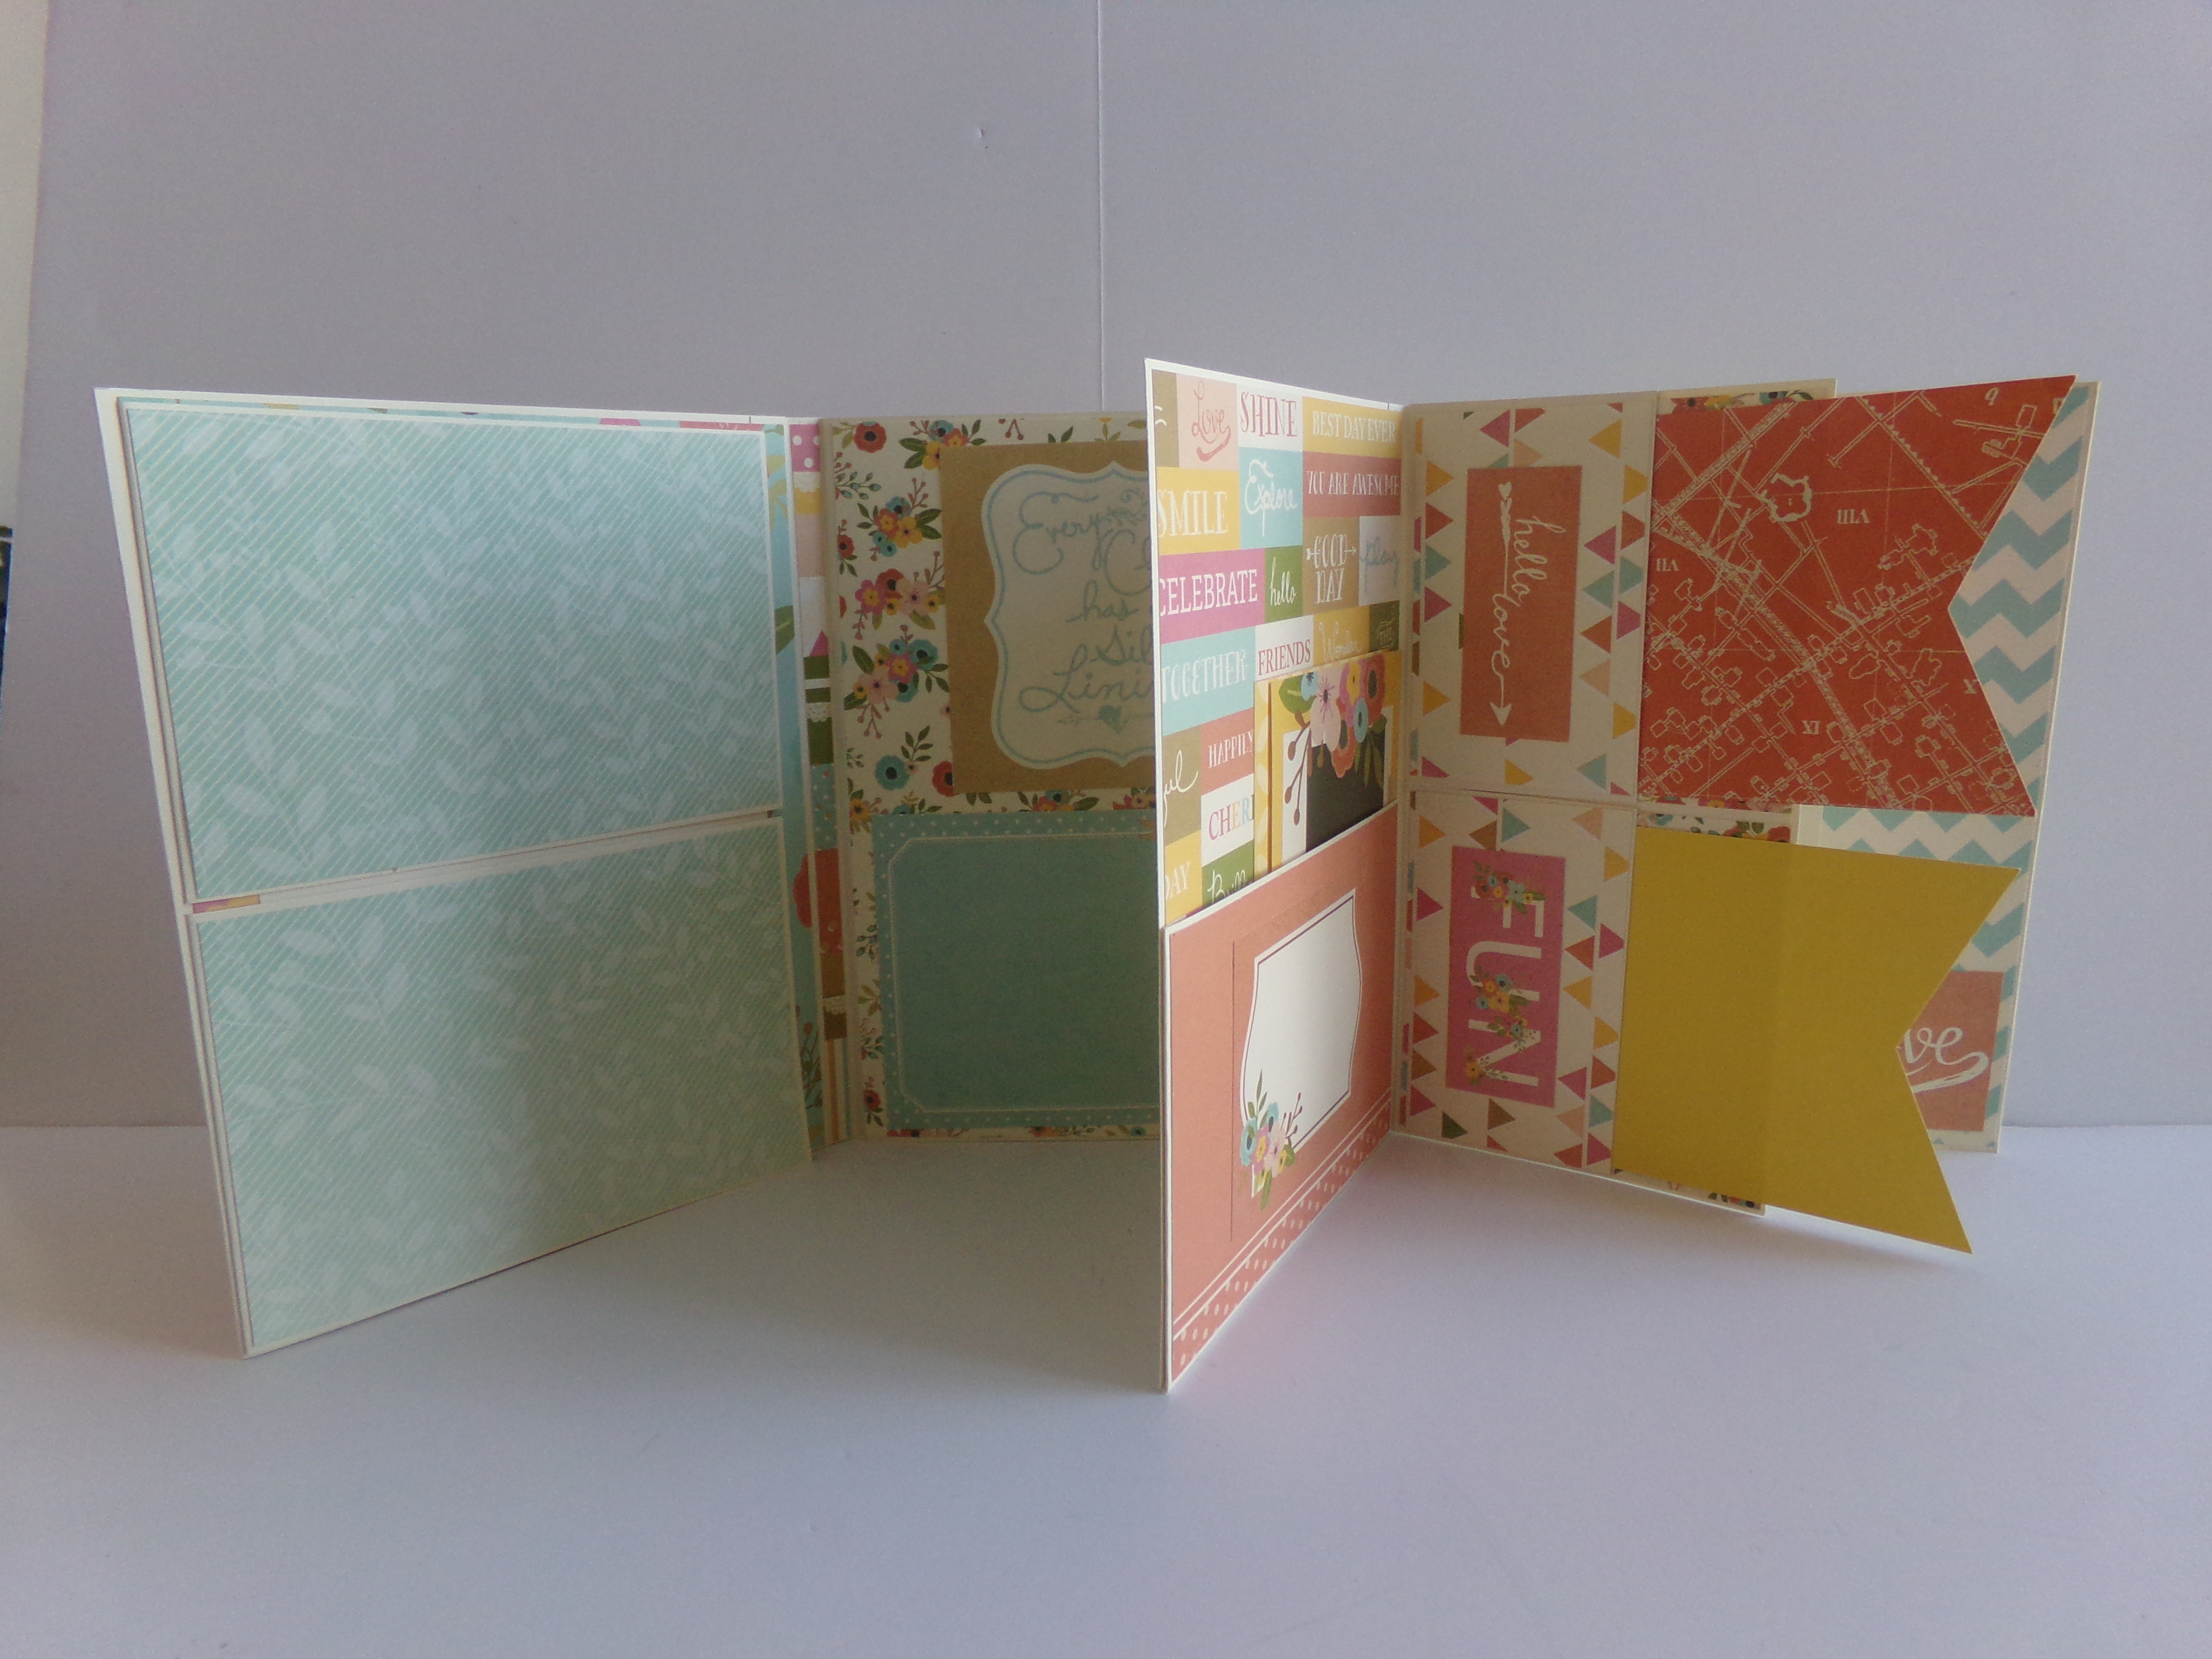
Full view of the first section of folio opened
Here is the first flap of the second section
Two swing out photo mat flaps
Folio right flap opened
Next page of the right side opened
Folio pages
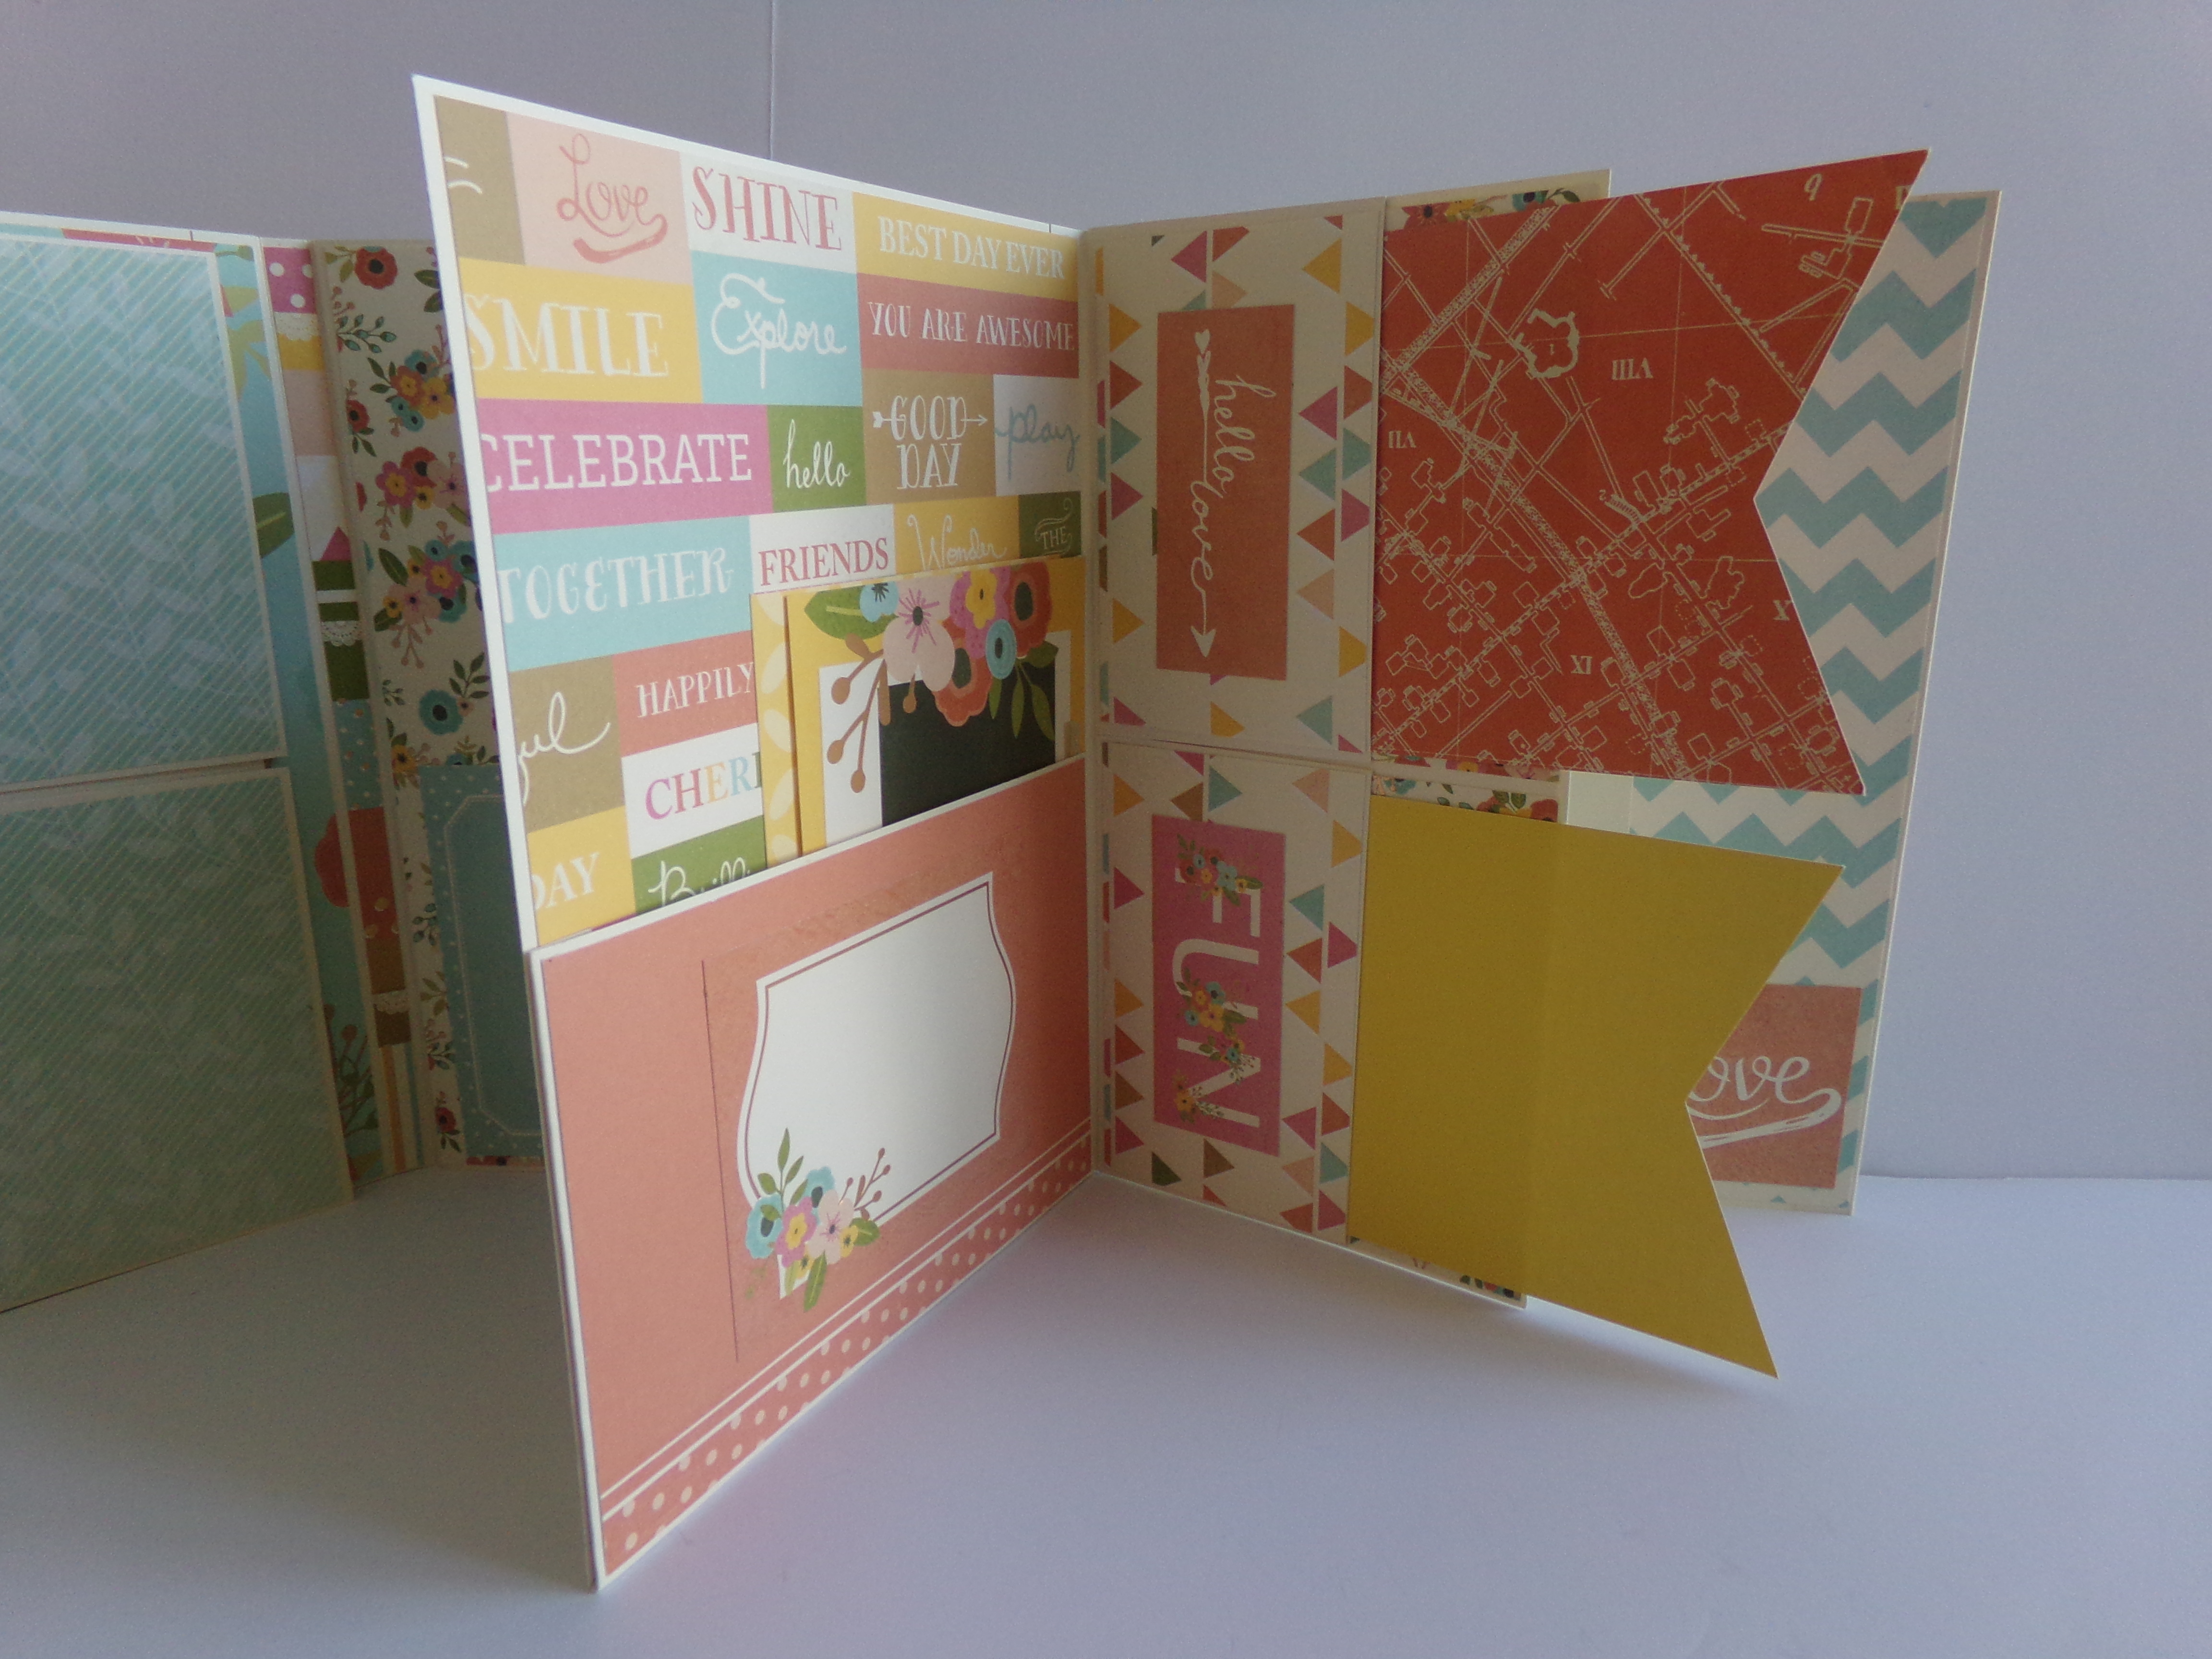
Here is a close up of the left page of the final section
Here is the final section which is the center of the folio when all the flaps have opened out
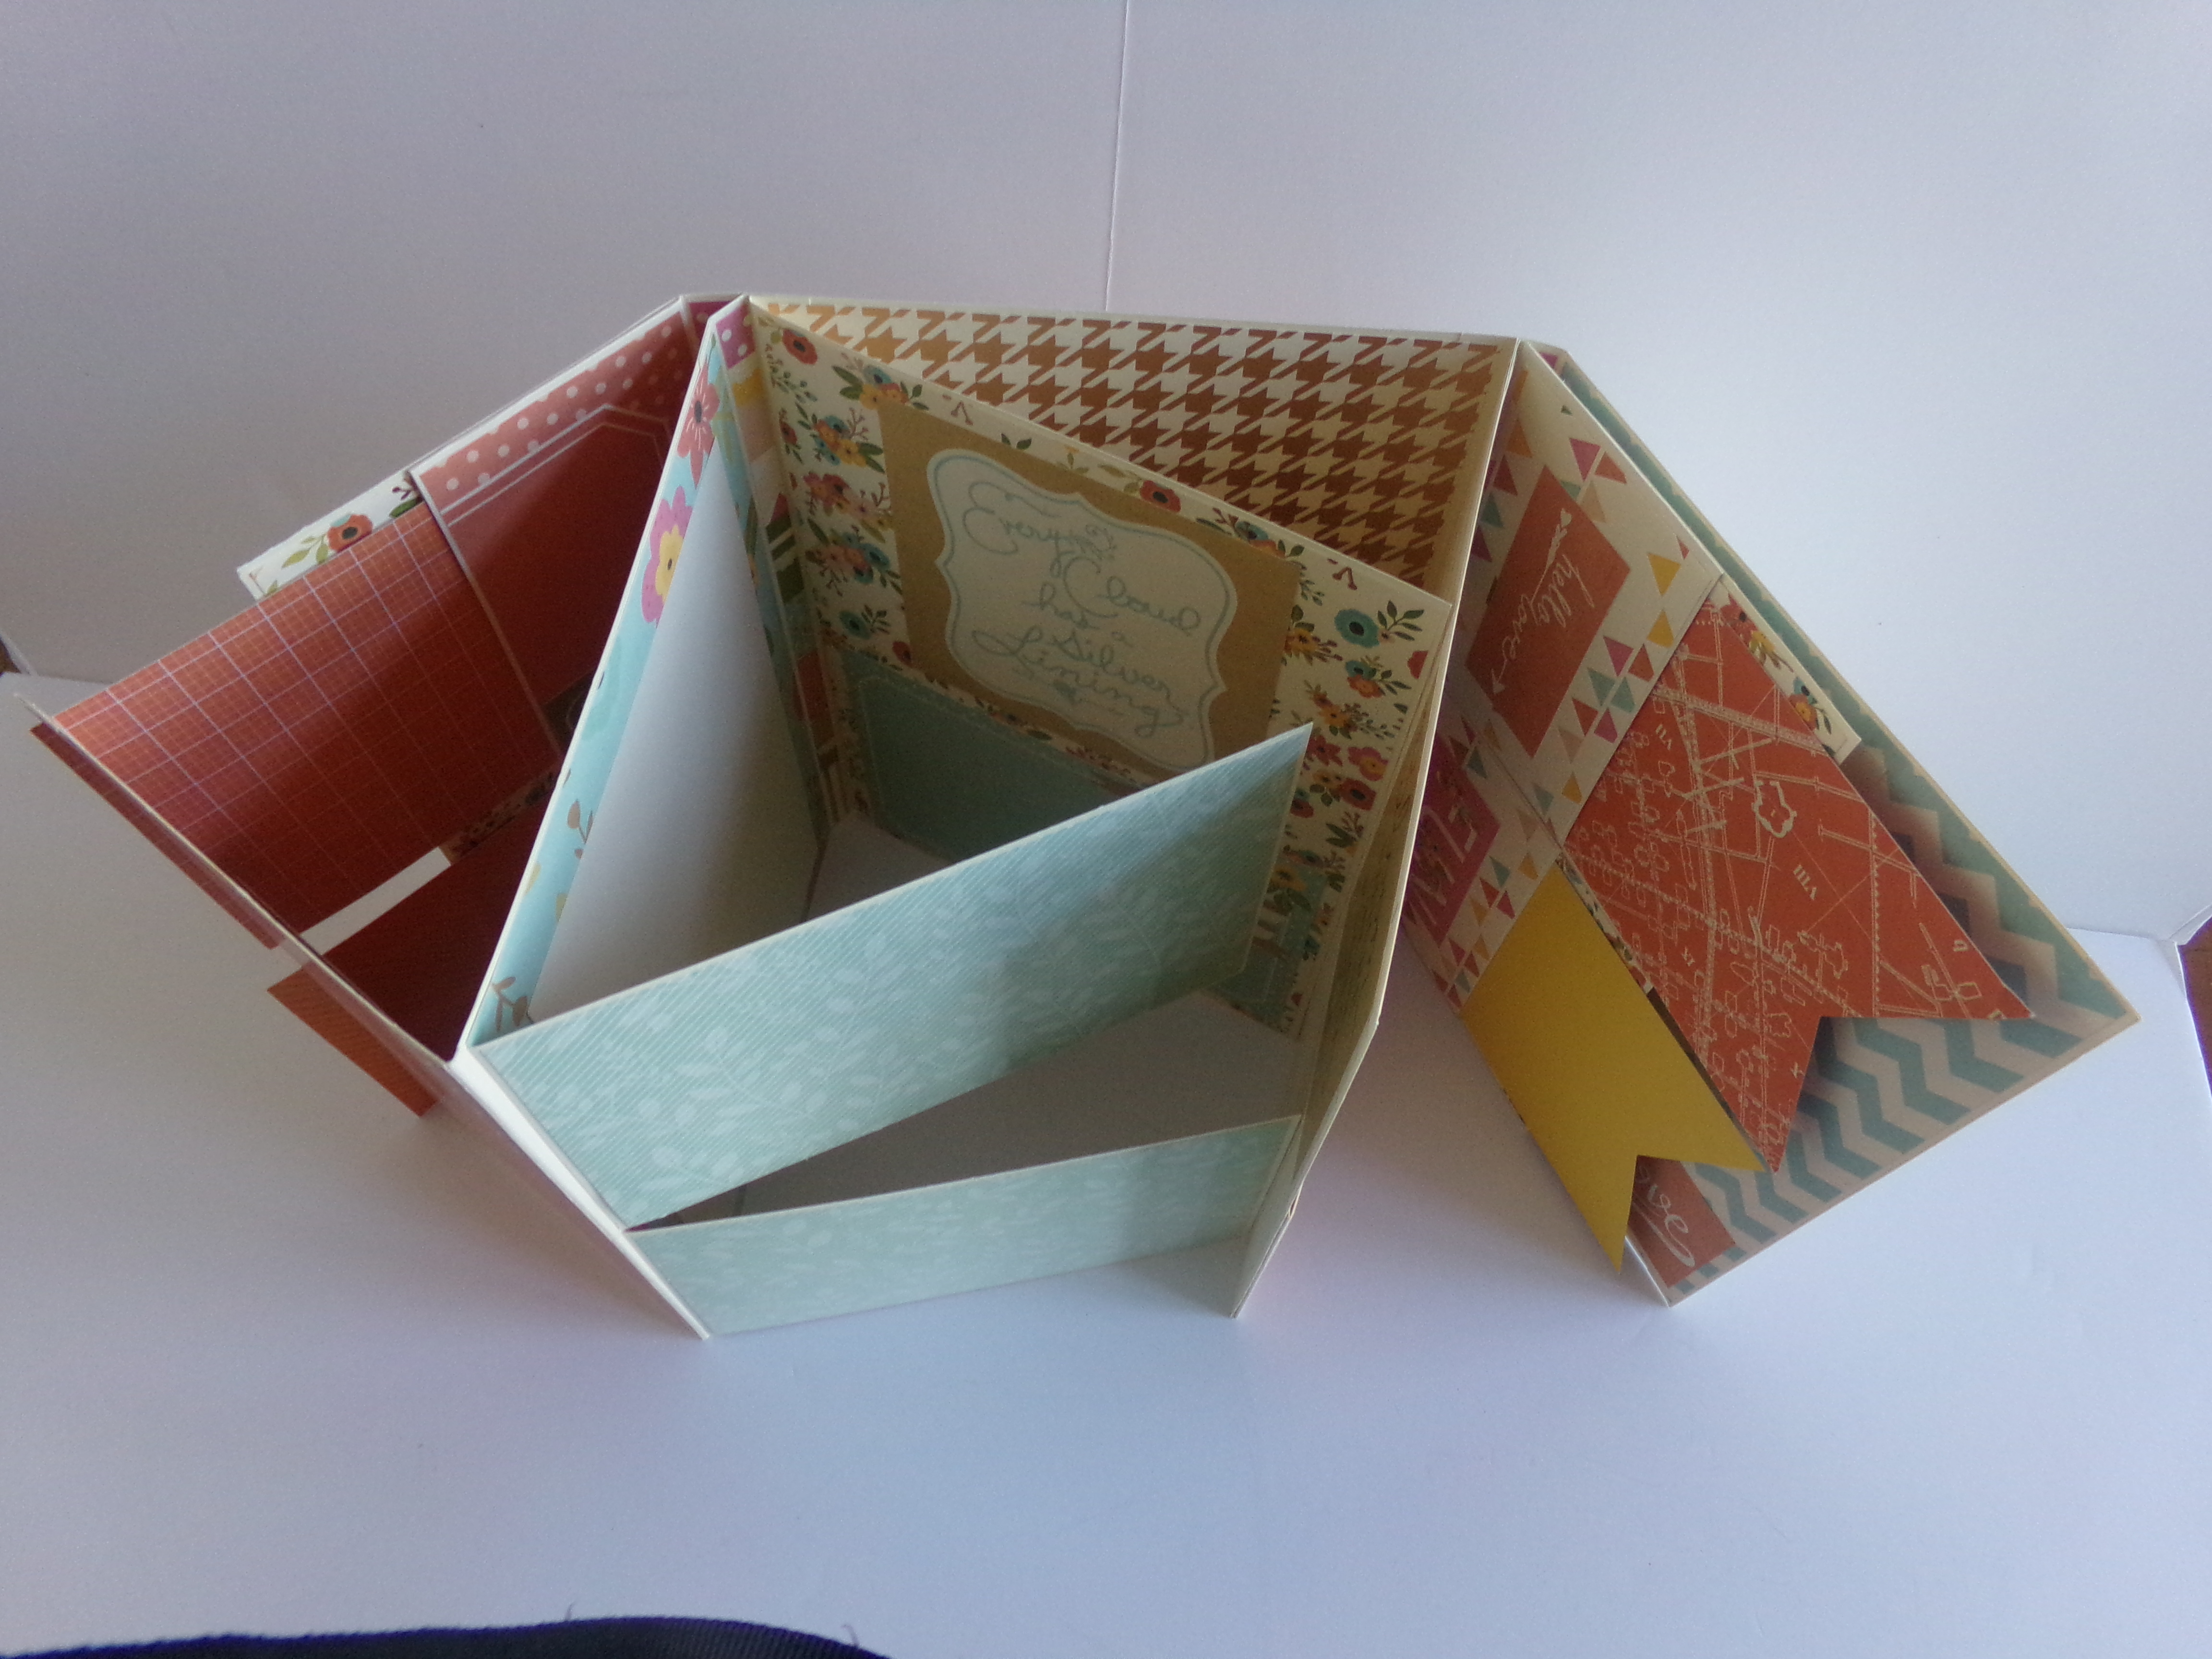
View looking down on opened folio. There are many flips and flaps
Back of Folio
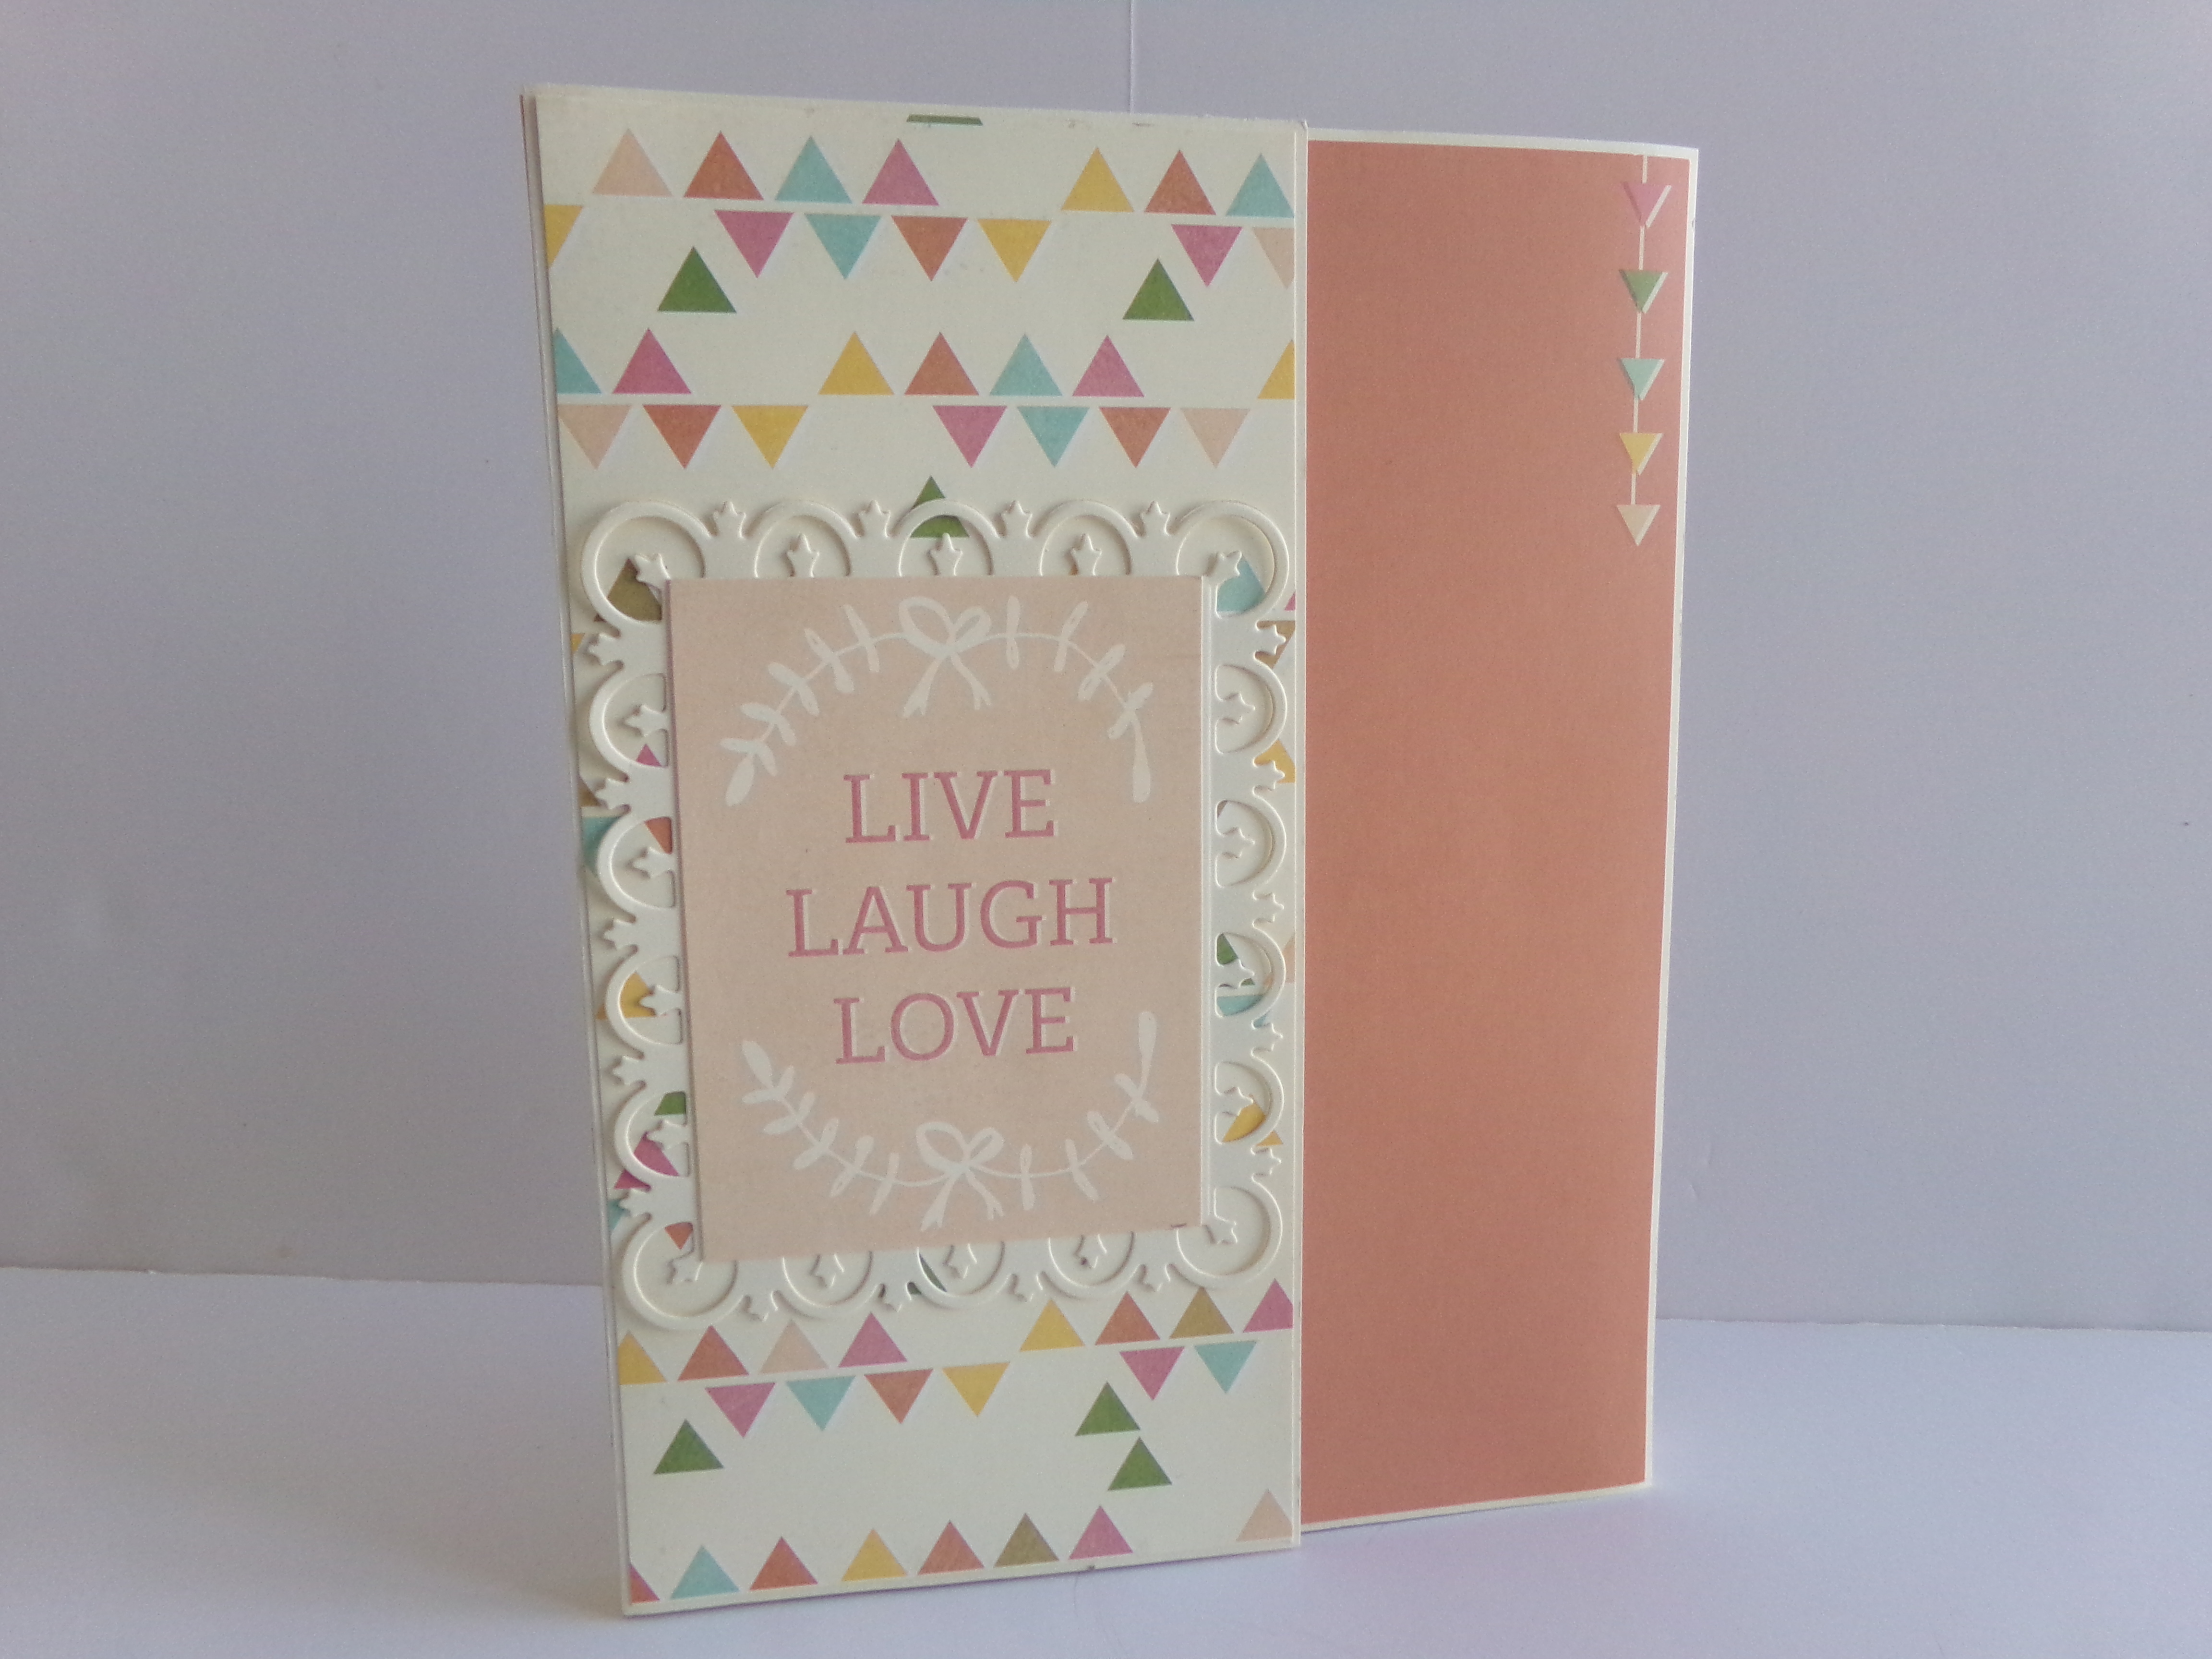
Here is the front of the folio without the cards in the inside pockets. It has a cleaner look and is an option
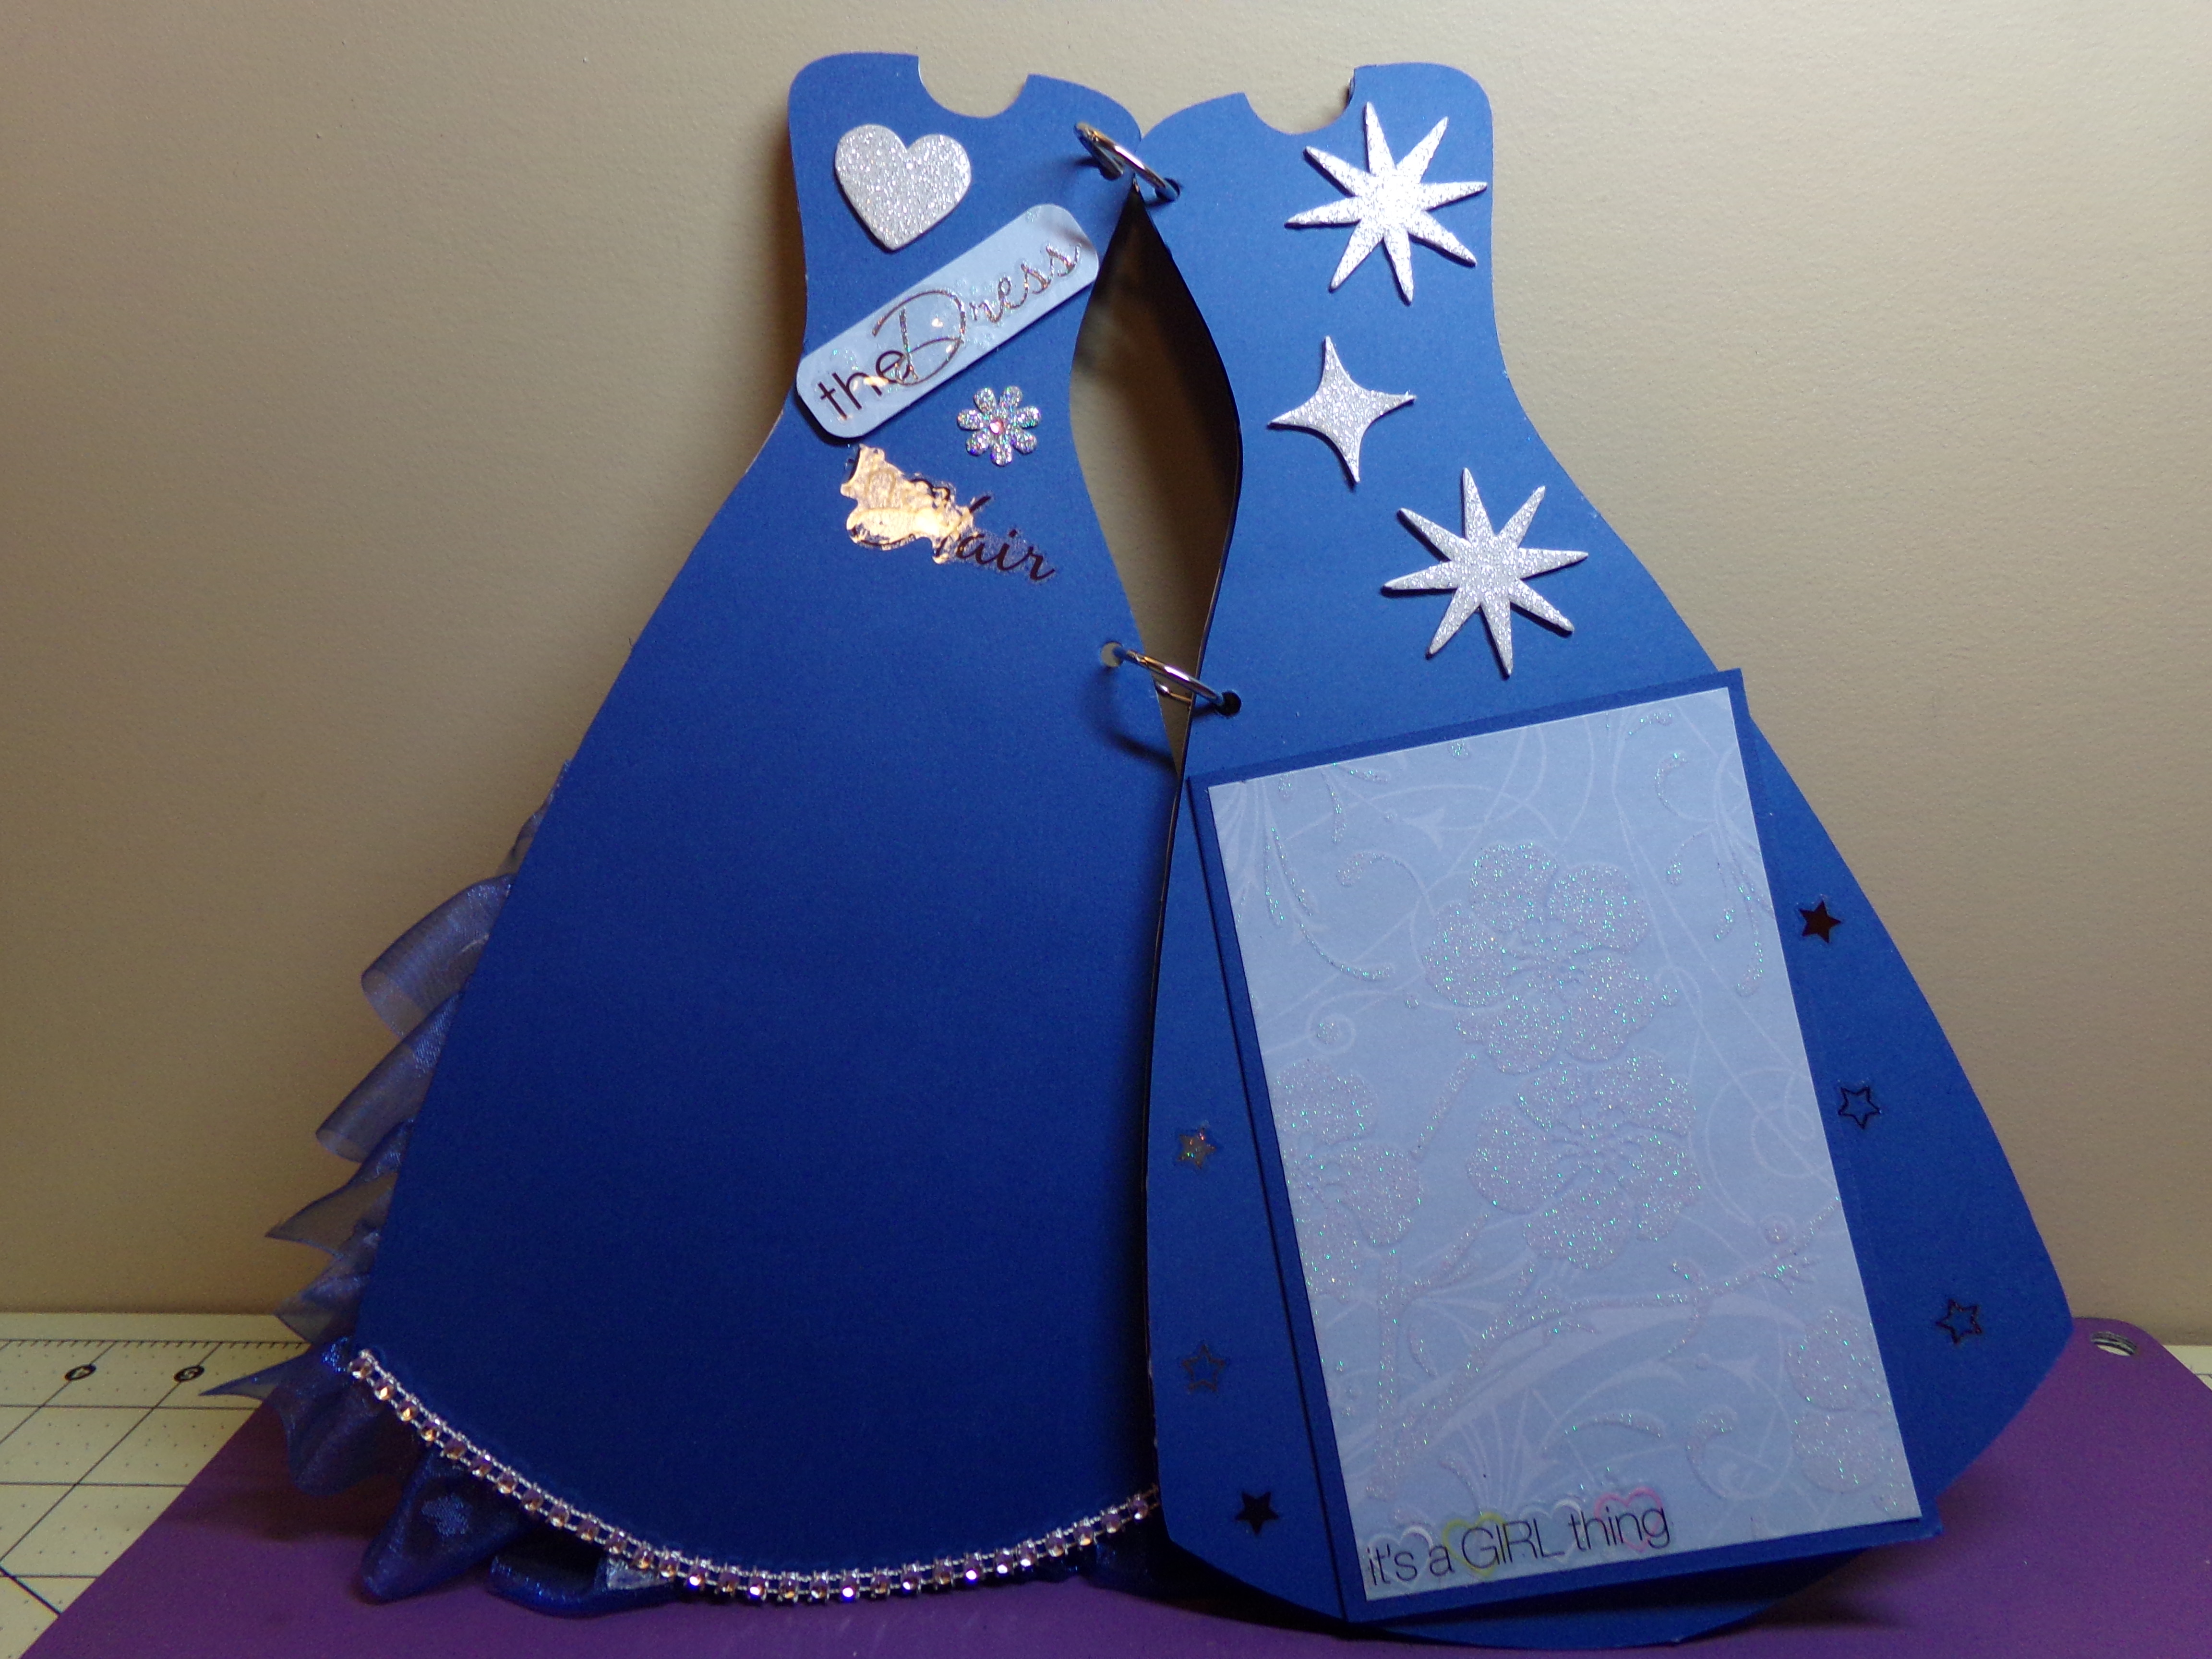
I love the way my project turned out. It is for a little 7-year-old girl in my life who was in a pageant recently. She won the formal category, along with a couple other categories, and placed in the top 30 out of a lot of other contestants (148 others I think). Her dress was royal blue and silver and it had organza ruffles from the waist to the floor. The top was sleeveless and has silver sequins and beading.
She asked if I could “make her one of those things to put the pictures in.” She meant a photo album but she couldn’t think of what it was called at the time she asked. So, I made her one just for her to put her favorite pictures from the event in. I can’t wait to see her face when she sees it! She is going to love it!
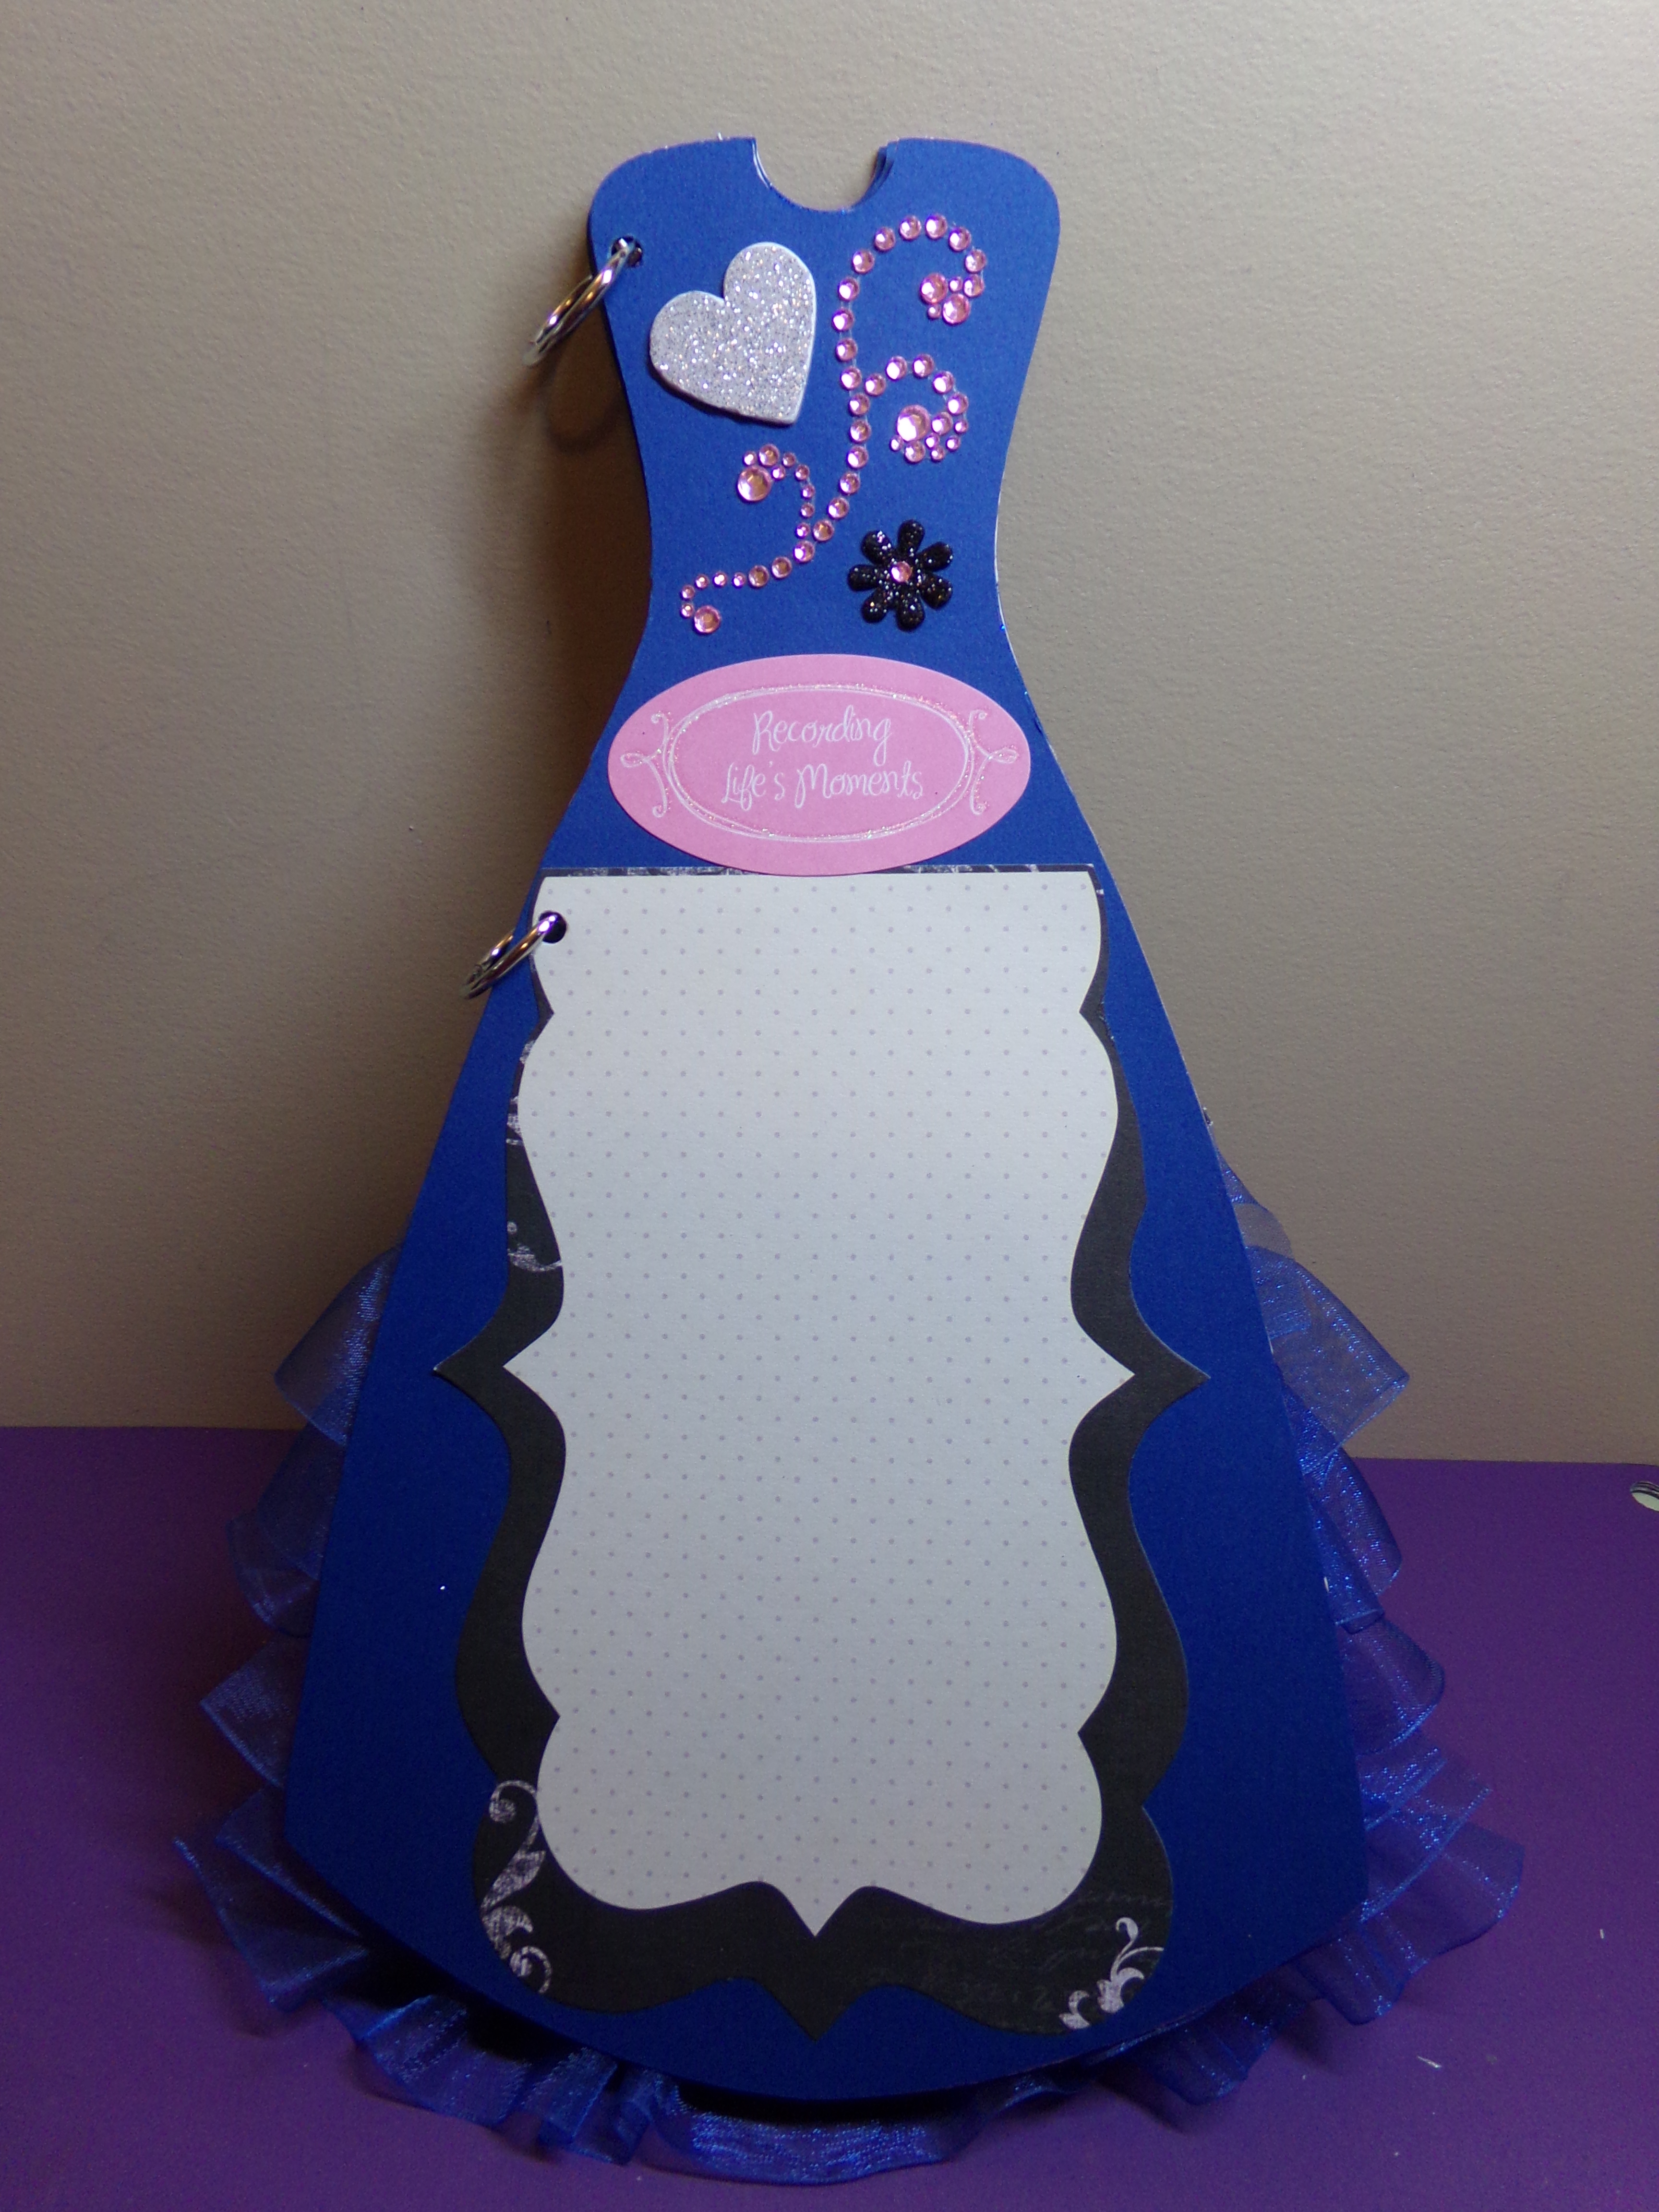
Dress Shaped Mini Album – First Two Pages Opened
I enlarged the dress shape 165% making it around 11.9″ x 6.5″ so it is a nice size. I actually cut out old gift boxes as the page bases and covered them with paper. I just added embellishments and a few fold outs so that she could get more than one picture on several of the pages. Below are the individual pages and the video. Be sure to stop by The Cutting Cafe Blog on Wednesday afternoon for Inspiration Wednesday to see all the design team projects! Leave a comment and you just might be selected to win three free files next week!
Dress Shaped Mini Album – Page 1
Dress Shaped Mini Album – Page 2
Dress Shaped Mini Album – Page 2 Opened
Dress Shaped Mini Album – Page 3 – The bottom flap opens to hold pictures
Dress Shaped Mini Album – Page 4
Dress Shaped Mini Album – Page 5 – the flap is a three way folder for pictures
I am an association management professional who has always loved fashion, sewing, crafting, writing, cooking, and shopping. I am married to a wonderful man and have a great family foundation. I like to share inspiration with as well as get information from others and hope this site will let me do just that. Happy crafting!