Archive | Design Team RSS feed for this section

All About You Card – The Cutting Cafe Design Team Project

7 Jul
All About You Card

All About You Card

It is time for another project for The Cutting Cafe!  Regina created the A-Z Letter Set which consists of two cards for each of the alphabet, one folded like I used and one shaped like the letter.  This set is versatile because you can use the overlay letters by themselves for other projects.  You can also purchase the letters individually if you’d like.

All About You Card Angle View

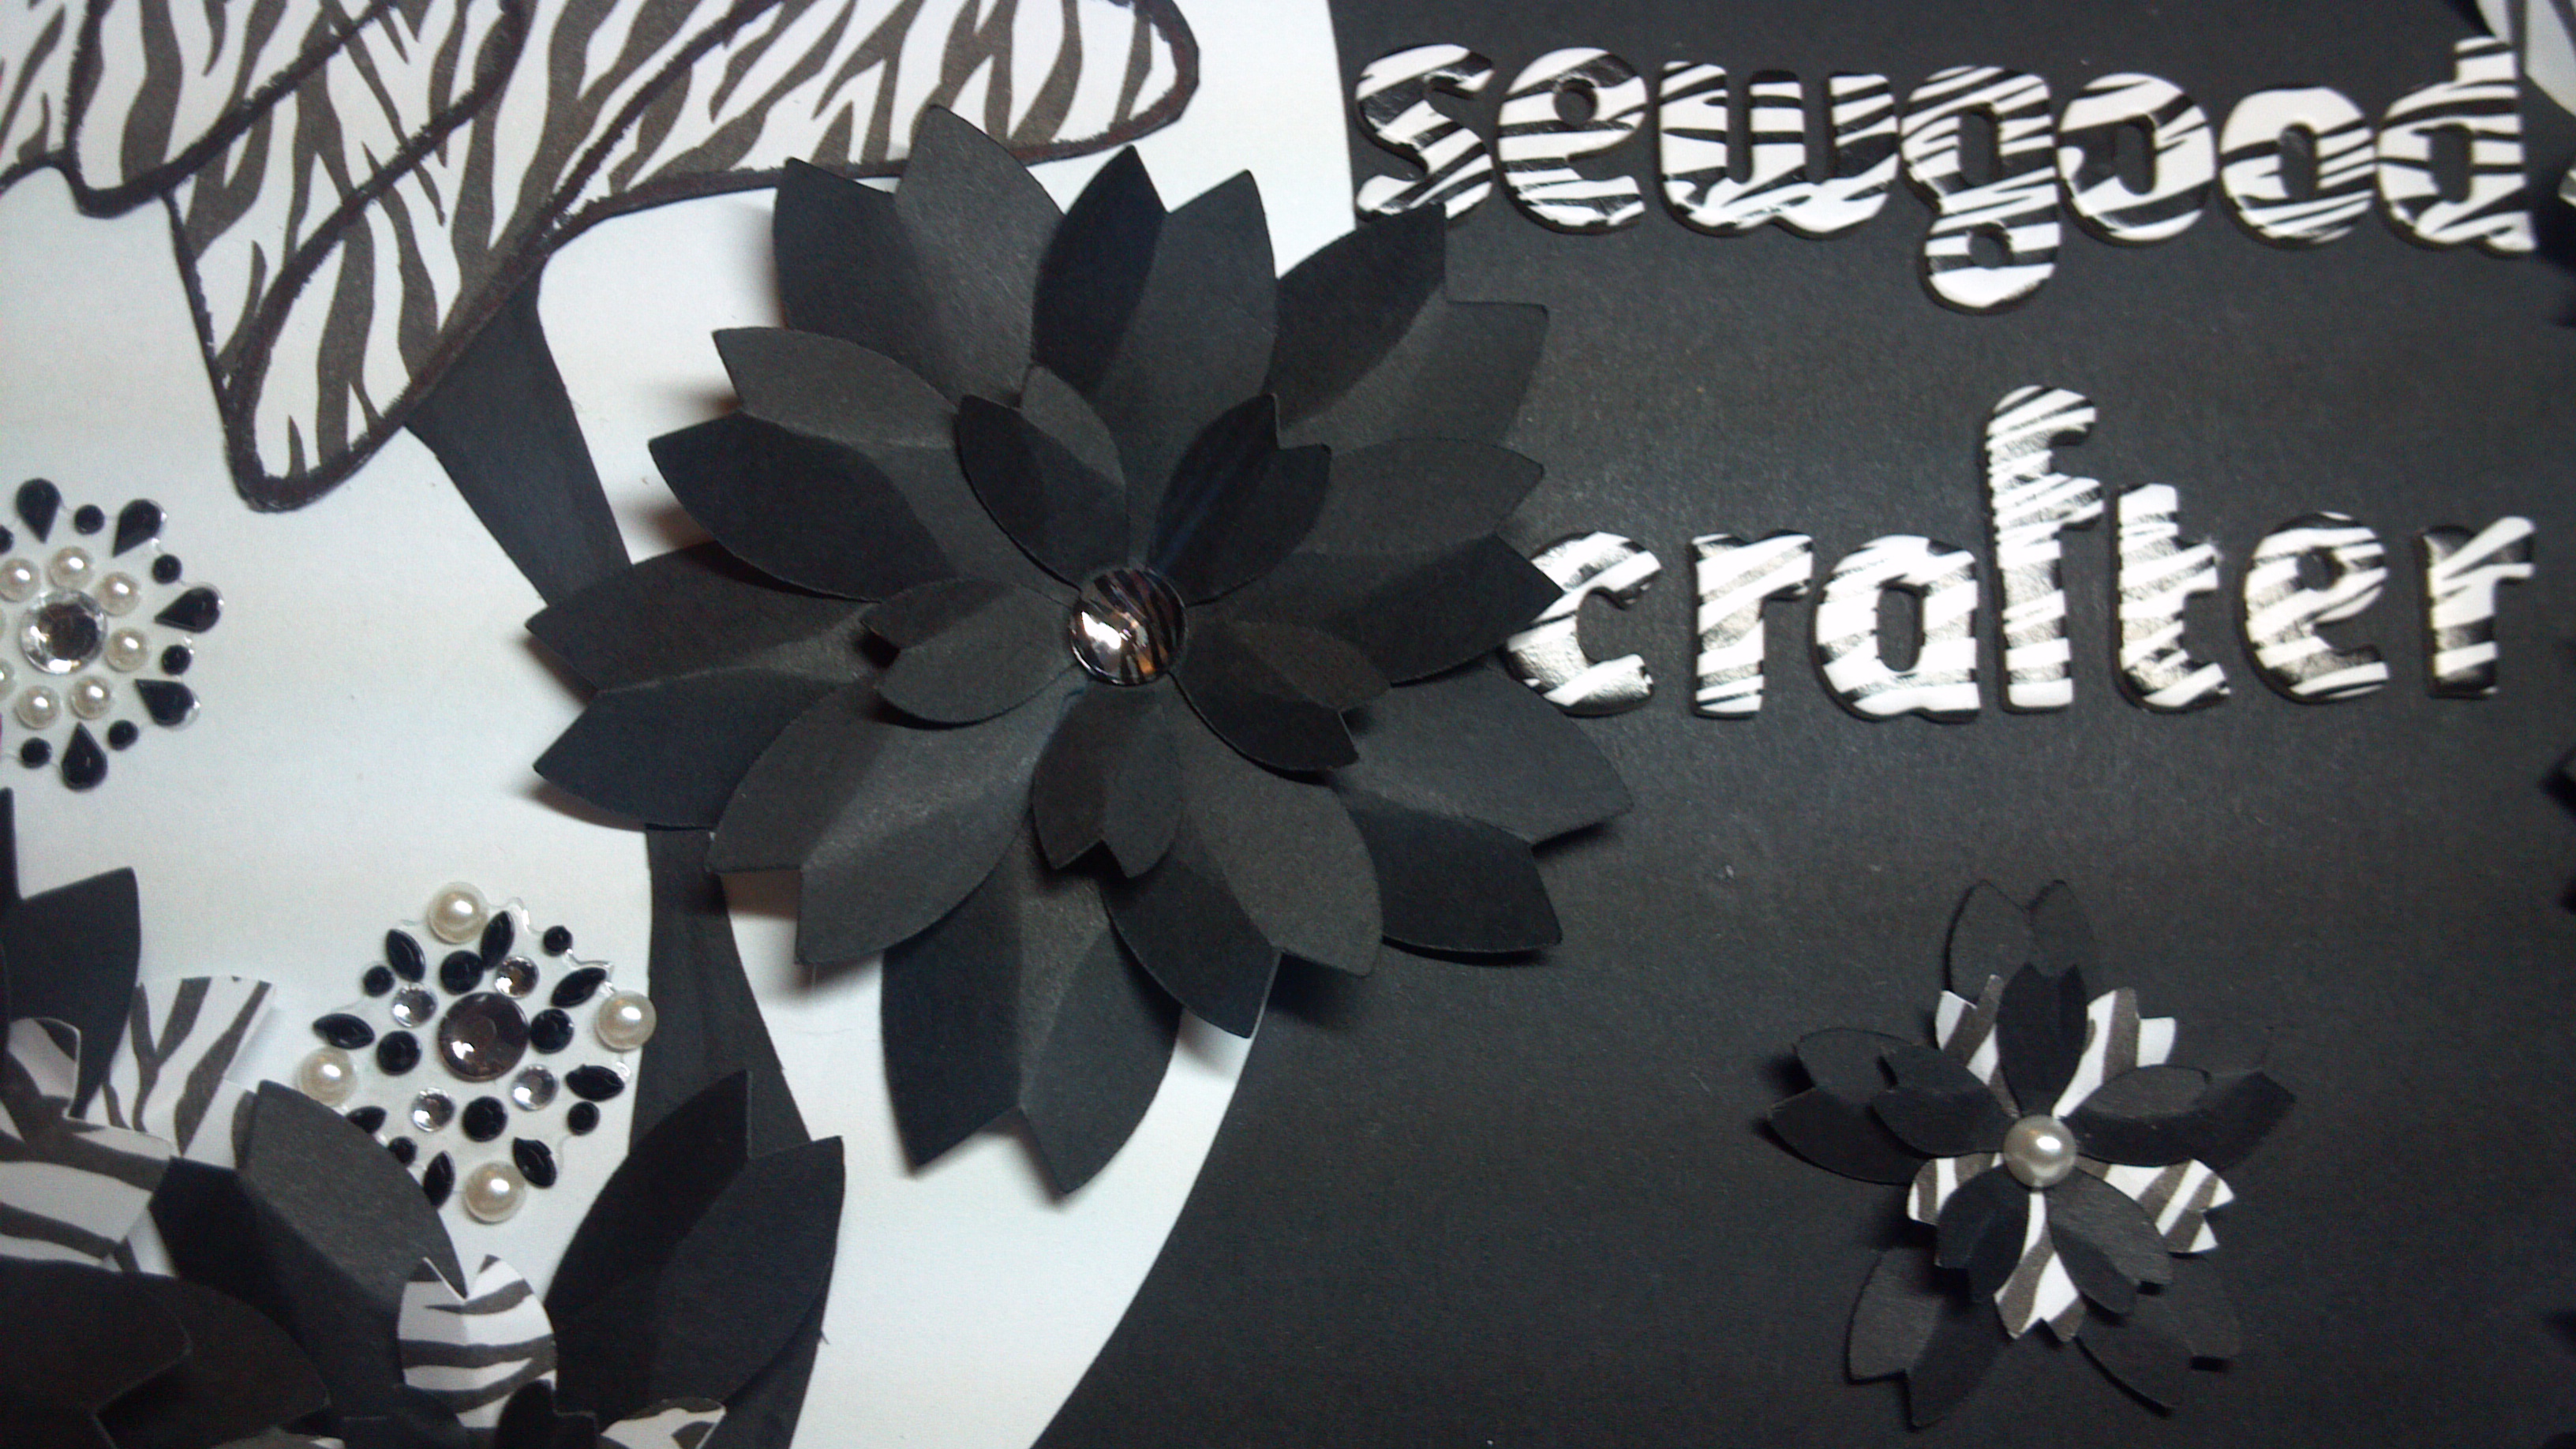
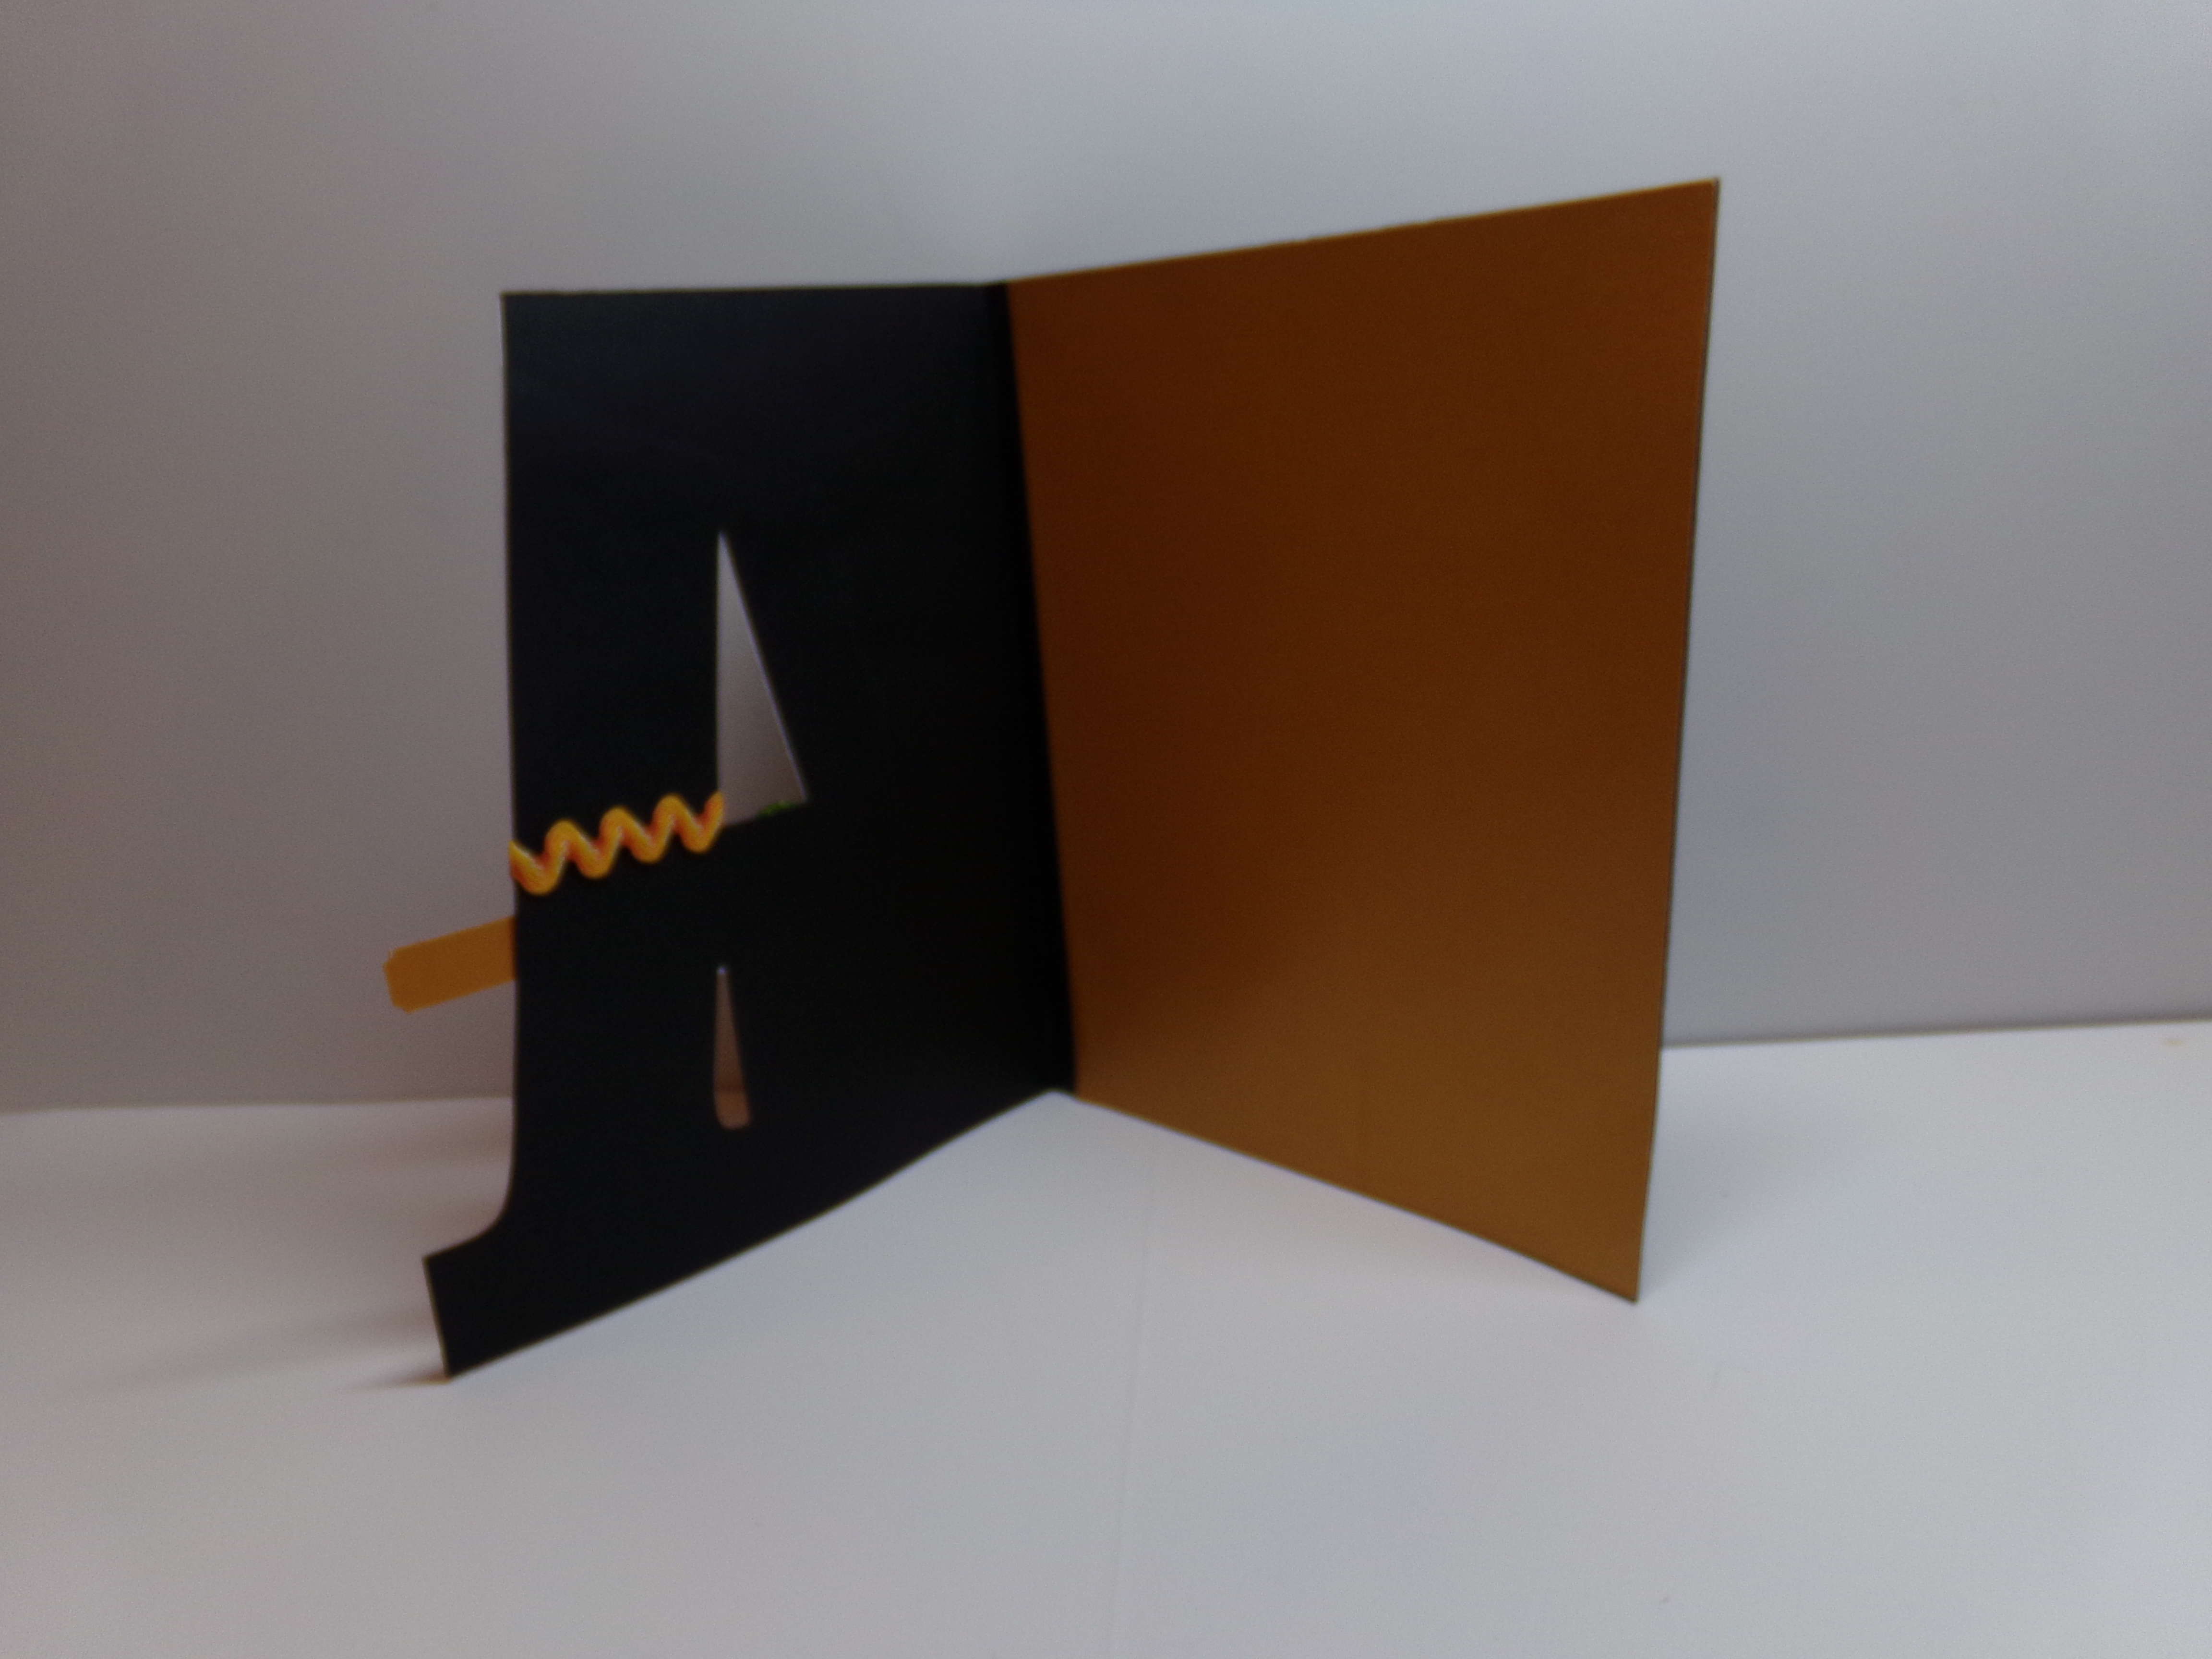
I used the letter A and a sentiment that says all about you.  The person who this is for also has a name that starts with the letter A so it works out perfectly.  I used black cardstock as the base.  Added and overlay A out of striped sparkle paper, flowers that have been sprayed and stickled, a butterfly, and a bling flourish.  I also used some rick rack and a button and resin rose to accent the sentiment.  Here is a close up…

All About You Card - Close Up Detail

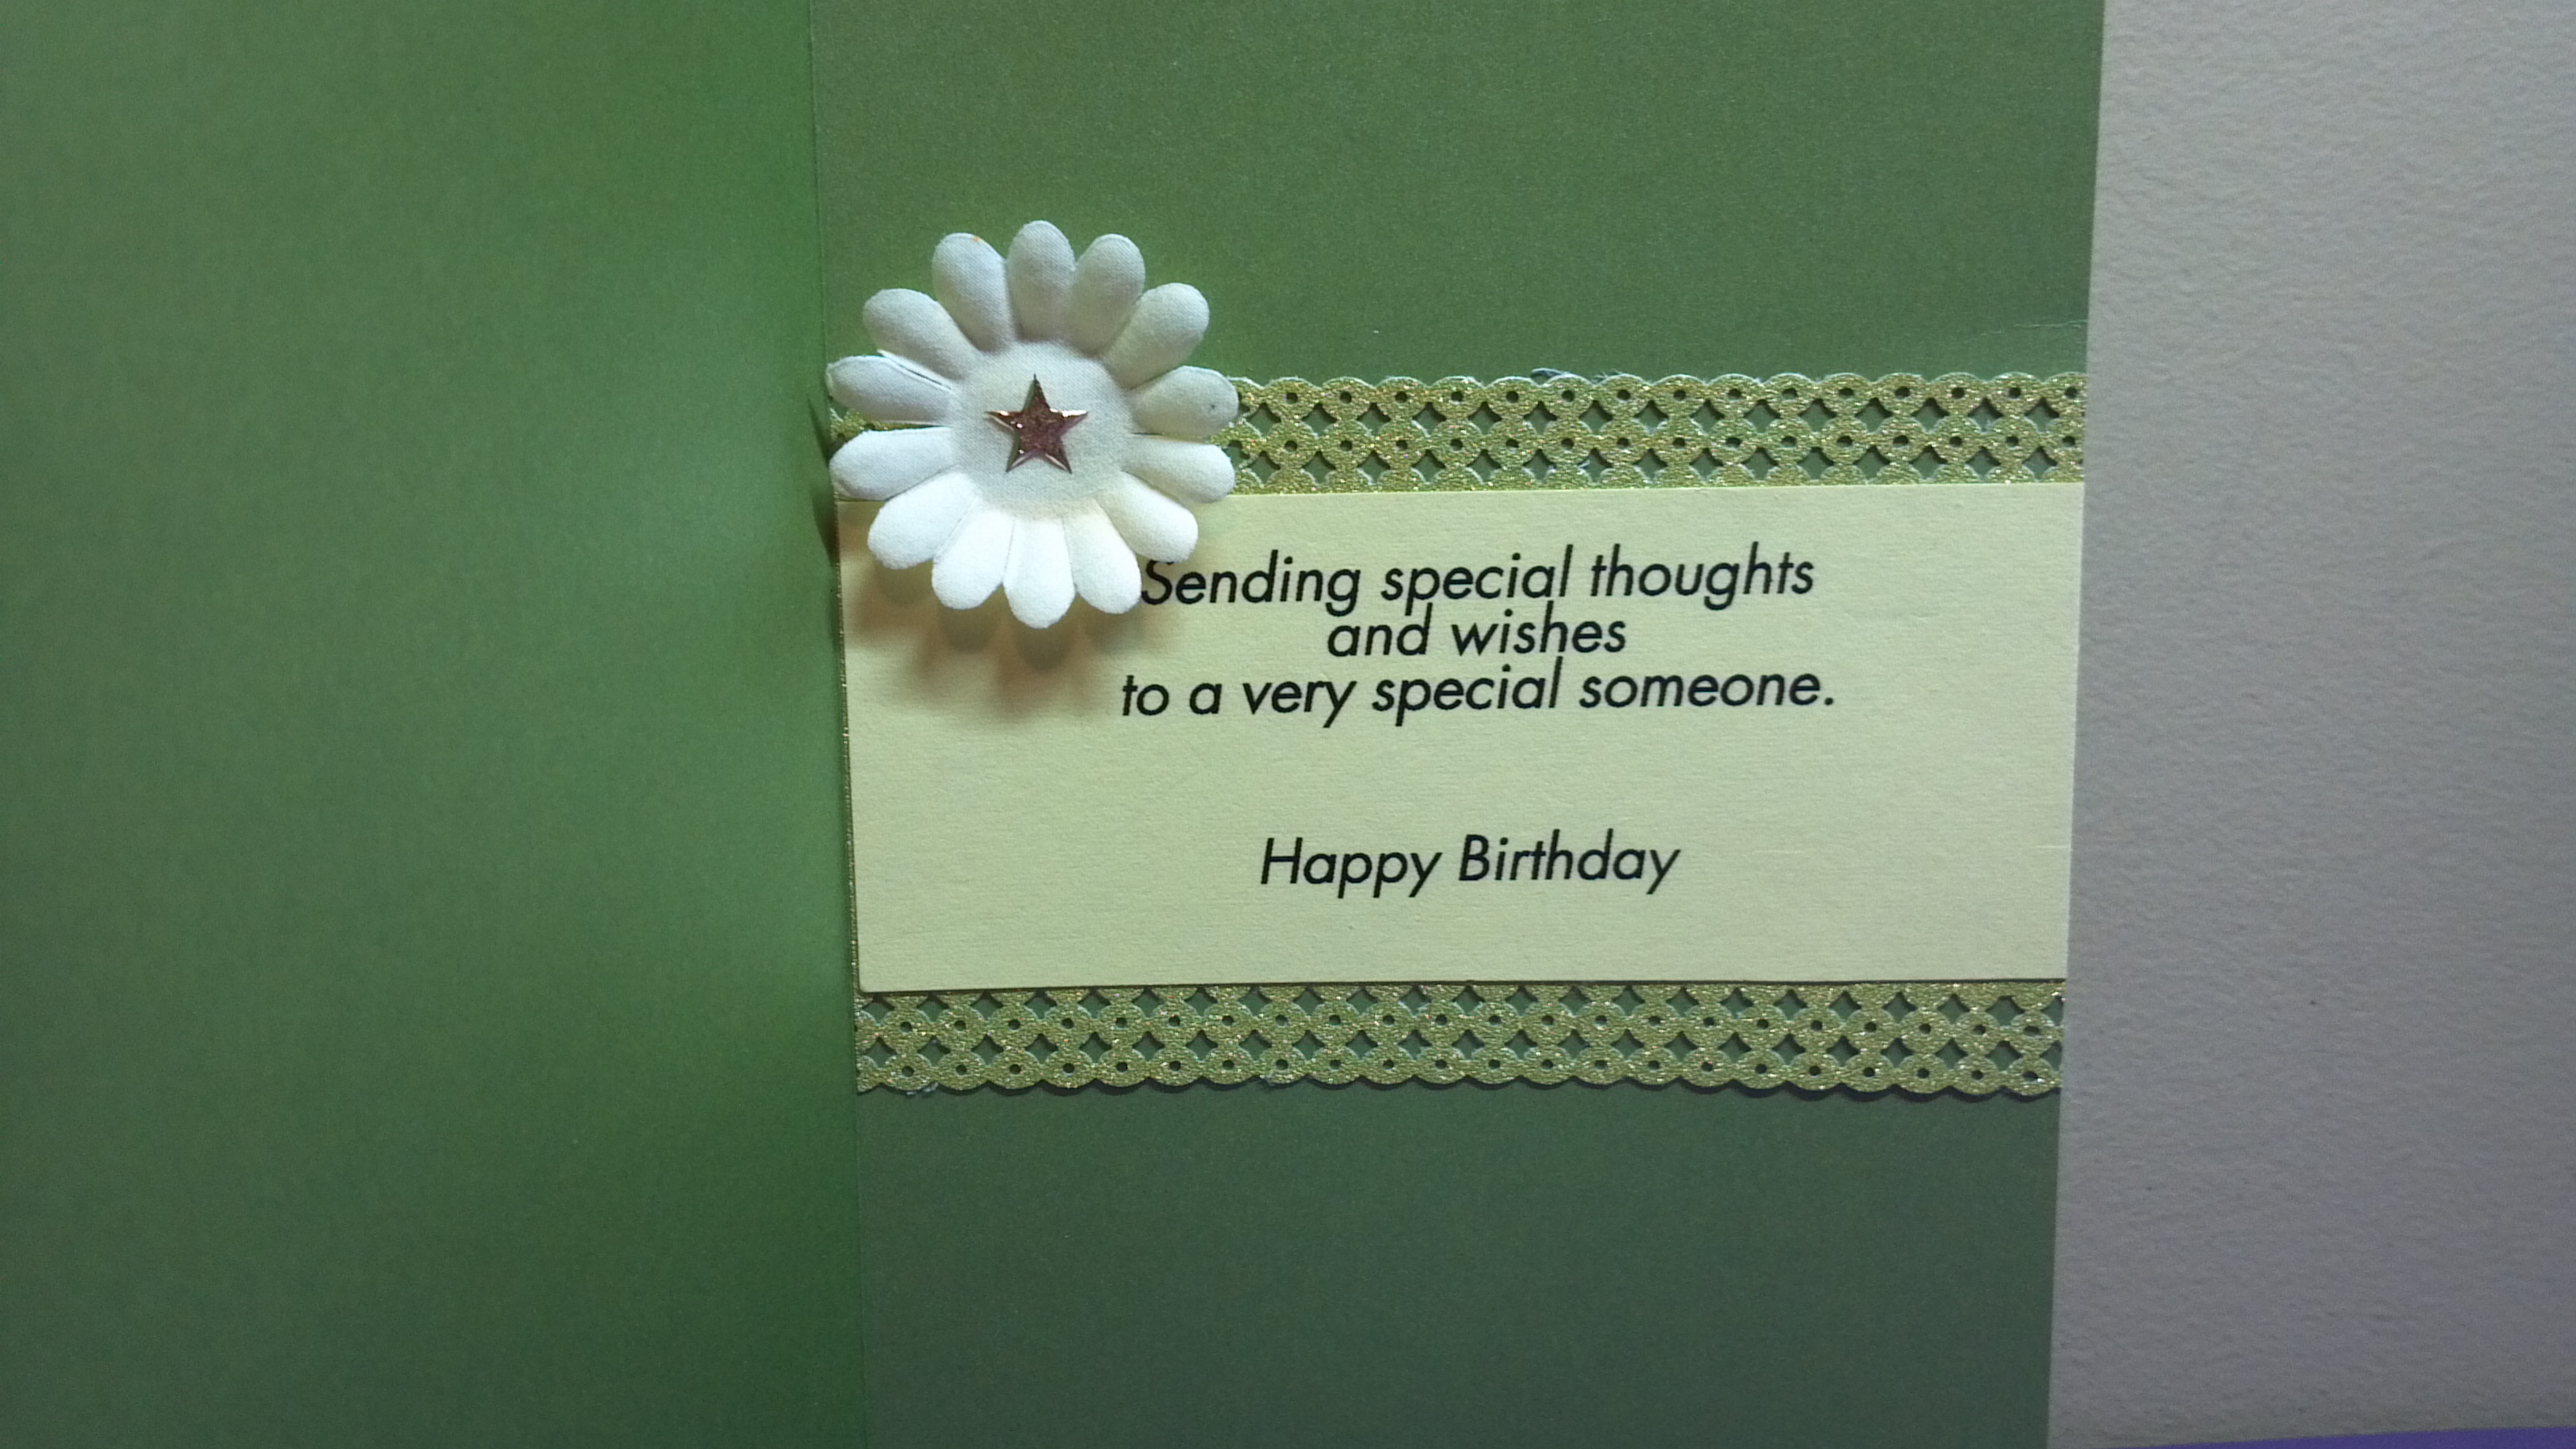
Lastly, I added an orange shimmer paper to the inside where I will attach a photo and a note…

All About You Card - Inside

Make sure you head over to The Cutting Cafe Blog today to see all the design team projects which are listed every 7th and 21st of the month.  Make sure to leave a comment on the posts and you will be eligible to win three free files of your choice in the drawing on the next design team post.  Also, we love reading your comments!  Thanks for stopping by!  Here is my video…

Wine Bottle Shaped Thank You Card and Gift Tags – The Cutting Cafe Design Team Project

19 Jun
Wine Bottle Thank You Card and Gift Tags

Wine Bottle Thank You Card and Gift Tags

My husband’s organization was having an end of year celebration for their current Board of Directors.  The event had a wine tasting and the board gifts were insulated wine bags.  So he asked if I could make a thank you card for the outgoing Board Chair shaped like a wine bottle, and tags to put on each gift.  I was able to do what he asked with the help of  The Cutting Cafe!  This week for my design team post, I used the Wine bottle Shaped Card.

I enlarged it for the card and put two of them together to make it a tri-fold card to allow enough room for all the board members to sign it.

Wine Bottle Thank You Card Opened

On the label, I used the organization logo.  I also used a sentiment from the card on the neck of the bottle and cork paper for the cork.

Wine Bottle Thank You Card Close Up

I used the same file to make small tags that he used to hang from the gifts given to them.

Wine Bottle Gift Tags

Wine Bottle Gift Tags

My hubby wanted to give the outgoing chair something other than just a plain card.  He asked if I could make a 3D wine bottle and he could add a note on the back label.  I found this file and made this bottle which is actually a box, but I glued it shut and put glitter tape over the opening which is where the label starts.  This file was not from The Cutting Cafe but I think it went well with my Cutting Cafe projects.

3D Wine Bottle Box

3D Wine Bottle Box

Make sure you stop by The Cutting Cafe Blog on June 21st to see all of the design team projects.  Since everyone could use any file they wanted to this posting, you will find quite the variety I am sure.  Make sure you leave a comment to be eligible to win three free files of your choice on the next post on July 7th!  Thank you so much for stopping by and before you go, here is my video for this project…


Father’s Day Card in a Box – The Cutting Cafe Design Team Project

6 Jun
Father's Day Card in a Box

Father’s Day Card in a Box

Hello all!  Thanks for stopping by!  Today I am sharing my card for my dad which is doubling ad my design team project for The Cutting Cafe.  Regina created the Card in a Box Template and the Card in a Box Embellishment Set to enhance the card.  I also used two sentiments from the For My Tie-Rific Dad Printable Stamp Set.  As I have said before I love making these.  They are not hard to do and I show you how to put them together in this video.

Here are more views of my card…

Father's Day Card in a Box View Two

Father's Day Card in a Box Top View

Father's Day Card in a Box Sentiment

Head on over to the Blog tomorrow and see all the versions of the card in a box created by our incredibly talented design team!  Plus leave a comment and you will be eligible to win three free files in the drawing on June 21 (we only post on the 7th and 21st now).

Thanks again stopping by.  Before you leave, here is my video for this project…

Scrapbook Expo Bank Block – The Cutting Cafe Design Team Project

21 May
Scrapbook Expo Bank Block

Scrapbook Expo Bank Block

For this project for The Cutting Cafe, we are working with new block files that Regina created. There are four different sets which you can see here. There is so much you can do with these!  I created a bank with the connected lid version.  Every year I say I am going to stash money every now and then for the Scrapbook Expo.  I am going to start now for next year’s show!  Here are a few more views…

Scrapbook Expo Bank Block Close Up

Scrapbook Expo Bank Block Left Side

Scrapbook Expo Bank Block Right Side

Scrapbook Expo Bank Block Top View

Head over to the blog to get some wonderful ideas from our design team! Plus, leave a comment and you might when three free files in the drawing on June 7th!  Thanks for stopping by!

Here is my video…

Cross Shaped Easter Bible Verse Card

8 Apr
Cross Shaped Bible Verse Card

Cross Shaped Bible Verse Card

This week at The Cutting Cafe we focused on Easter.  I used the Bible Easter Verses Printable Stamp Set and I paired it with the Cross Shaped Card Set.  I used a lavender card stock and a shade lighter paper for the inside.  I topped the cross with white glitter paper and added a red glitter heart.

Cross Shaped Bible Verse Card - Cross Close Up

I printed the verse on white paper and put it on top of a rectangle Spellbinder cutout that I popped up on foam dots.

Cross Shaped Bible Verse Card - Close Up Verse

Cross Shaped Bible Verse Card View 2

There were several other files we could use this week also including the Easter Elisha Jean and Friends Printable Stamp Set, The Easter Bunny Shaped Card 2, and the Egg Goodie Box.

Make sure you visit The Cutting Cafe Blog on Wednesday afternoon or some time this week to see what the other design team members will make.  Plus, leave a comment and you just might win three free files of your choice in a drawing next week.

Thanks for stopping by and here is my video this week…


Flower Pot Shaped Card – The Cutting Cafe Design Team Project

26 Mar

Flower Pot Shaped Card 2


We are thinking Spring at The Cutting Cafe! This week we had two files to choose from, The Flower Pot Shaped Card which I used and the Sentiment Stems and Flower Top Printable Stamp Set. I really liked making this flower pot shaped card.

Flower Pot Shaped Card

Flower Pot Shaped Card

Flower Pot Shaped Card Inside

With a few foam squares and some bling, the flowers look very dimensional.

Flower Pot Shaped Card Dimension

Flower Pot Shaped Card Close Up of Flowers

Flower Pot Shaped Card Sentiment
Stop by the blog Wednesday afternoon or Thursday and see all the DT projects. Leave a comment and you might just win three free files of your choice!  Thanks for stopping by.  Here is my video on this project…

Green Birthday Cards – The Cutting Cafe Design Team Project

19 Mar
Birthday Cards

Birthday Cards

This week at The Cutting Cafe, we focused on the color green and could use any files we chose. I pulled out some of my tools, like Spellbinders dies and some punches, that I had not used in a while to make birthday cards that showcase a couple of the many printable stamp sets available from the shop. I used the Birthday Fun Printable Stamp Set and the Birthday Greetings Inside and Out Printable Stamp Set.

For the first card, I used both sets.  The cake image is from Birthday Fun and the sentiment is from the greetings set.

Birthday Card #1

Birthday Card #1

Birthday Card #1 Inside

Birthday Card #1 Inside

The second card uses the inside out set.  Both files have tons of images to choose from and are great to use.

Birthday Card #2

Birthday Card #2

Birthday Card #2 Sentiment Close Up

Birthday Card #2 Sentiment Close Up

Birthday Card #2 Inside

Birthday Card #2 Inside

Be sure to head over to the blog on Wednesday afternoon to see all the design team projects. Leave a comment to be eligible to win three files of your choice in next week’s drawing!

Before you leave, here is a video for you!  Thanks for stopping by!

Hourglass Shaker Birthday Card

11 Mar
Hourglass Birthday Shaker Card

Hourglass Birthday Shaker Card

We are shaking up some fun at The Cutting Cafe this week with a whole new line of shaker cards!  There are 13 different versions and you can find them all here!  I used the hourglass version to make a 50th birthday card for a friend.  Of course I used black and gold for the honor!  I kept the card very simple in hopes of making the shaker 50 and the hourglass the focal points.

Here are a few more pictures…

Hourglass Birthday Shaker Card - Top

Hourglass Birthday Shaker Card - Bottom Close Up

Hourglass Birthday Shaker Card - View 2

Shaker cards are really fun to make and easy once the intimidation factor wears off.  The Cutting Cafe helps you with that also as design team member Tmika did a video tutorial on how to make them which you can find here.

Make sure you head over to the blog Wednesday afternoon to see all of the new projects my fellow team members have created!  Be sure to leave a comment for a chance to win three files of your choice!  Thanks for stopping by.  Now, here is my video…

Craft Room Name Plate – The Cutting Cafe Design Team Project

26 Feb
Craft Room Name Plate View 2

Craft Room Name Plate 

I have wanted to make a name sign for my craft room and videos for a year now!  Well this week for my design team project for The Cutting Cafe, I used two wonderful new files to help me do so.  The Paper Flower Set and the Layered Flowers Set are two files Regina created to help all of us make some gorgeous flowers.  The layered set also includes some great cards!  My friend Tmika aka Scrapdaworld on YouTube also did a video to show you how to put the flowers together.  You can view it here.

I used the Paper Flower Set for the rose and the Layered Flowers Set for all the other flowers.  They were really easy to do!  Plus you can make them larger or smaller as there are many sizes in each file.  Plus Regina always makes the files in PDFs so anyone can use them by hand cutting the components.

Craft Room Name Plate Corner Flower Cluster

I love how you can make the flower as many or as few layers as you choose which also gives you more variety.  I layered them in many ways and added zebra bling or pearls in the centers.  Here are a few more views…

Craft Room Name Plate Flower Close Up          Craft Room Name Plate Couture Stamp

Craft Room Name Plate

Craft Room Name Plate

I love my new sign and both of these awesome flower files.  Head over to The Cutting Cafe Blog on Wednesday afternoon to see all of the design team projects using these two files.  Leave a comment and your name may be pulled next week to win three files of your choice!  Thanks for stopping by.  Check out my video before you go…


Fun With Blocks Countdown Calendar – The Cutting Cafe Design Team Project

19 Feb
Countdown Calendar

Countdown Calendar

This week at The Cutting Cafe, we had a fun file to spark our creative juices.  The Fun With Blocks file is so versatile and come with so many different options and variations!  The possibilities are just endless!  Make sure you check out all the design team projects on the blog on Wednesday afternoon or Thursday.  Be sure to leave a comment as you just might win three free files in next week’s drawing!

I chose to make a countdown calendar with the file.  The blocks are numbered on each side.  You can countdown to anything, a birthday, vacation, anniversary, etc.  All you do is move the blocks to show the numbers you need and go down a number each day.  I made it in a spring color since I am REALLY wanting spring to be here now.    Of course it is blinged out with mesh bling trim and glitter letters.  The sentiment says everything you can imaging is real.   I thought that would give me motivation for the countdown…whatever the countdown will be!  Here are a couple other views…

Countdown Calendar View 3 Countdown Calendar - View 2
Thanks for stopping by!  Here is my video…