It is time for a new design team post for The Cutting Cafe! This time we focused on two calendar sets, 2015 Day Calendar Printable Set and 2015 Calendar Printable Set which I used. I also used the Mini Colored Calendar Card Set.

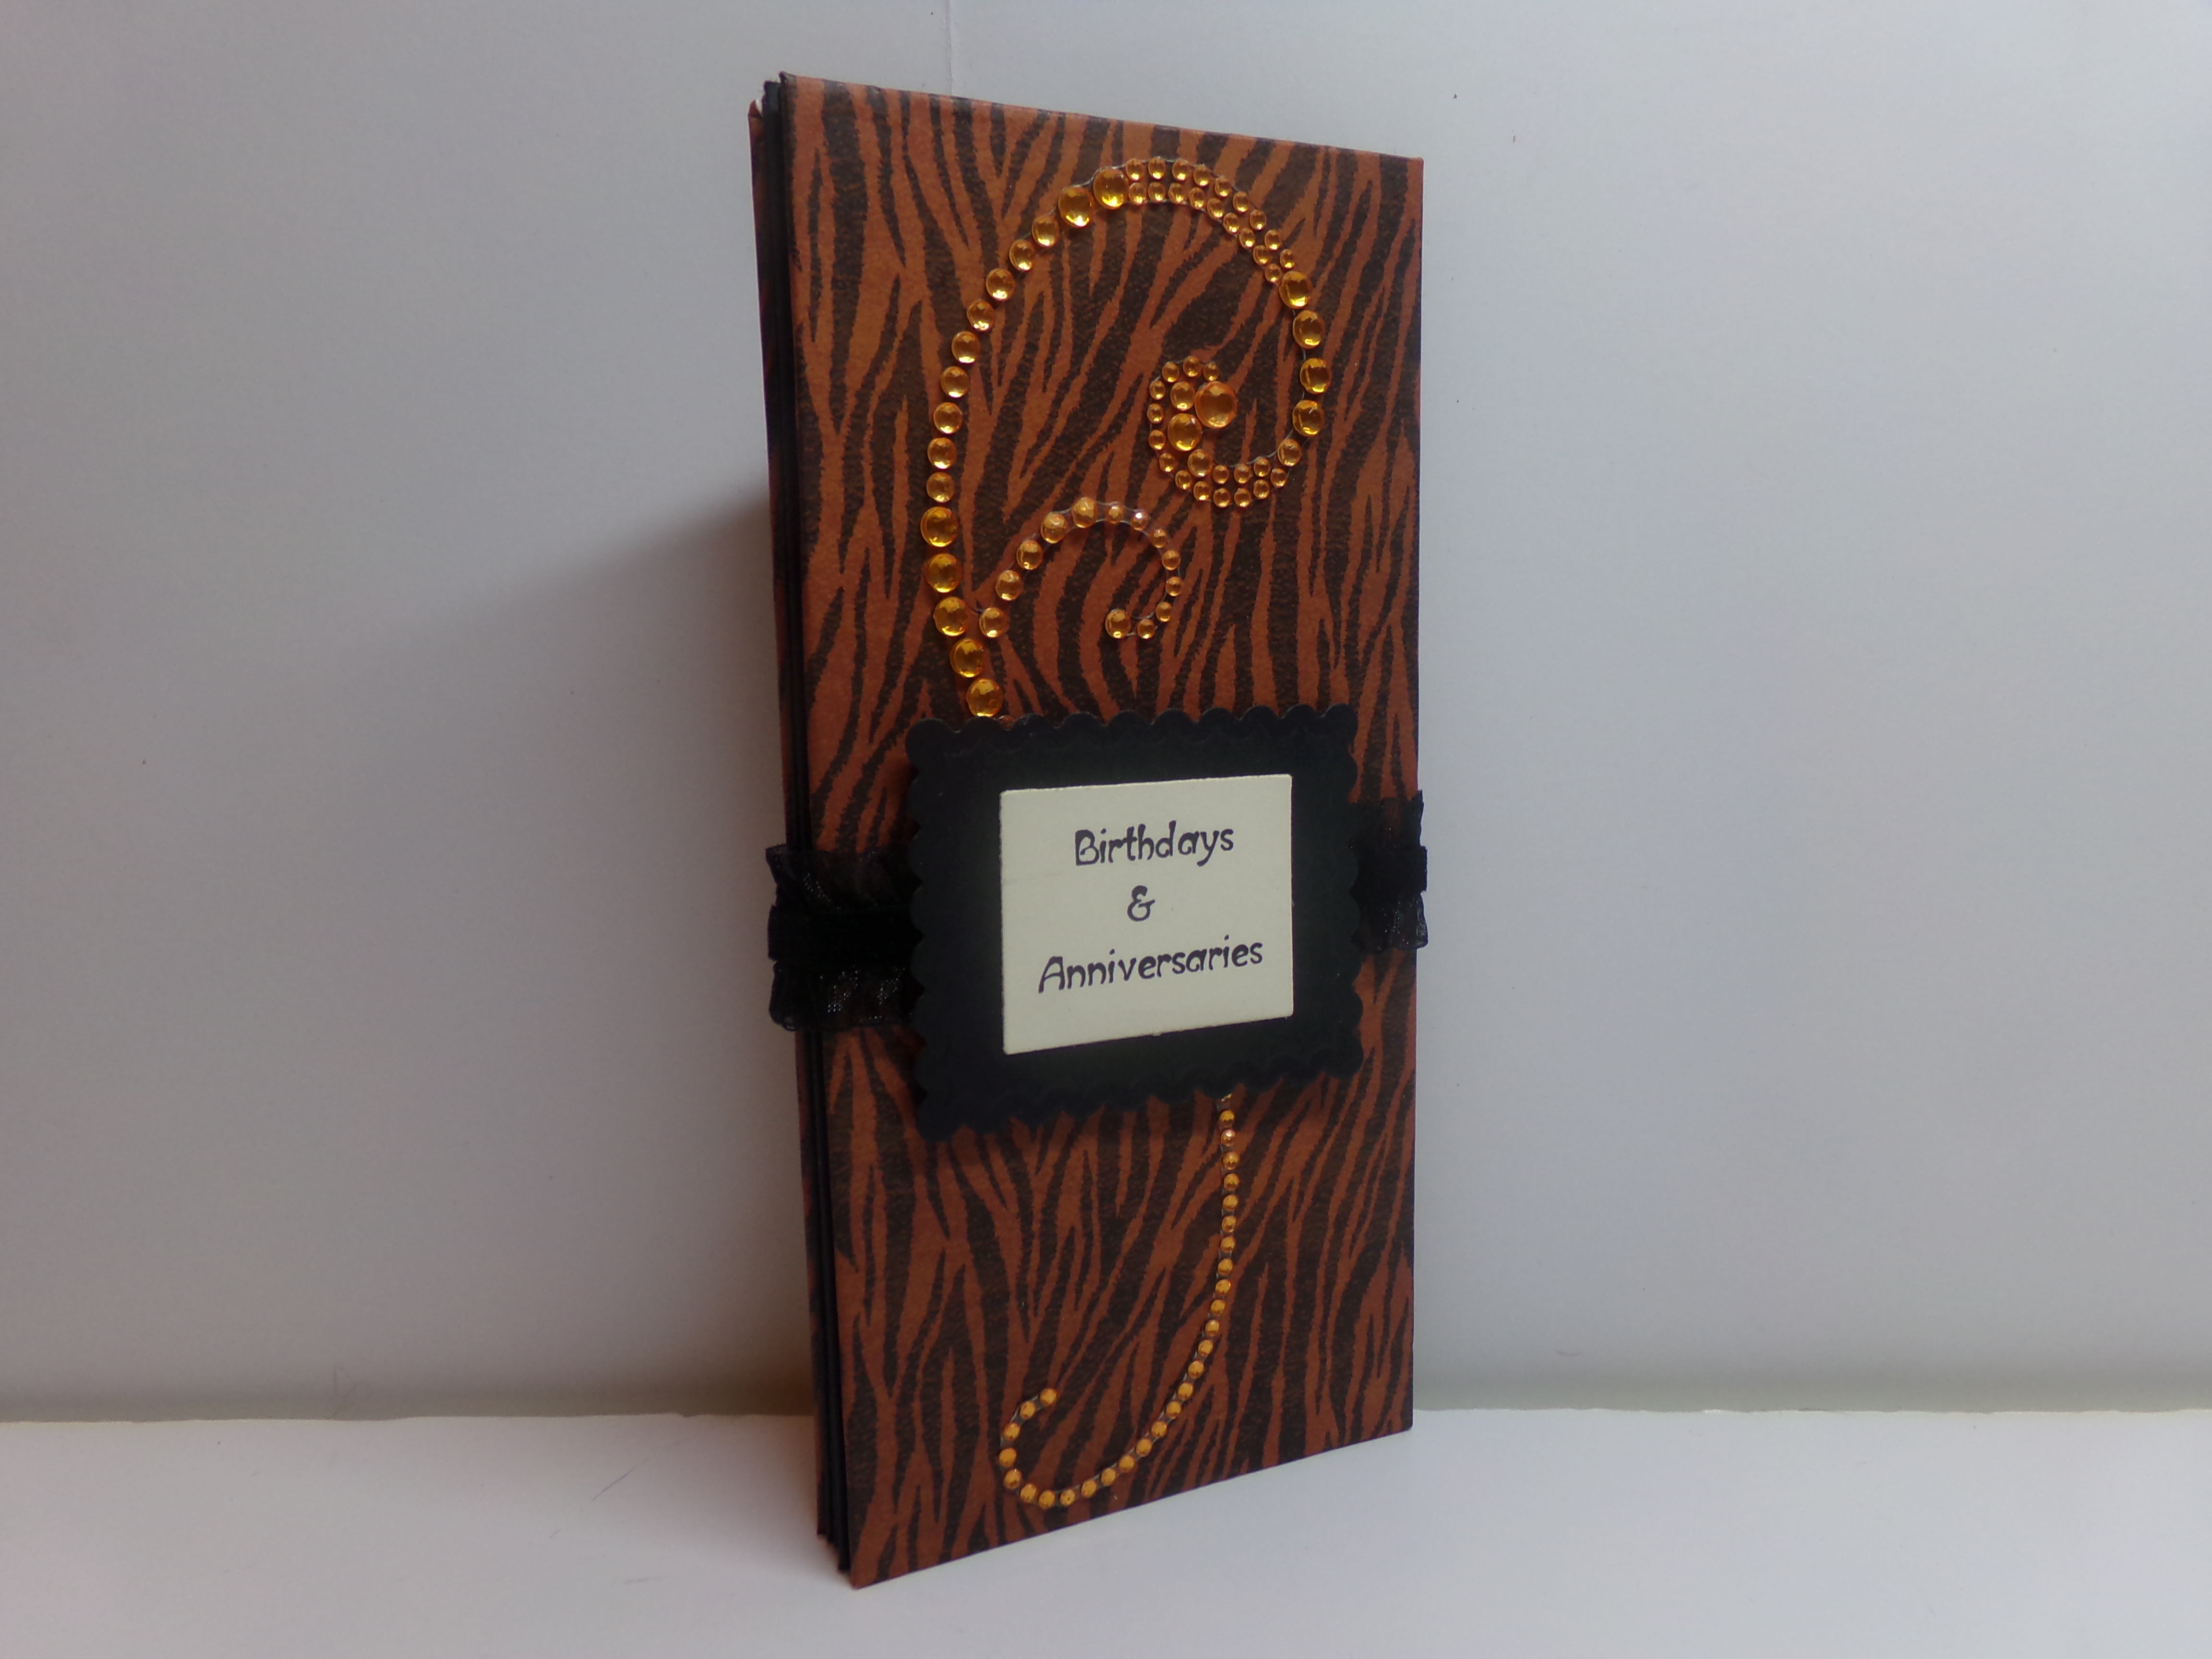
Birthdays and Anniversary Calendar Keeper
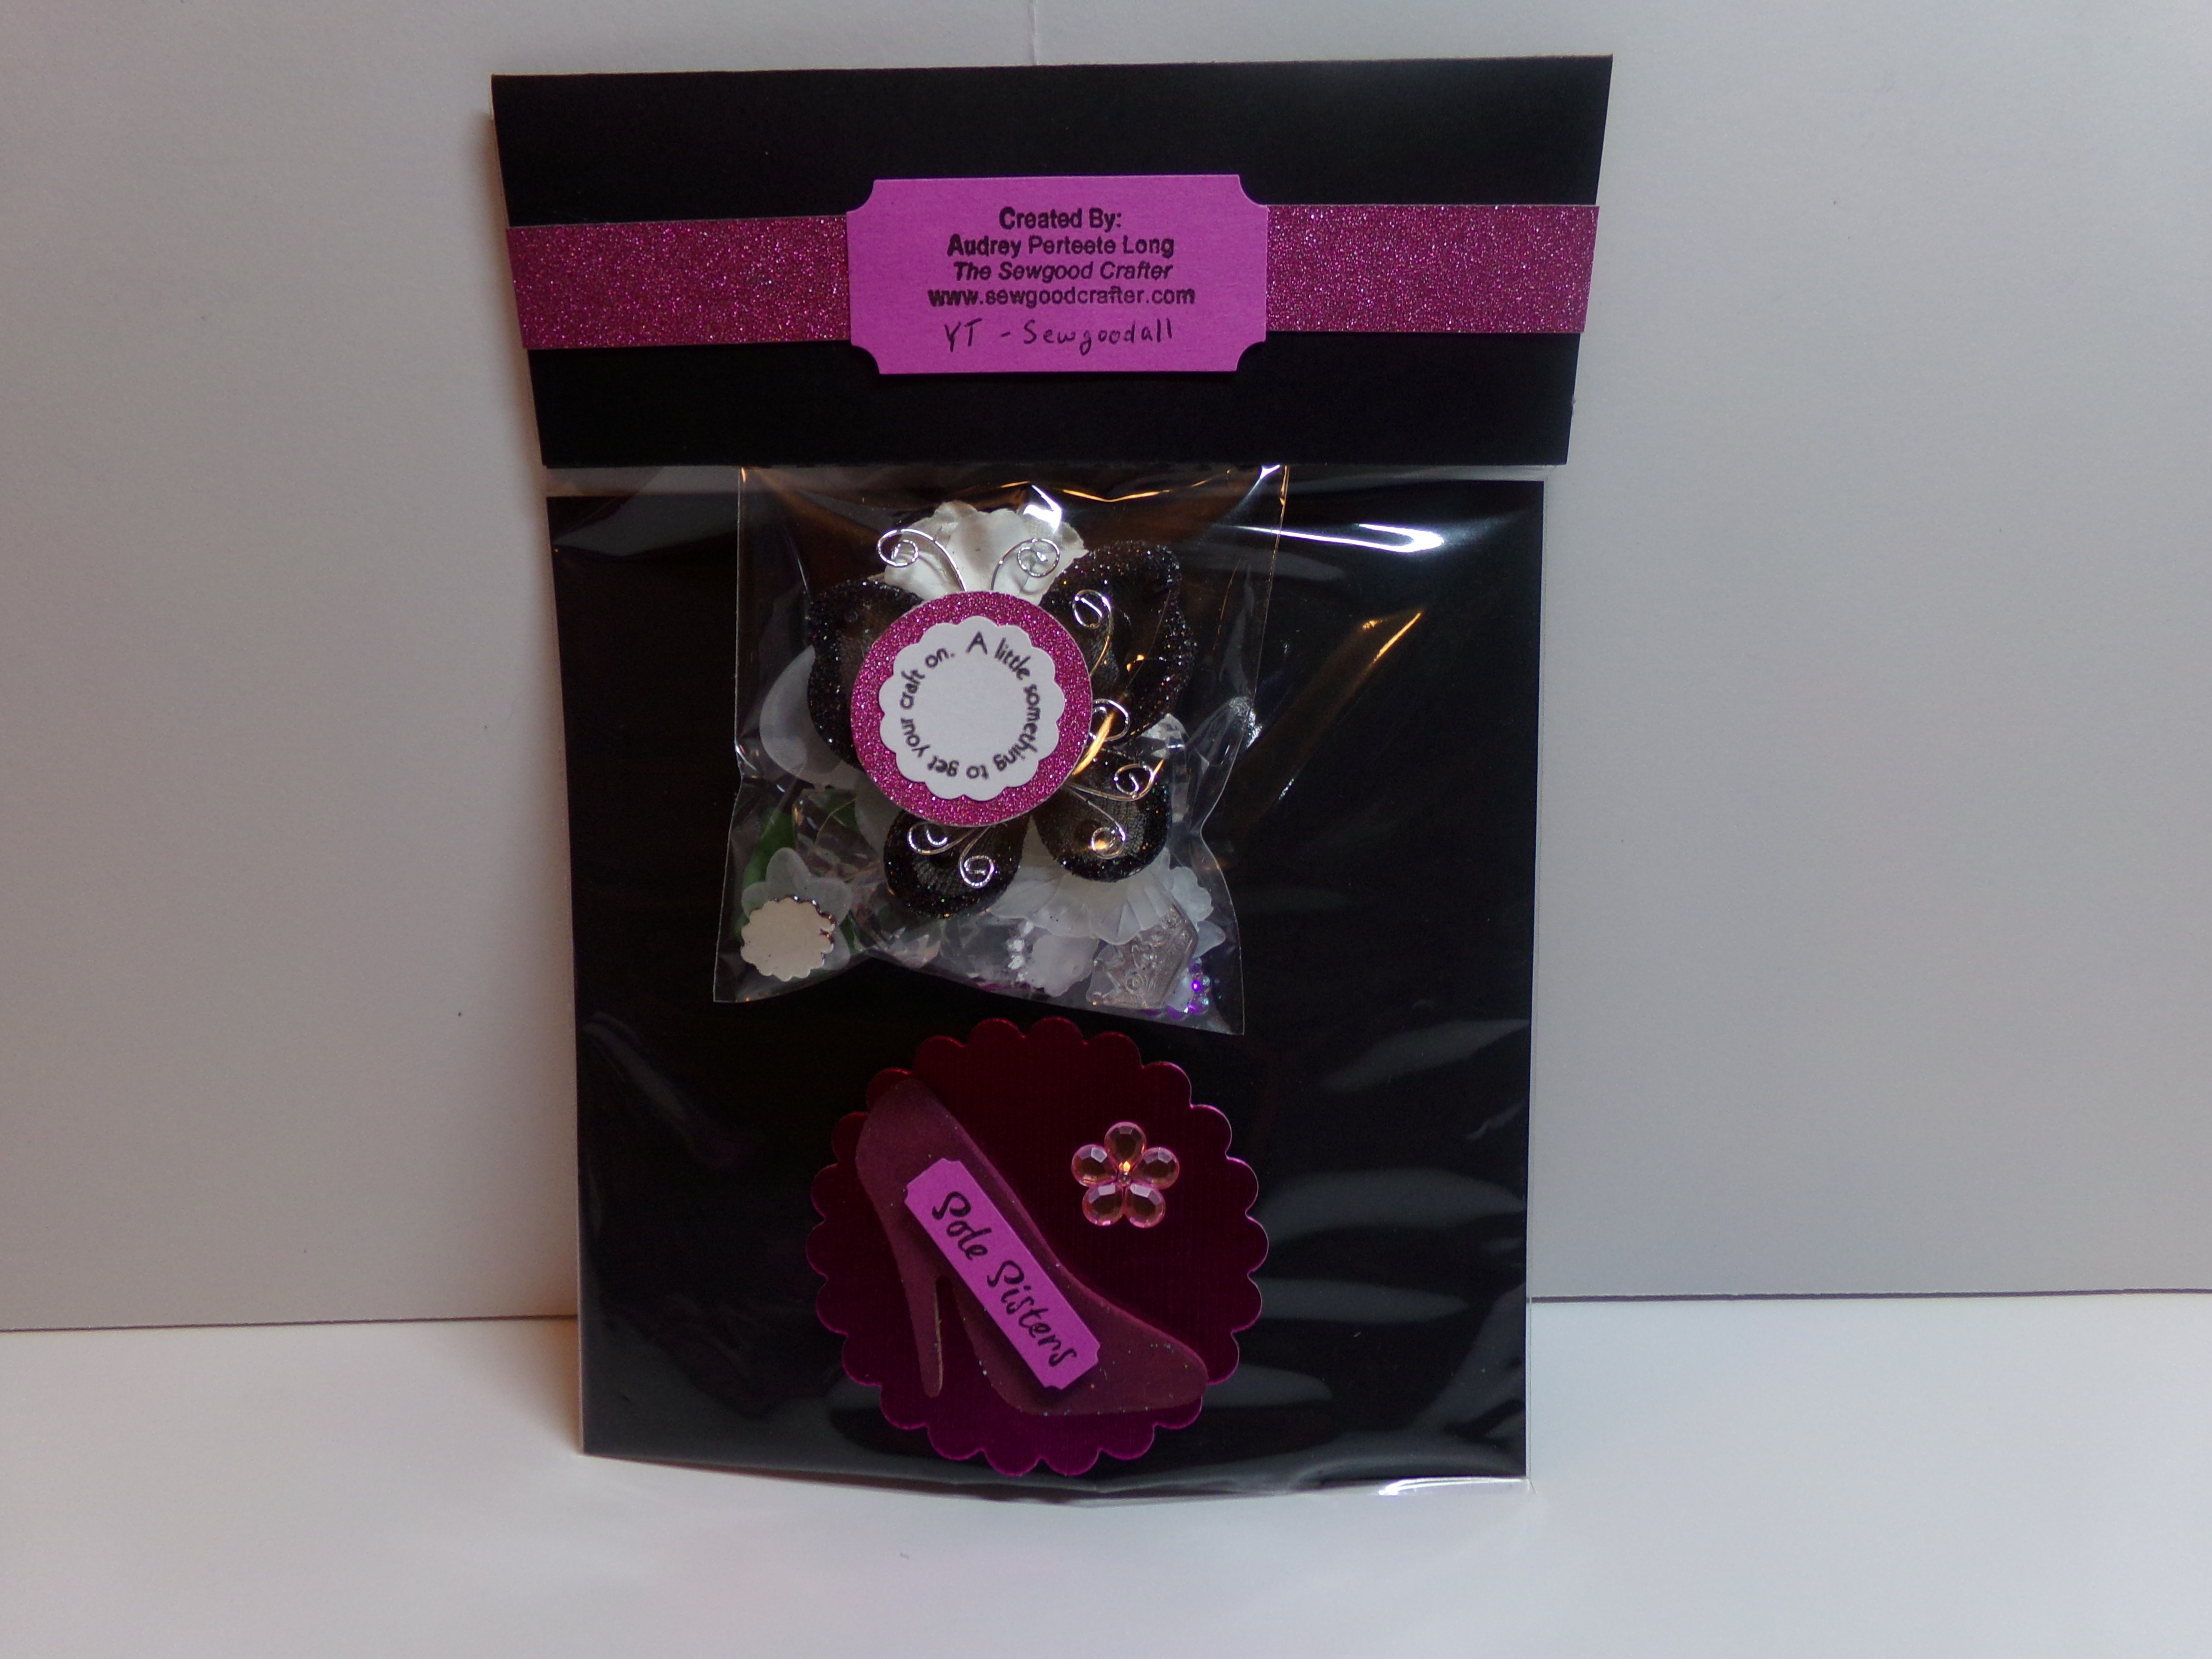
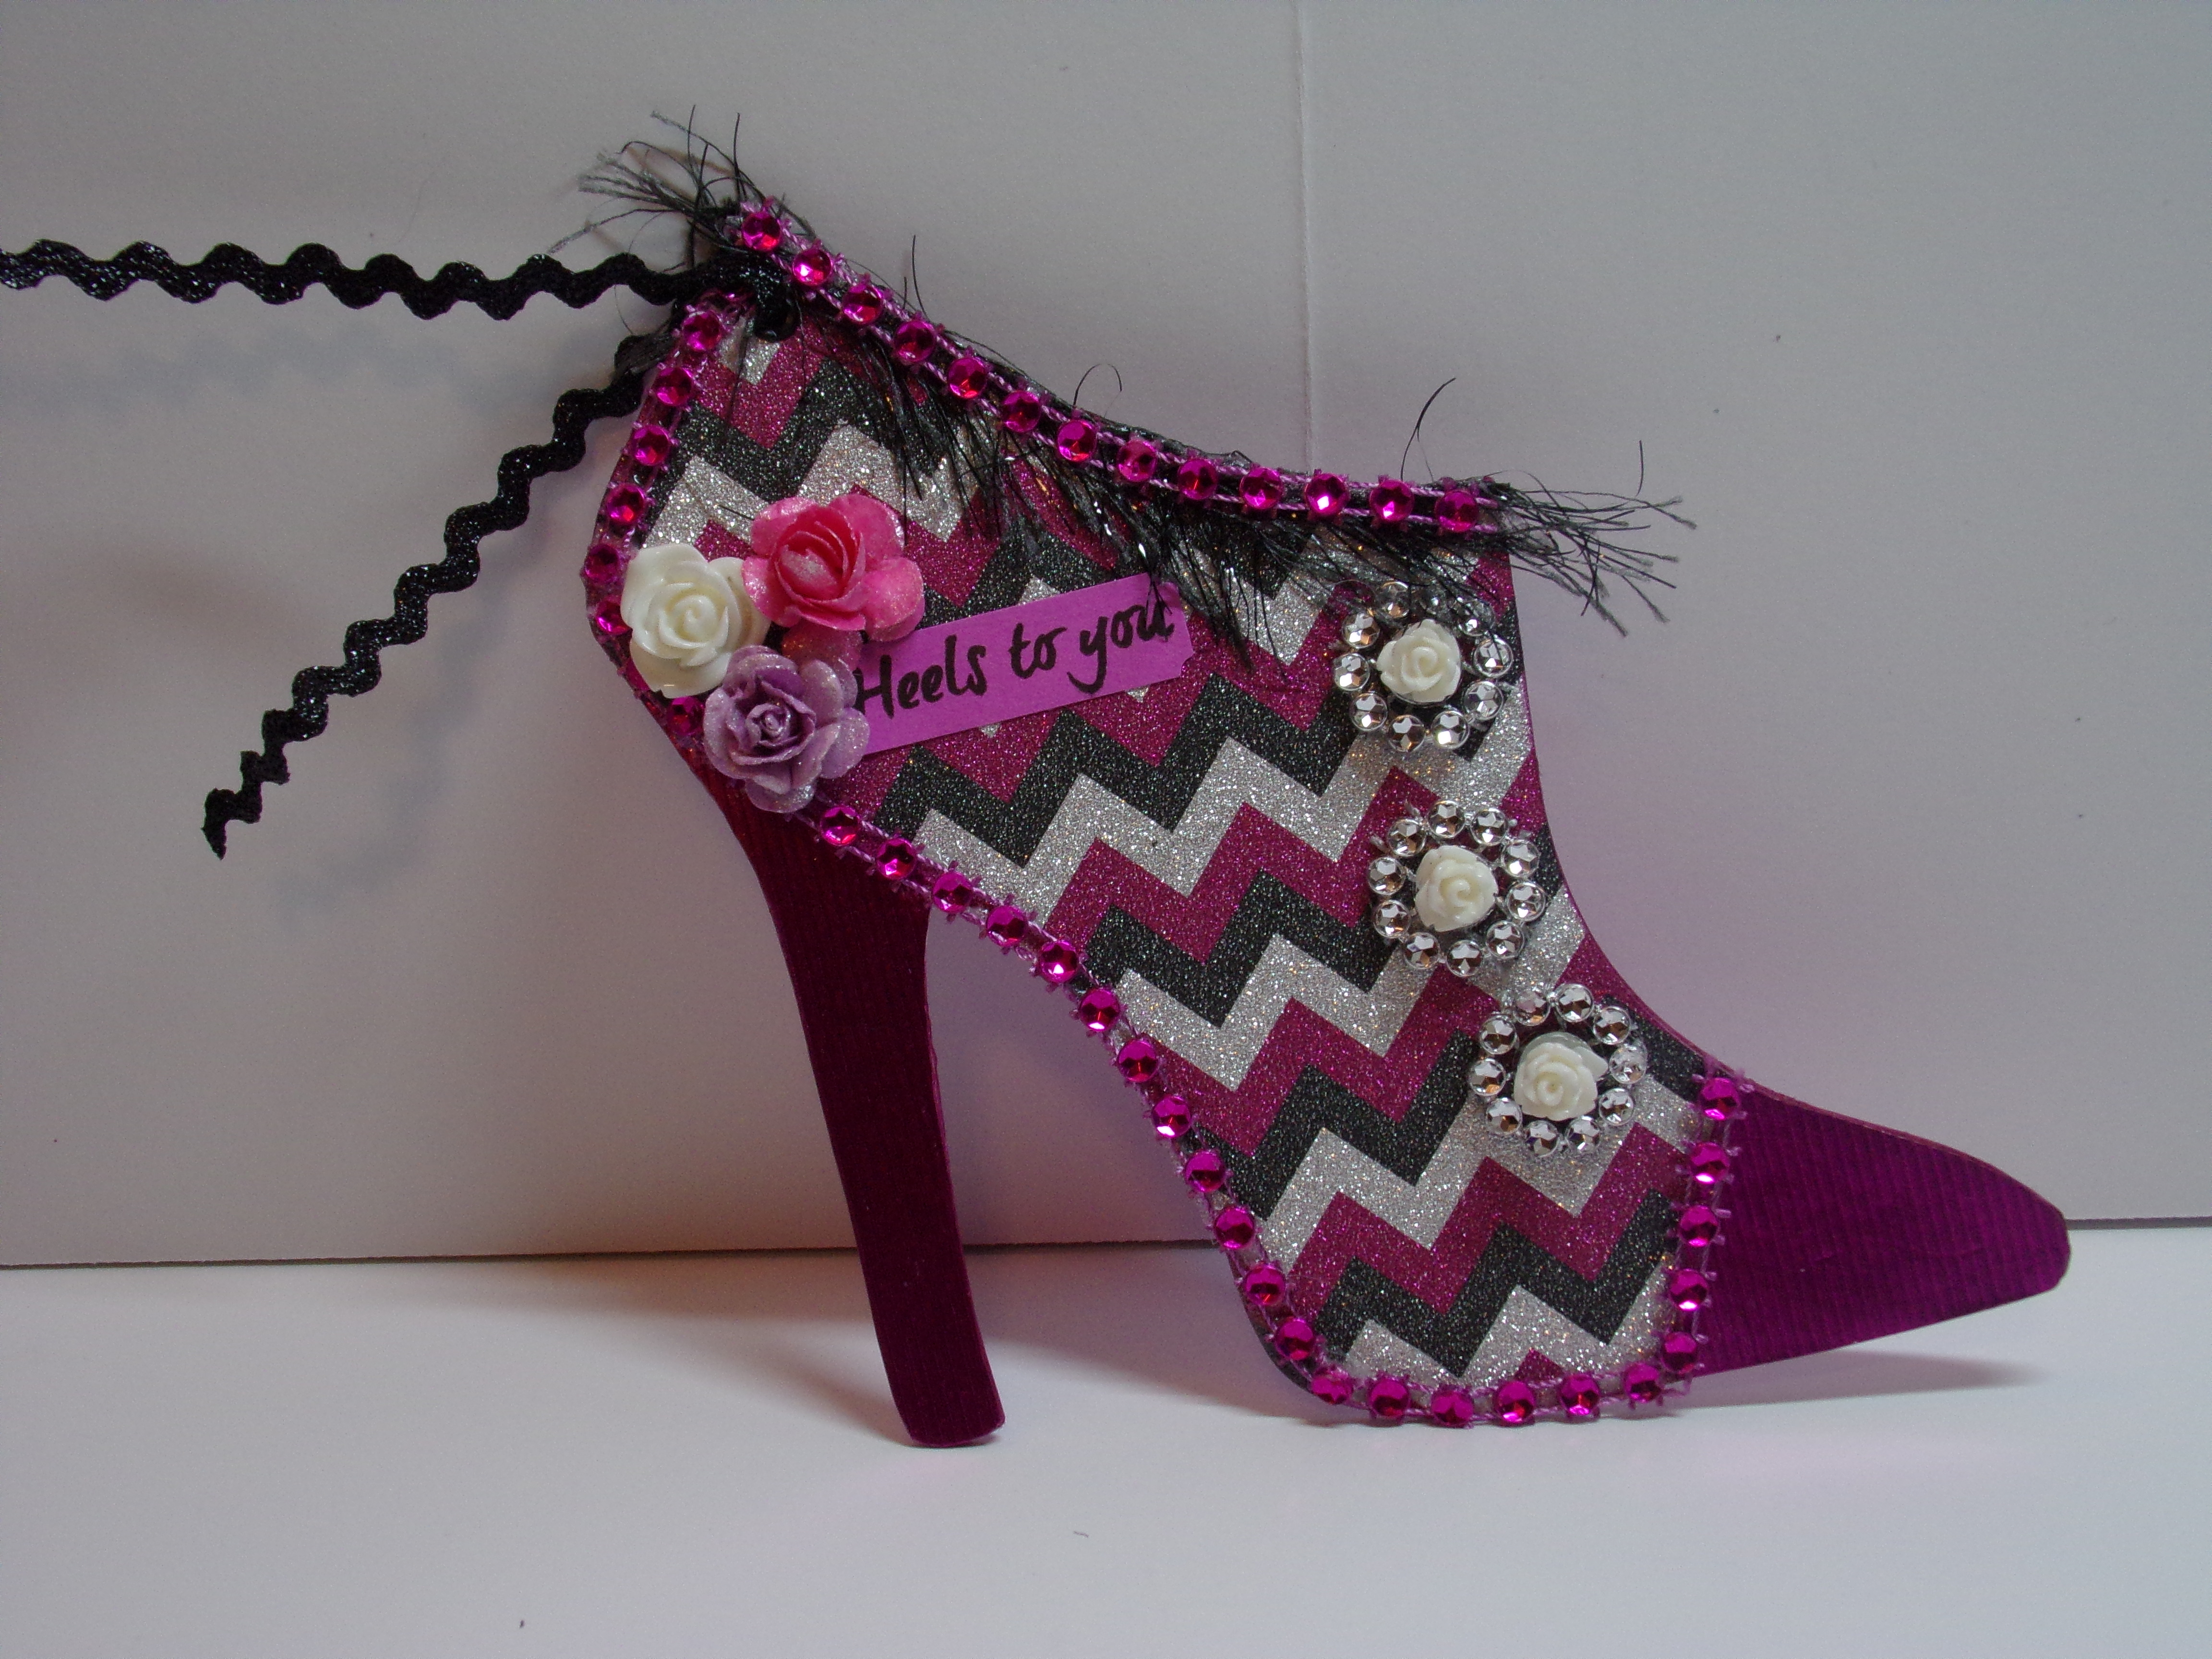
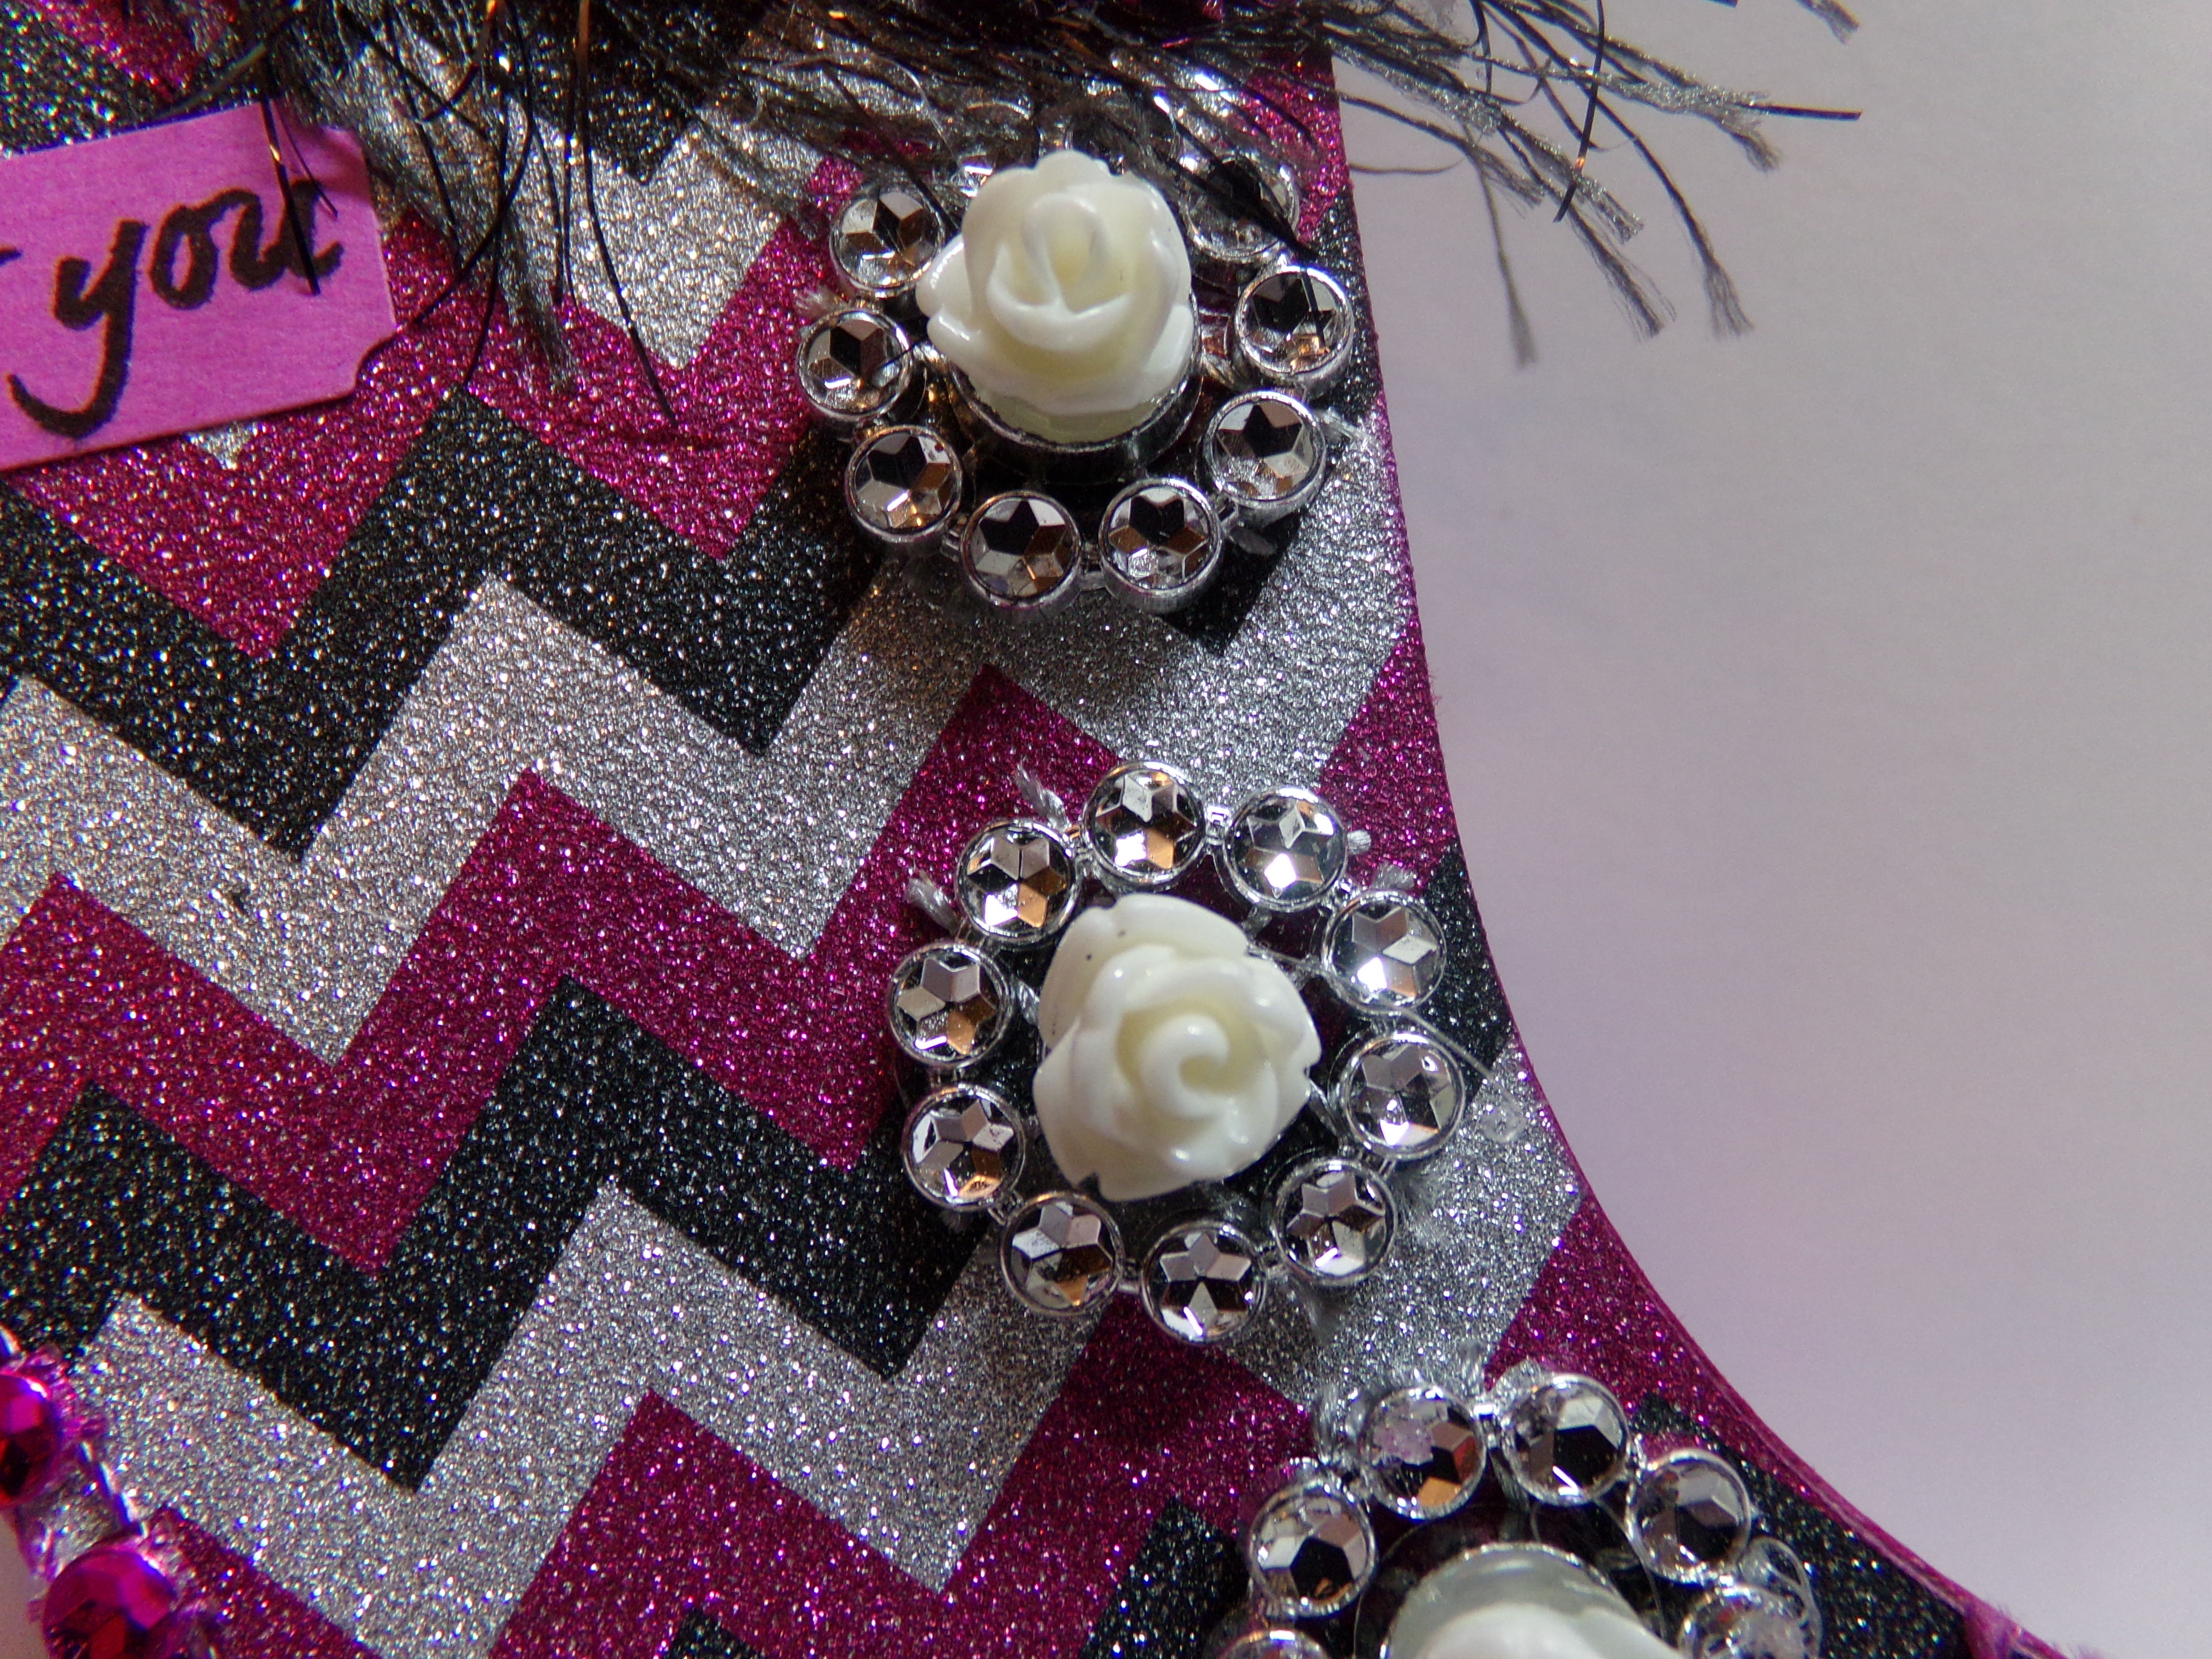
I added bling swirls on the front and used a stretchy ribbon belly band to keep it closed. I printed my own title and used Spellbinders dies to cut and layer it. The animal print paper was a gift from my girl Tmika. I covered chipboard for the covers.
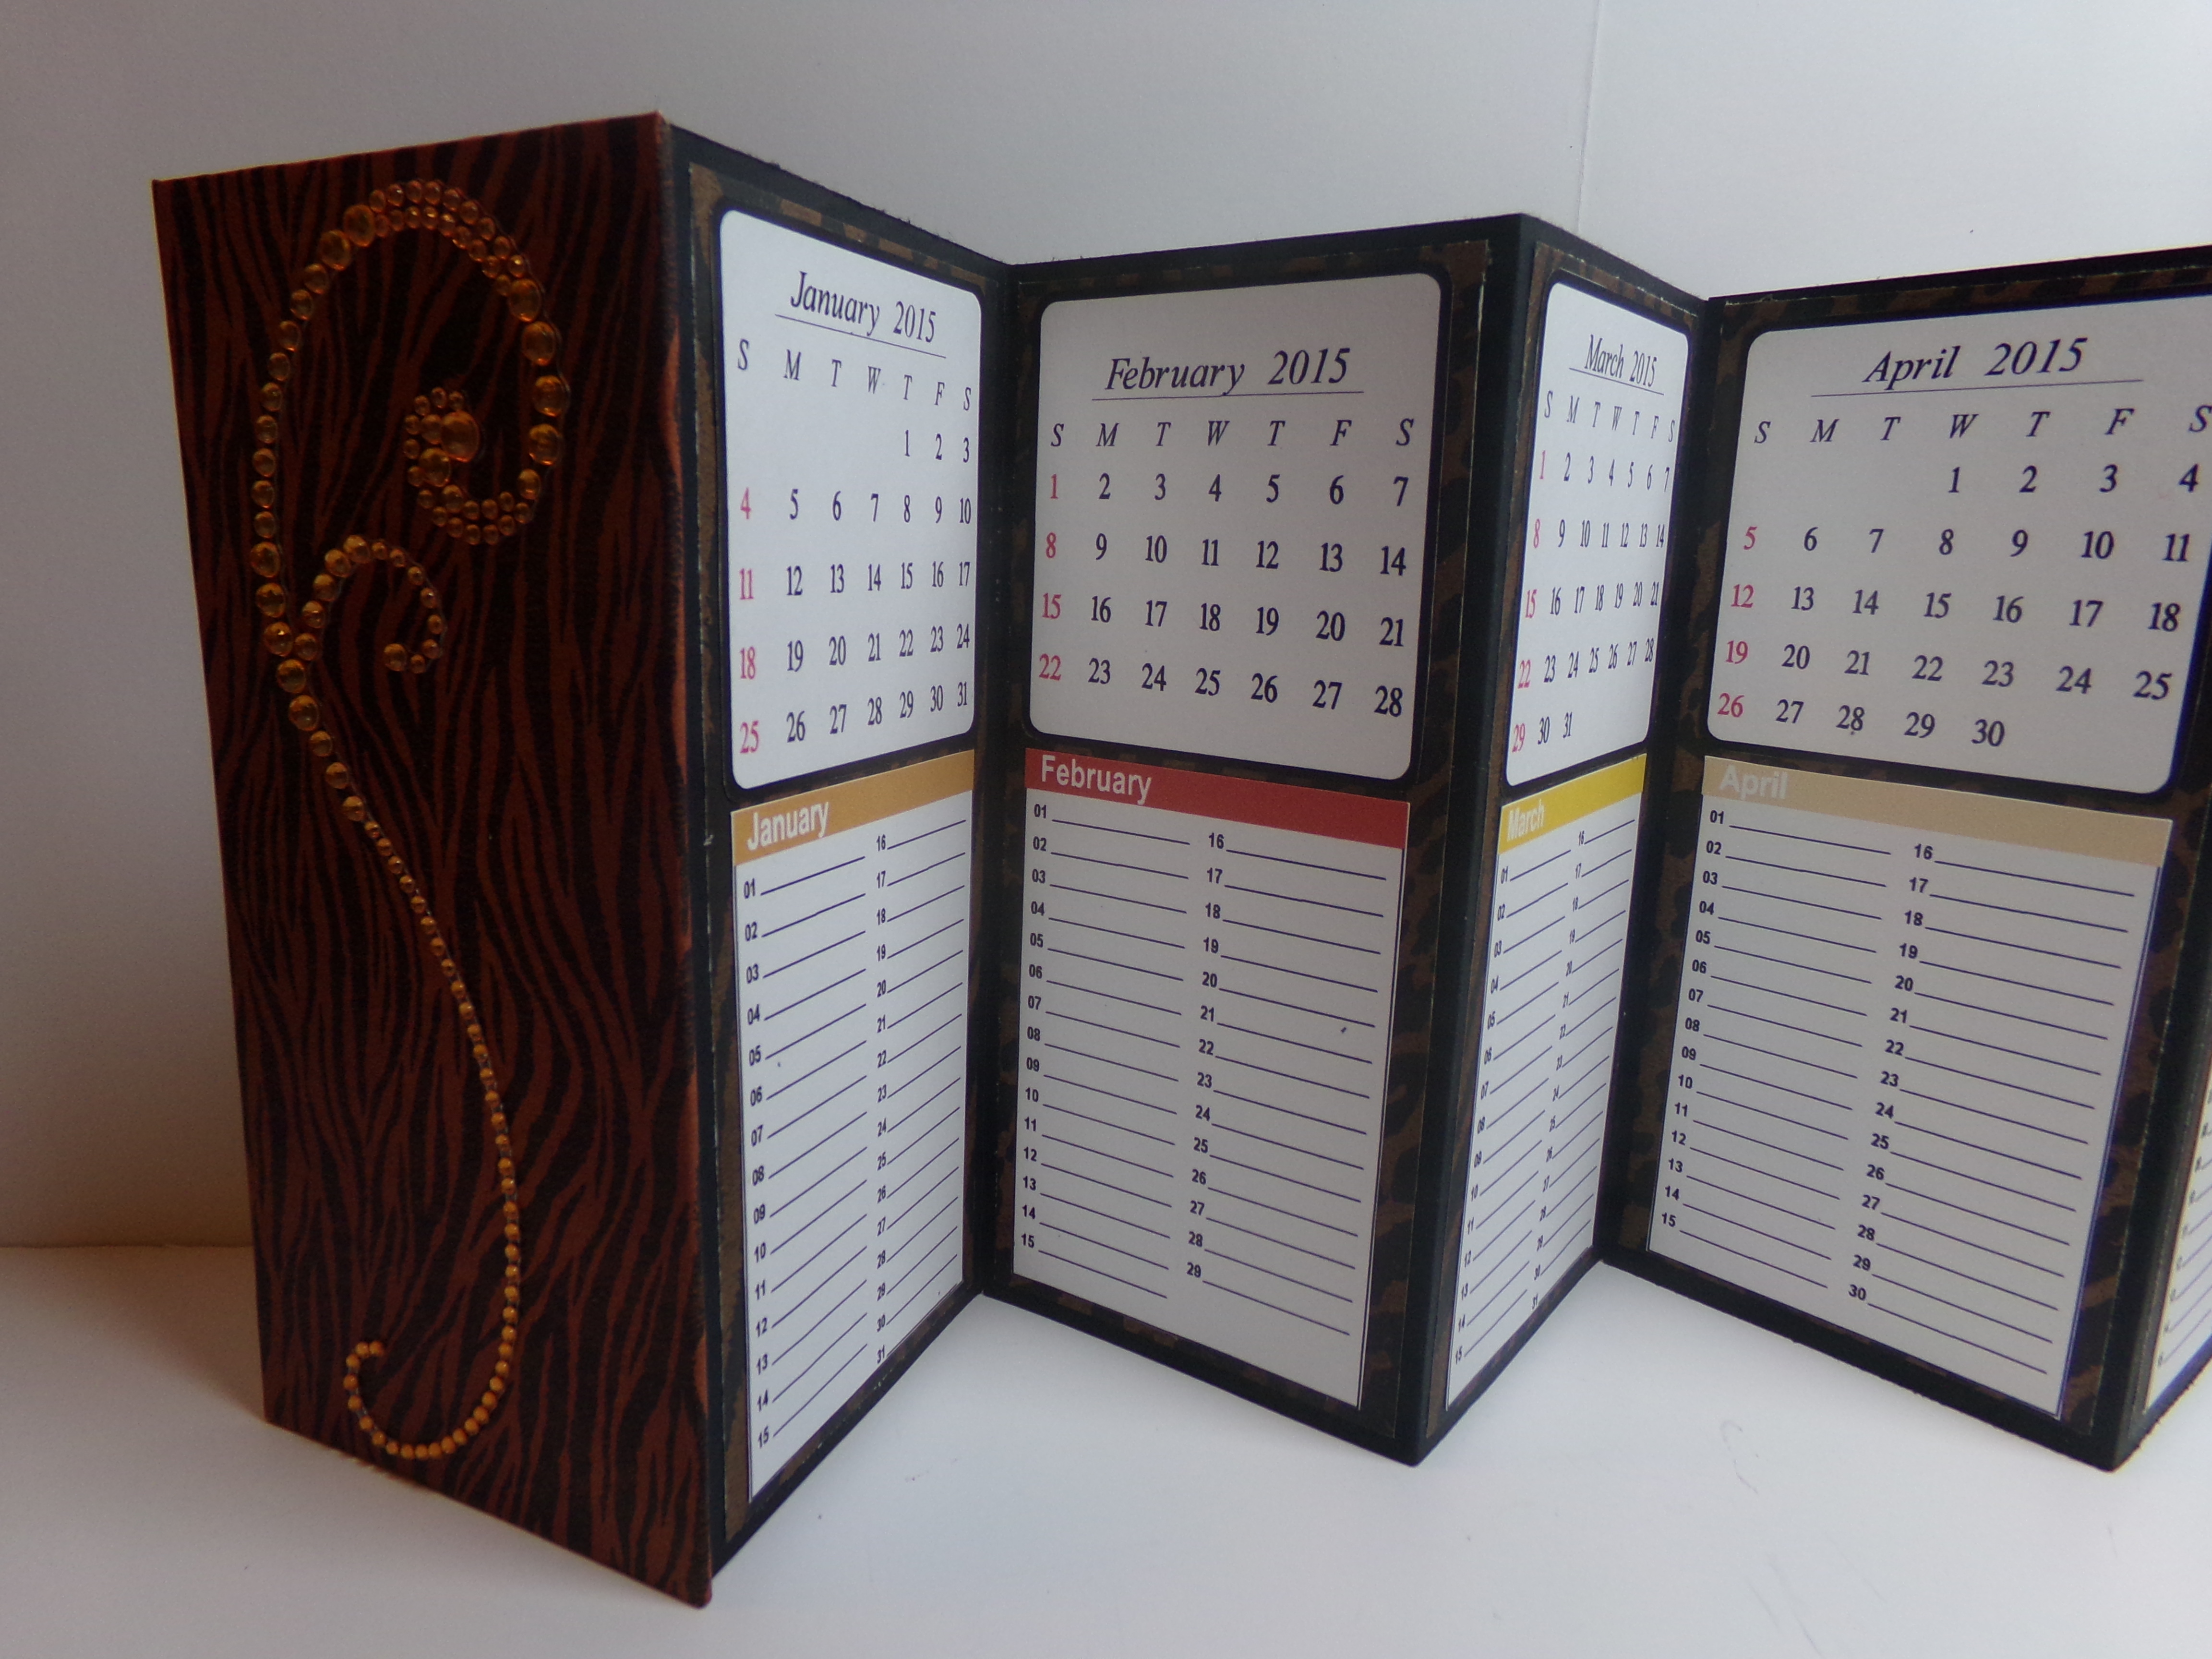
Then when it opens, it is accordion folded…


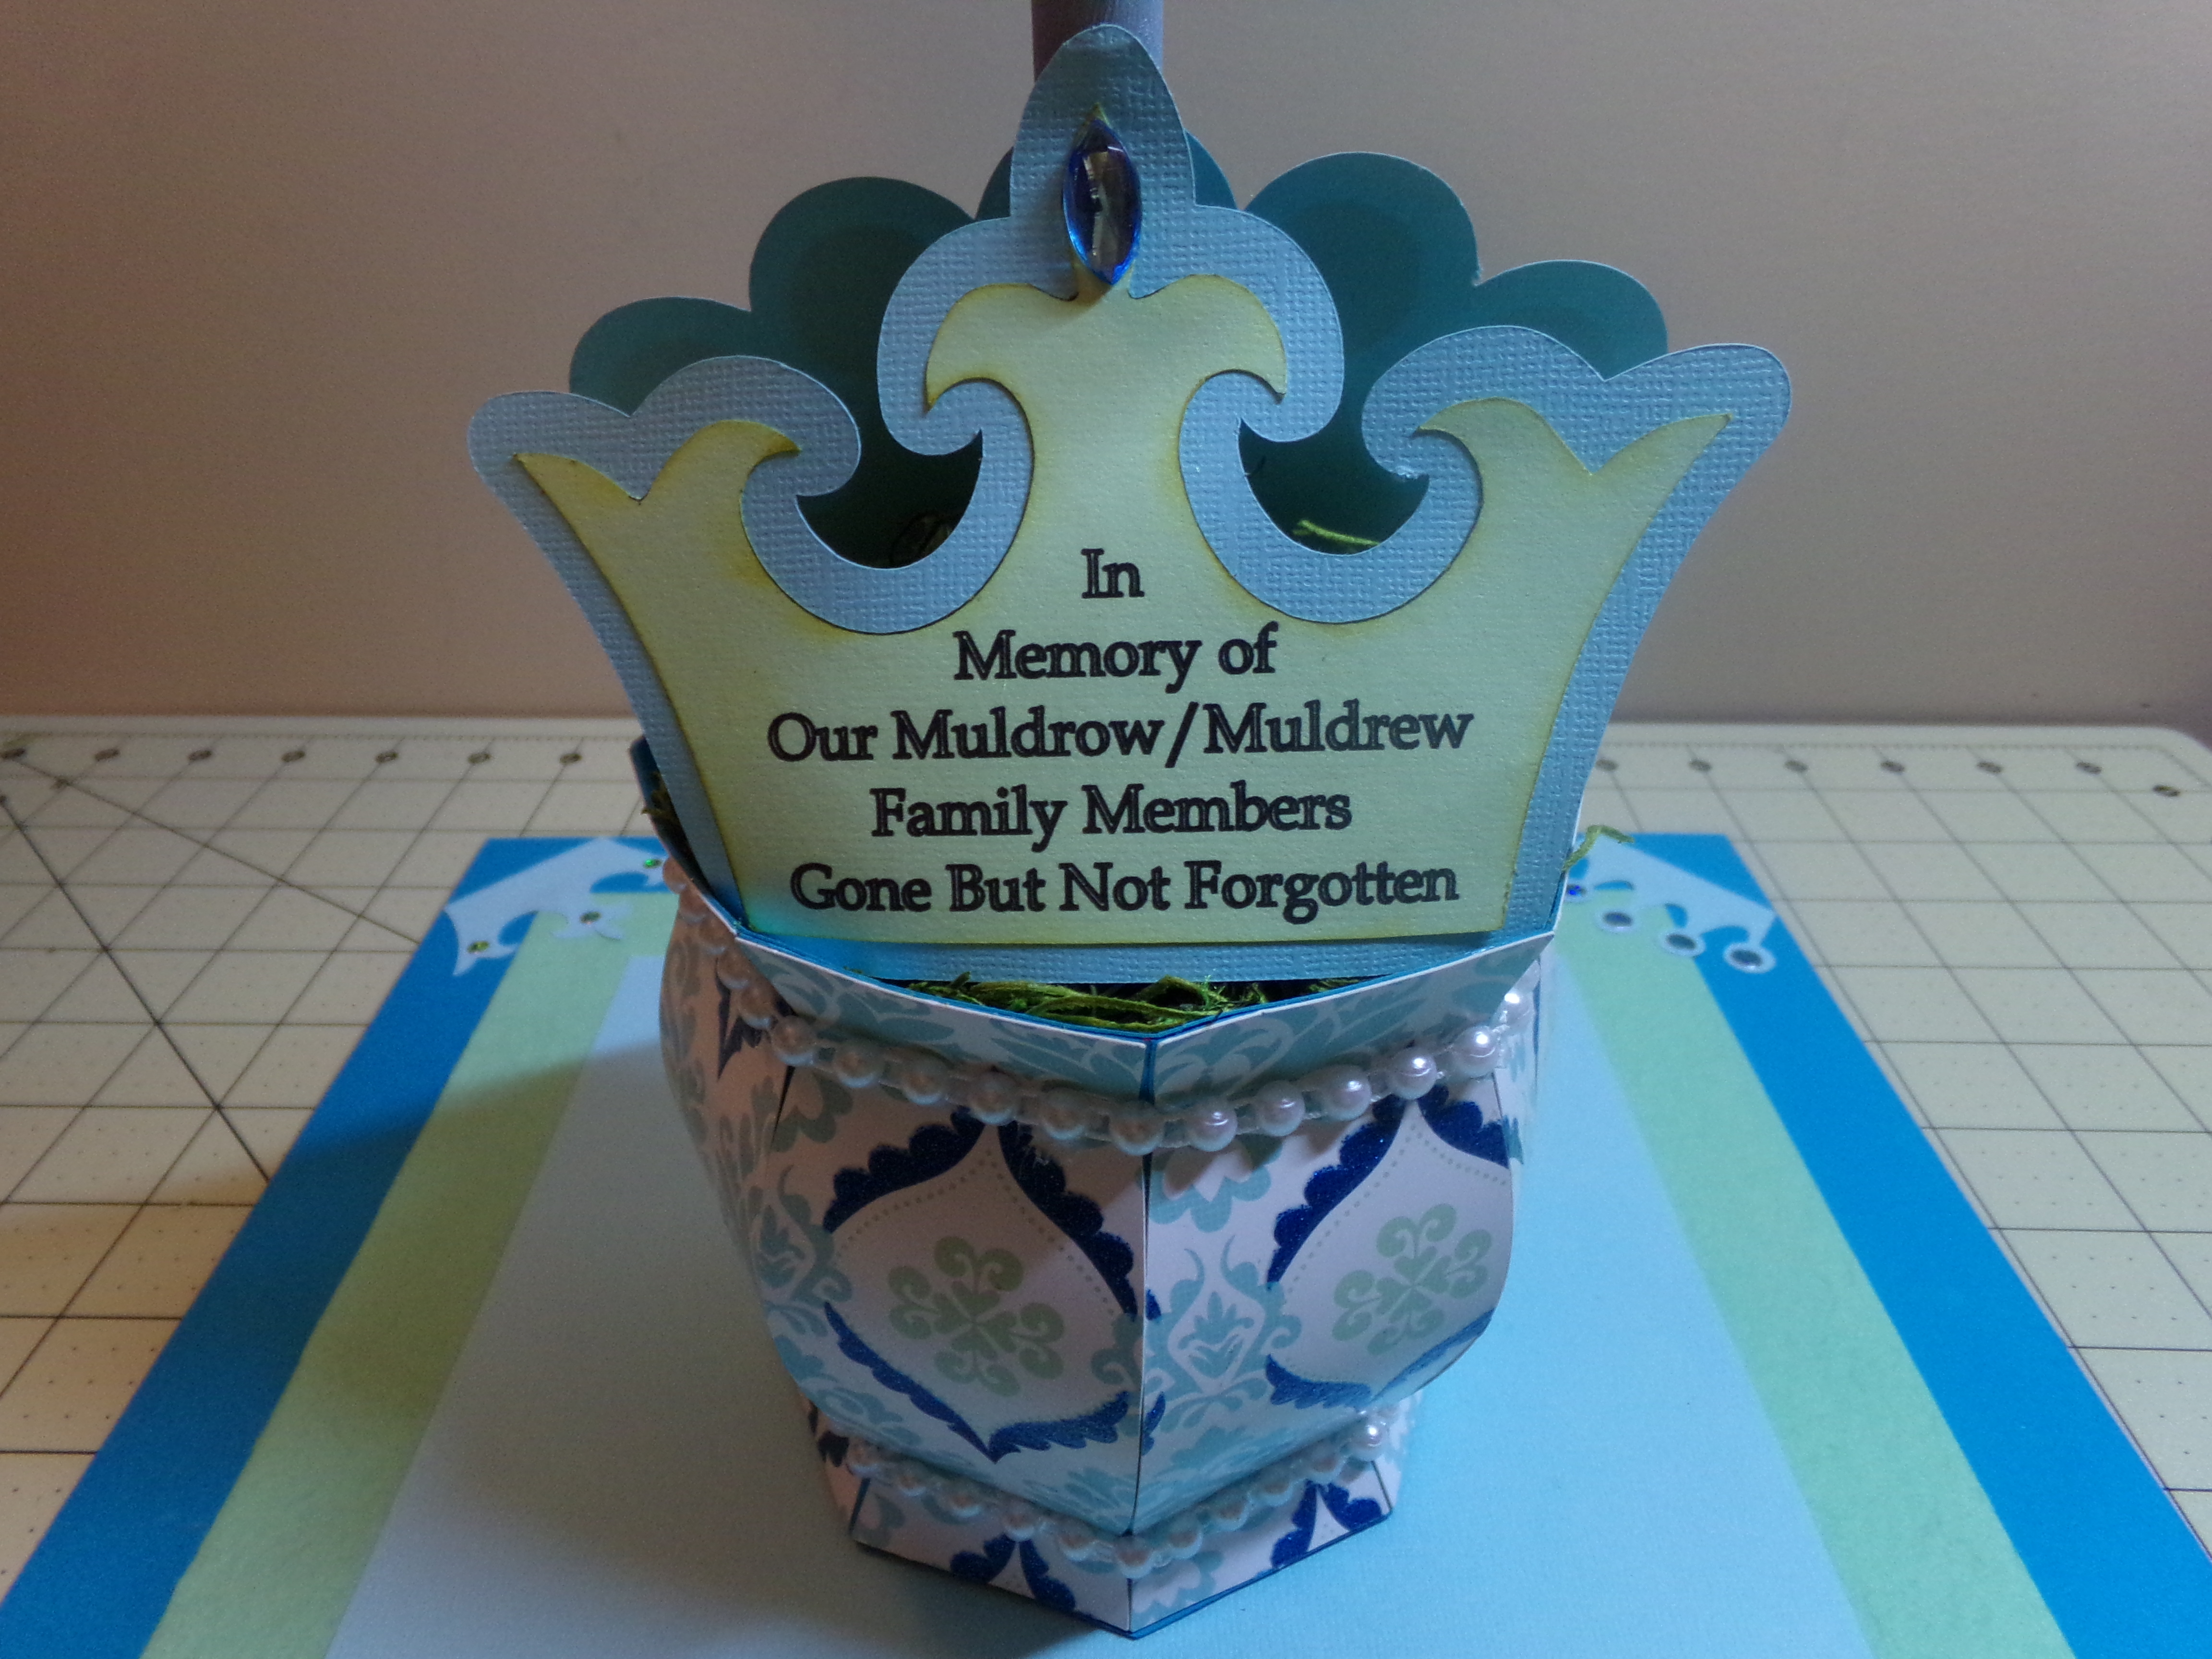
The calendar is on the top and the mini cards are below and allow you to put the name of the person by the number that corresponds to the date.
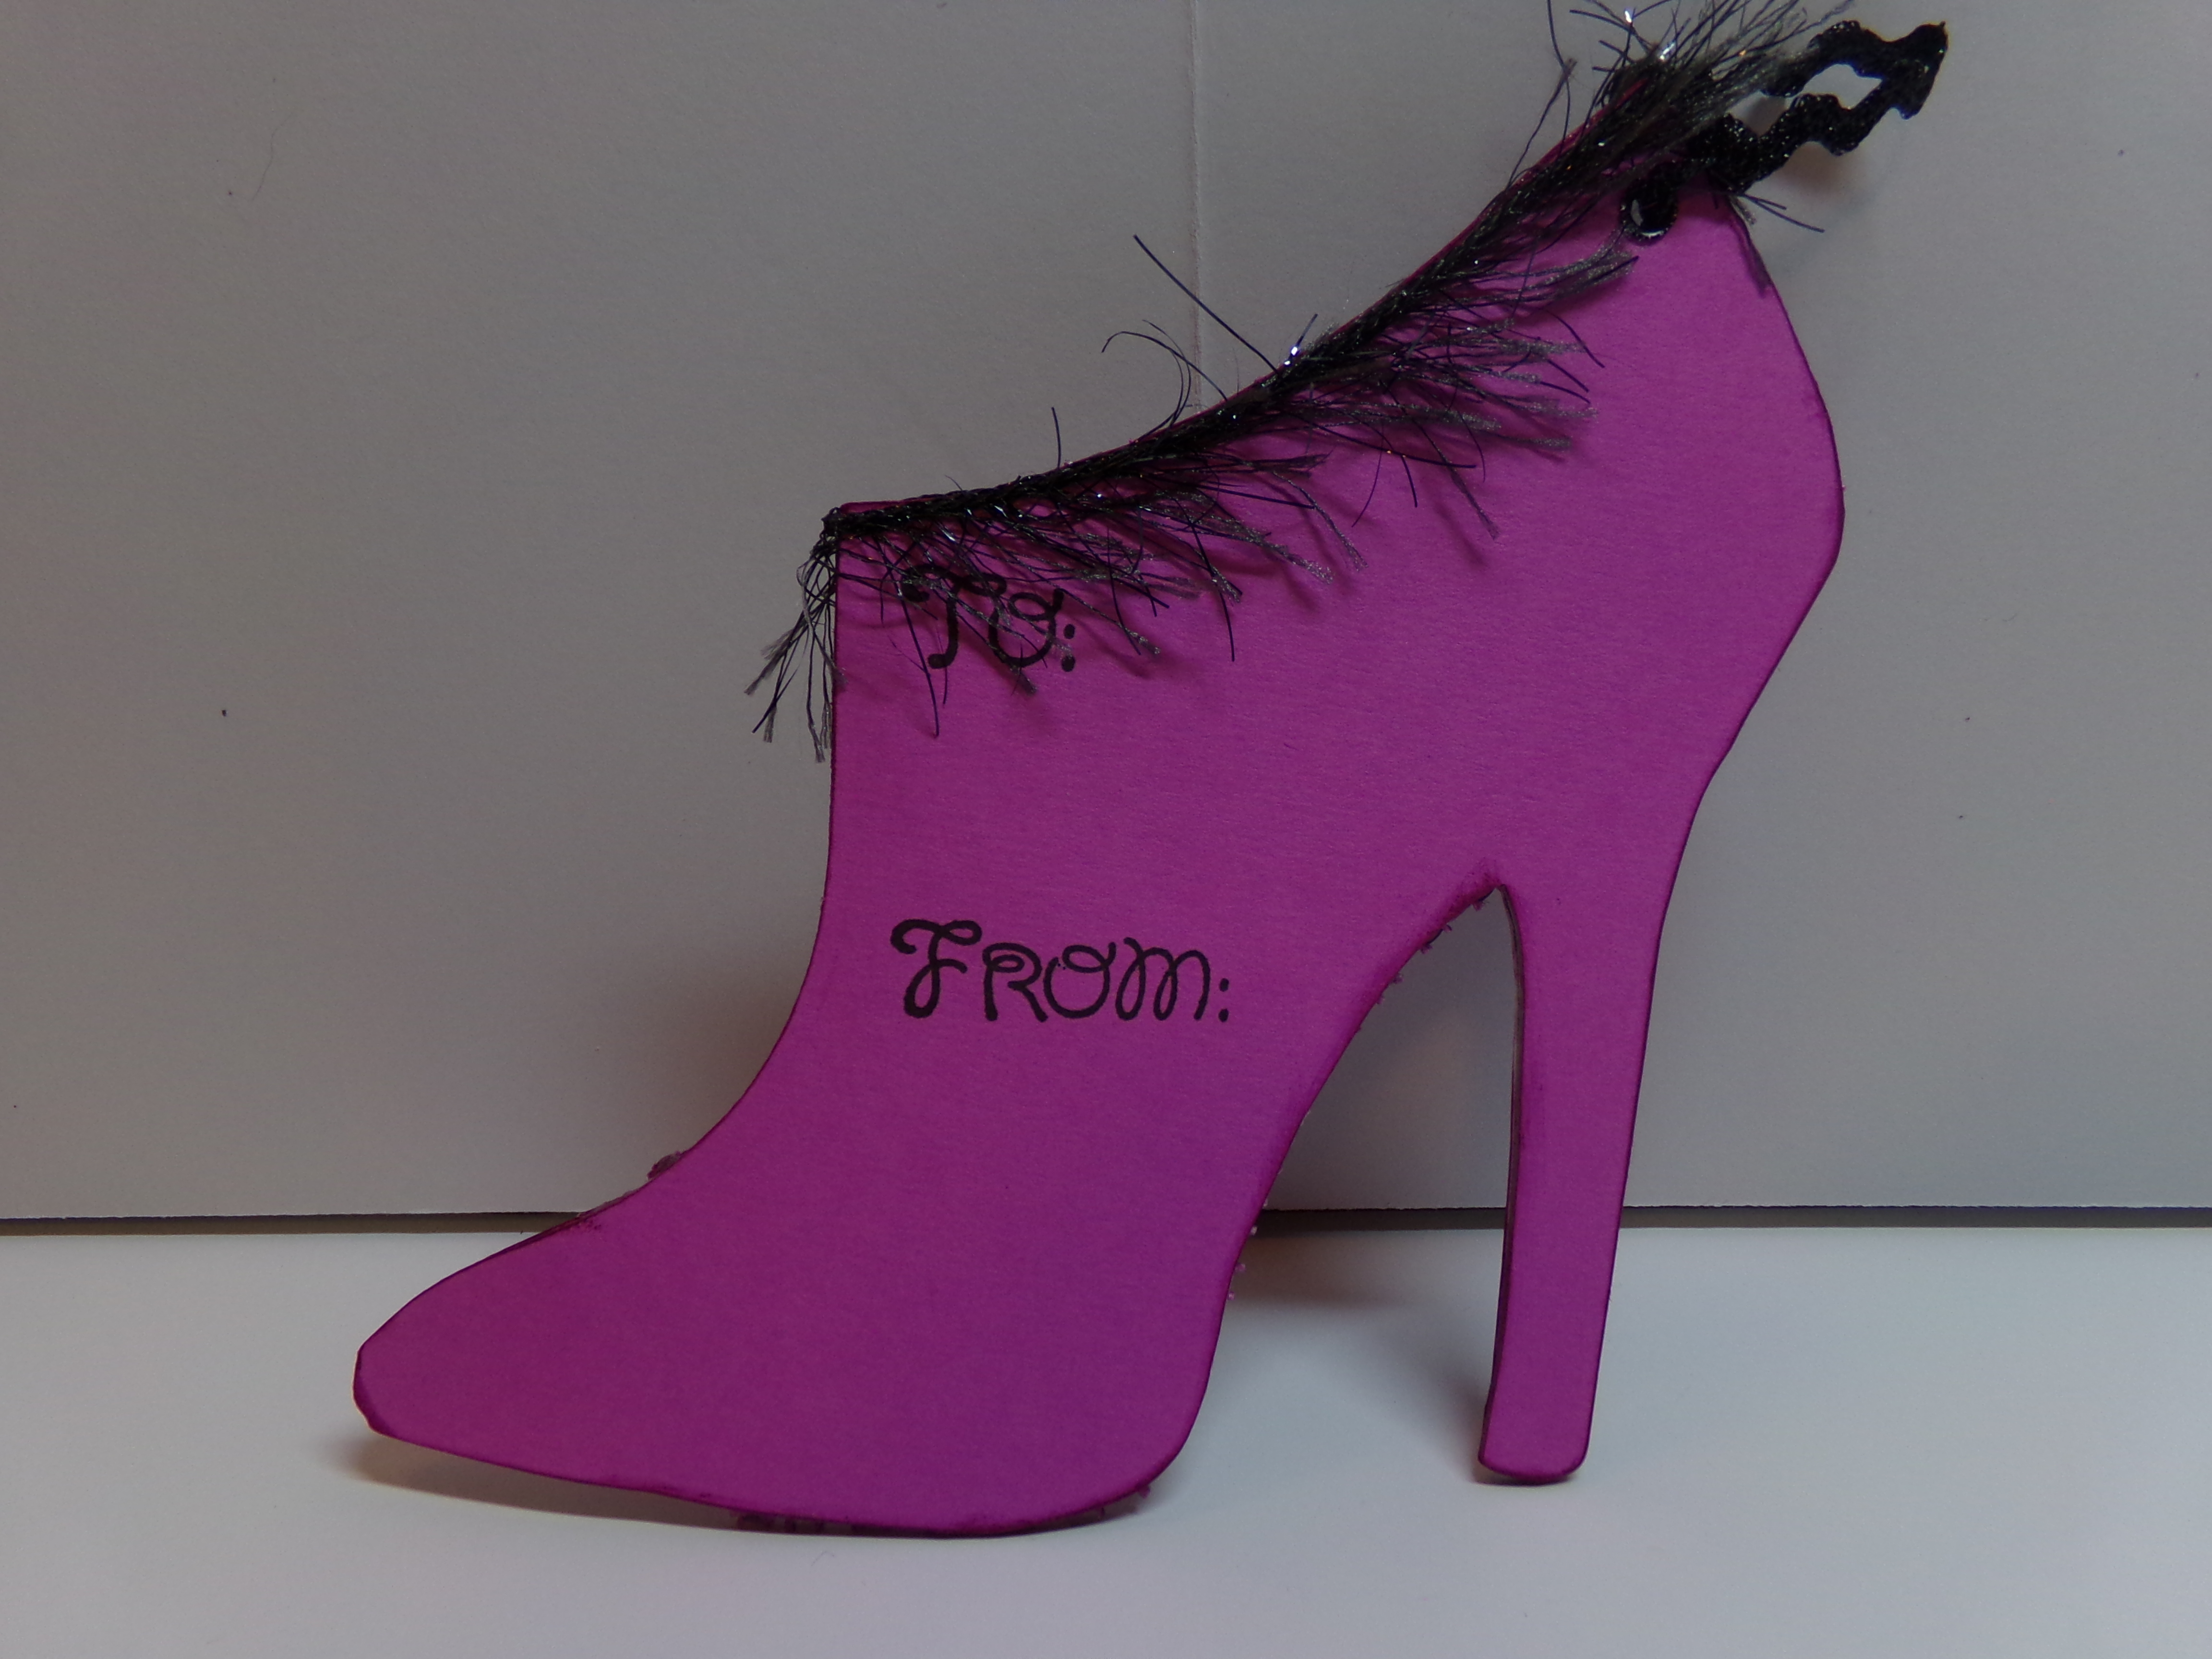
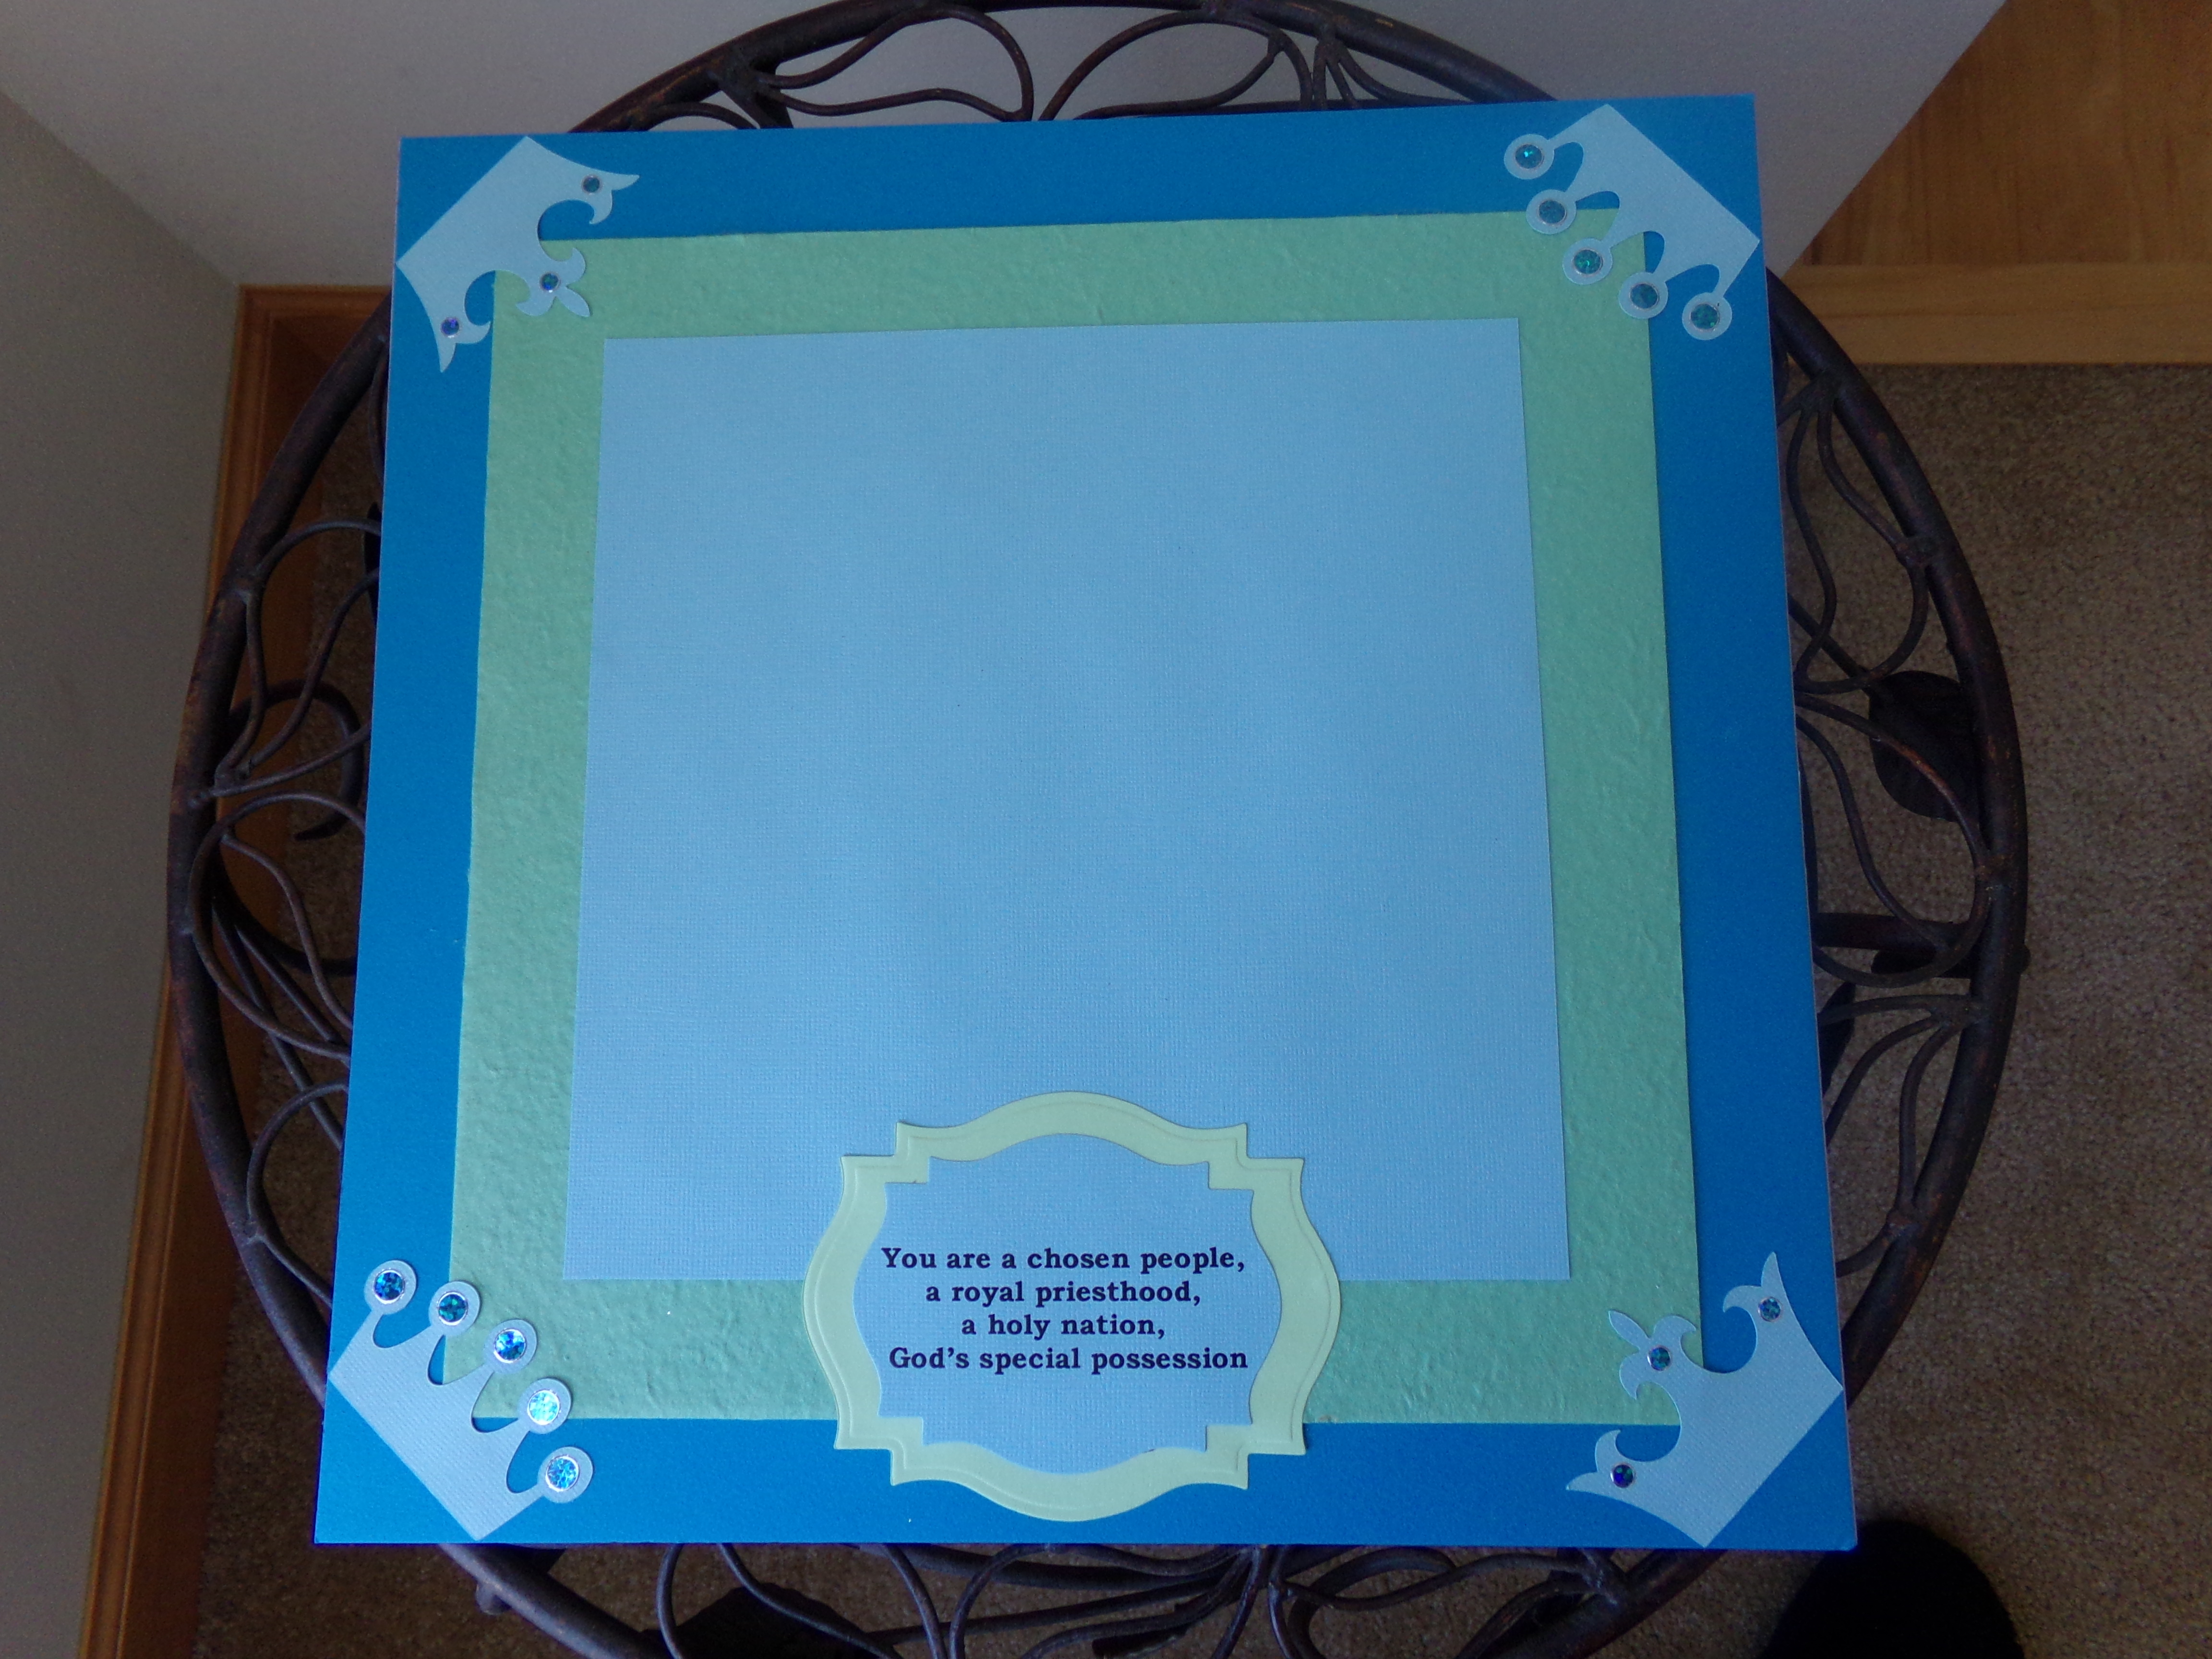
Here is the back side…

Make sure to visit The Cutting Cafe Blog on the 7th and 21st of each month for our Design Team posts. Leave a comment and you might just win three free files on the next posting!
Thanks so much for stopping by! Before you go, here is my video…