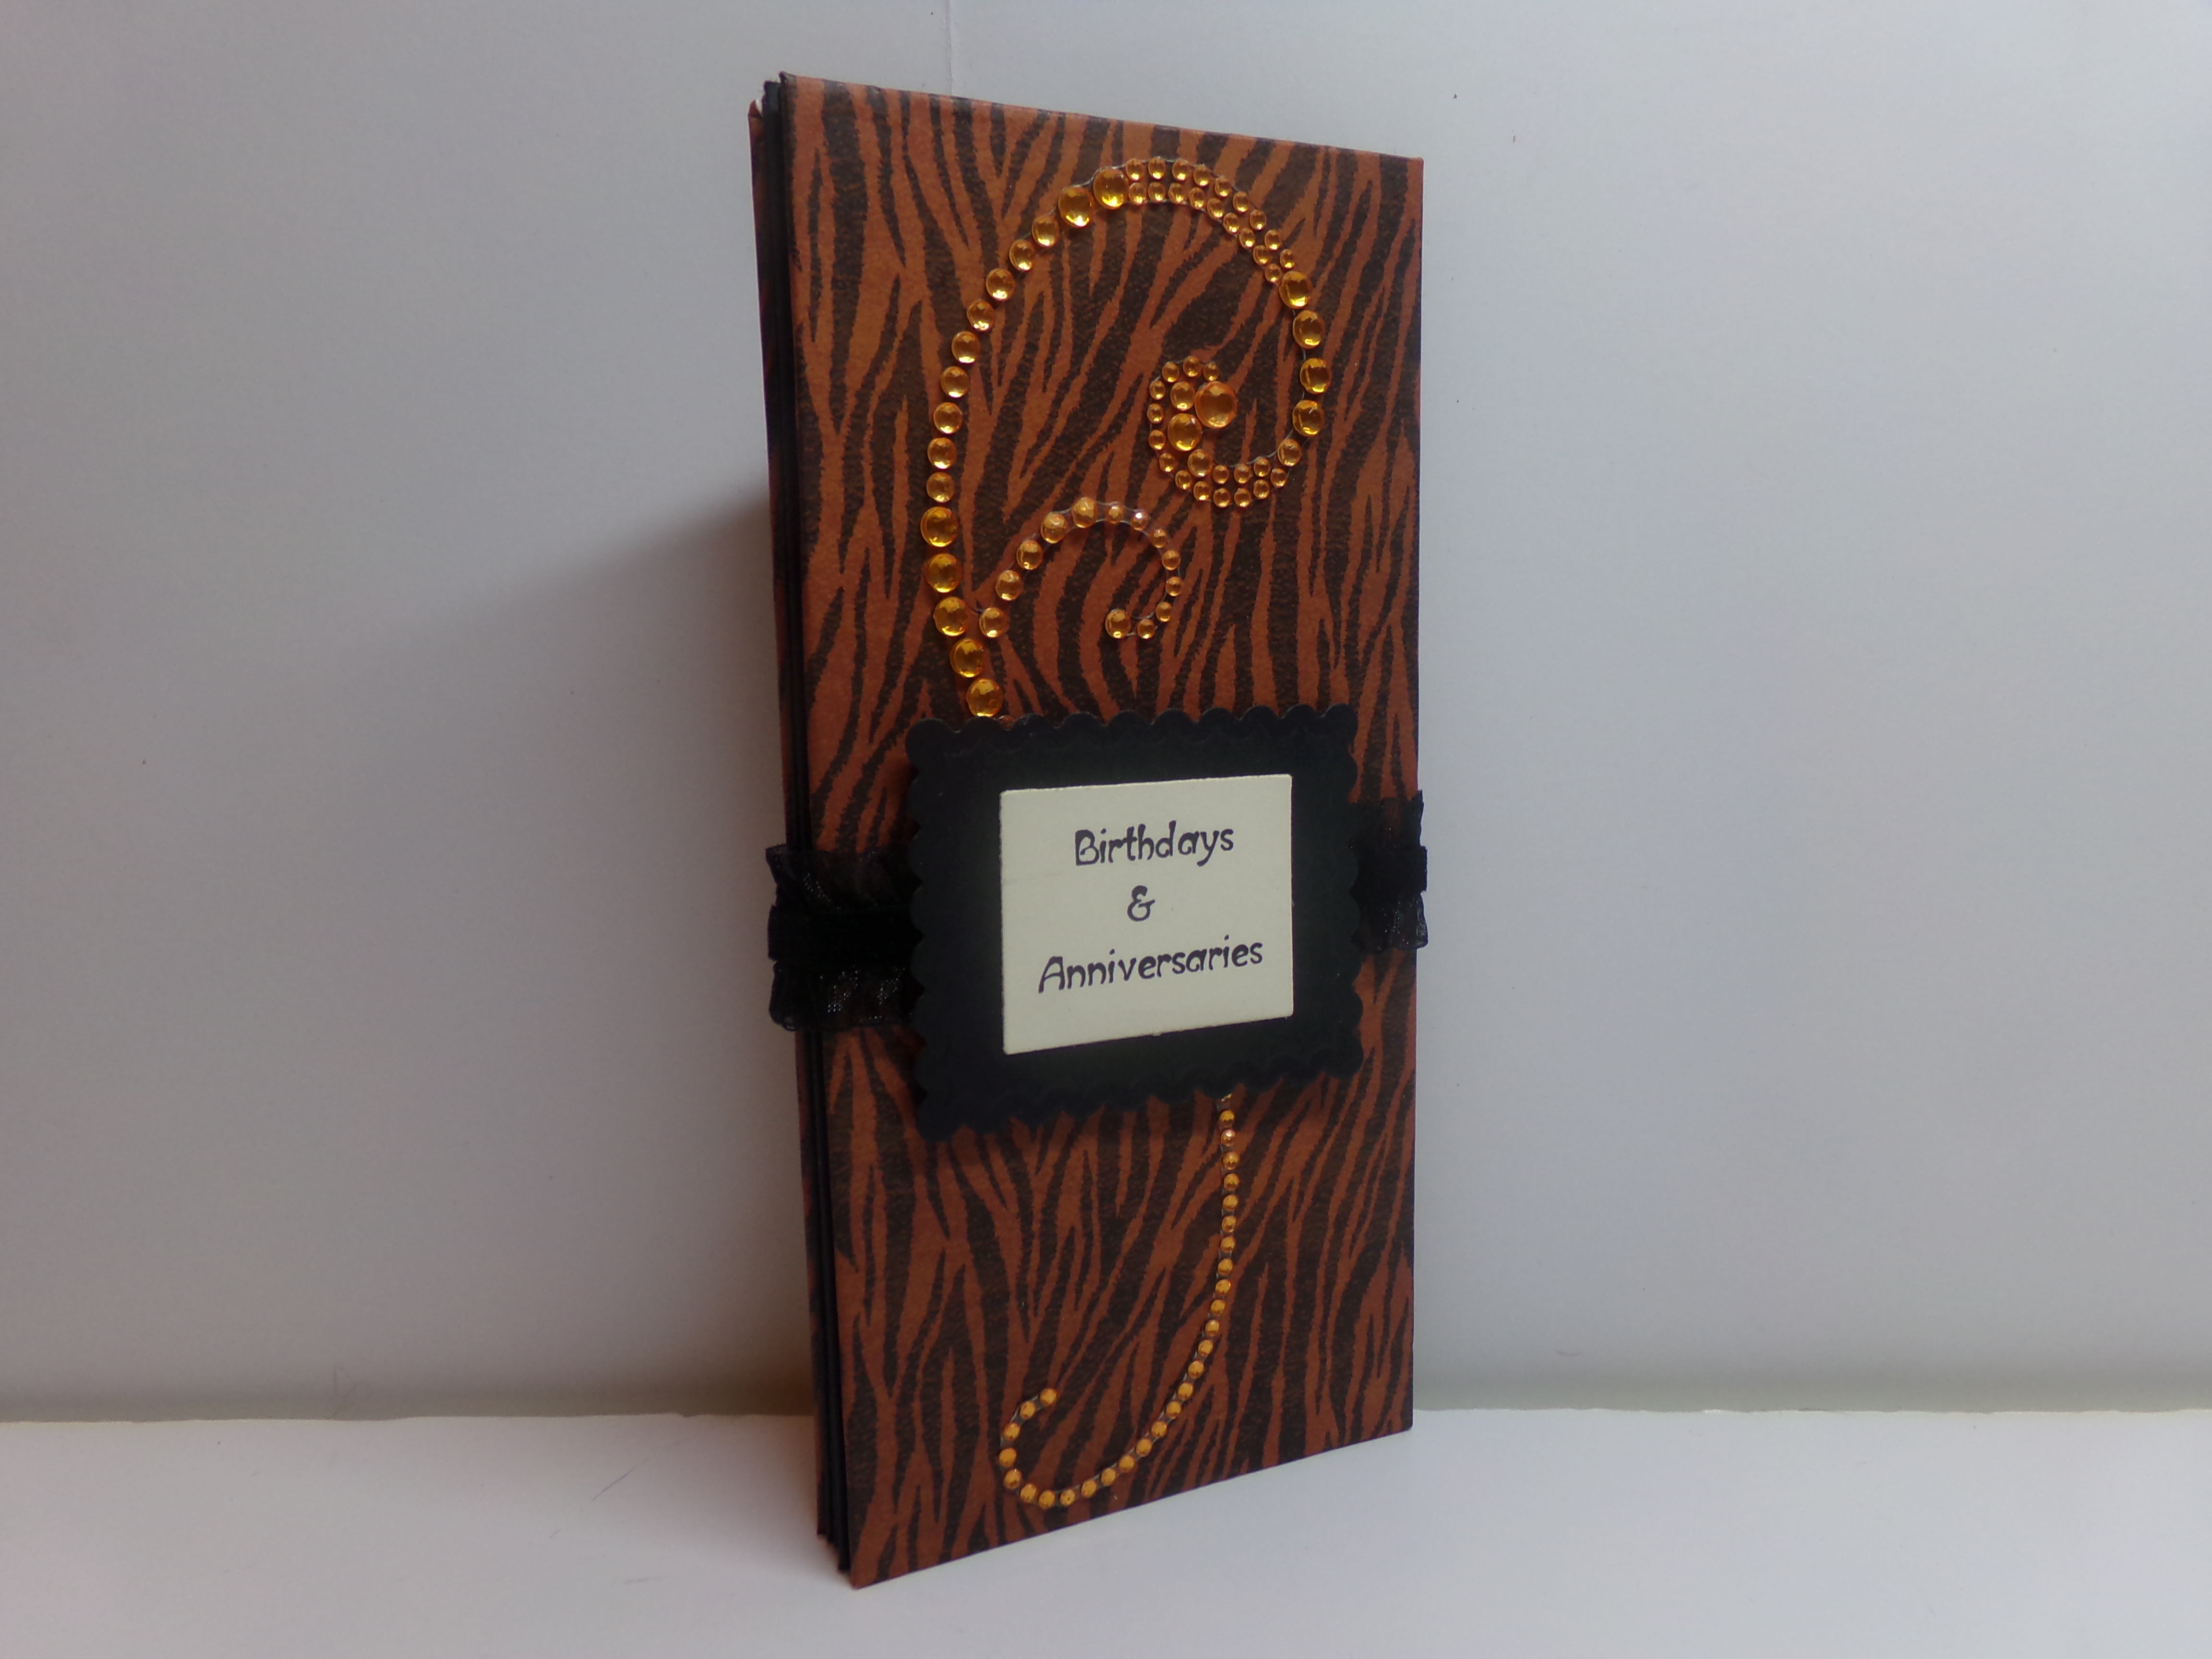
I added bling swirls on the front and used a stretchy ribbon belly band to keep it closed. I printed my own title and used Spellbinders dies to cut and layer it. The animal print paper was a gift from my girl Tmika. I covered chipboard for the covers.
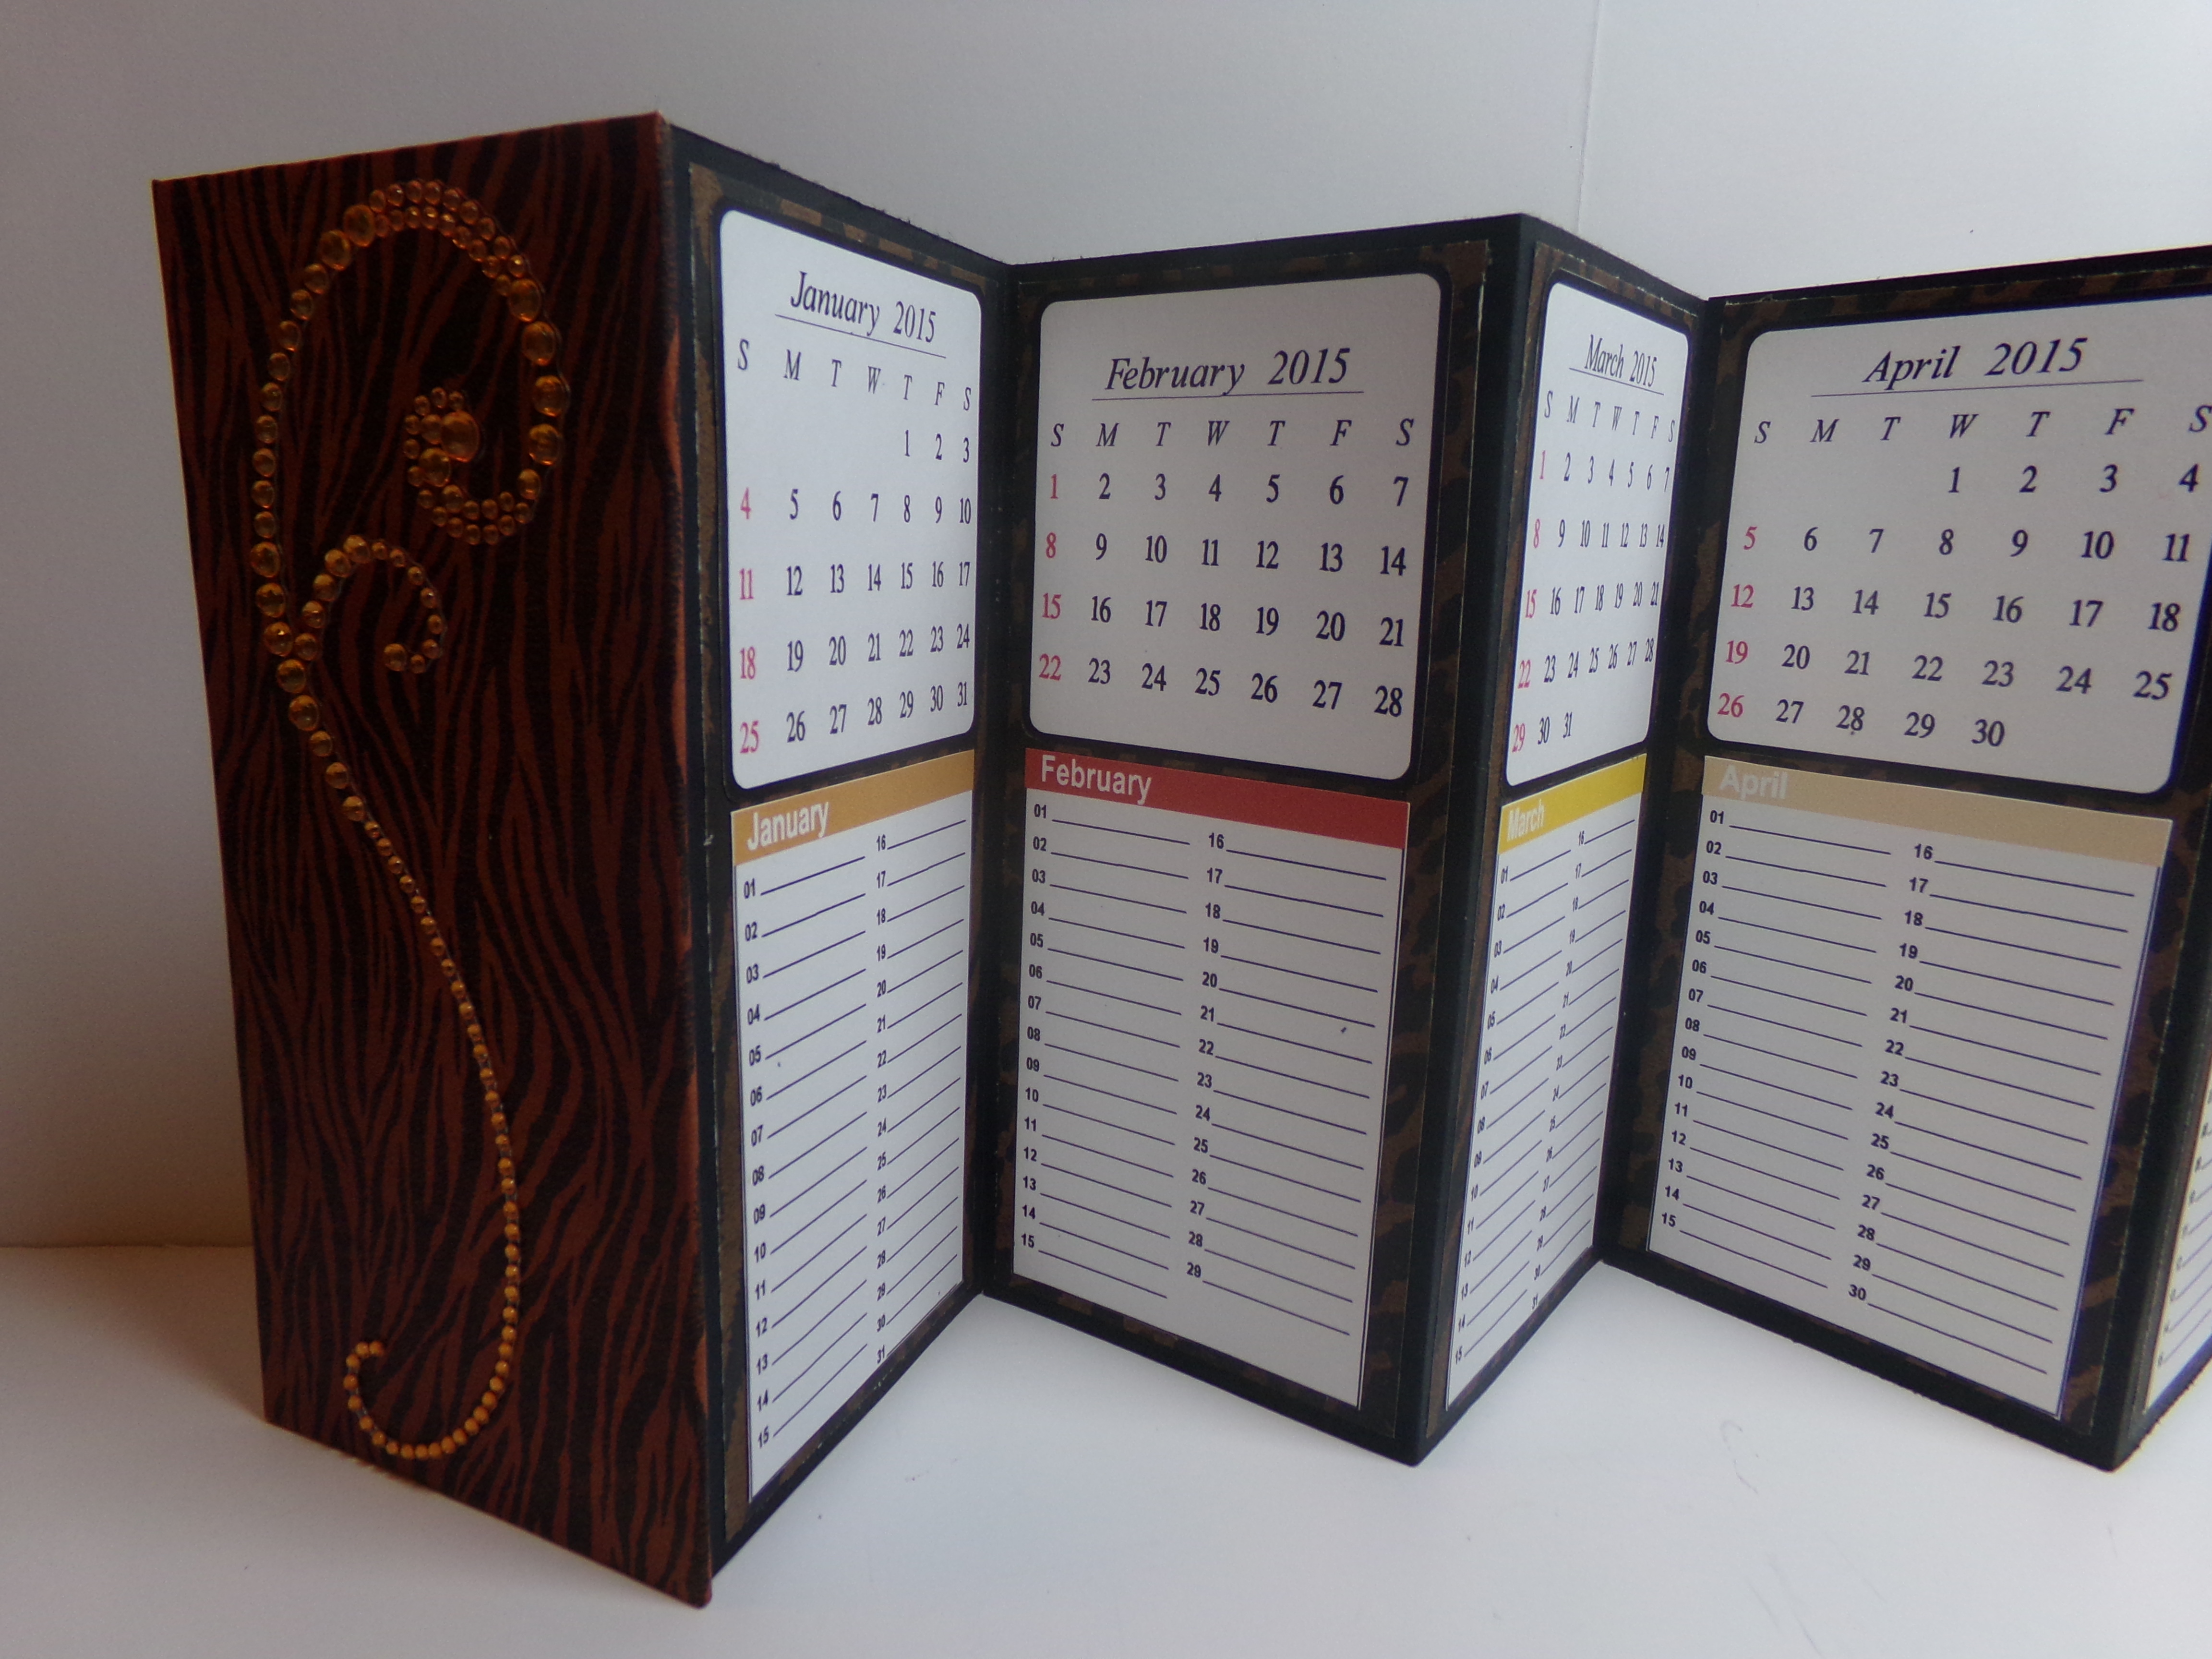
Then when it opens, it is accordion folded…
The calendar is on the top and the mini cards are below and allow you to put the name of the person by the number that corresponds to the date.
Here is the back side…
Make sure to visit The Cutting Cafe Blog on the 7th and 21st of each month for our Design Team posts. Leave a comment and you might just win three free files on the next posting!
Thanks so much for stopping by! Before you go, here is my video…
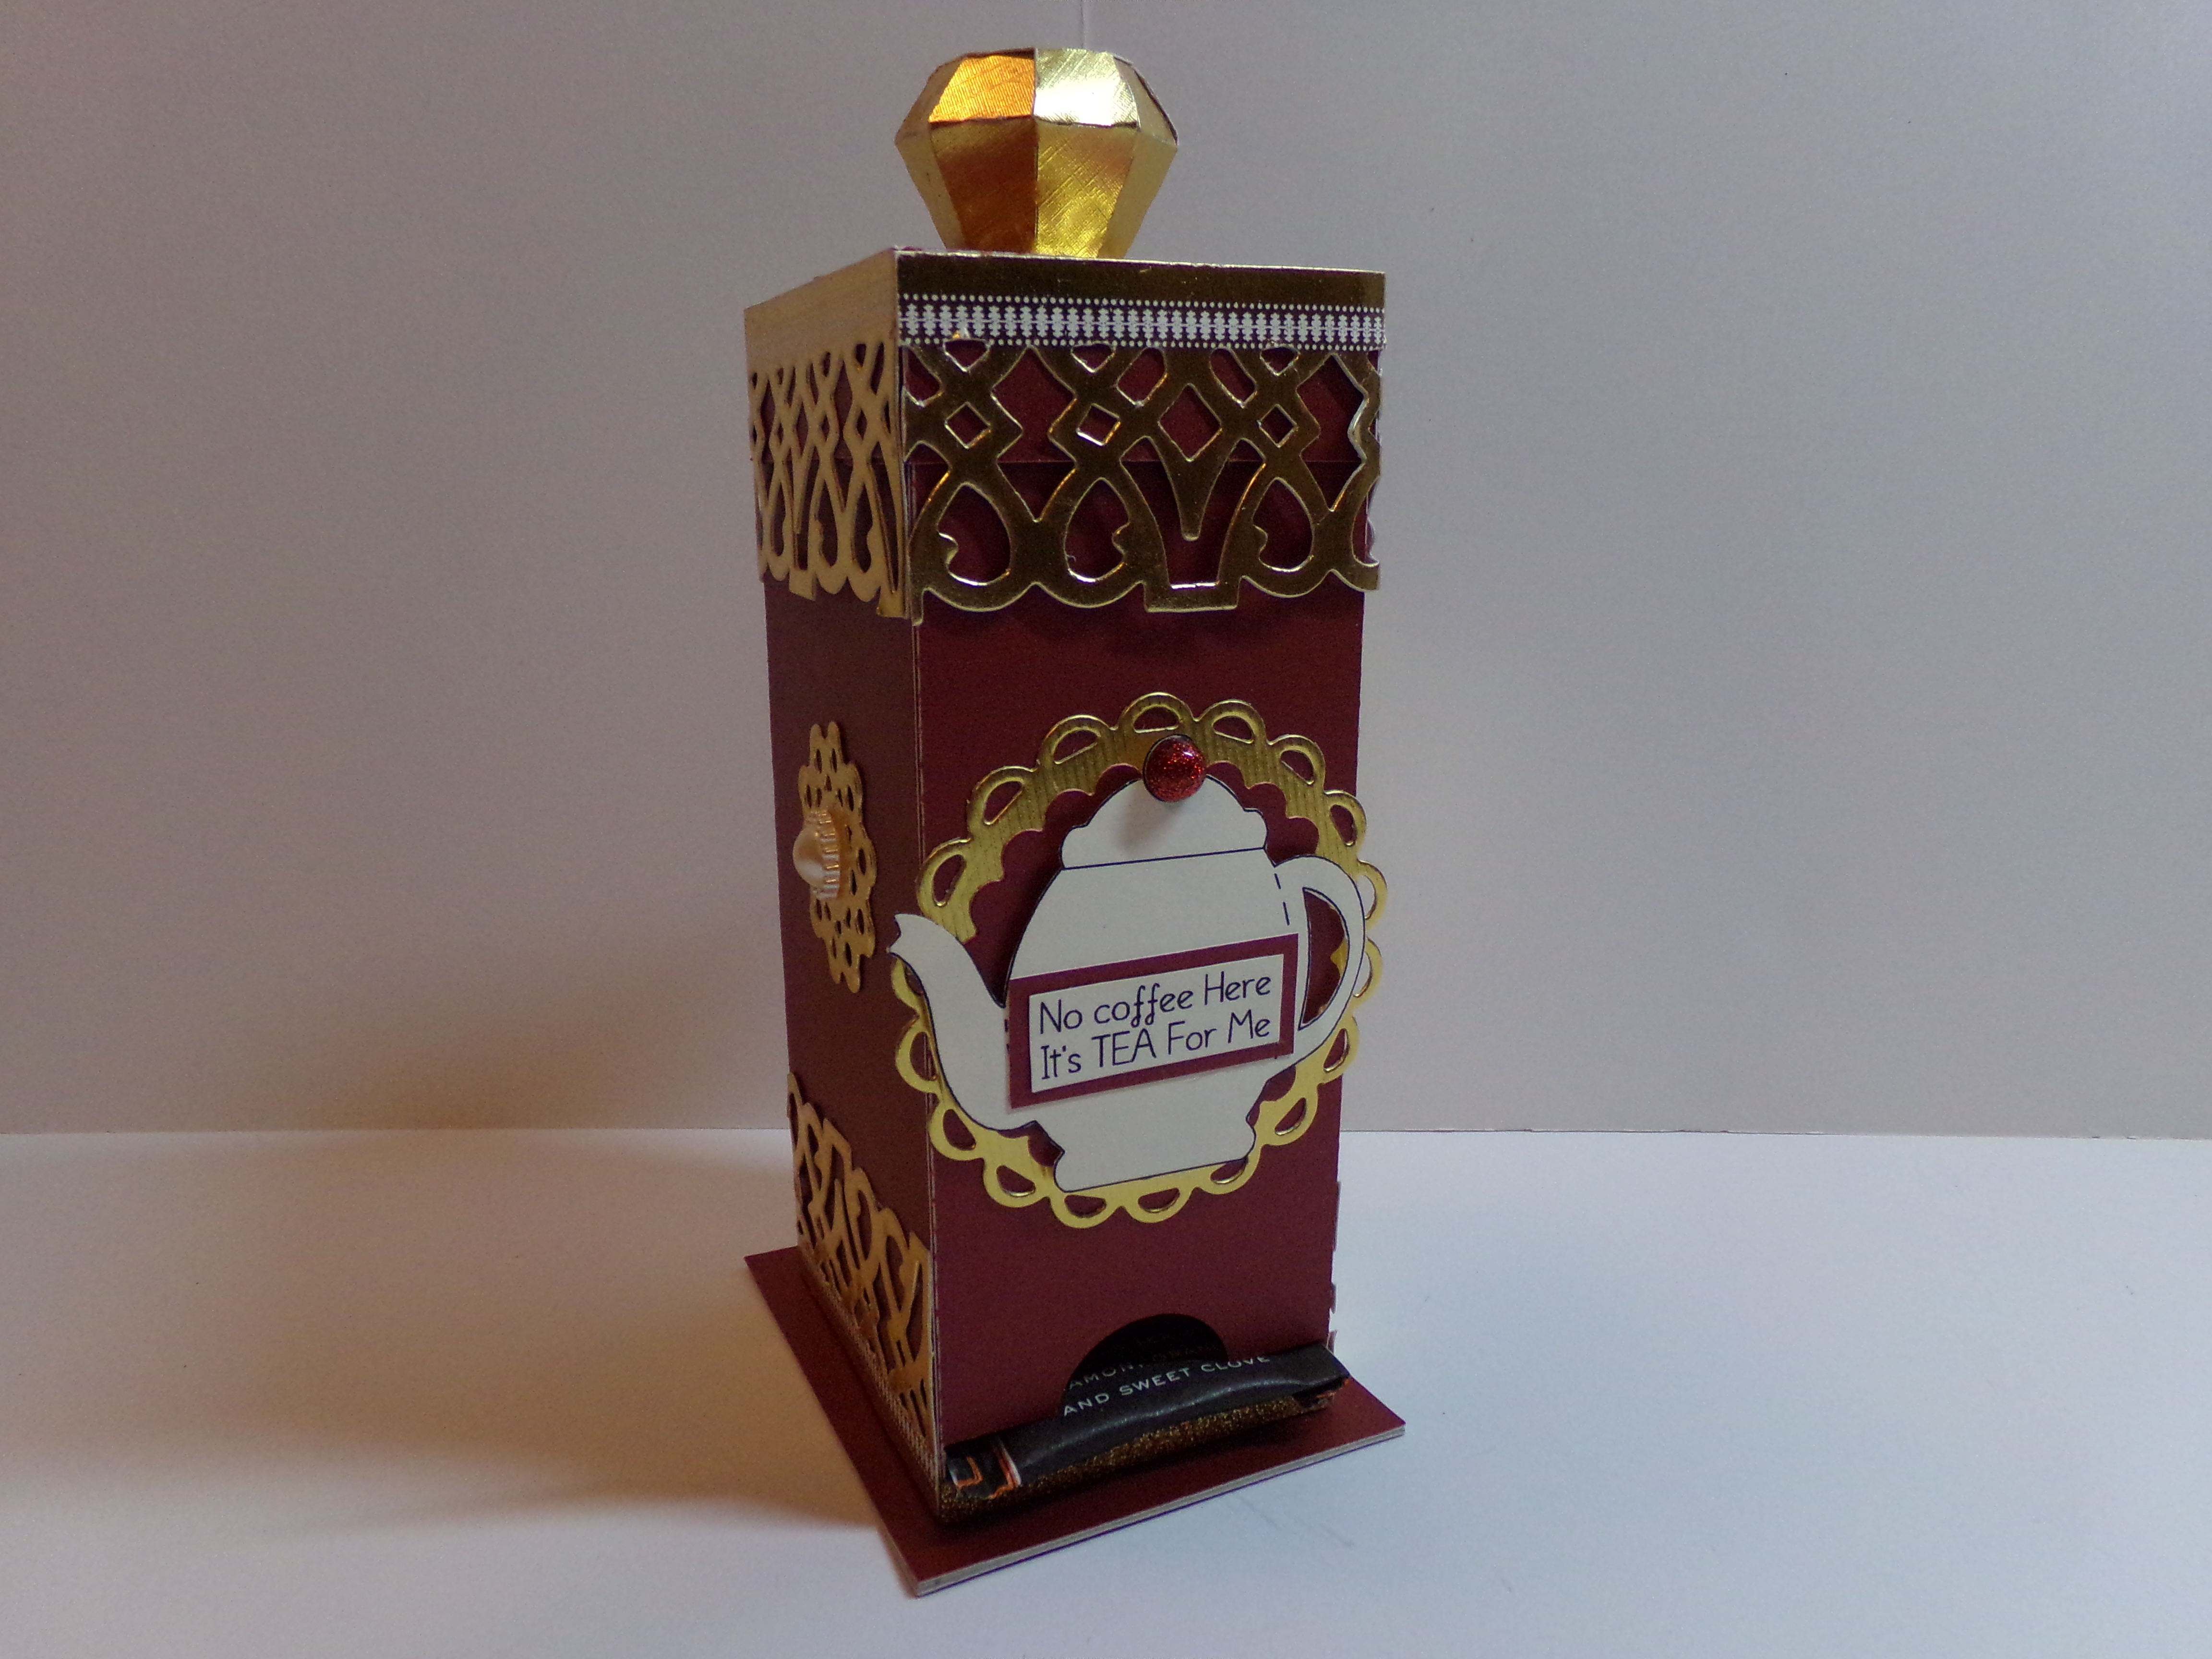
Happy New Year to you! I hope your holiday season was fabulous! I was a busy beaver and thus did not have a lot of time for crafting. But, it is a new year and I am back at it. Thanks for stopping by! Today I am sharing my first design team project of the year for The Cutting Cafe. This time we could choose any file we wanted to work with. Regina recently created a Tea Box Holder Set and the minute I saw it I knew I had to make it! I hate coffee and I like tea. So, I made this to sit on my desk at work…
Tea box holder with tea bags
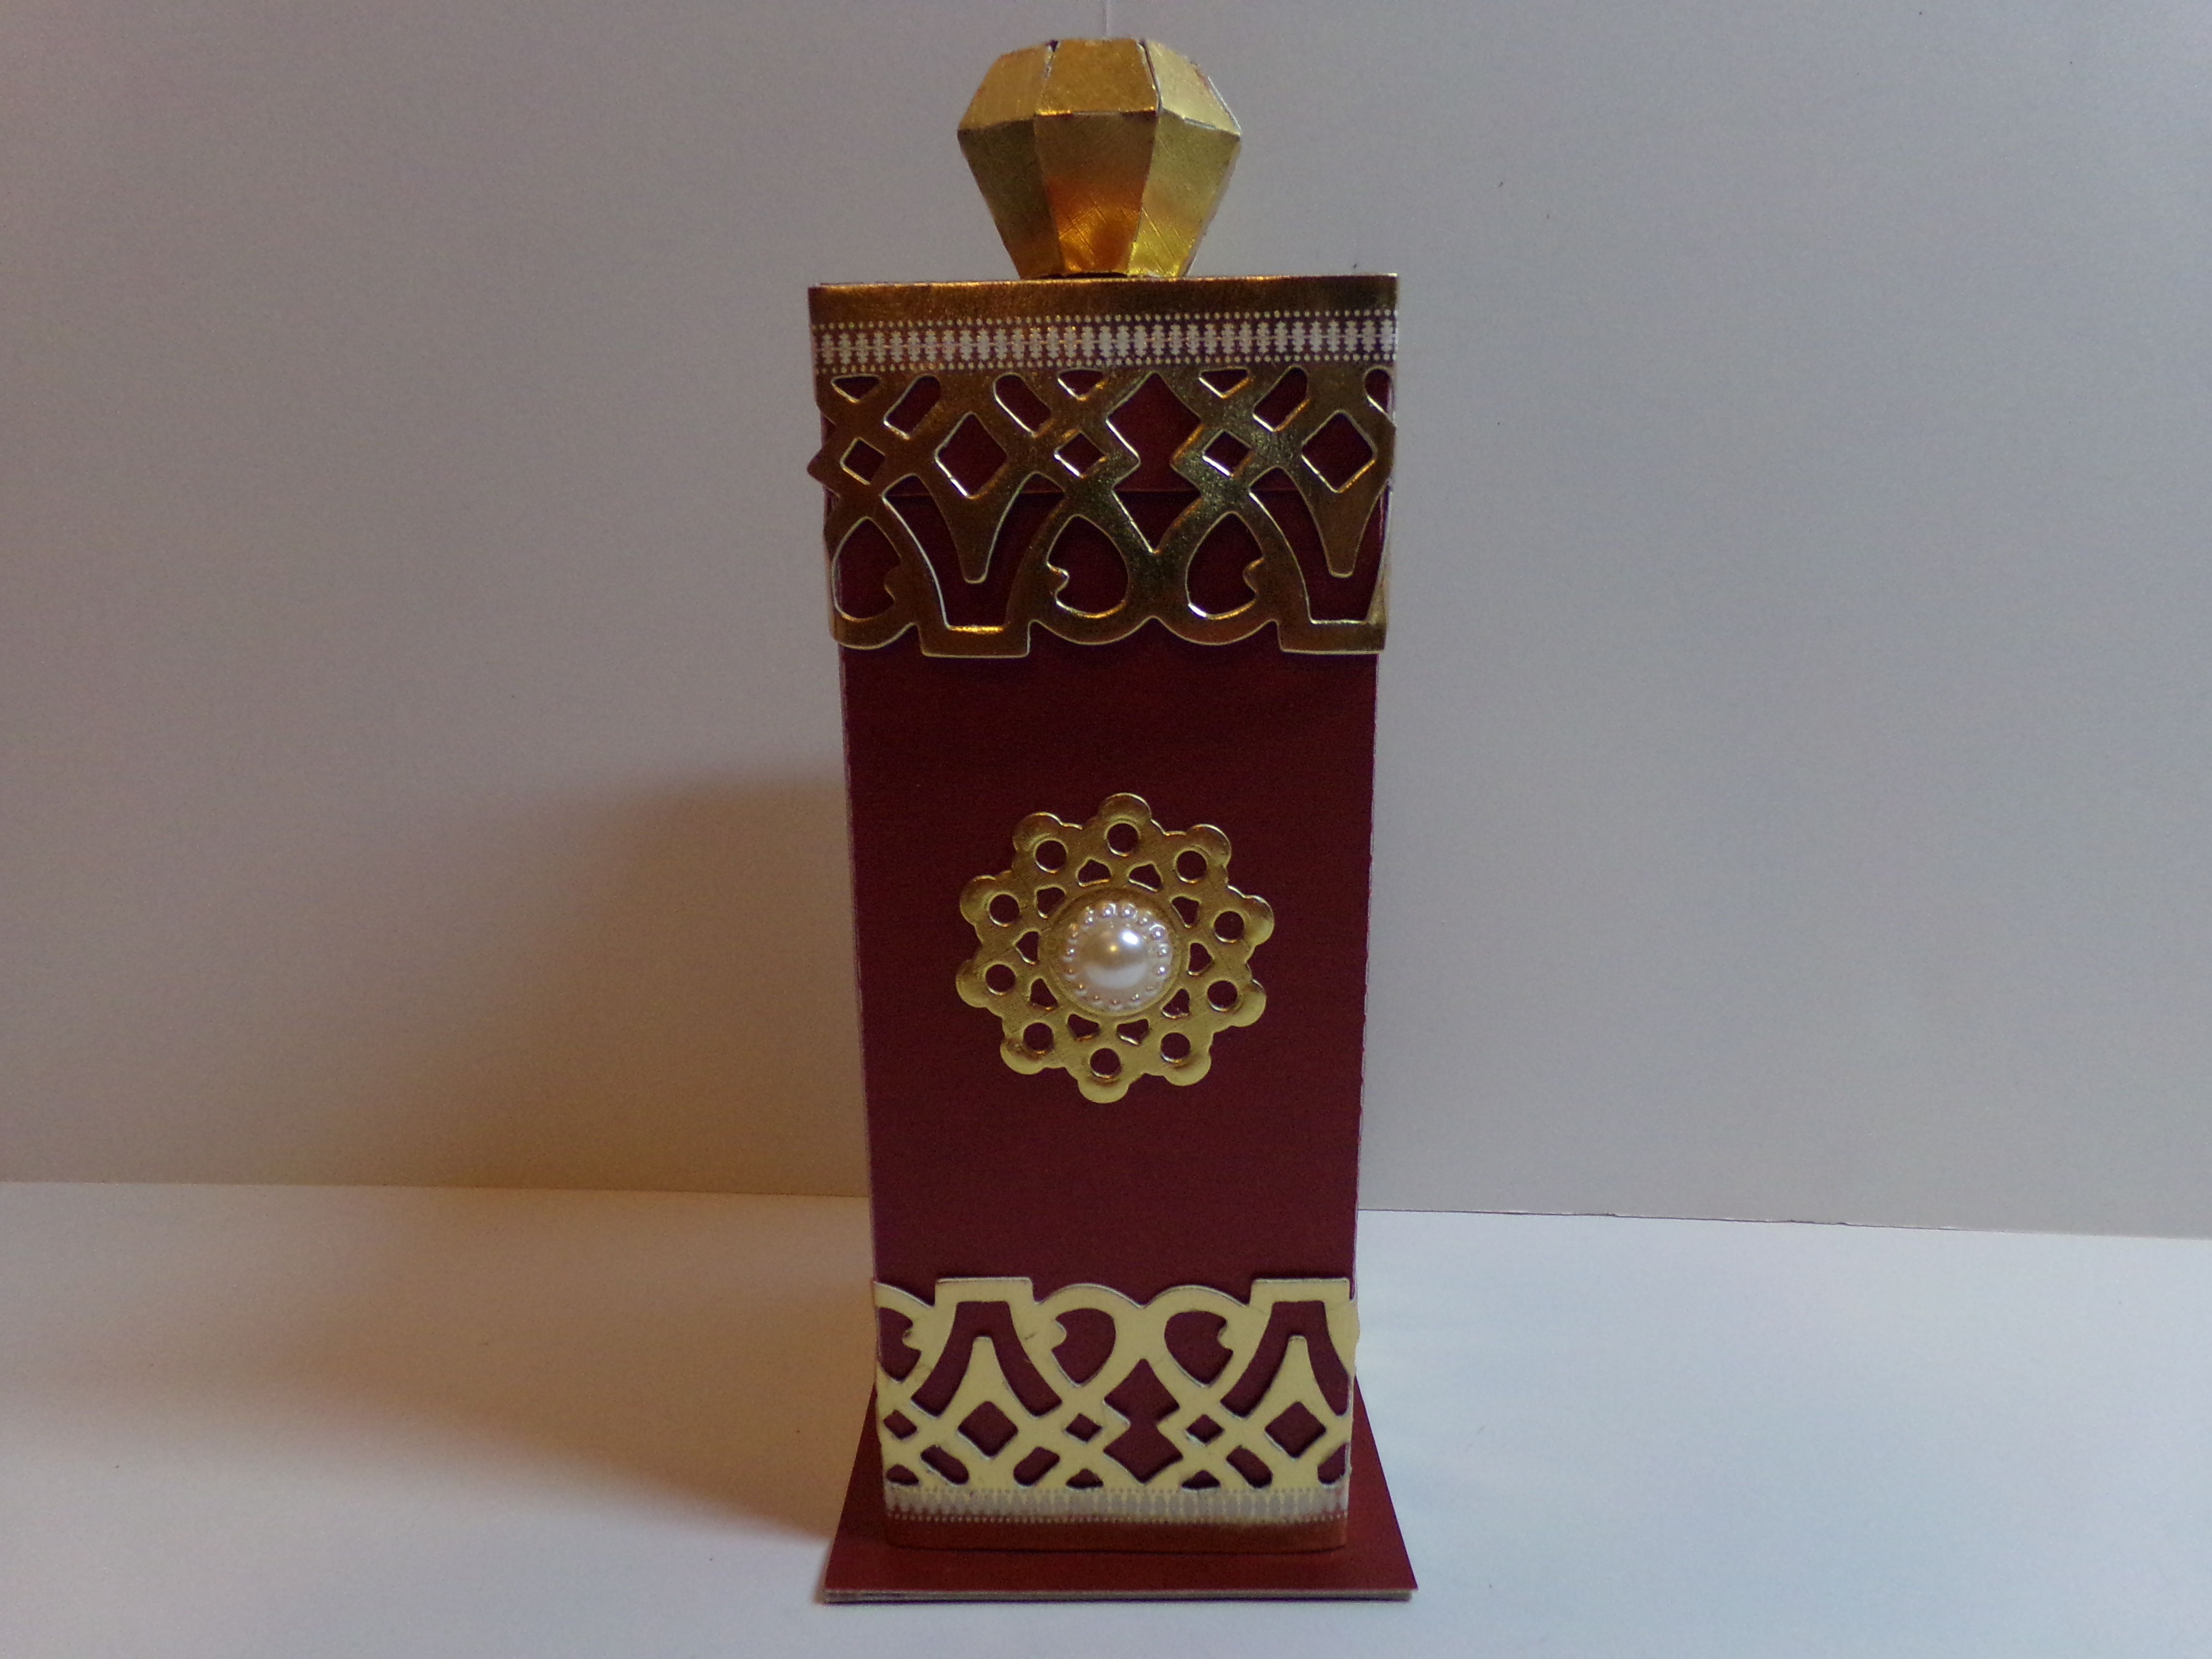
I absolutely love the way it turned out. I wanted something with an elegant feel and I think the gold foiling accents and the shimmer paper does just the trick! The file comes with a lid that comes off so you can put your tea bags in the box. I added a diamond shape knob to the top of the lid. The knob does not come with this file however. It is from another file I own. I also added the gold die cut border to the edge of the lid for more drama. Here are views without the tea bag and a front on view…
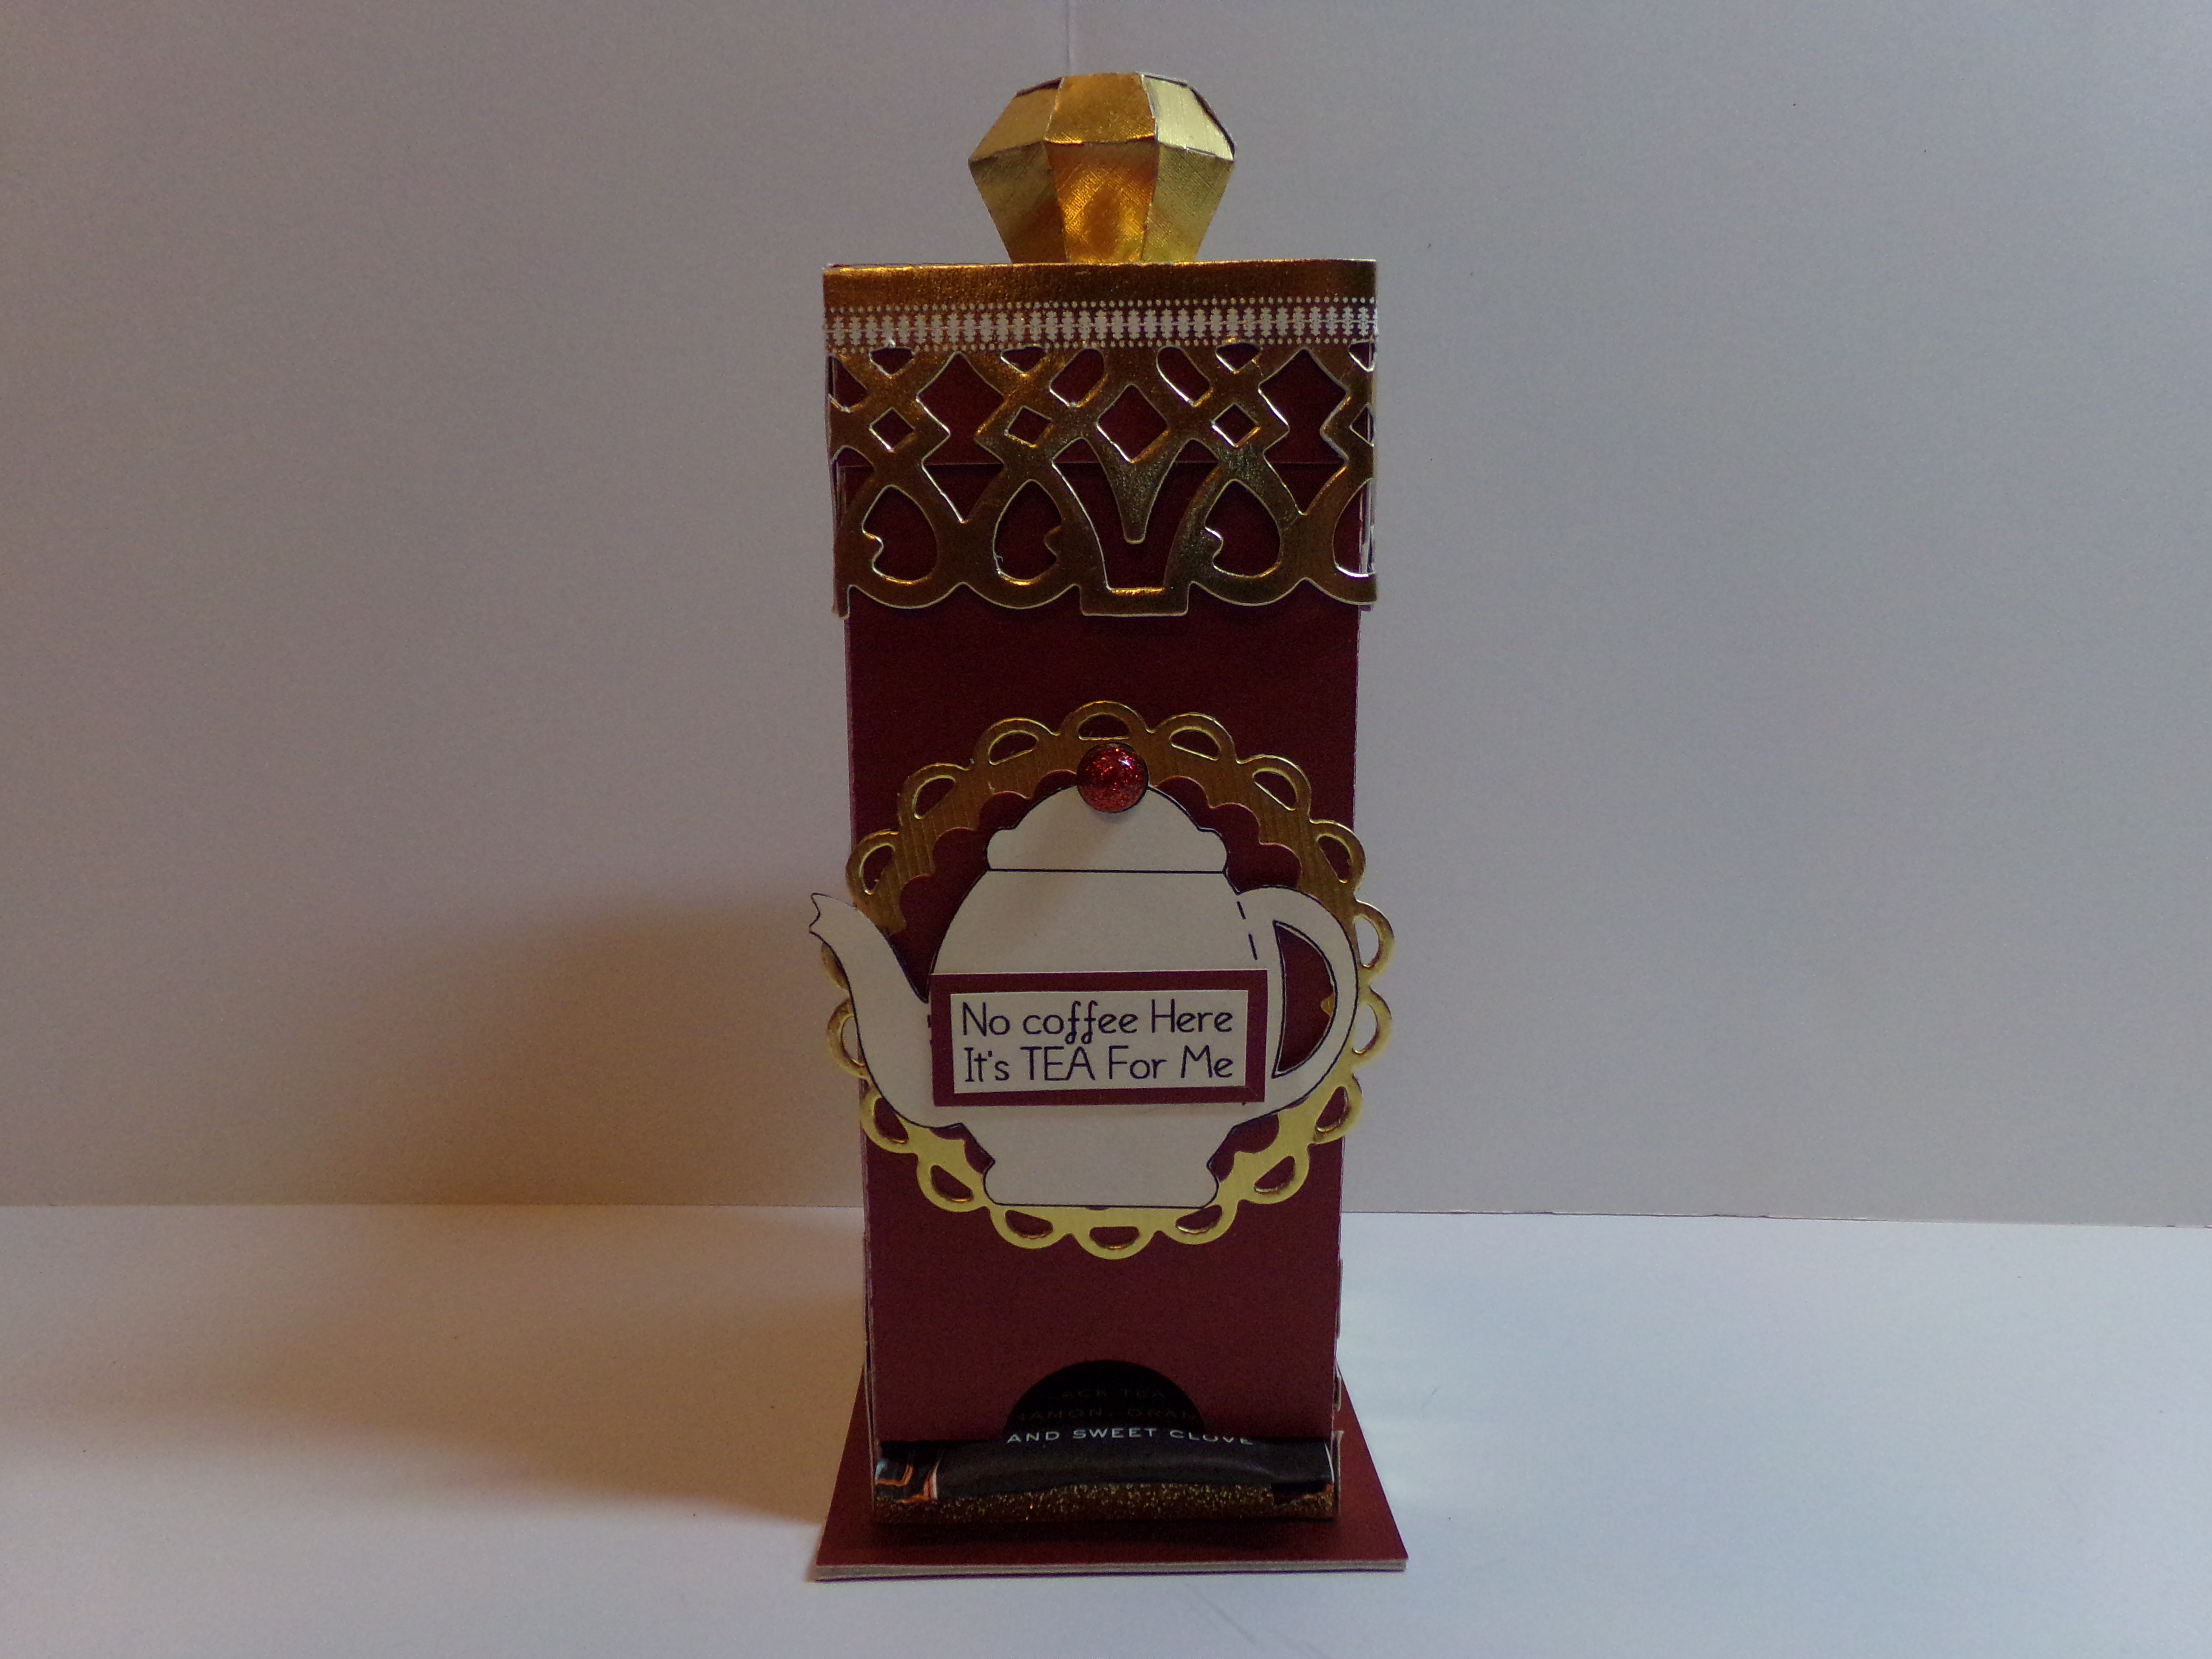
This is the box with no tea bags in it
The file comes in a skinny version, which I used, or a wider version. Both also have a four inch or six inch version to choose from. The teapot on the front comes in the file along with a couple other images. I just fussy cut it and pop it with foam squares onto two circle die cuts. The sentiment also comes with the file with along with a lot of other ones…
This was easy to put together and can be done easily without an electronic cutting machine as all of the files at The Cutting Cafe come in a PDF version for hand cutting which is nice. You can print out the pieces and take them with you to a crop or to work on during your lunch hour and not have to be tied to a machine!
Make sure you visit The Cutting Cafe Blog this week. The design team posts go up on the afternoons of the 7th and 21st of each month. Leave a comment and you will be entered into the drawing on the next post to win three free files of your choice! Plus we love to read your comments!
Thanks for stopping by! Before you go, I have a few more pics and a video for you to enjoy!
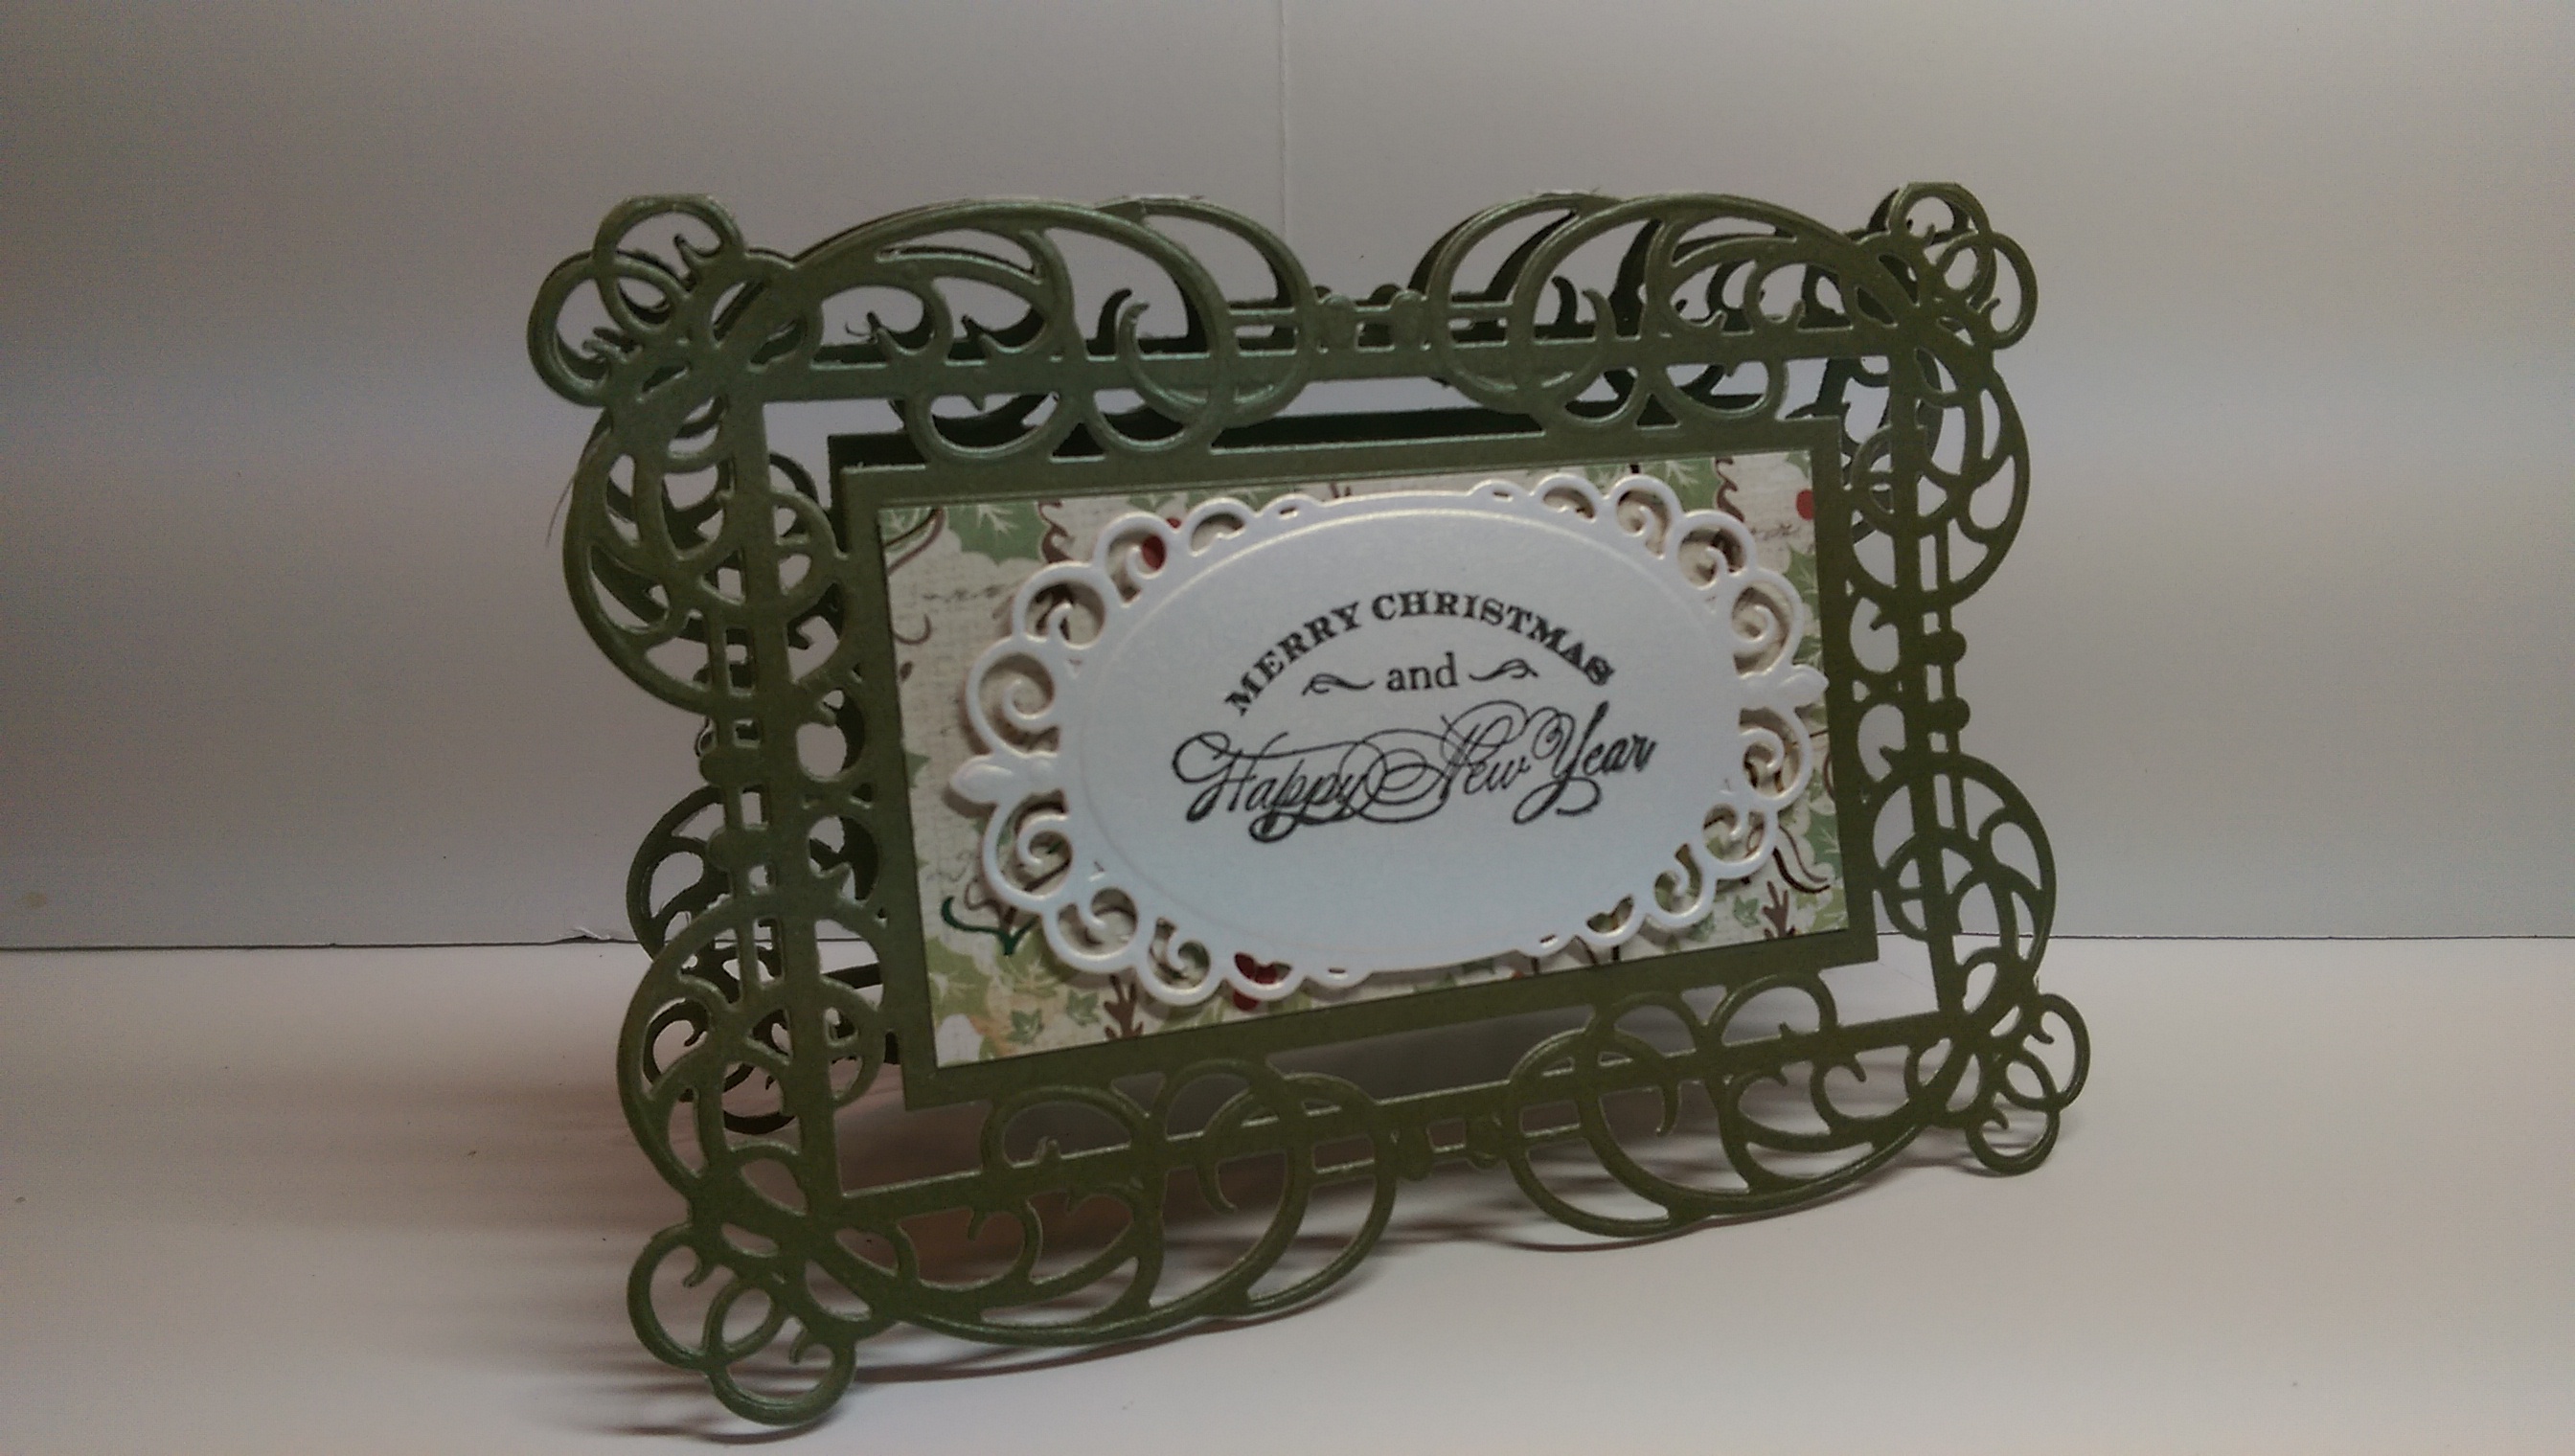
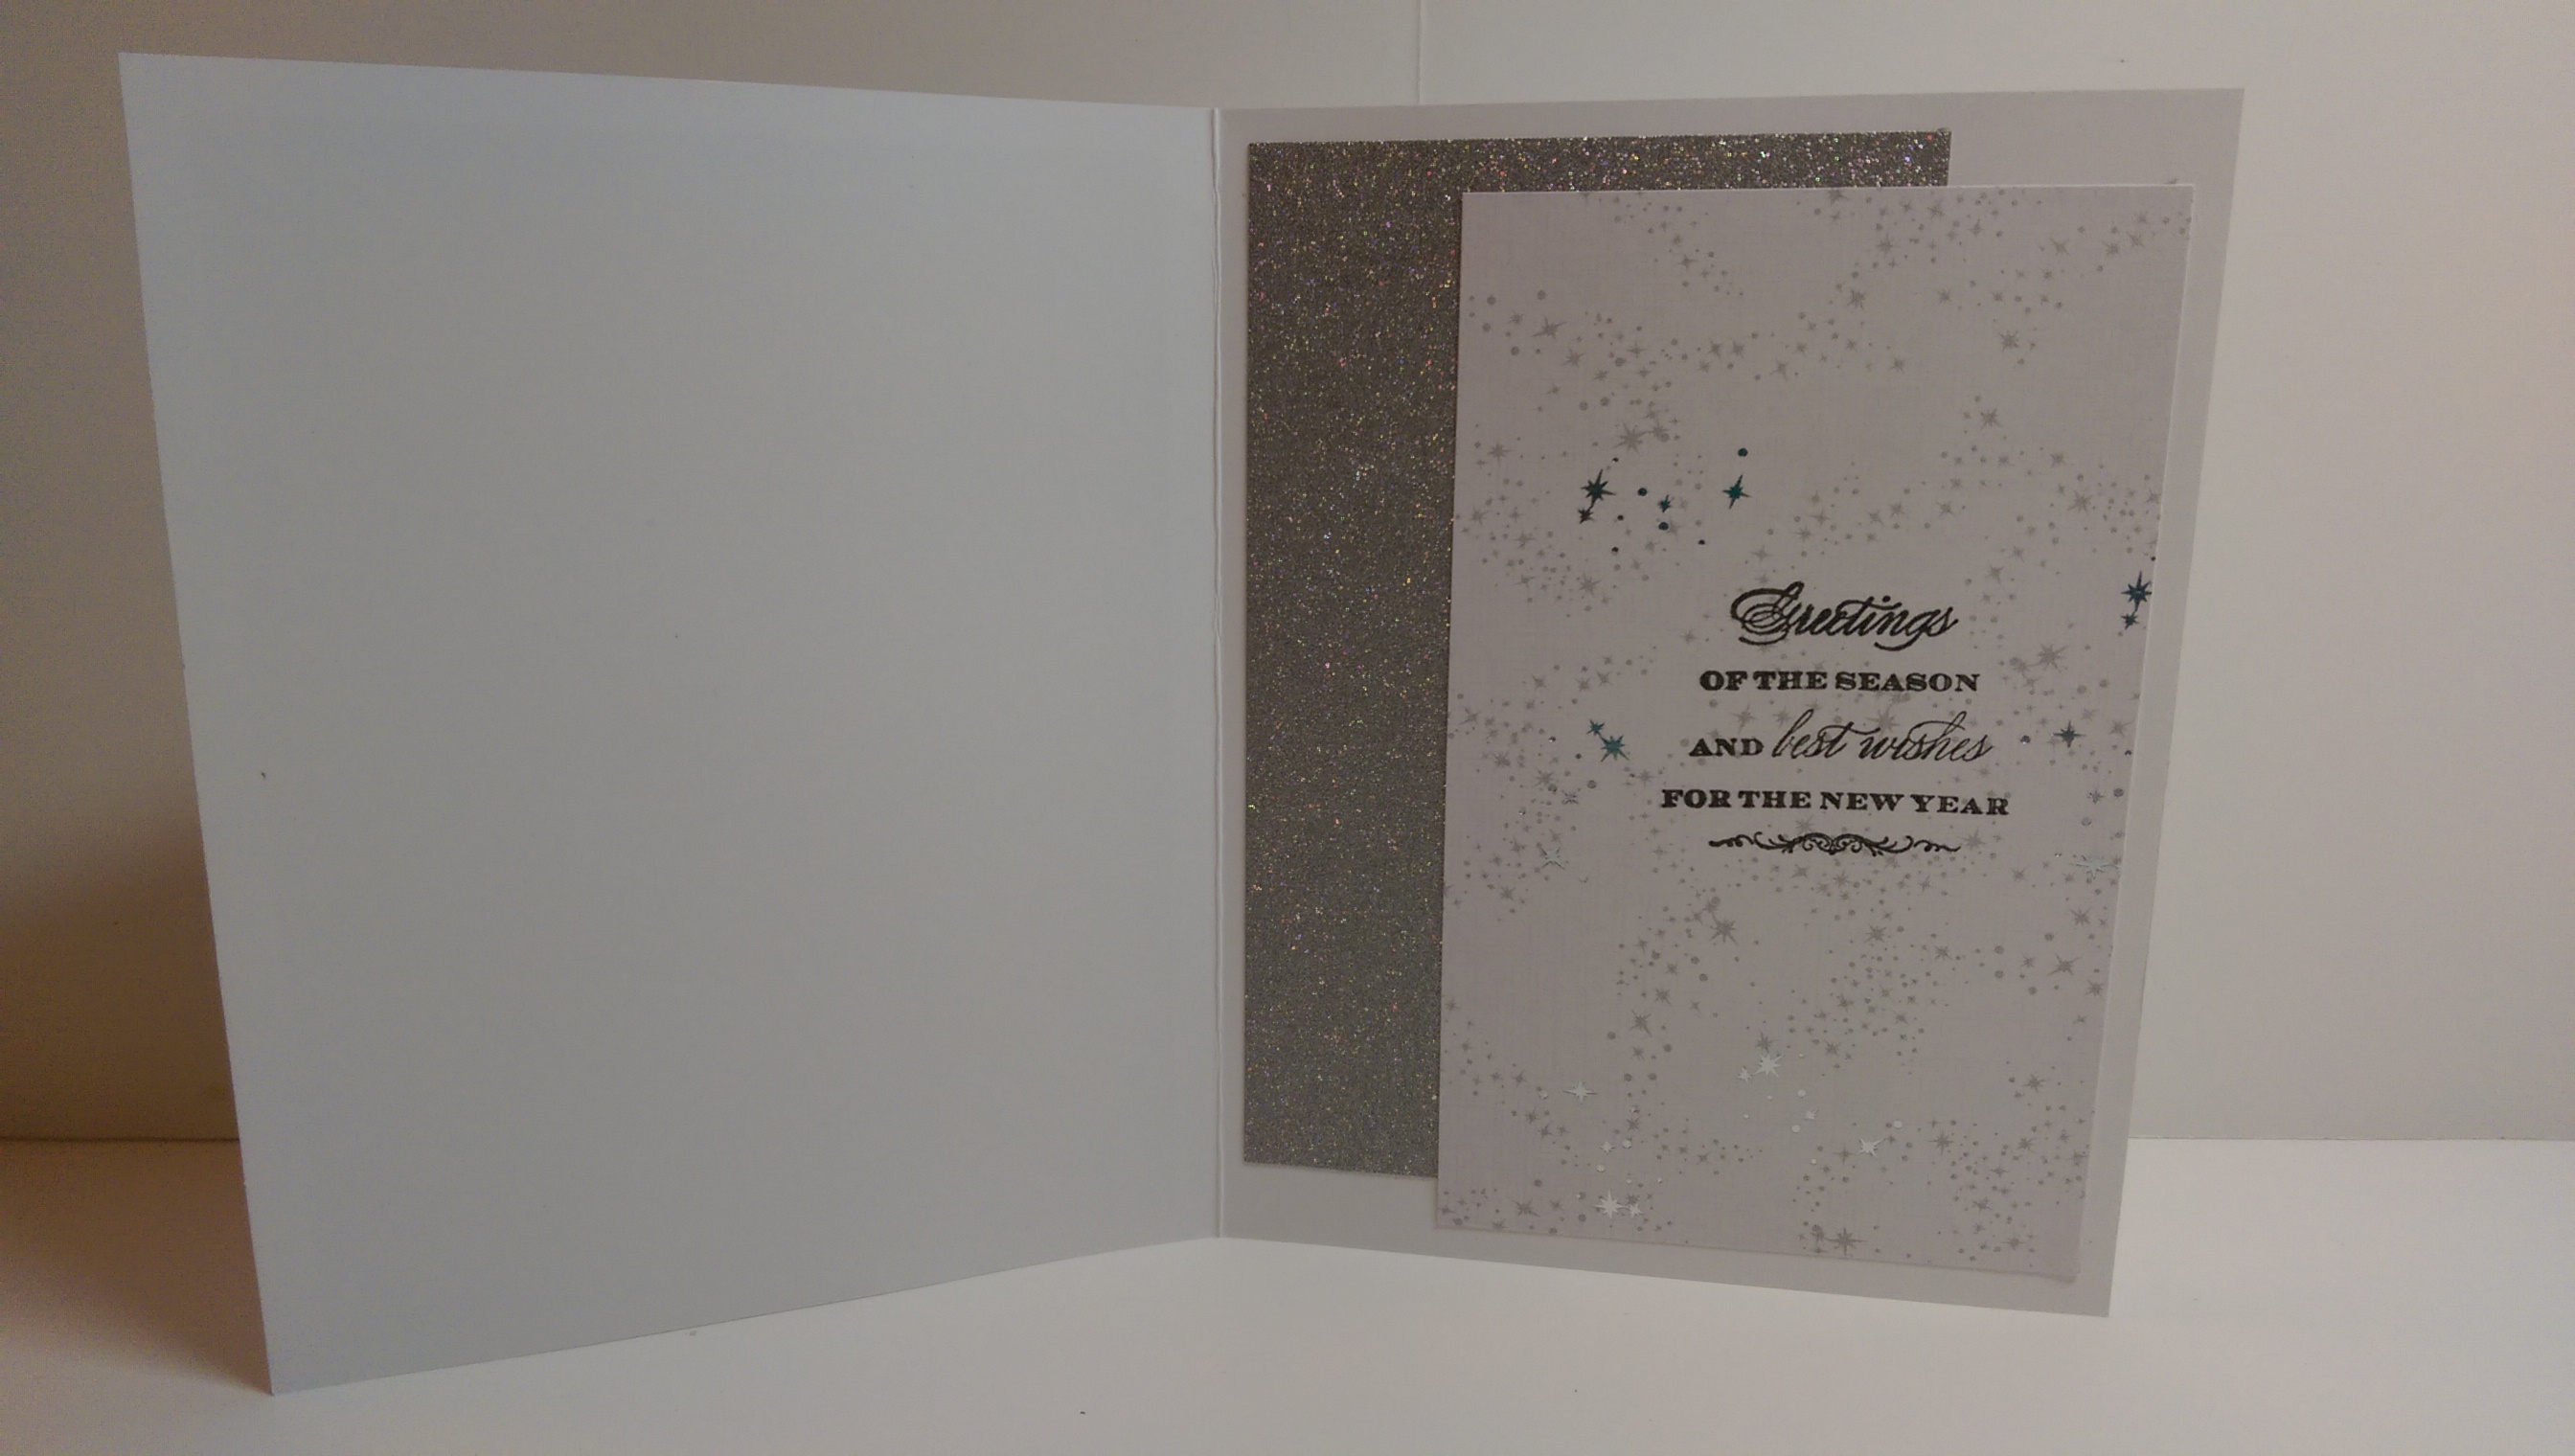
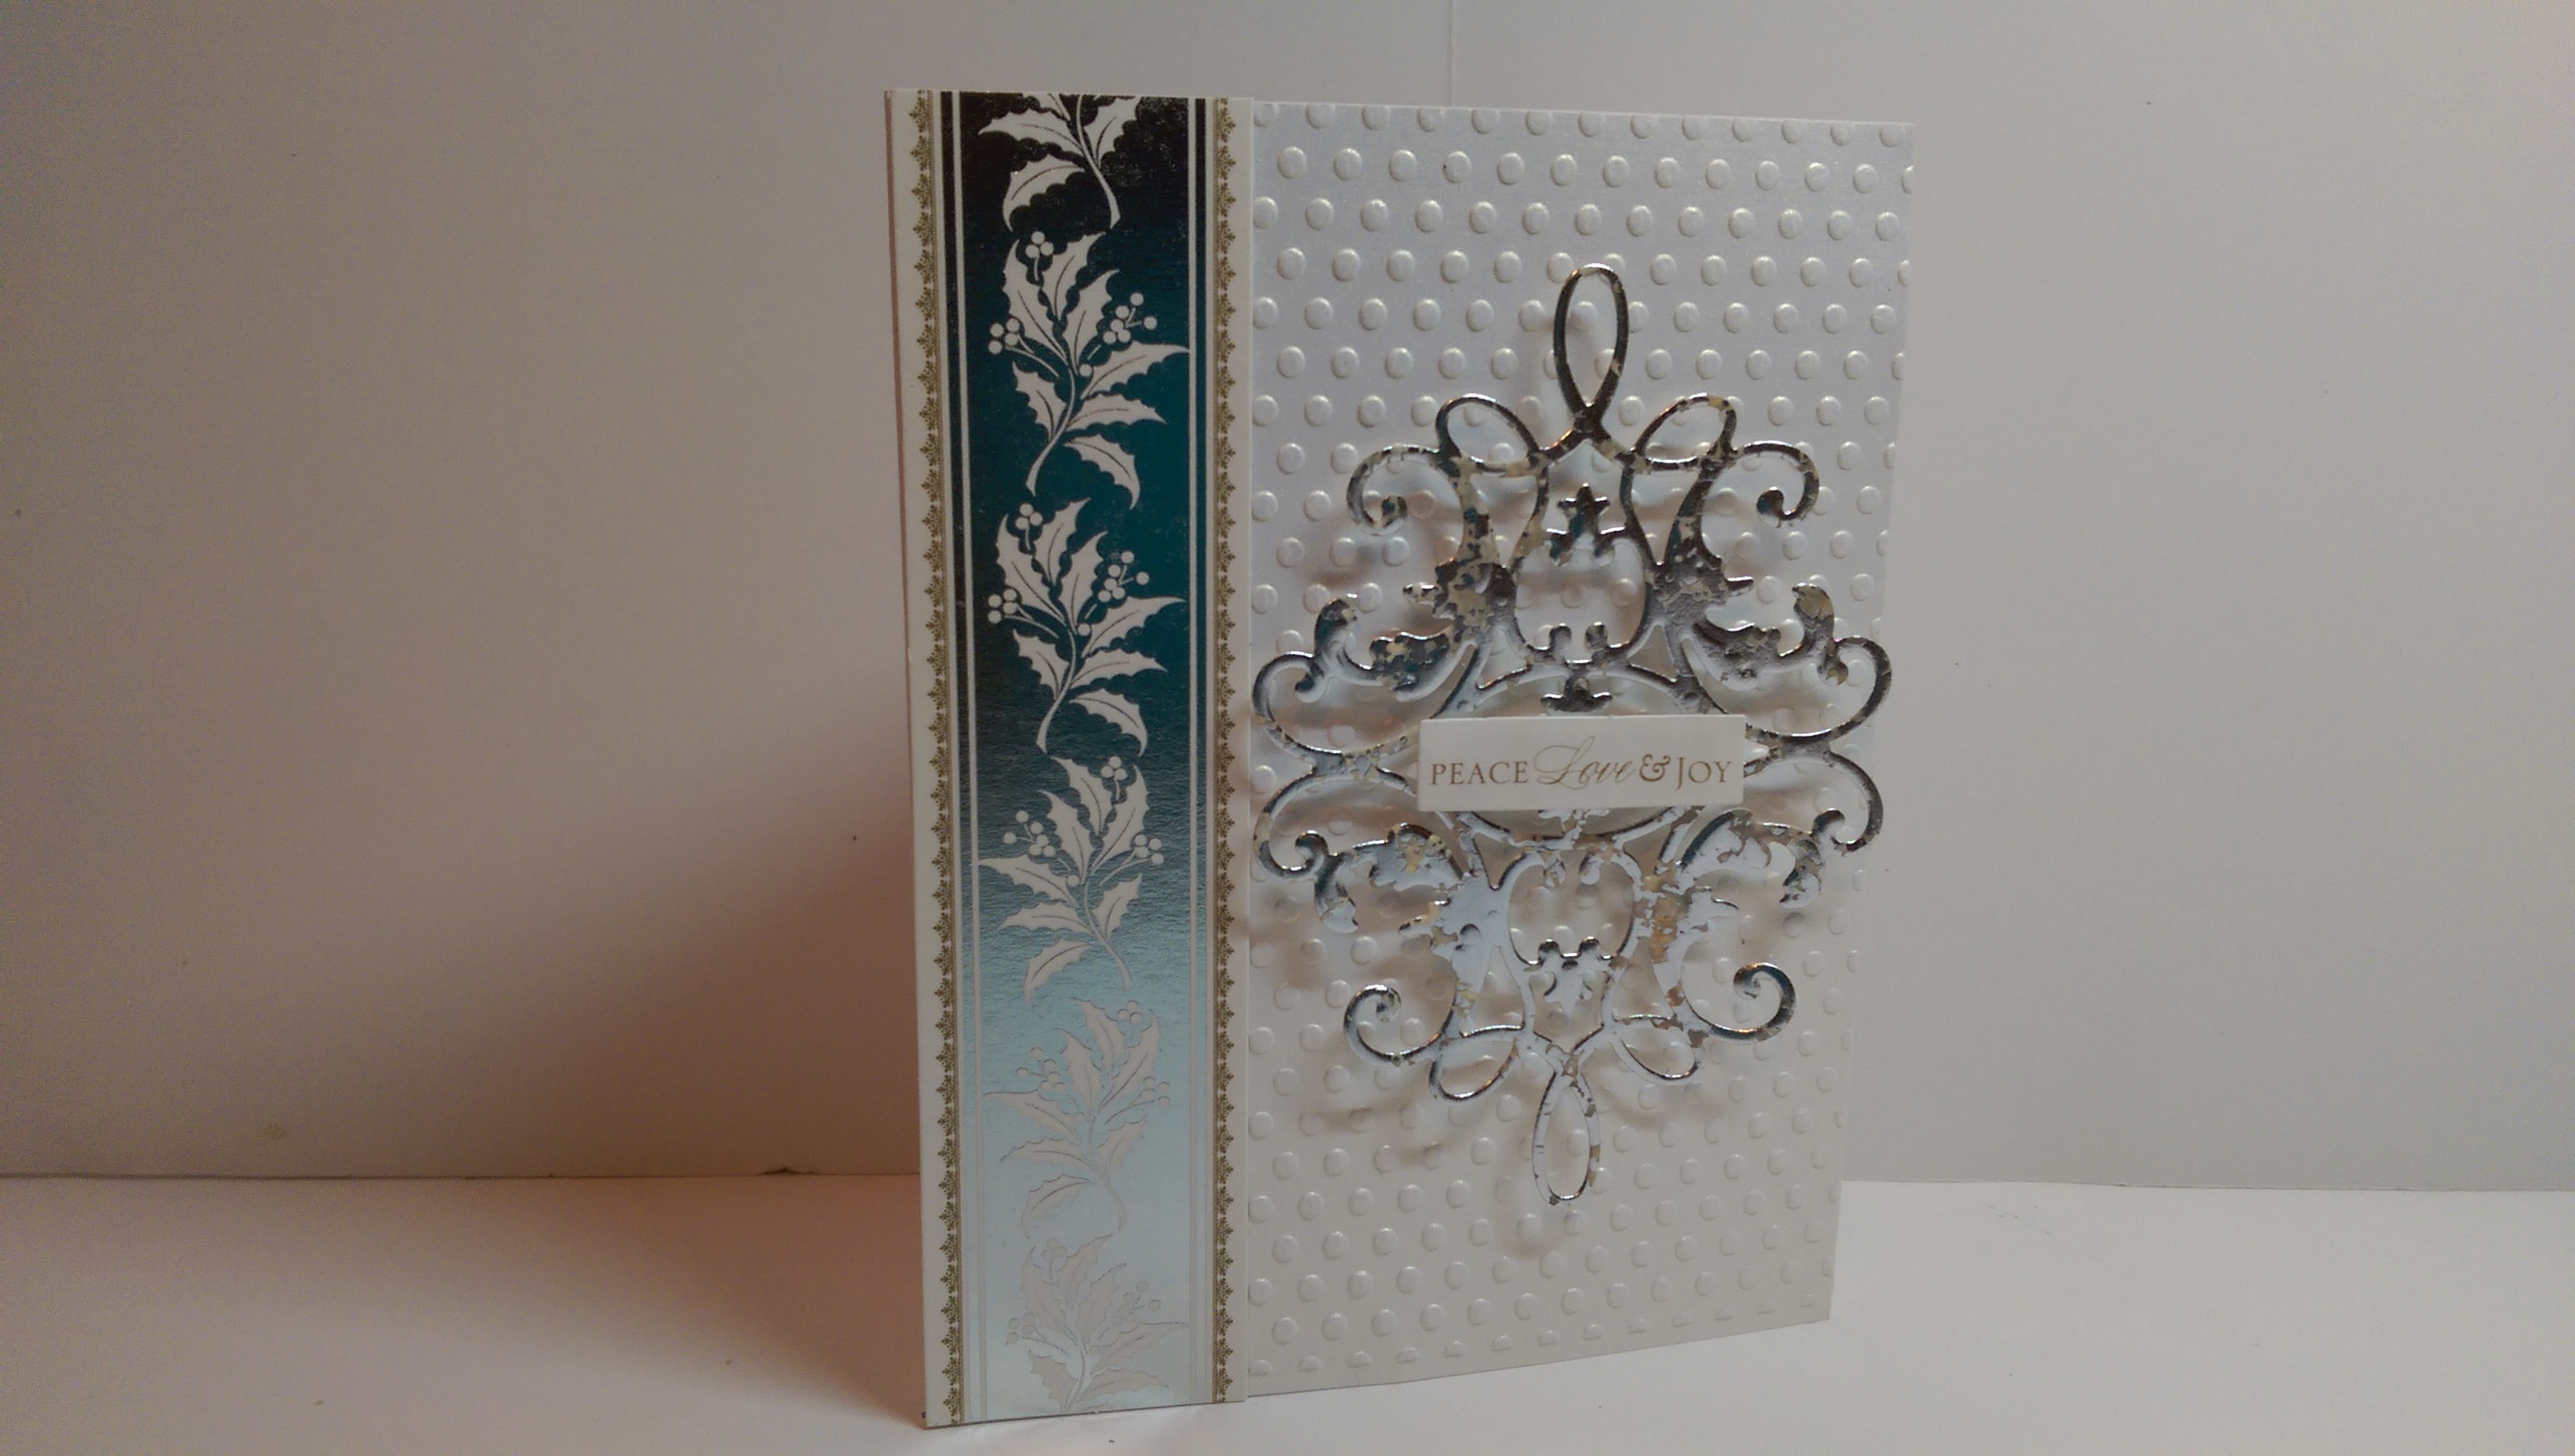
Hello! I just wanted to pop in and share some Christmas Cards I made for my friend’s mom. I used some Anna Griffin and Spellbinders products to make them and they turned out great!
I used the Spellbinders Mystical Embrace Die to make this one.
i punched circles with various punches and layered them.
I used and an Anna Griffin die and layered sticker.
I used the Spellbinders Sparkle Border Die for this one
I used Anna Griffin borders and layers sticker here.
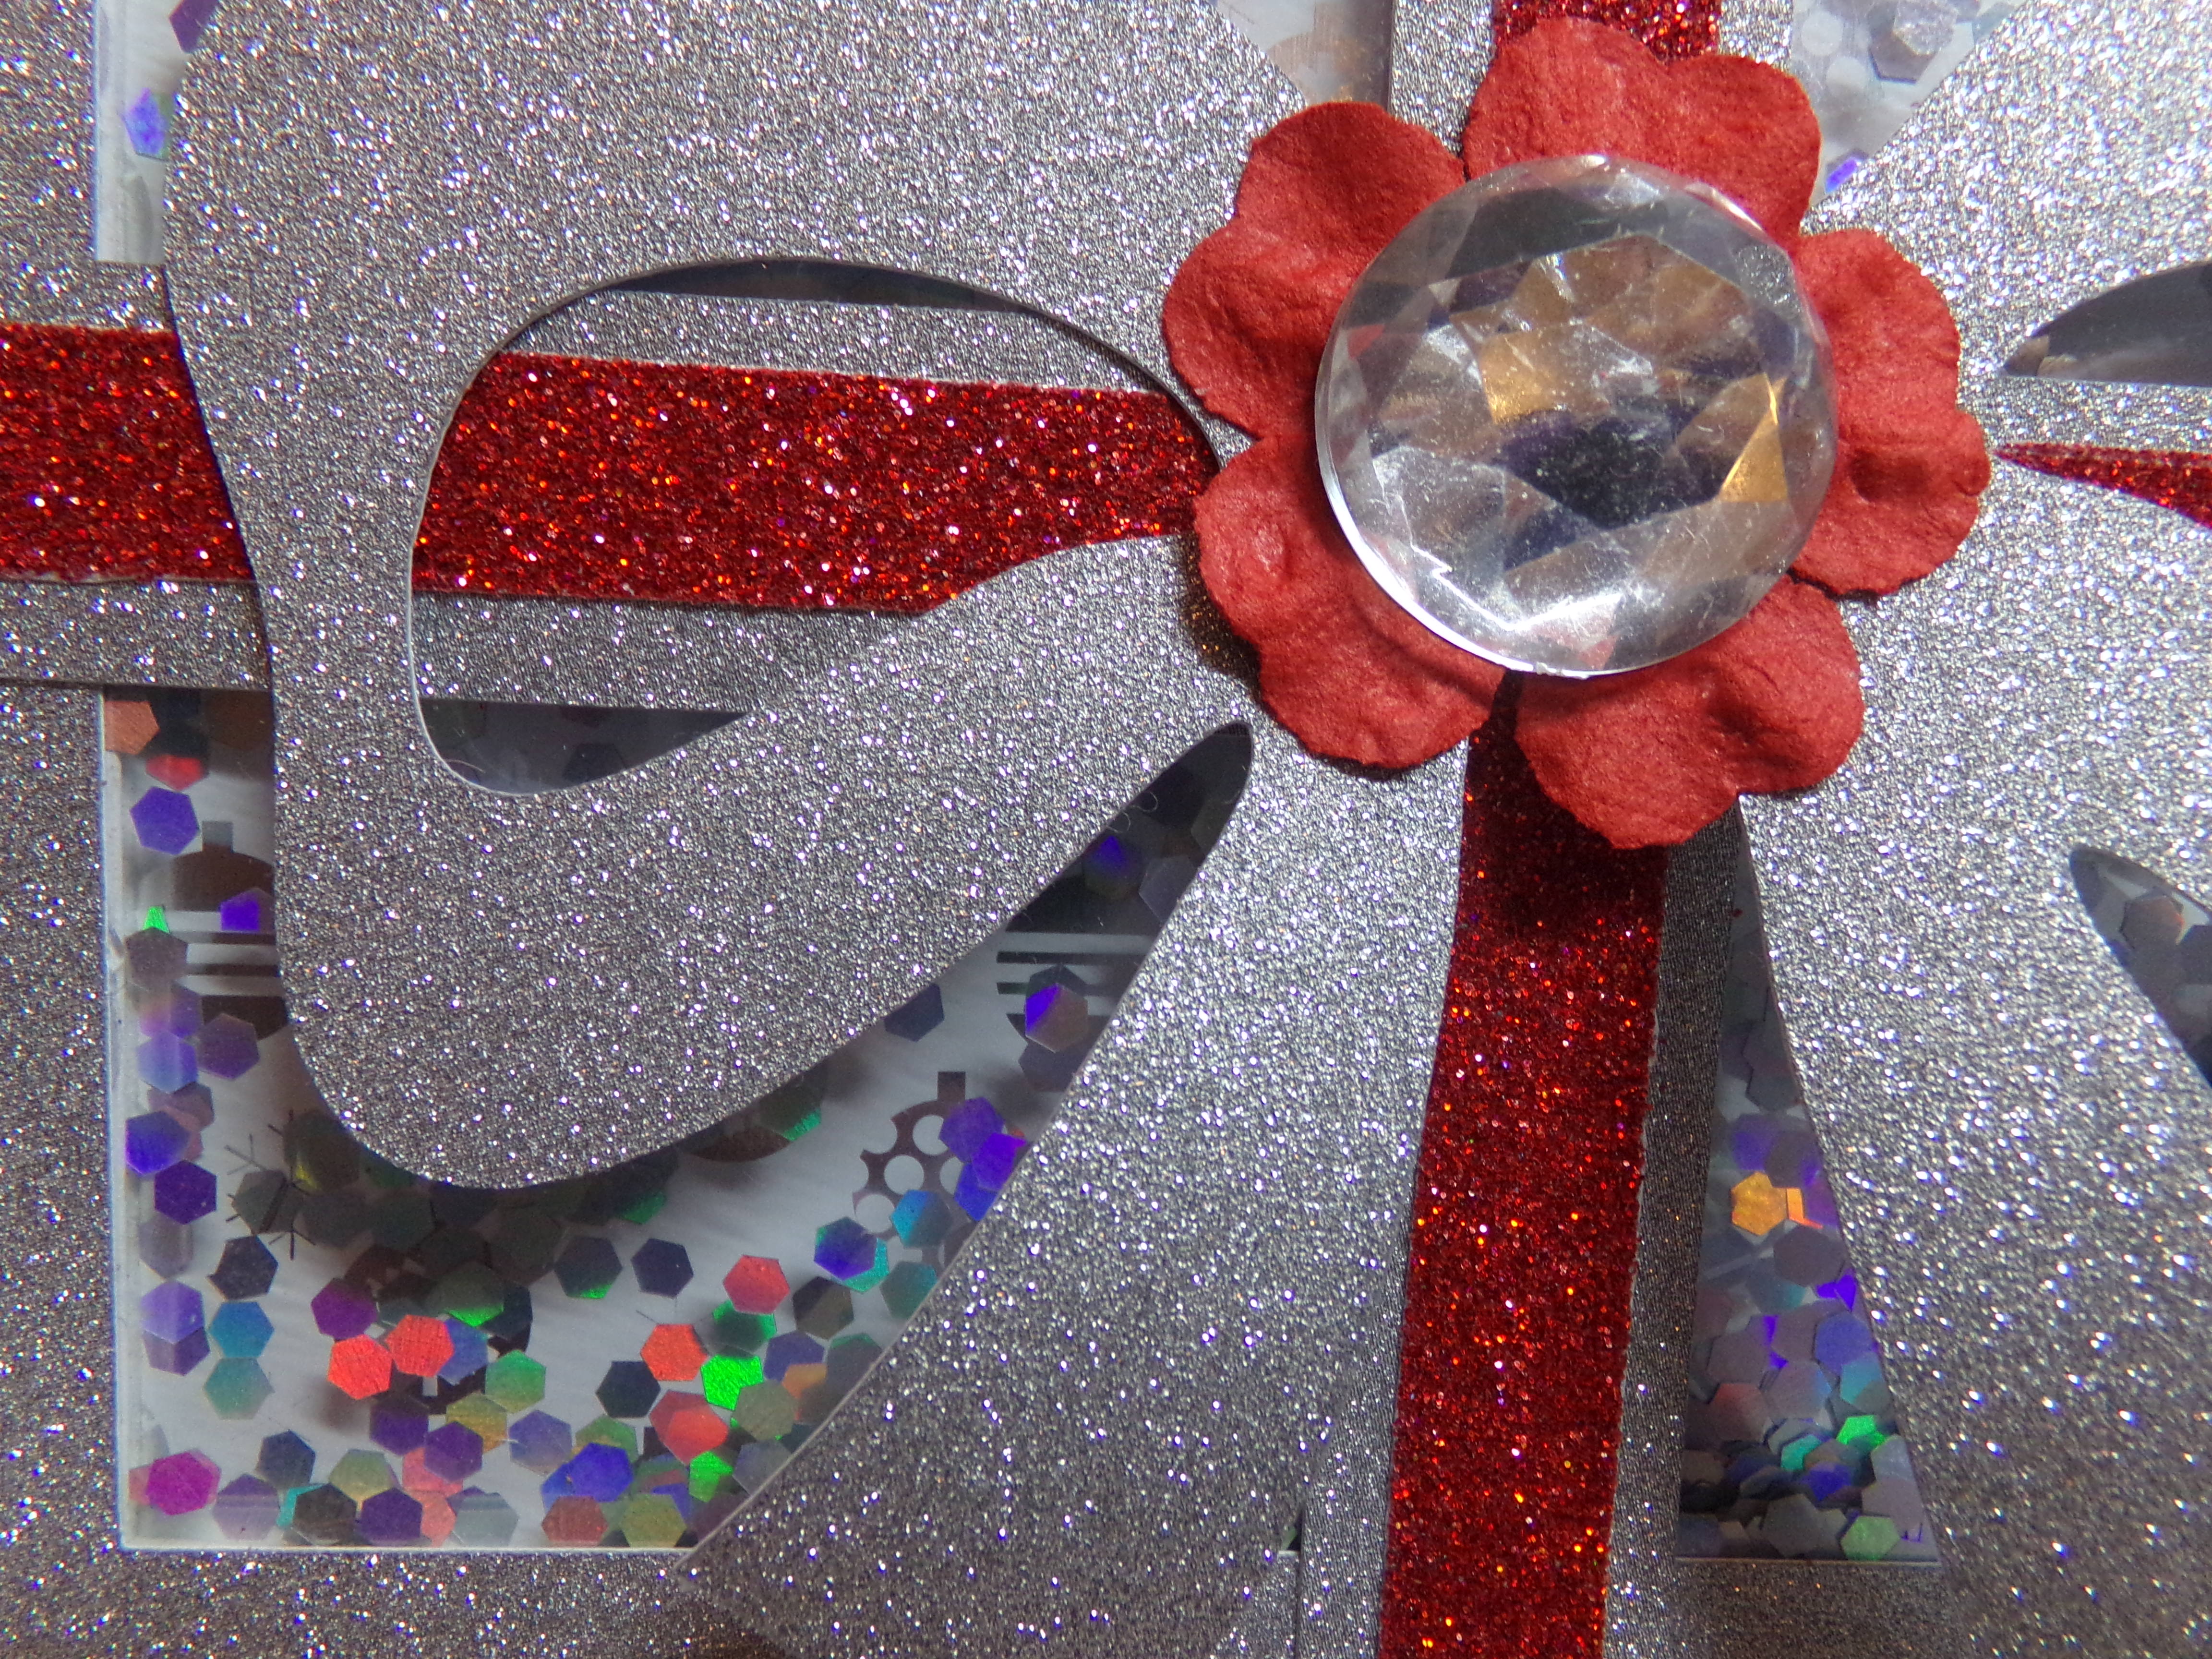
It is time for another design team post for The Cutting Cafe. This time we are all about Christmas and shaker cards. We could choose from either the Christmas Word Shakers or the Christmas Shape Shaker Cards which I used. This file comes with eight different shapes including a bell, a snowman, a mitten, and the present that I used.
I used glitter paper and added foam tape to create the shaker area. There is a tutorial on the website on how to make the shakers as well as written directions in the file. They are really easy to make. I used hexagon shaped glitter from Martha Stewart for my shaker element.
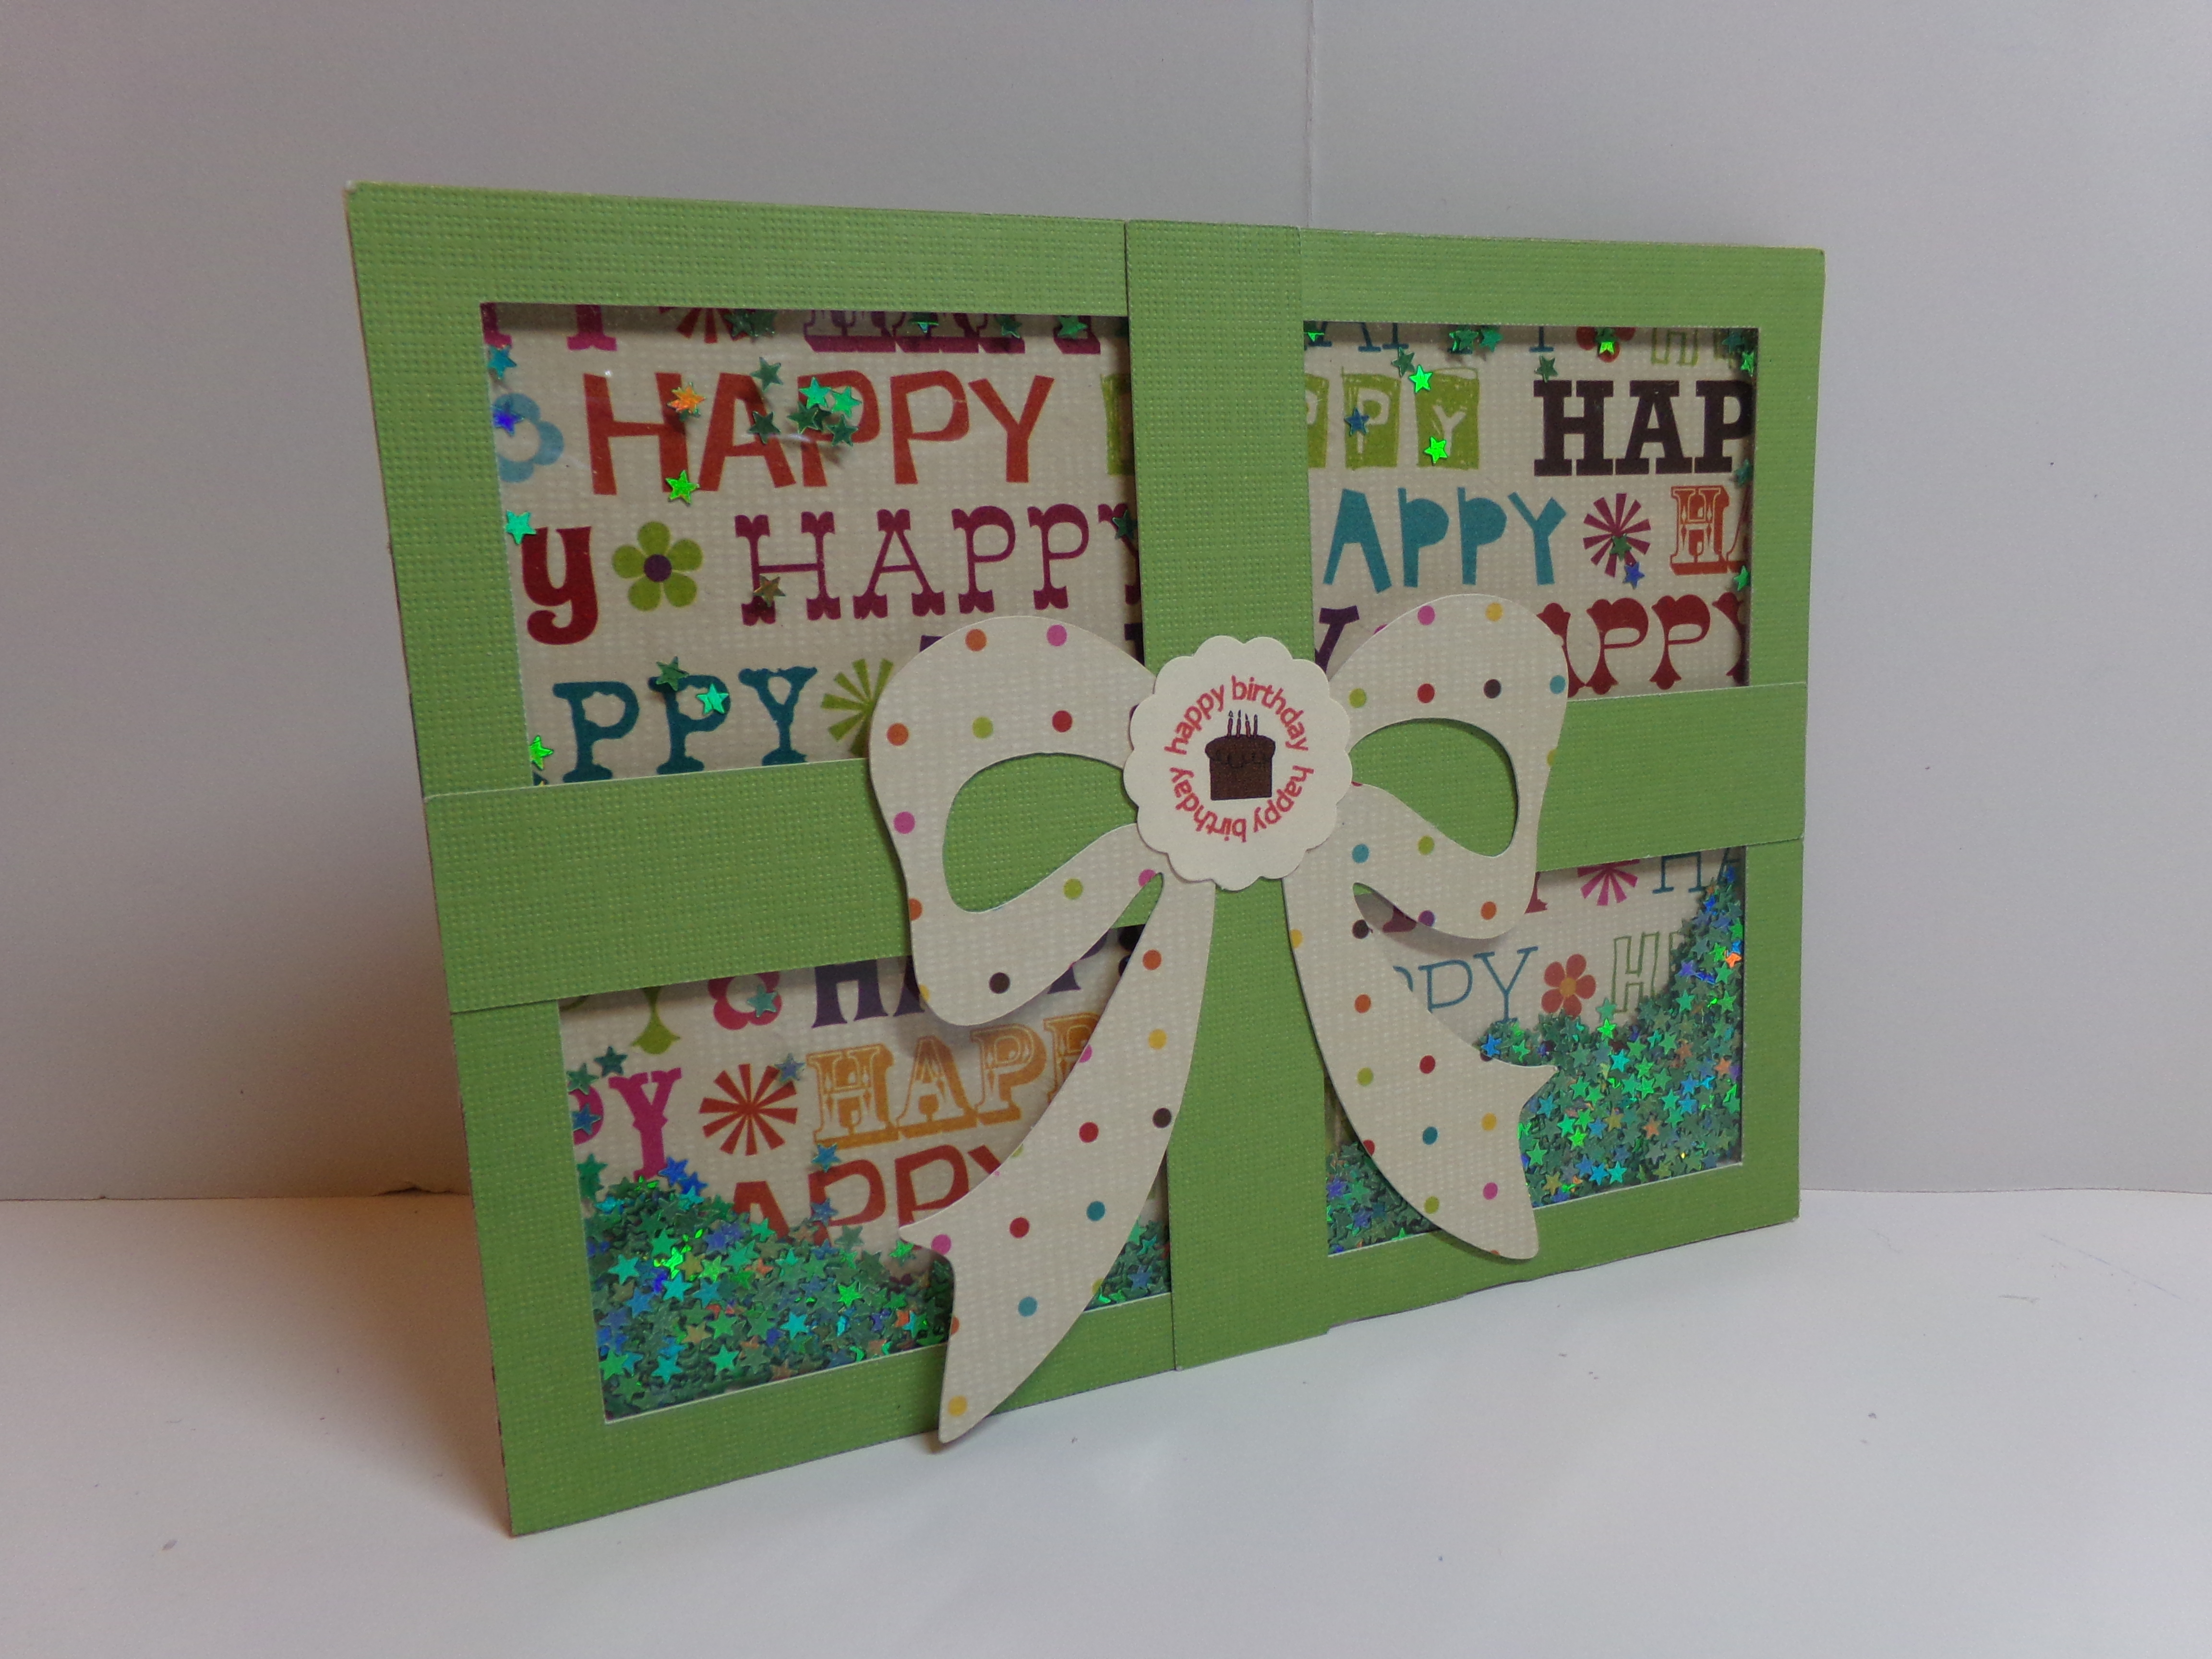
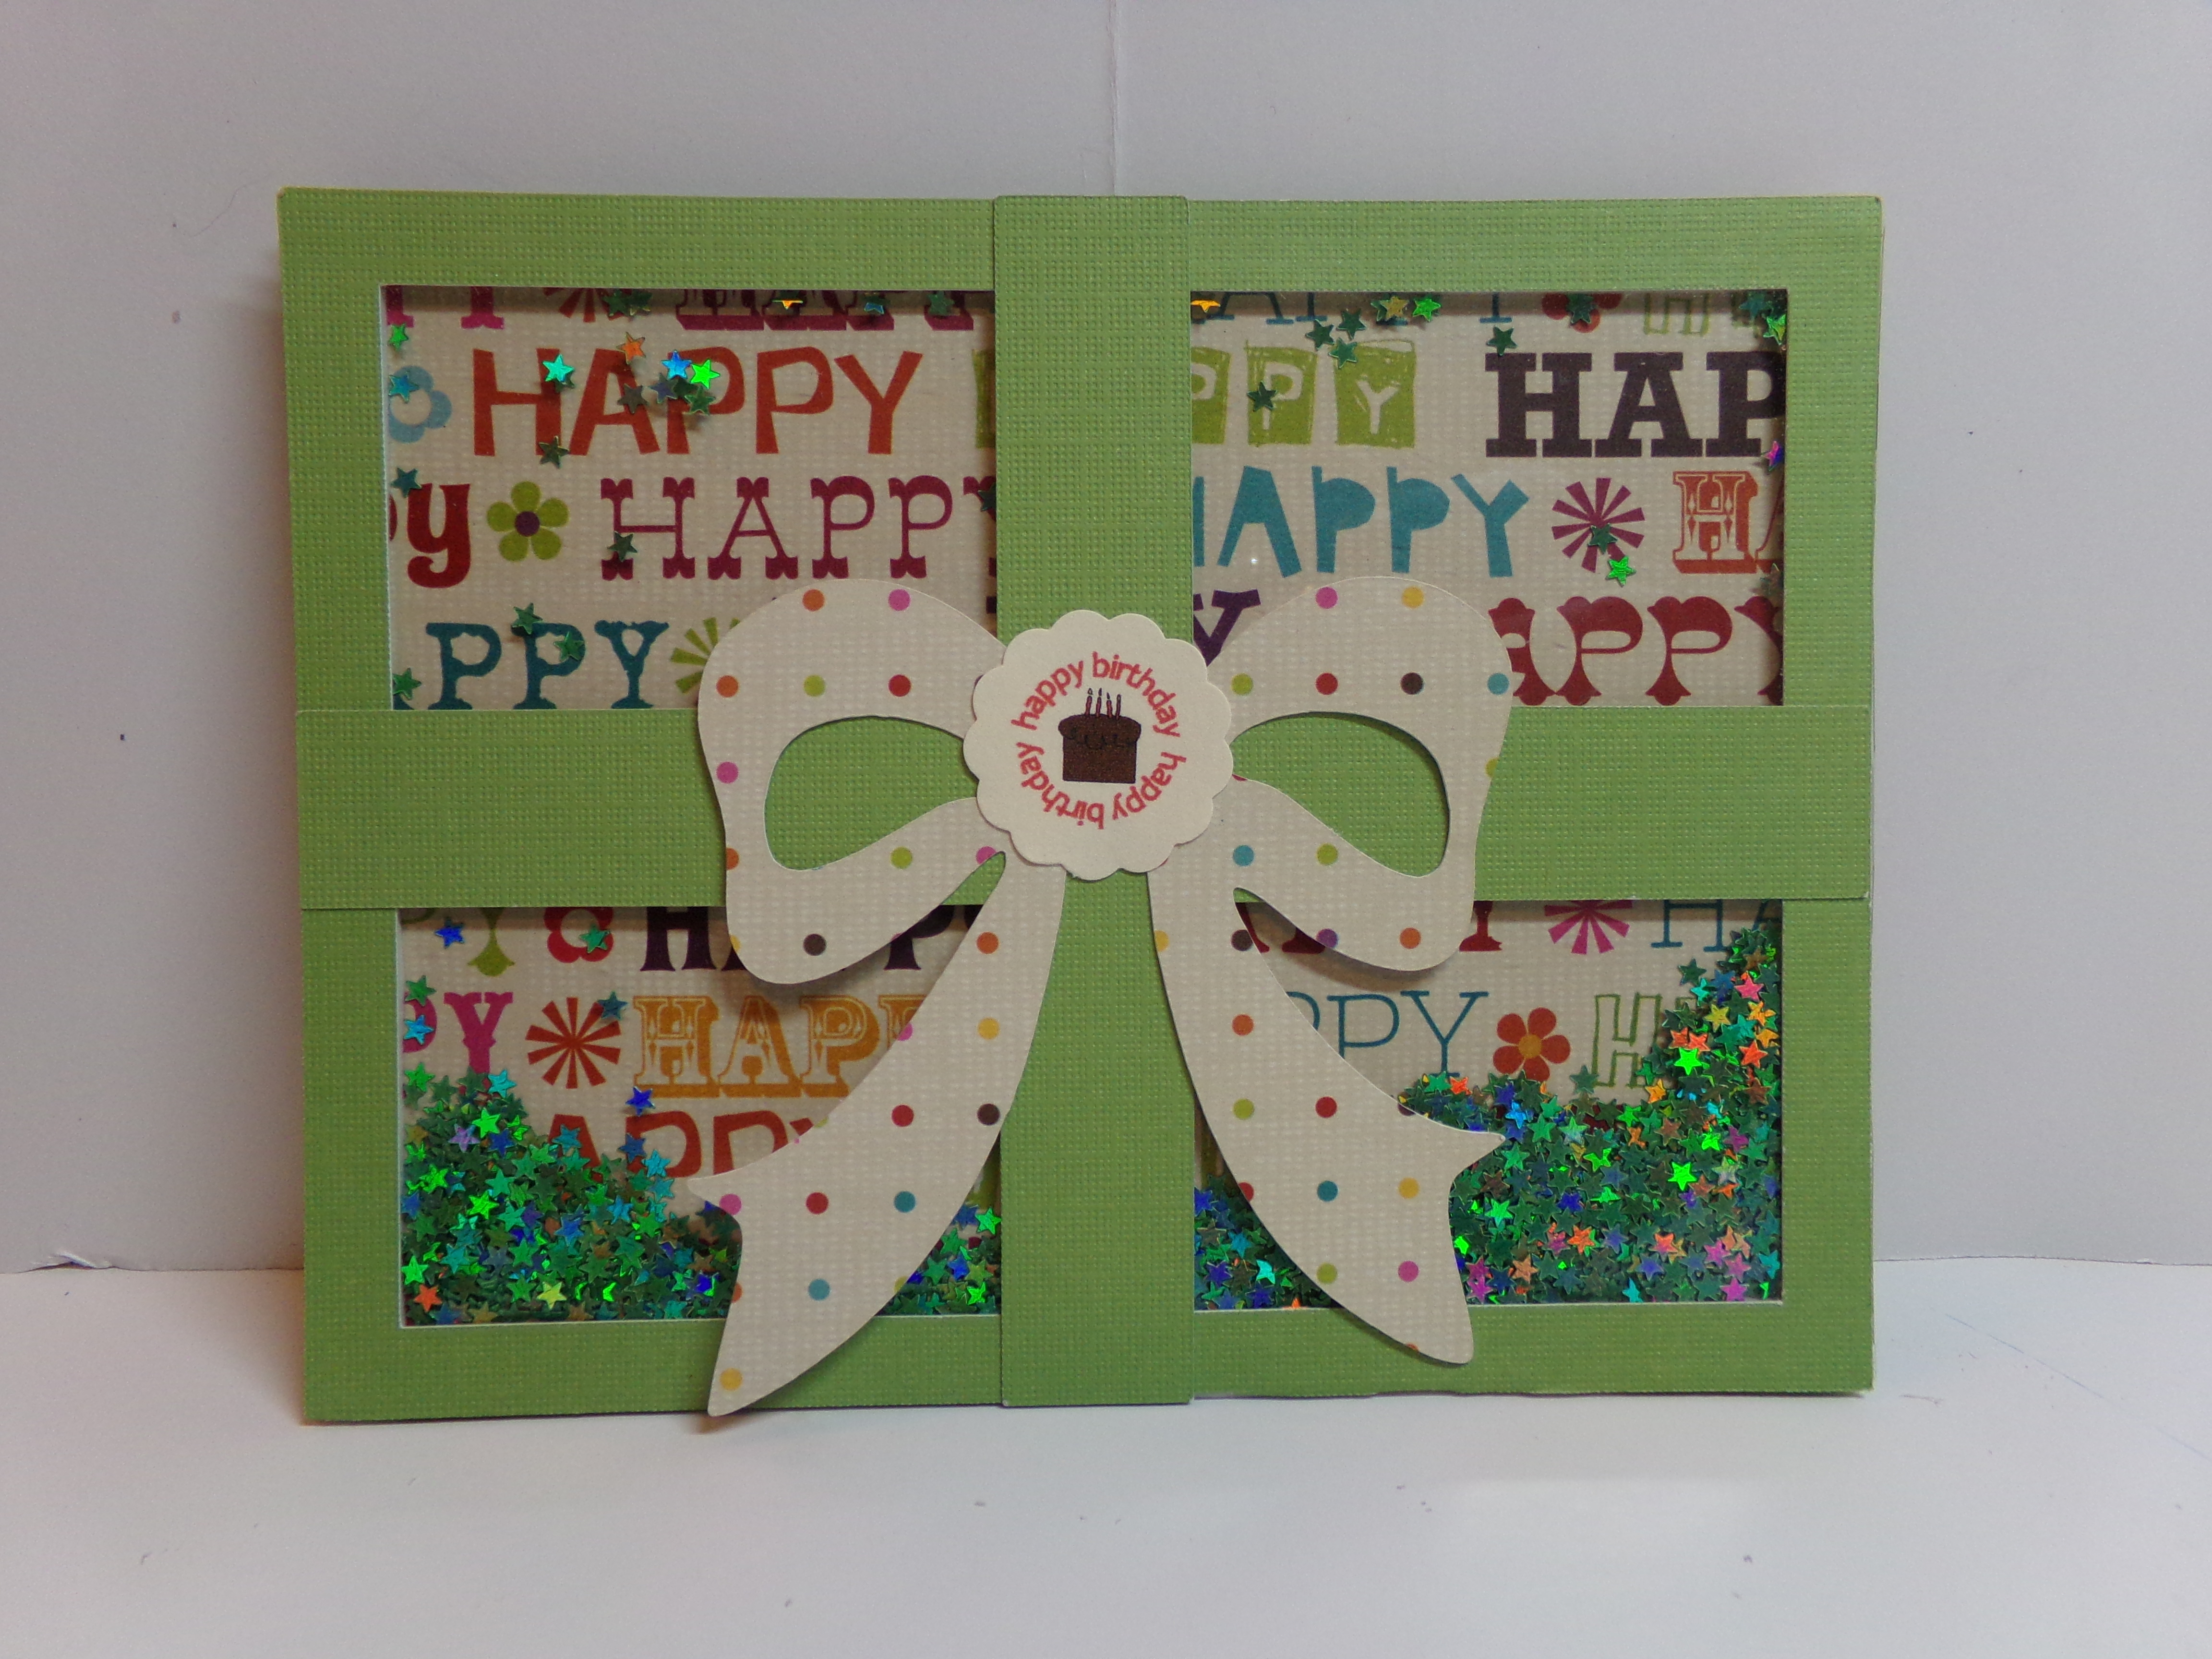
Even though this is a Christmas file, it can still be used for other things. For example, I used the same file to create a birthday card…
Birthday Present Shaker Card
I changed the size of the card and made the bow smaller so the background paper would show.
Be sure to visit The Cutting Cafe Blog on the 7th and 21st of each month as we posts our projects on those dates. We love to read your comments! So when you leave a comment, you are included in a random drawing that will take place on the next post date. If your name is selected, you will win three free files!
Thank you so much for stopping by. As always before you go, here is my video…
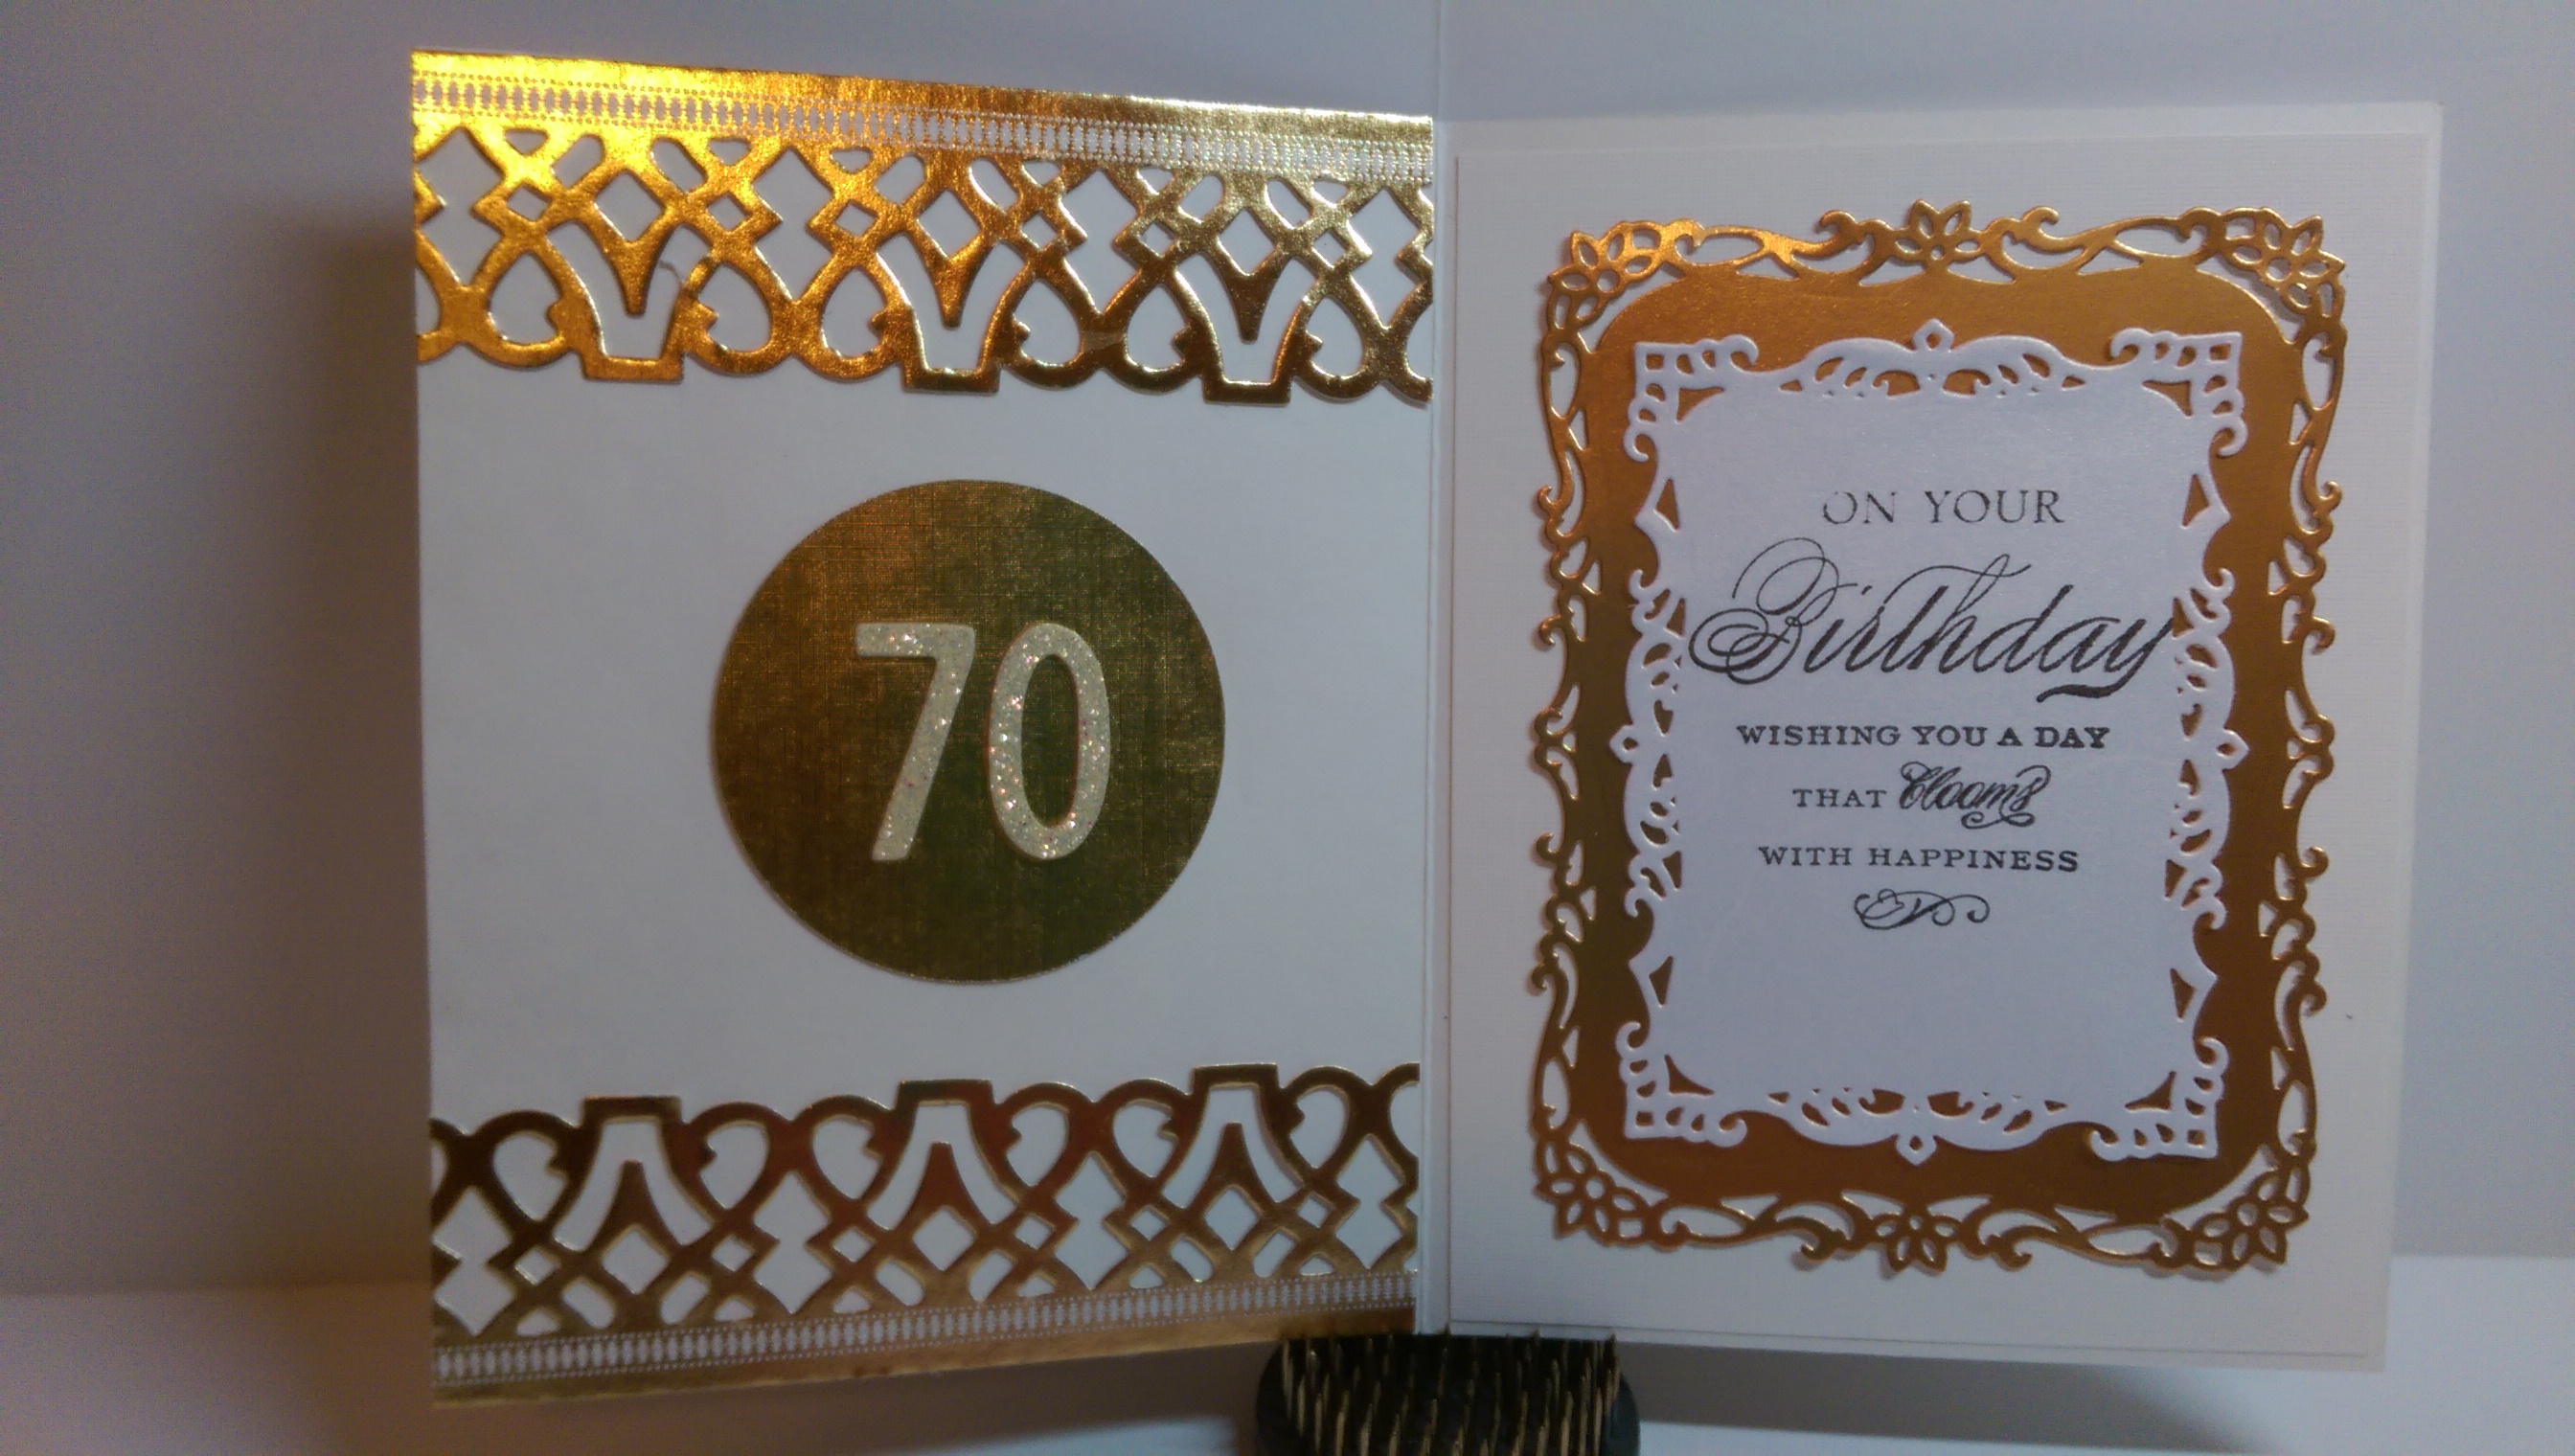
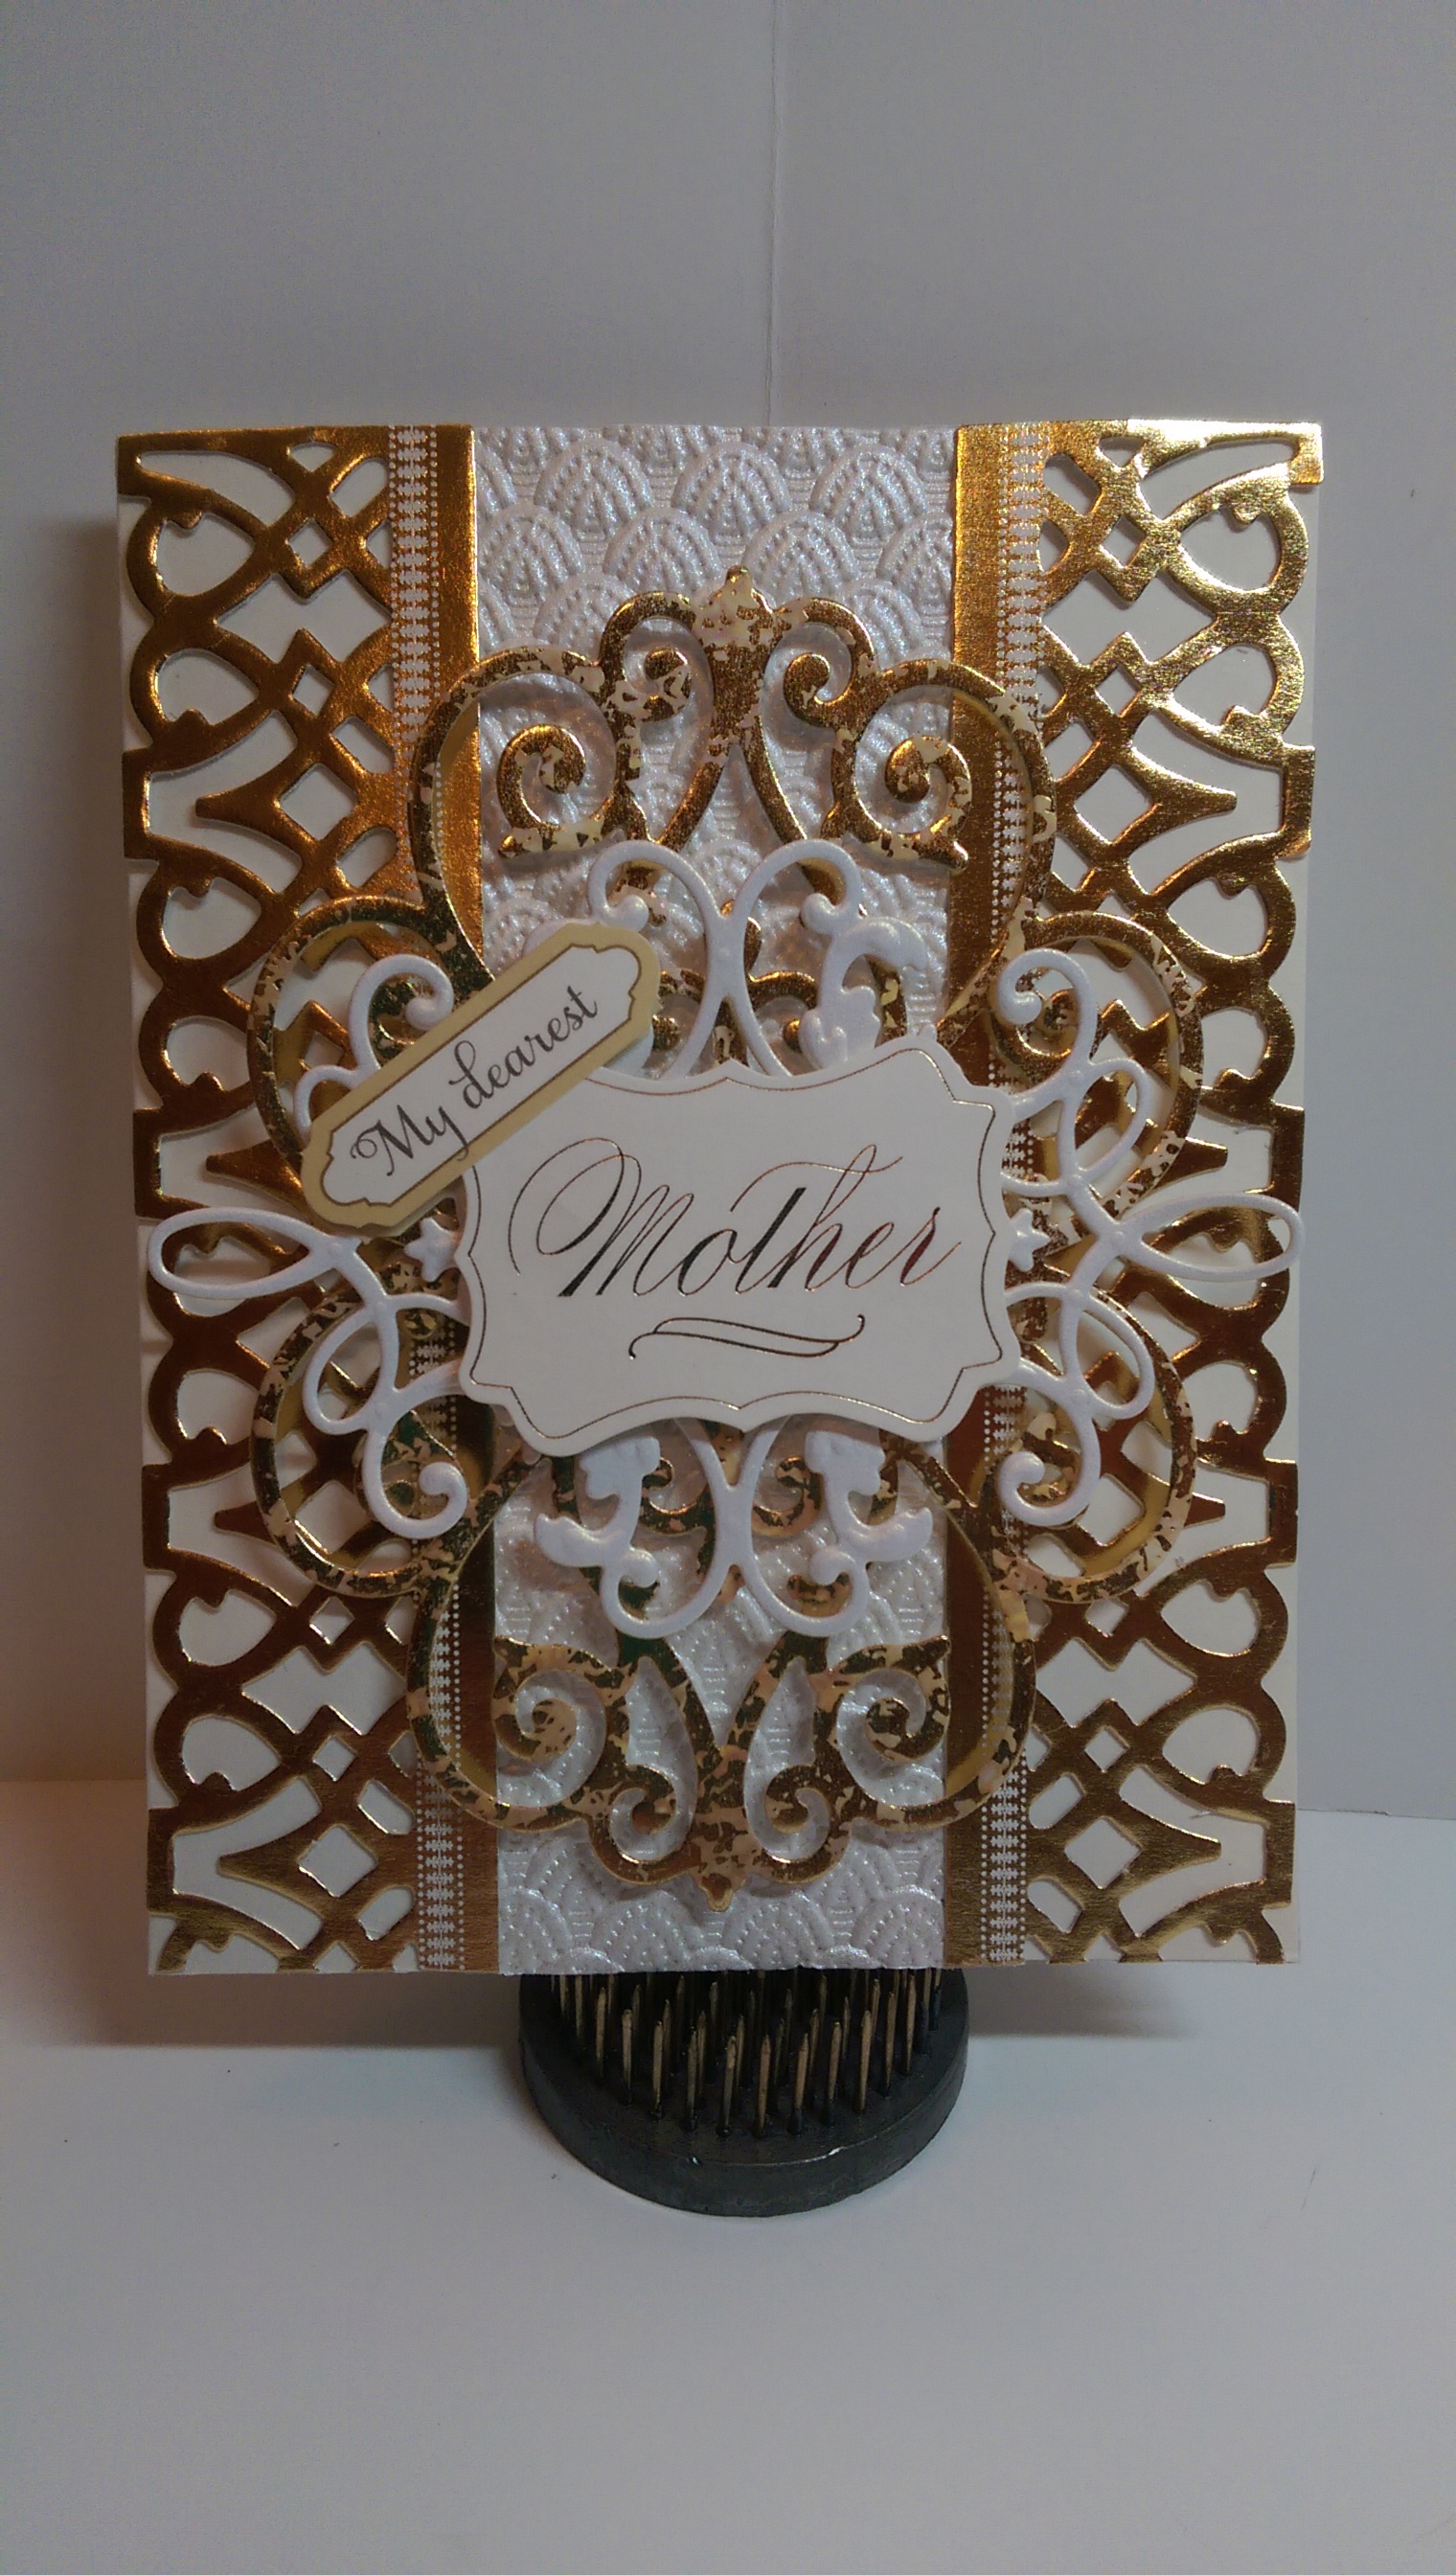
This week my wonderful mother turned 70 years young! Happy Birthday Mom! Here is the card I made for her…
Mom’s Matching Birthday Card
And here is the video on it…
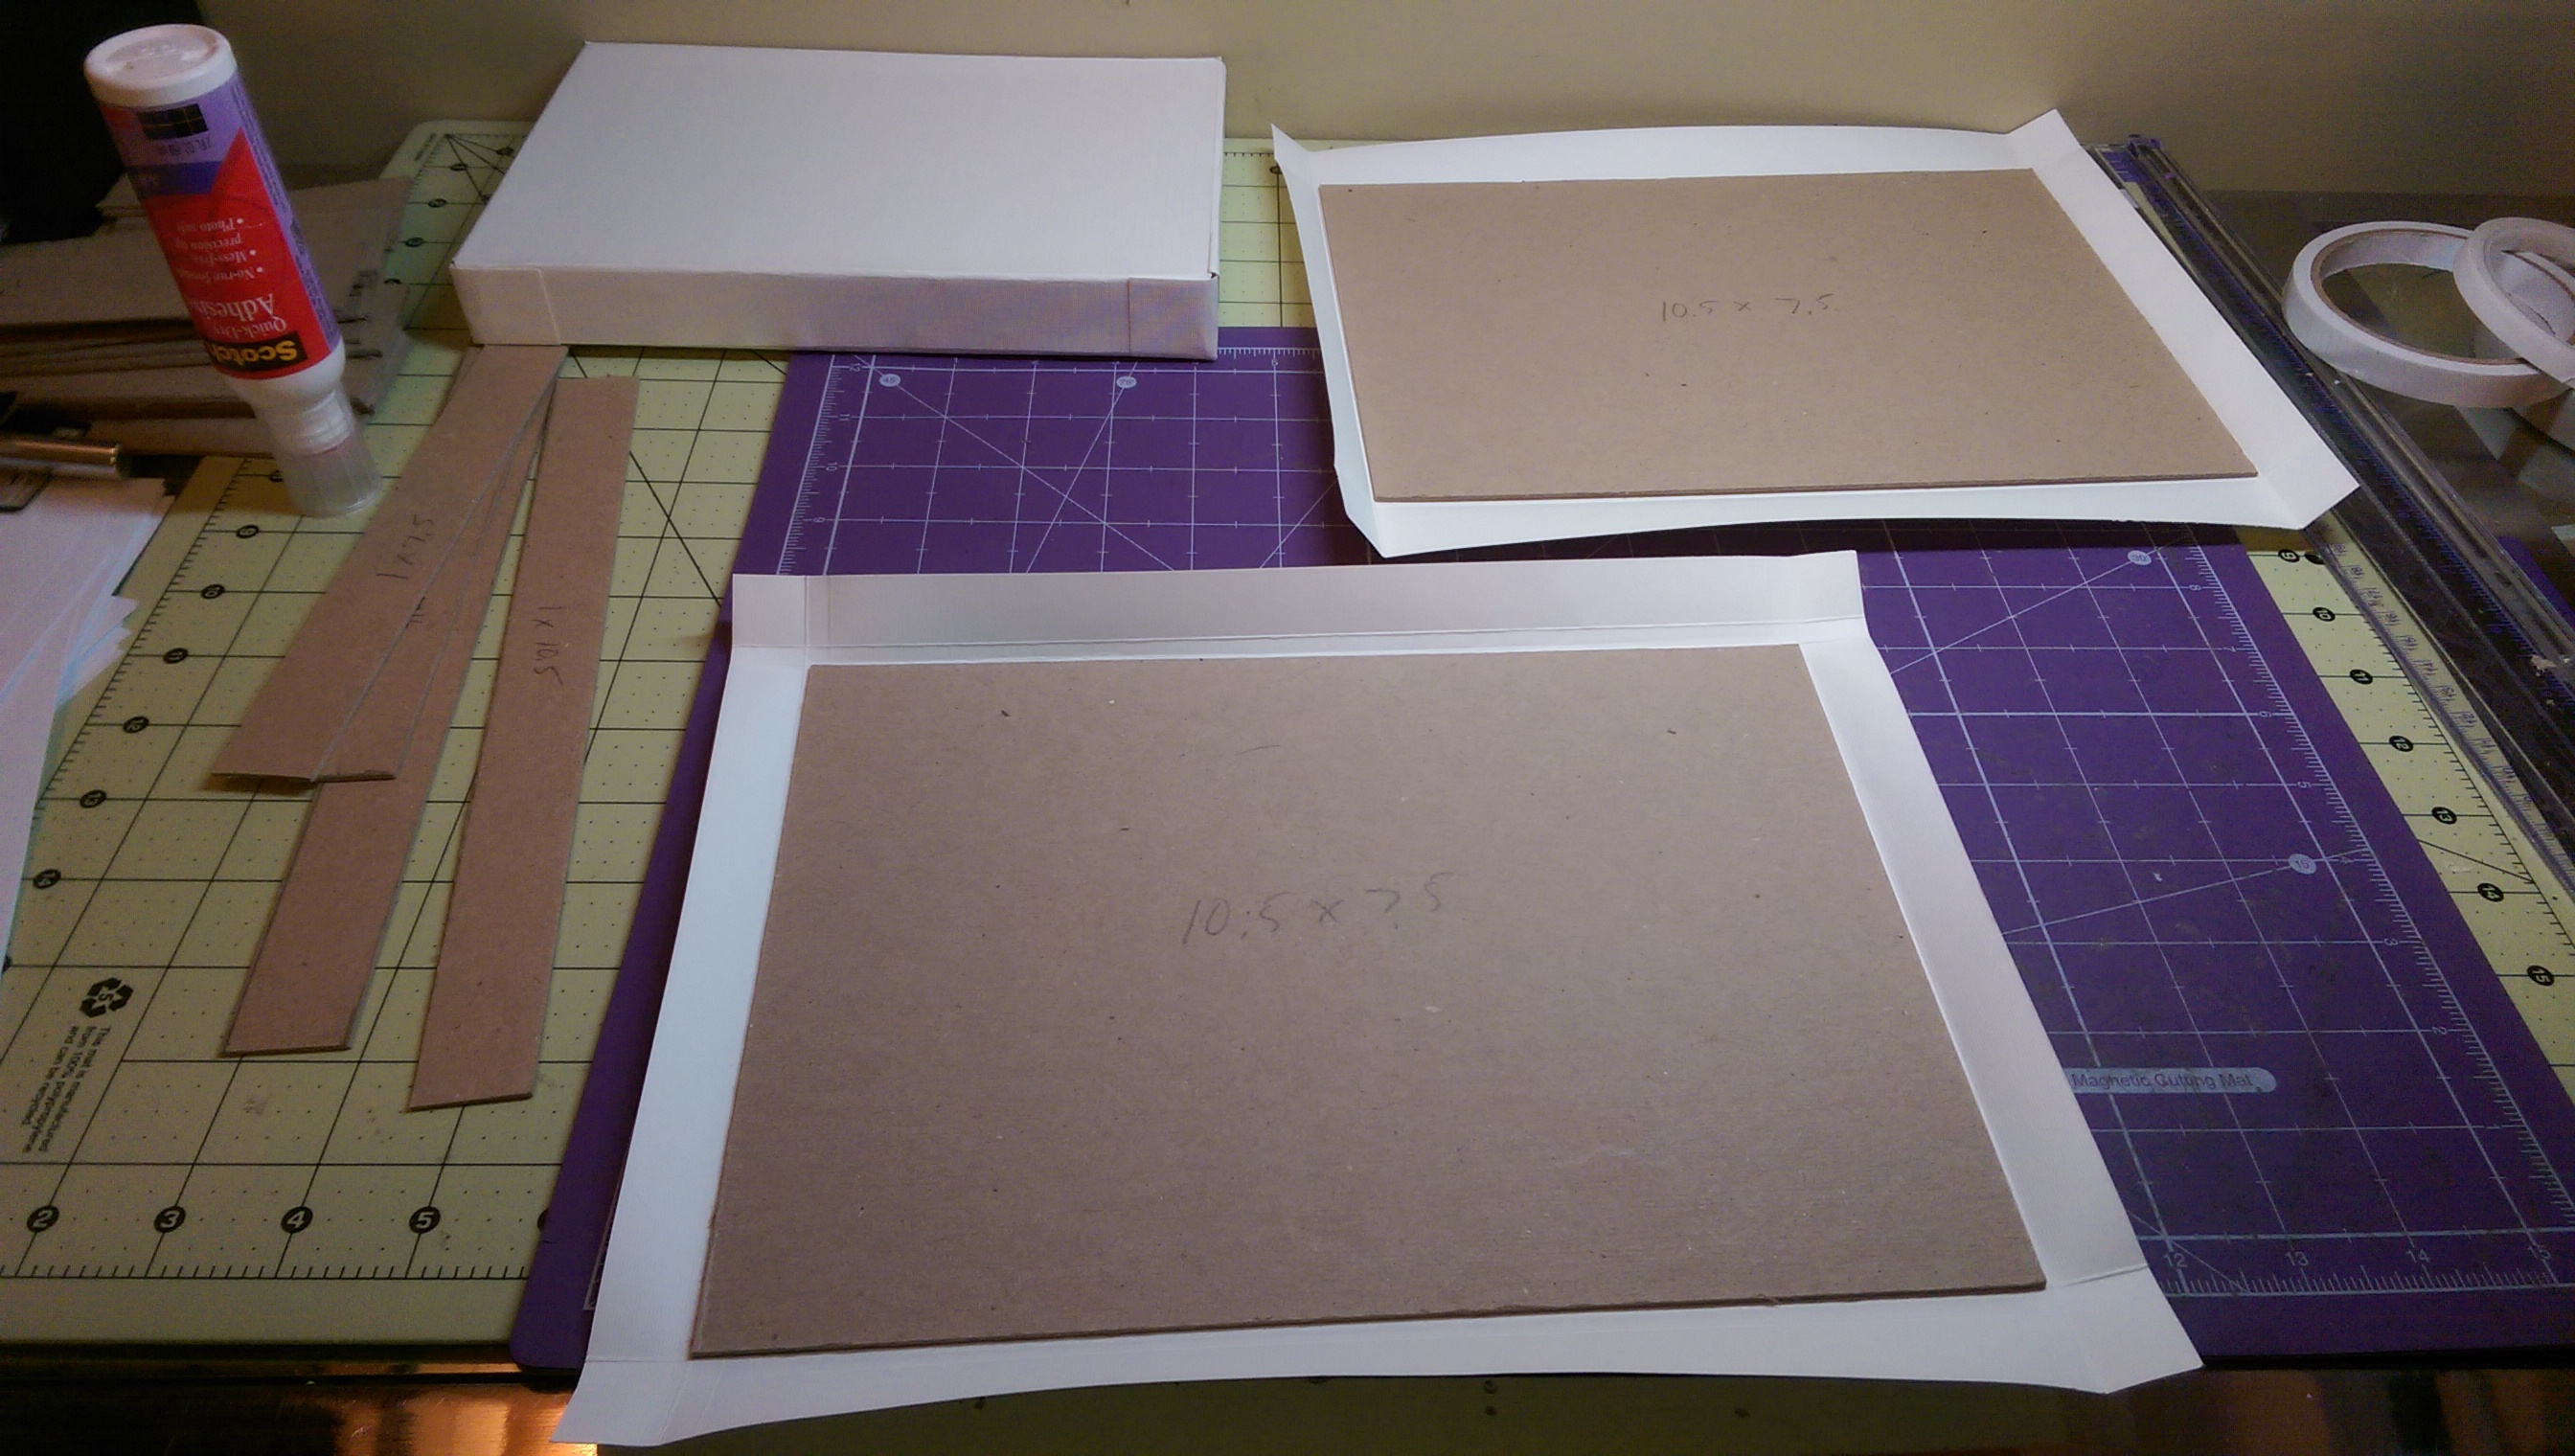
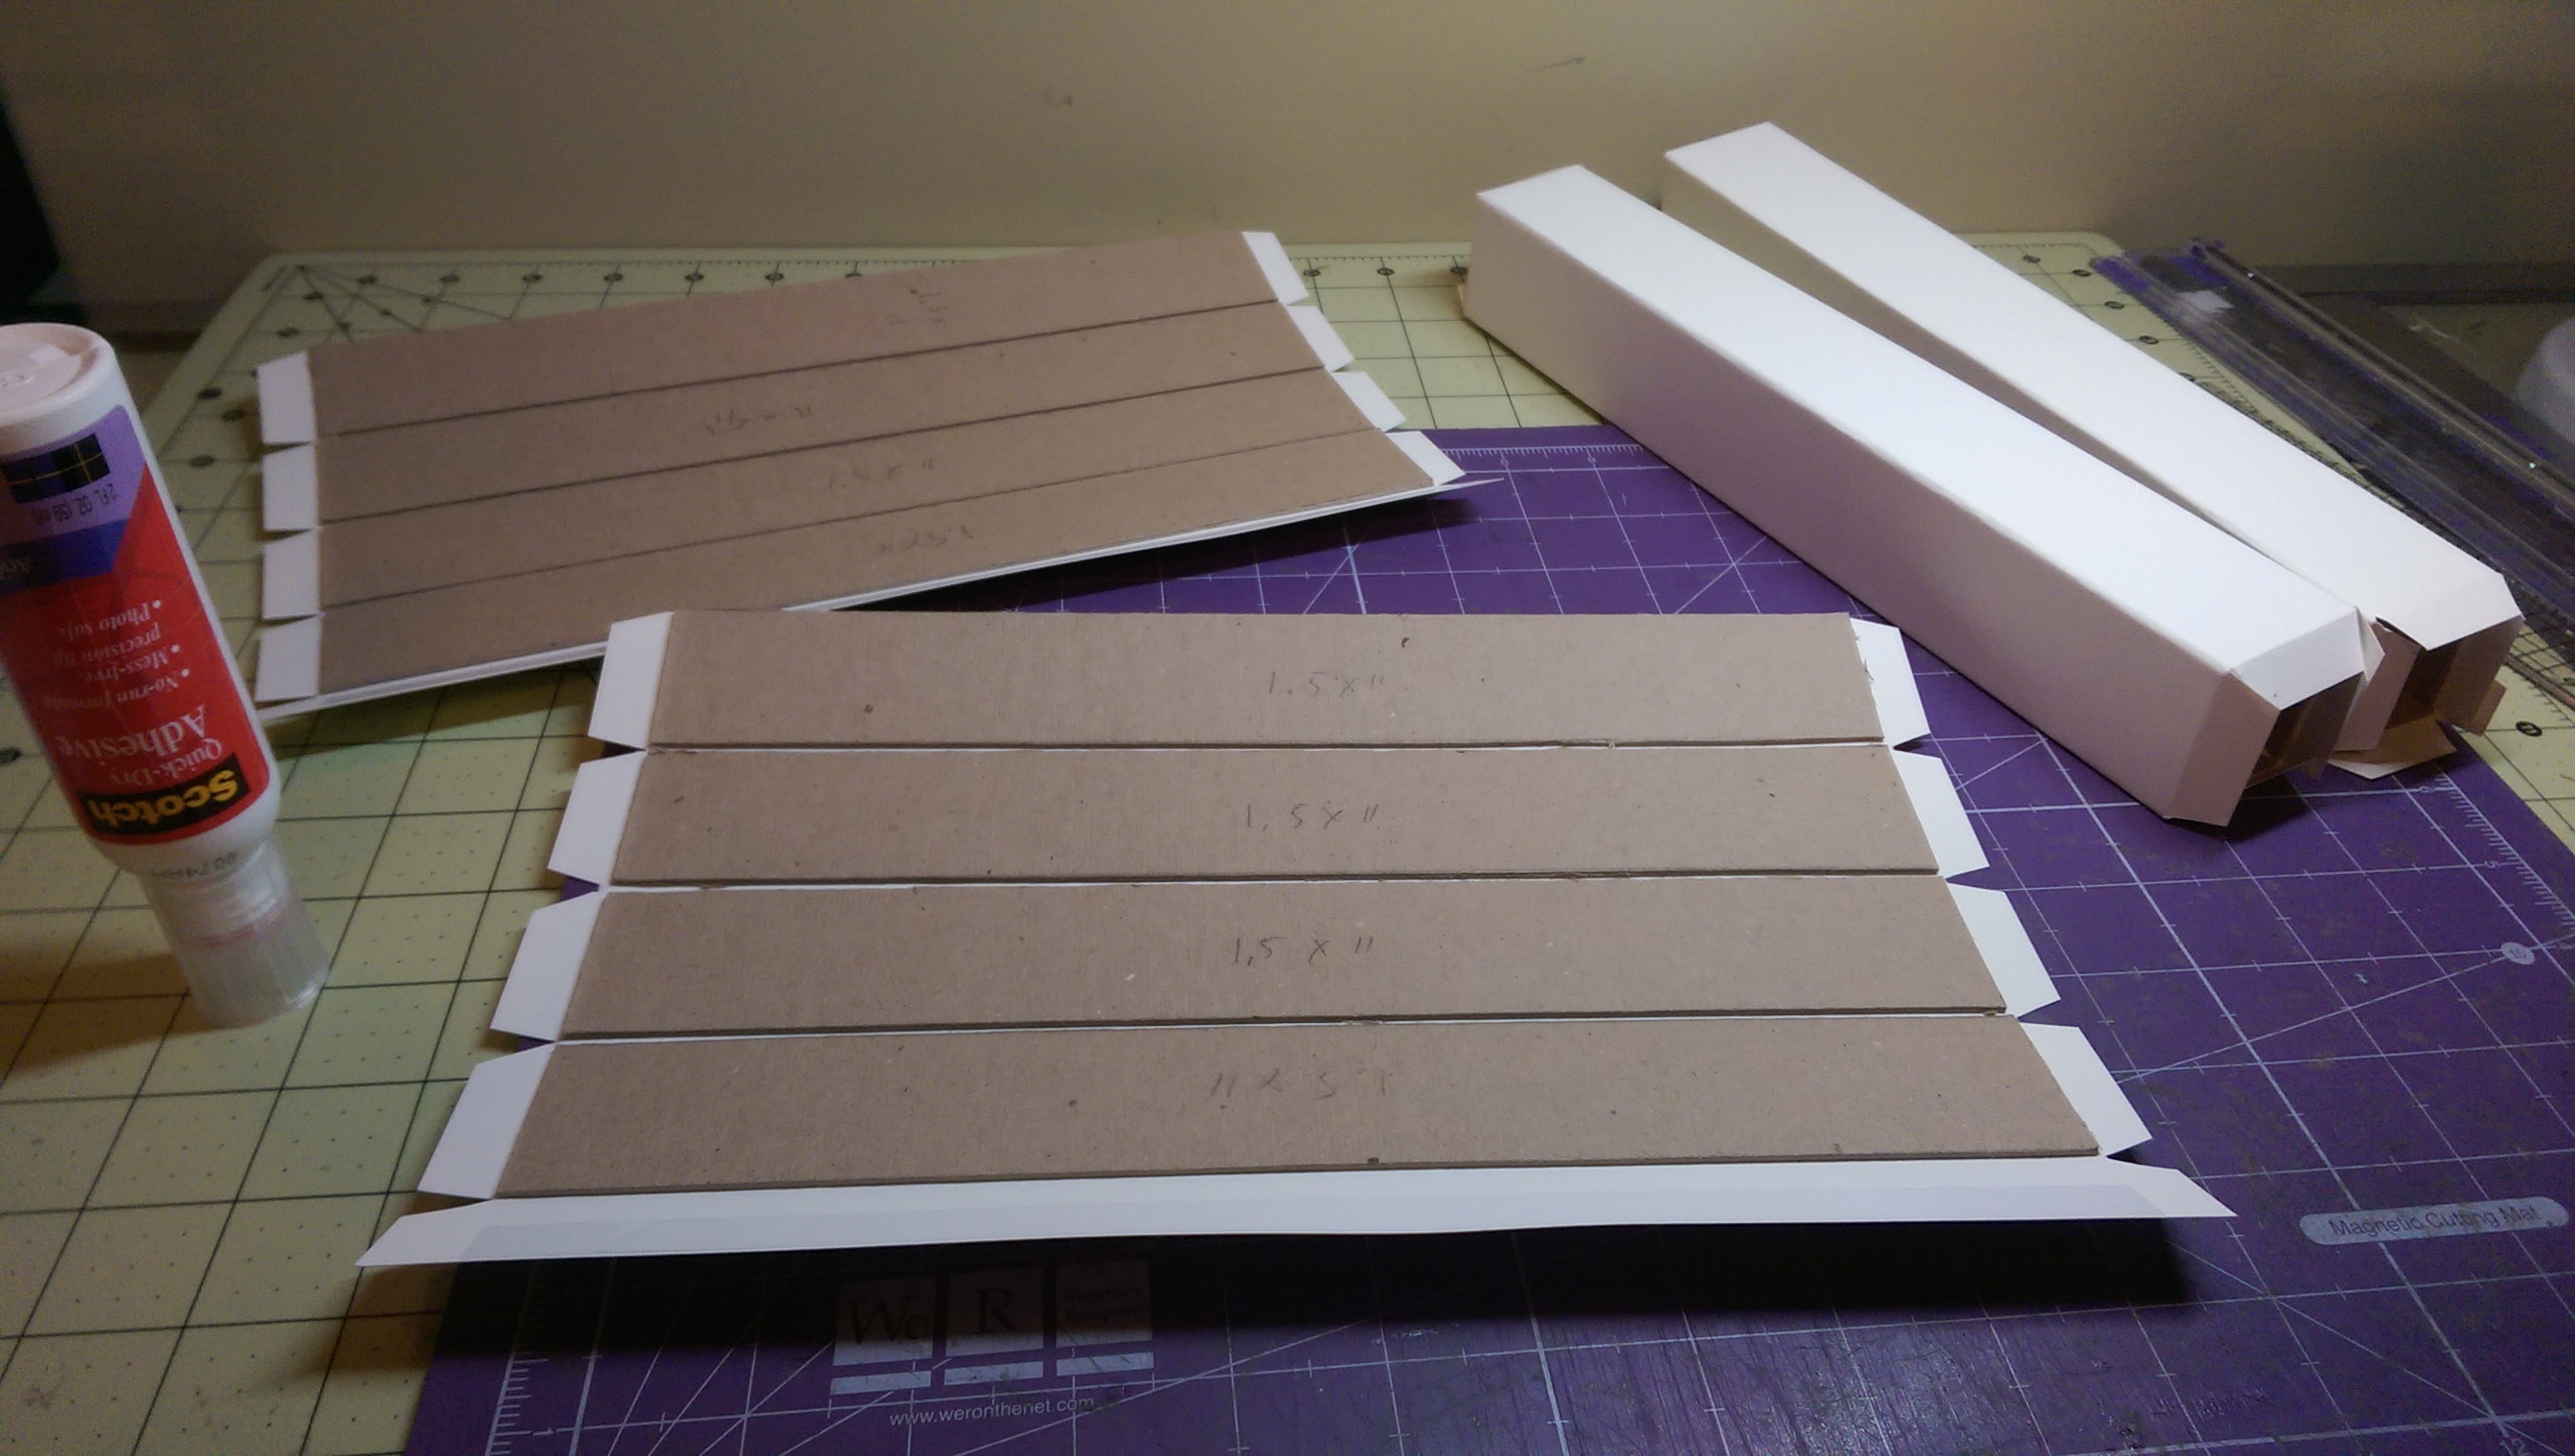
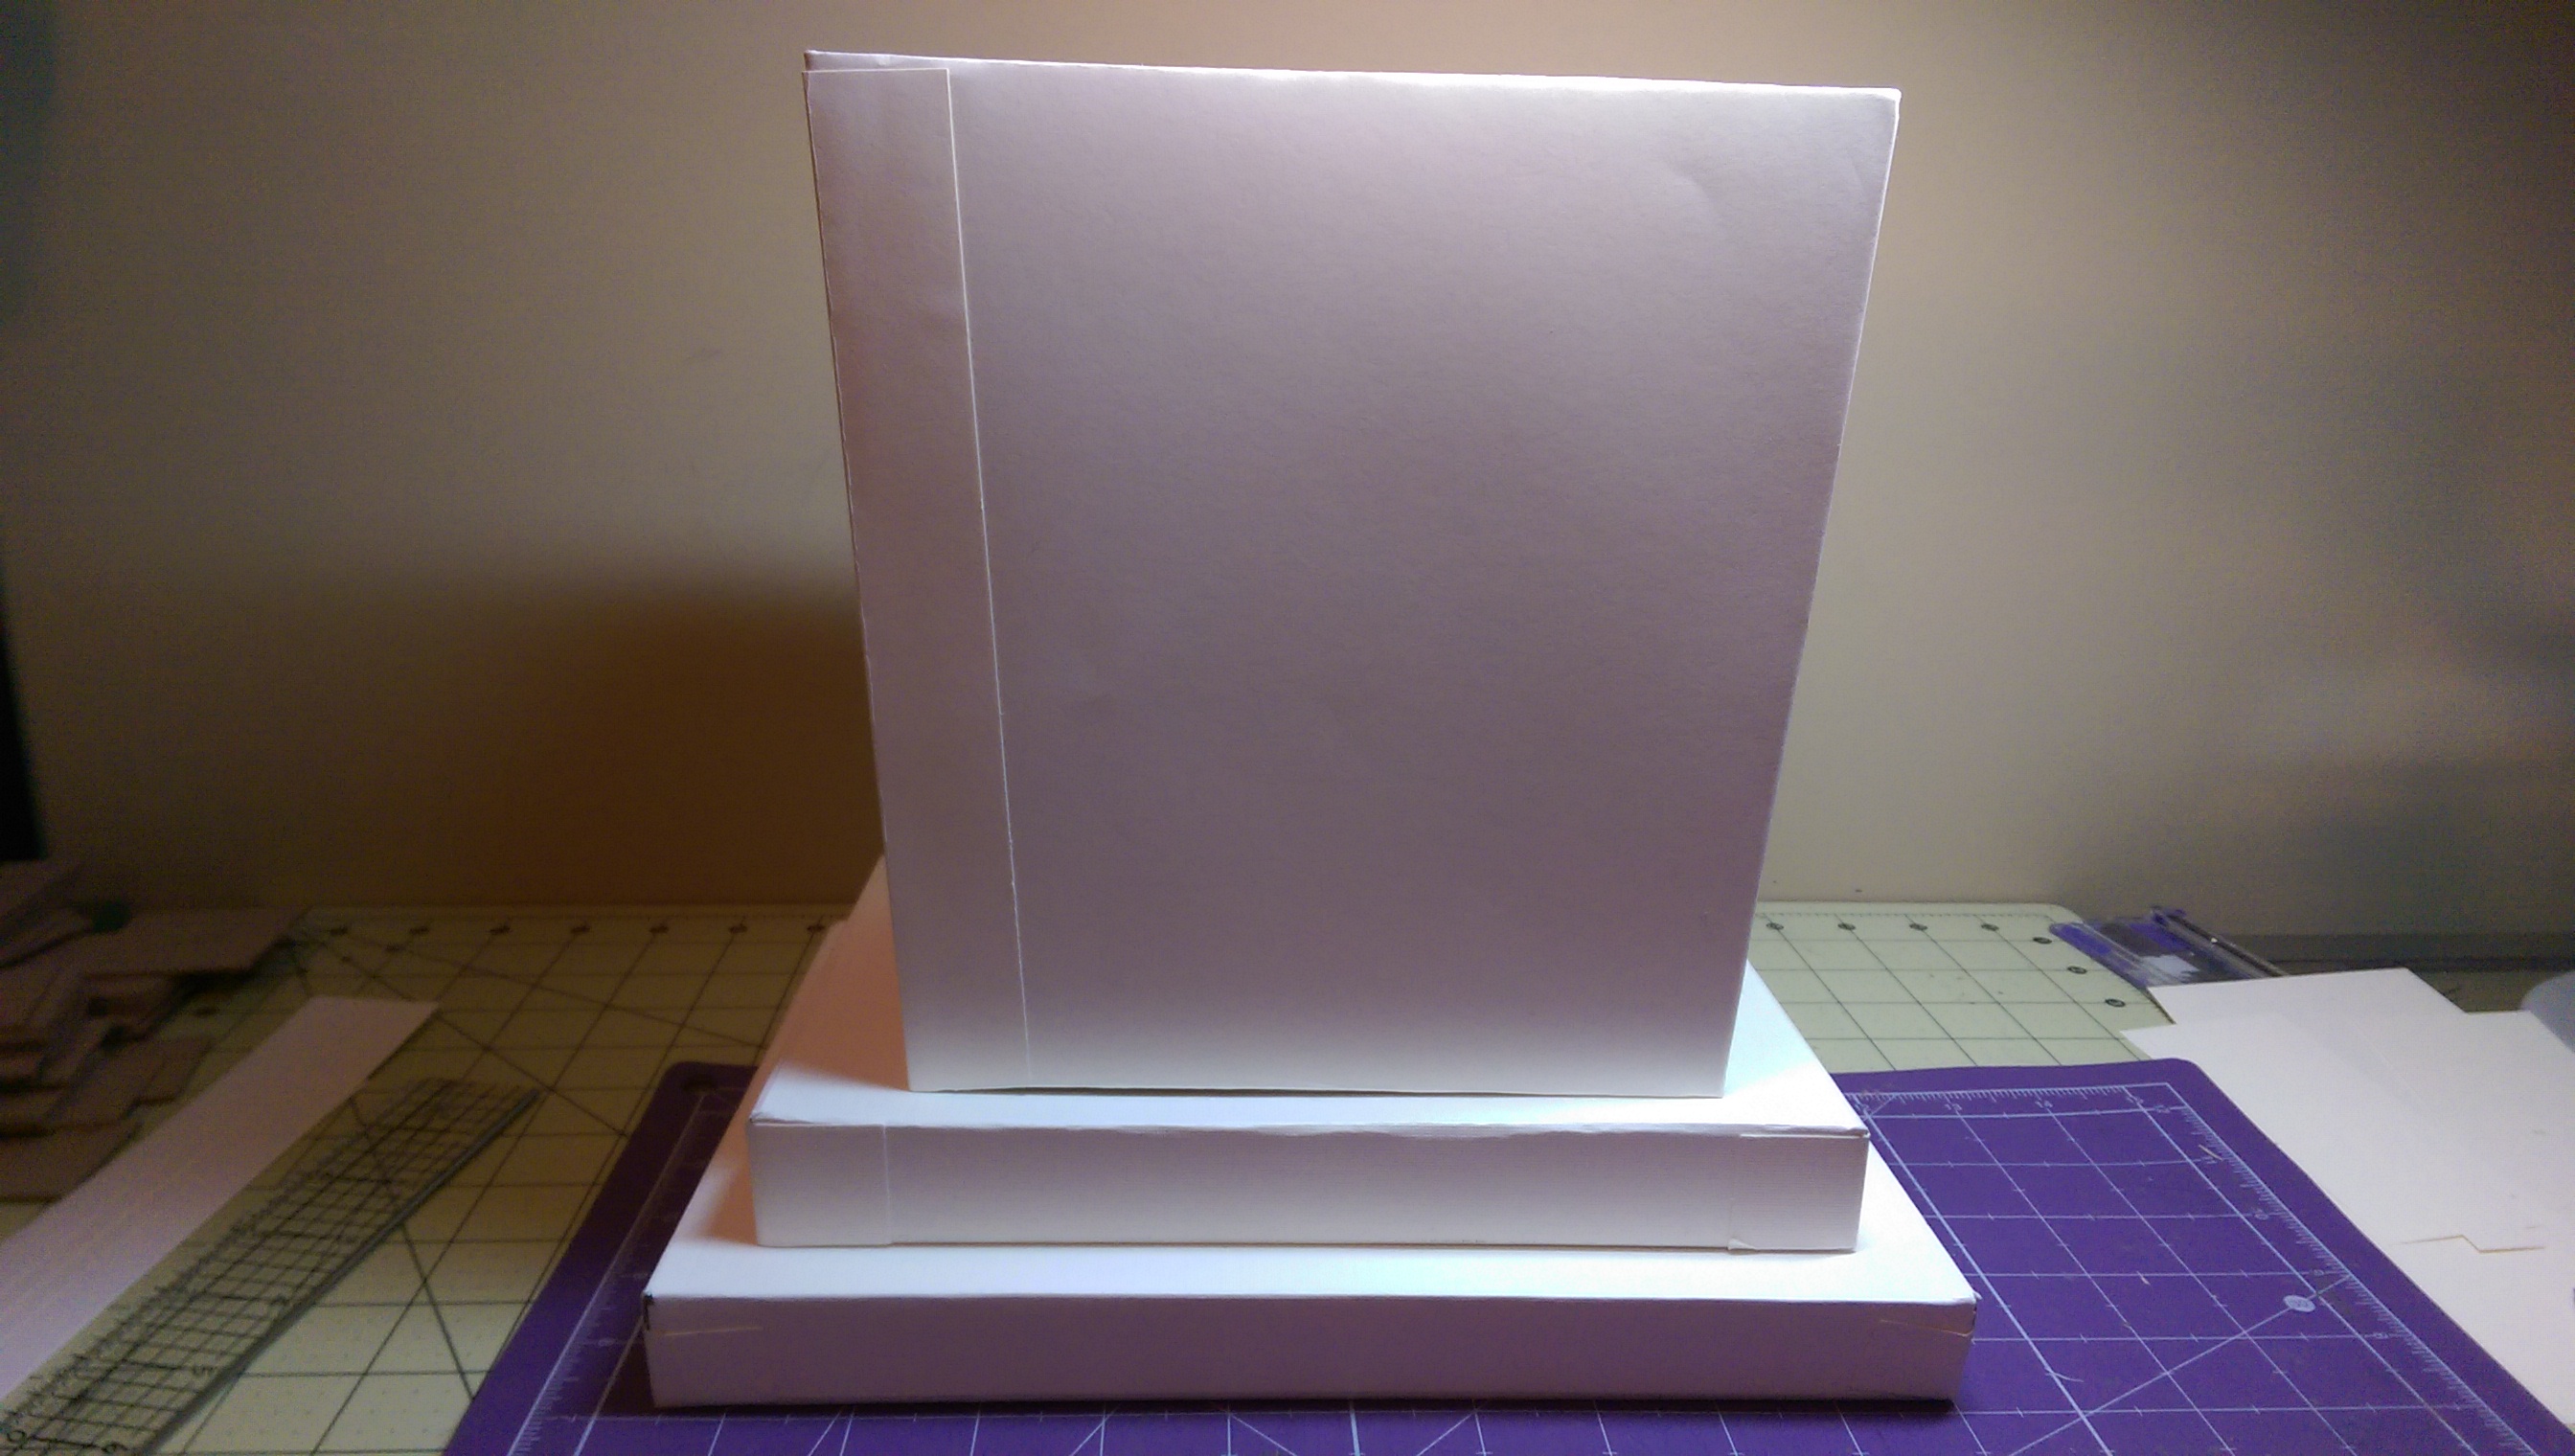
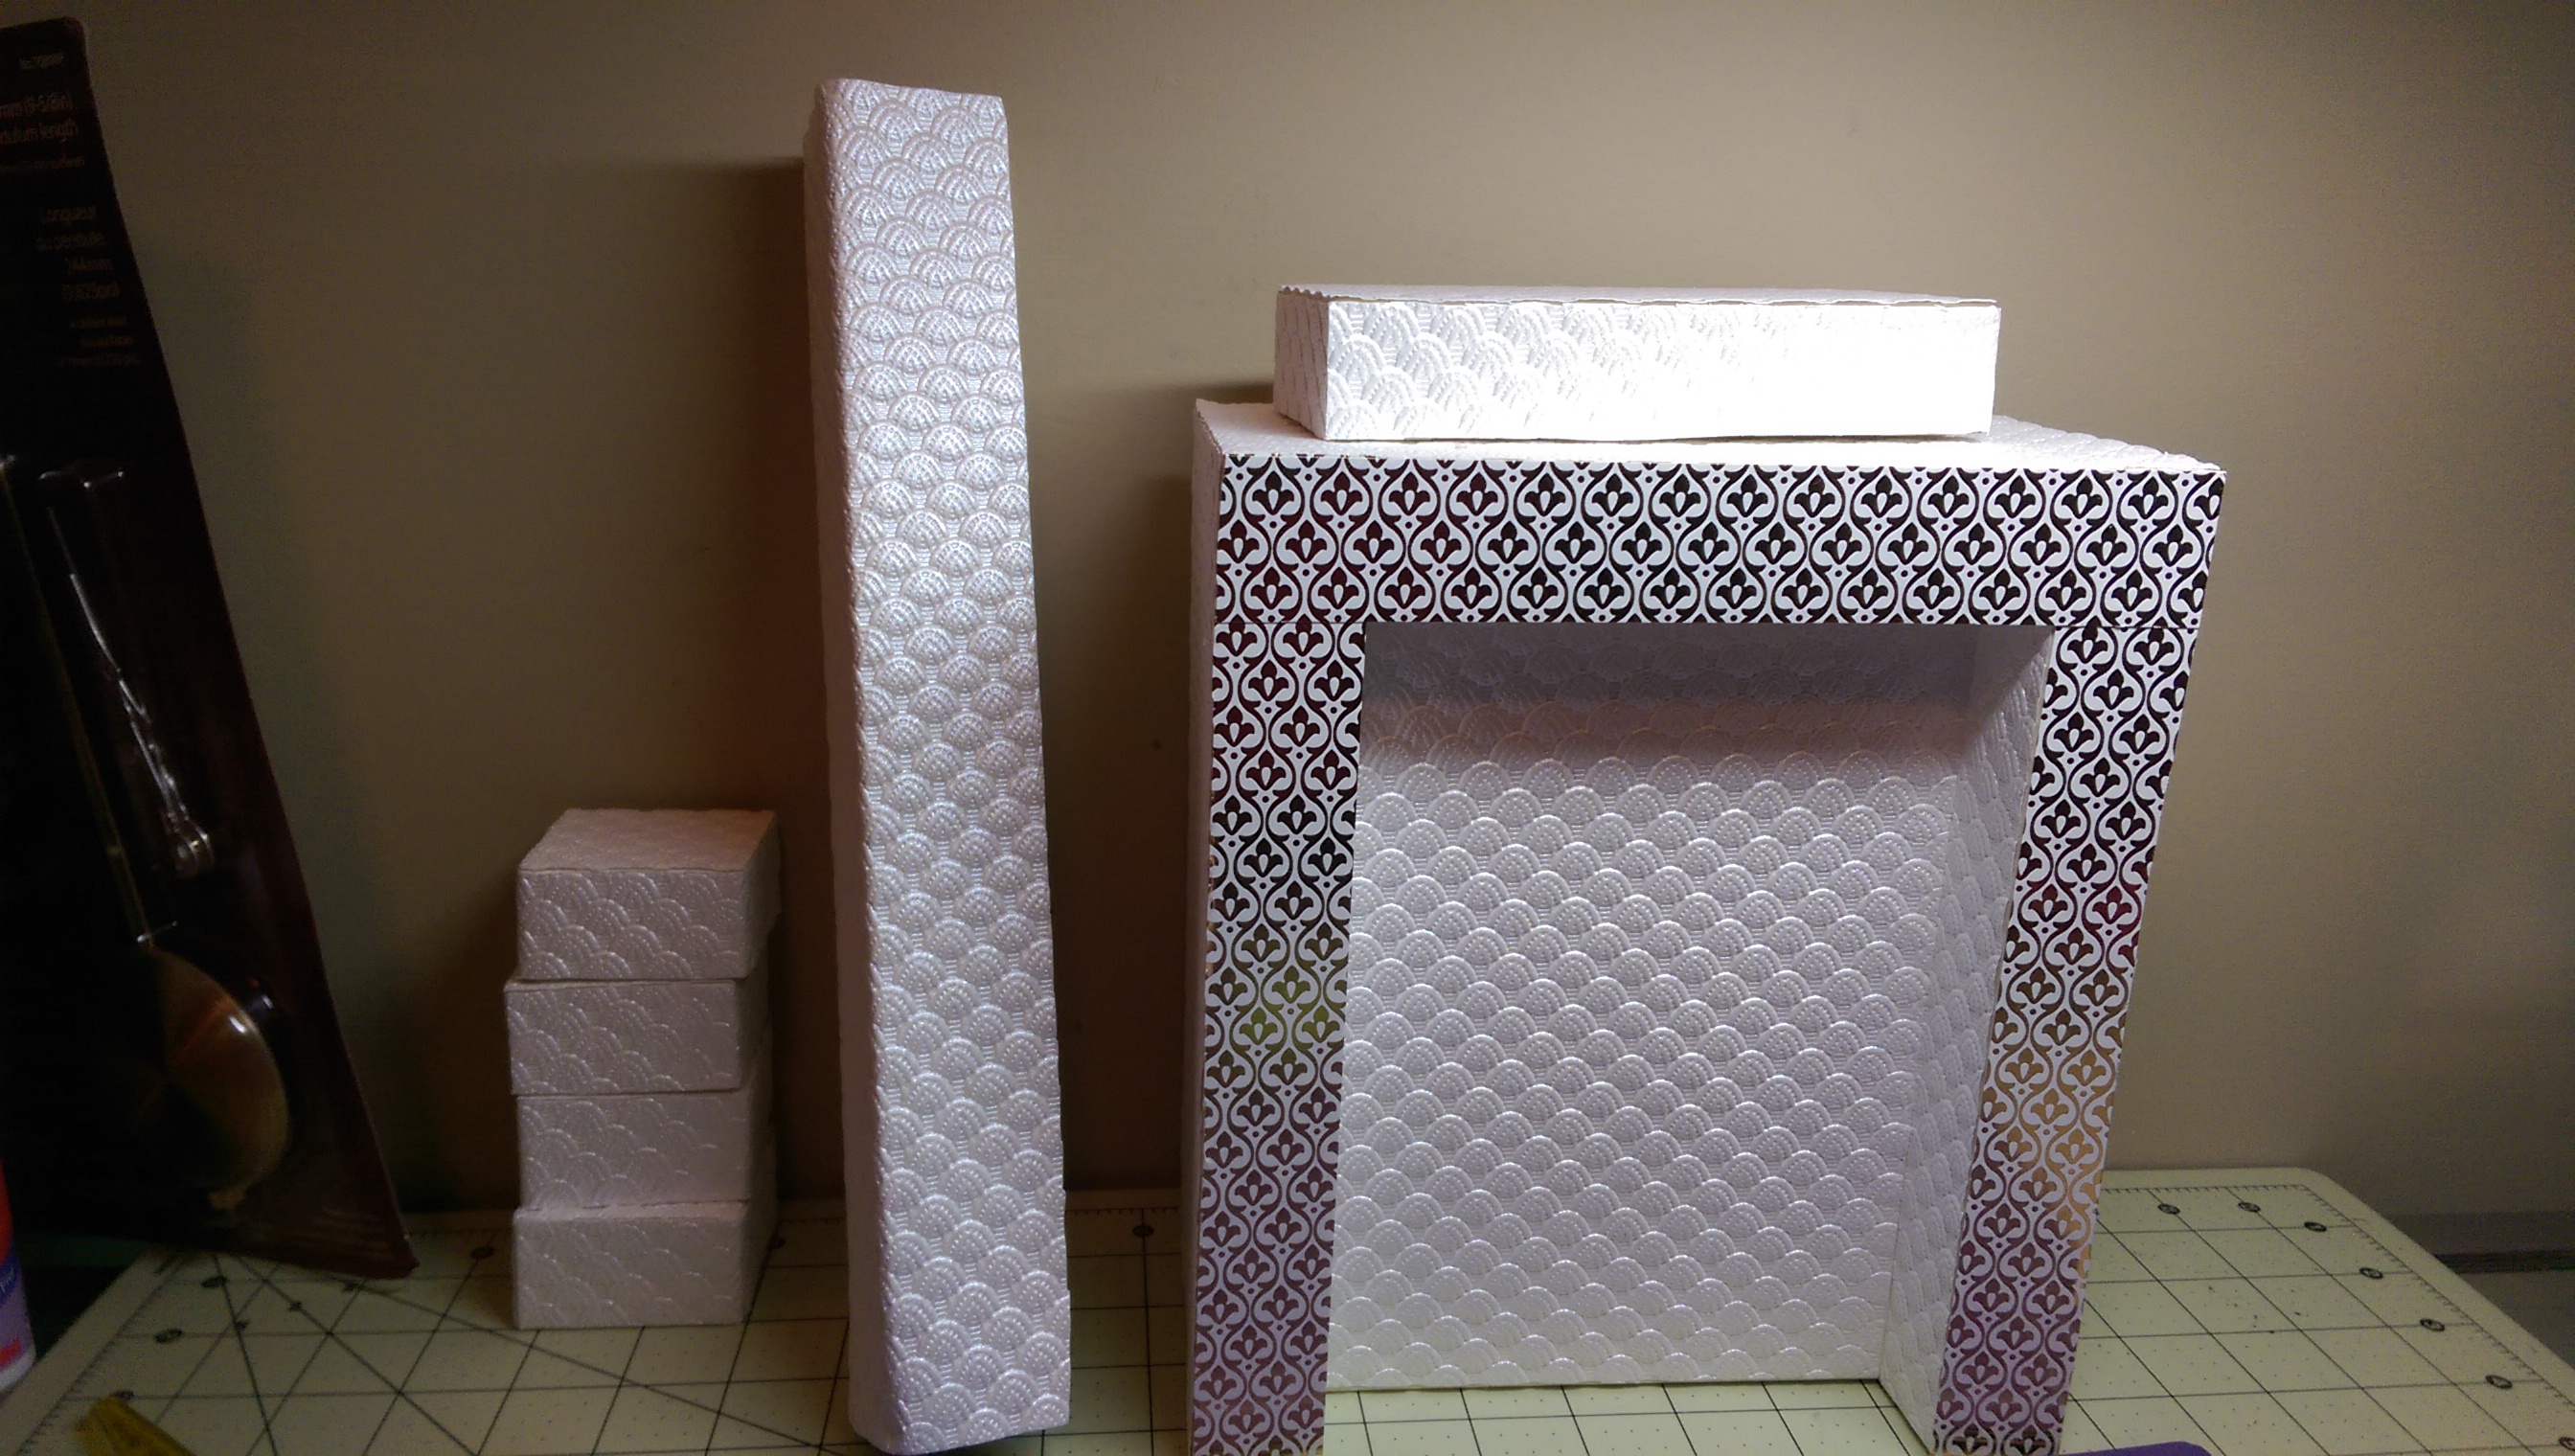
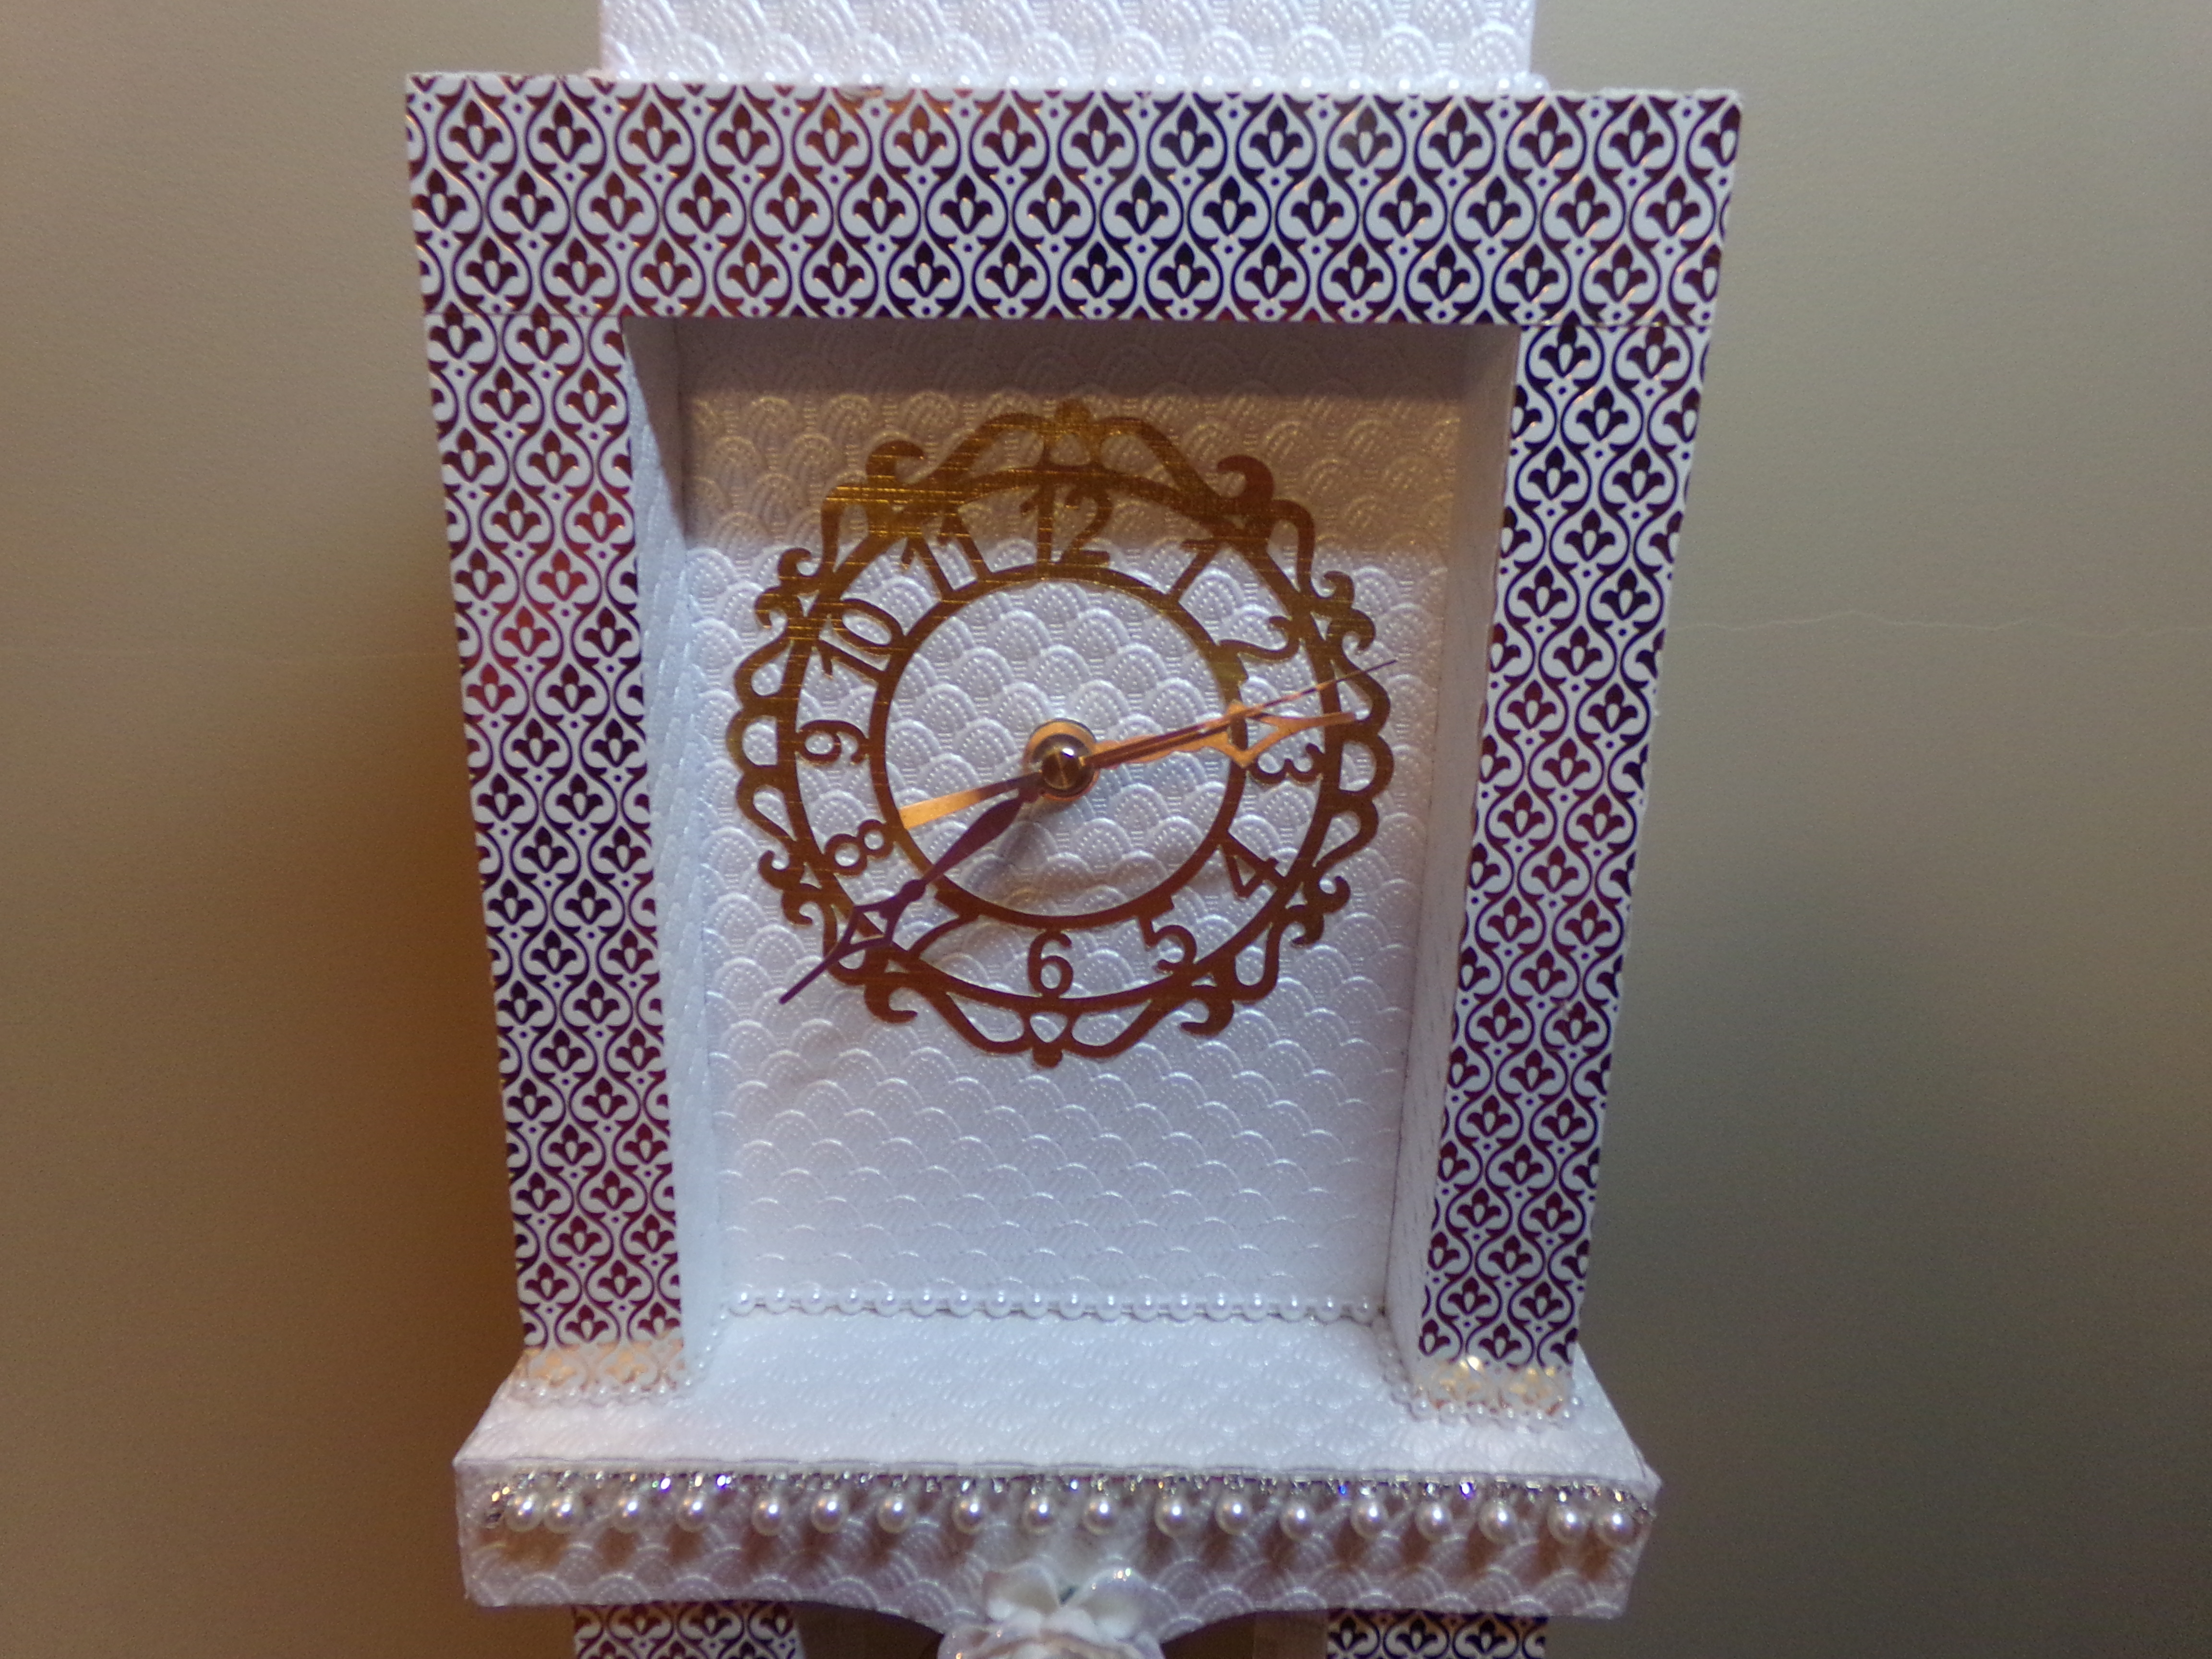
We had a wonderful party and I took on a project. My mother has always loved grandfather clocks. She has a full-sized one that we have had forever. I decided to make one for her special birthday. It was an undertaking, but I got it done…
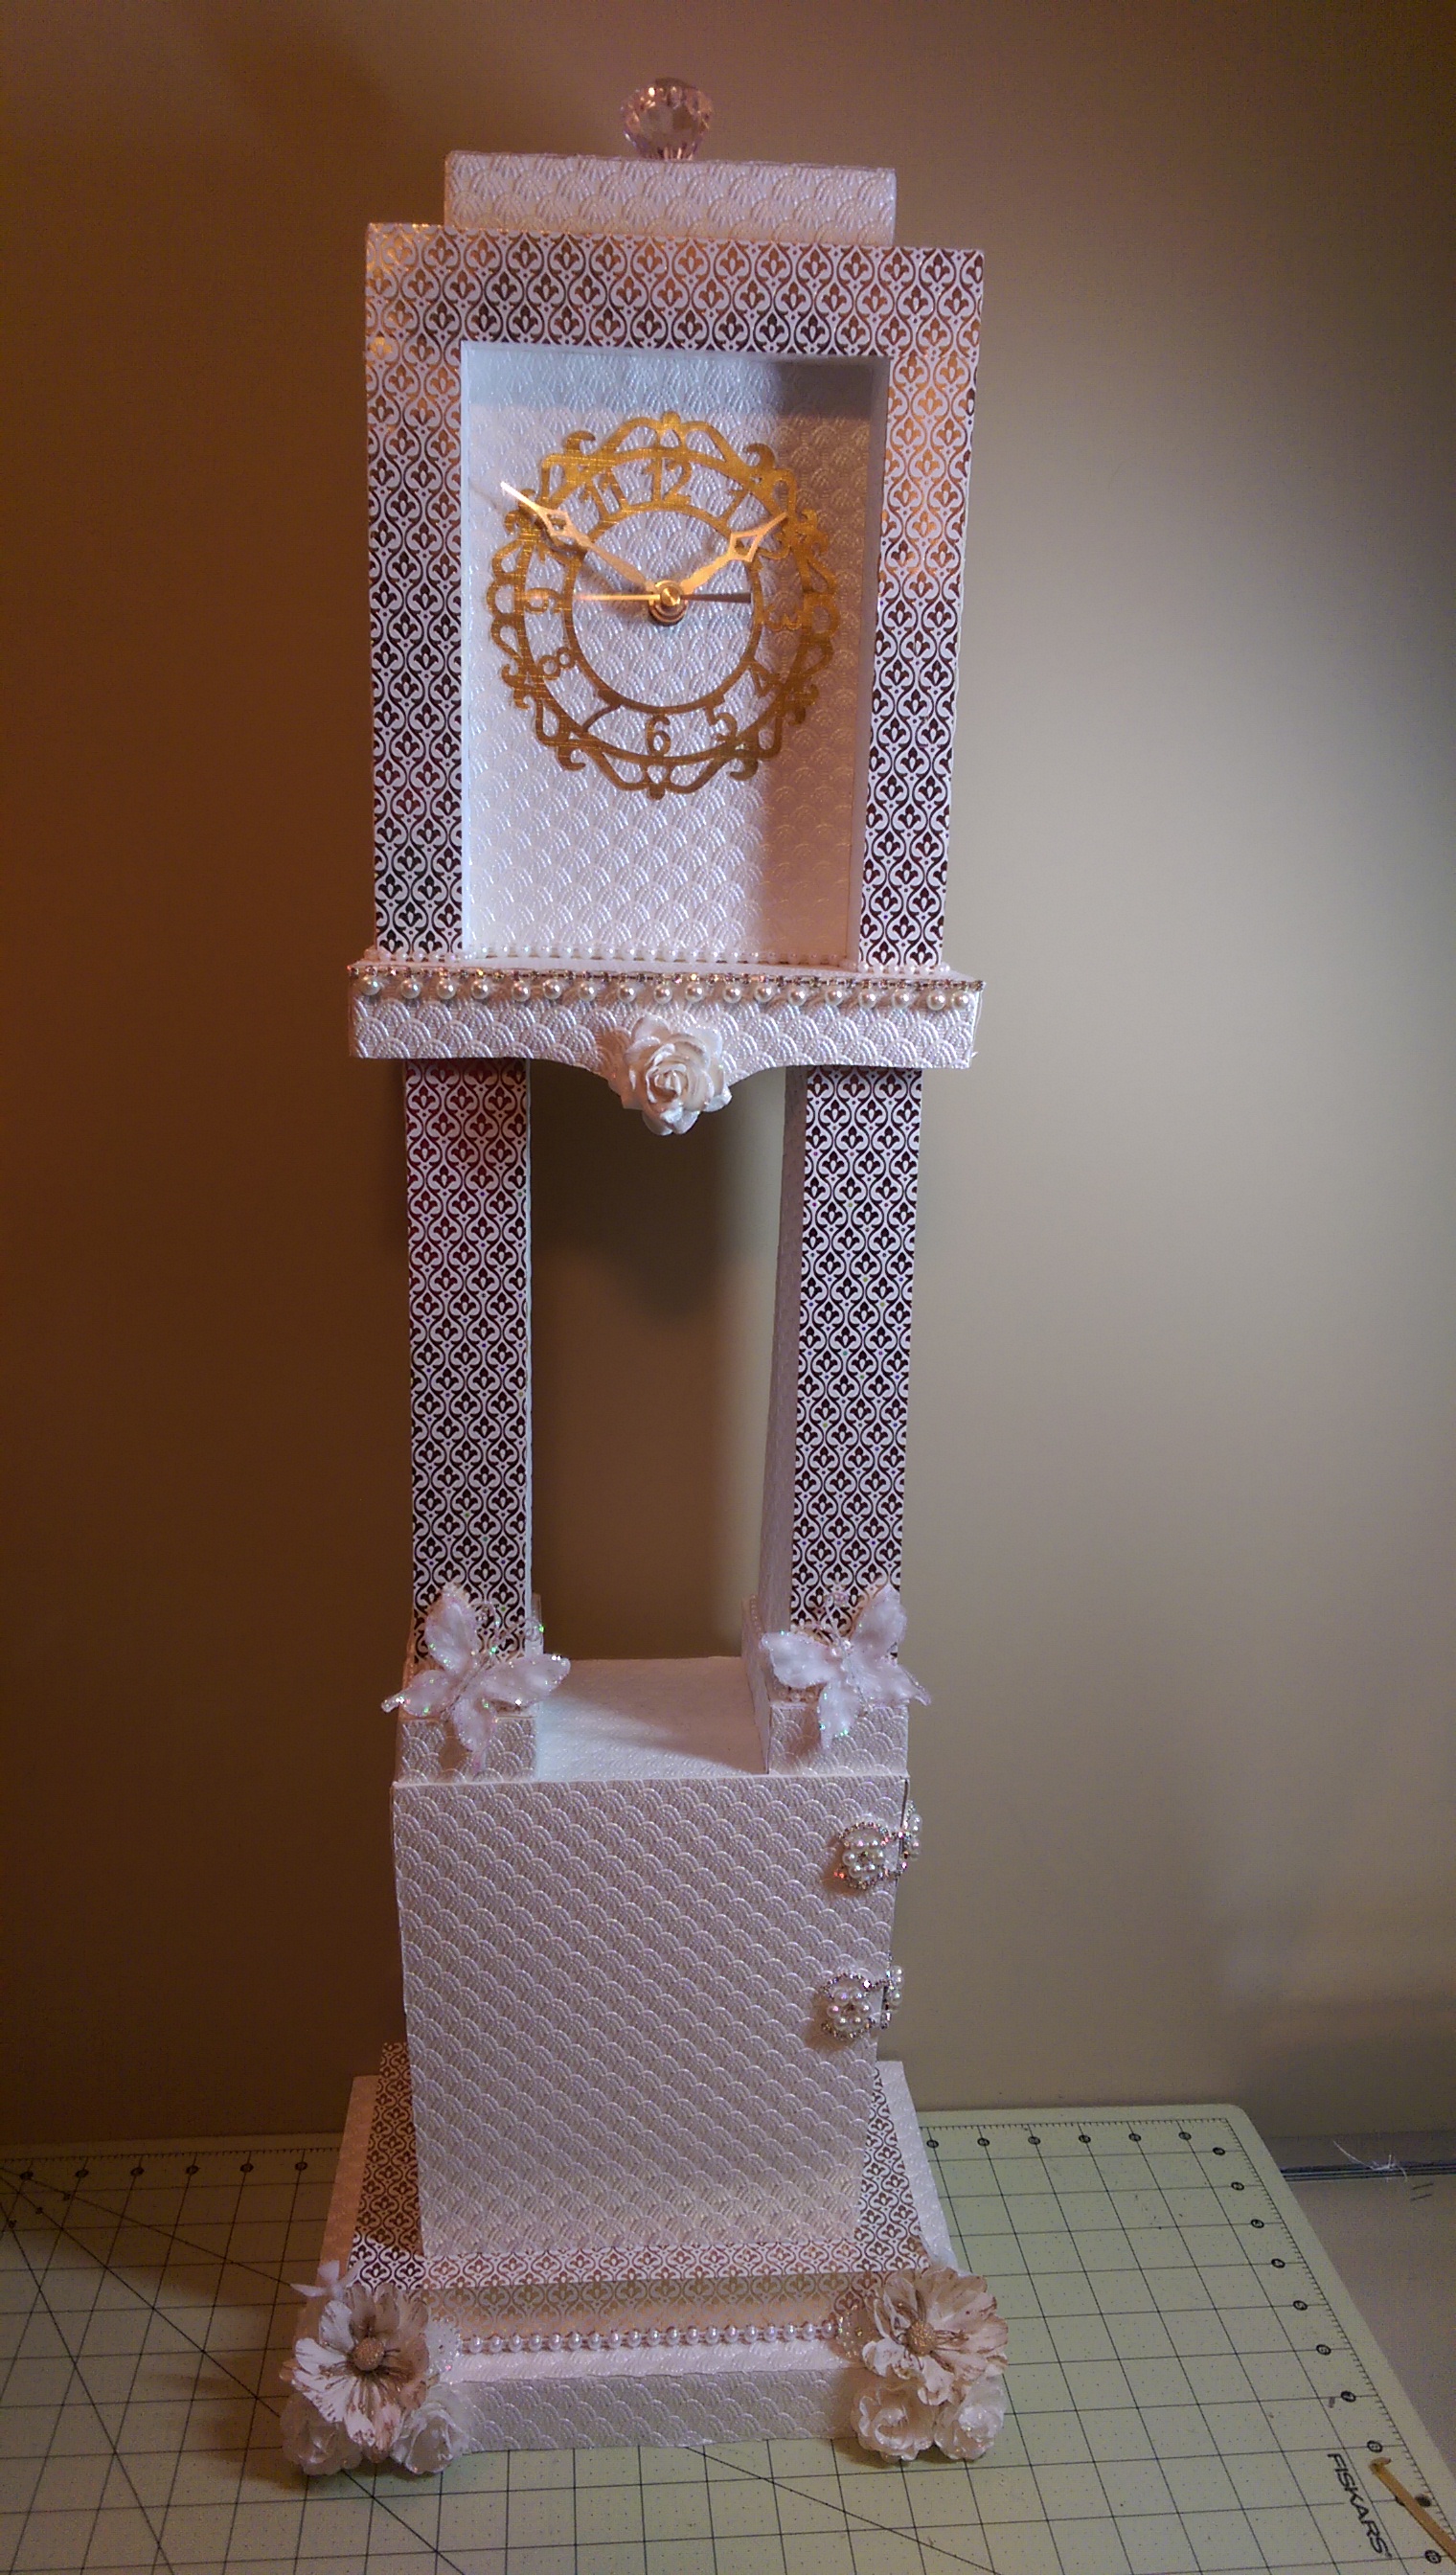
70th Birthday Clock
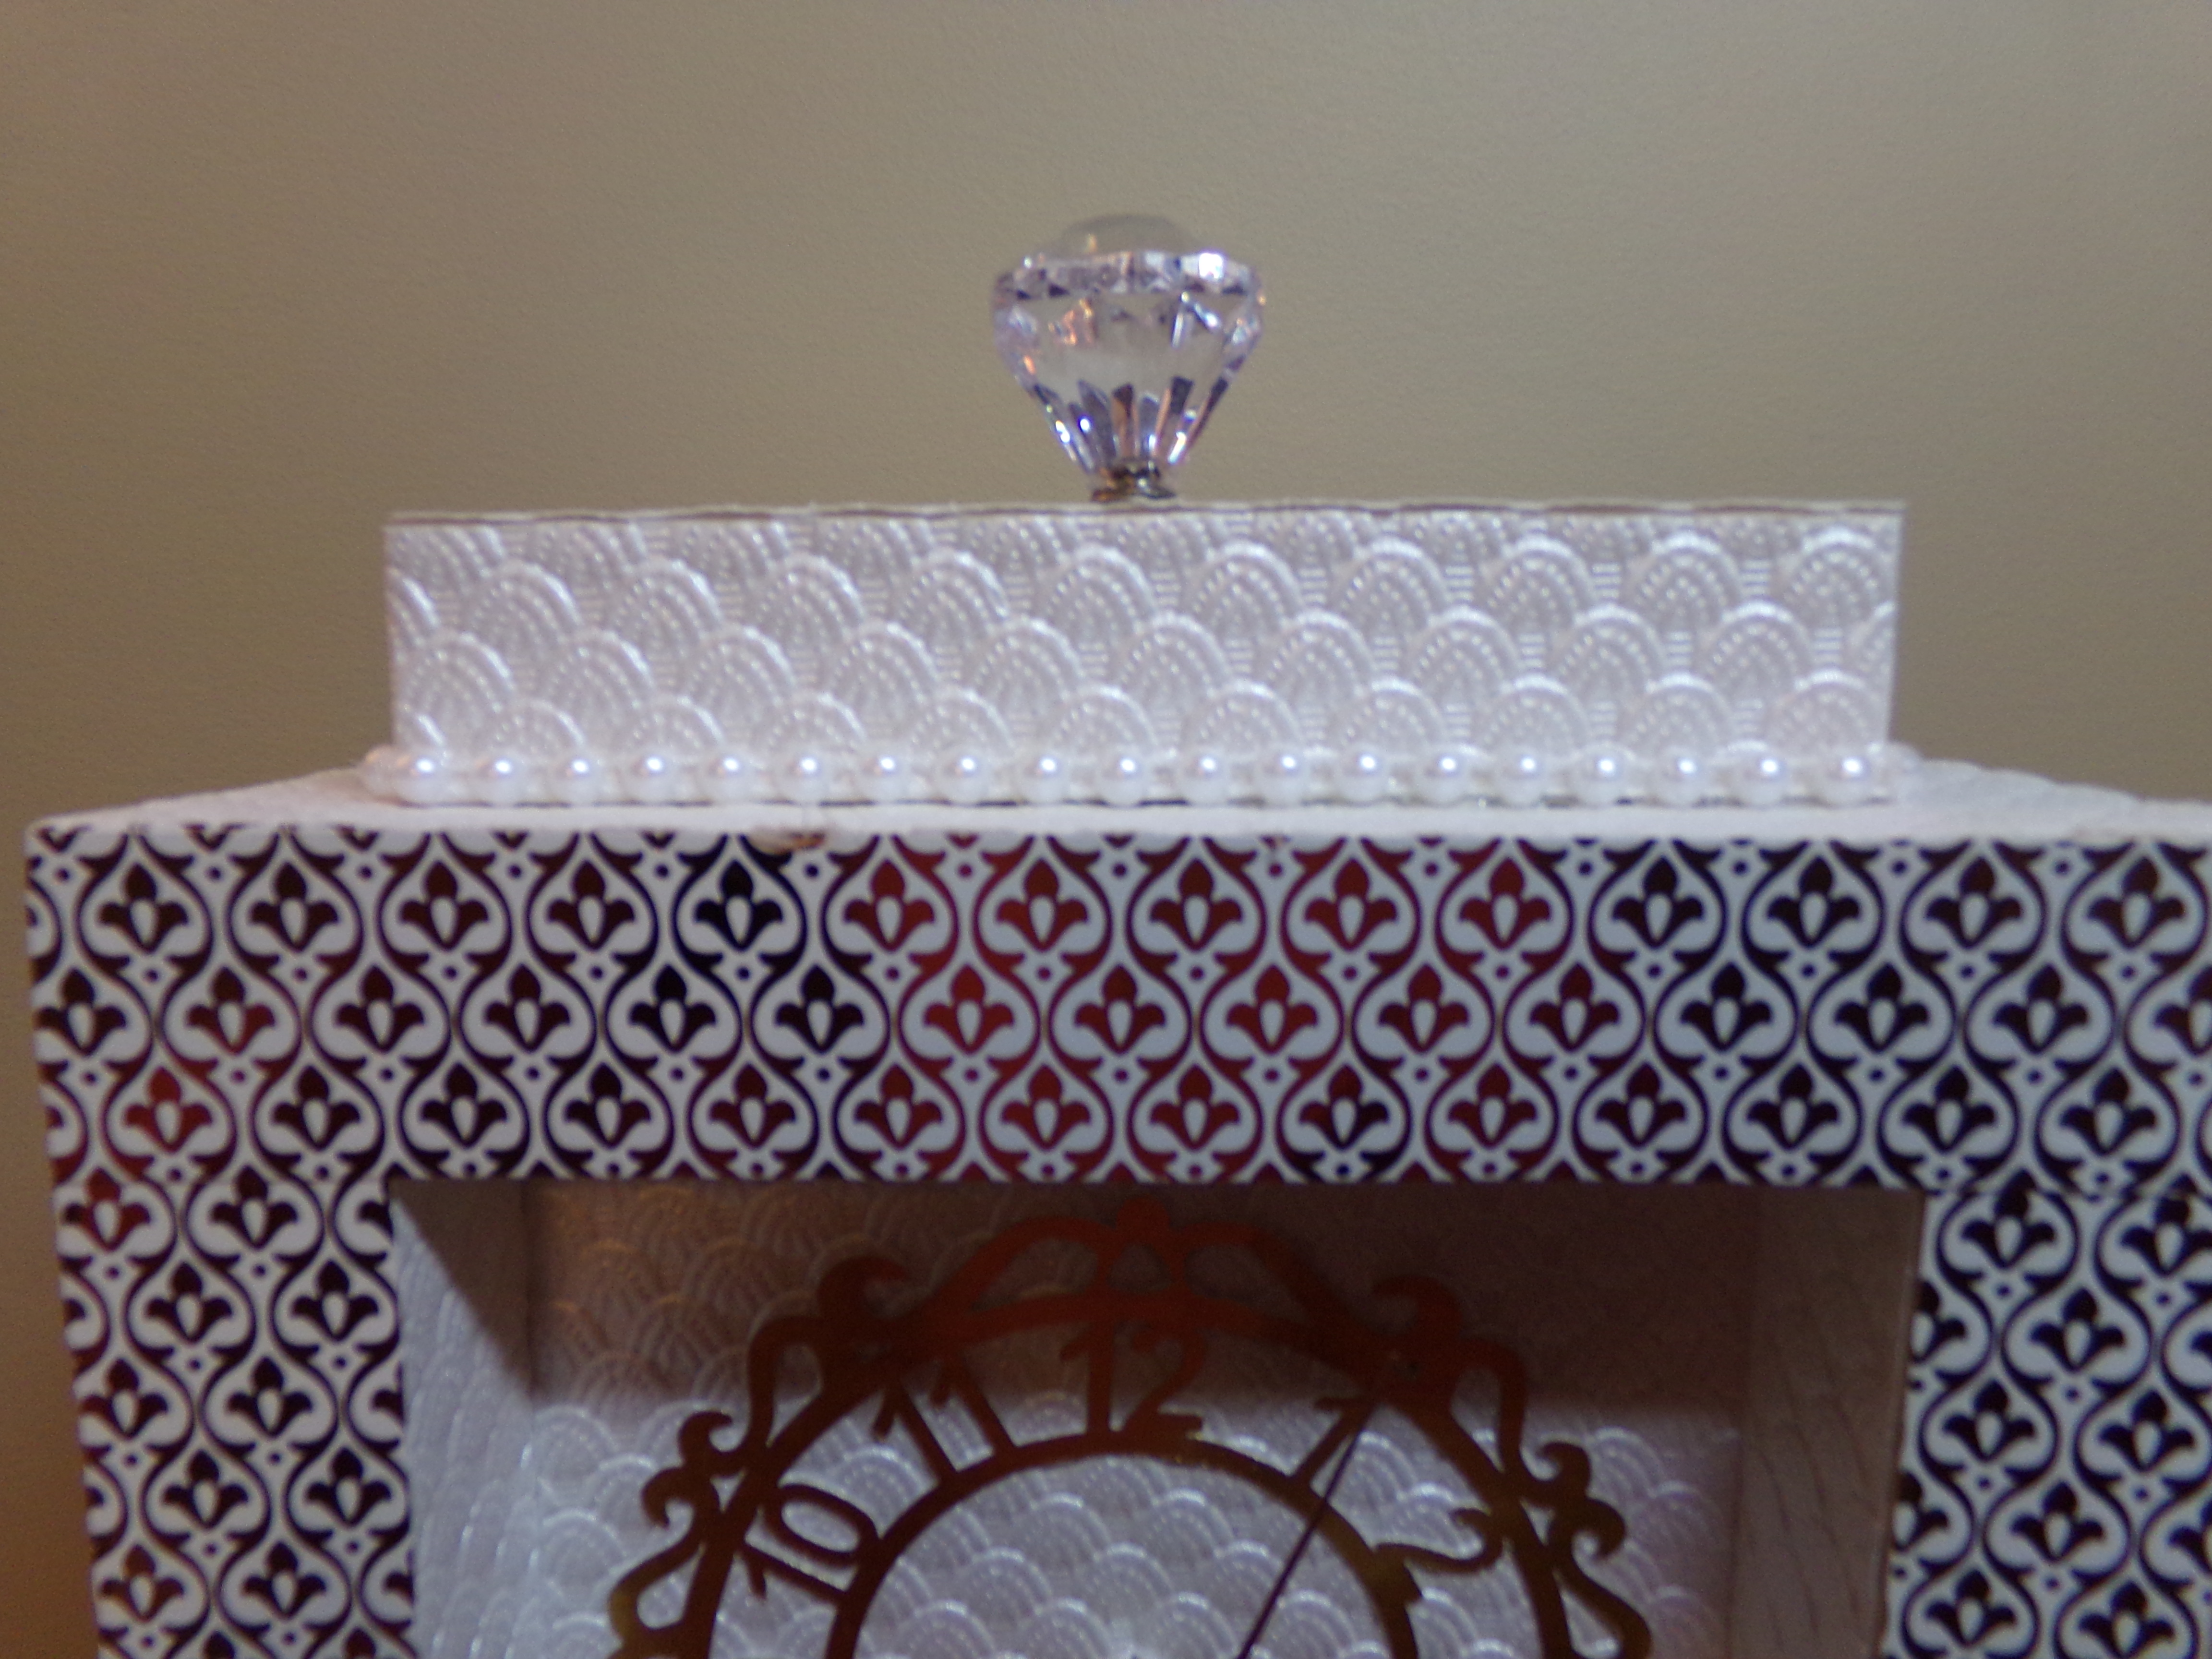
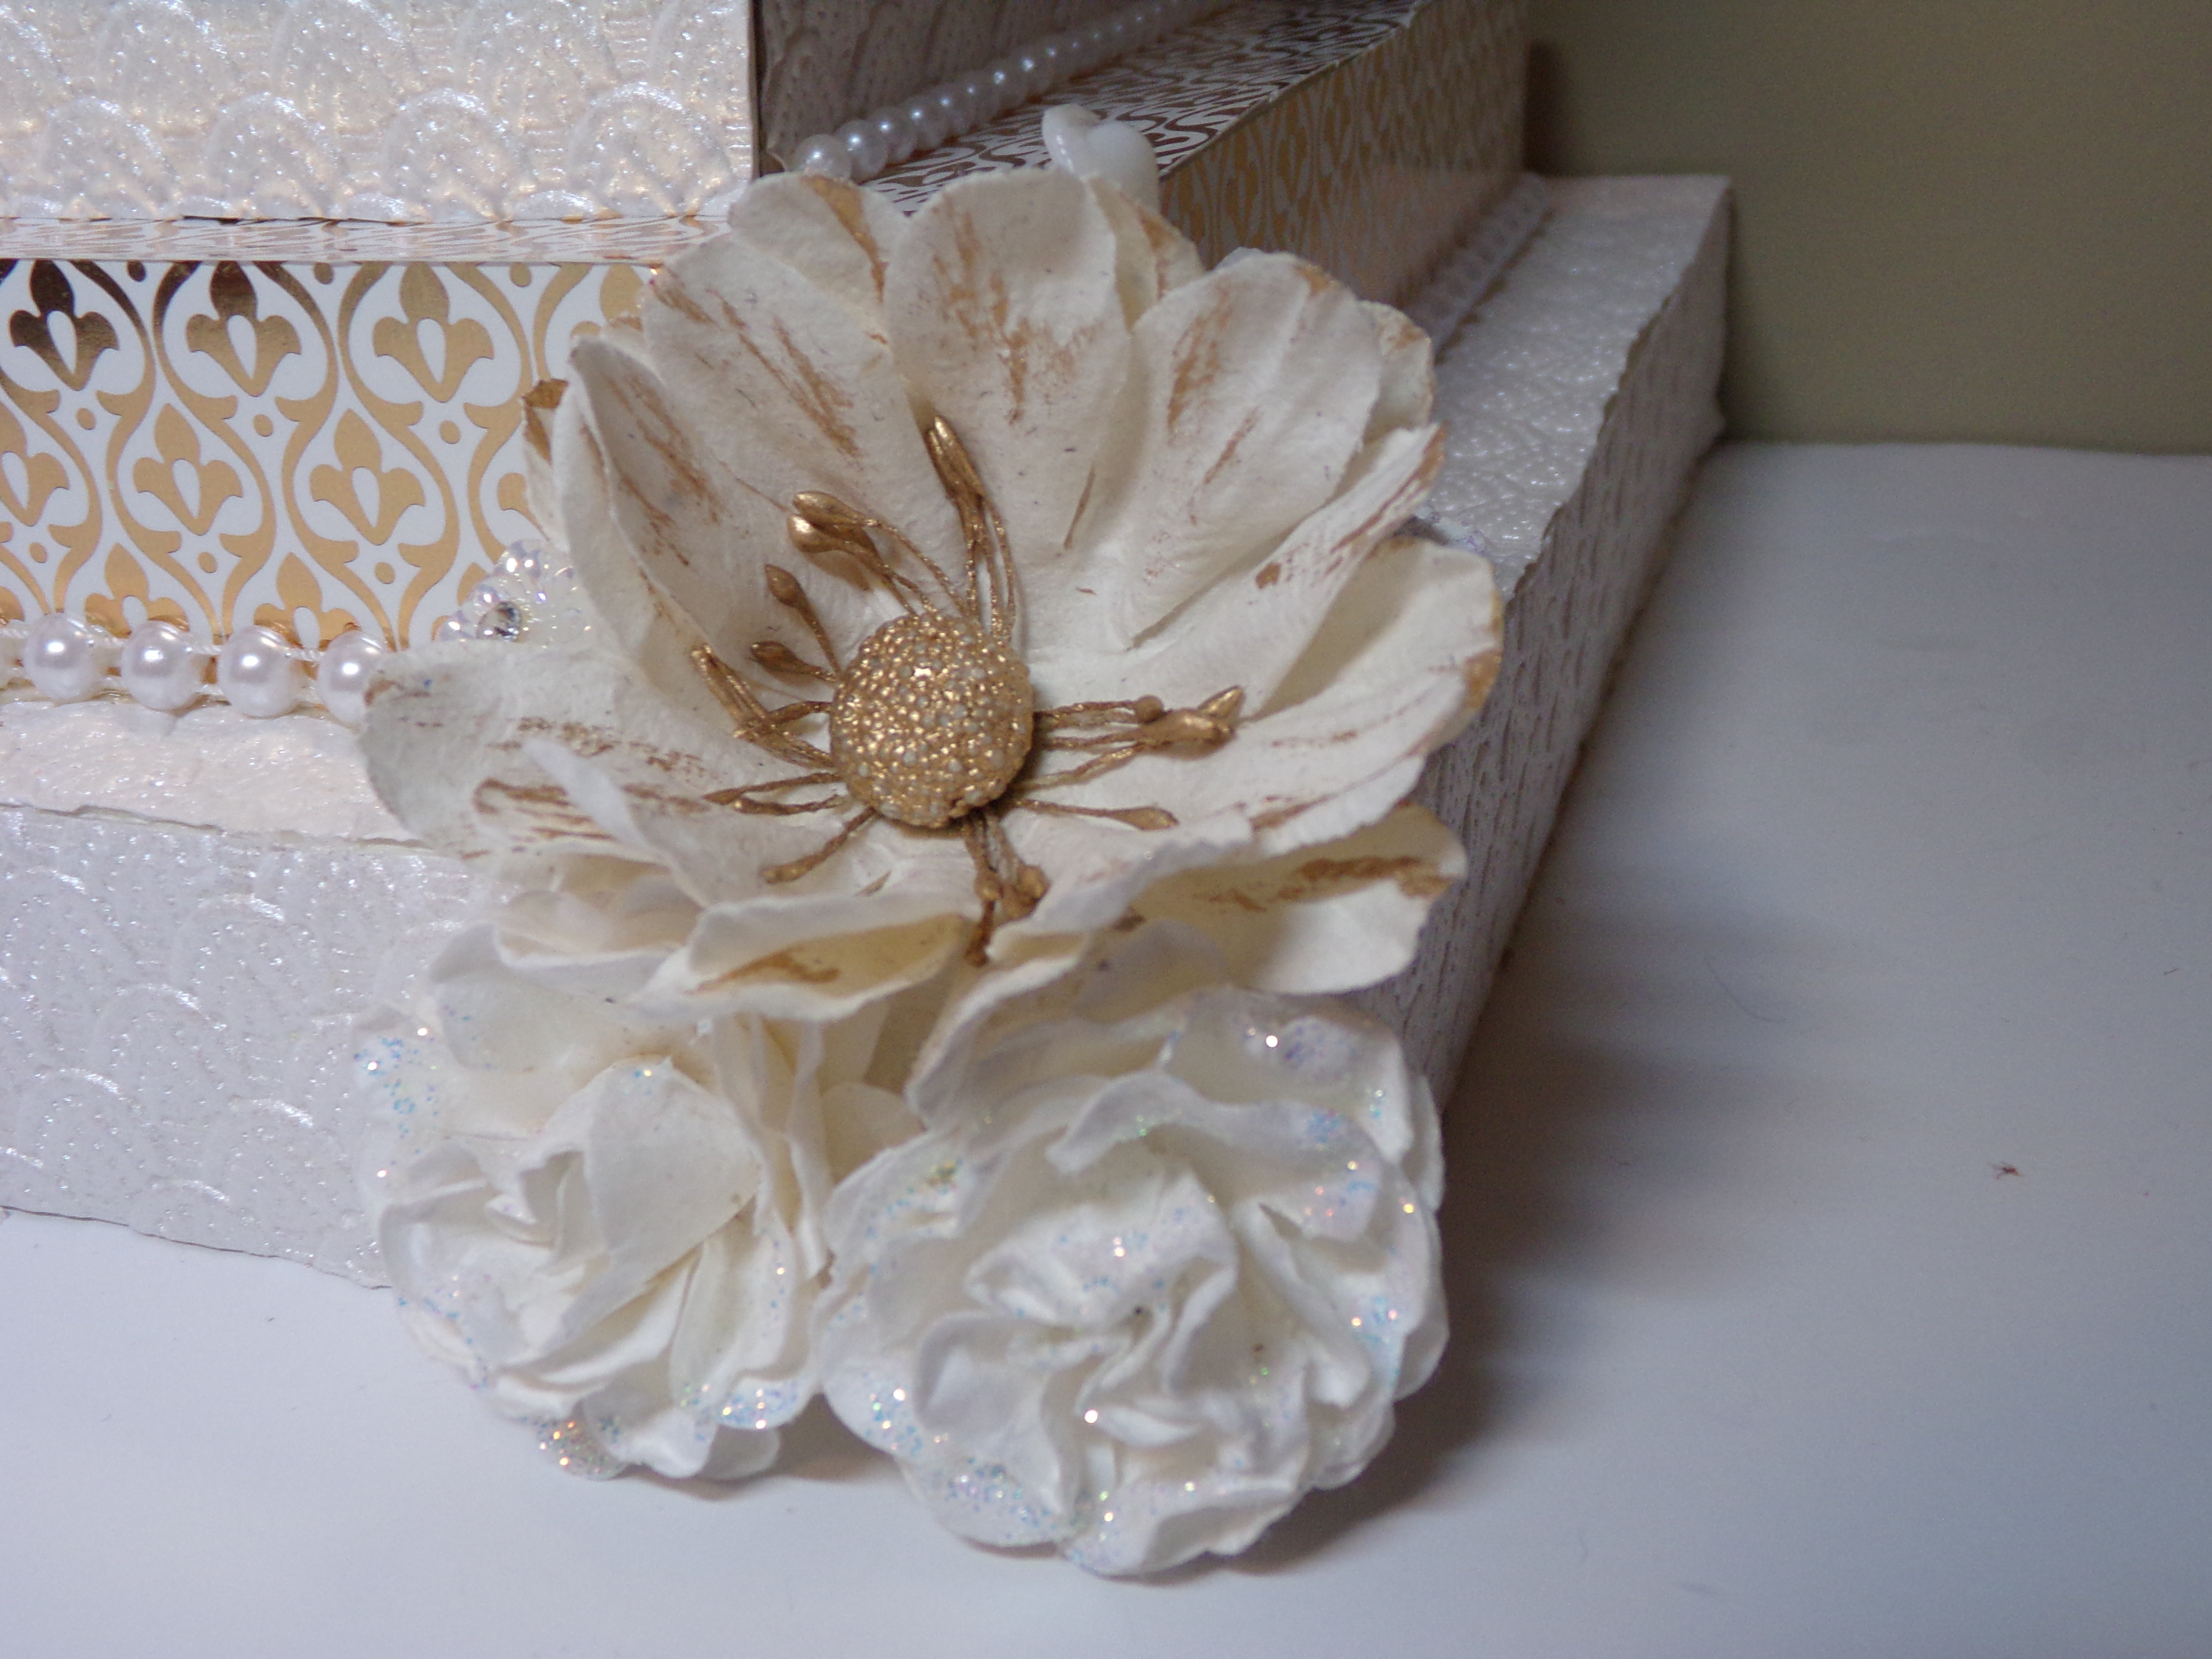
I am absolutely thrilled with how it turned out! She loved it. Everyone at the party loved it. I love it. I used a Paper Phenomen/Kathy Orta tutorial. For the most part it was great but there were a few things left off the cutting guide which meant I had to go back and cut more chipboard. I had to make a couple other adjustments and added some added support in places, but it worked out. I will warn you, picture overload is coming. It was a bit difficult to photograph and film, so I hope you can get the just of it. In person, it is absolutely gorgeous. To find out the materials I used, please watch the video I will have at the end of the post. Now for the photos…
70th Birthday Clock – The Beginning
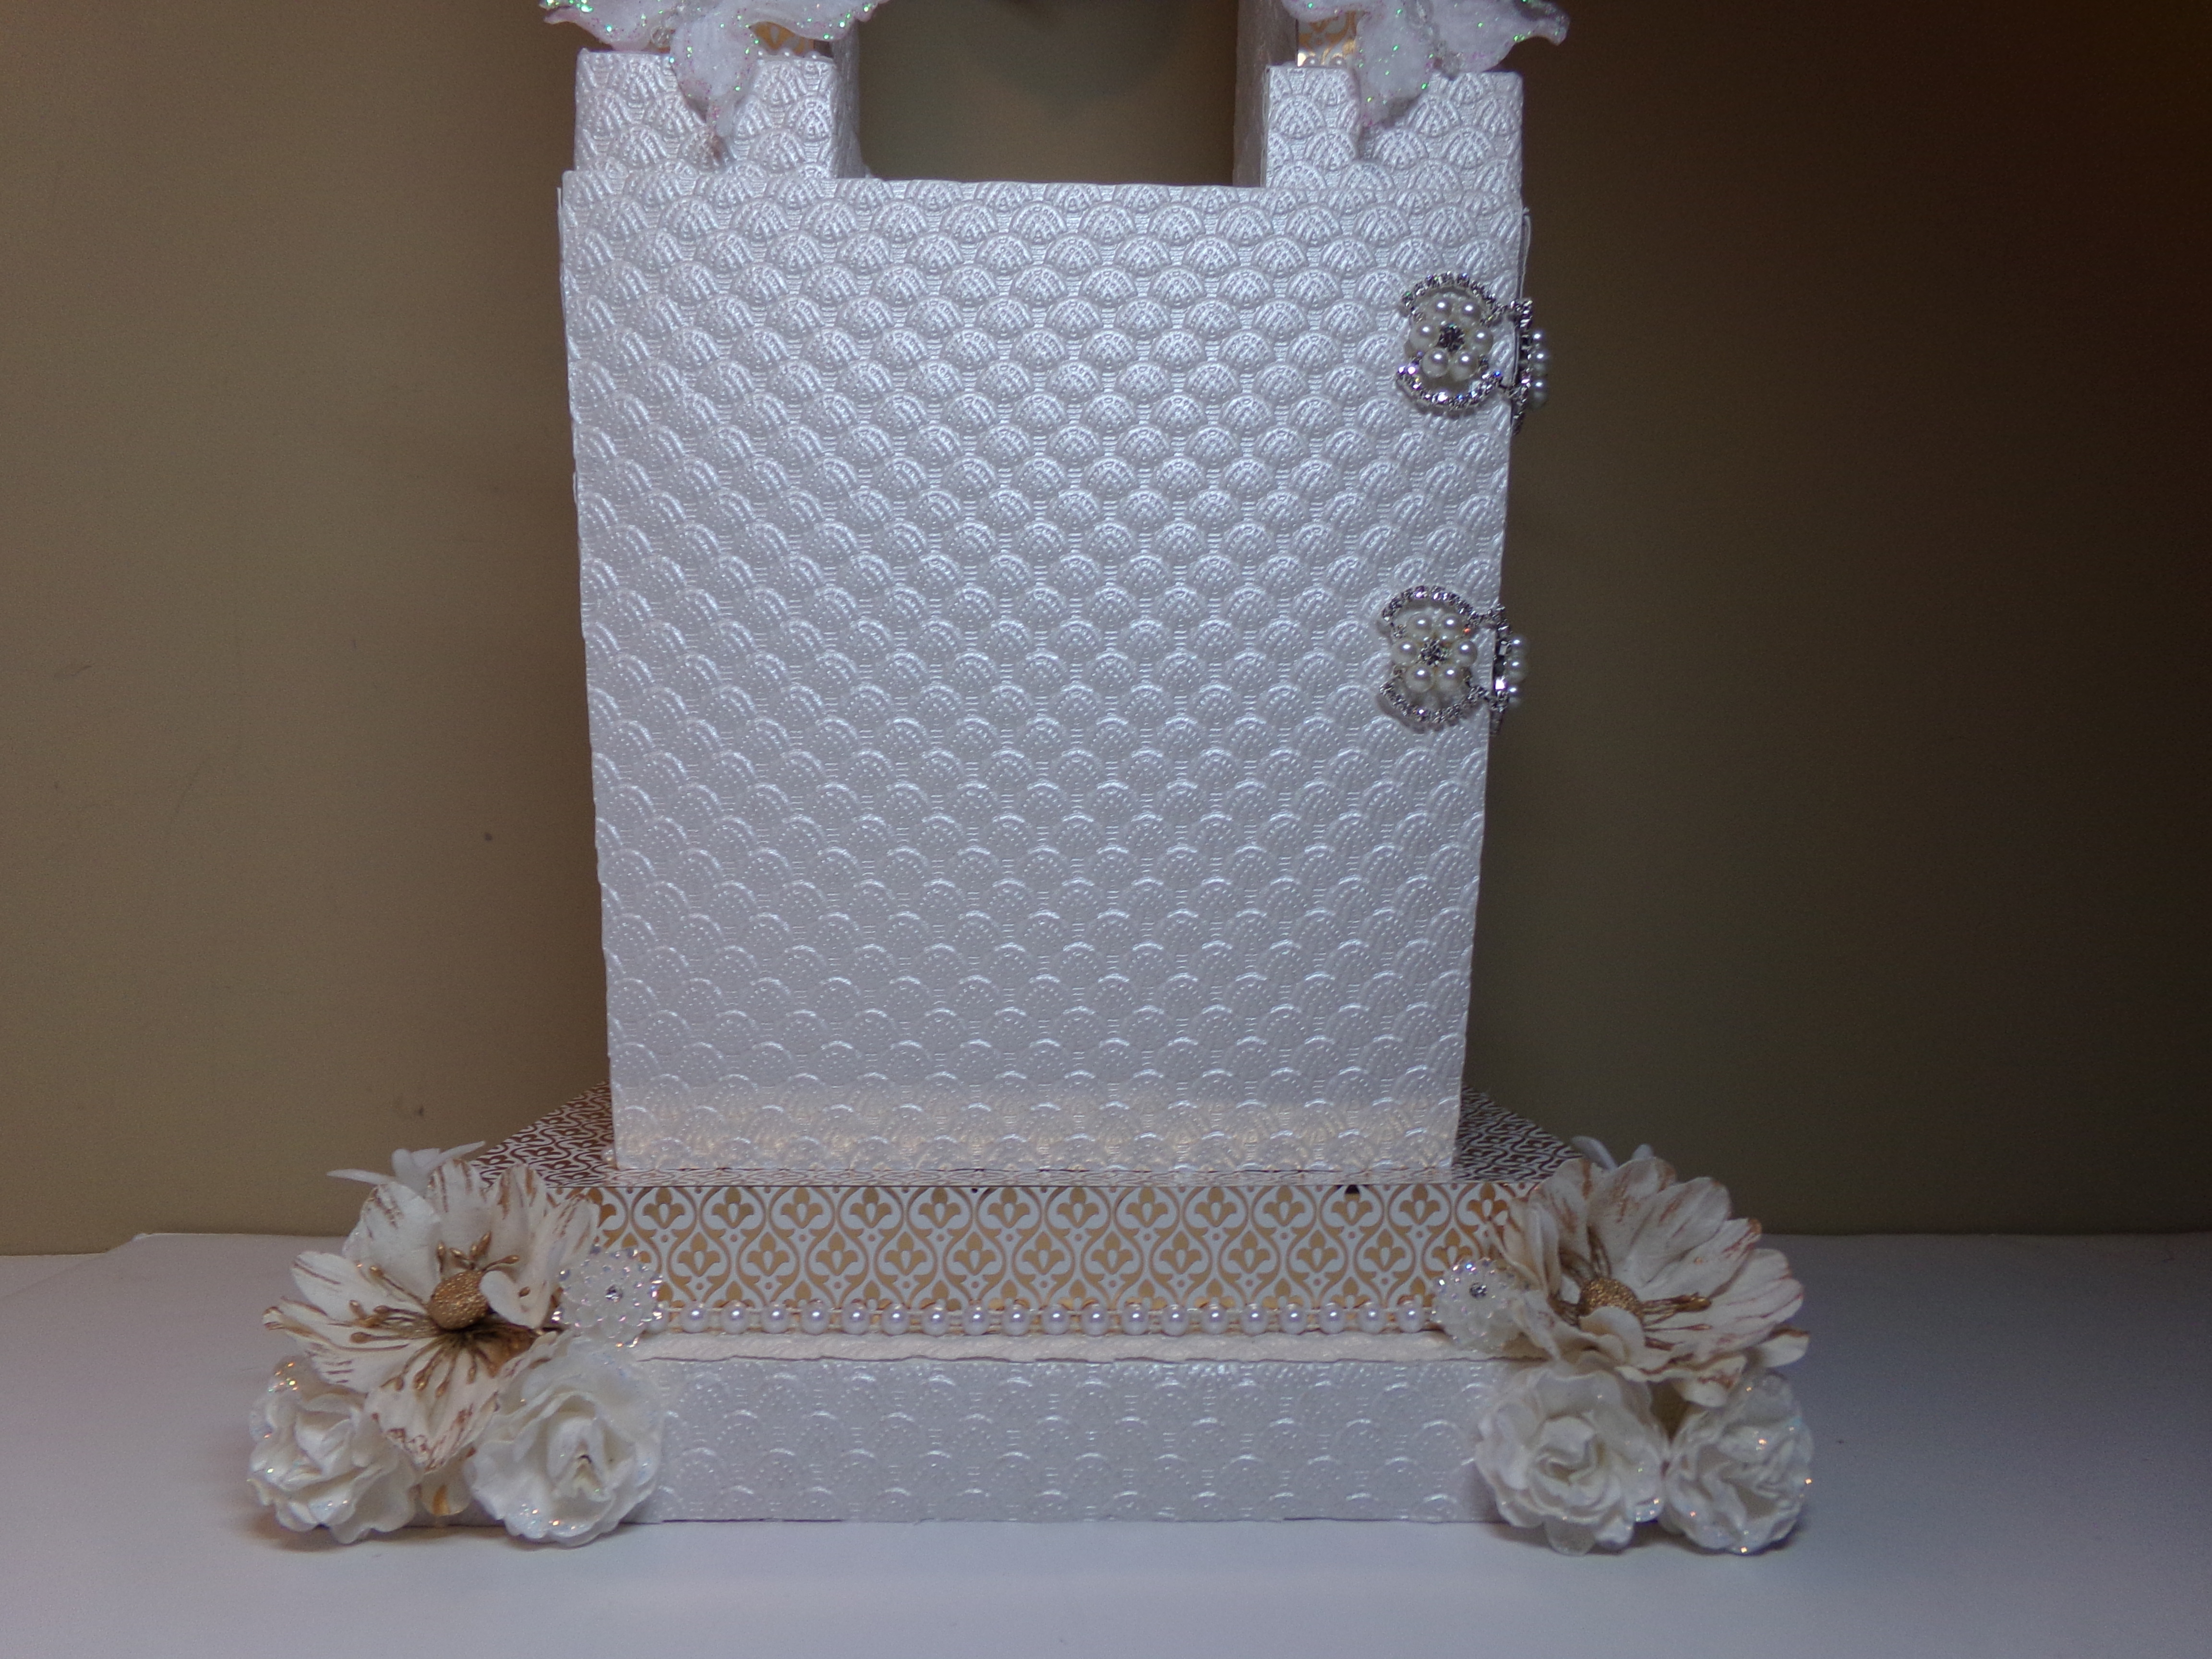
70th Birthday Clock Back
70th Birthday Clock Side
Yes, this is a real working clock! I purchased the mechanism from JoAnn Fabrics.
This sections opens as shown above. A mini album that I still have to make will go inside. I will post it when I get a change to get it made. It will house photos from her birthday party.
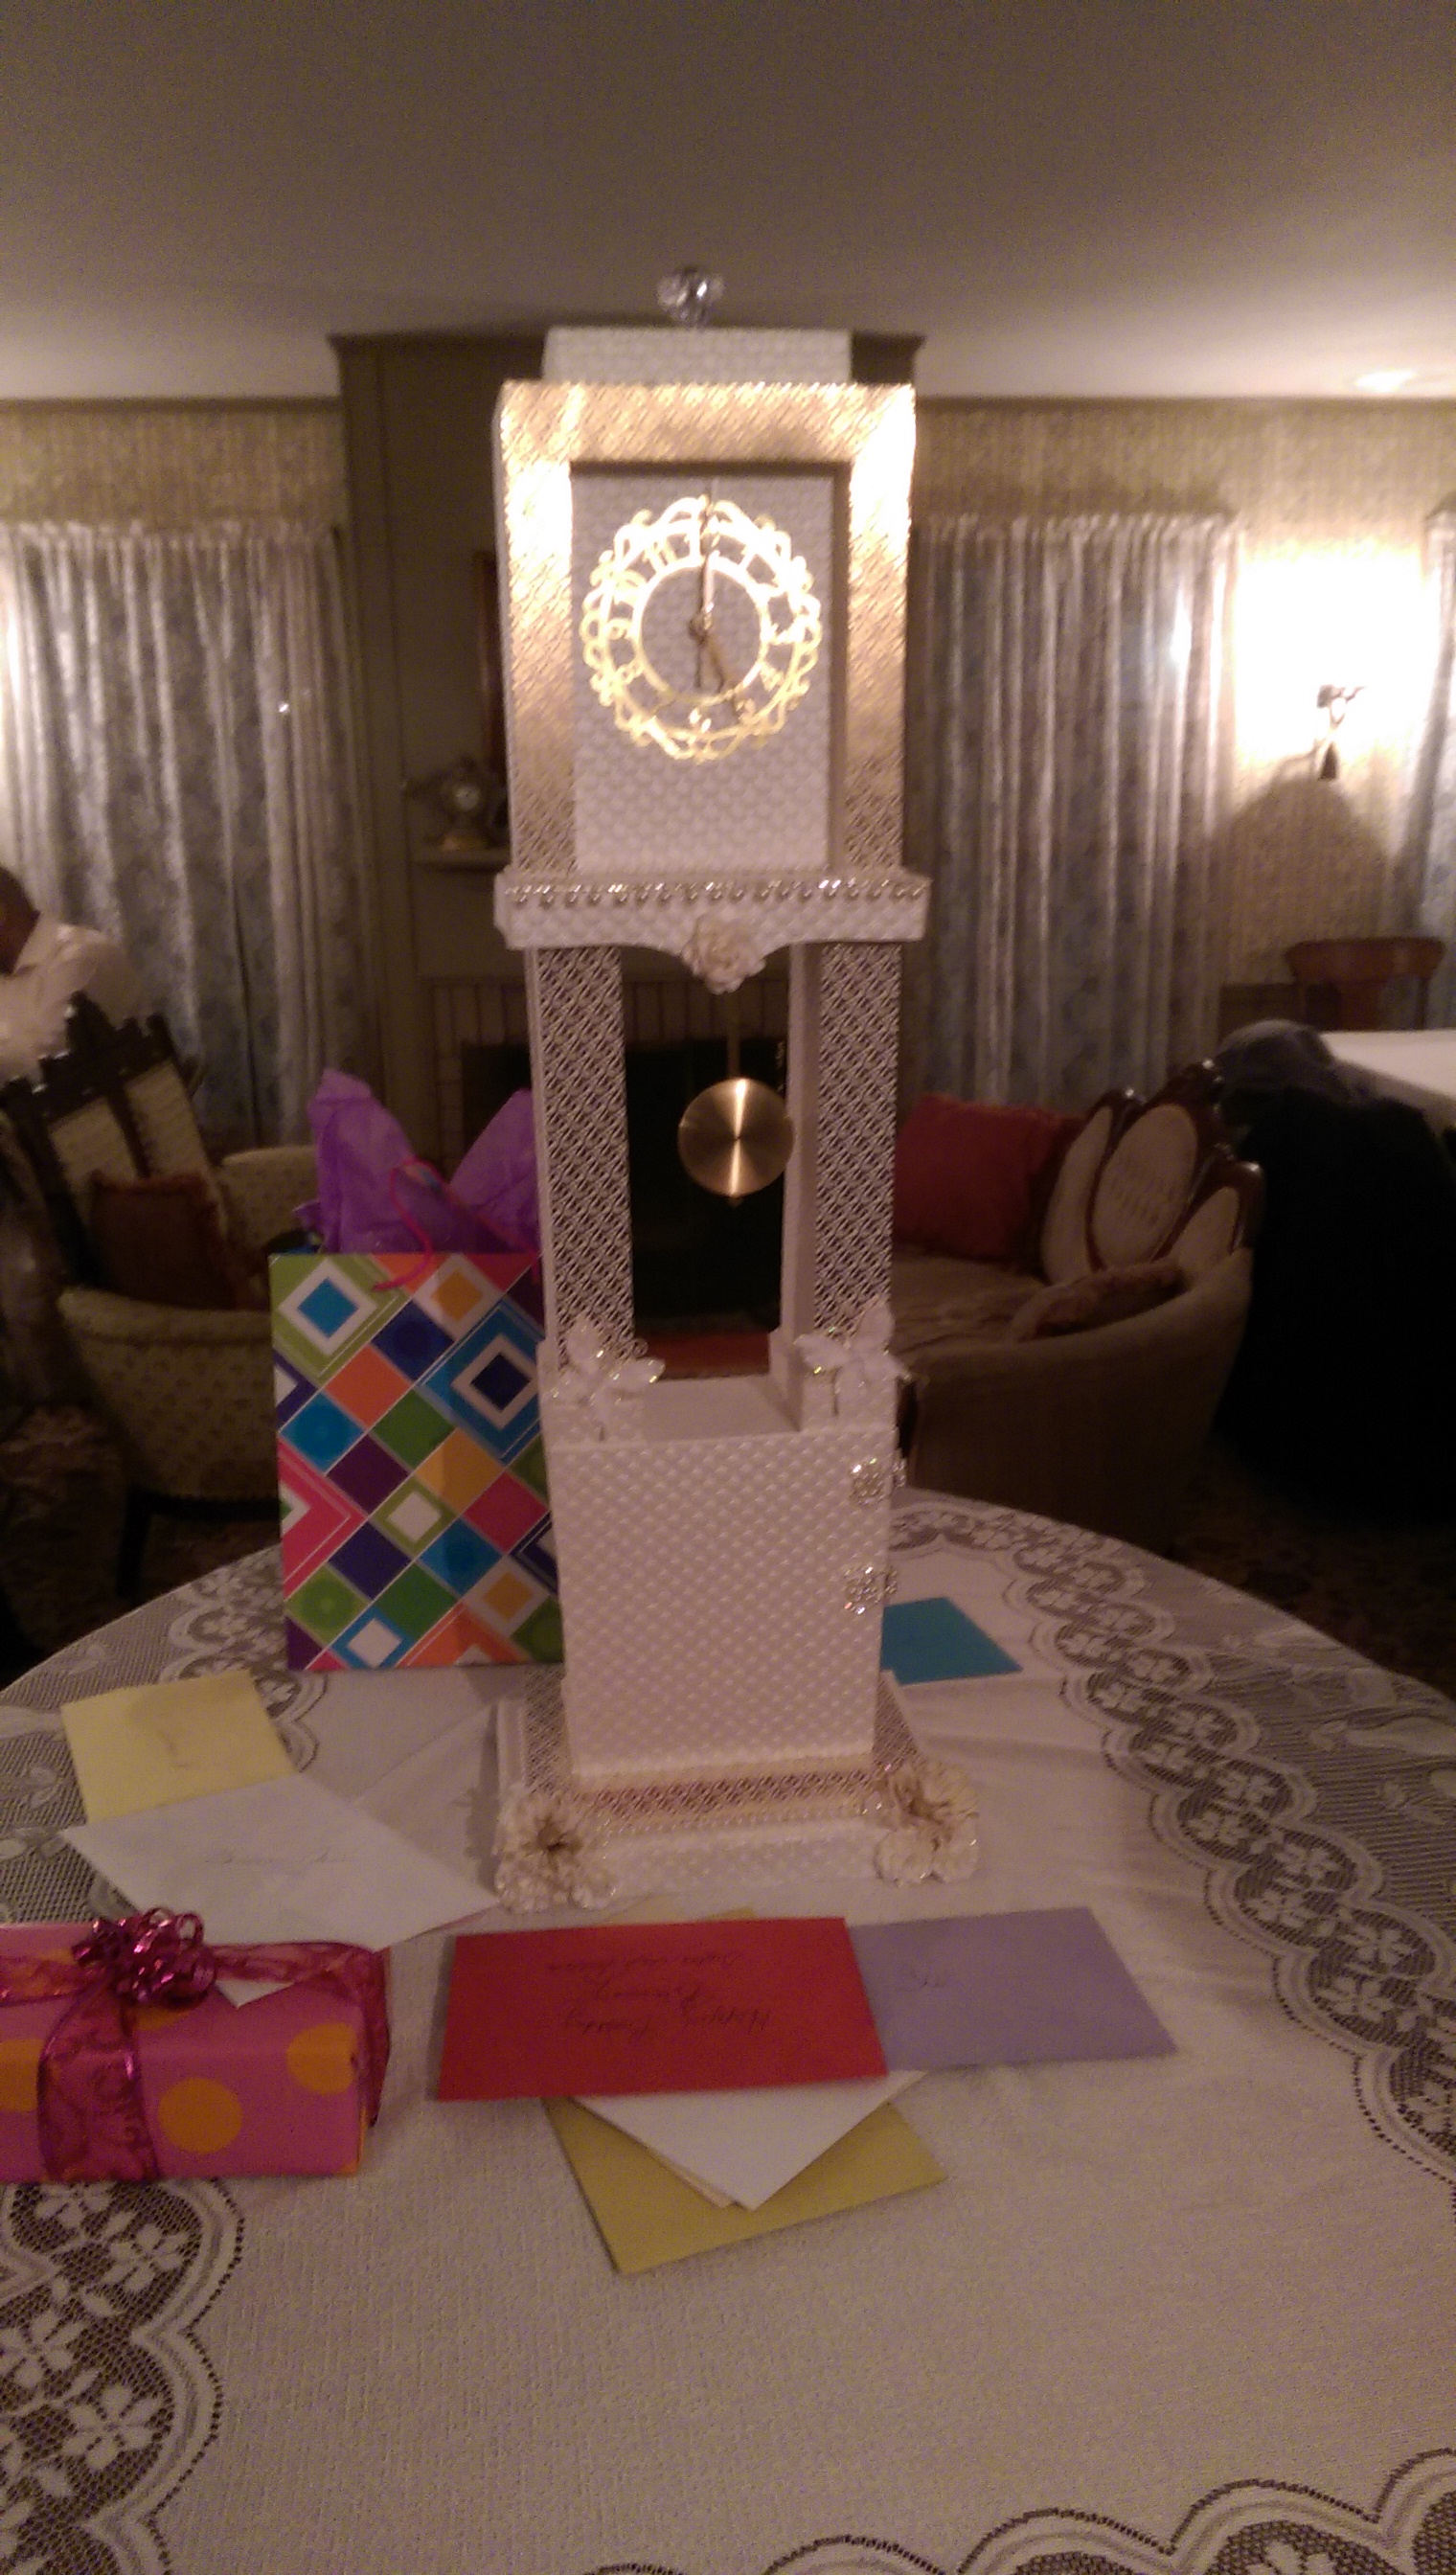
The Clock at the Birthday Party
Now here is the video for more details. Thanks so much for stopping by!
As usual, I have made many birthday cards and thought I would share since I have not posted in a few weeks. But there will be many posts coming as I share Christmas cards and projects as well as a major project that I have spent the last couple weeks on.
For now here are a few cards I made and their videos. Thanks for stopping by!
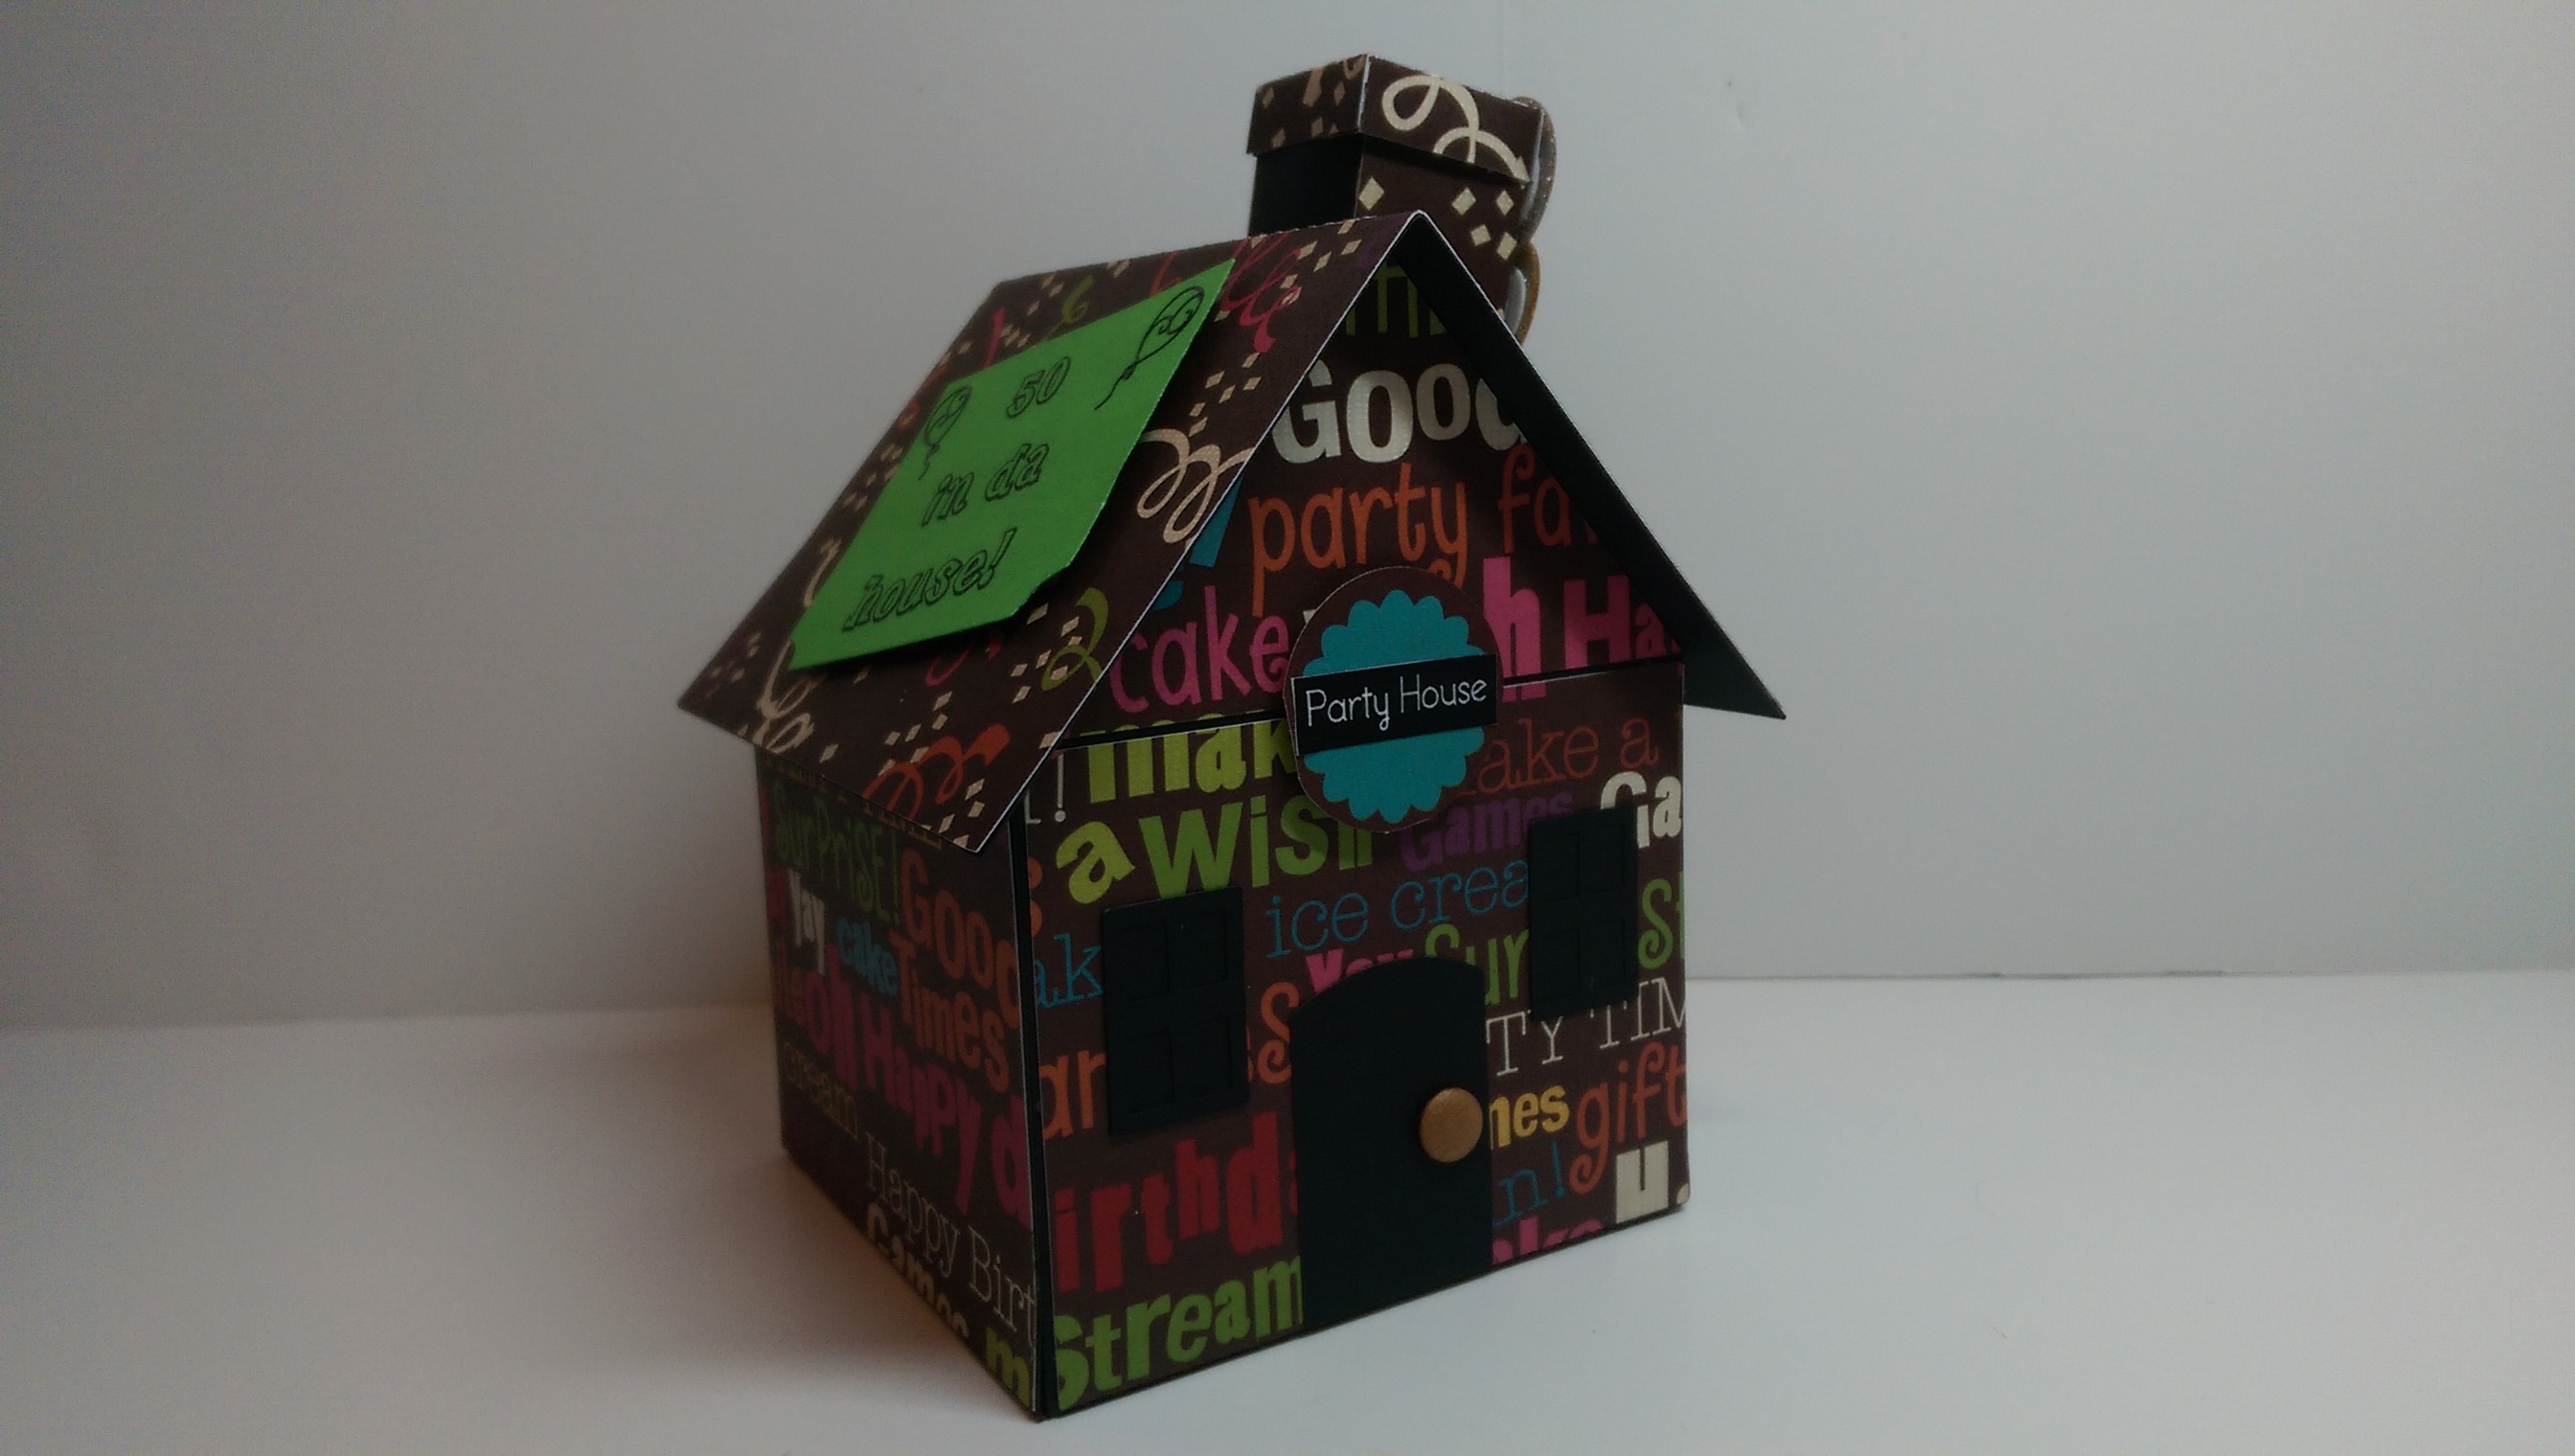
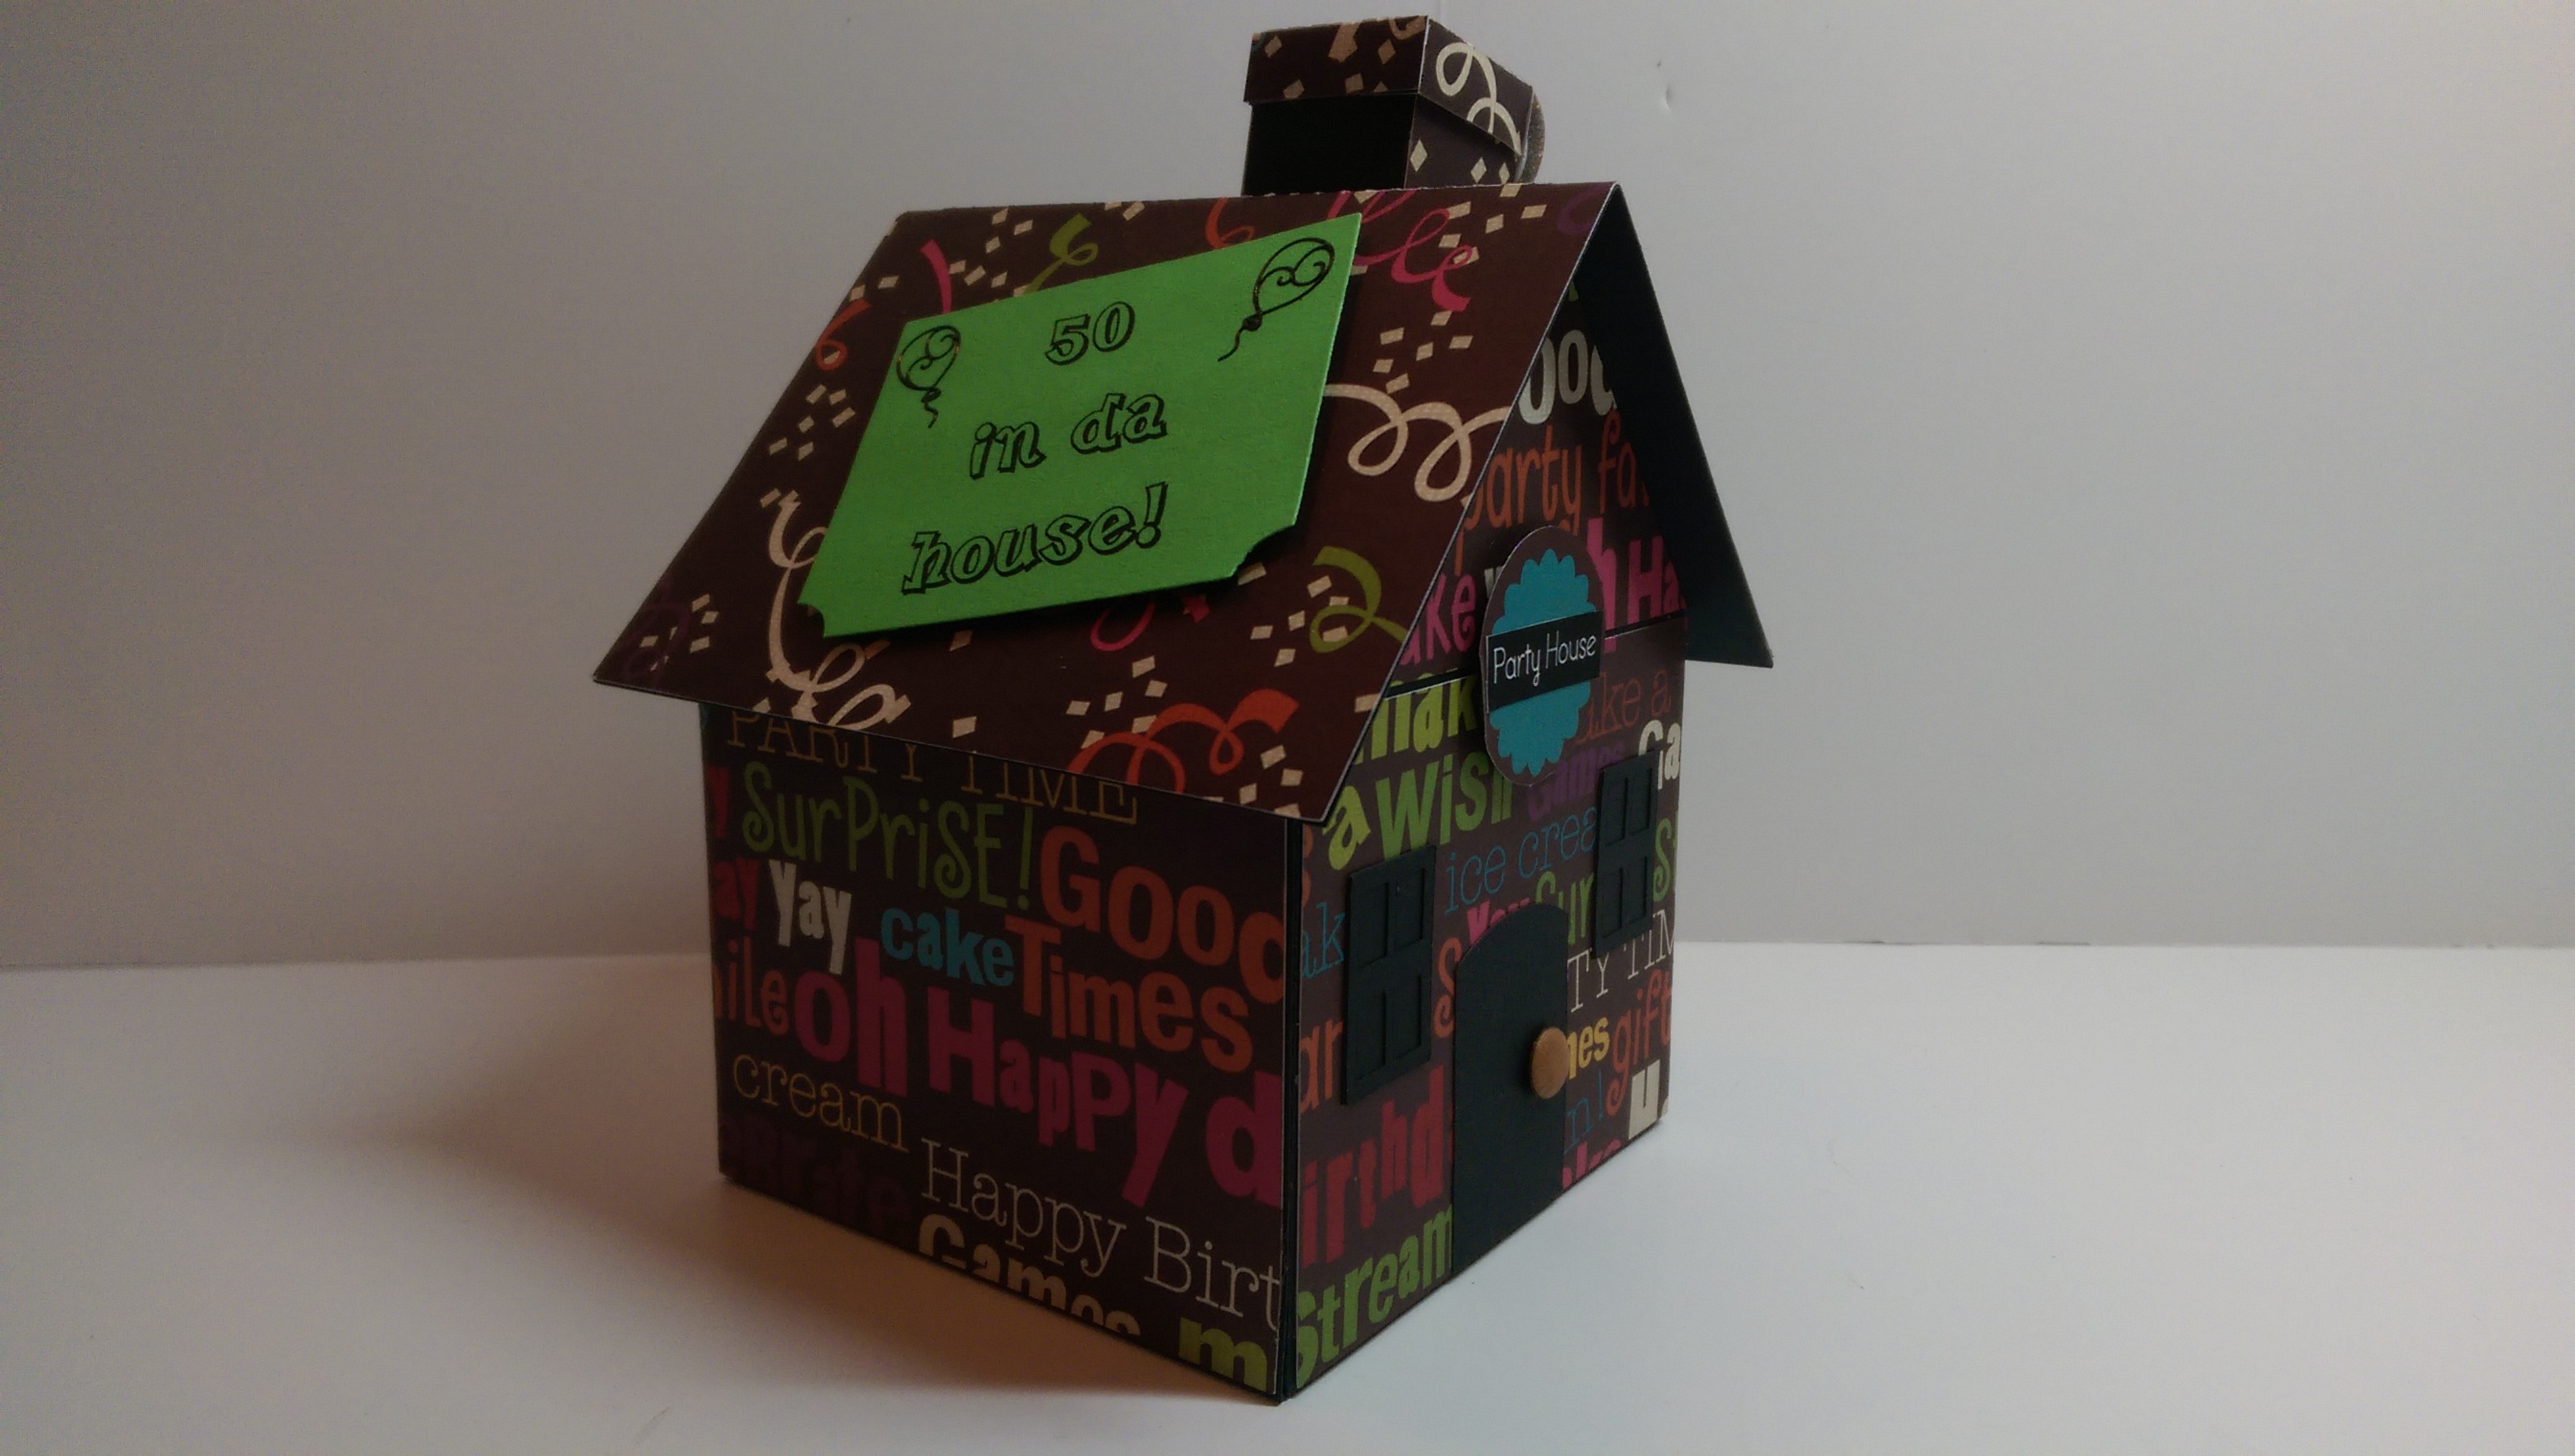
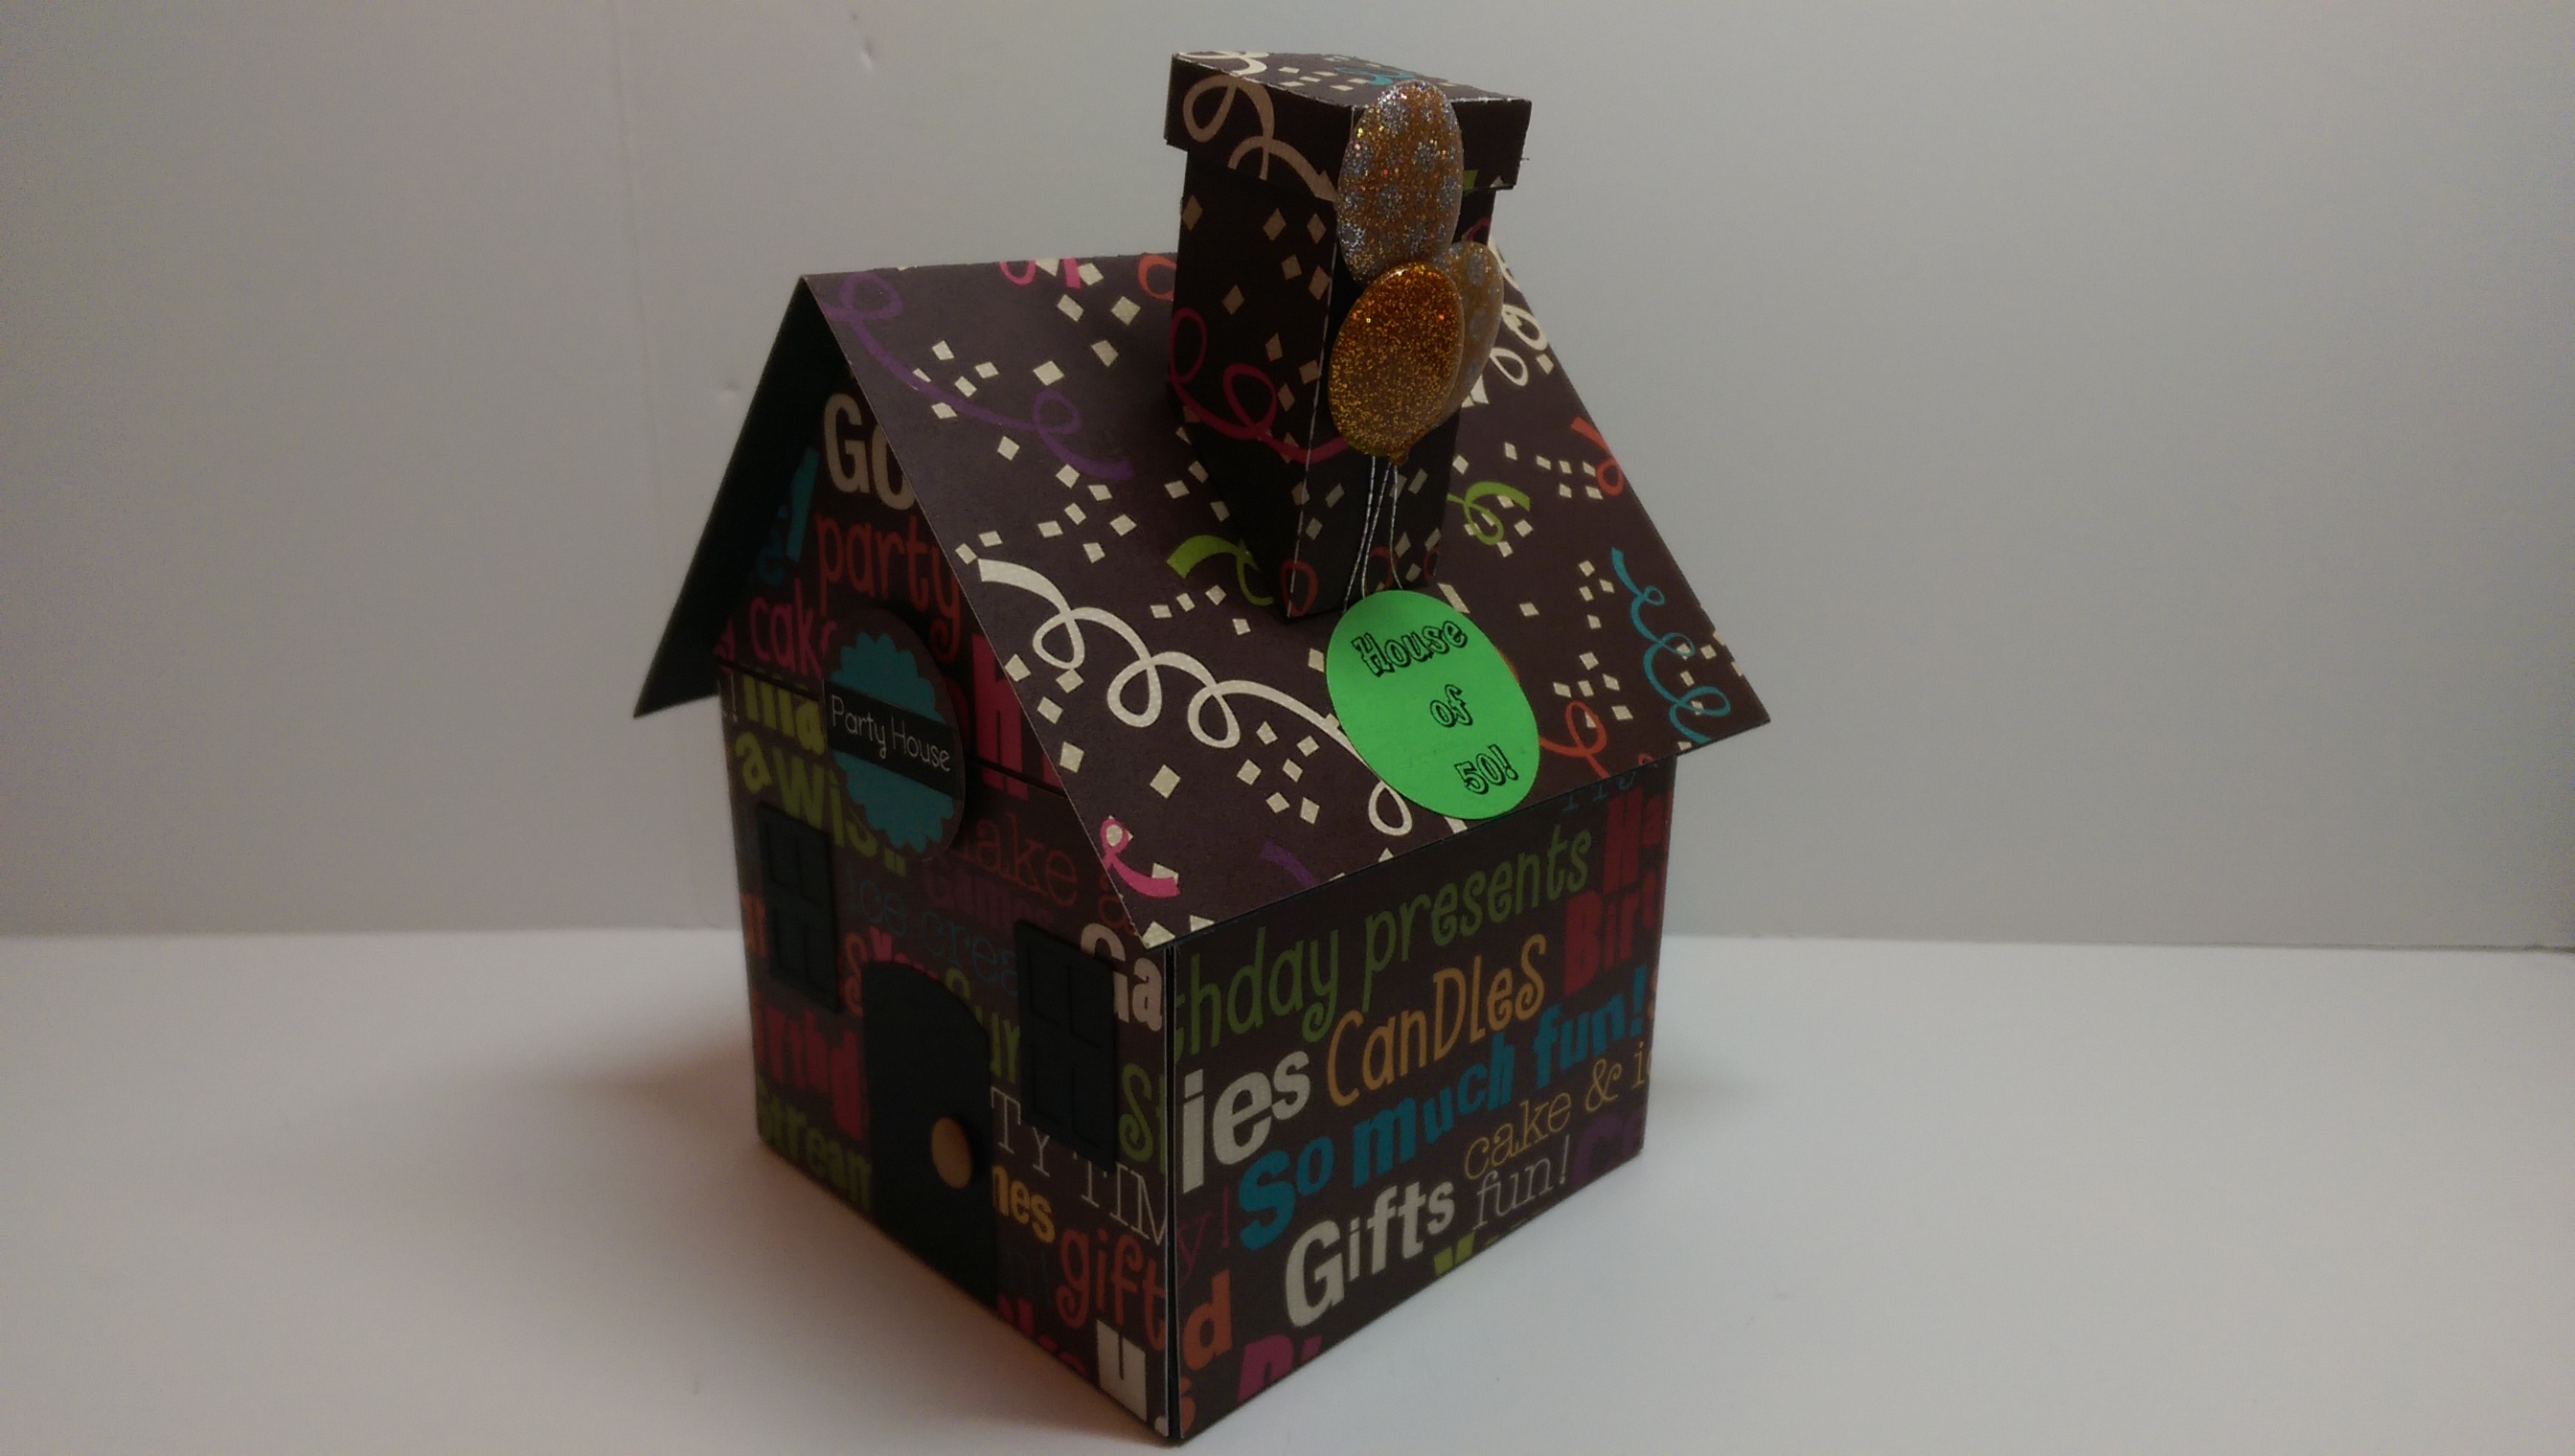
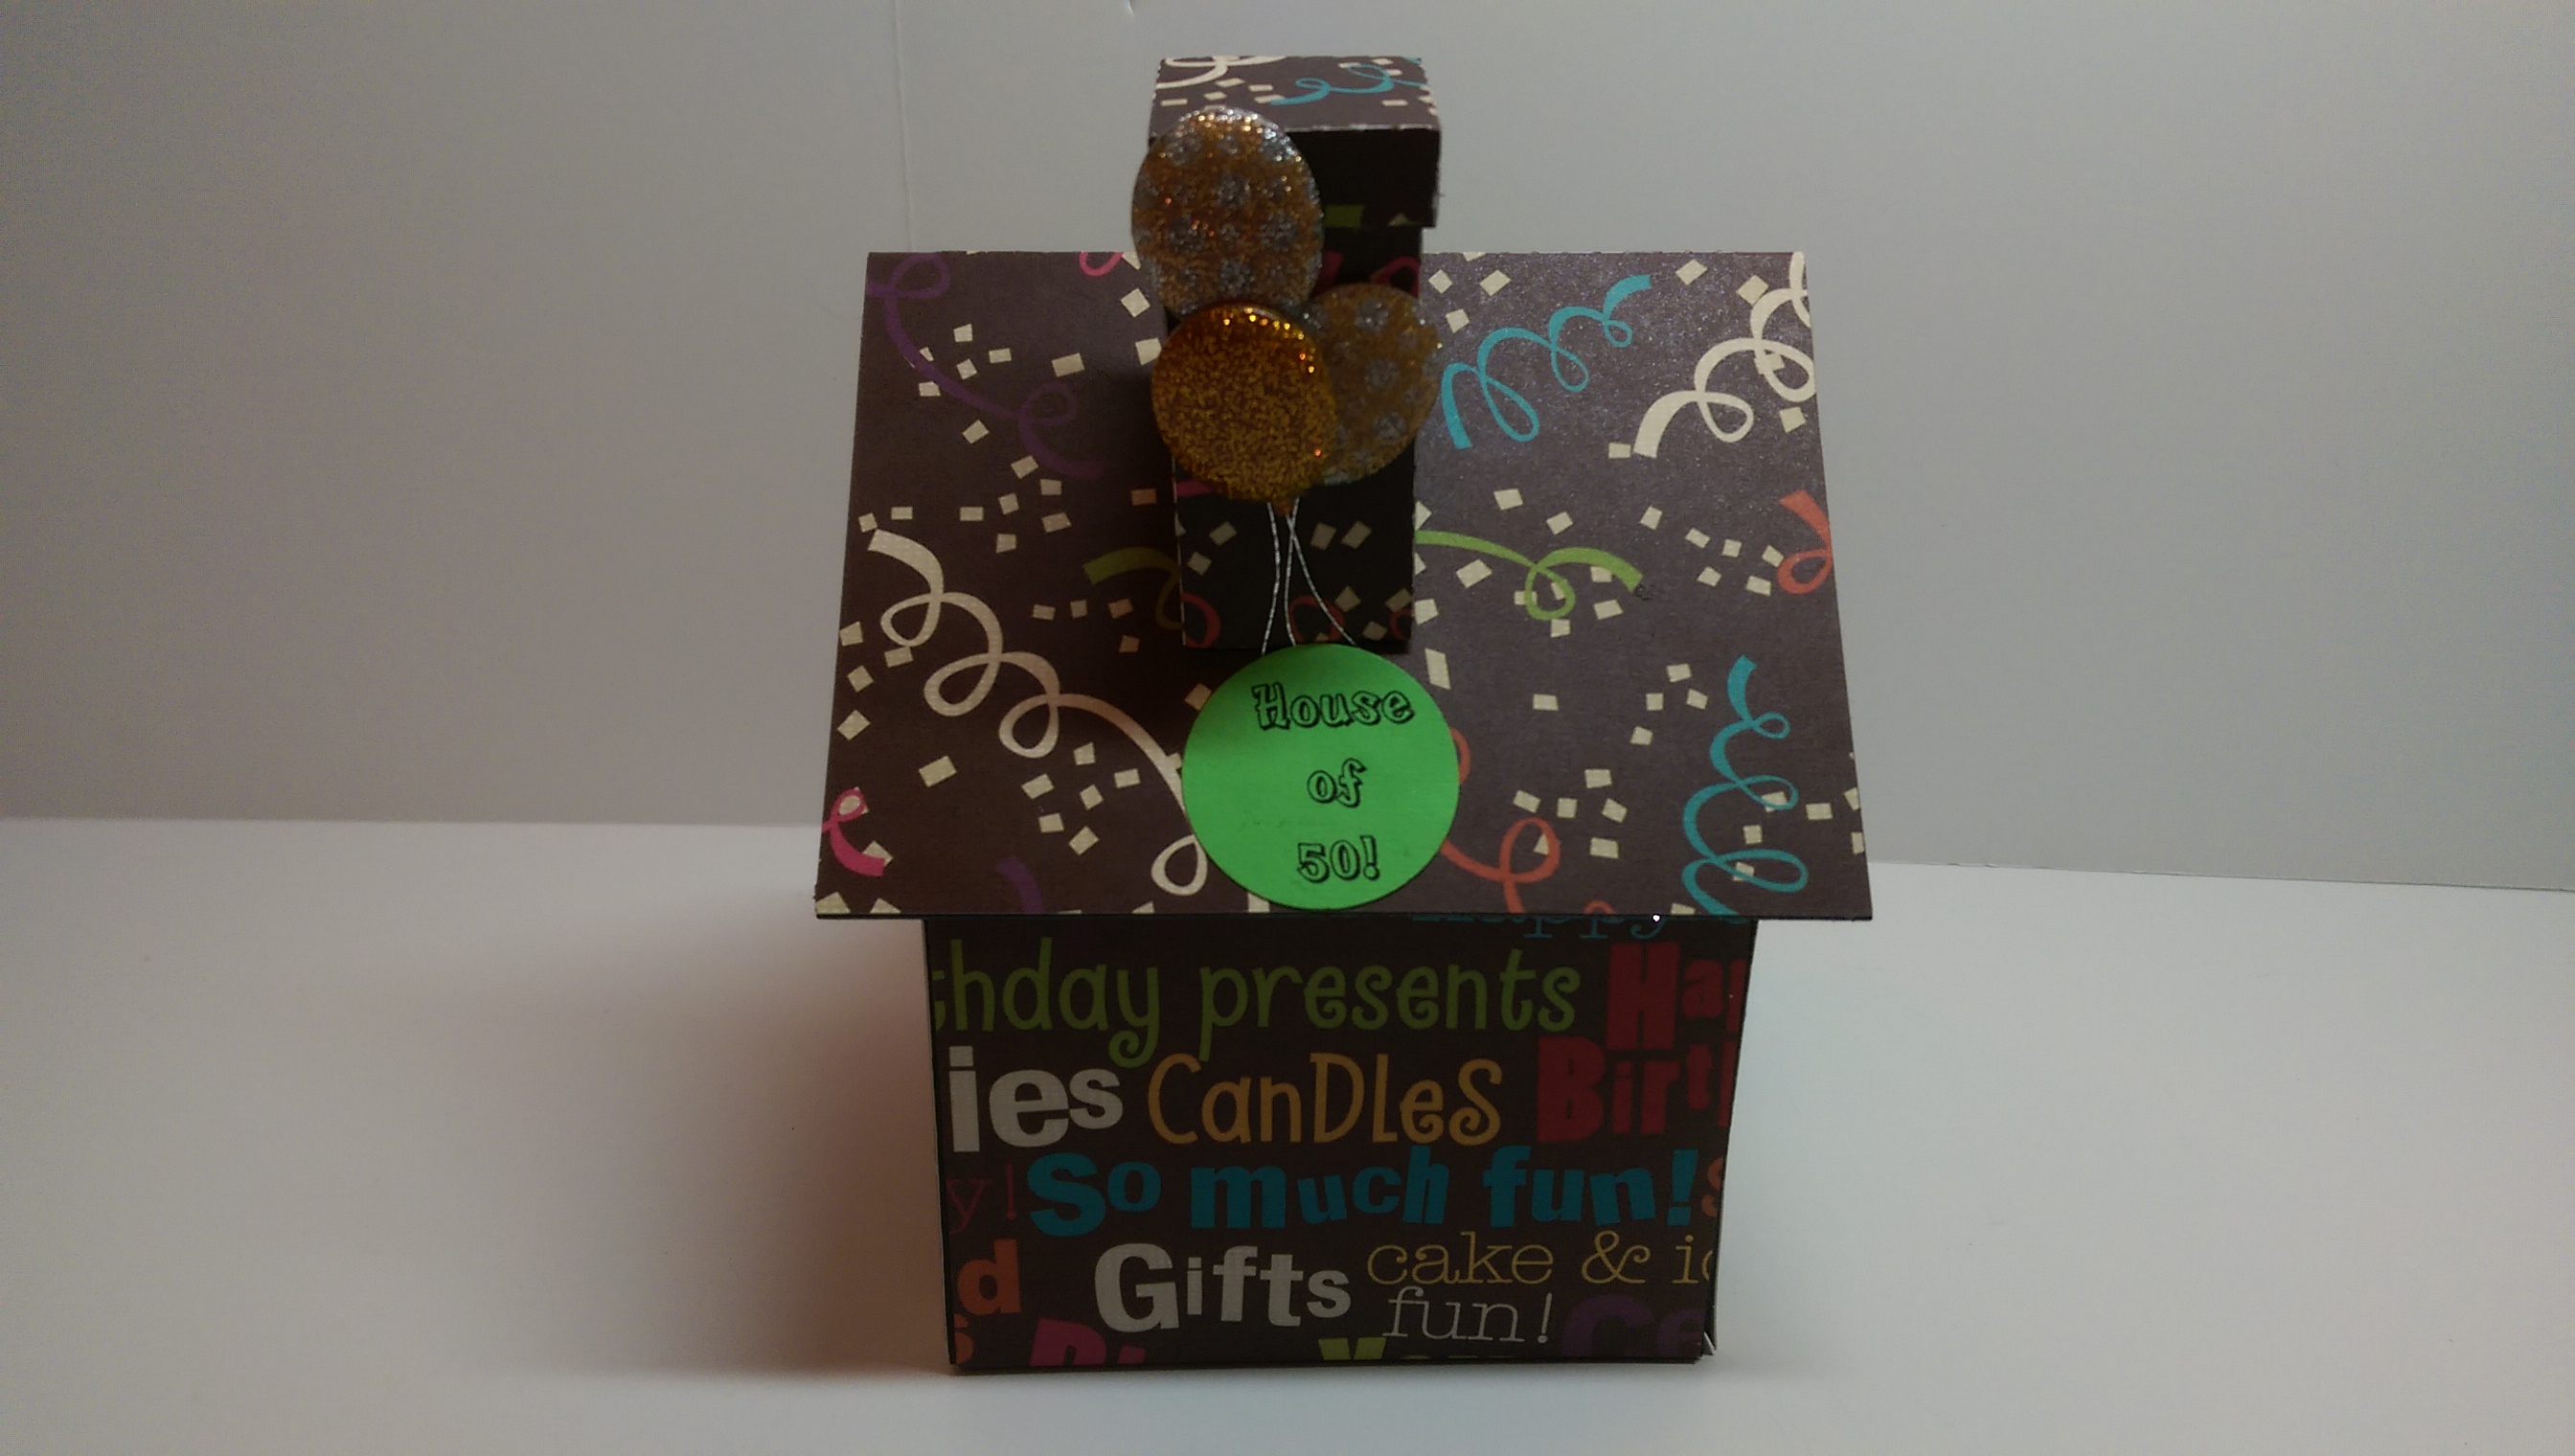
It is time for another design team post for The Cutting Cafe! This week we were given a choice of two files to work with, the House Shaped Card, and the 3D House Set which I used. I made this for my boss who has a milestone birthday coming up. I wanted to give him something he could keep in his office so this fit the bill.
This file is full of options! There are three different sized houses (I used the medium-sized one), two different roof sizes, the option to have the roof open so you can put something inside, scallops for the roof edge, a wreath, different window and door options, a base, trees, and a lot of sentiments! Whew! That’s a lot of options!
I went pretty basic with this one but with all the options, you can create so many different looking houses and you can combine other files from The Cutting Cafe to add things like grass, flowers, or a fence. Be sure to stop by The Cutting Cafe Blog to see all of the other design team projects. The project posts go up in the afternoon of both the 7th and 21st of the month. Make sure to leave a comment as each time a new post goes up, a name is randomly drawn from the previous post’s comments. That person gets three files of their choice from The Cutting Cafe!
Here are a few more views of my house and a video too! Thanks so much for stopping by and feel free to follow my blog to the right!
My friend Tmika, Scrapdaworld on YouTube, held another awesome swap and I loved being a part of it! She hosted a shaped gift tag swap a couple of months ago (check out my tag post) and this was a variation on it. I decided to do a fireplace for my tag and I actually love it. At first I struggled with it as I had used wood grain paper for the mantle and bottom. It was just too brown and had no pop whatsoever. So I dug into my Christmas paper stash and found this paper. The pattern scale was great as I needed a 12 x 12 sheet of paper to cut out all I needed and most of the patterns were too large.
Back of Tag
The tags had to be shaped and had to have at least two embellishments, a to/from on it, and had to have some way to hang it. I used a lot of metallic, glitter, and foil elements.
Mantel detail
I love the mantel as I draped tinsel ribbon wrapped with miniature lights and hung glitter stockings. It is so cute, just like a real Christmas Mantel. I started to put candles and statues on top if it but I thought they would not be as durable since they would just be little pieces with no backing for stability.
I used a resin log for the firelog
I found resin logs from Michael’s fall Recollections embellishment line. They were longer, I just sawed them down to size. I also used some of my glitter to actually put glitter on the fire. The bricks are a texture paste. I was going to use brick printed paper and when I told Tmika what I was doing she suggested using a texture paste. I am glad she mentioned that as I had not thought of it and really like it on my tag.
Fireplace shaped box for packaging
The Silhouette Online Store just added a fireplace box gift card holder and I thought it would be perfect packaging. I resized it and used Tim Holtz’s frosted film over a layer of clear film that actually was the wrapper from the Silhouette mat I had just opened. There was a little bubbling of the film but not a lot.
All six of my tags
There are five other members of my group and I also made one for Tmika. Three have red garland and three have green garland.
I had fun with this swap after I got through the paper issue. I really loved the way they turned out and I hope that my group members will also. Thanks for stopping by. Before you go, take a look at my YouTube video…
It is the 21st of the month and time for another Design Team post for The Cutting Cafe! This time we focused on fall and Halloween. I really do not celebrate Halloween so I went with the fall theme. There were a few files we could choose from…
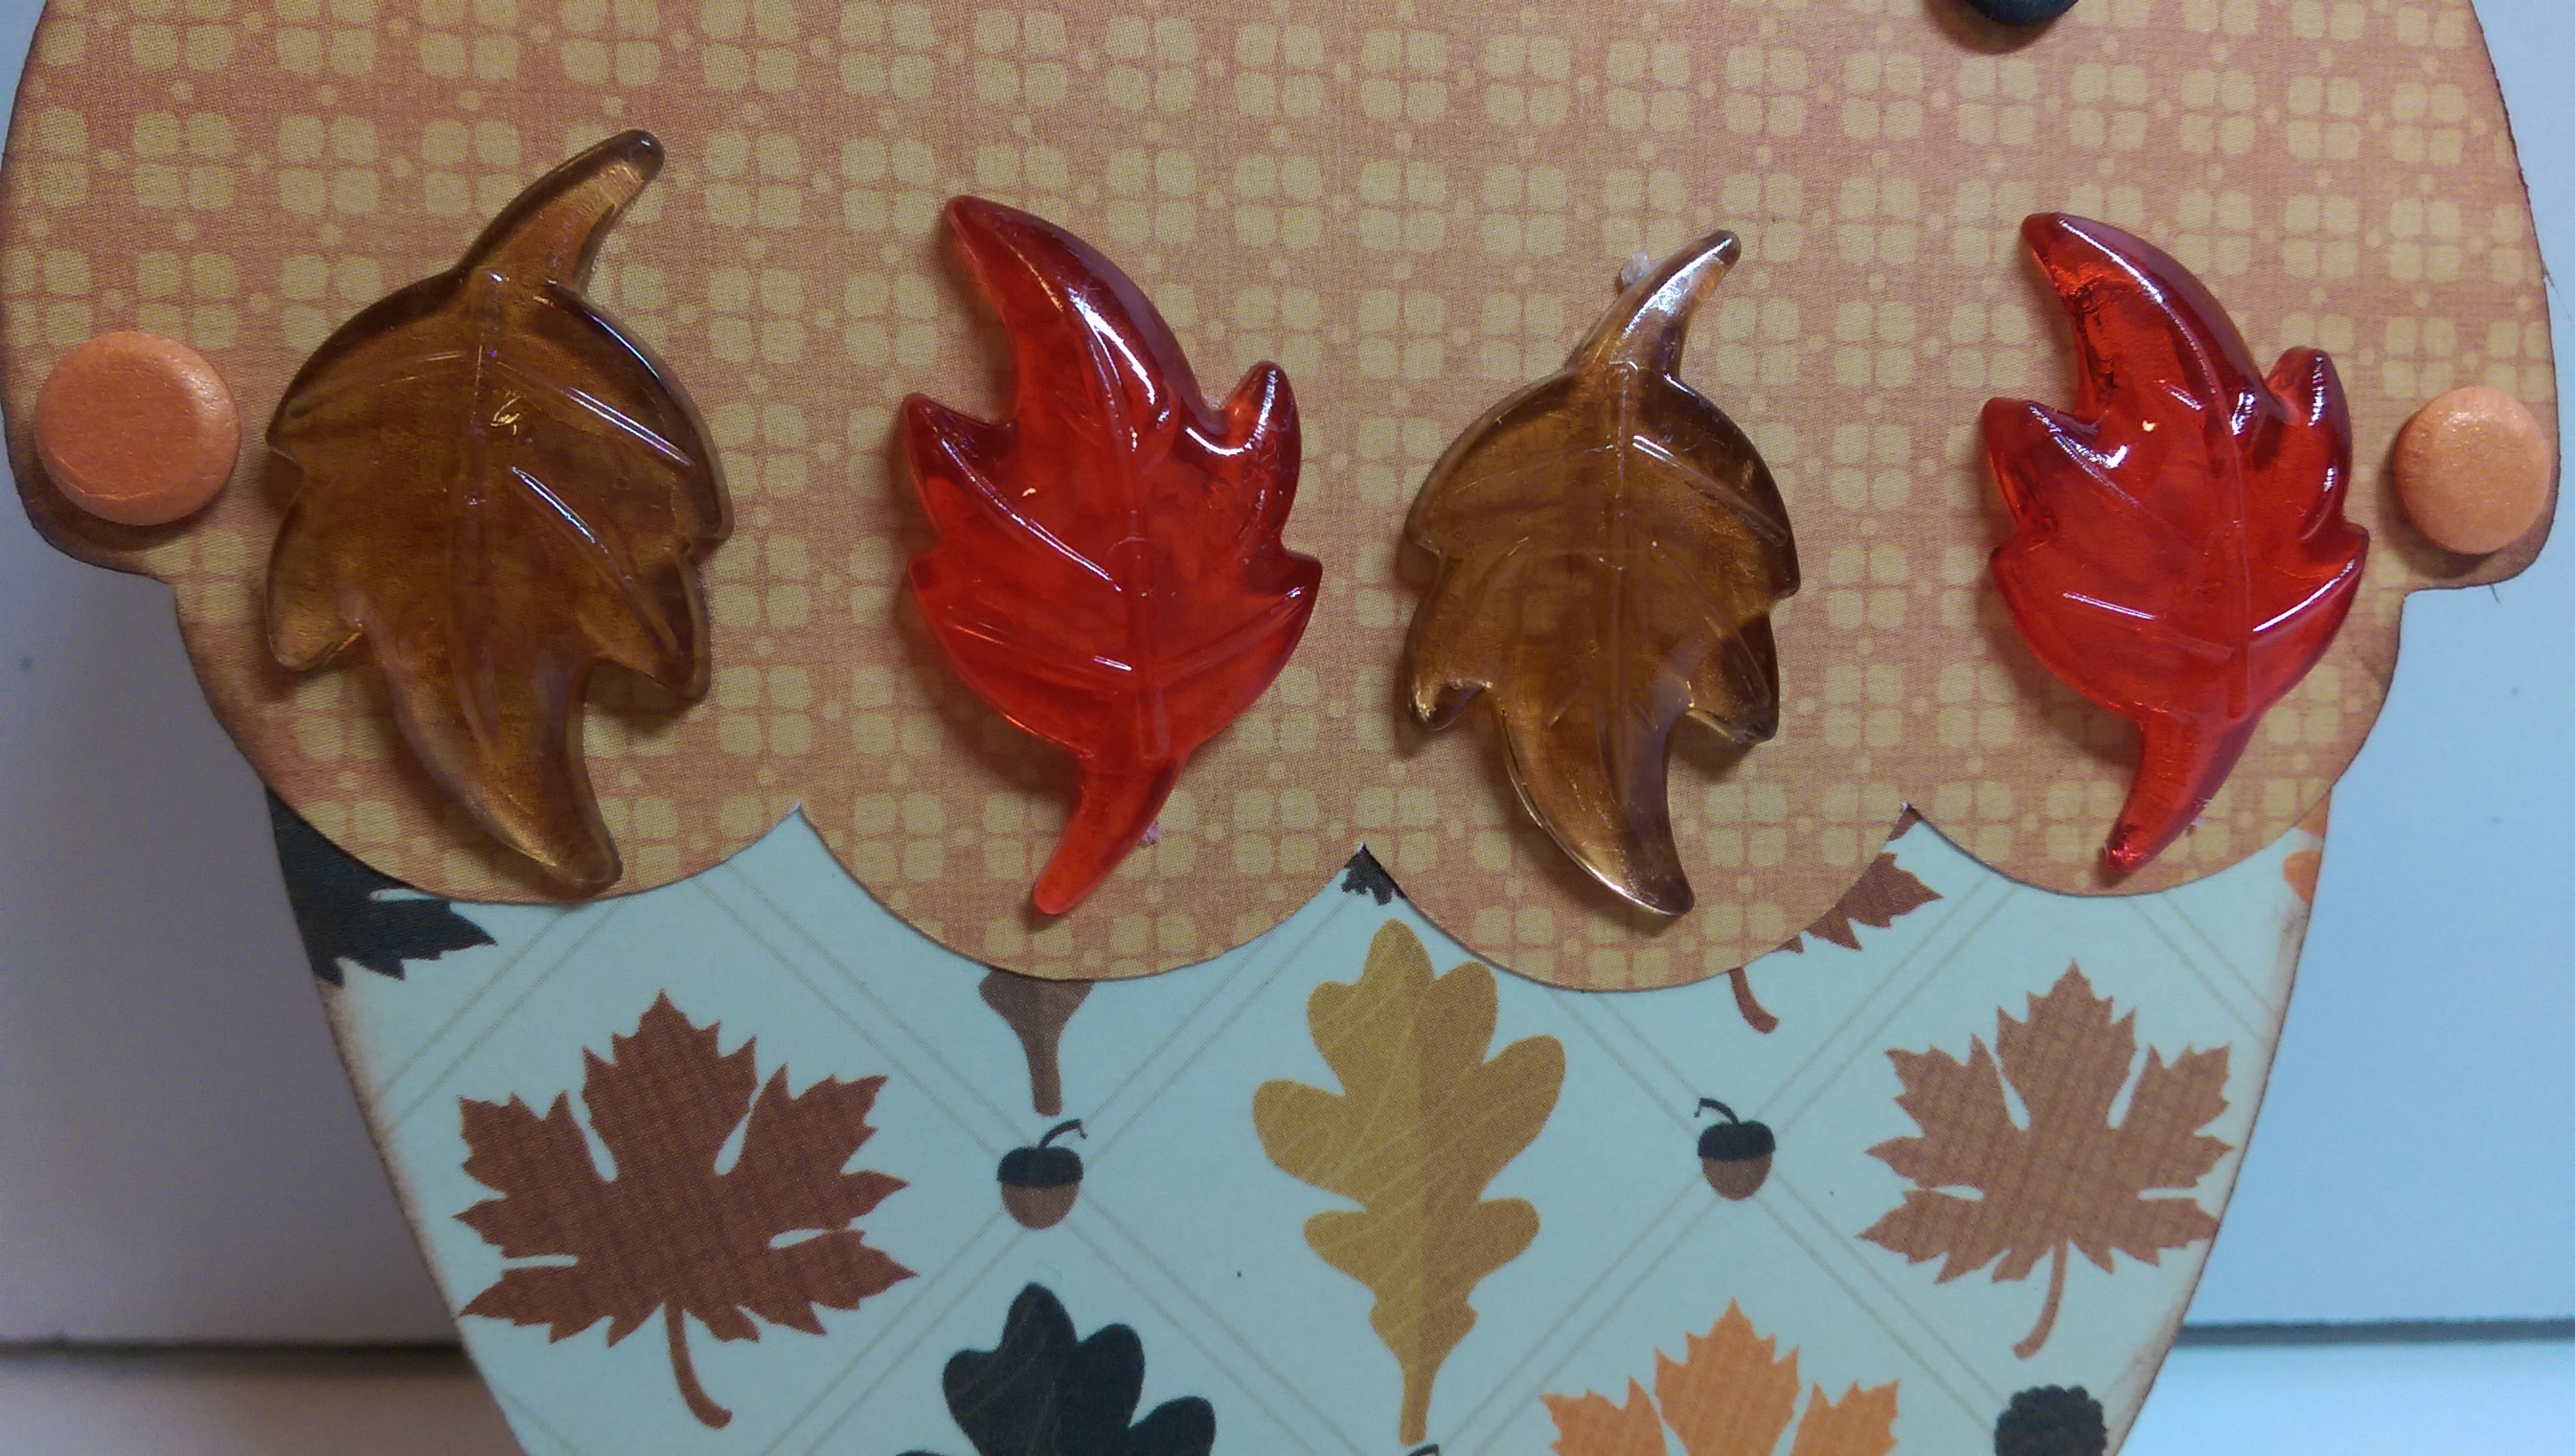
I cut the card from brown cardstock and used Recollections and My Minds Eye papers. I added a happy birthday rub on and candy dots for accents. I also added acrylic leaf embellishments.
Acorn Shaped Birthday Card Close Up Leaf Detail
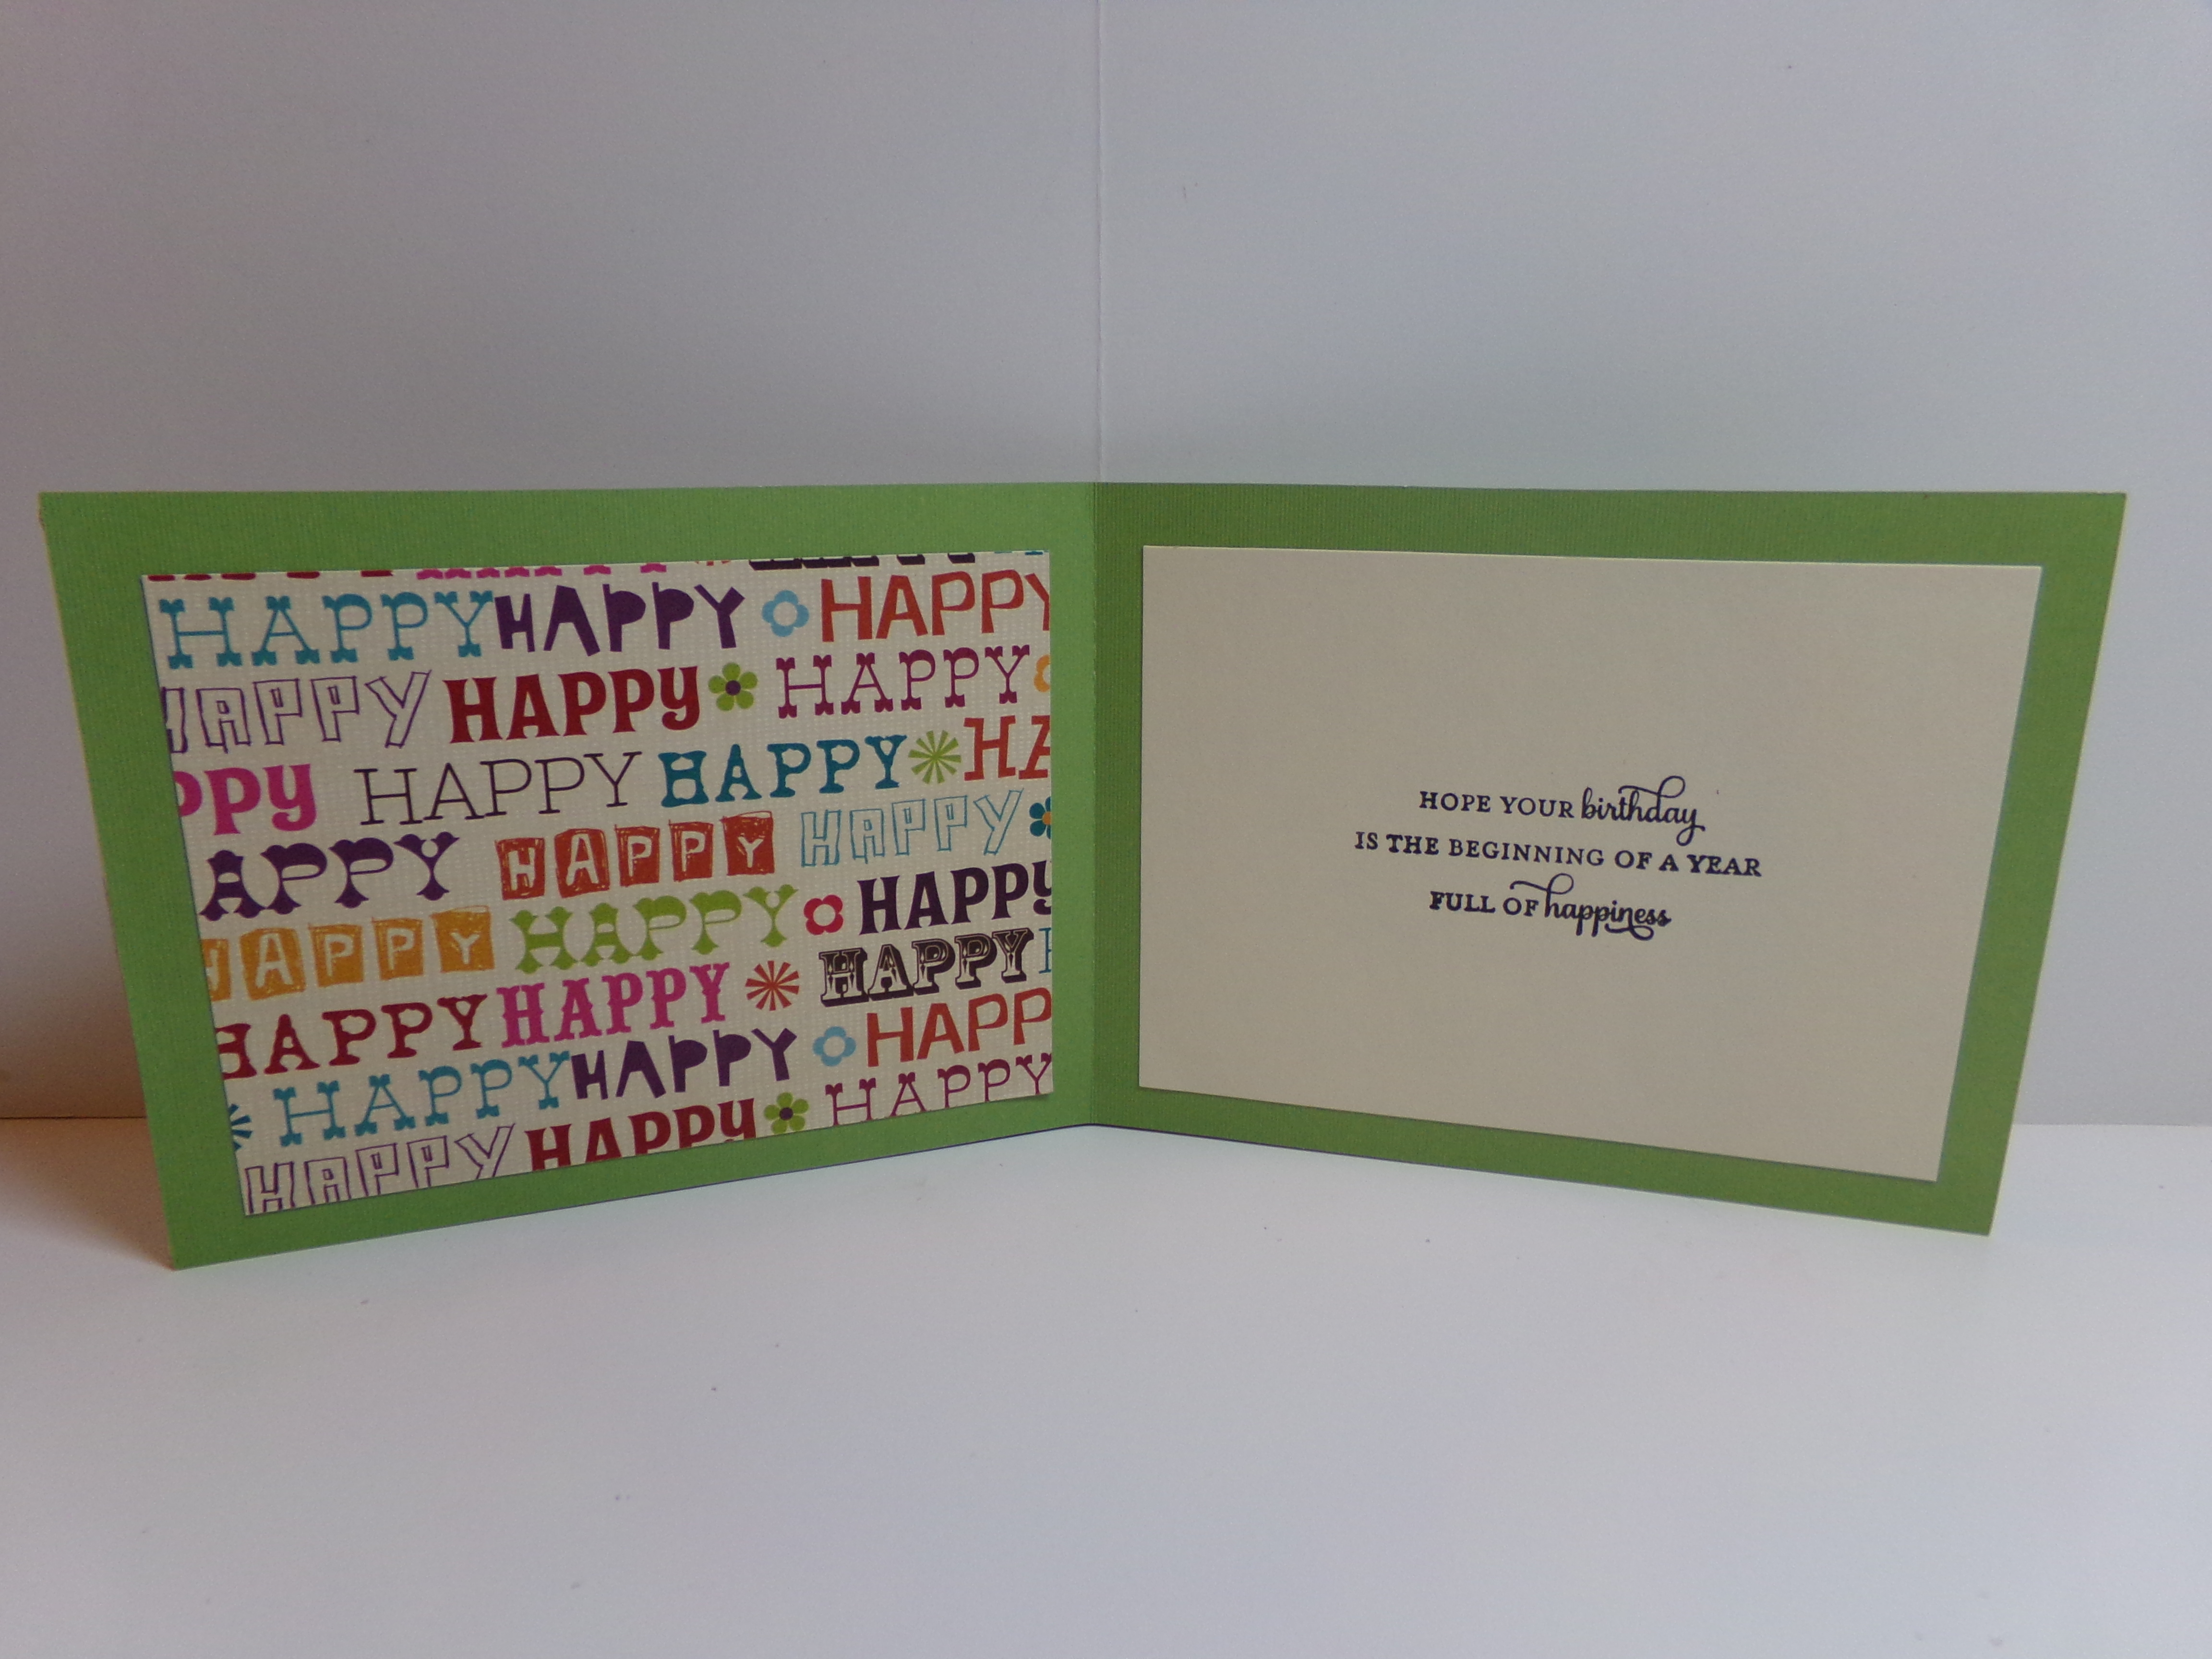
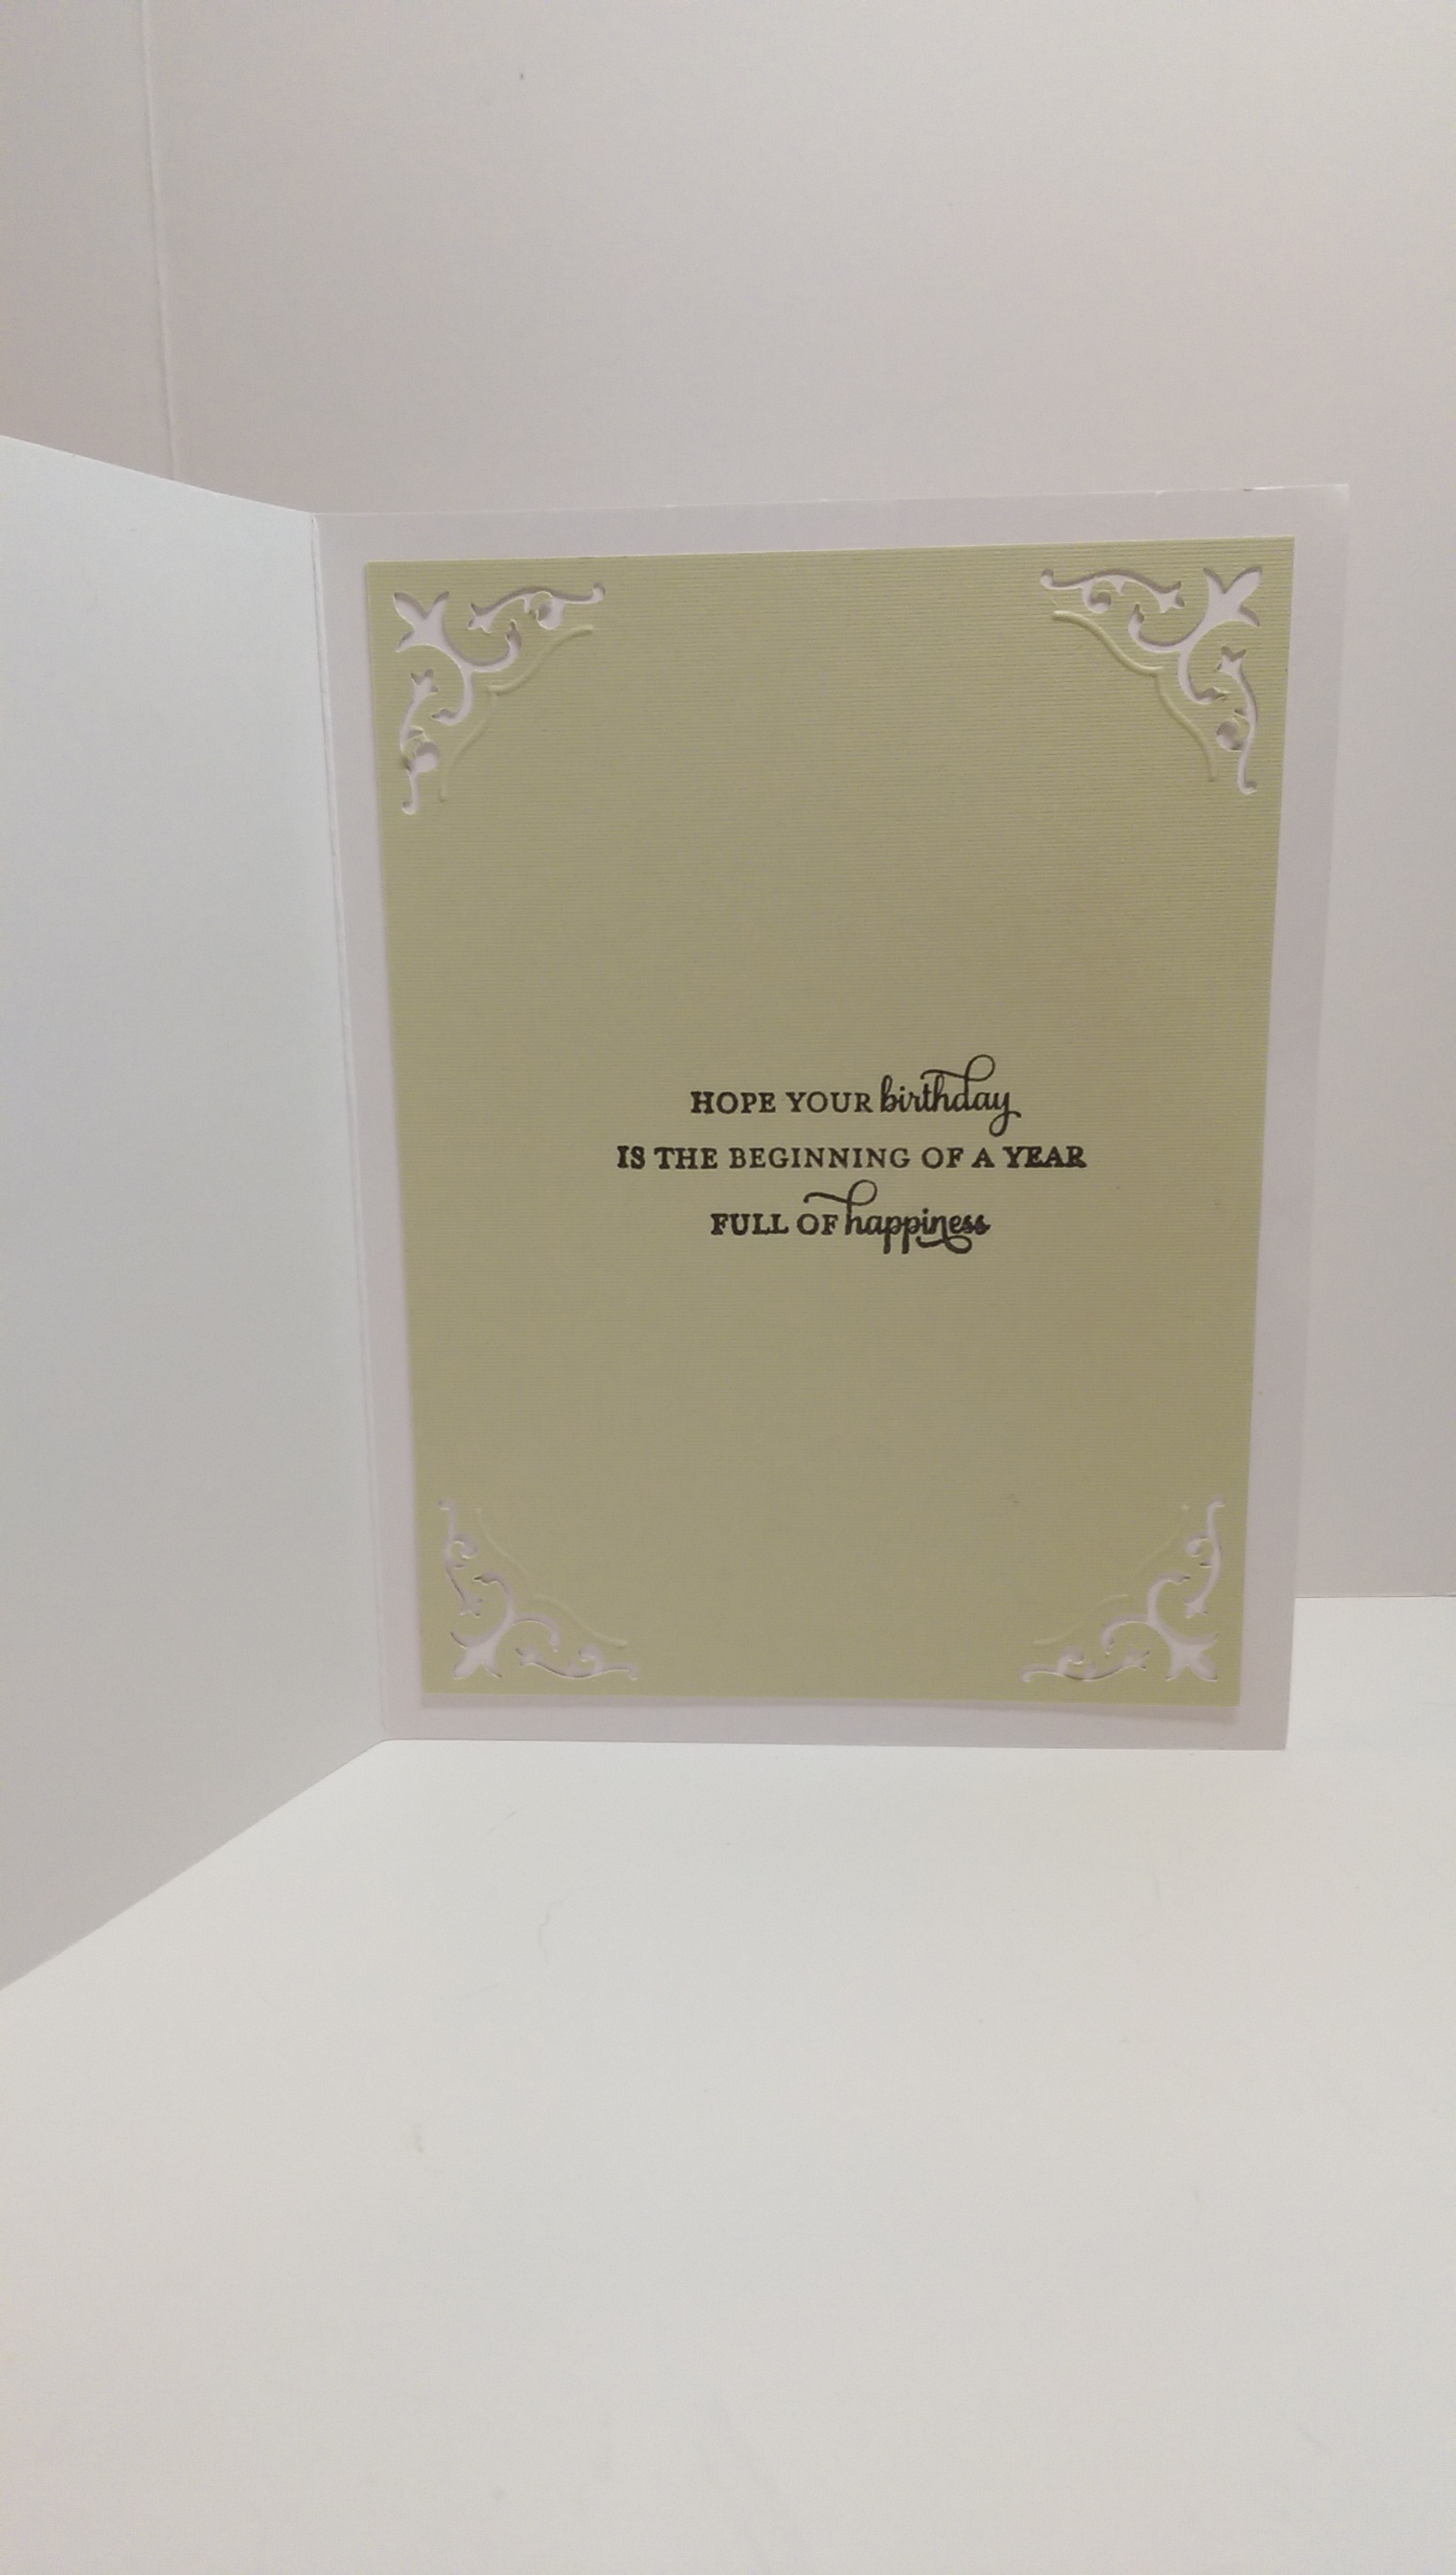
On the inside I printed a humorous sentiment…
Acorn Shaped Birthday Card Inside
And I covered the back in the same acorn/leaf paper…
Acorn Shaped Birthday Card Back
I think it turned out nice and I plan to give it to my uncle who sometimes tells corny jokes. Thanks for stopping by. Make sure you stop over and see all the design team projects on The Cutting Cafe Blog. Leave a comment to be eligible to win three files on our next post, November 7th.
For our project for The Cutting Cafe, the theme was pumpkins. We are entering into the fall season and what better way to showcase it than with pumpkins. They are standards for decorating and pumpkin flavored cake, coffee, cookies, syrup, and everything else is available everywhere you go!
I used the Pumpkin Trio Card and decided to go non-traditional and make gold and white pumpkins for a sympathy card. One of my staff lost her brother very suddenly and she is entering a new season in her life without him. So, I thought the pumpkins would be great to symbolize the season change. I think it came out beautifully. She loved it.
Pumpkin Trio Sympathy Card Front View
Pumpkin Trio Sympathy Card Inside
There were many other files we could choose to work from this week so there will be lots of variety on The Cutting Cafe’s Blog on tomorrow. We post our projects on the 7th and the 21st of each month. Make sure you leave a comment and you may win three free sets of your choice. Now take a look at all the other sets that we could work with:
I am an association management professional who has always loved fashion, sewing, crafting, writing, cooking, and shopping. I am married to a wonderful man and have a great family foundation. I like to share inspiration with as well as get information from others and hope this site will let me do just that. Happy crafting!