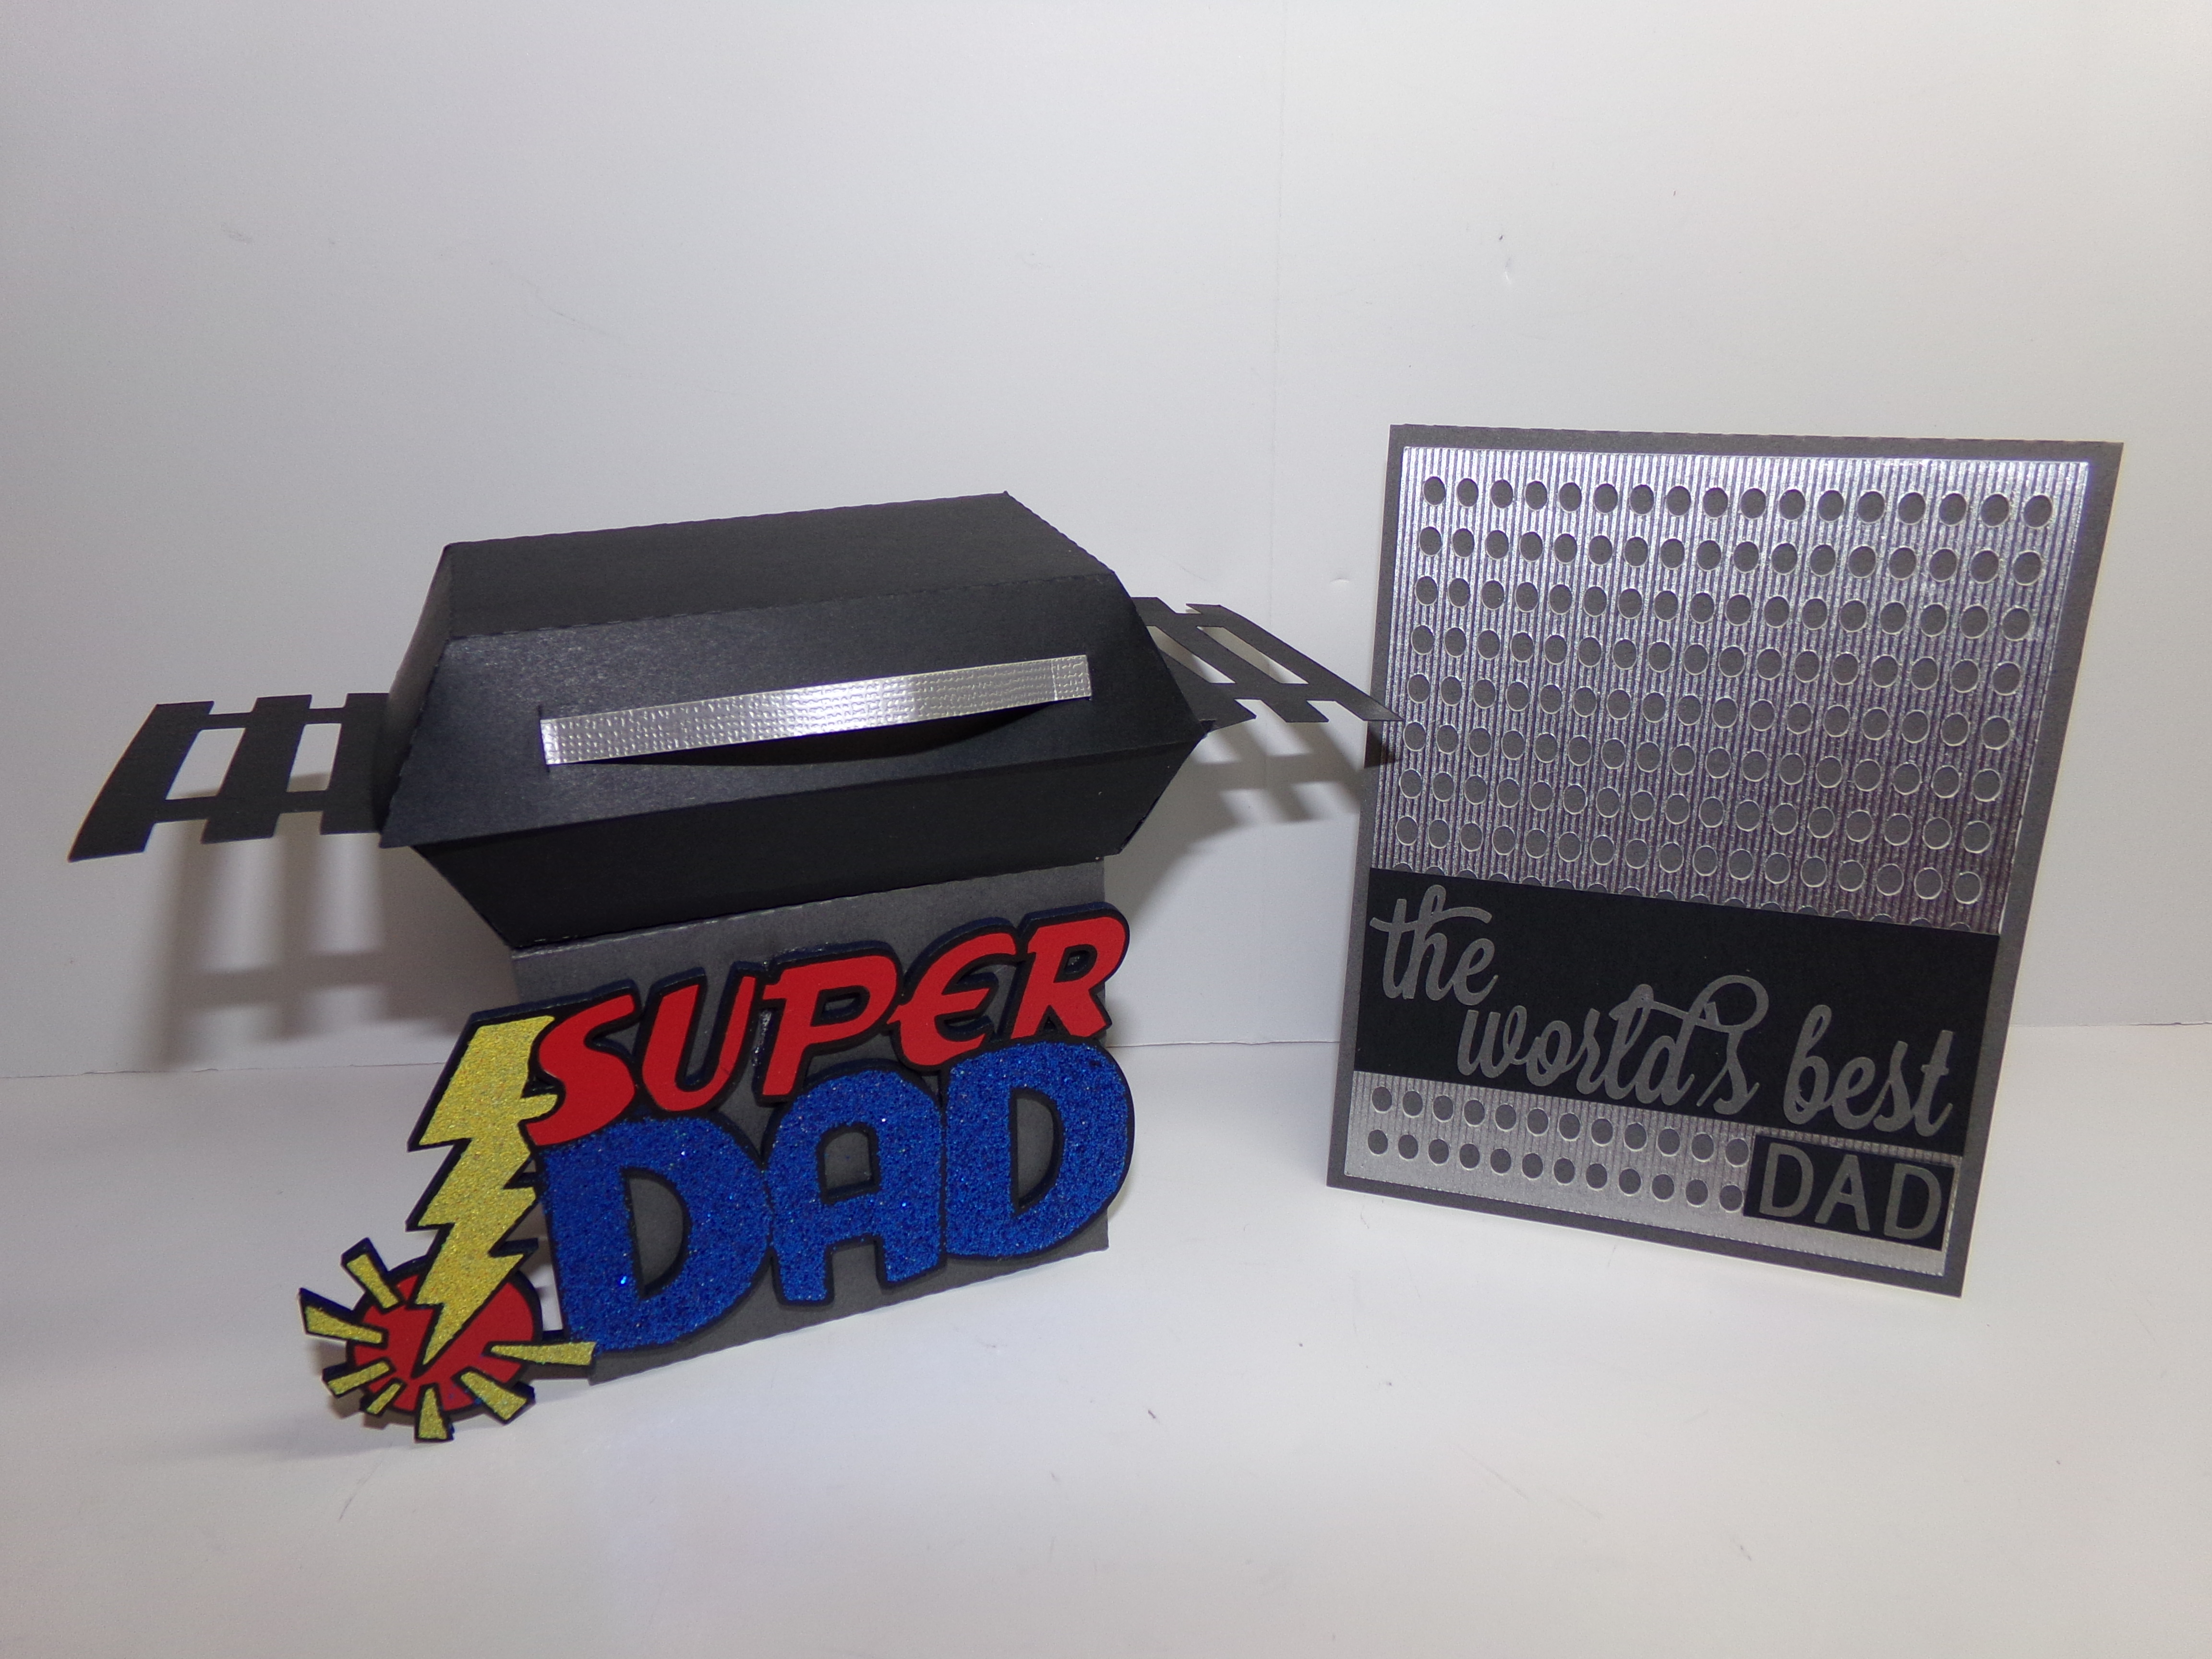
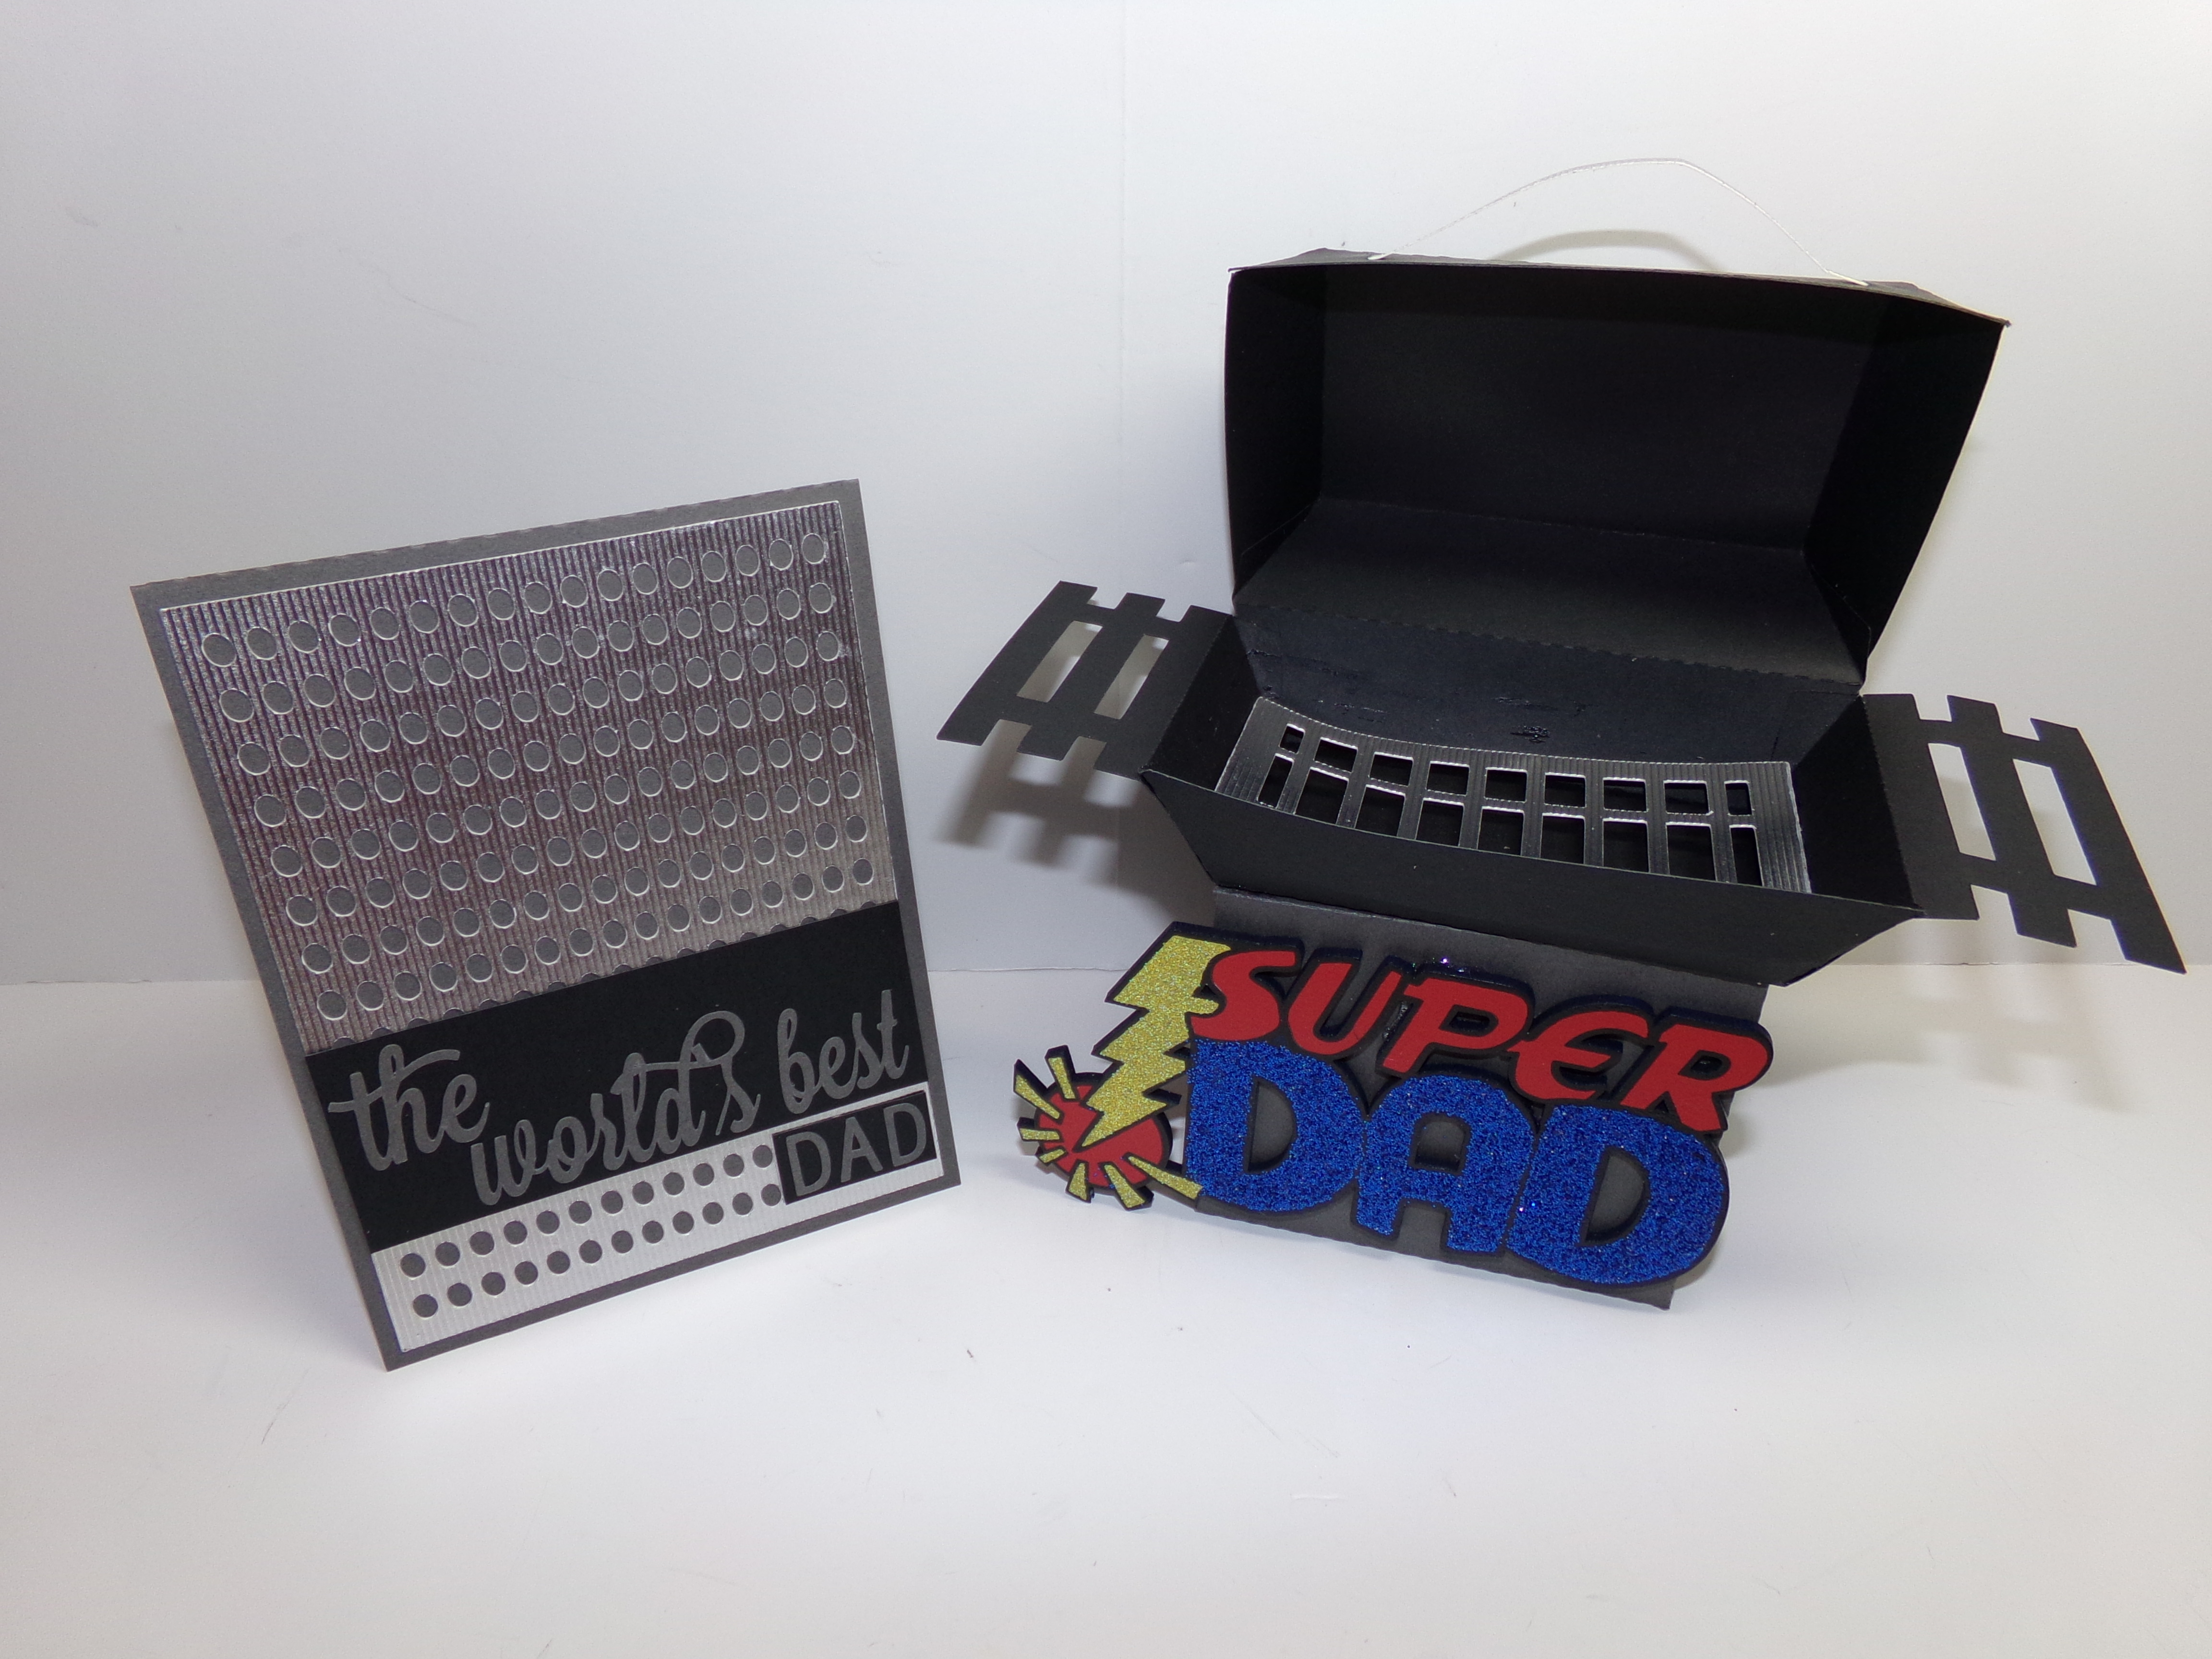
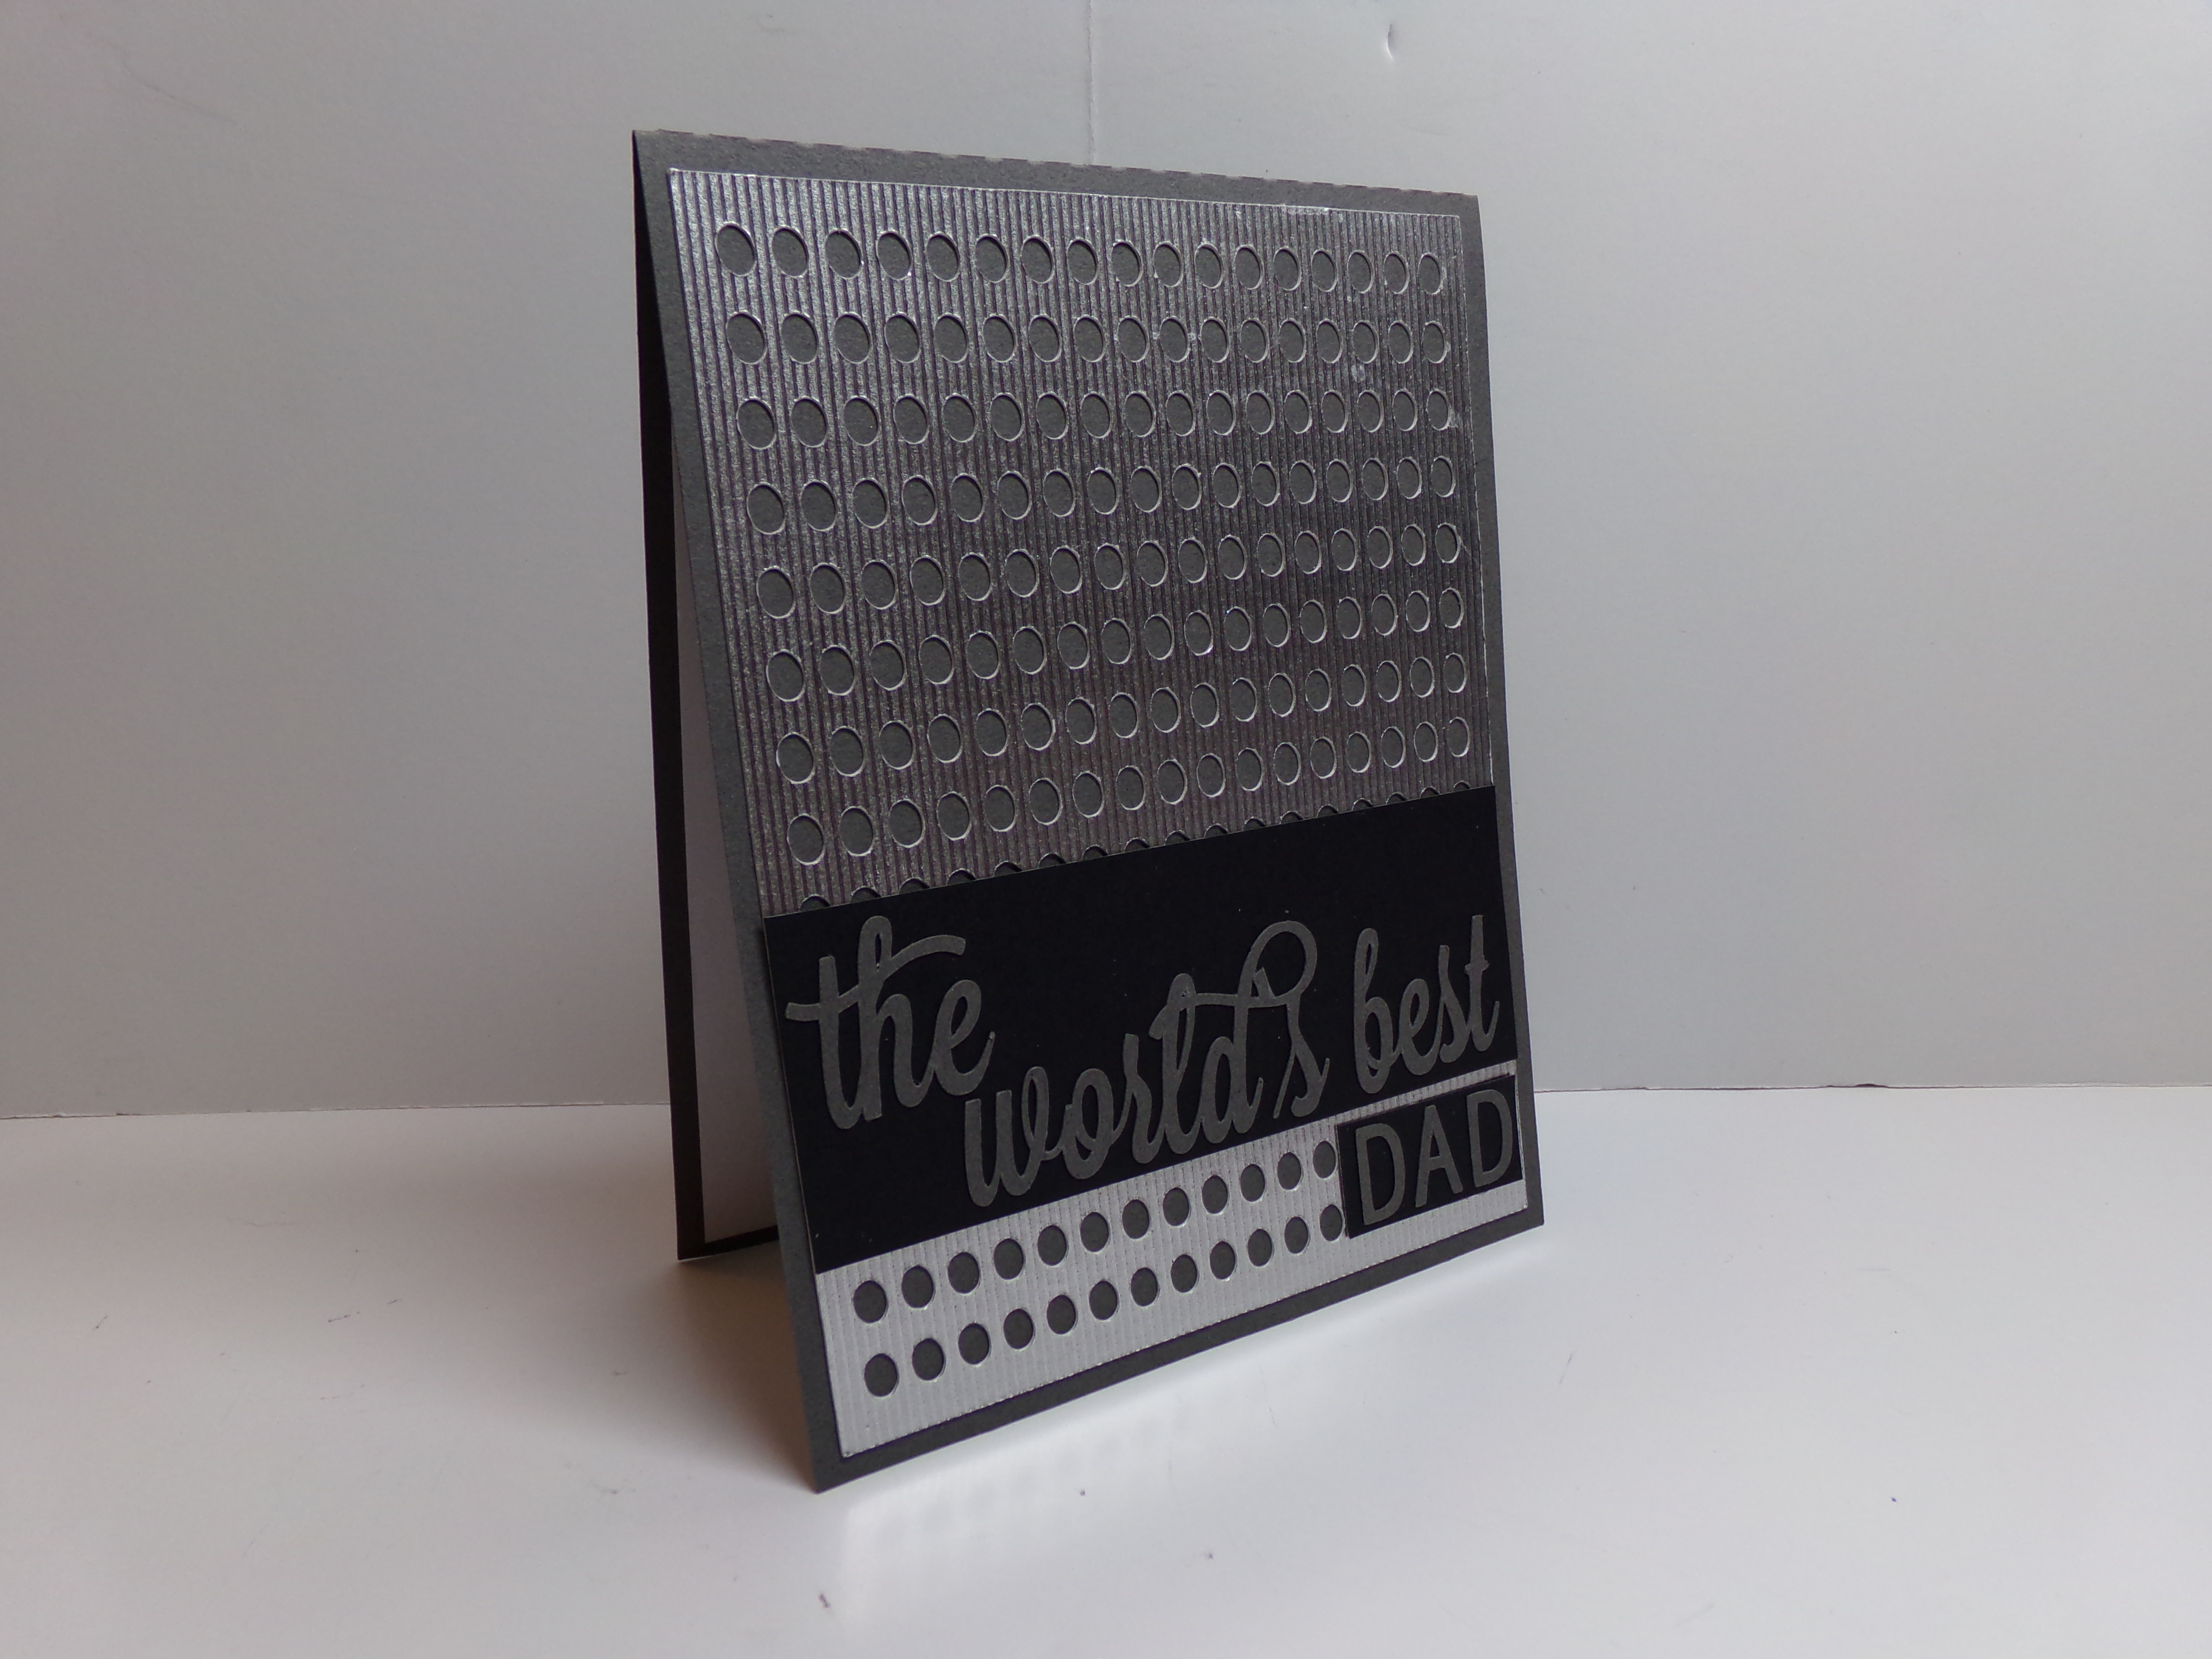
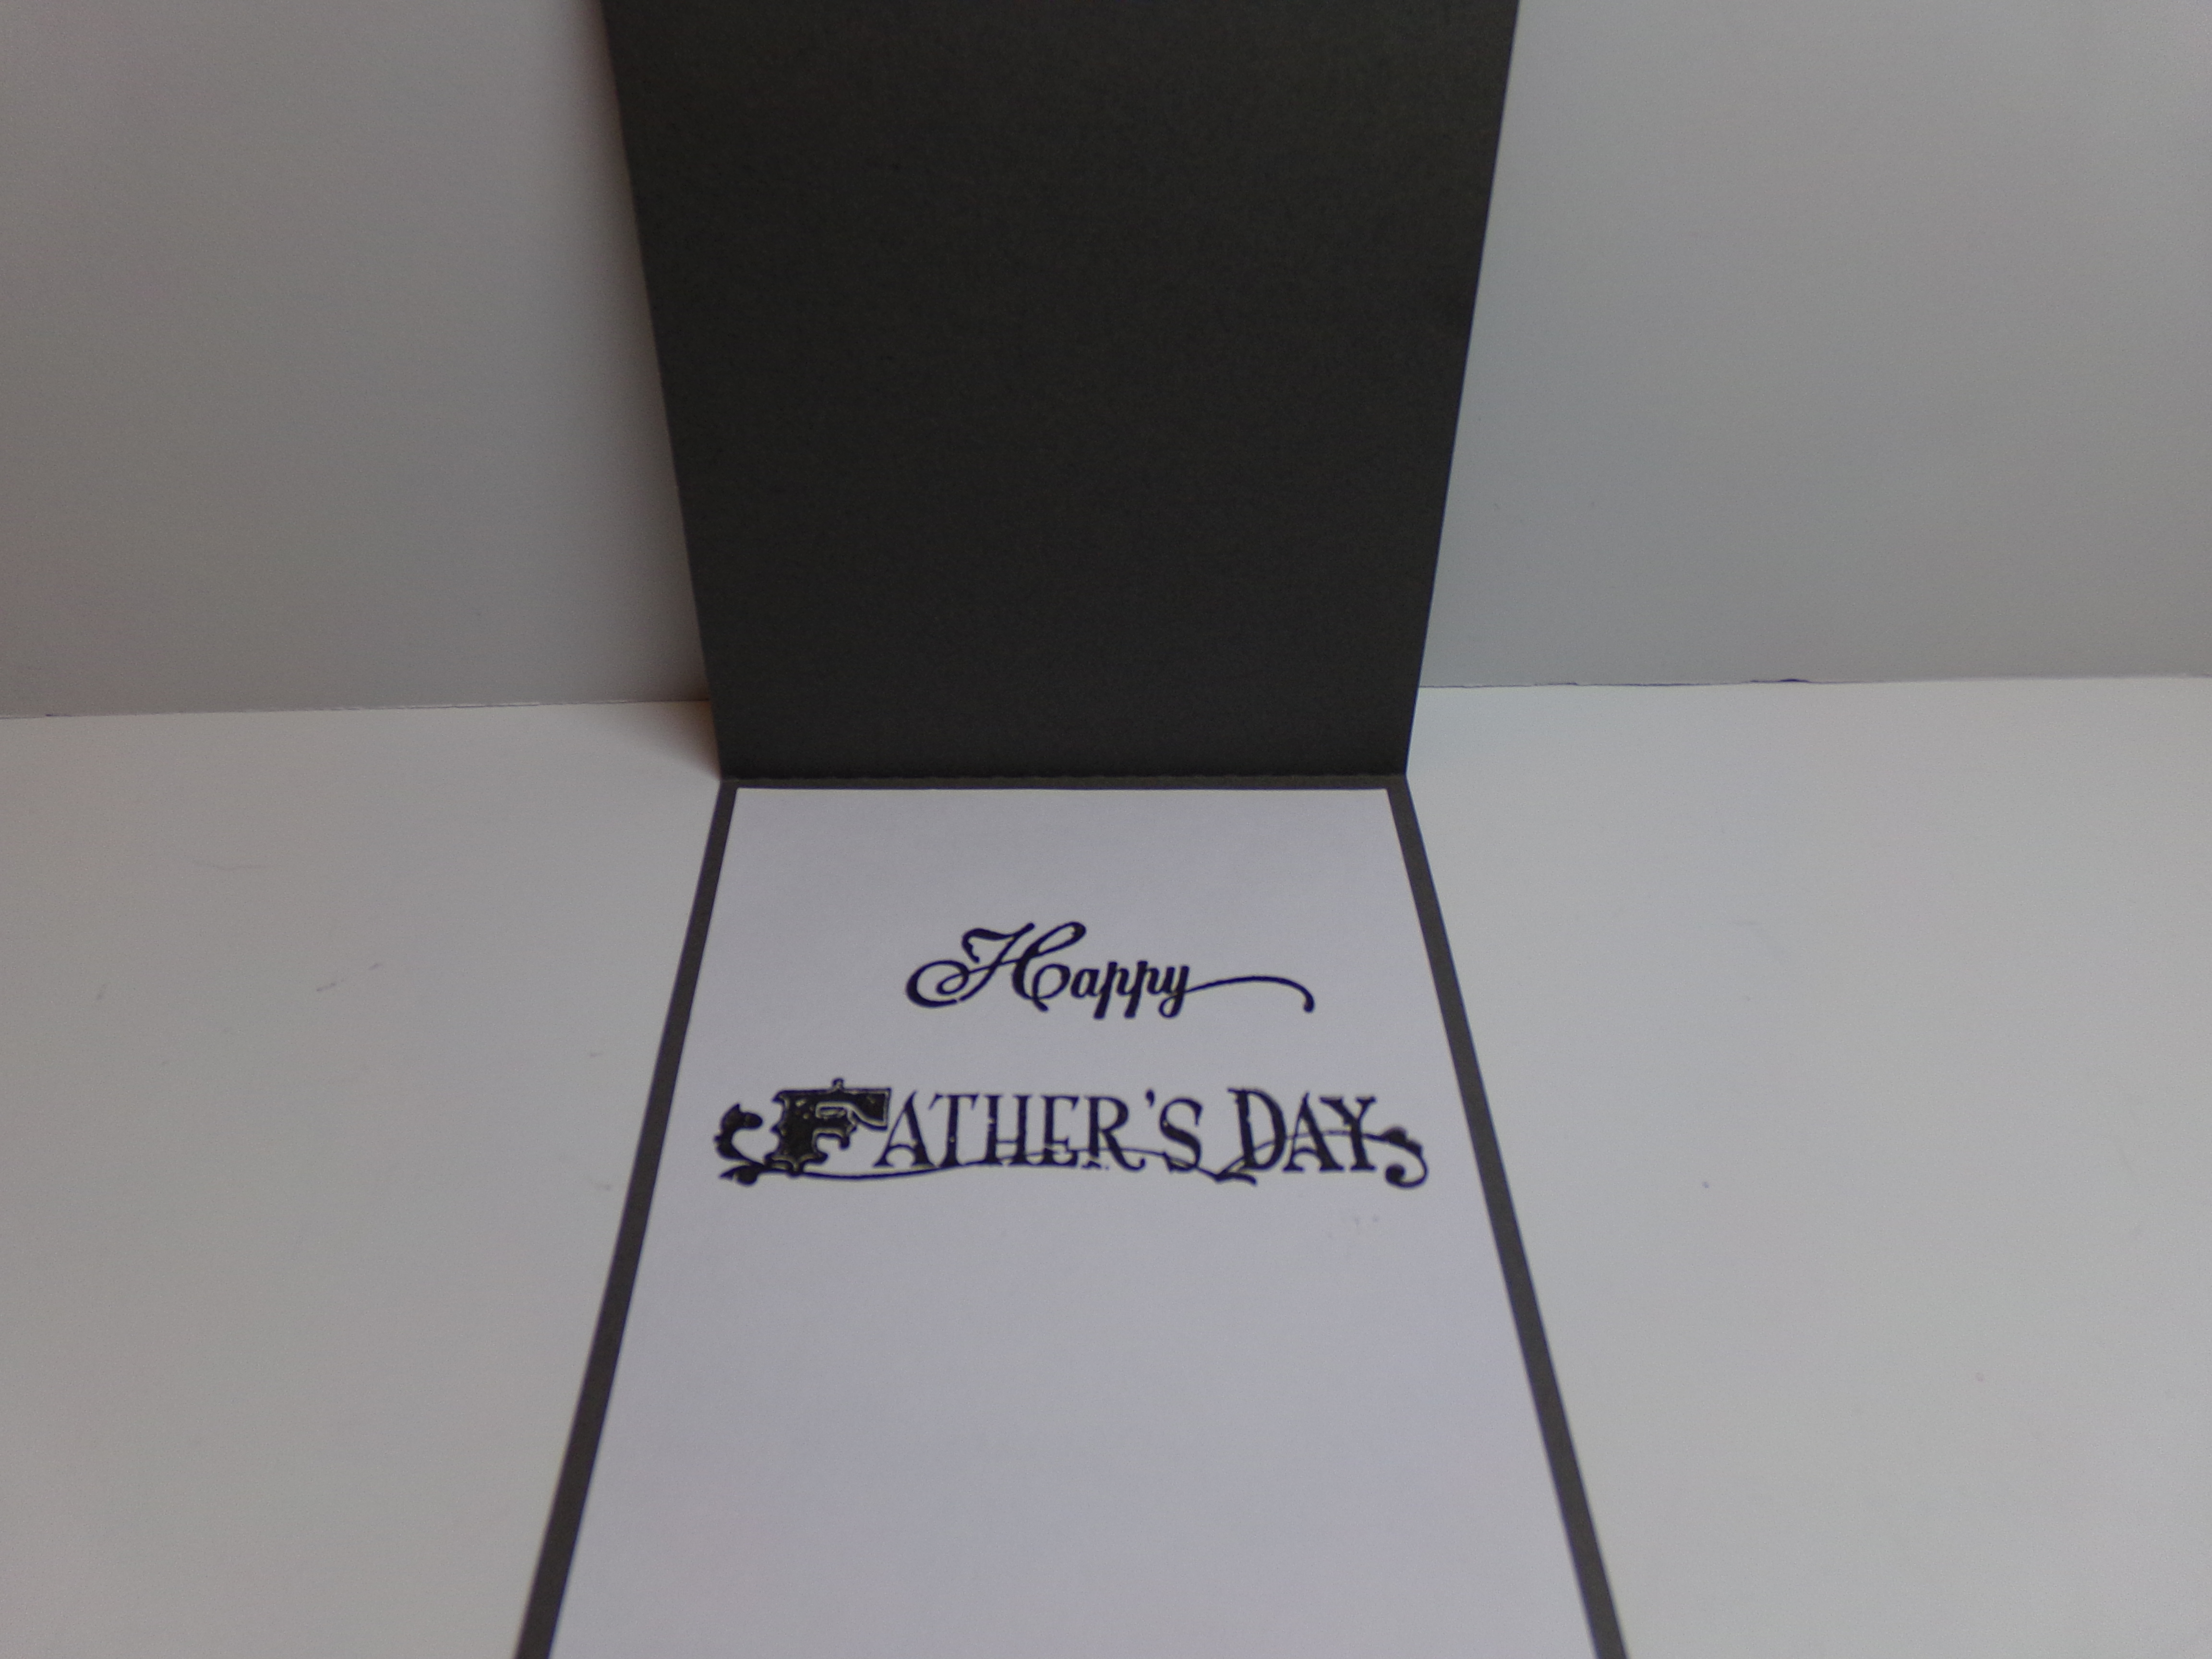
Although Father’s Day has past, I wanted to show the cute card and gift card holder I made for my dad! The gift card holder was a 3D grill! I made the card with an overlay that looked like a grilling sheet. I loved it and so did he! Here is a view of it opened…
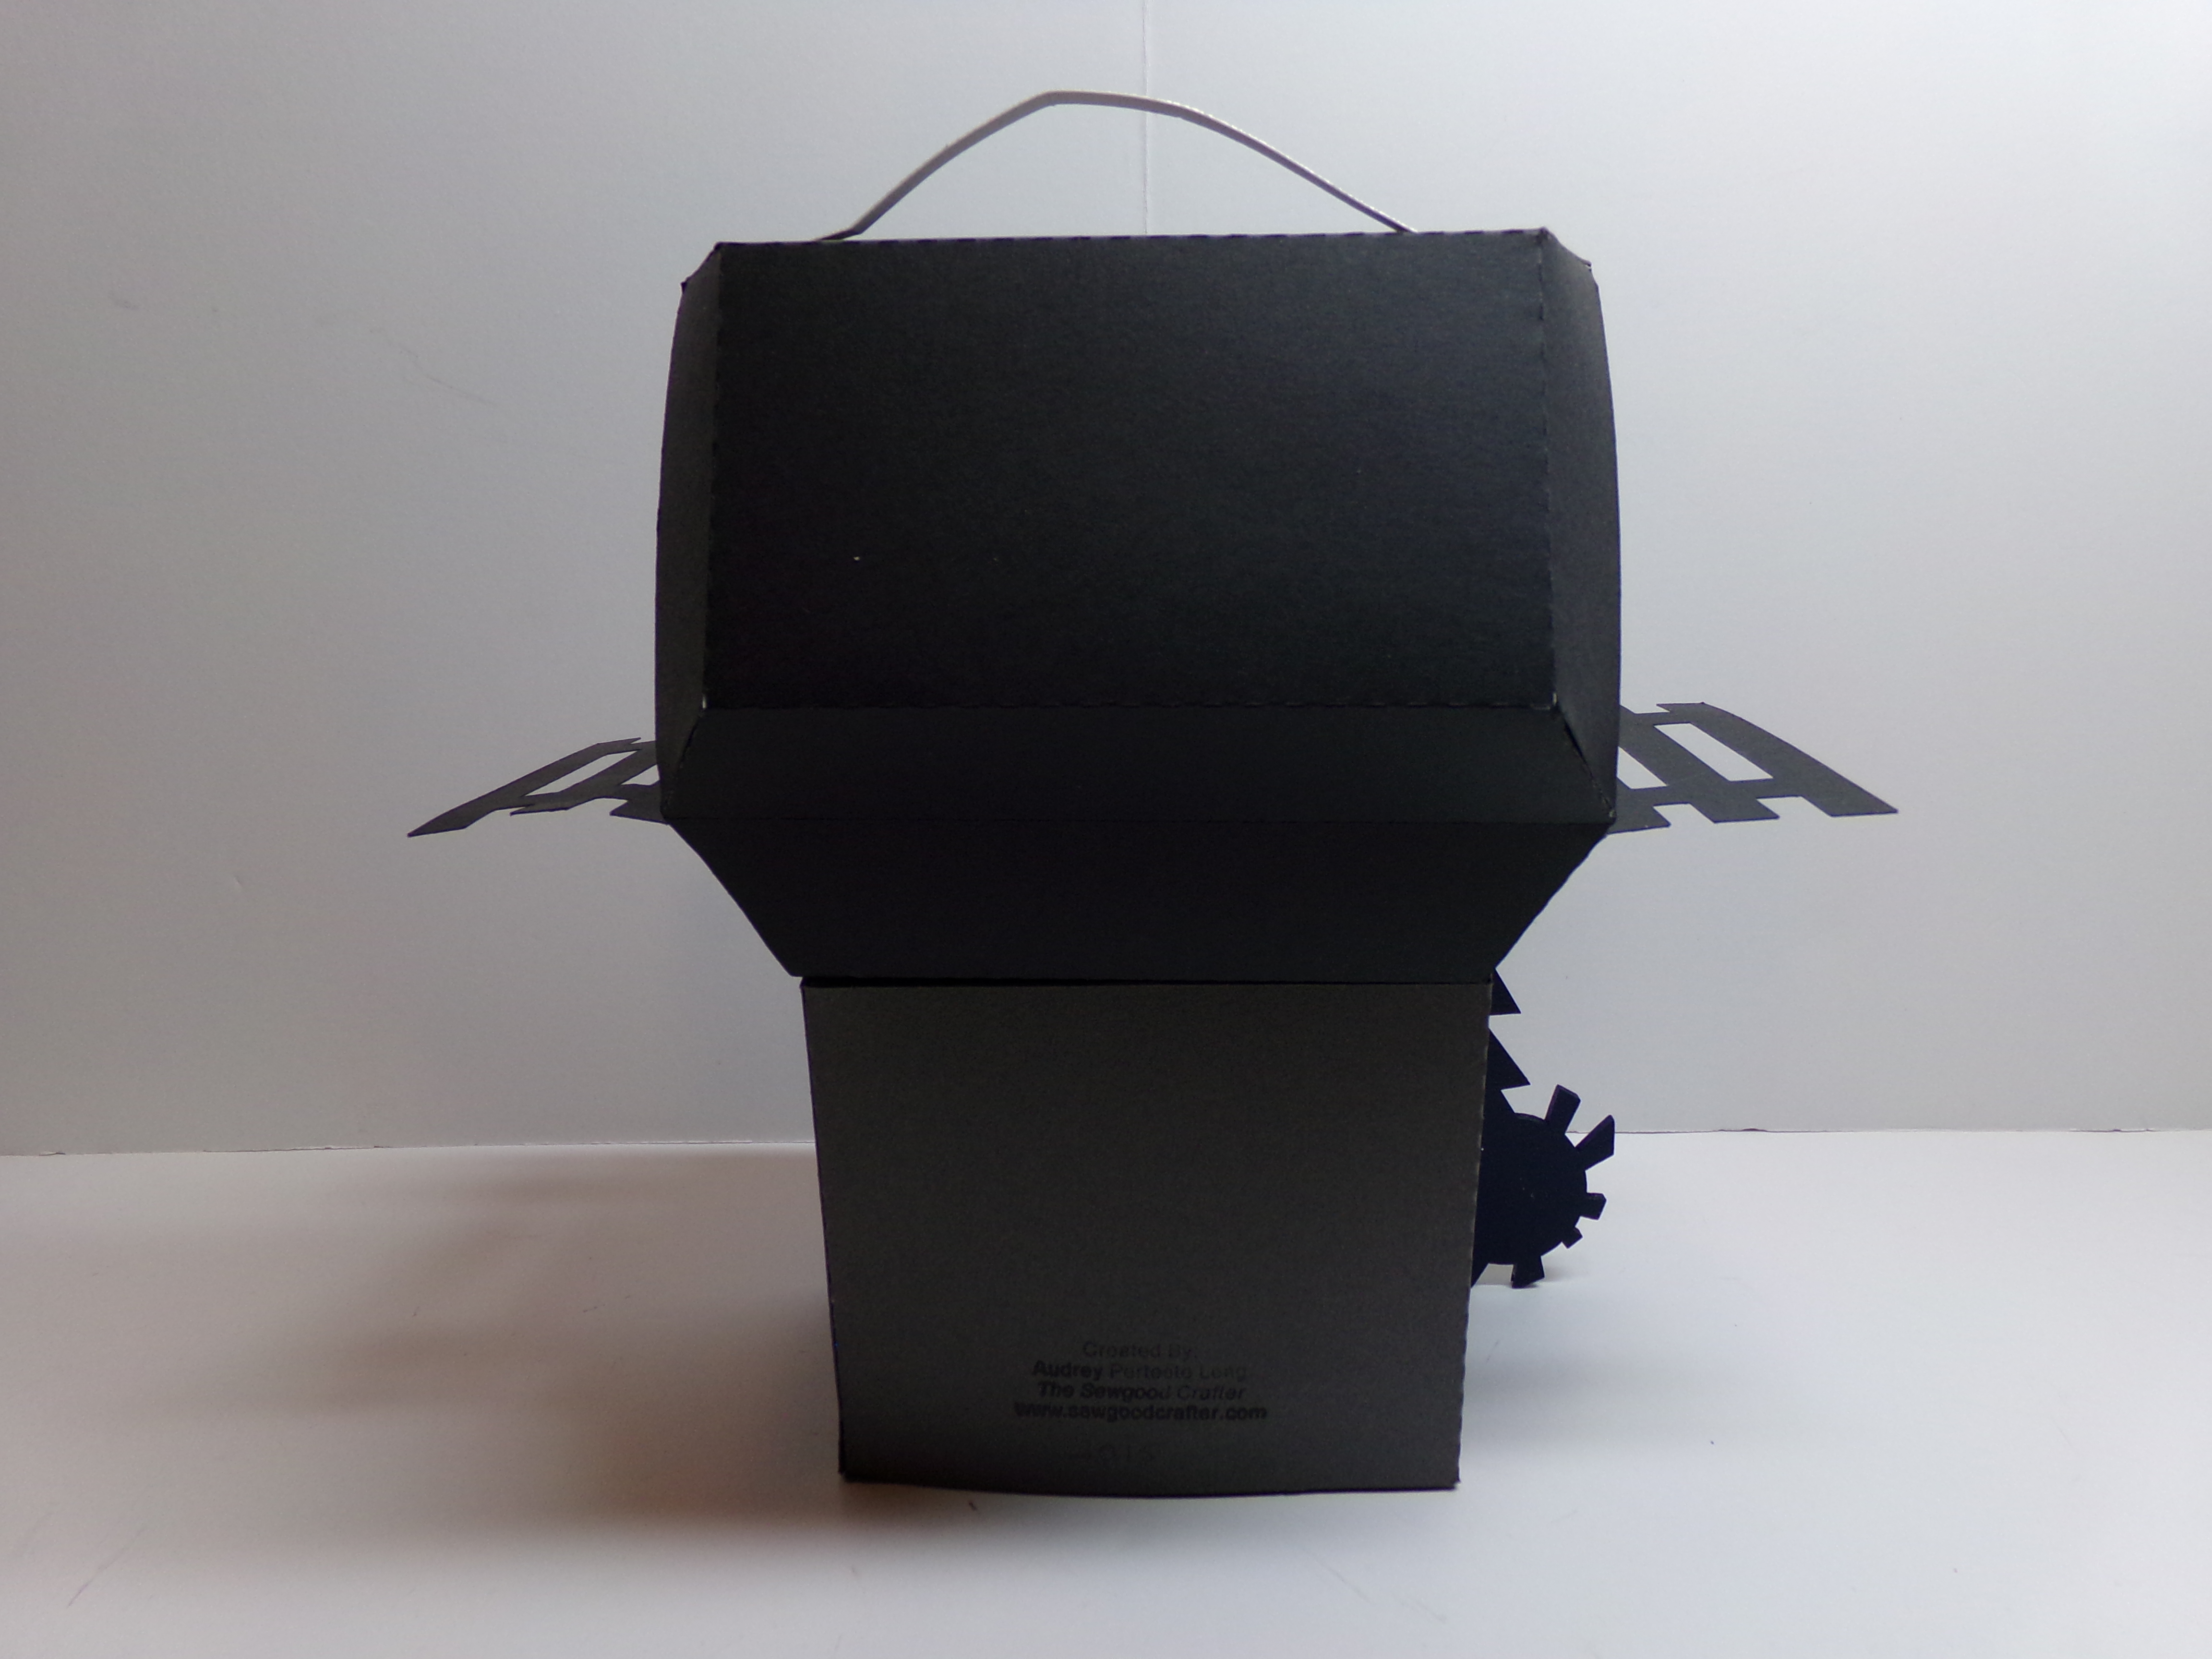
Here is the back of the grill and a close up of the card and the inside of the card…
Back view of grill
Thanks for stopping by! Here is a video of the projects…
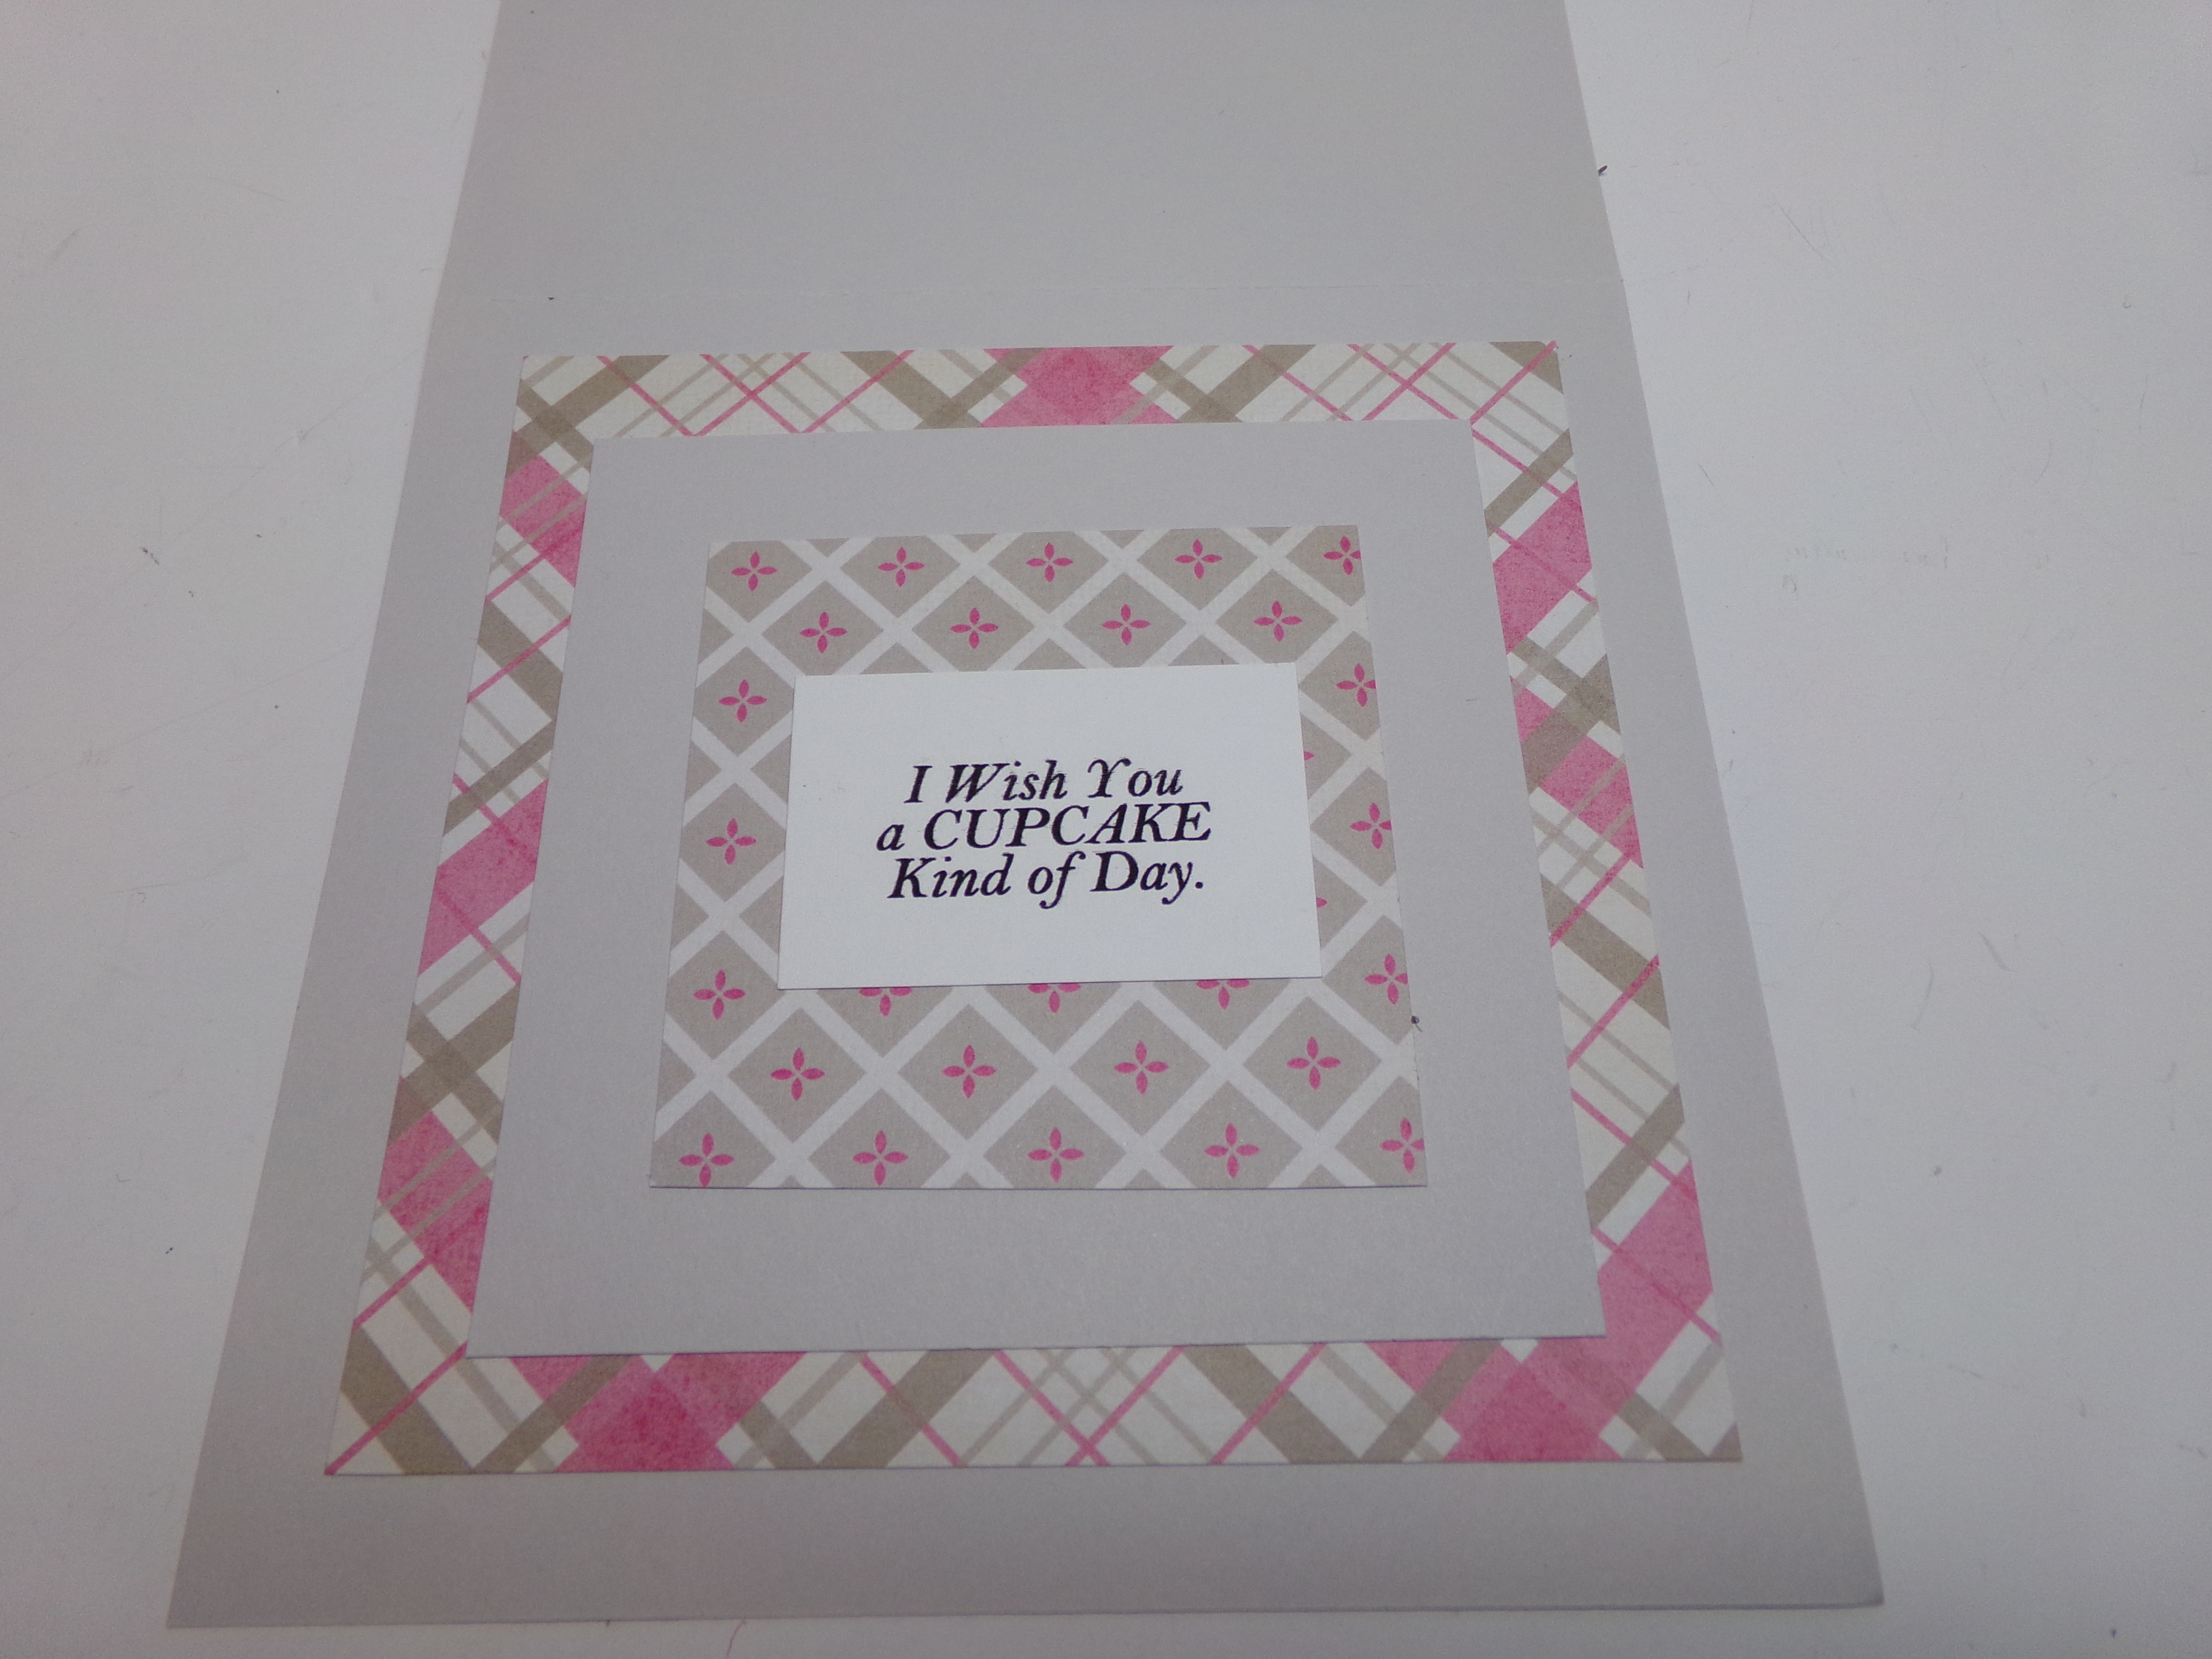
It is all about cupcakes for our design team post projects for The Cutting Cafe! Who does not like cupcakes? I know I love them and I made this sweet card to send my cousin for her birthday. I played with patterns in the same color family for this one and I like the way it turned out. The pink and taupe is a different color combination for me but it works.
Check out the other team member’s projects and be sure to leave a comment. Each new design team post, the owner, Regina, randomly pulls a name from the comment left on the previous post. That person wins three free files of their choice! You can lose because even if your name is not pulled for the drawing, we all love to read your comments! Plus we have some new design team members, including our first very young ladies who will surely be an inspiration to other children crafters.
Thanks so much for stopping by! As usual, I have a video of my project for you…
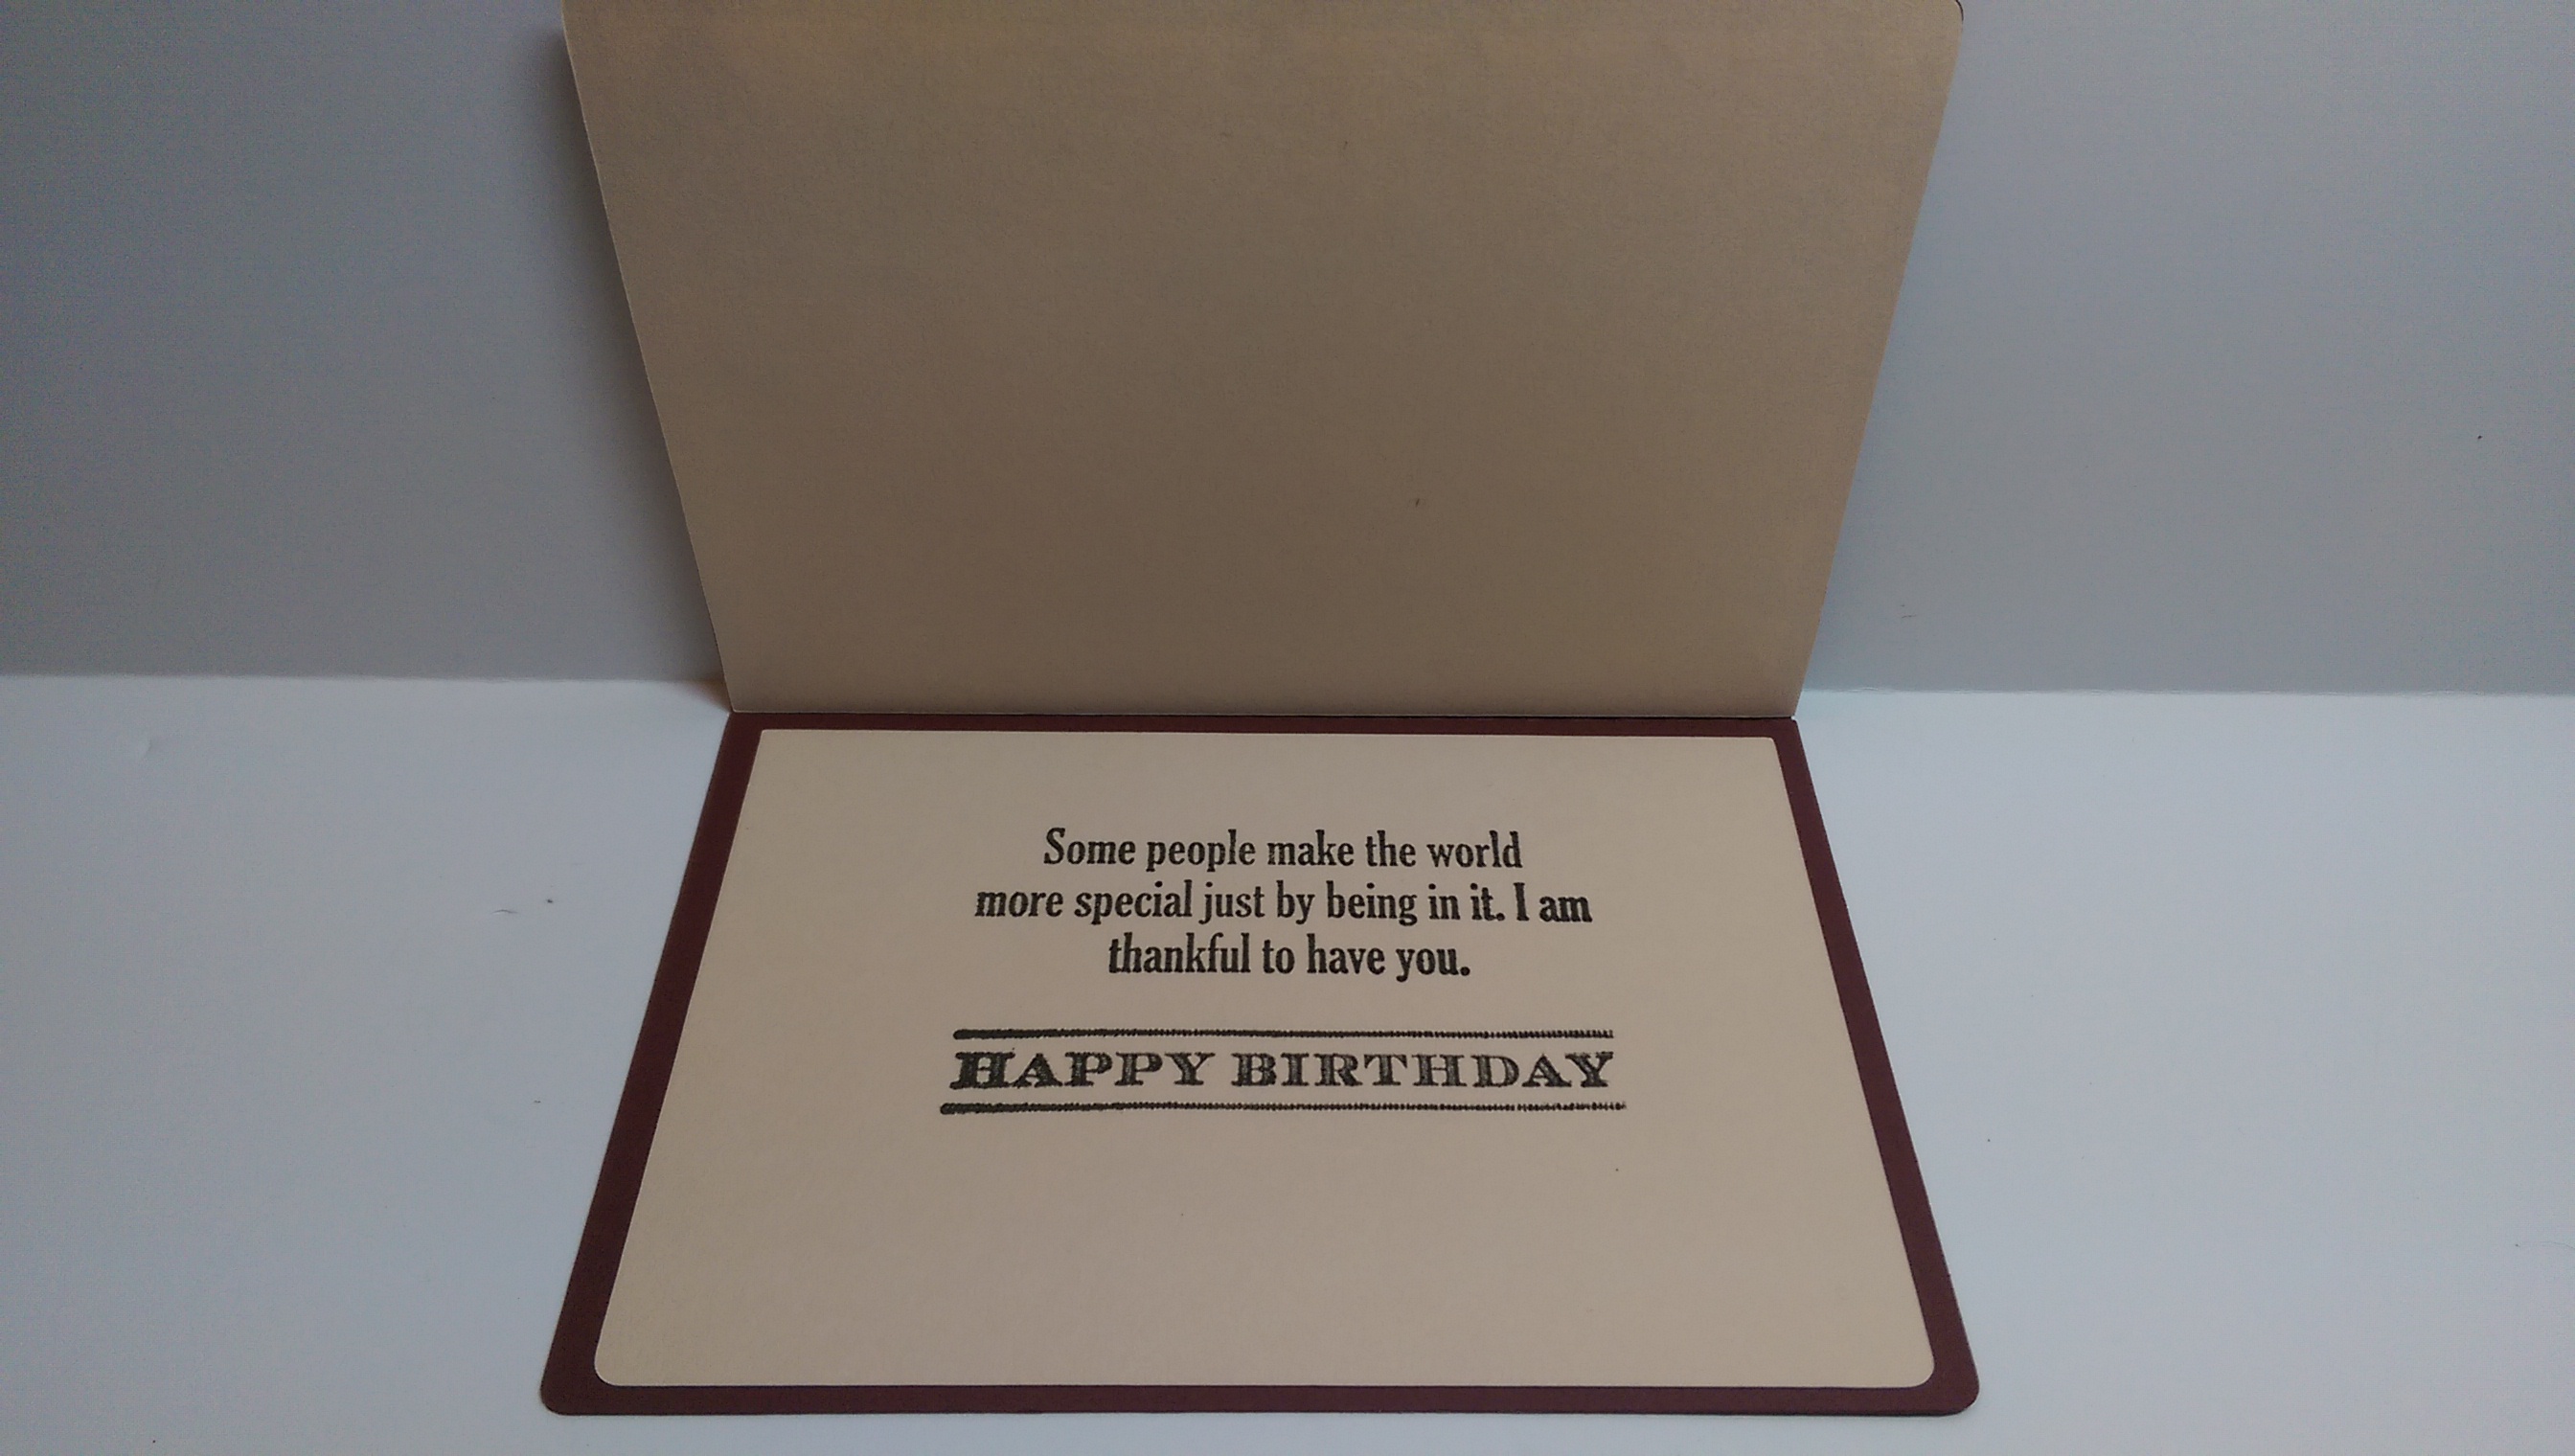
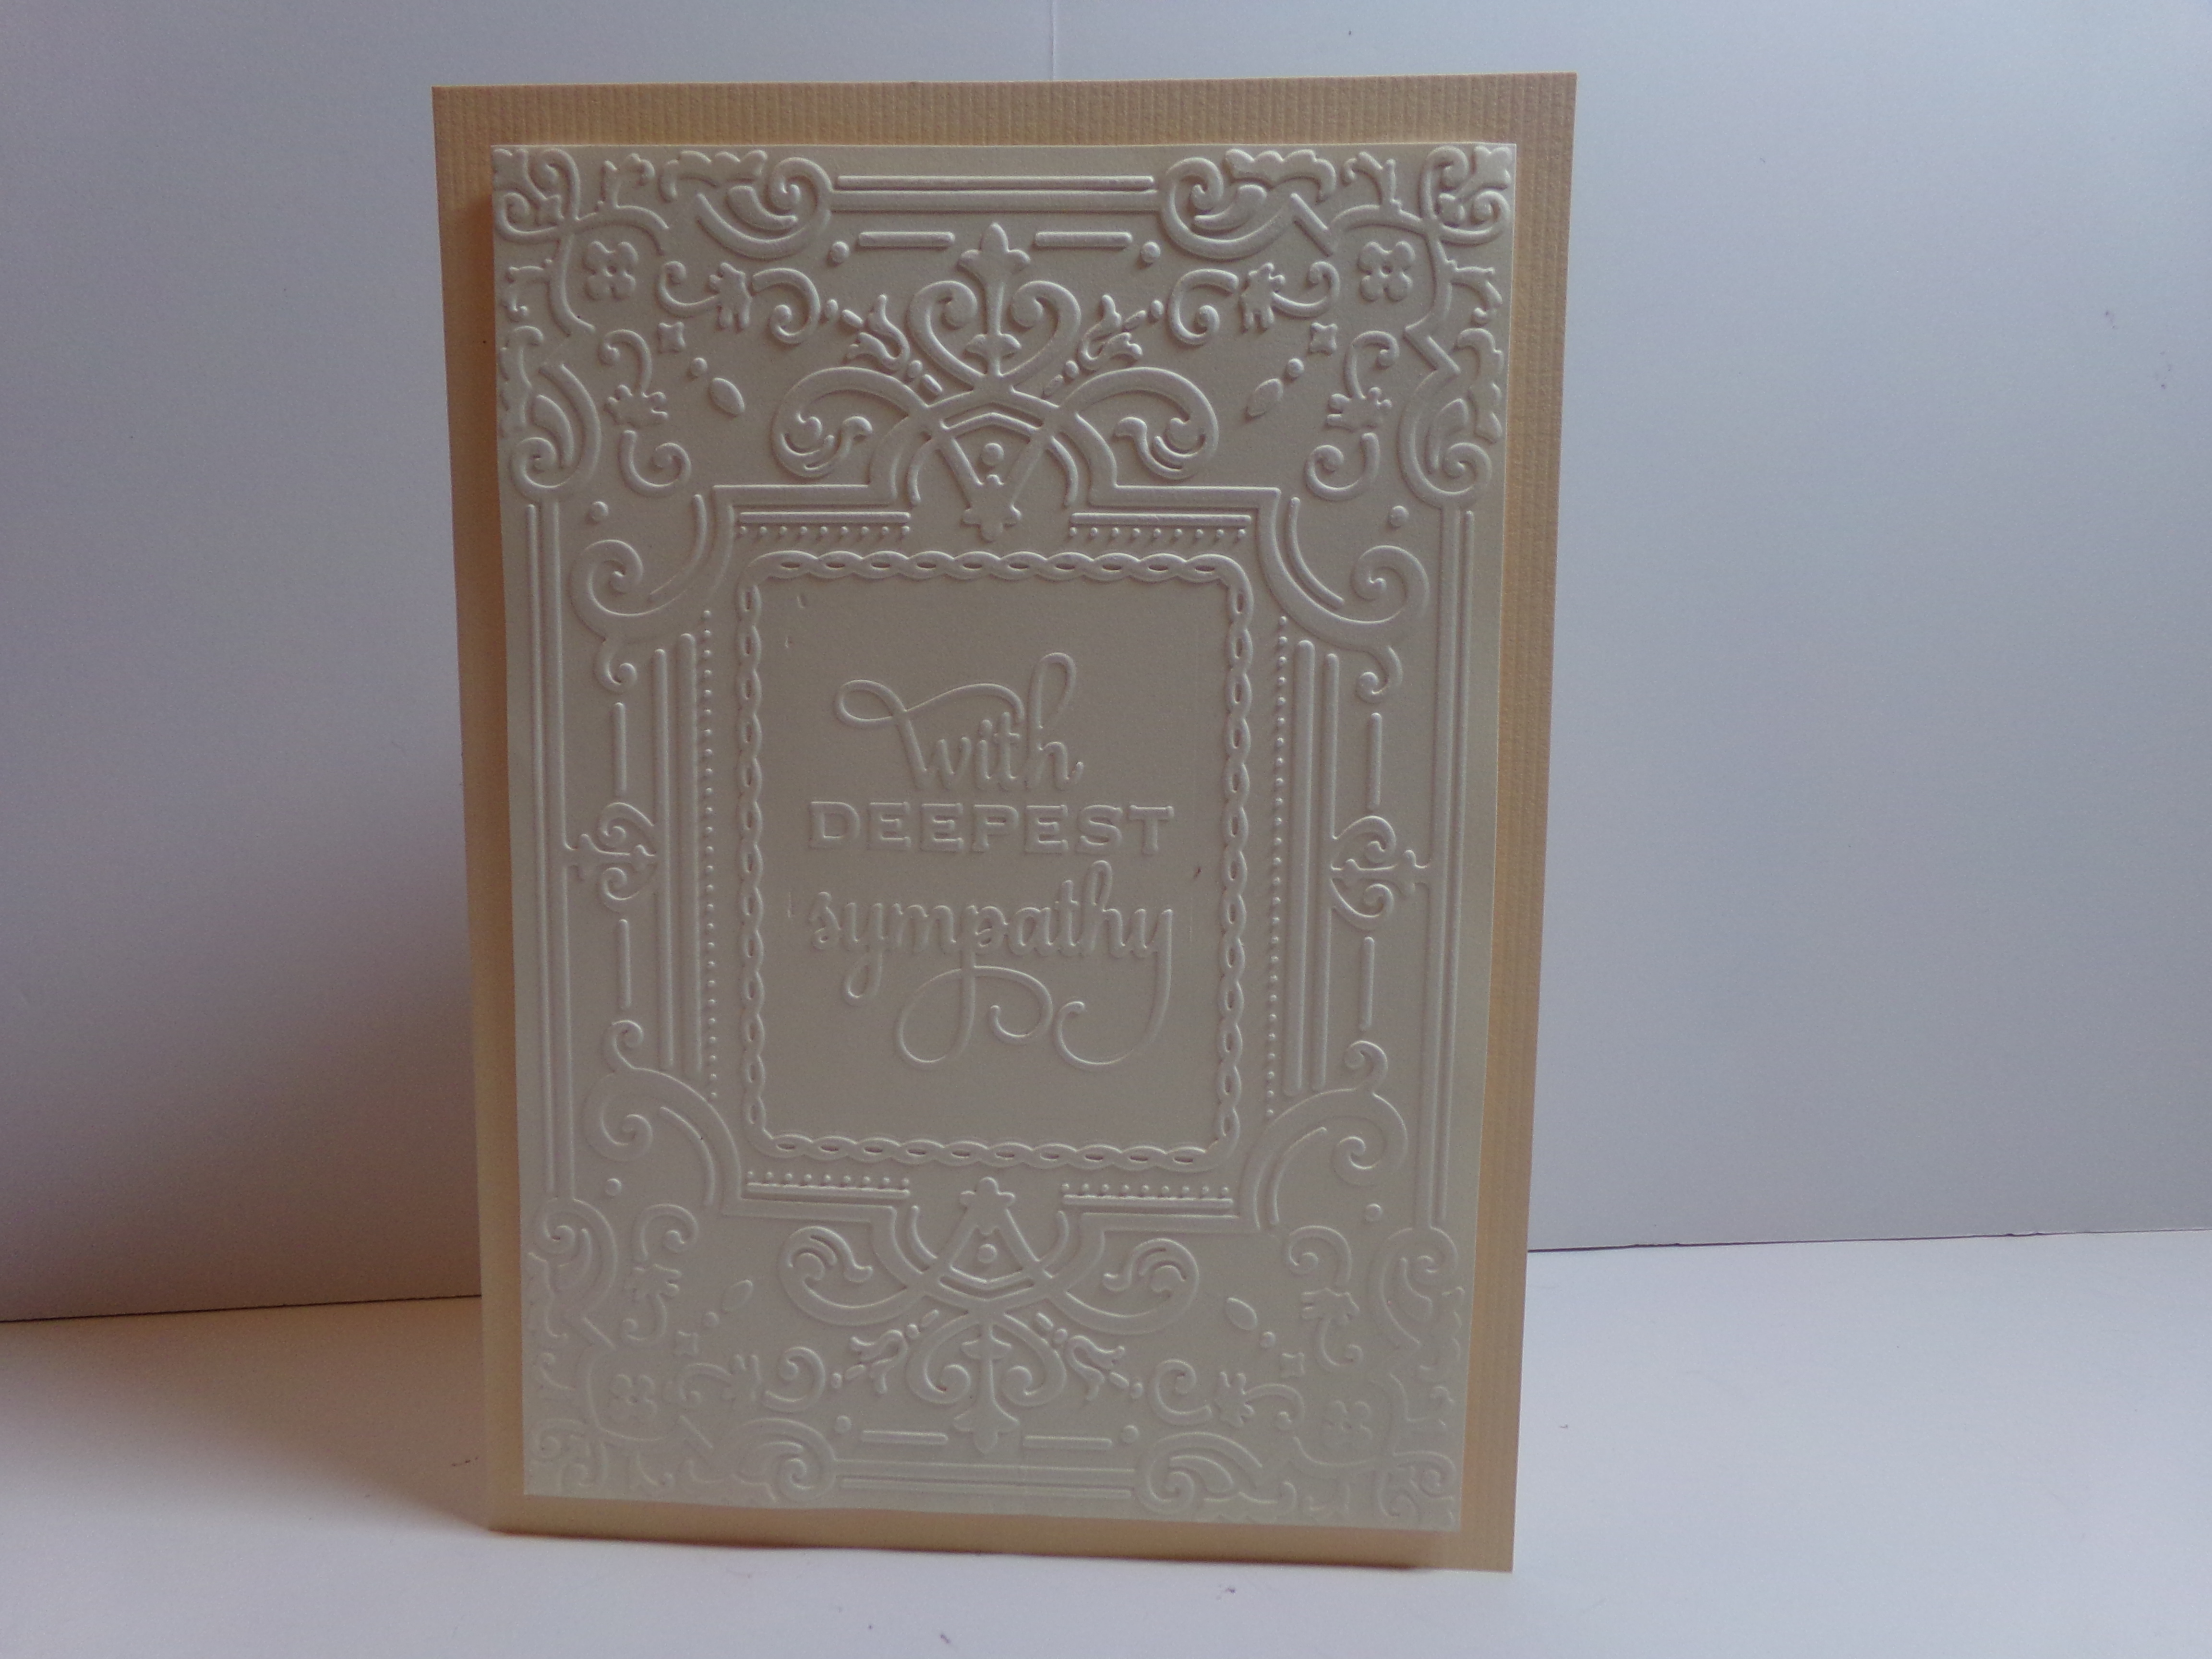
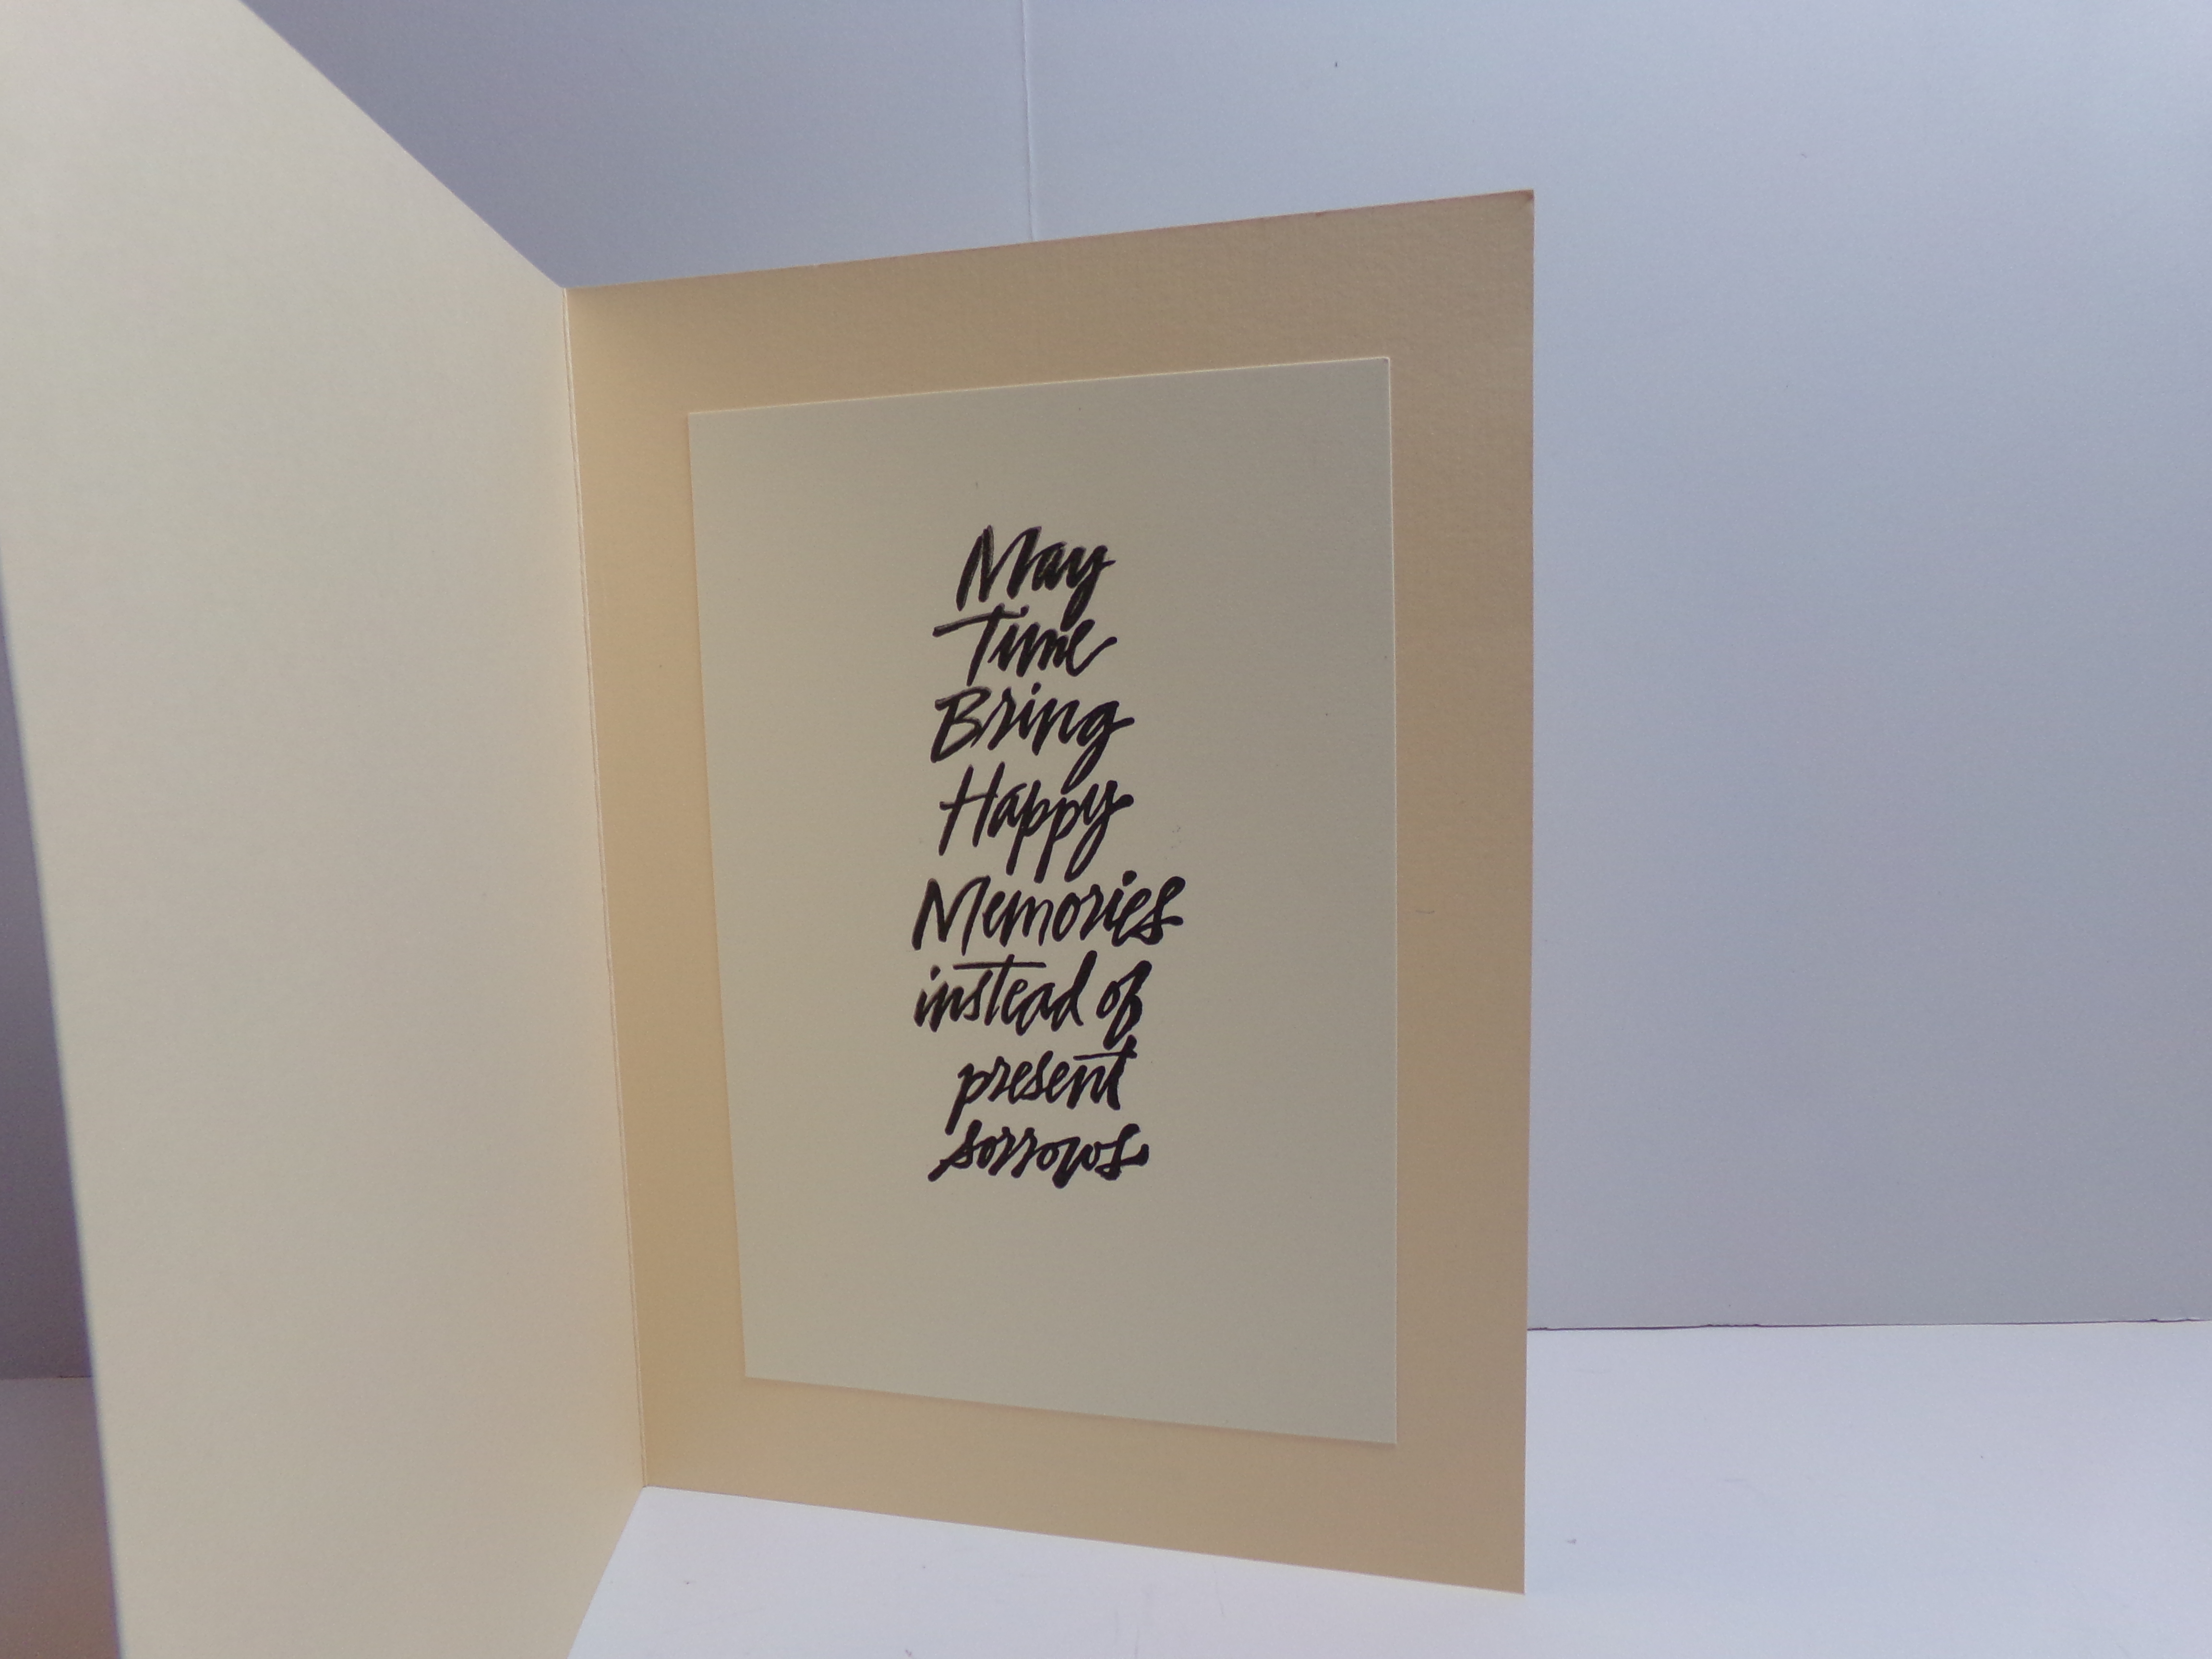
My husband asked me to make a thank you card for his outgoing board chair. I made a cream and gold shadow box card. I really like the way it turned out and so did he. I thought I would share it here.
Because of the thickness, an envelope was not the answer. So a box was born! I used the 8 x 5.5. Box with Dividers file from The Cutting Cafe to make the box. I just did not use the dividers.
Since the card is thick I made a box as it won’t fit in an envelope. This is the top of the box.
Here is a picture of the two together…
Thanks for stopping by! Here is a video of the project for you…
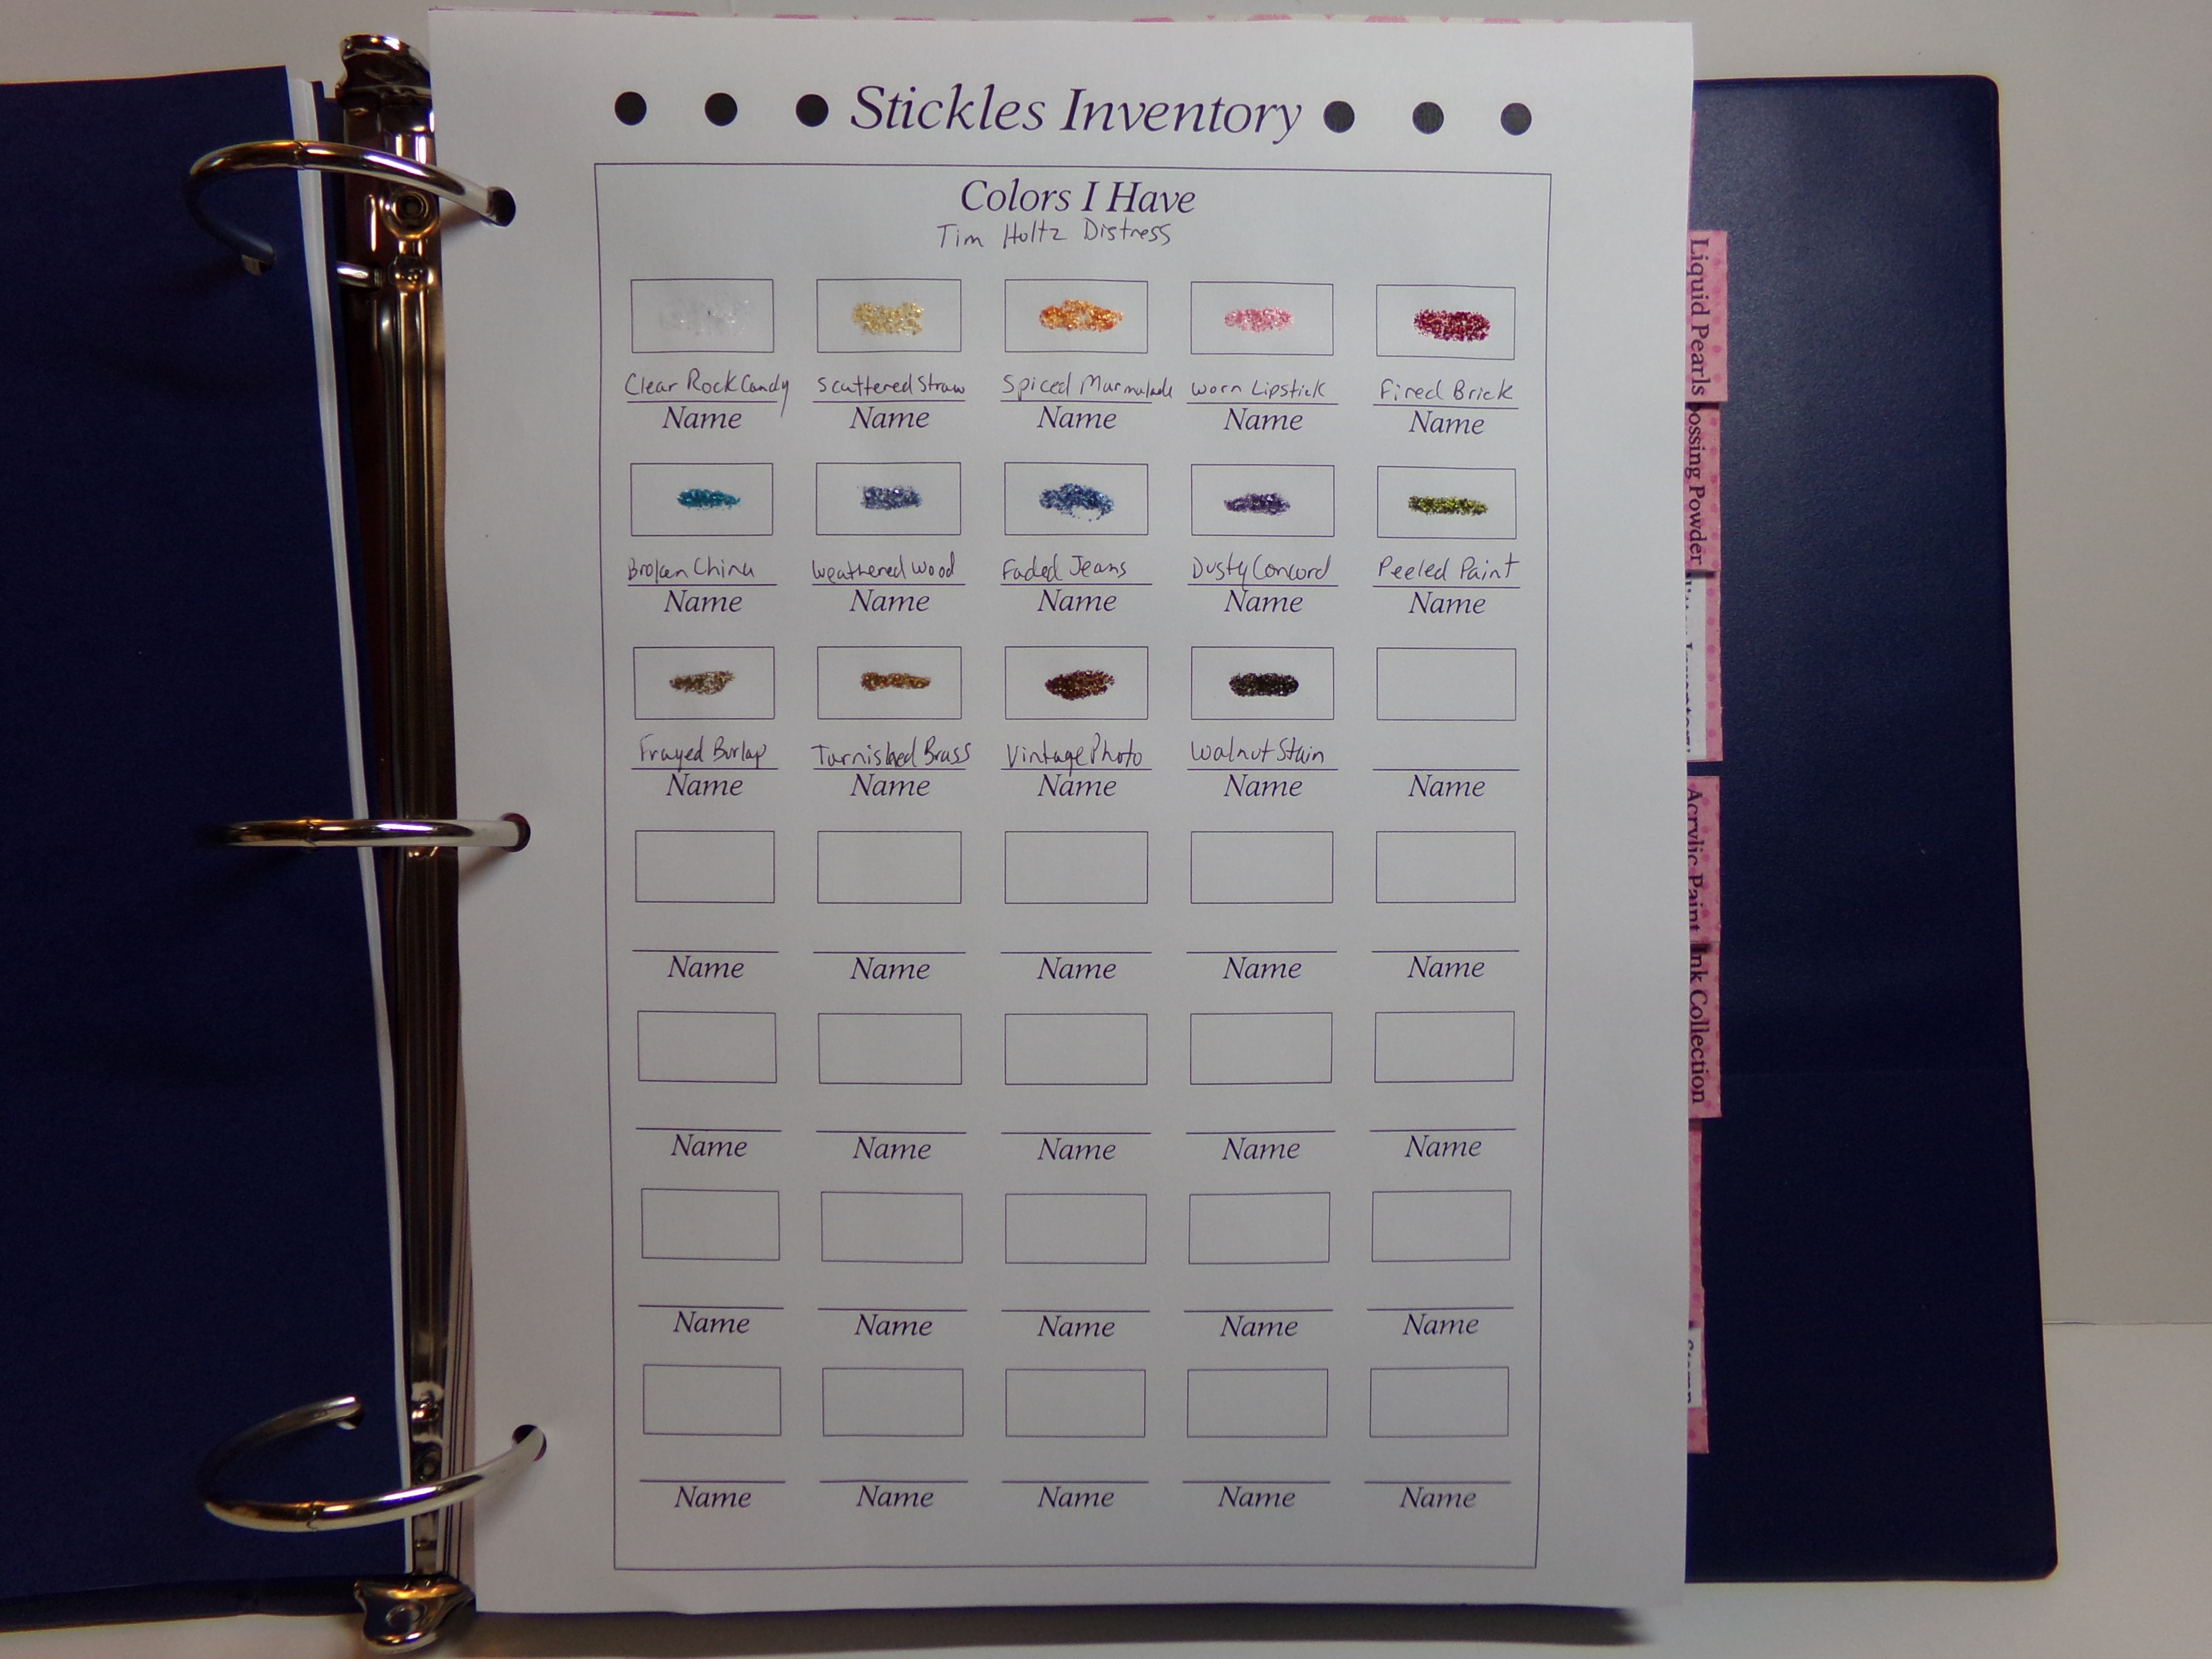
It has been a while since my last post! Hello! I have many things I should have posted but time was an issue. But I do have a new design team project for The Cutting Cafe that I am sure a lot of you will be thrilled about! Regina, the owner, has created two new files to help us get organized and keep track of what we own, and what projects or challenges we are doing.
The first is a Design Team Planner which can help you keep track of not only things for your design team projects, but also challenges you may enter, or swaps you may be in. The second is one I chose to do, the Crafts Supply Planner file! Woohooo!!! I have wanted to keep track of things I own but just had not gotten around to it. It will be a labor of love to do, but once it is done, it will make life so much easier!
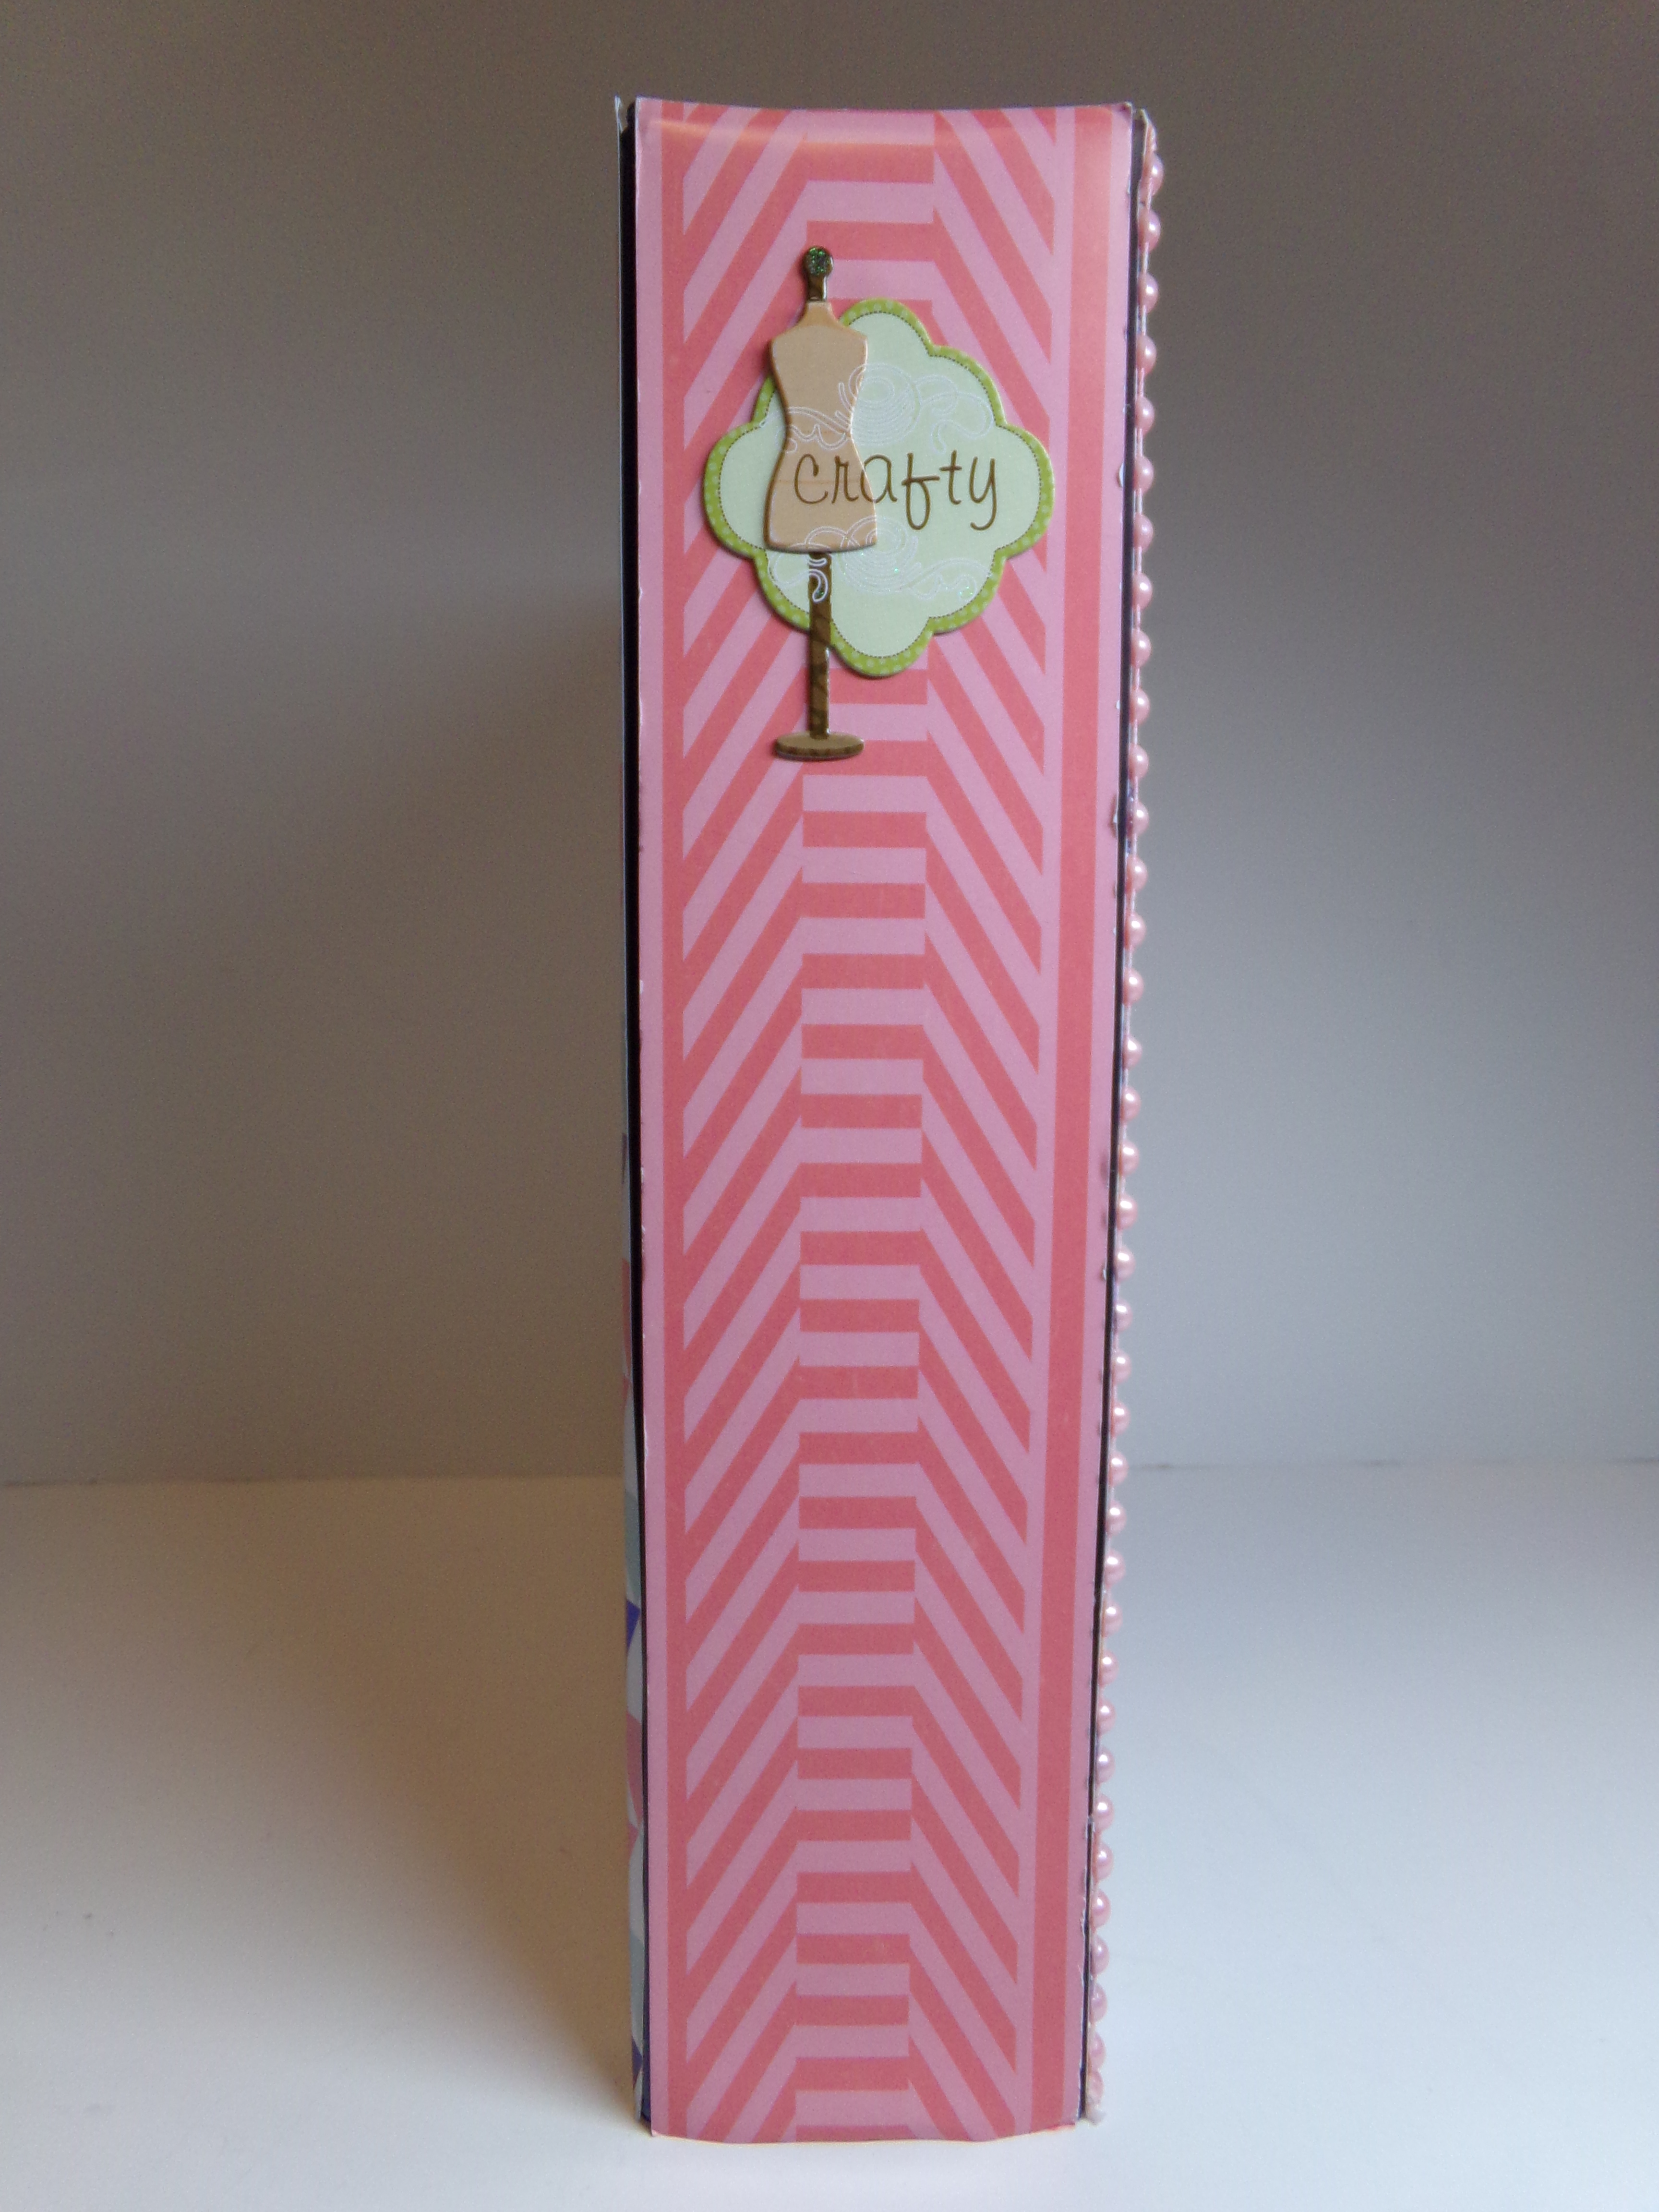
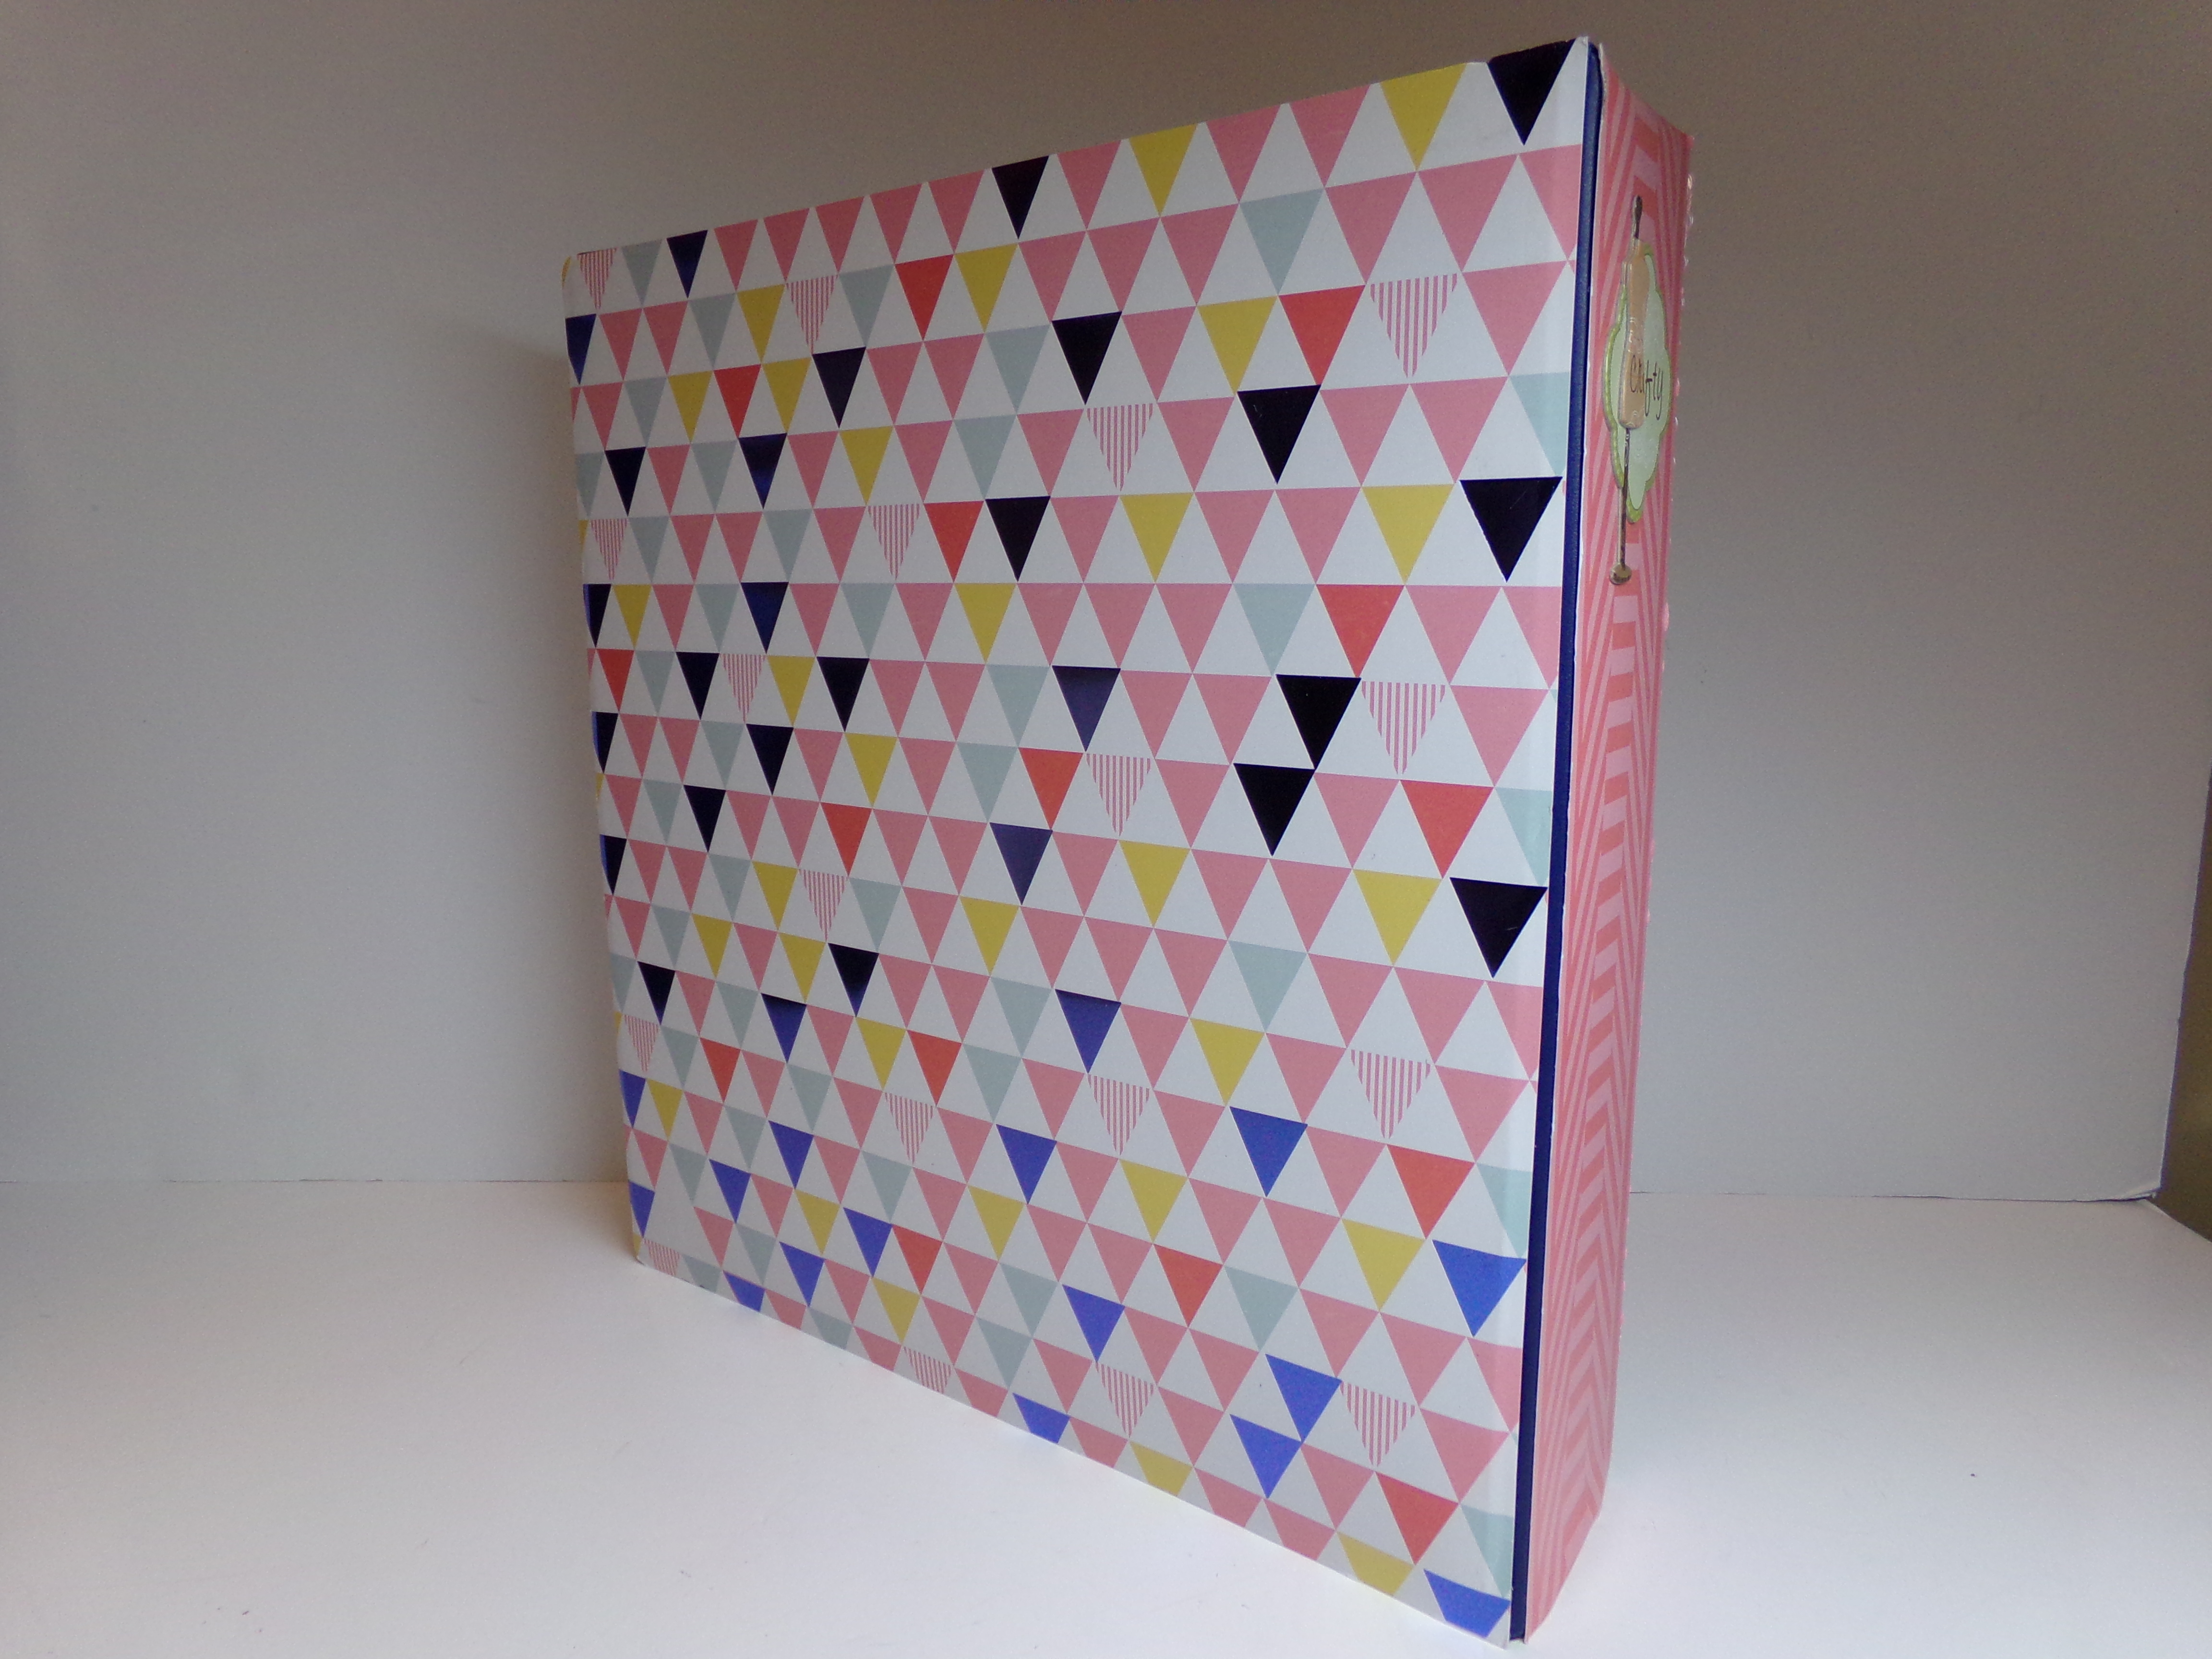
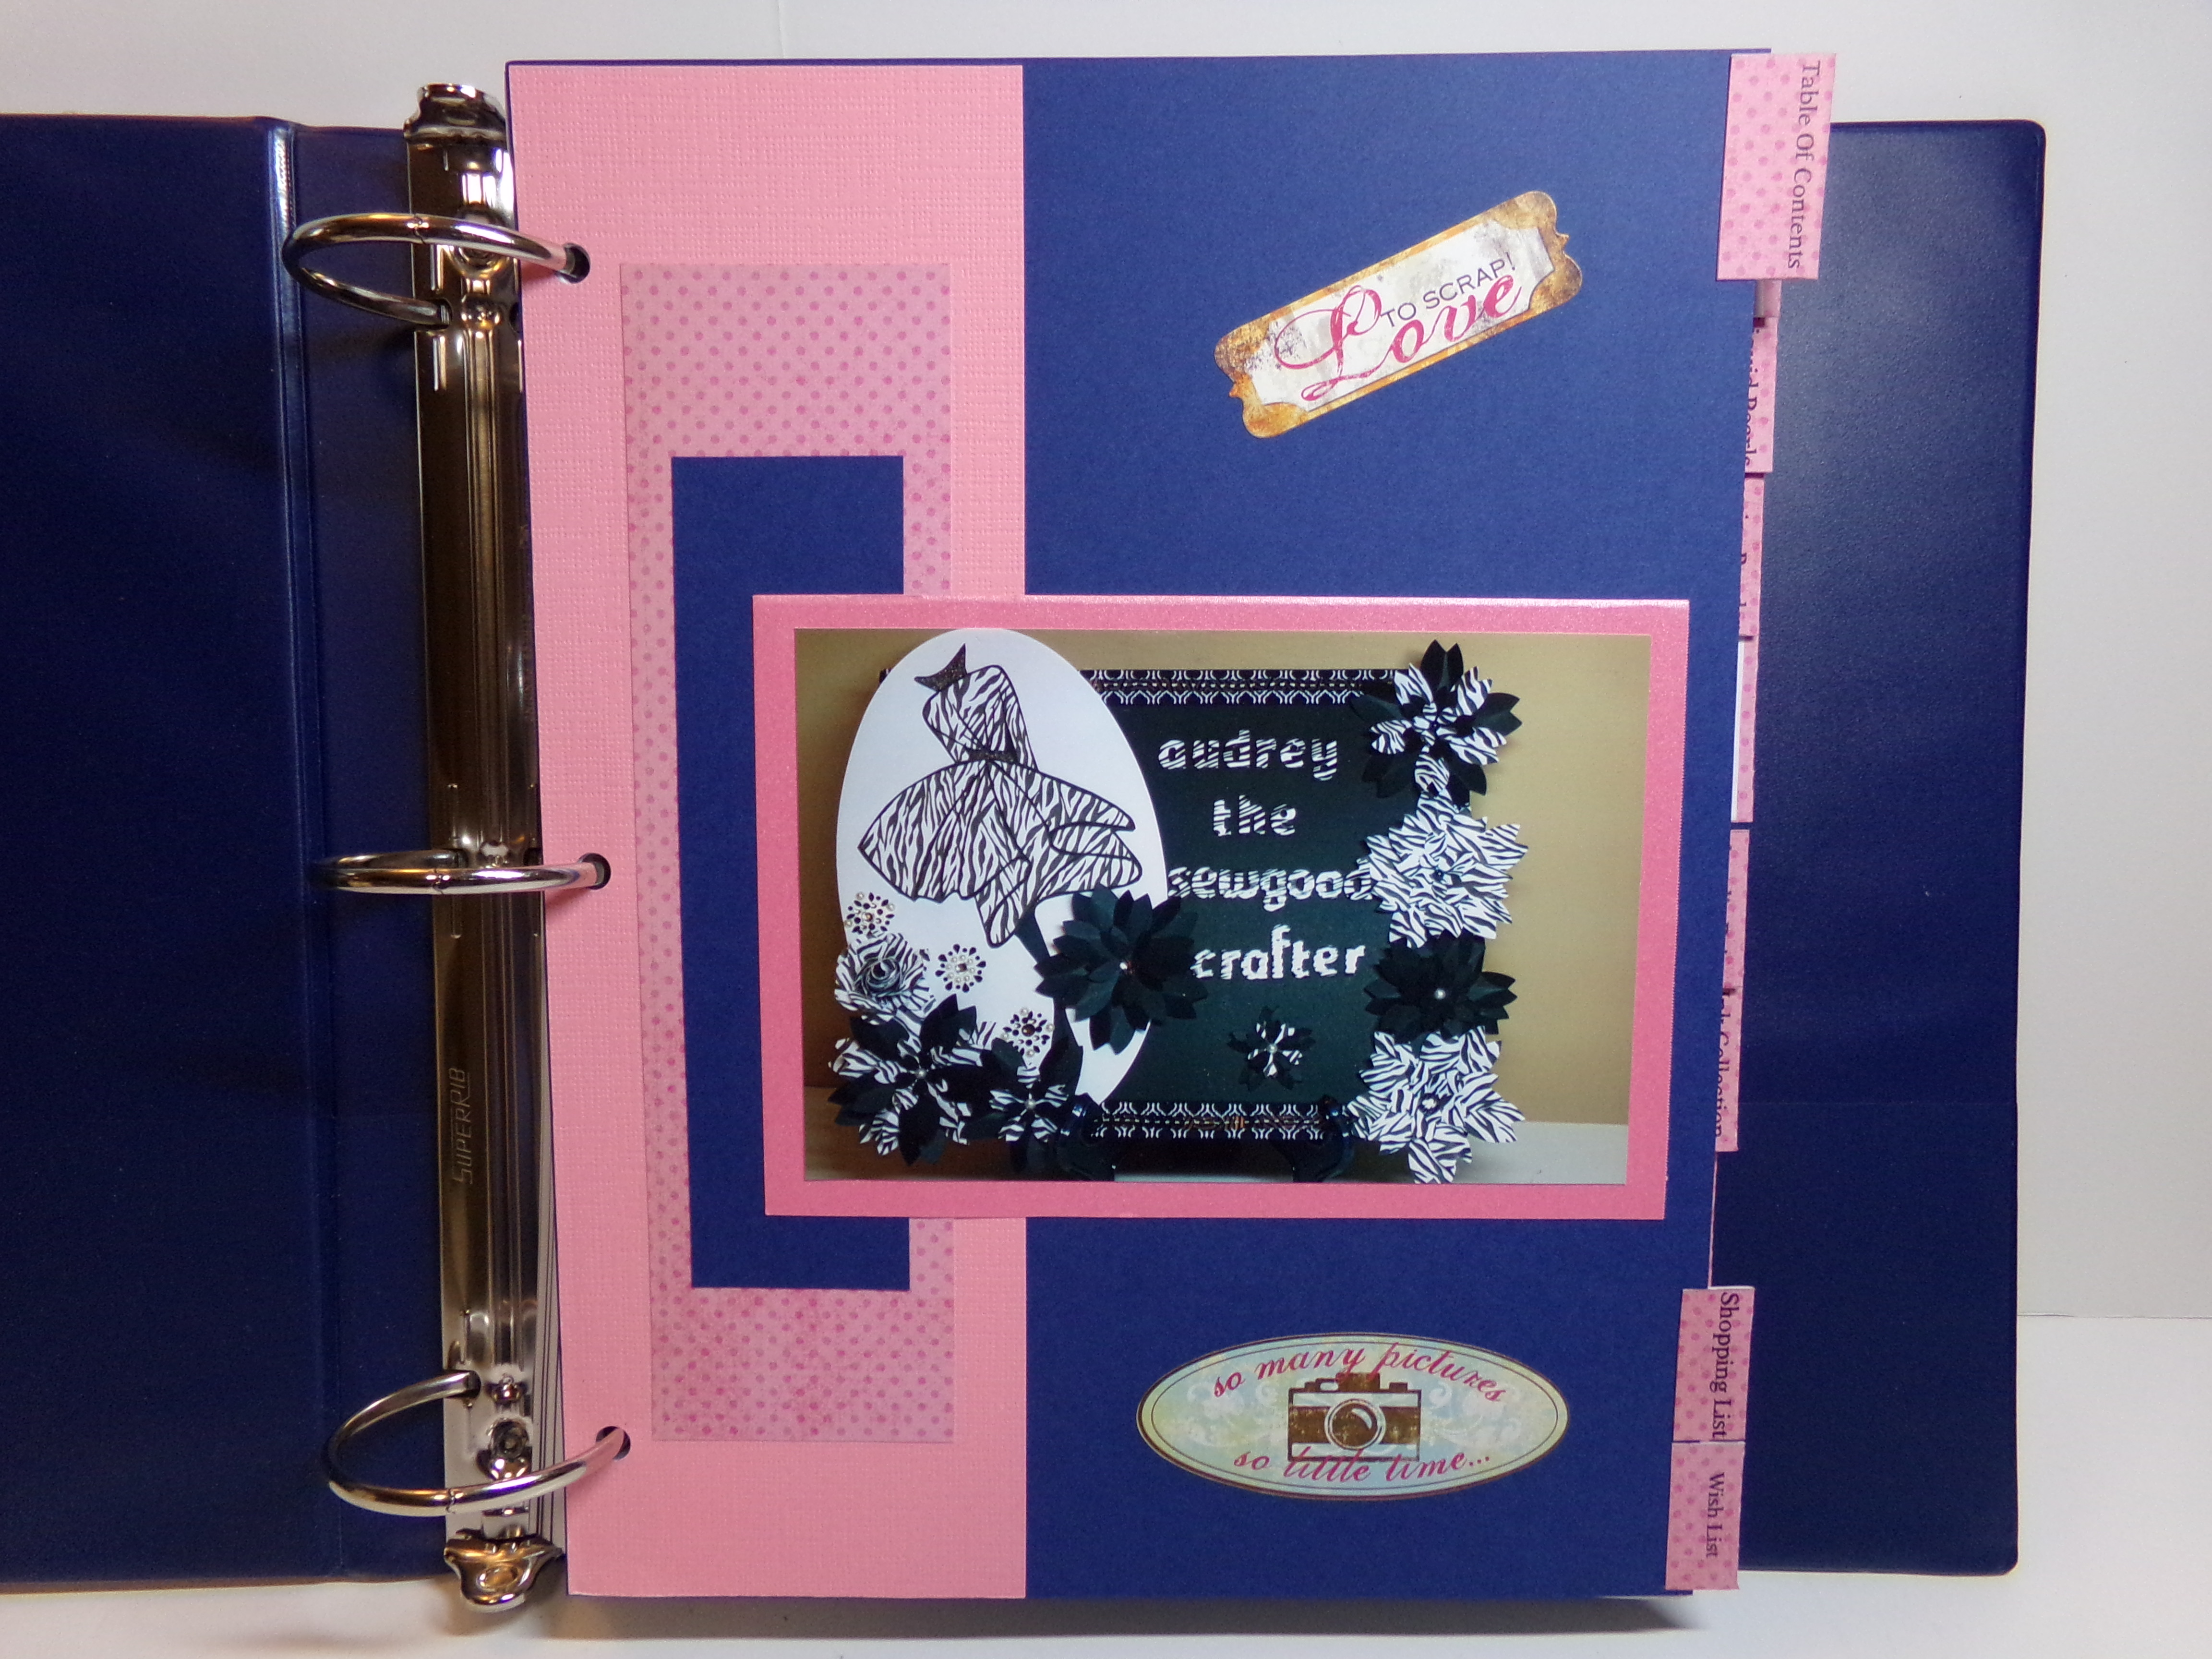
I covered and decorated a three-ring binder for mine. I started to use chipboard to make 8 1/2 x 11 covers, then I found the binder and thought it would work well.
The file comes with a multitude of page options, both in color or black and white. There are pages for inks, markers, Stickles, embossing folders, cardstock, and many, many others. You can mix and match however you choose.
Sample Inventory Page
The file also comes with tabs and cover pages. I decided that I would also use this book to display photos of some of my projects and crafty good times with my friends. So, I made divider pages with the tabs and will use them to add pictures.
I decided to add pictures of my craft projects and get togethers with crafty friends to the divider pages.
Divider page with craft project pictures
Divider page with crafty friends photos
I will continue to work on getting all my things into the book, including stamps and punches, to help me get organized and stay that way. I have added a lot of pages to get me started.
Lots of pages!
Regina has added many new design team members so there will now be even more project inspiration for you on our design team posts which happen on the 7th and 21st of each month on The Cutting Cafe Blog! Be sure to stop by and view the projects. Leave a comment and you will be entered into a drawing to win three free files of your choice on the next posting.
As always, thank you for stopping by and before you go, here is my video of my project giving a lot of detail…
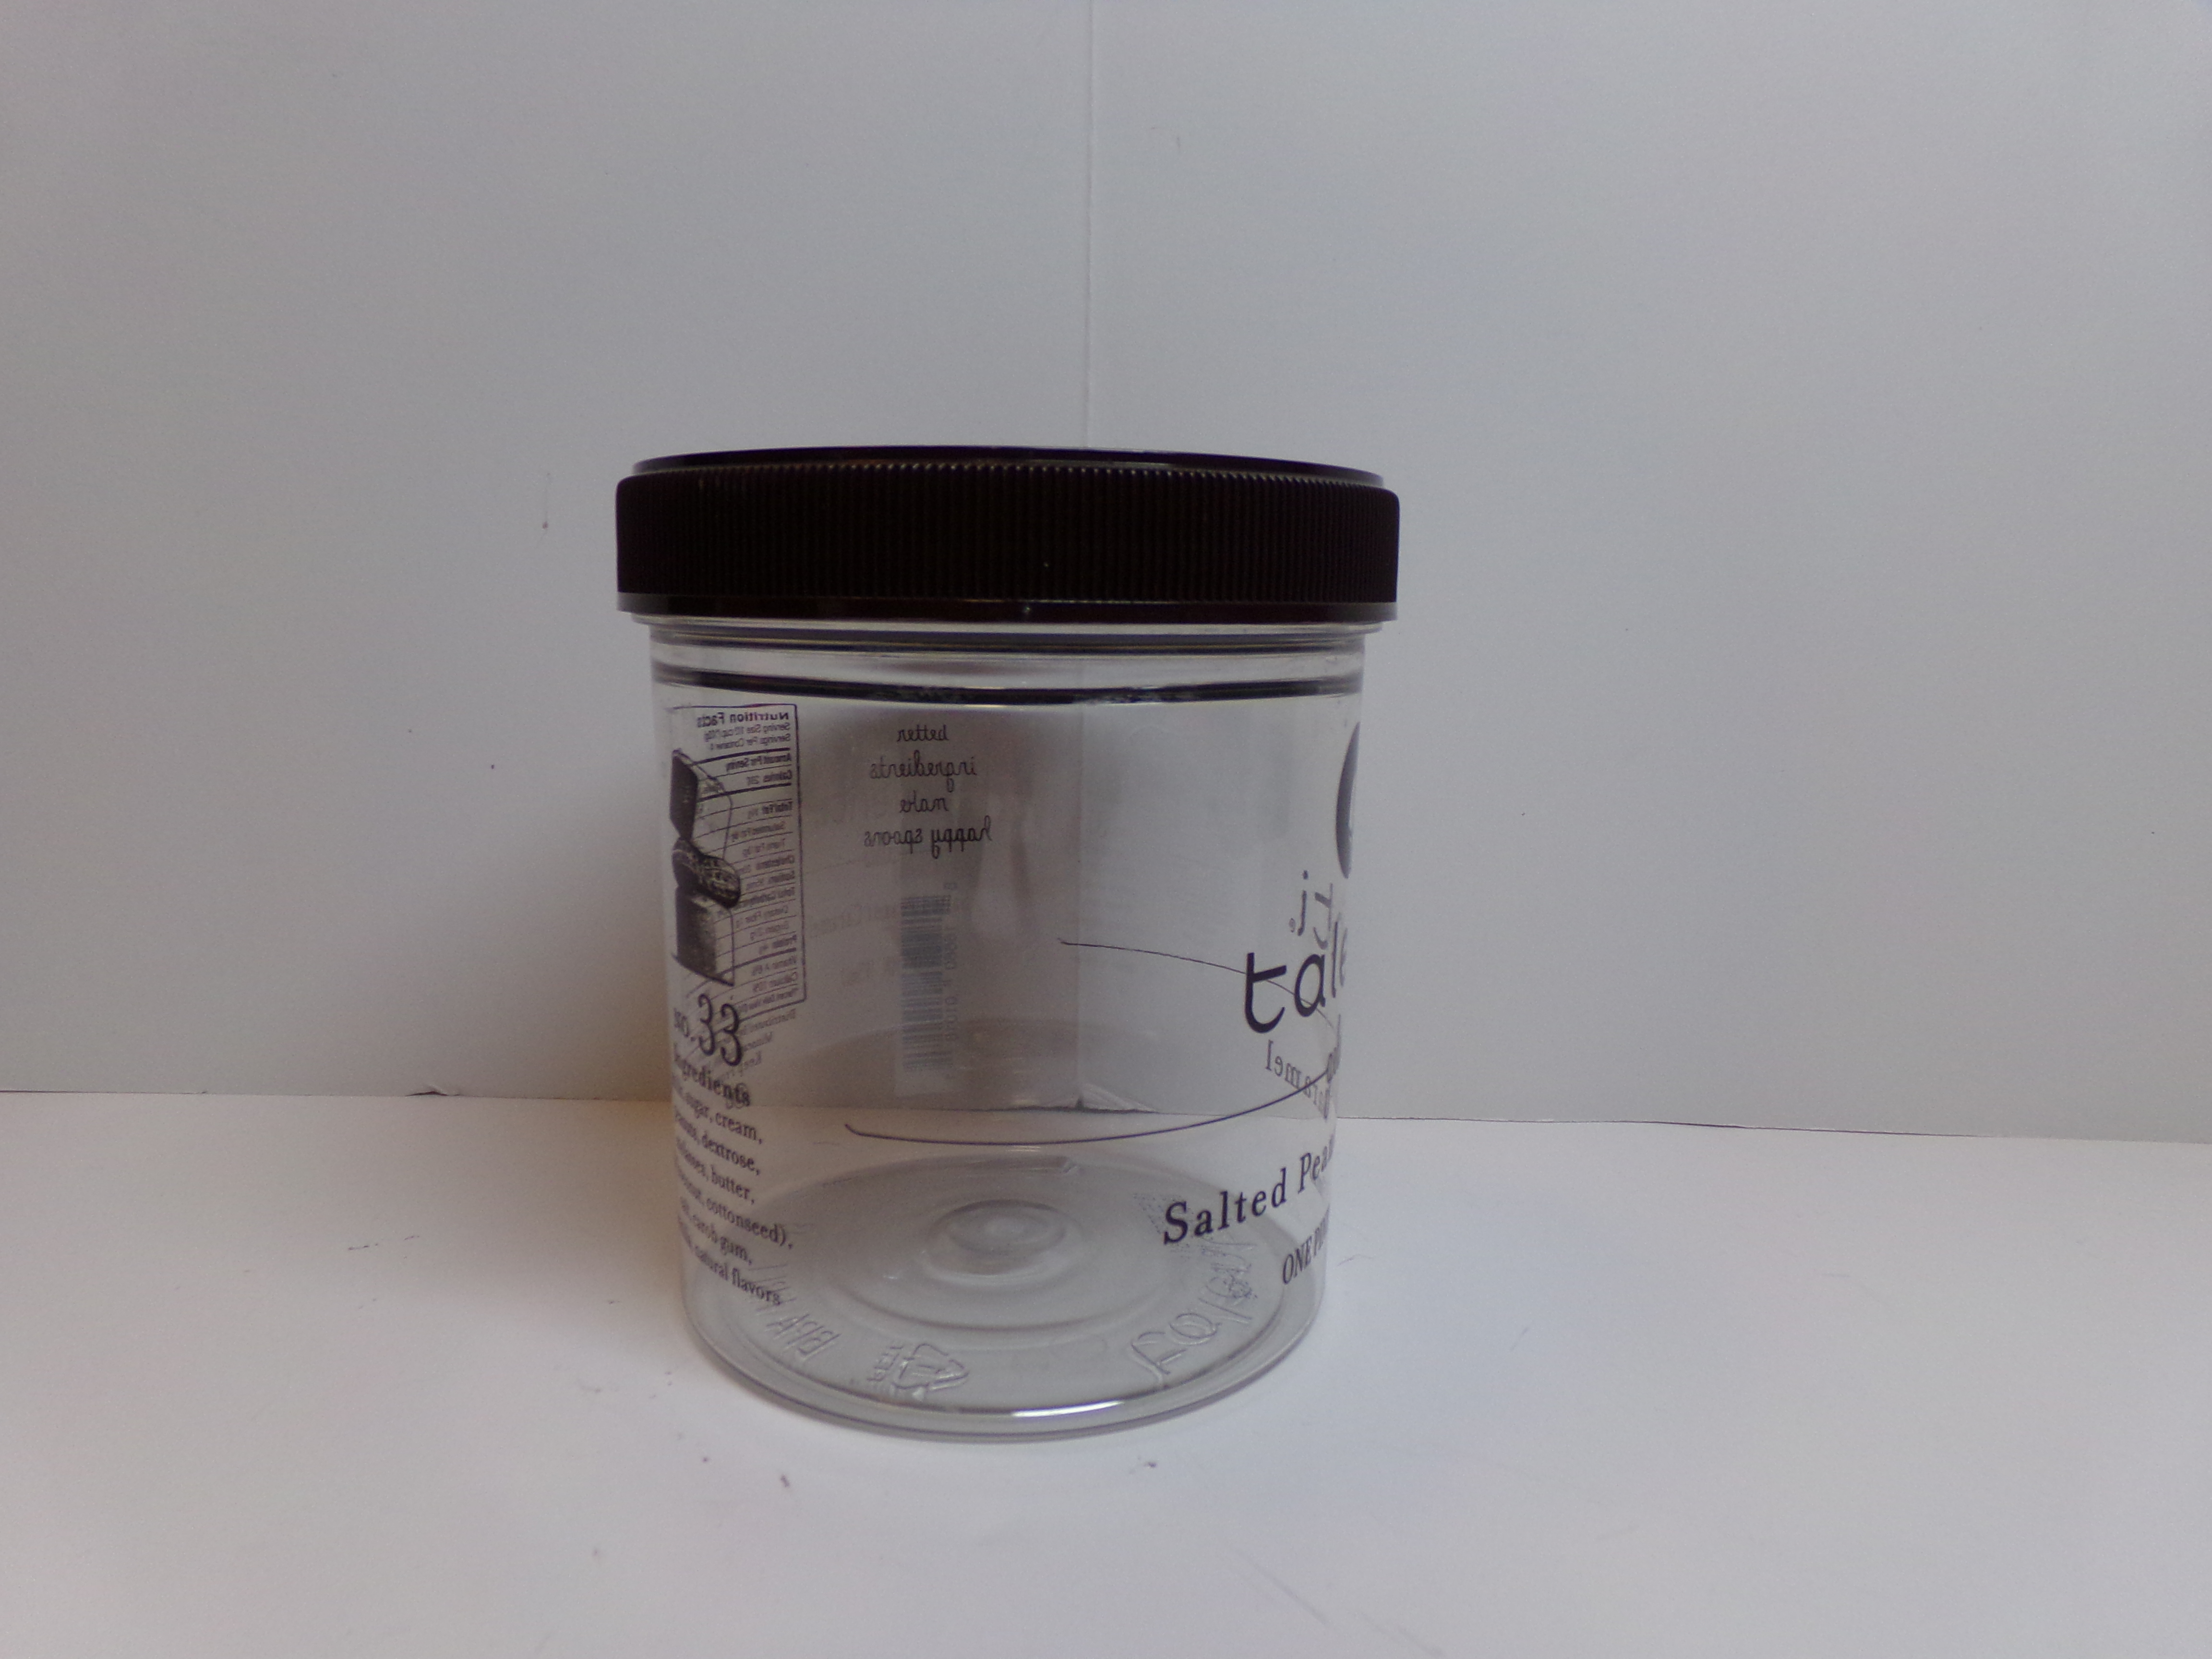
It’s time for another design team project for The Cutting Cafe! We had a little different challenge this time. We were to take a packaging item that we had used the contents of, that we would normally throw away, and alter it using one of the many background printable stamp sets available in the store.
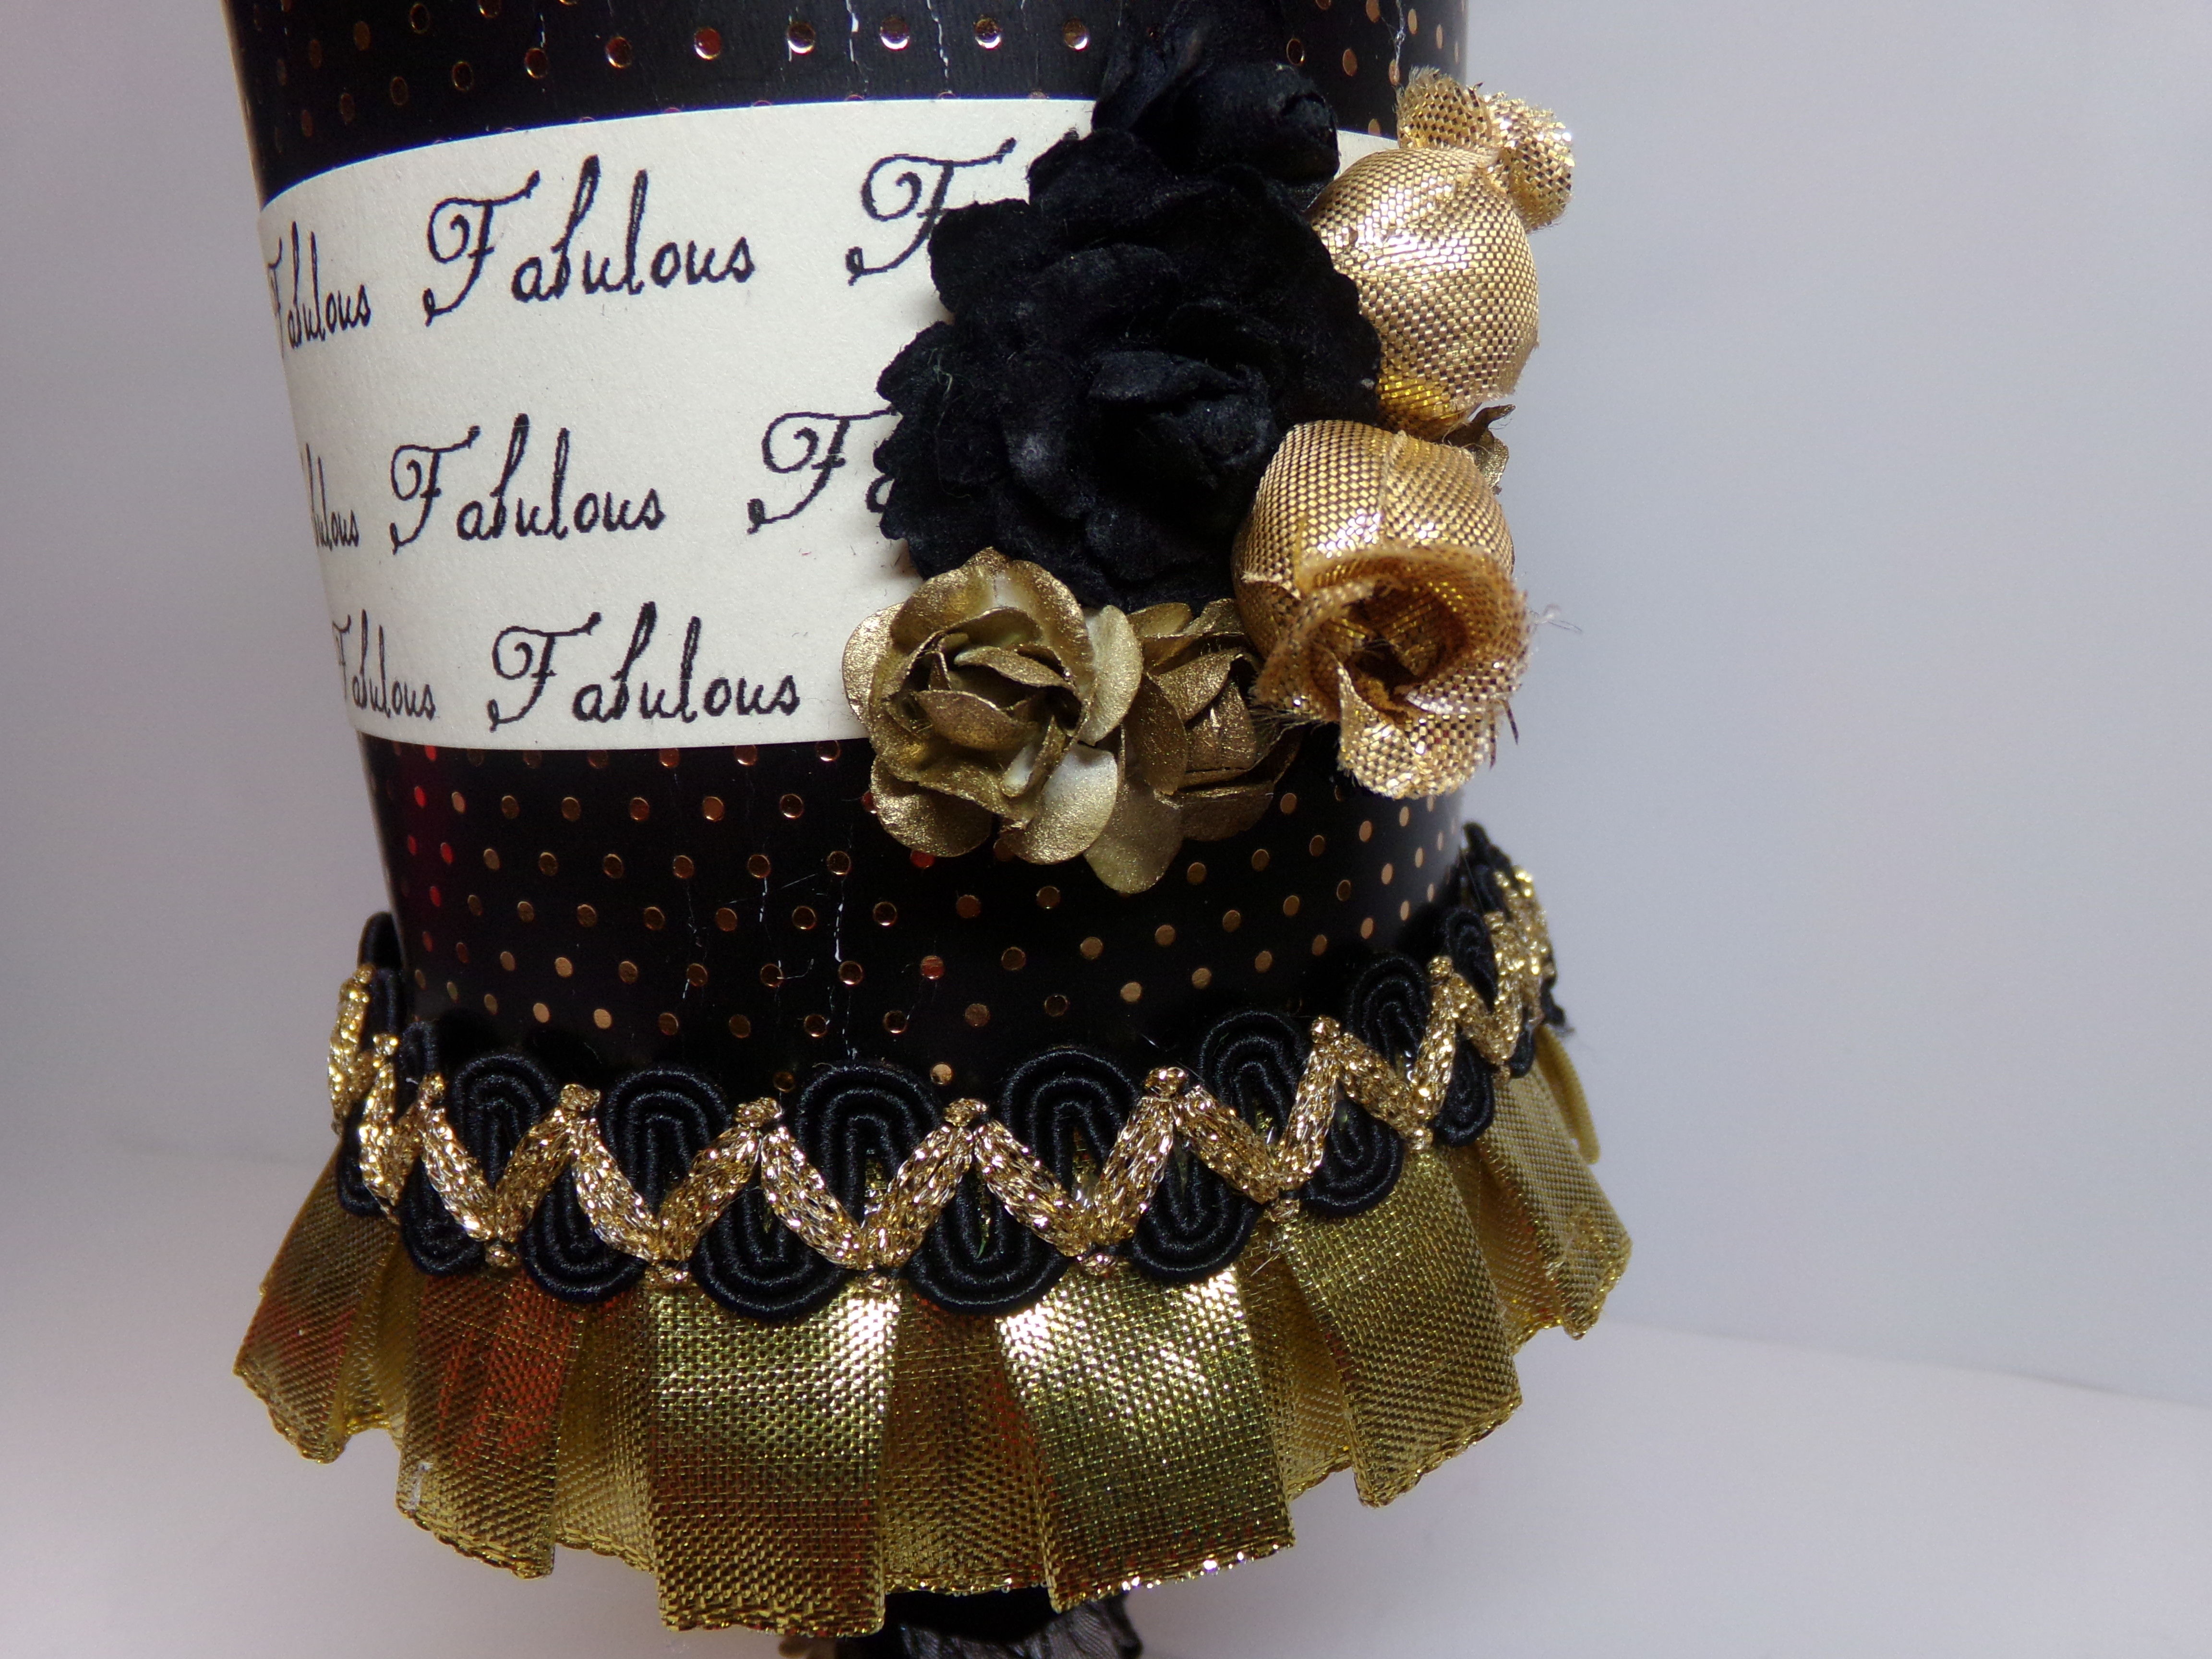
My pin cushion above is made from an empty gelato container…
I added a large flower on one side and a cluster of flowers on the other side…
Here is one more view of it…
Be sure to stop by The Cutting Cafe’s Blog to see new design team posts on the 7th and 21st of each month. Be sure to leave a comment for a chance to win three free files on the next posting date. Thanks so much for stopping by! As always, I have a video of my project to give you more details…
My friend Tmika alway hosts fun swaps and this one, although challenging, was fun. For this swap, all the embellishments had to be two inches of less. That is kind of hard to do. A couple of mind ended up just a little over two inches.
Car and Banner Tiny Embellishments
Dressform, Butterfly, and Tag Charm Tiny Embellishments
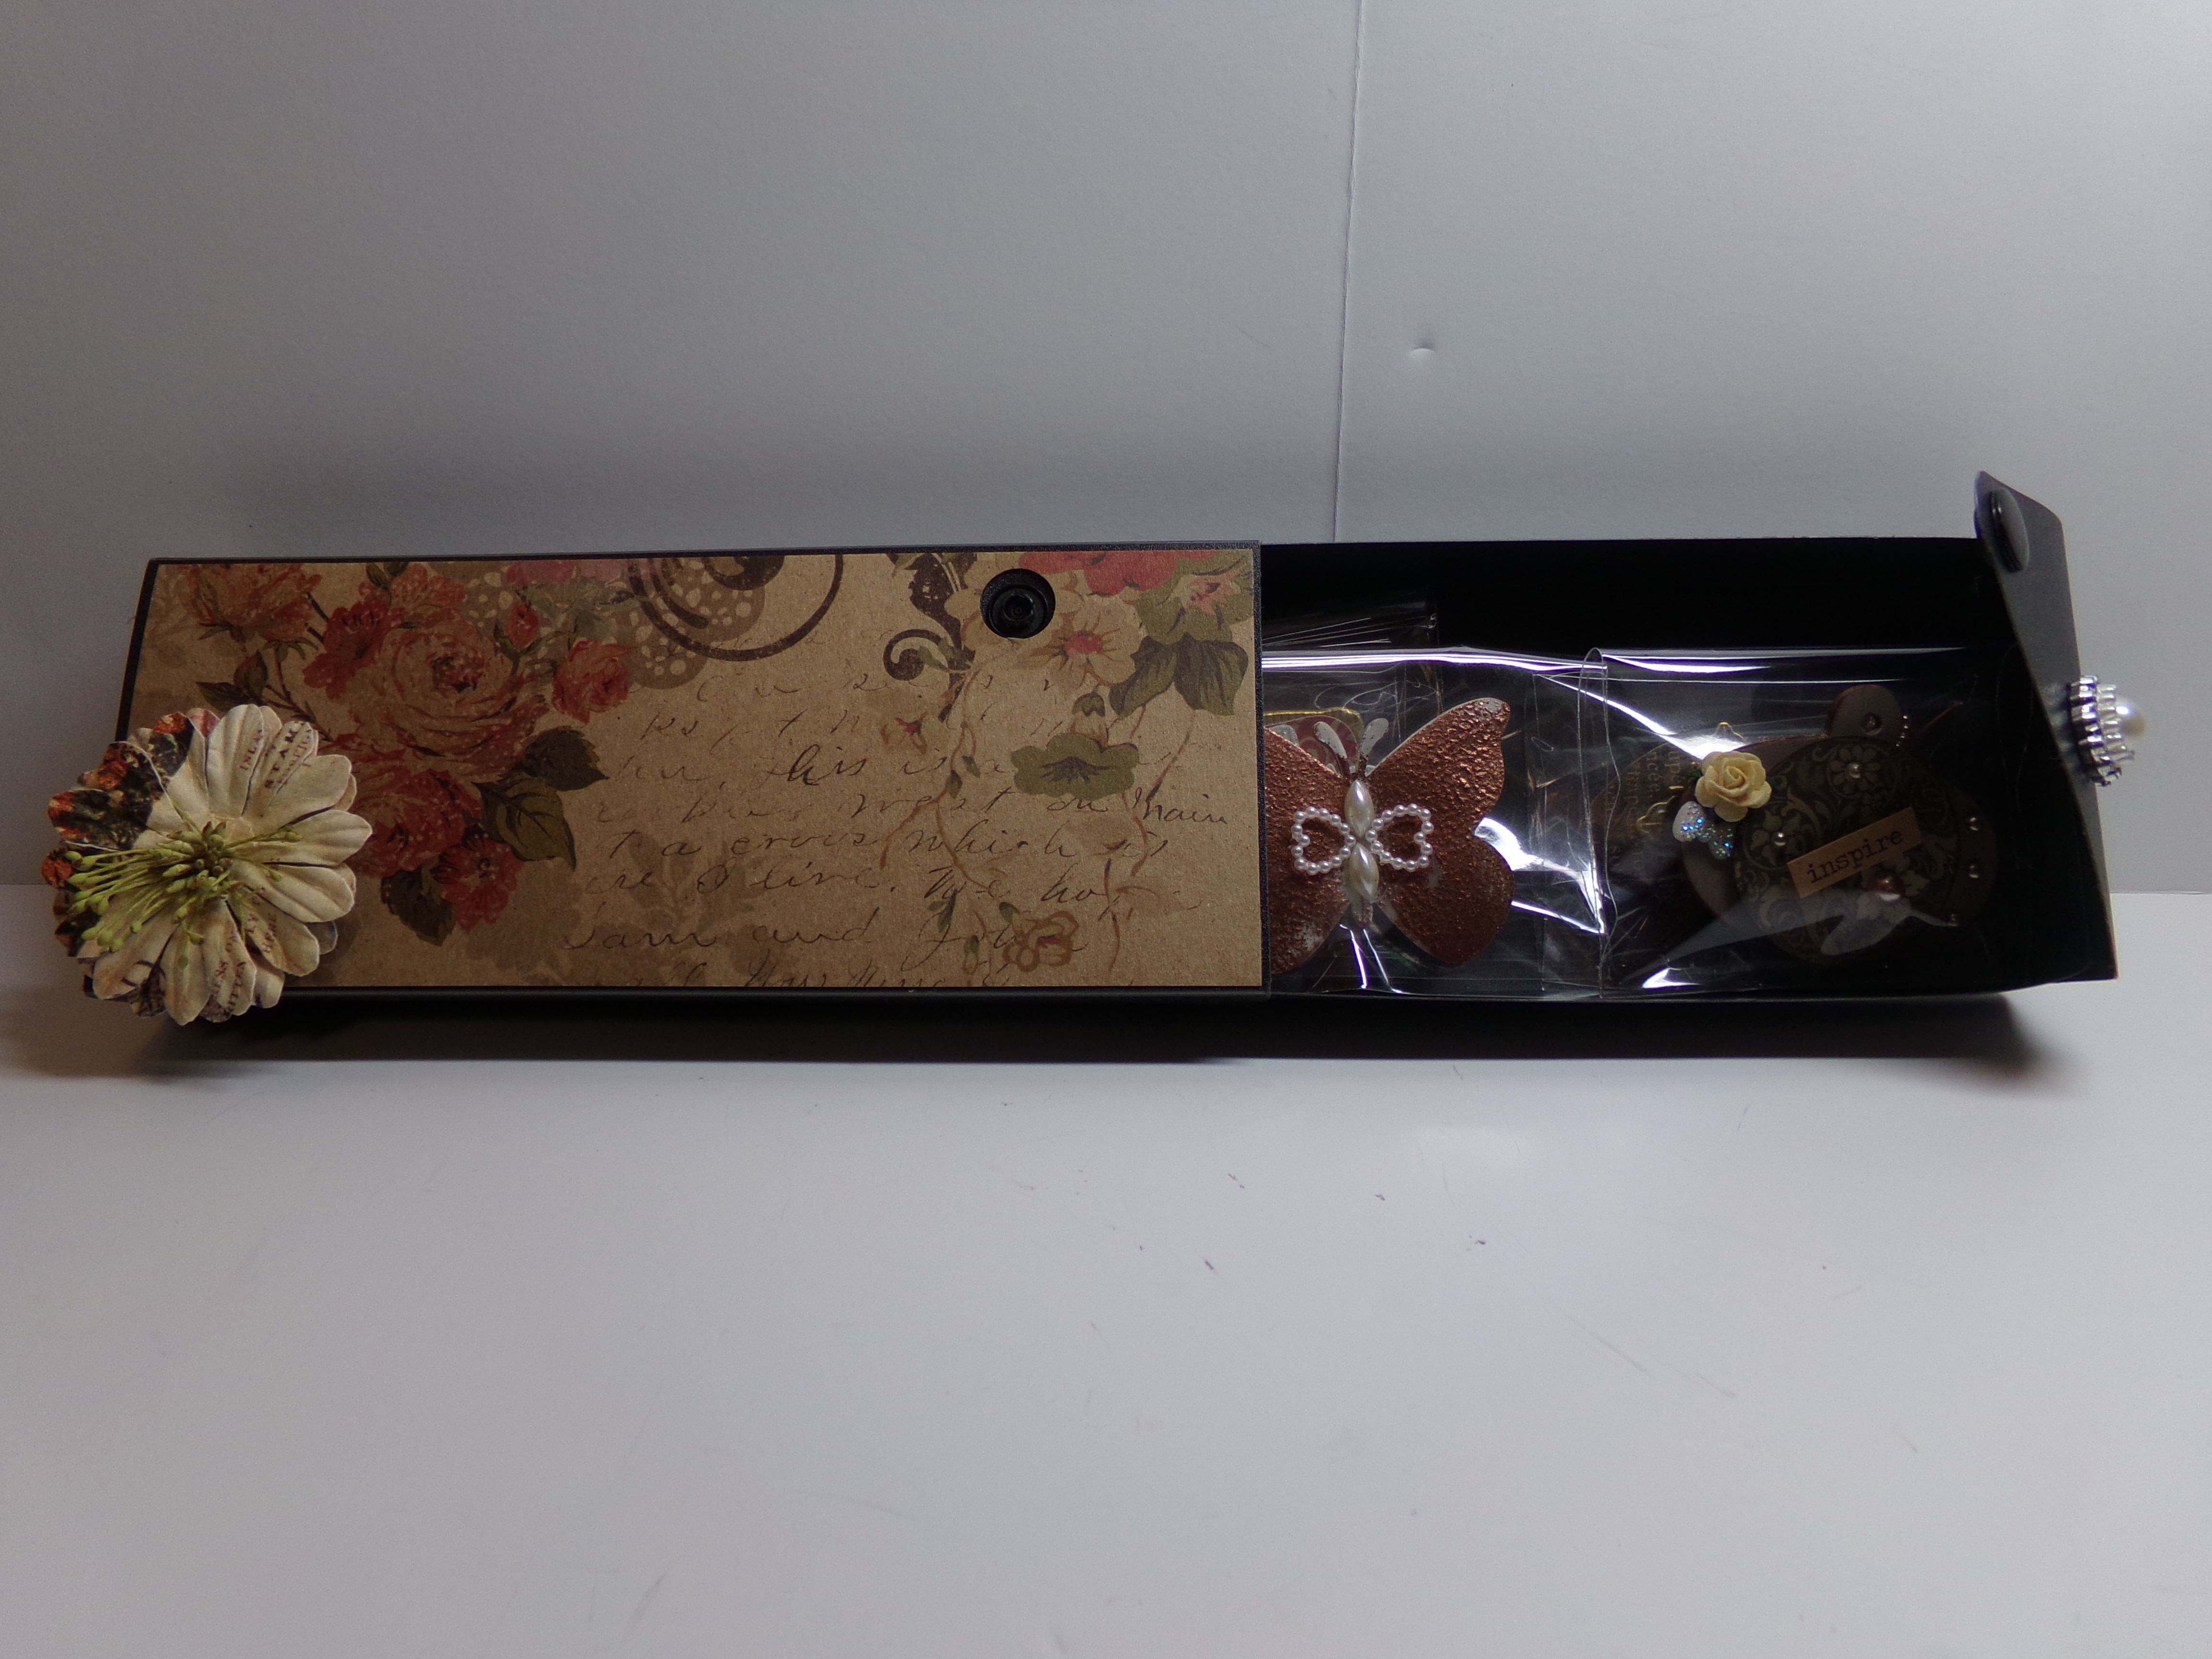
Every swap needs great packaging. I found these pencil boxes on clearance for ten cents about five months ago. When I bought them I had no use in mind. They worked out perfectly for this swap!
Tiny Embellishment Packaging
The packaging opened
Thanks for stopping by. I have a video of the project to share before you go…
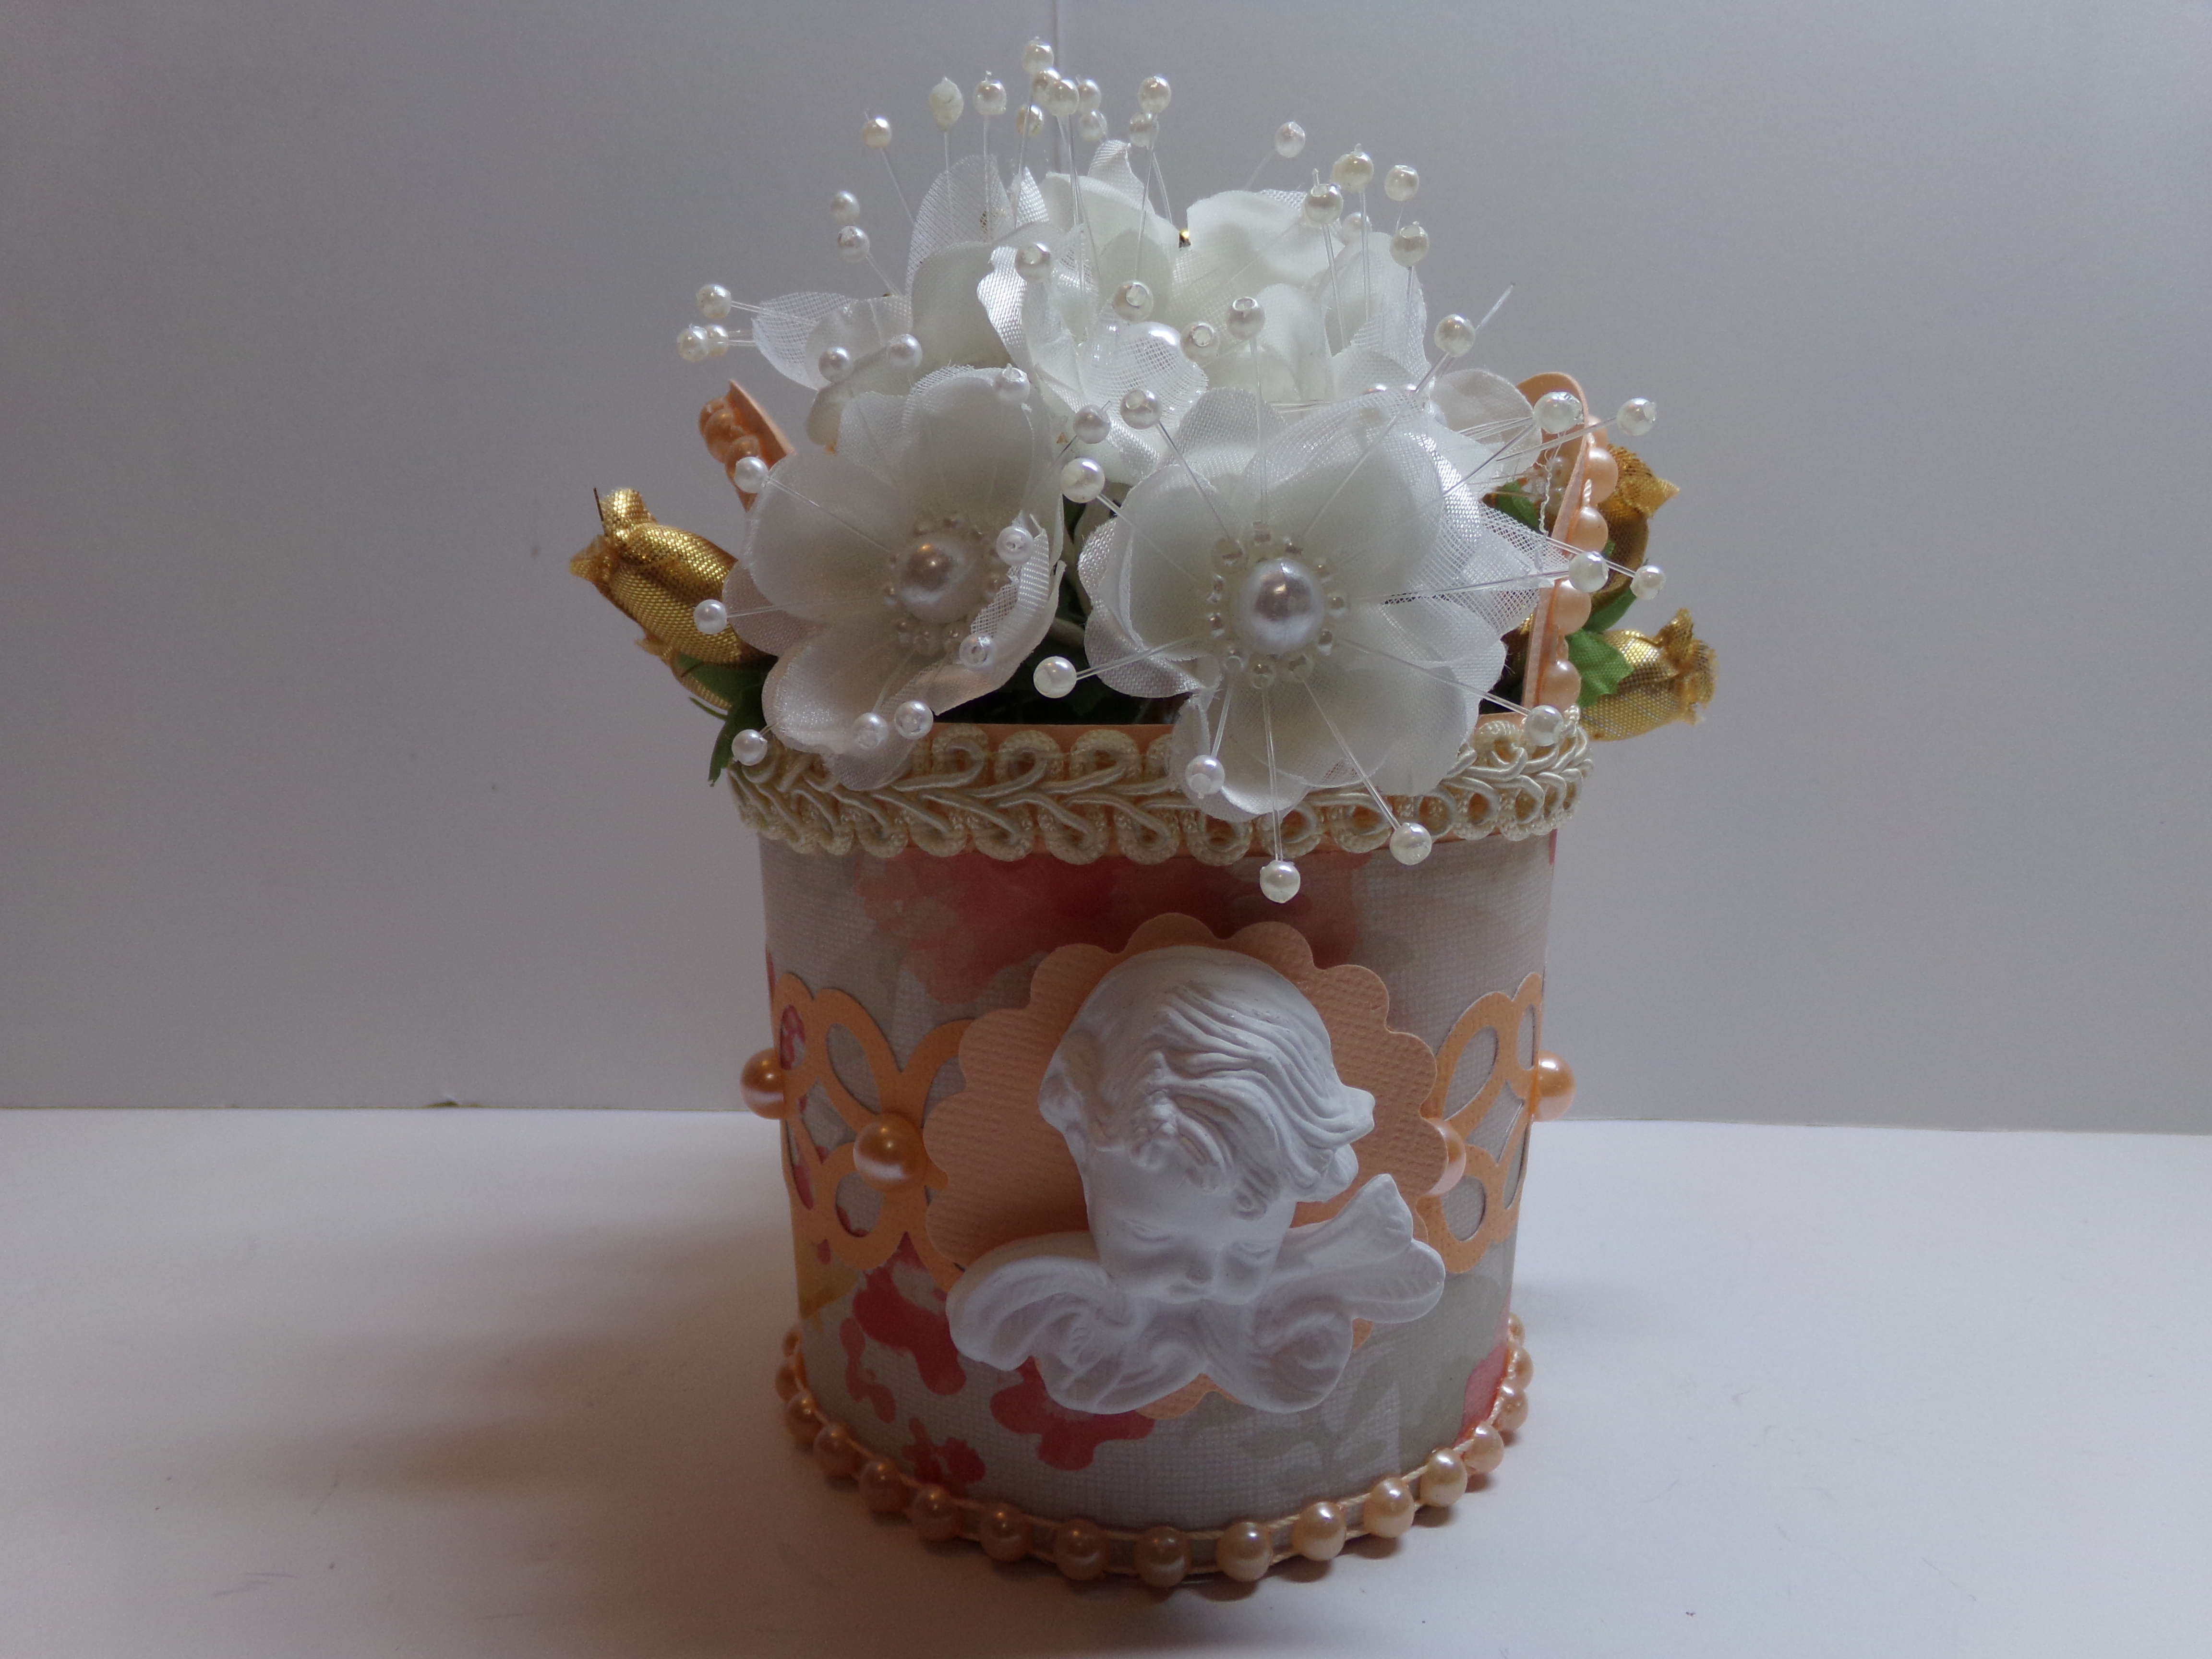
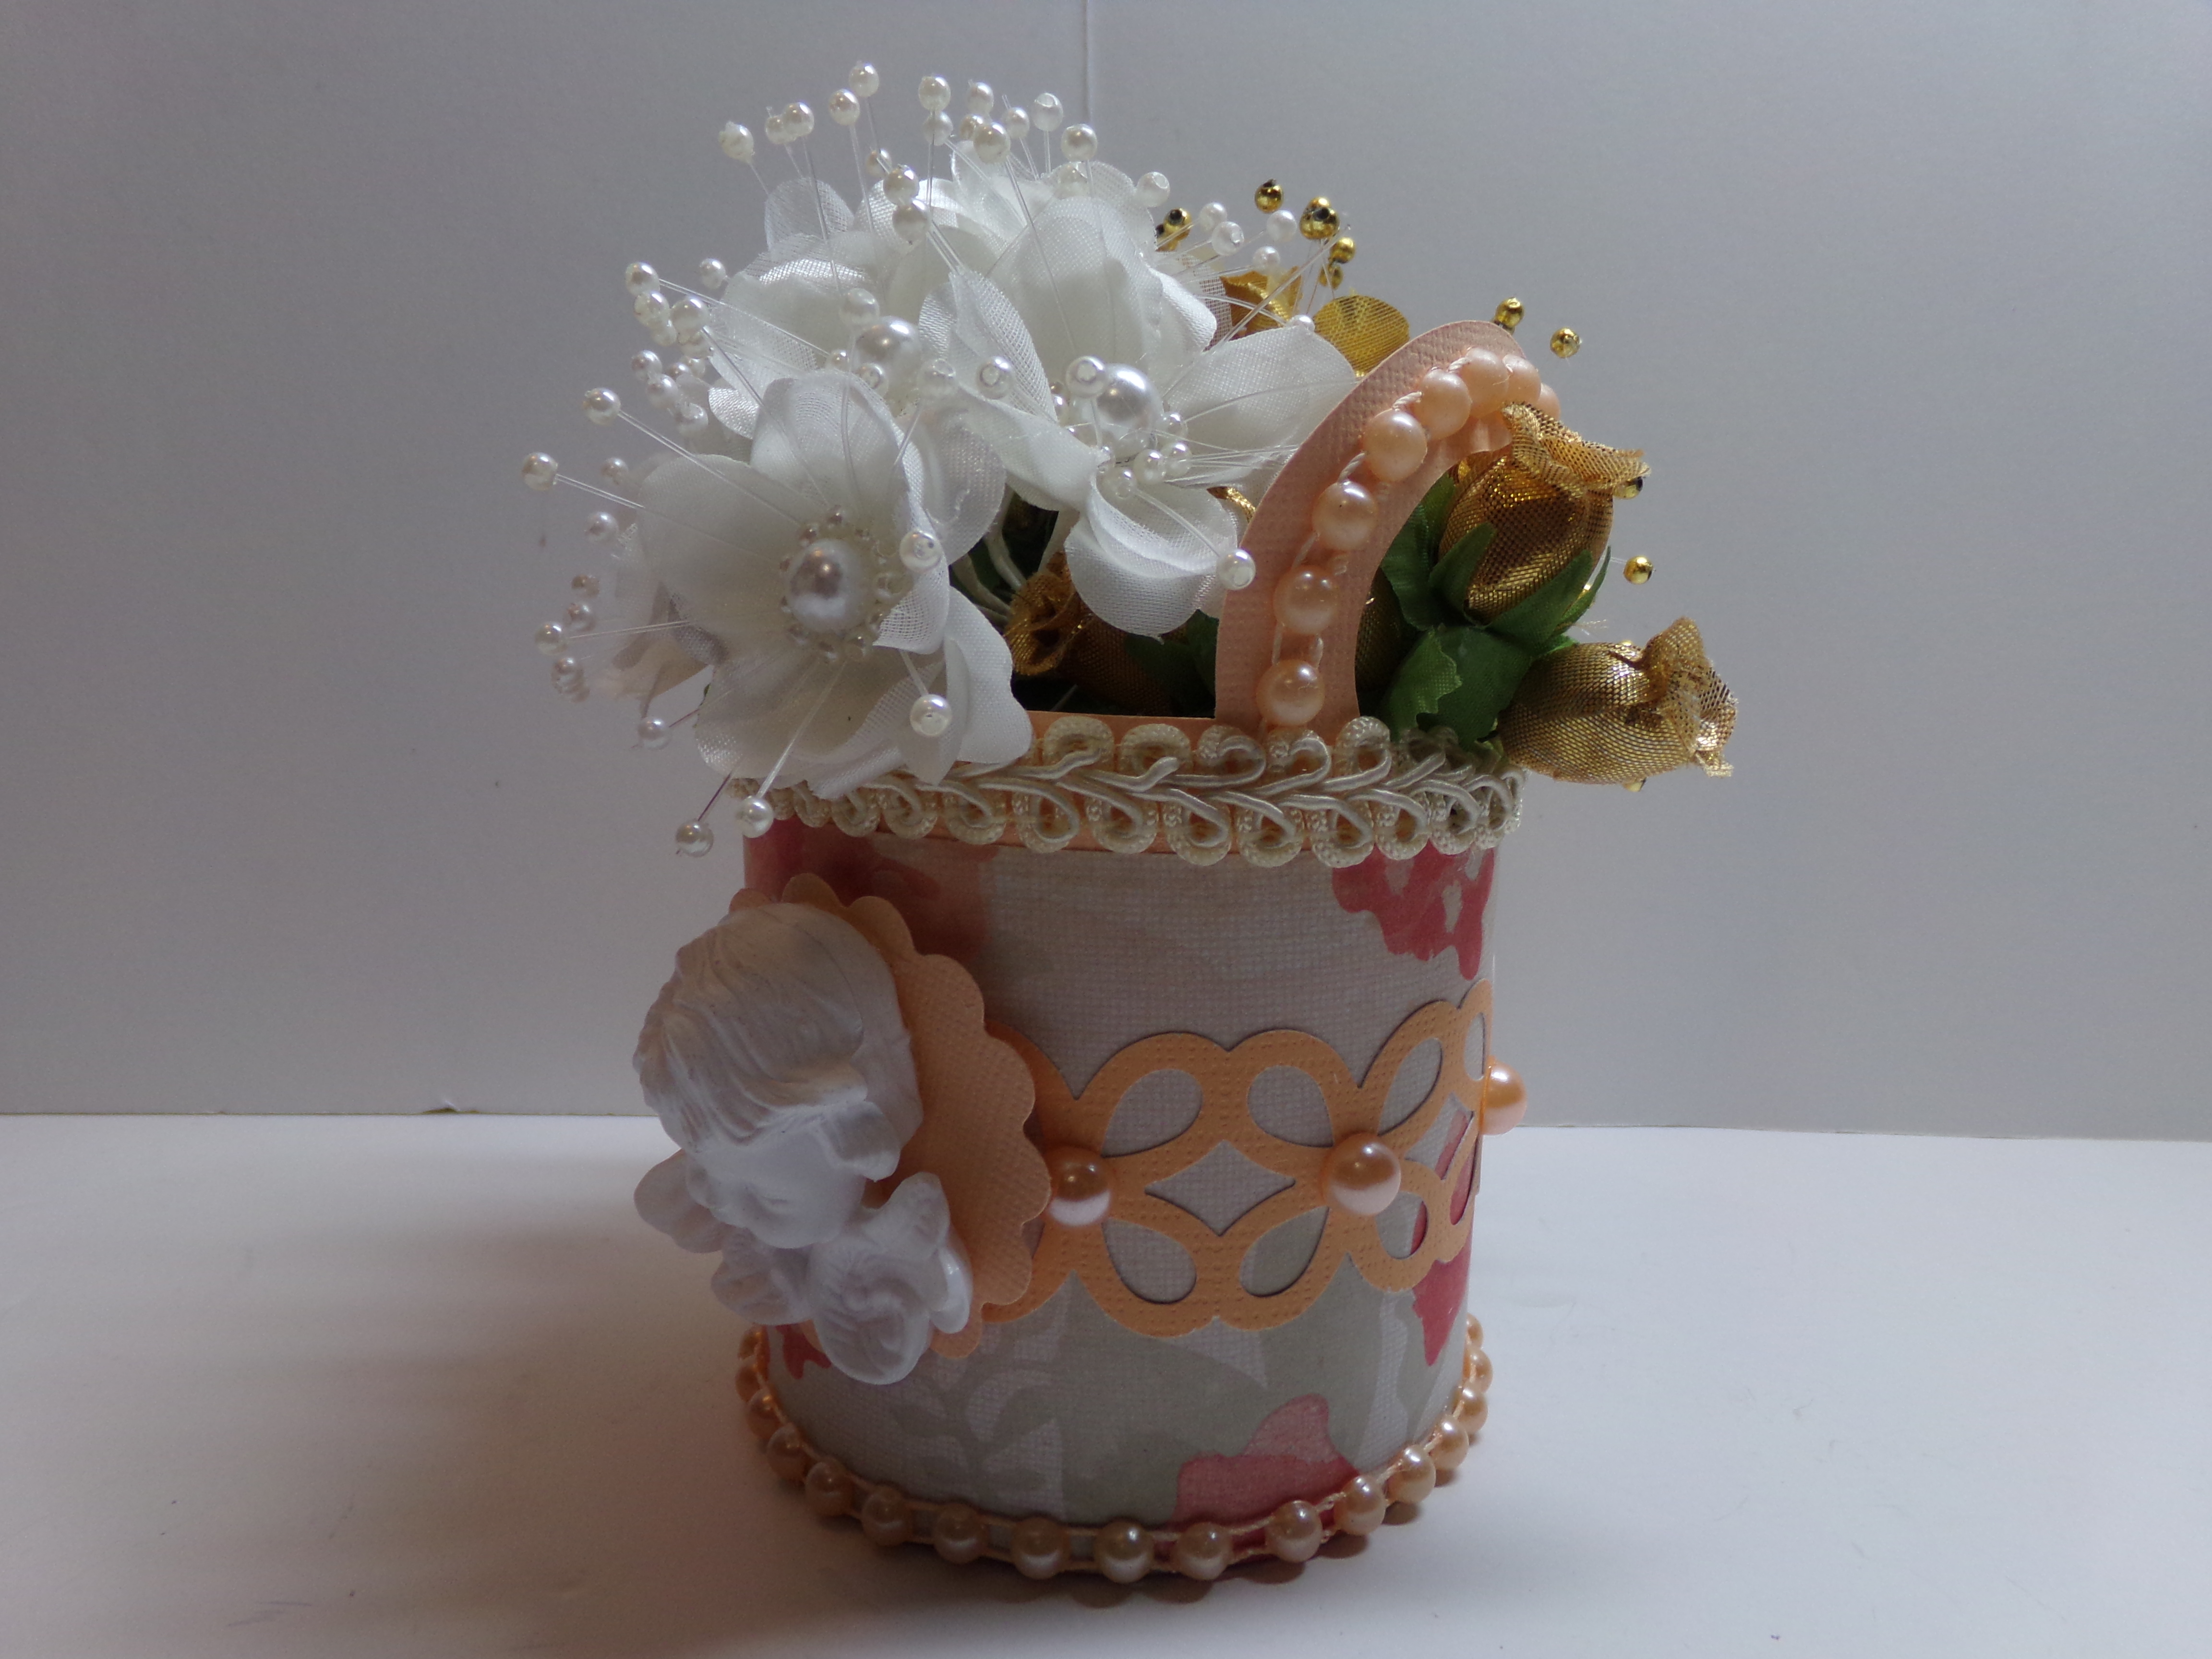
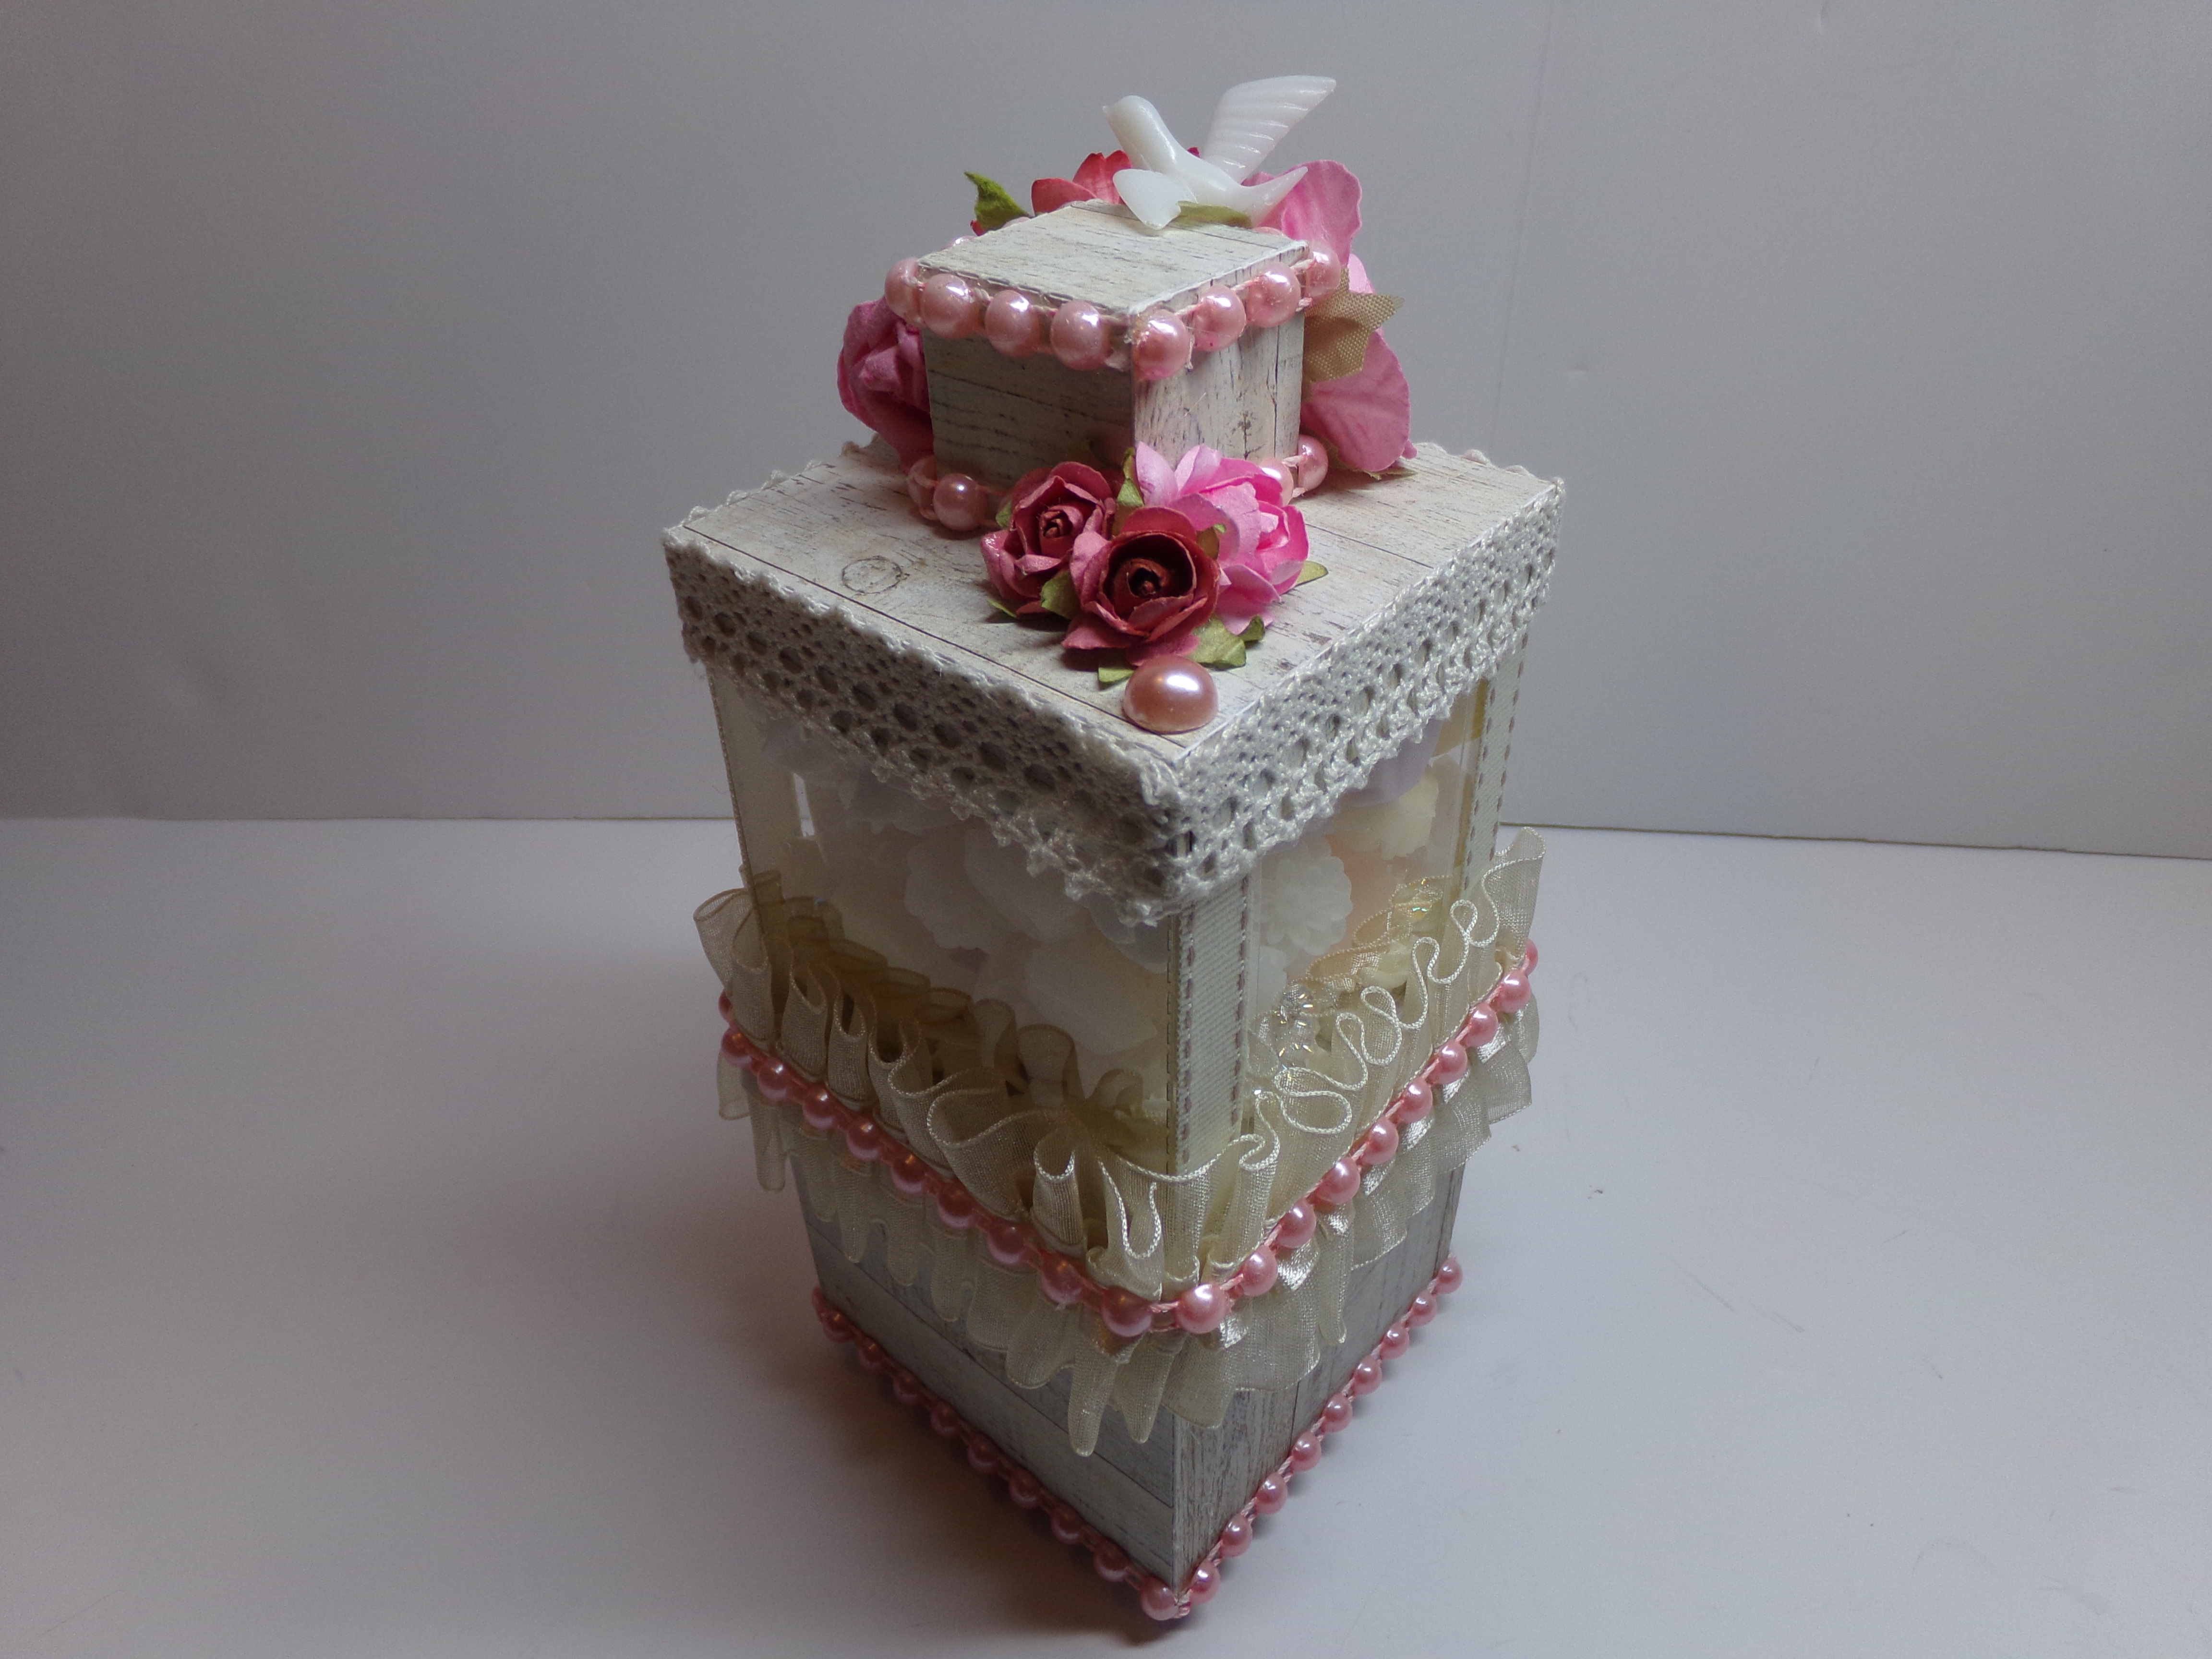
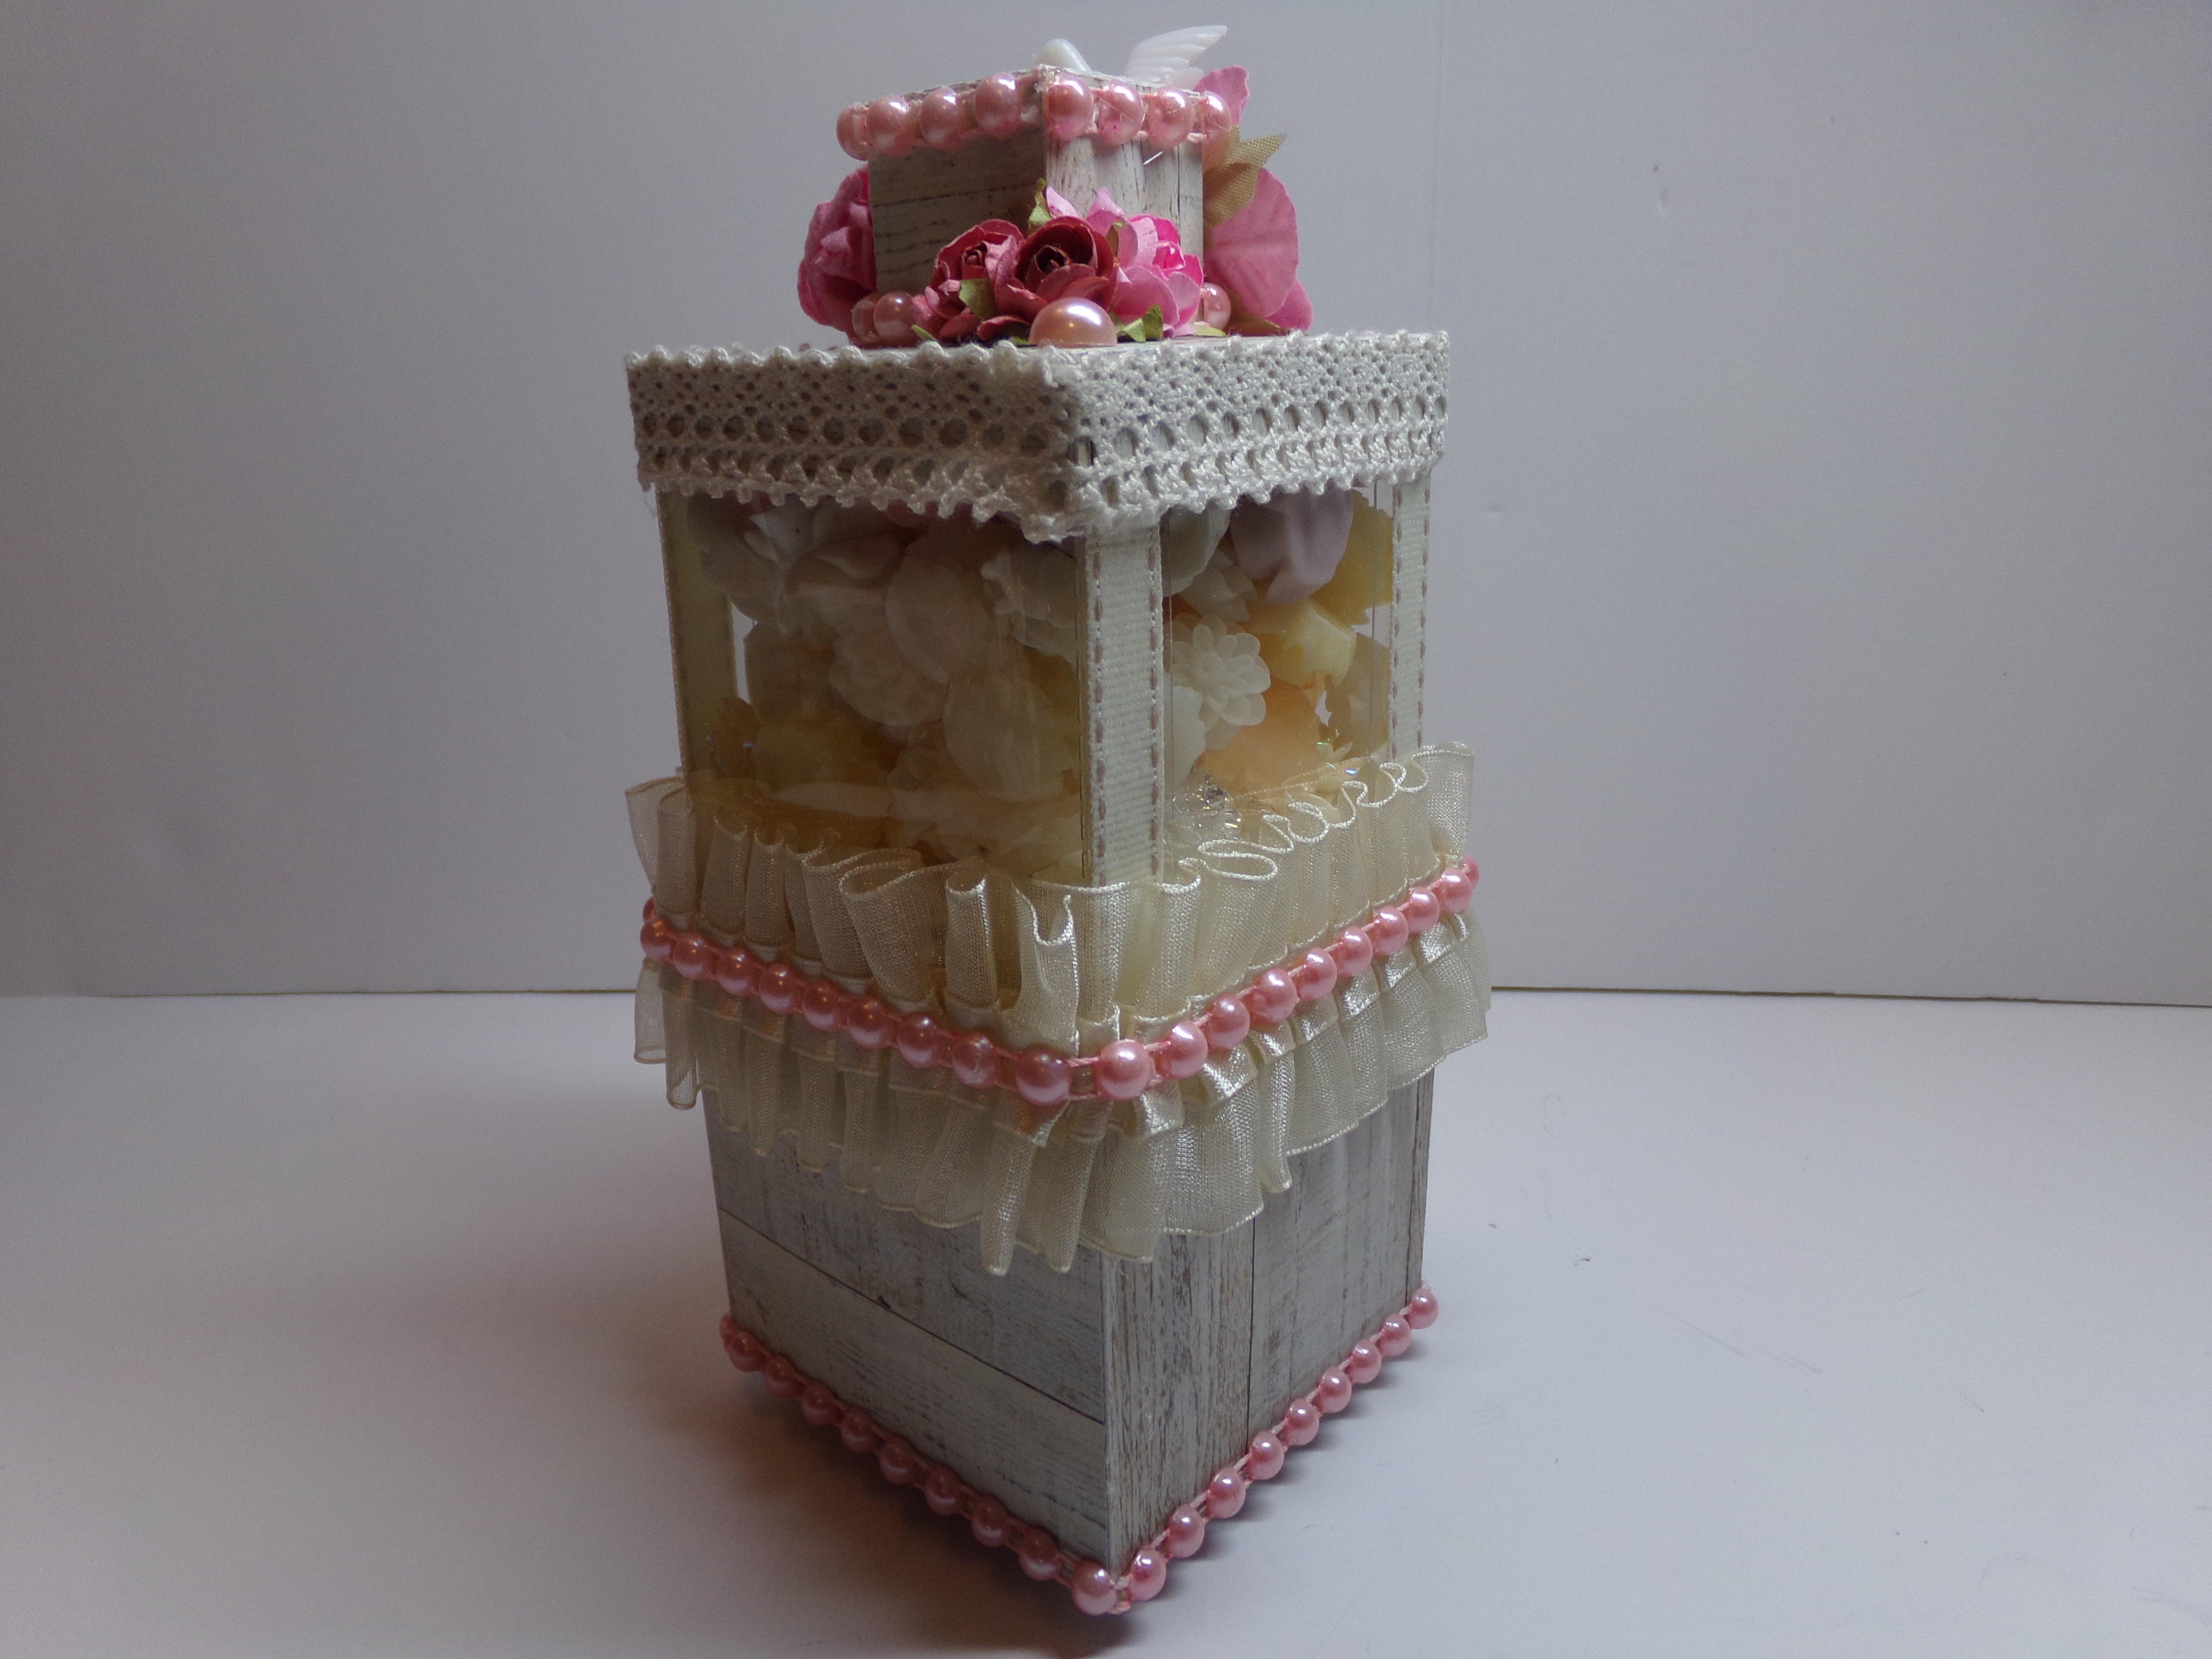
Both of these files are very nice for making little gifts for people as you can fill them with goodies and wrap them up in a clear bag and tie with ribbons. I added pearl and chinese braid trims as well as single pearls and a cherub.
Be sure to stop by The Cutting Cafe Blog on the 7th and 21st of each month to view the design team project posts. Leave a comment and you might win three files of your choice as a name is drawn from the previous post’s comments.
Of course before you go, I have a video. Thanks for stopping by!
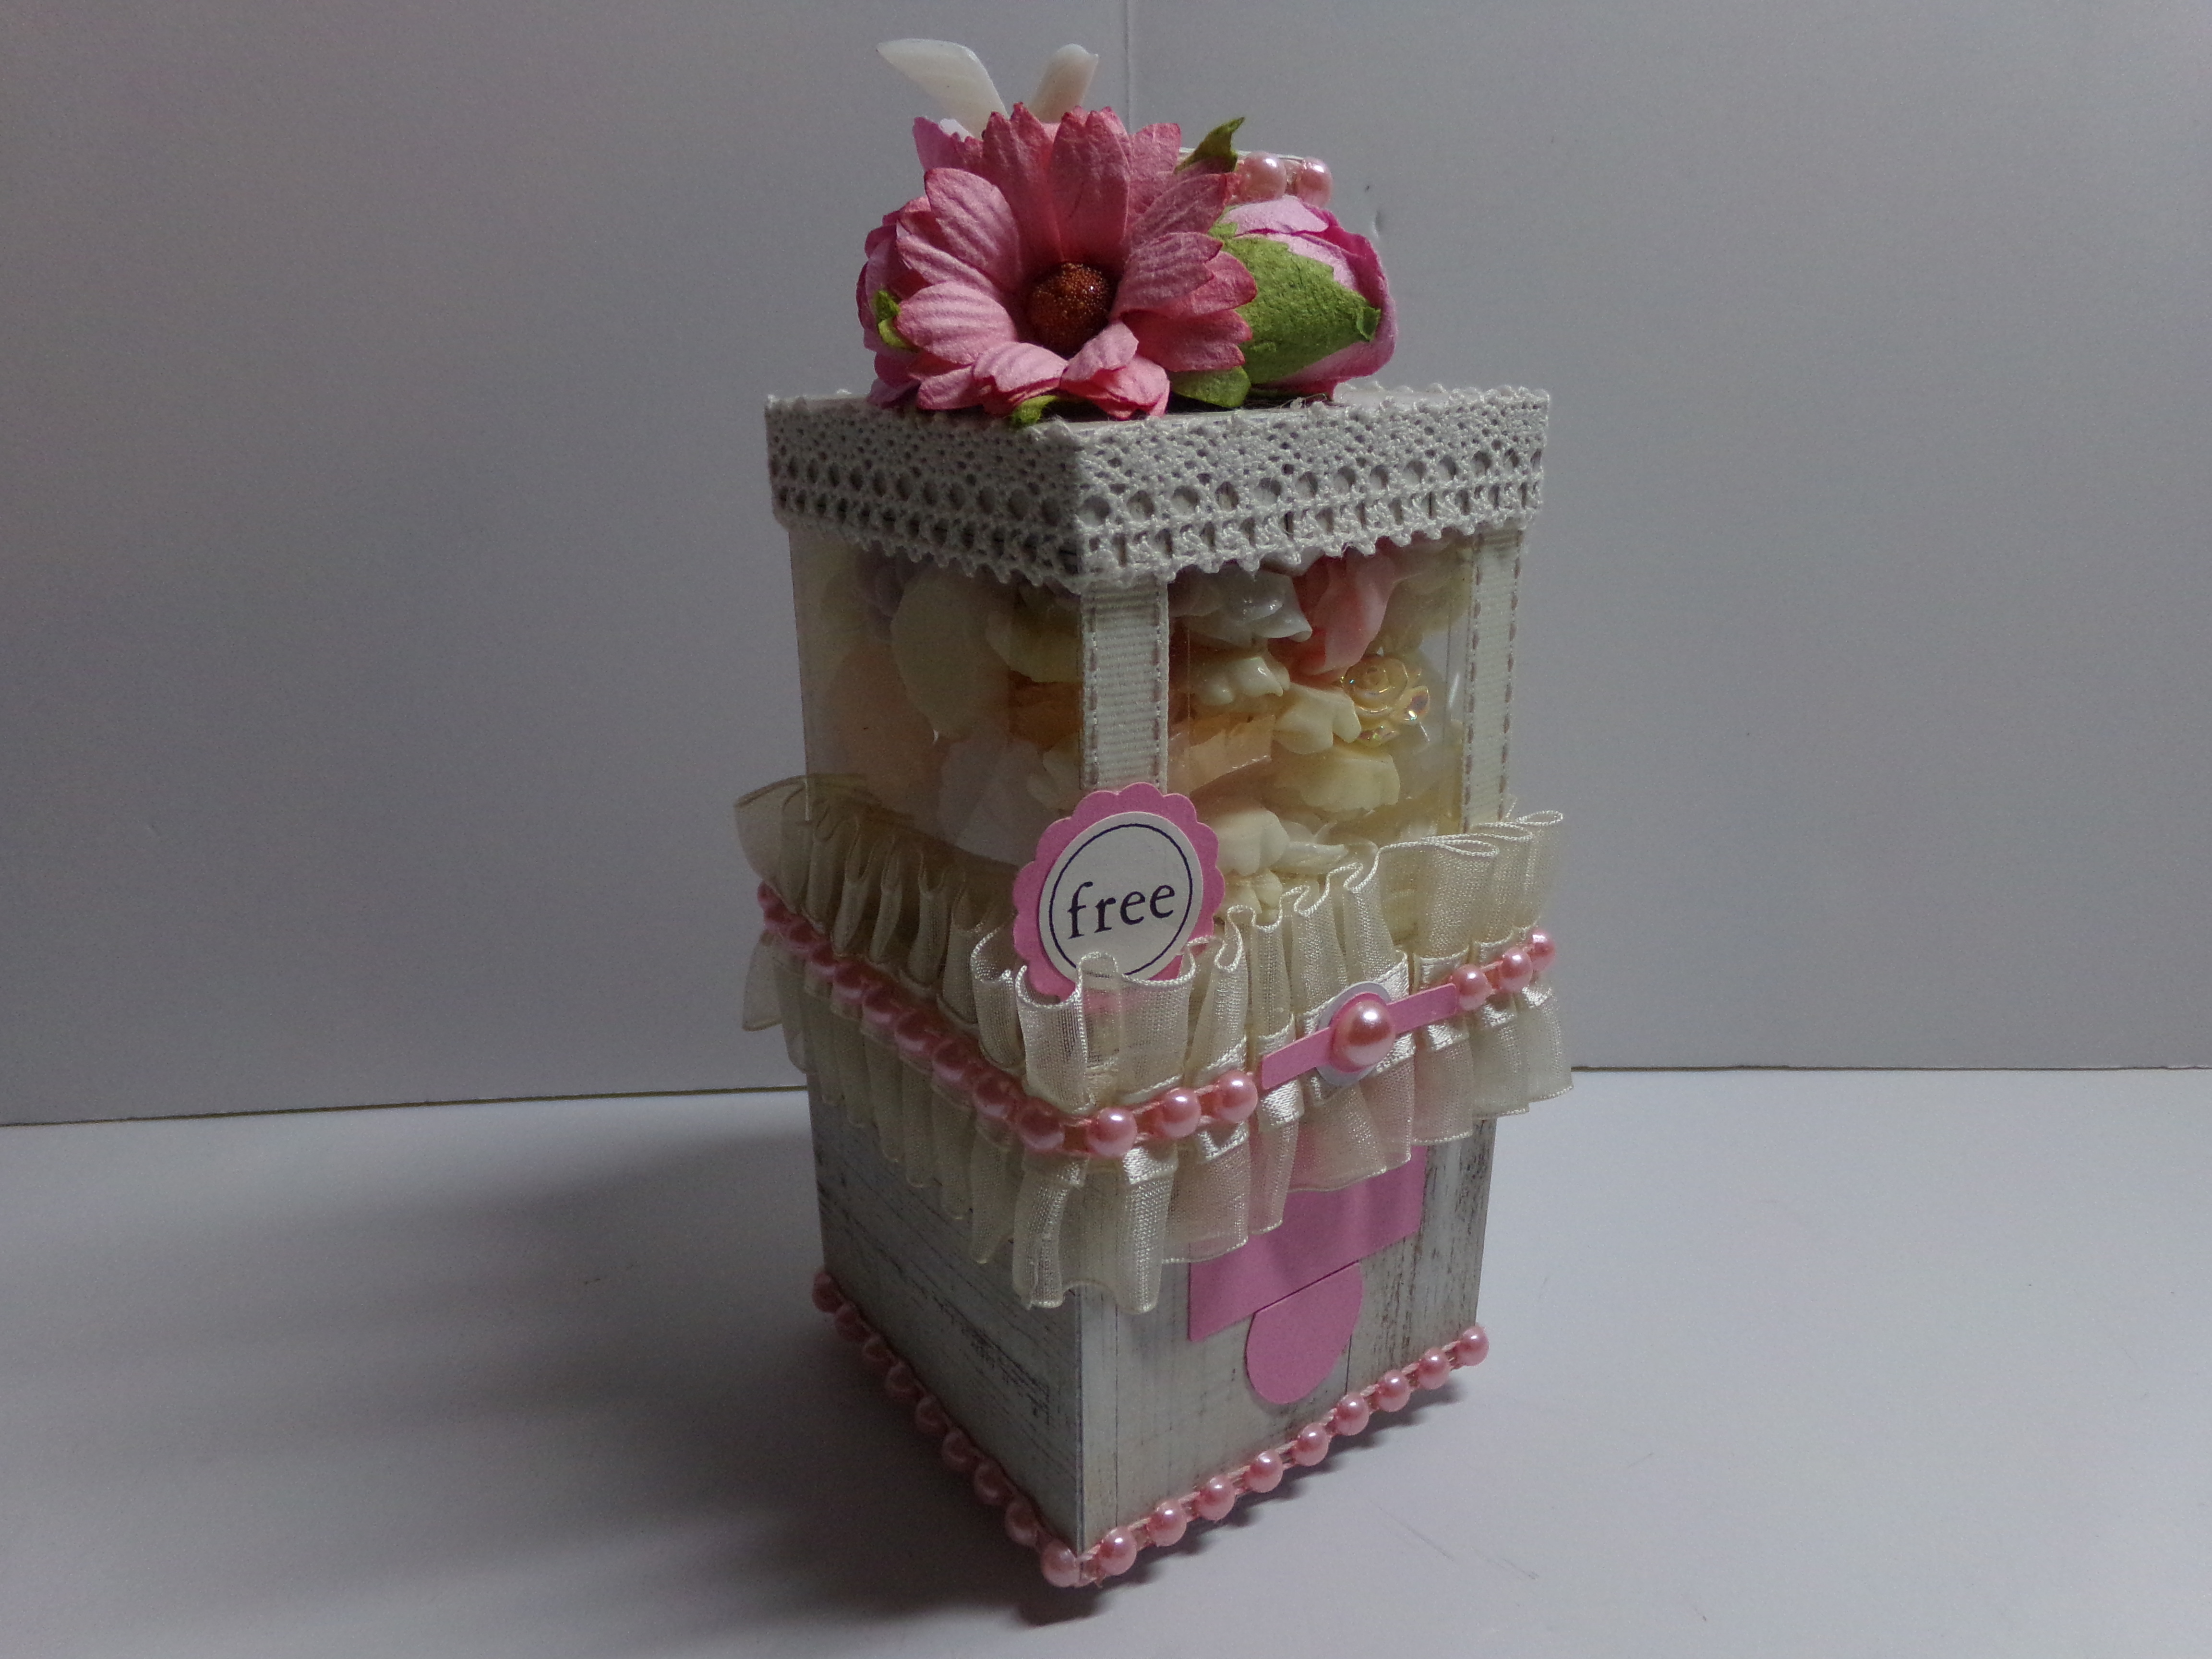
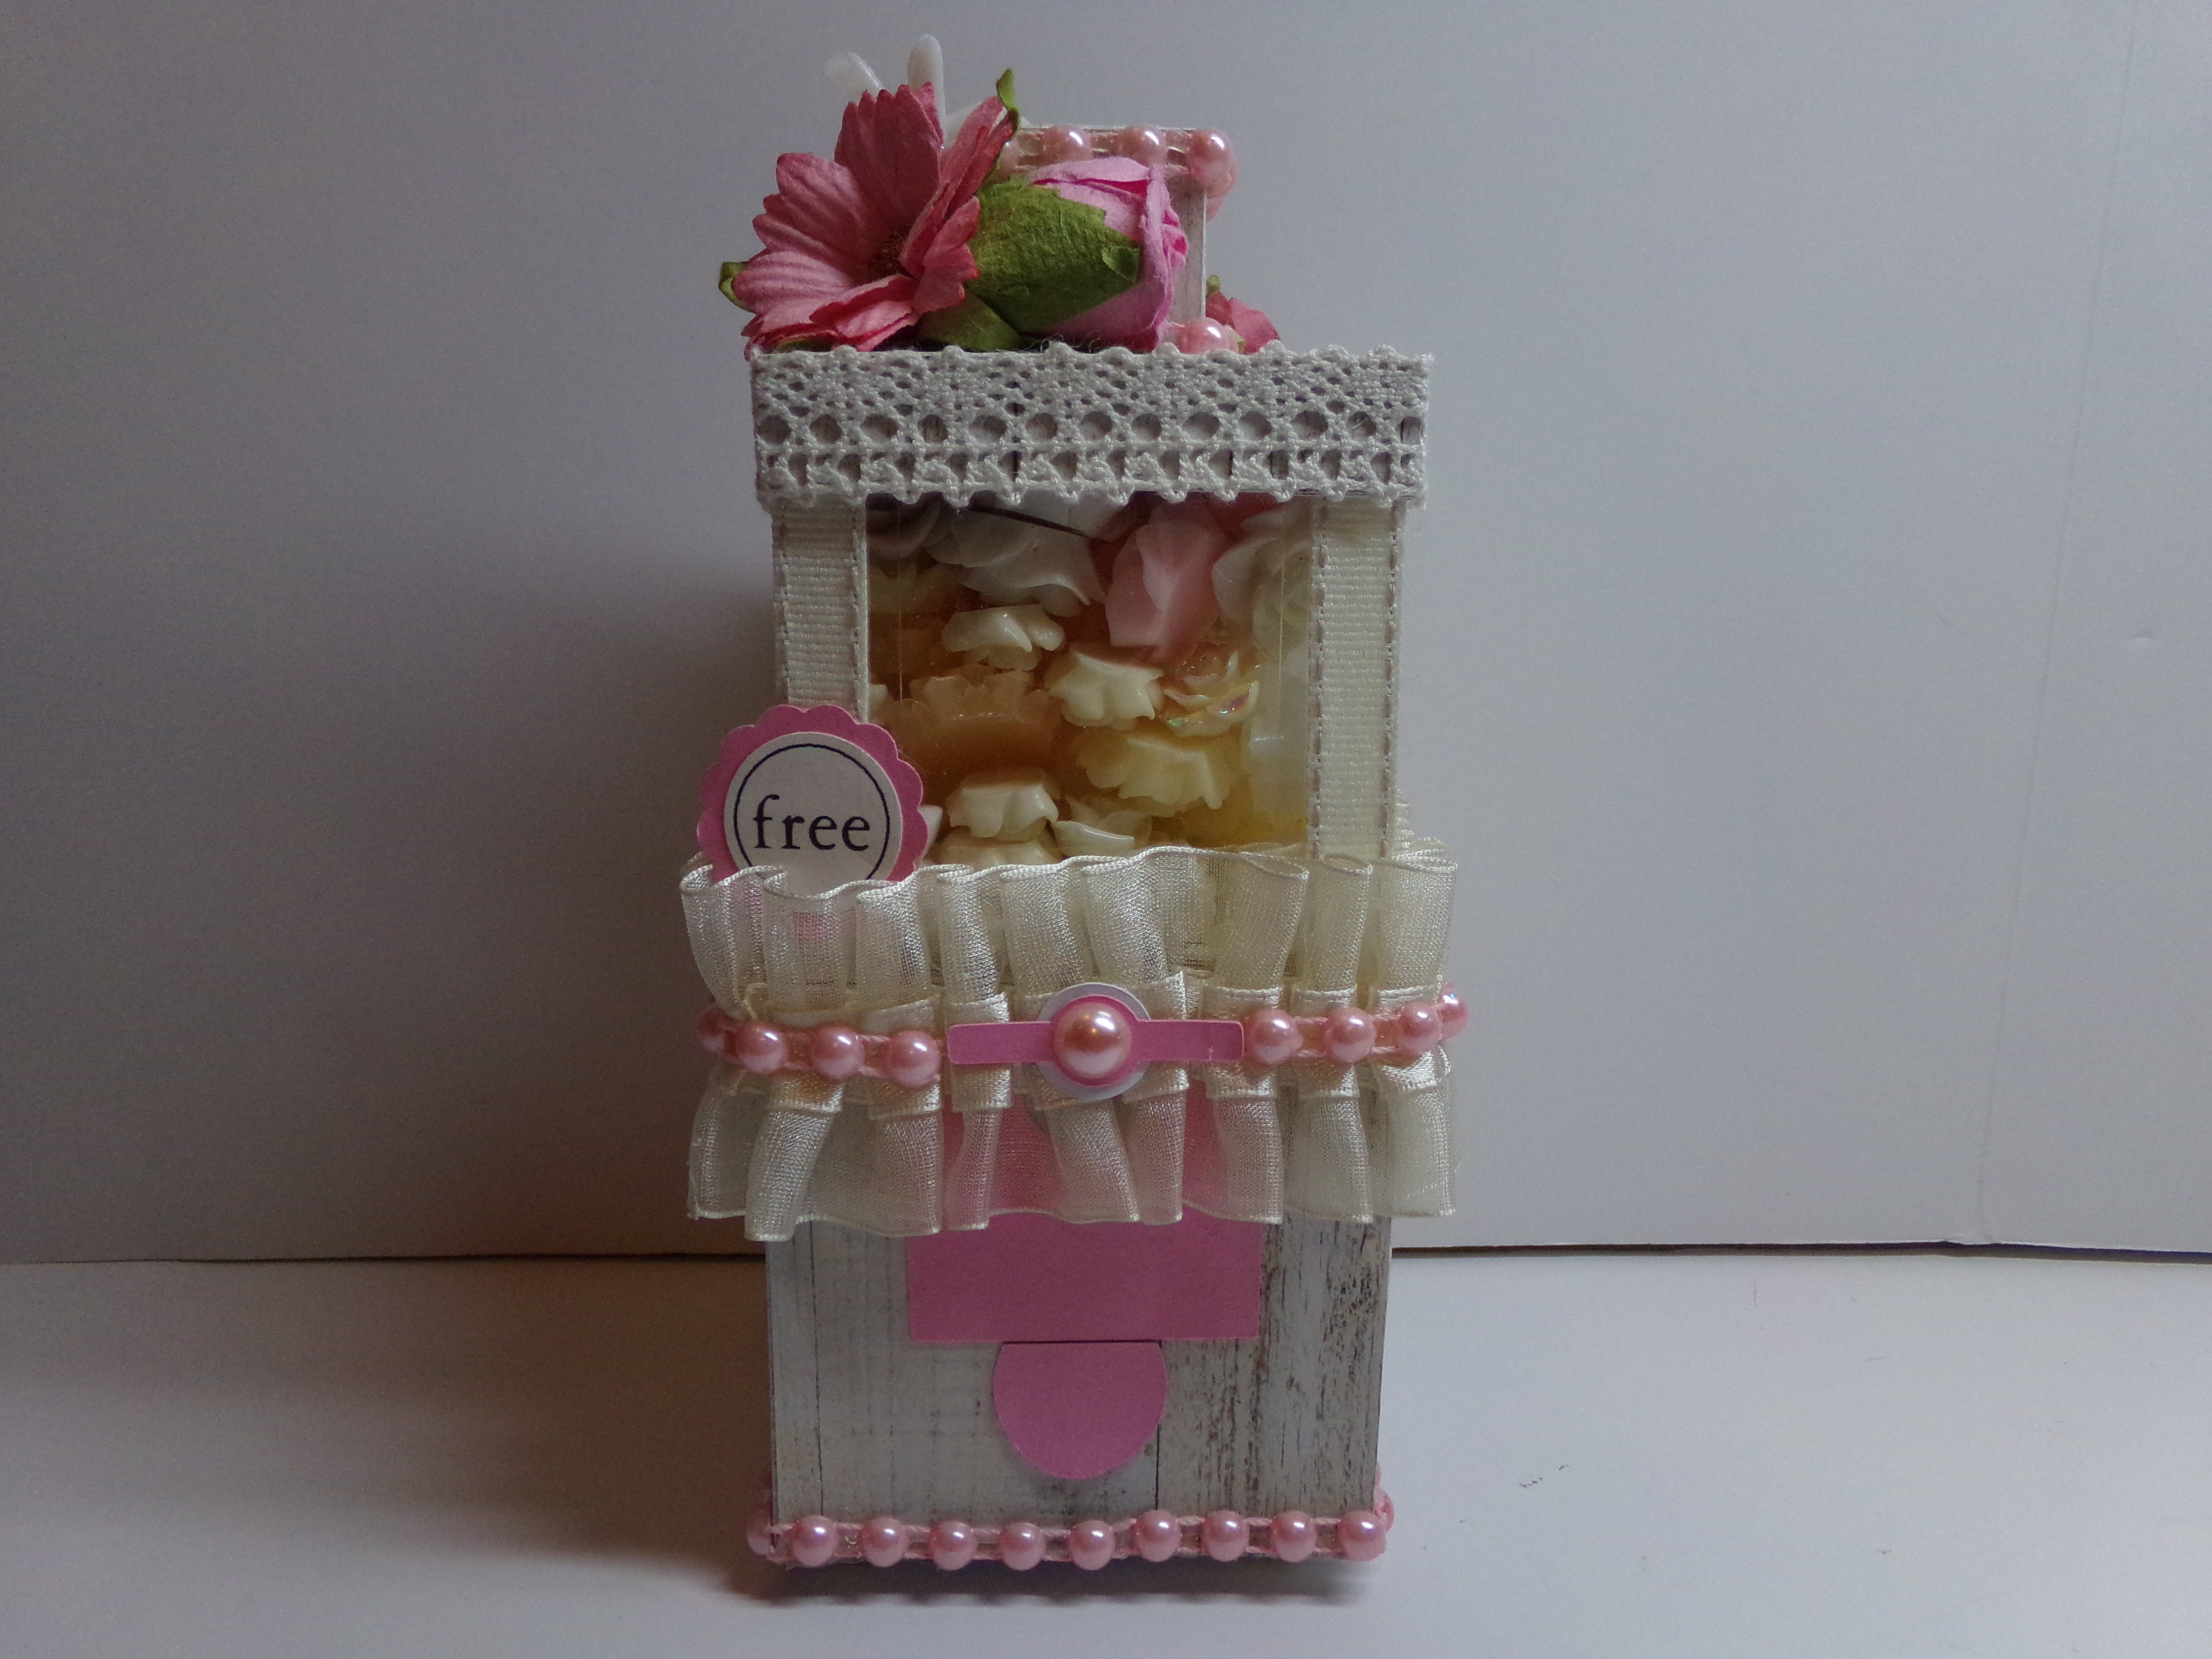
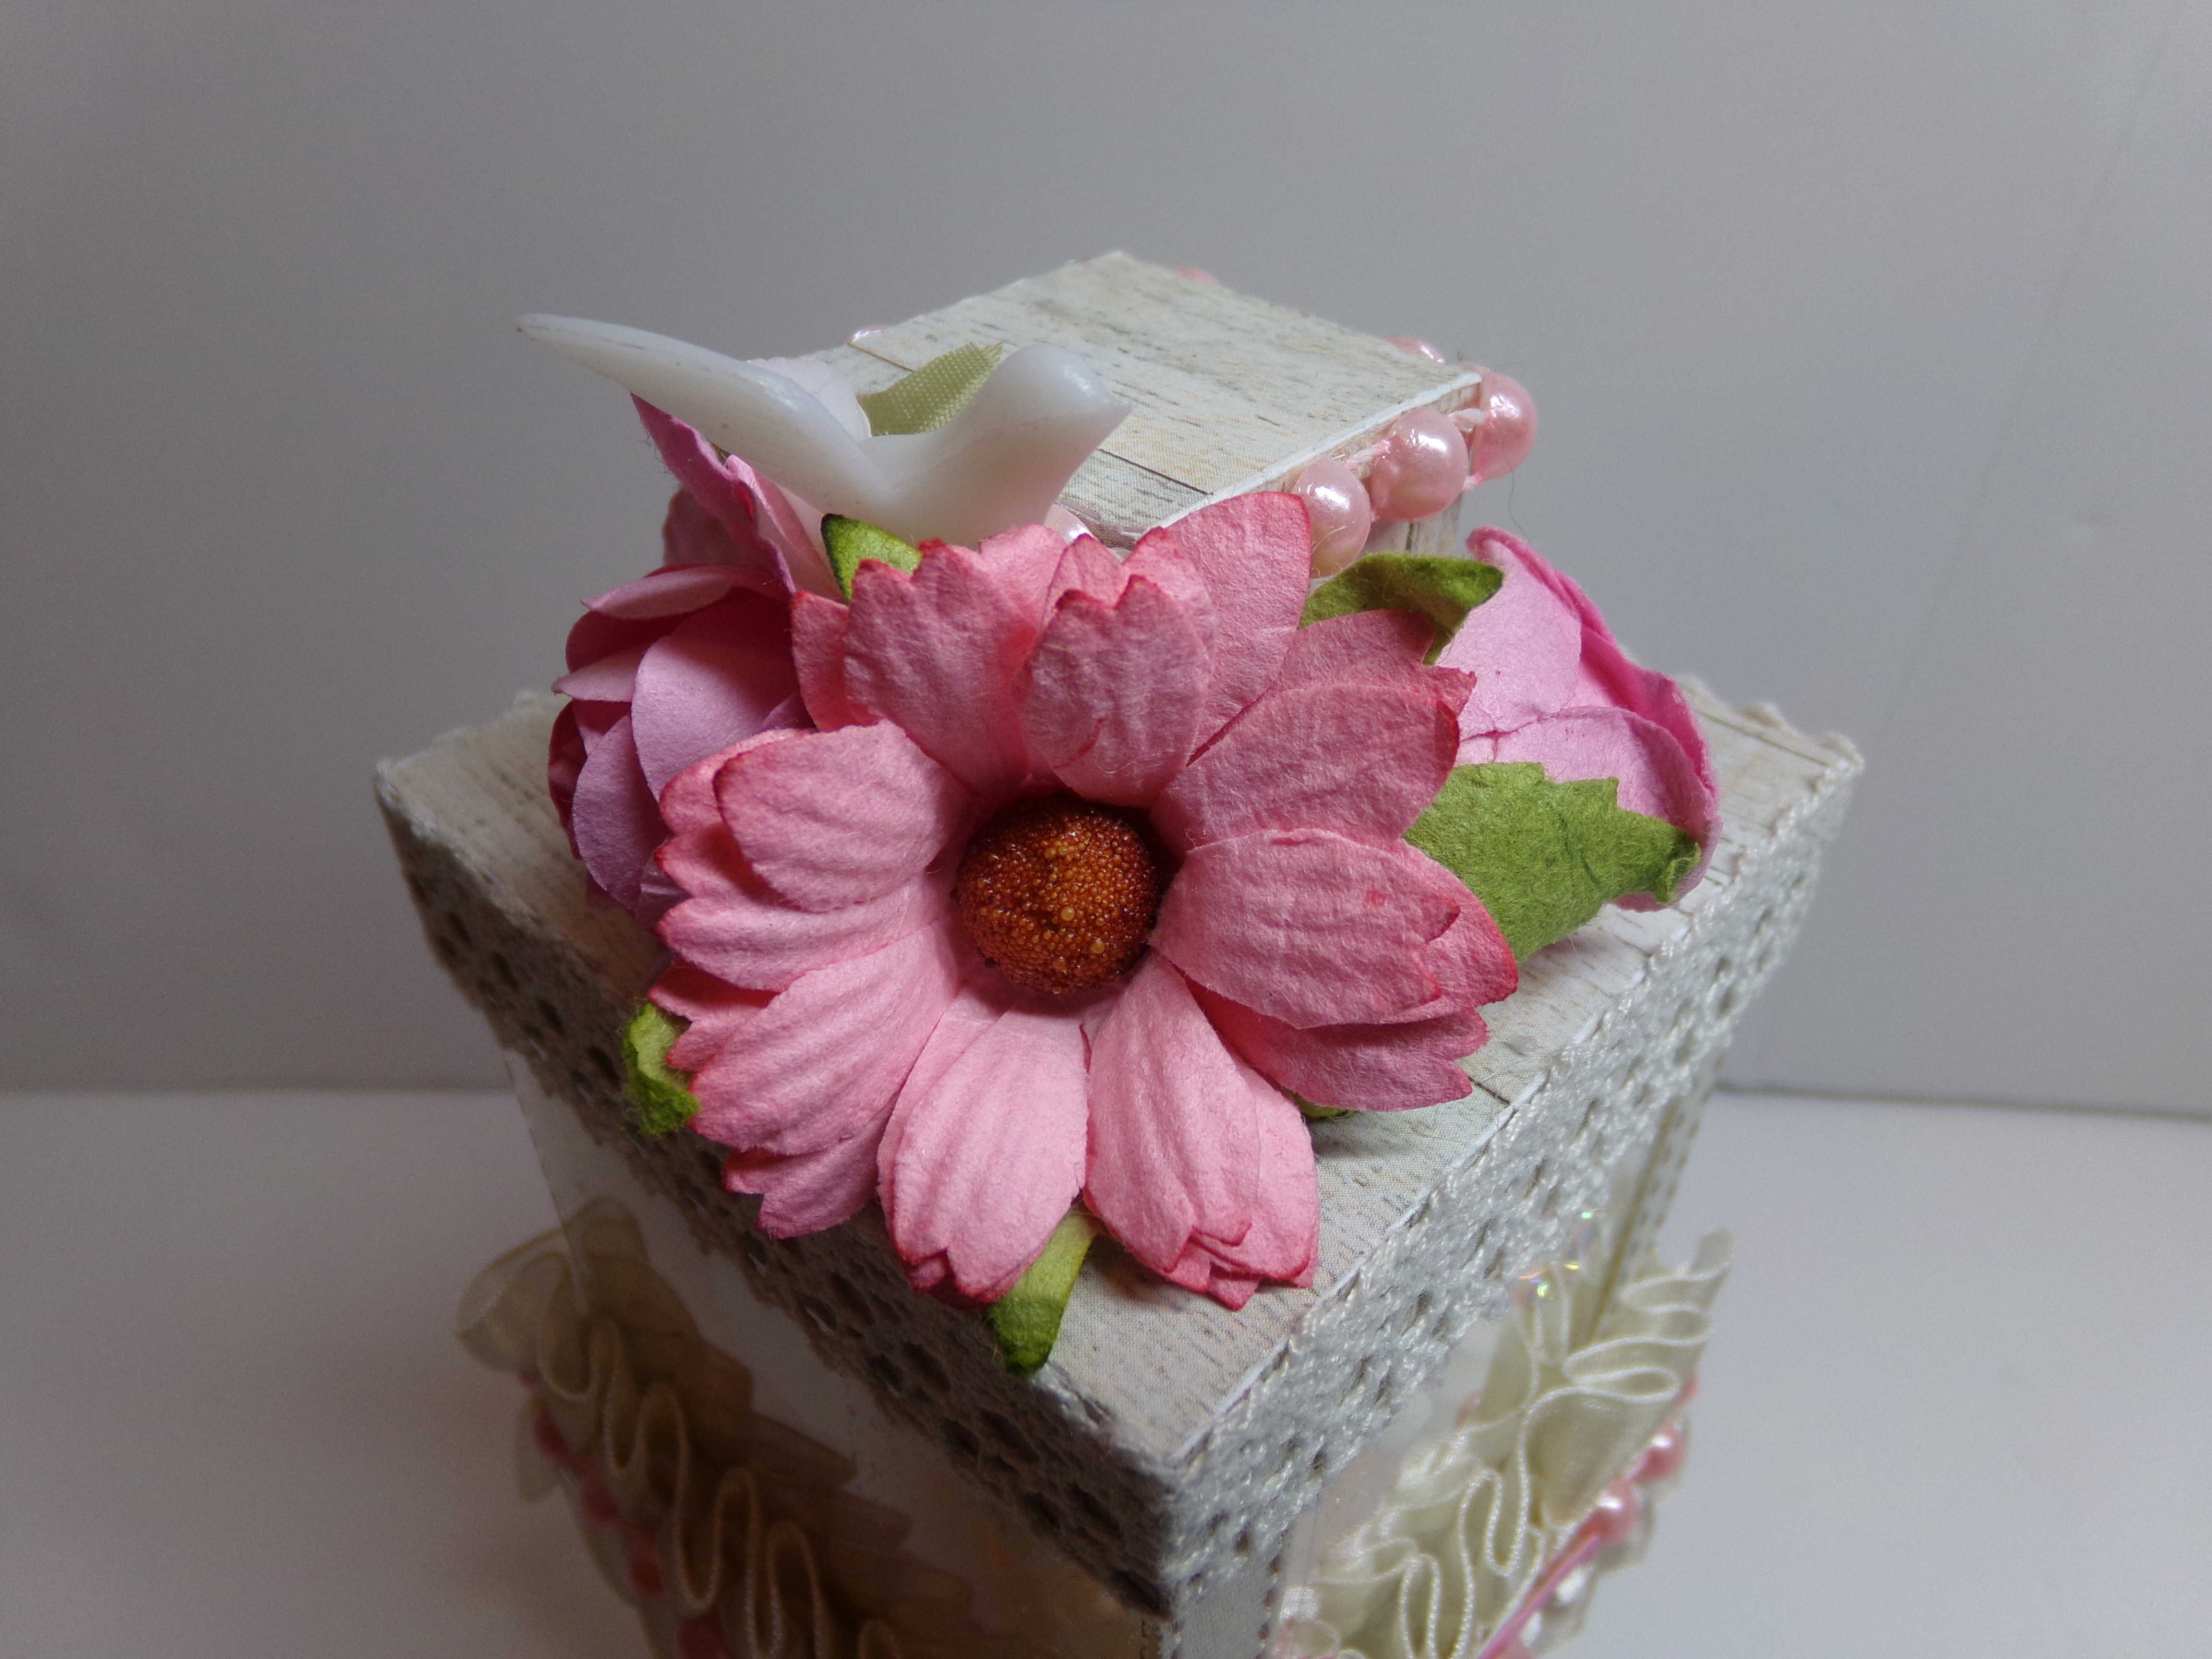
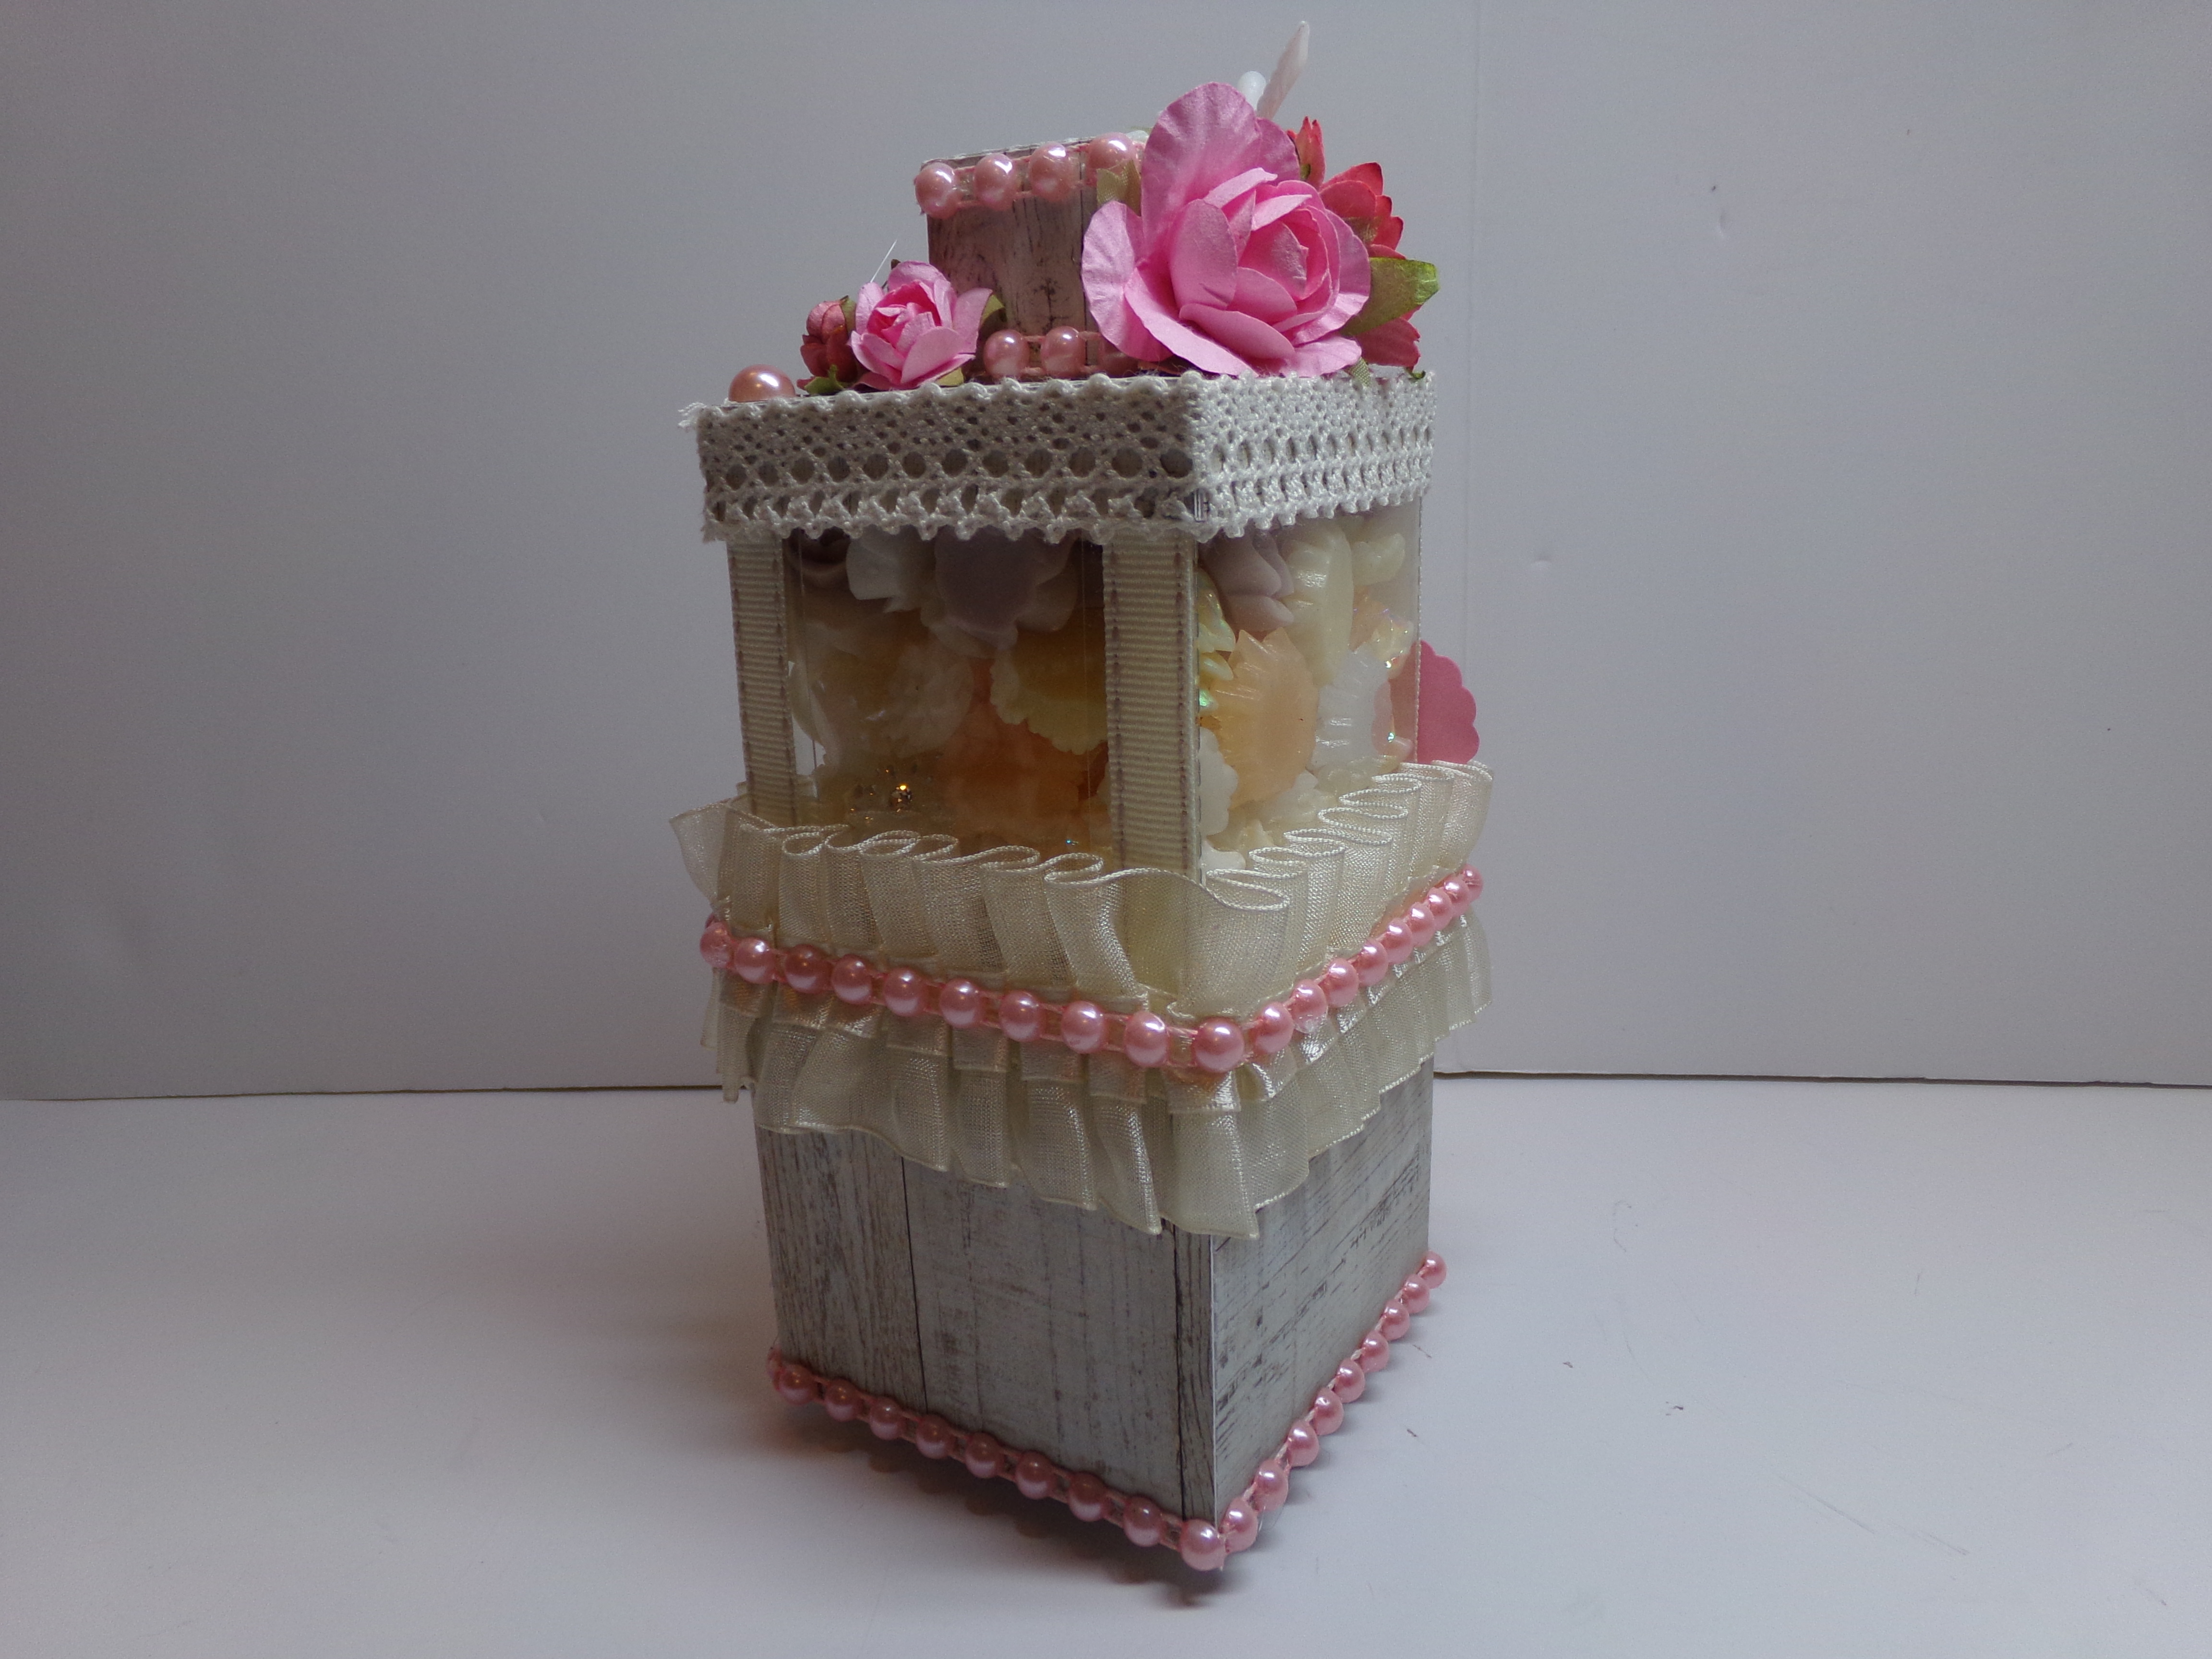
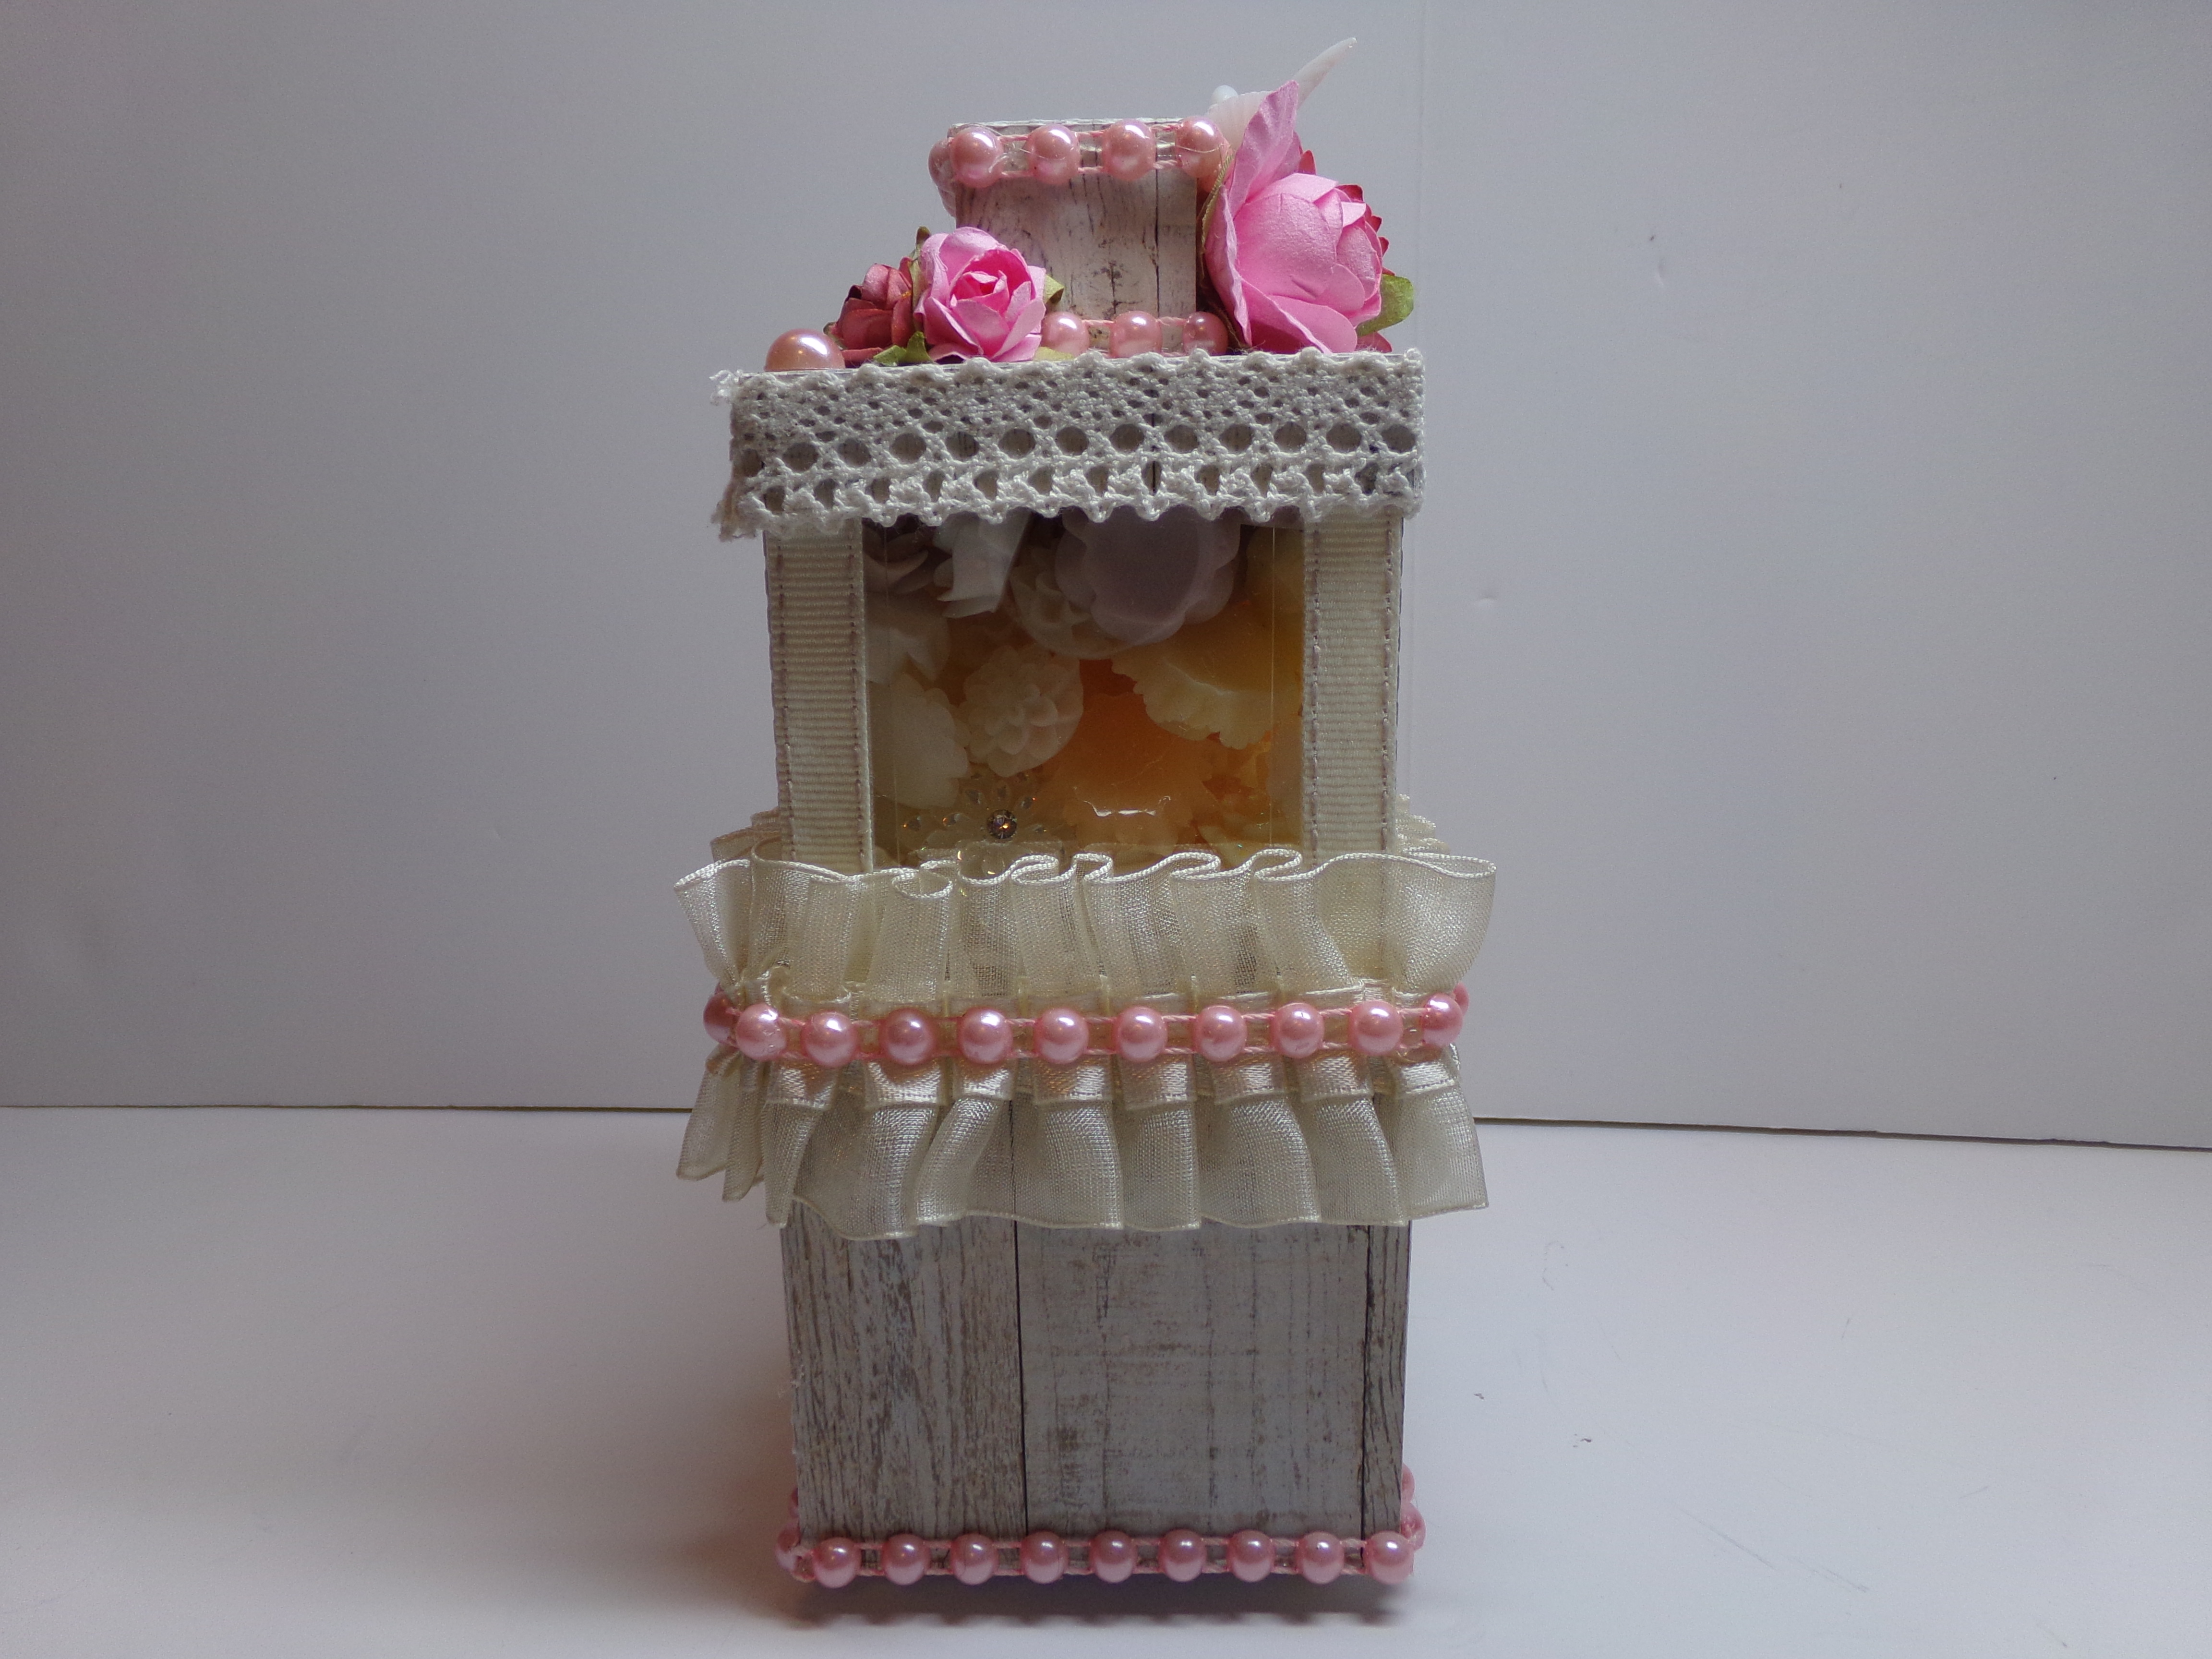
I tried my hand at shabby chic. I think the person I made it for will really like it. Before I take you into photo overload, remember that we post design team projects on The Cutting Cafe Blog every 7th and 21st of each month. Make sure you visit to see the new projects as well as to leave a comment to be eligible to win three free files!
Ok, back to the photos. I will show you all angles…
Thanks for stopping by! Before you go I have a video for you…
For our projects this week, we could choose from any files at The Cutting Cafe. There is sure to be a large variety for our Design Team post this time. Make sure you stop by the blog and take a look. Leave a comment because we love reading them and it will automatically put you in a drawing to win three files on our next post date (we post on the 7th and 21st of each month).
For my project, I actually used four different files:
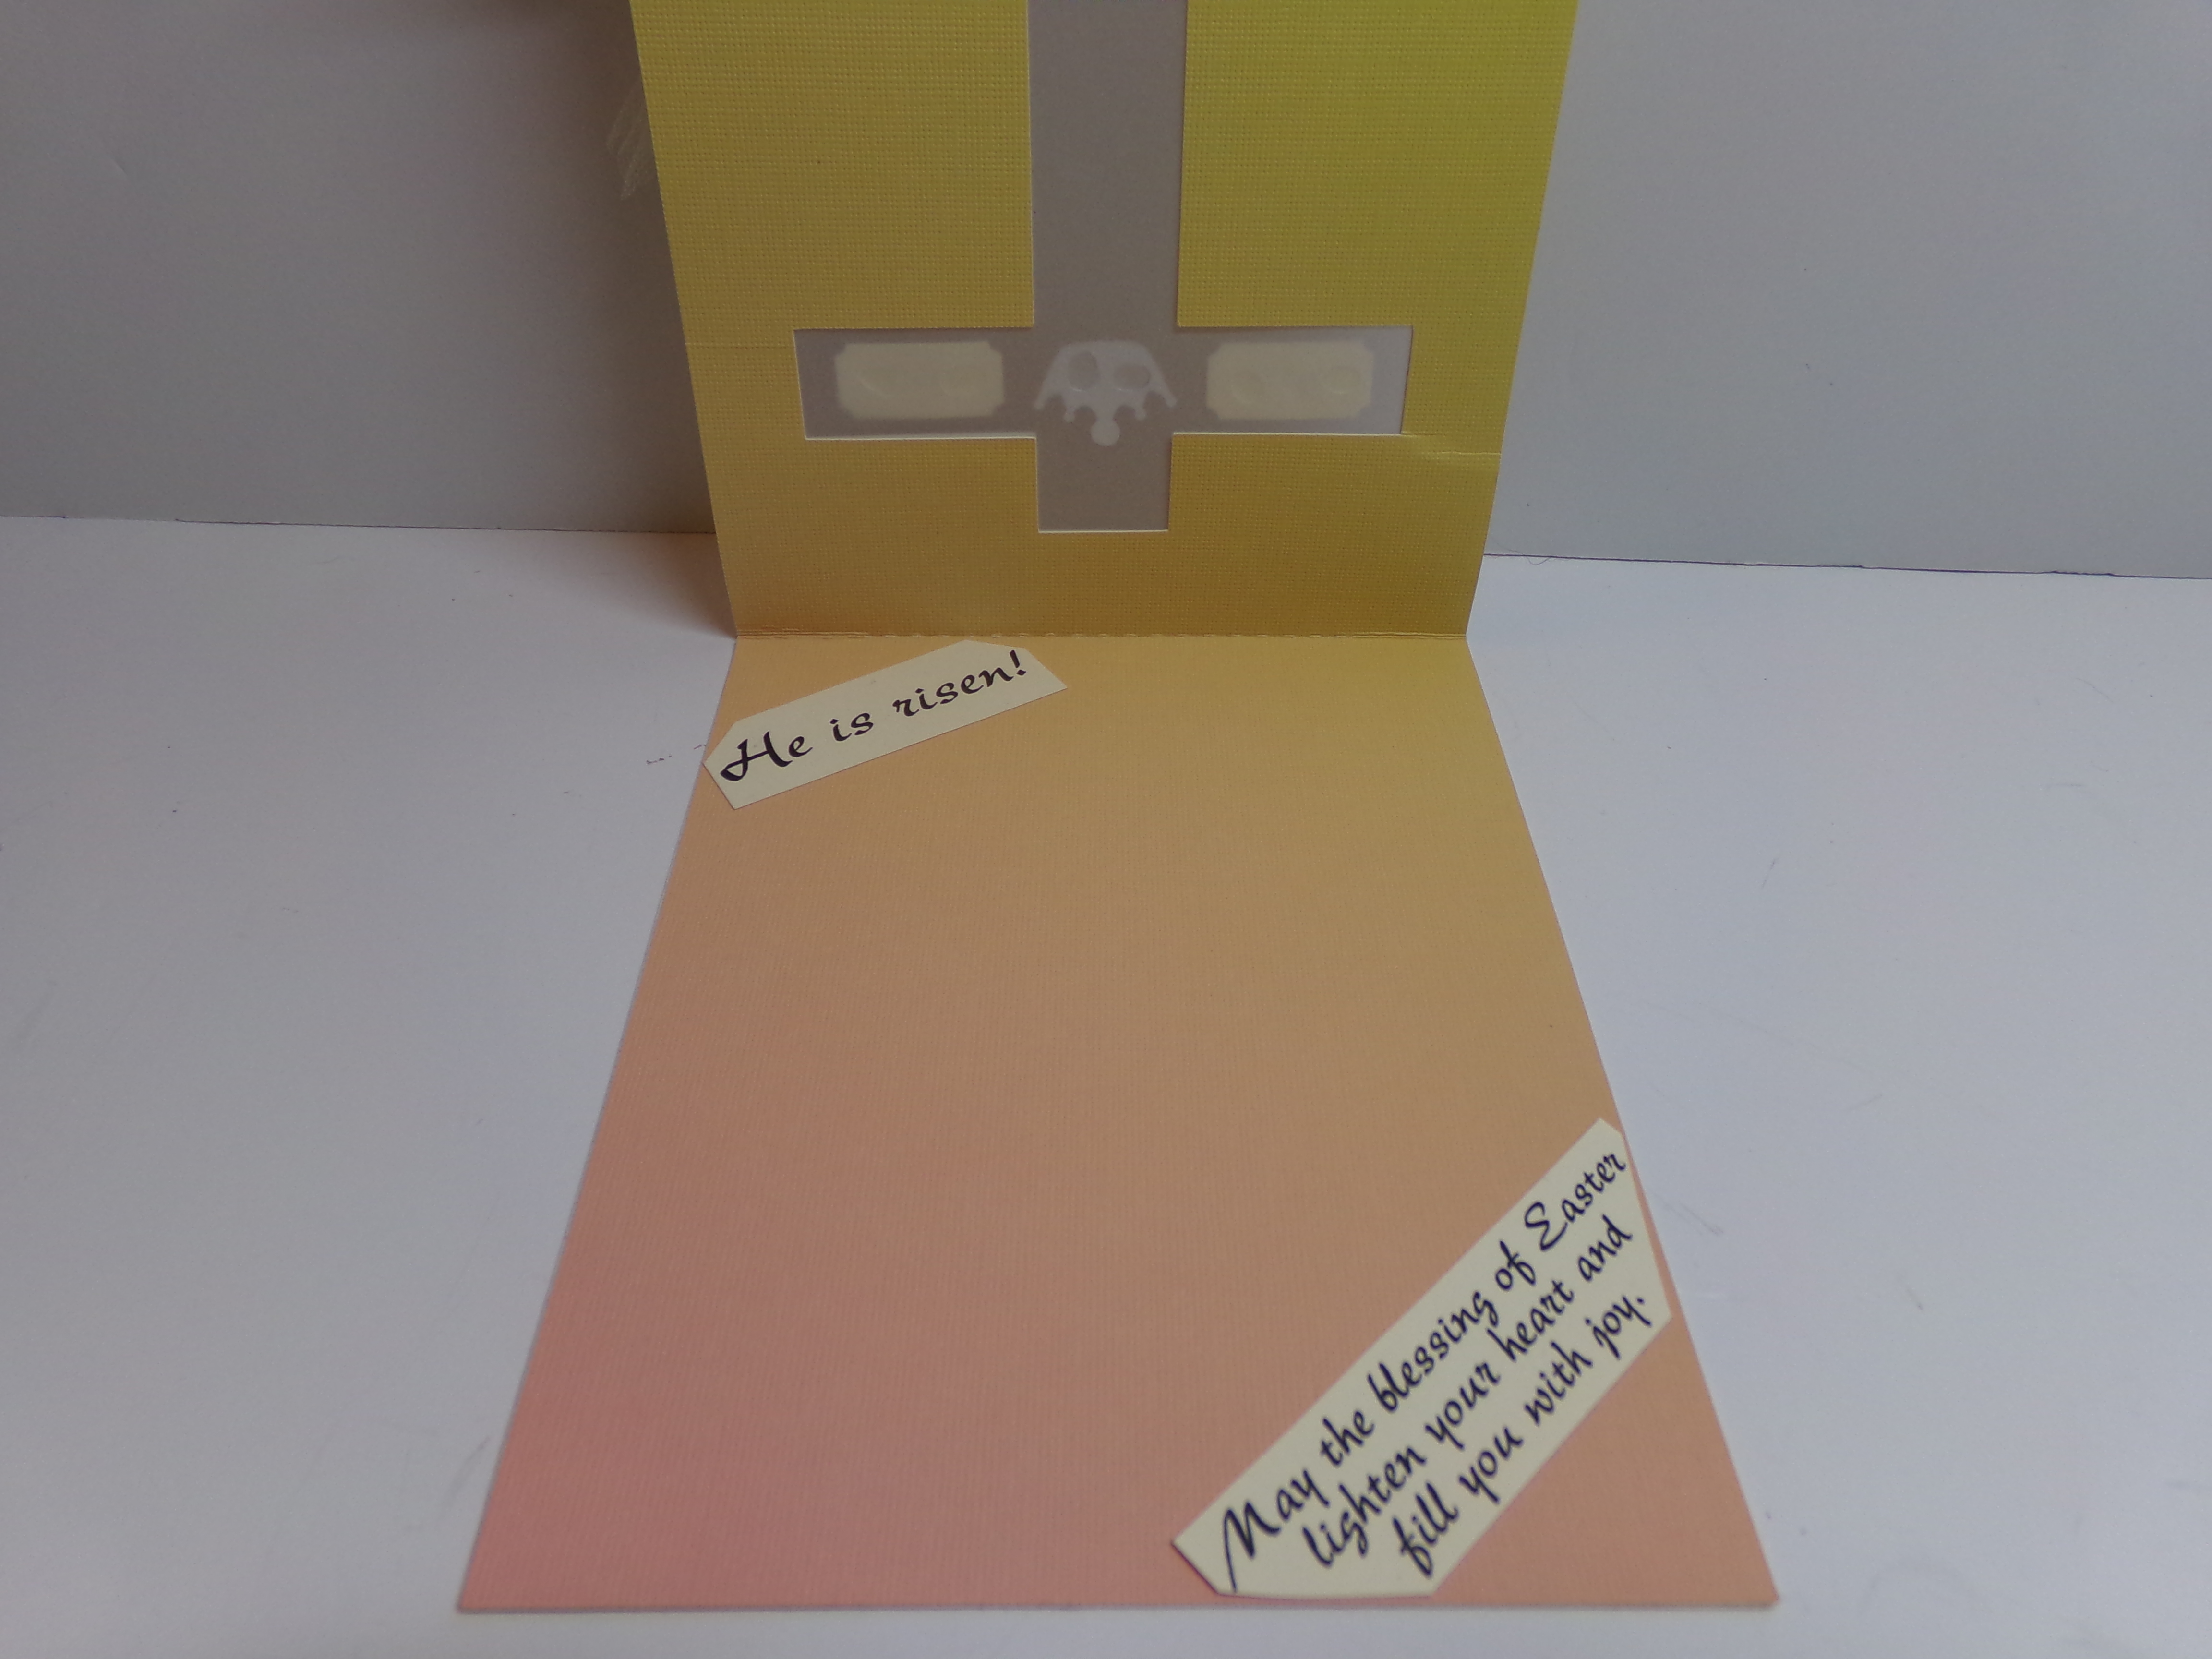
I really like how it turned out. I used a gradient paper in yellow and orange that reminds me of a sunrise and Easter Sunrise services at church. I added three sizes of individual pearls randomly all over the card which gives it an elegant touch.
For the inside, I cut a second card out and put them back to back with velum for the cross in between. I cut the sentiments and placed them so they would not show through the vellum cross.
Here is a close up of the flower cluster…
To find out how I made this and the products used please watch my video below. Thanks for stopping by!
I am an association management professional who has always loved fashion, sewing, crafting, writing, cooking, and shopping. I am married to a wonderful man and have a great family foundation. I like to share inspiration with as well as get information from others and hope this site will let me do just that. Happy crafting!