Sweet Kisses Boxes, Hershey Kiss Window Cards, and Hershey Kiss Bottoms
It’s time for another design team project for The Cutting Cafe! We post our projects on The Cutting Cafe Blog on the 7th and 21st of each month. Make sure you stop over to see all the projects. If you leave a comment, you will be entered into a drawing held on the next post. The winner gets three free files of their choice! Plus we love reading the comments!
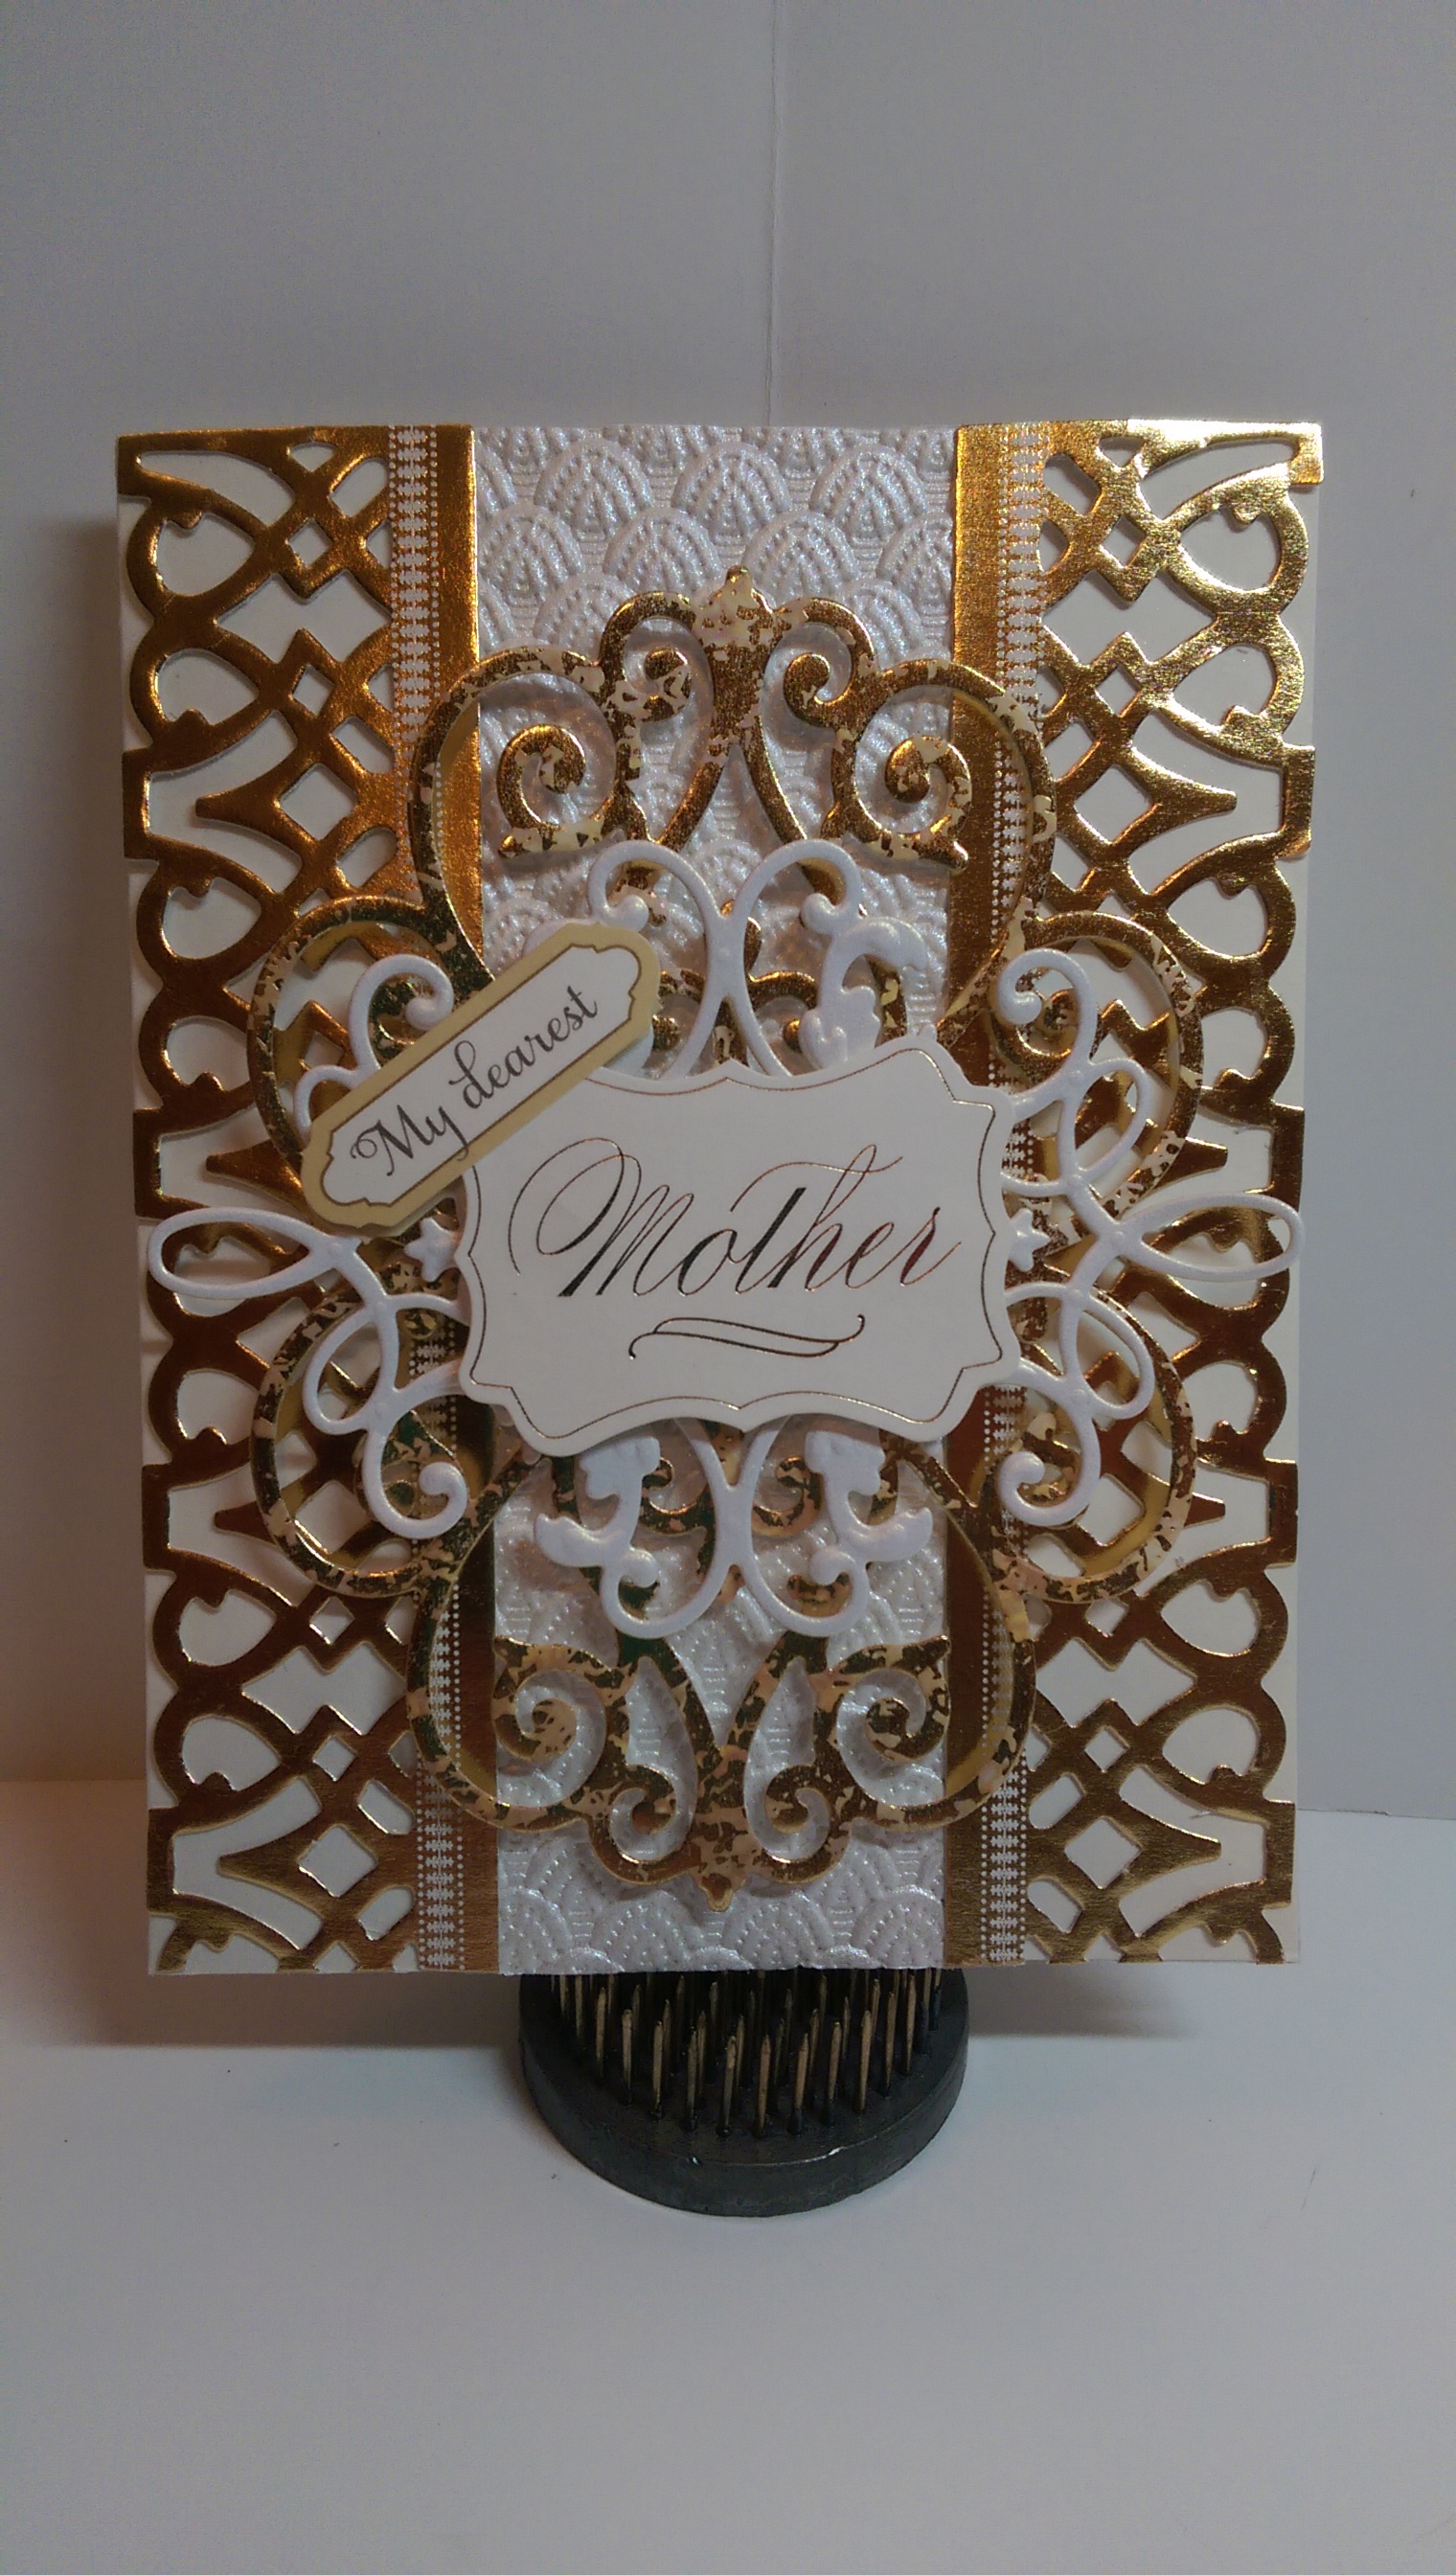
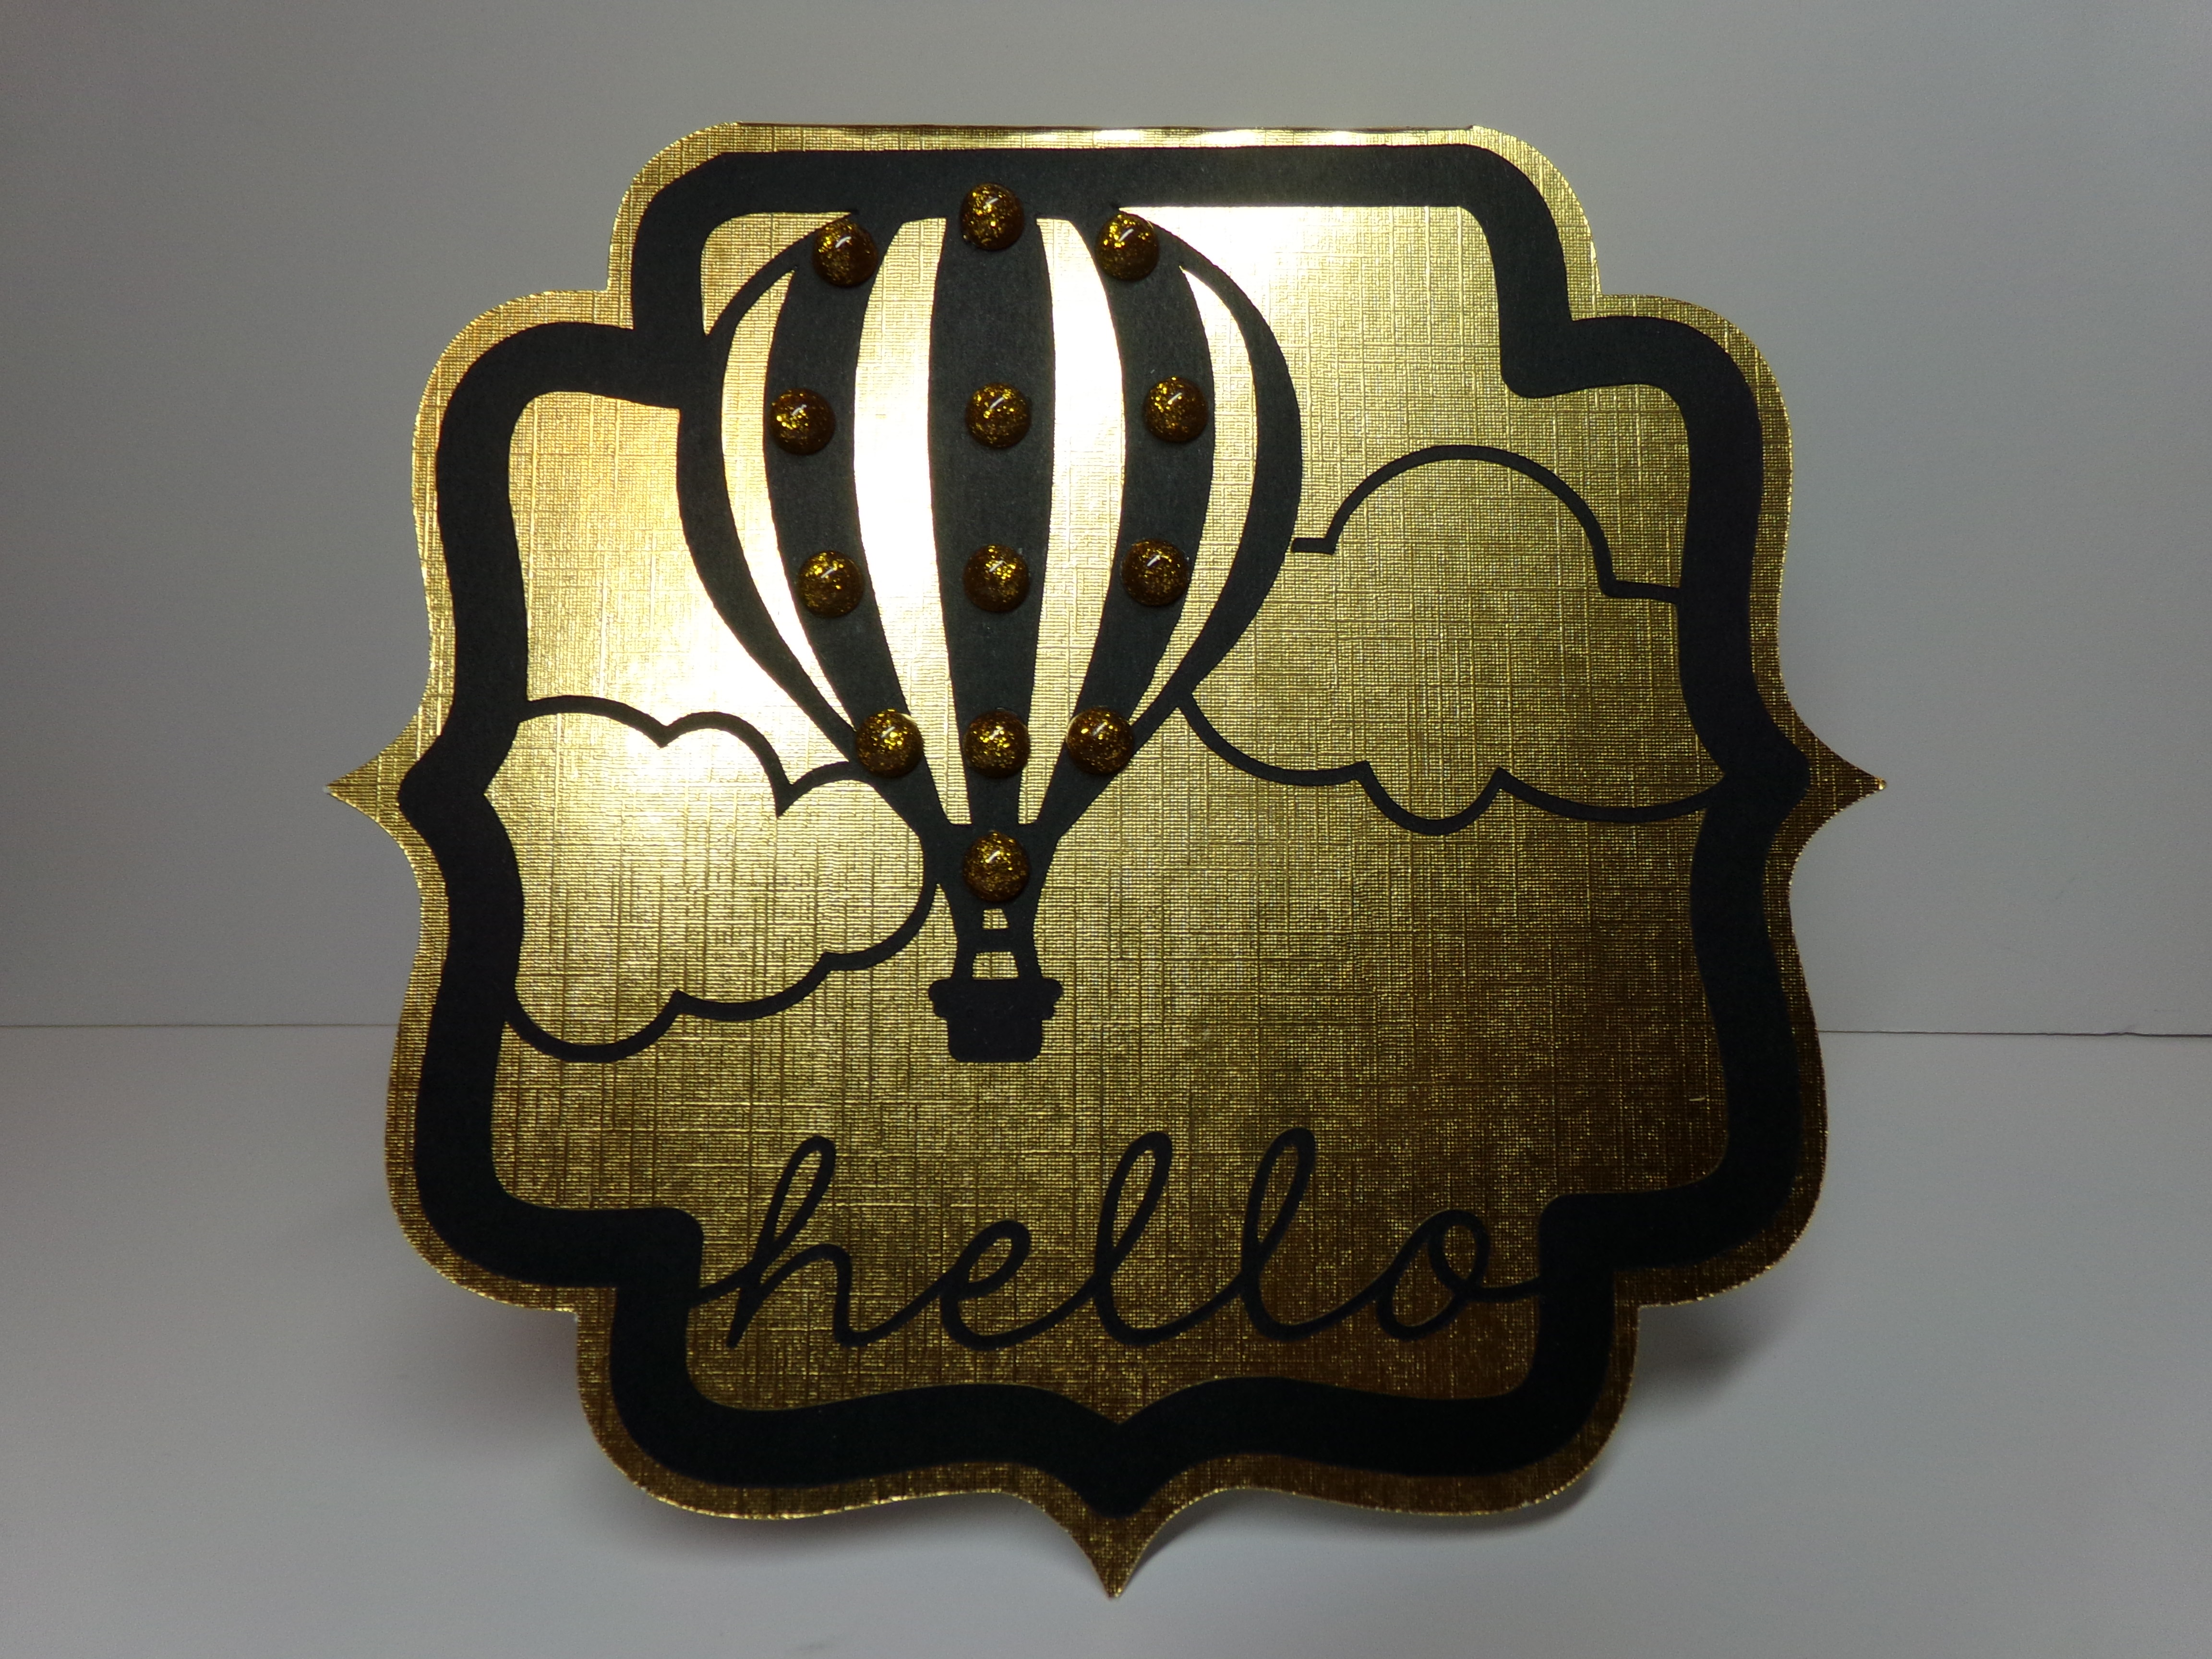
Now on to my projects. This time we were able to choose any file we wanted to use from the large collection of Valentine themed files. I actually chose four different files to work with. I made little treats and cards for staff. First I used the Hershey Kiss Window Card file along with the Lots of Kisses Printable Set for the sentiment. I made two different cards, one more pink based…

and one more red based…

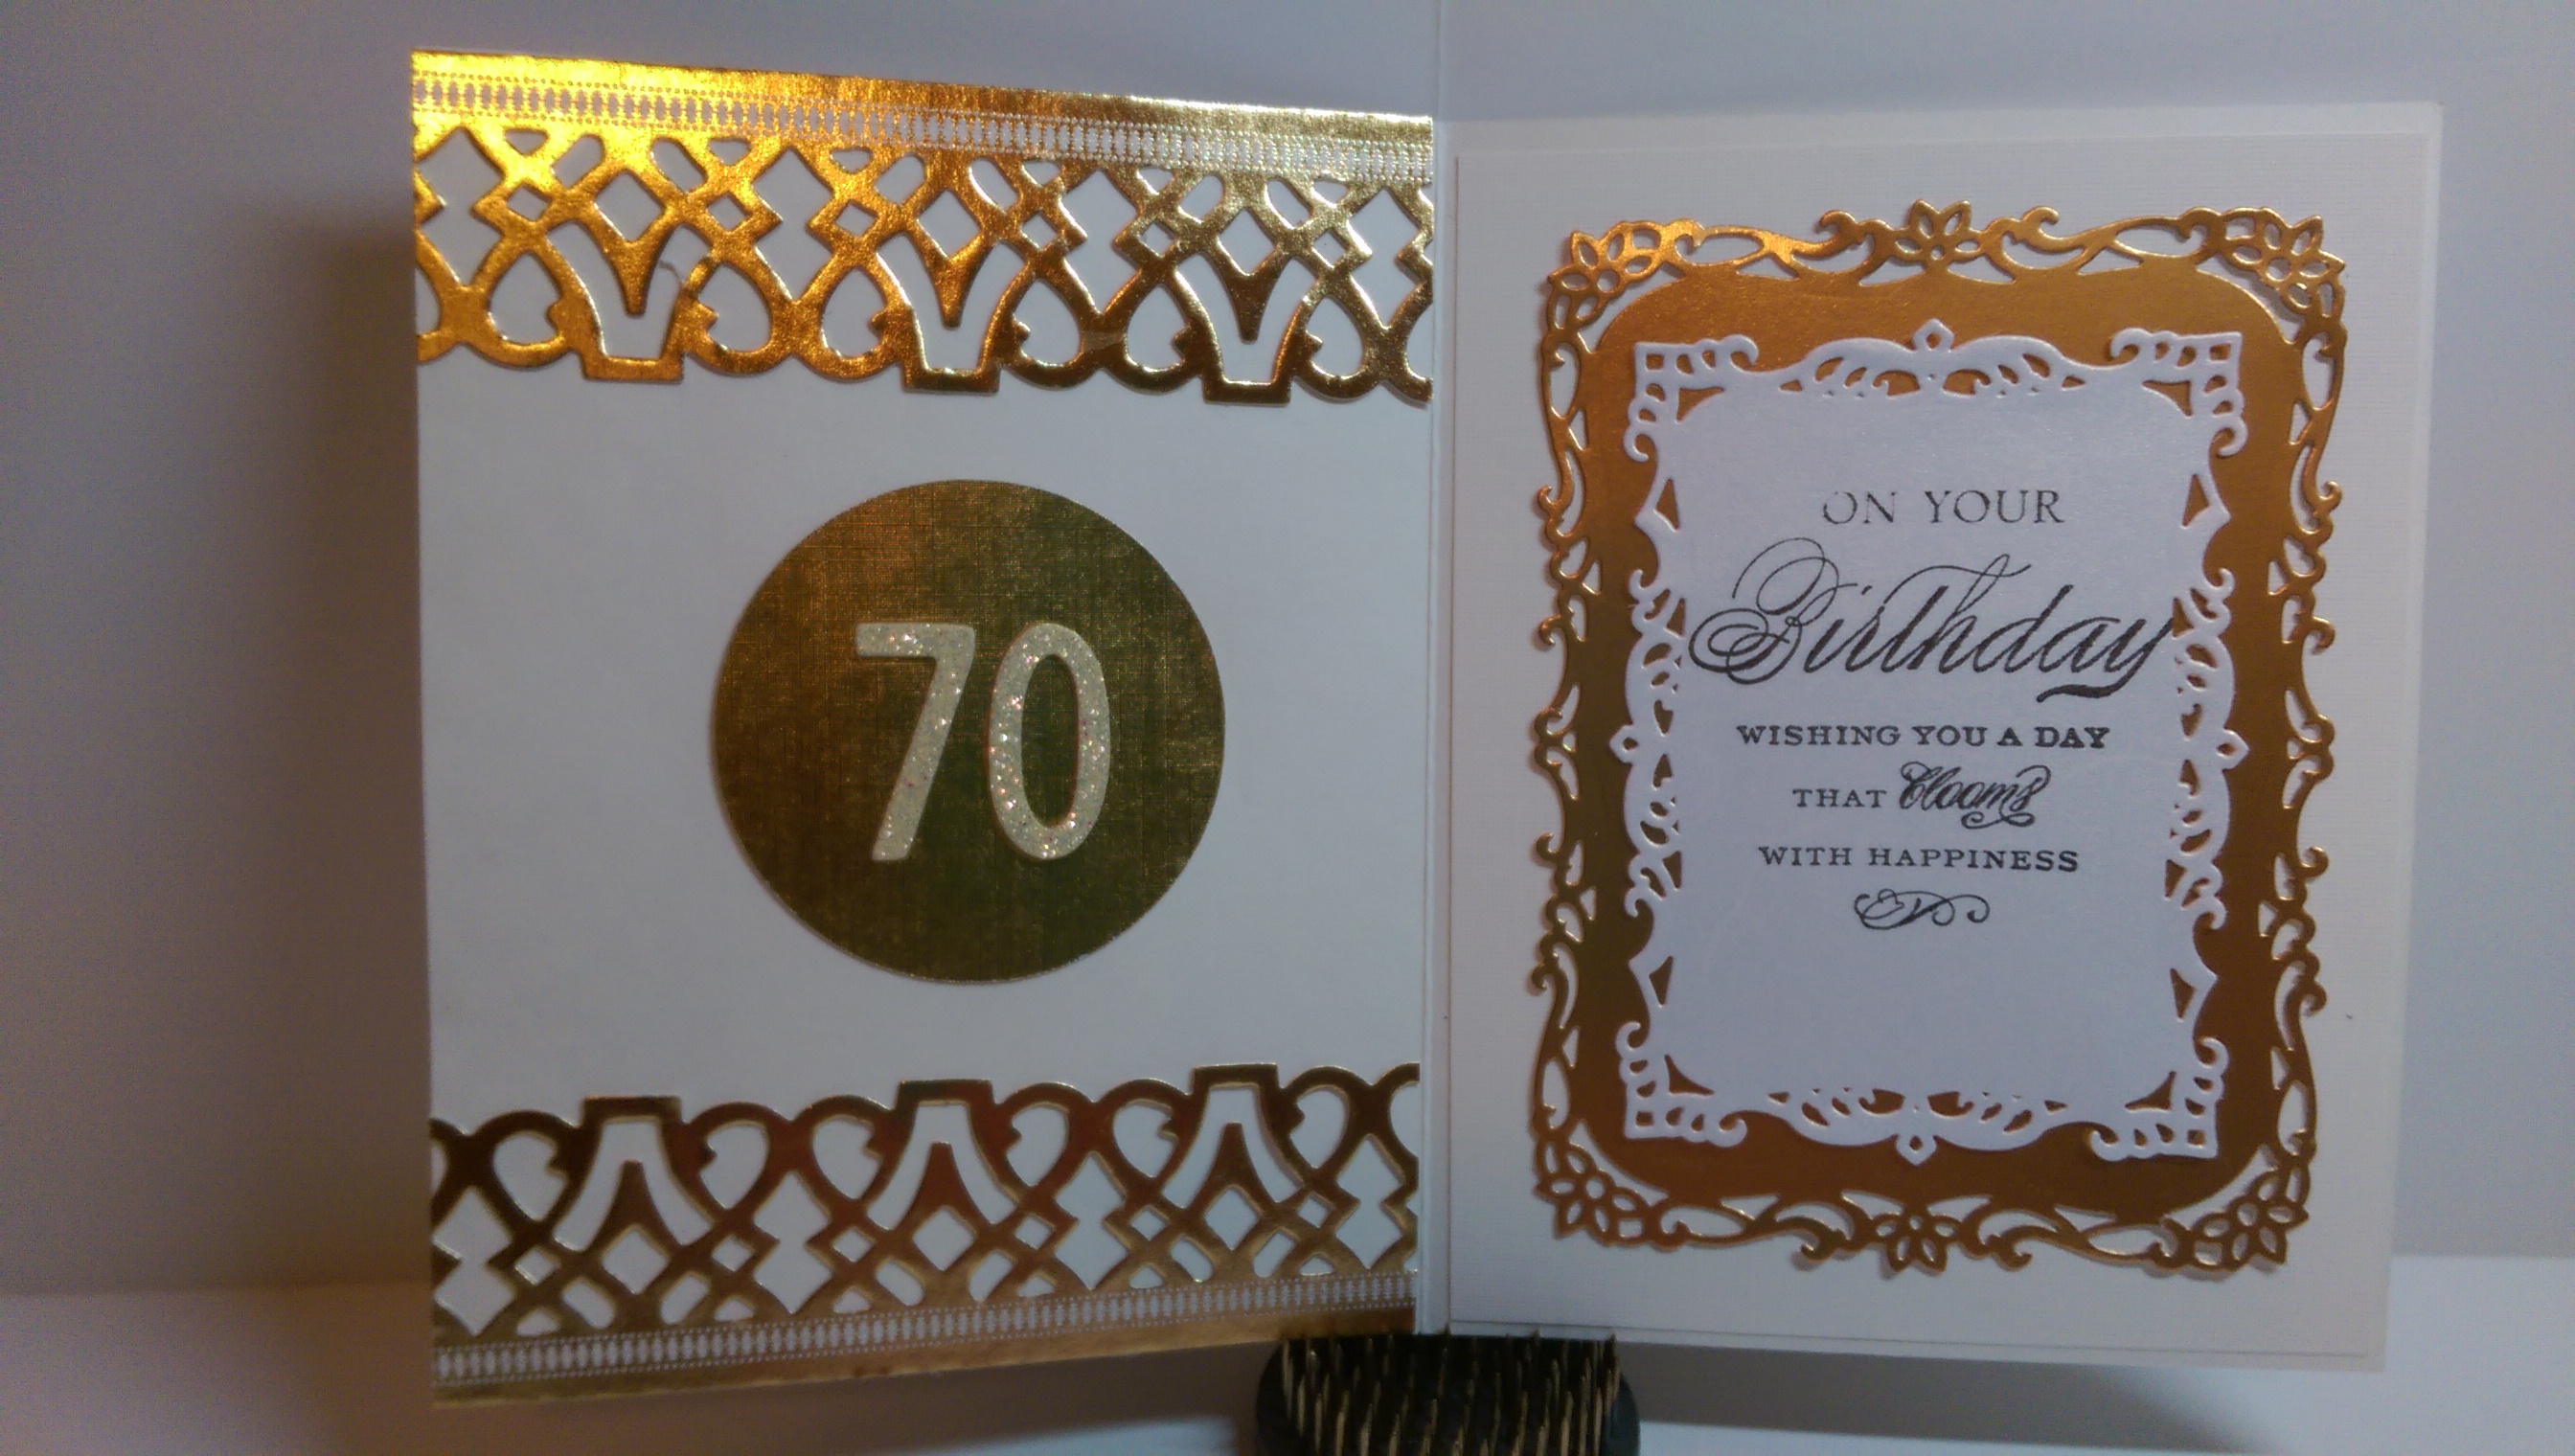
Hershey Kisses Cutout Card
The sentiments are designed to look like the paper strip that hangs out of the kisses. But I also used the Happy Valentines Day version of it on the inside under my stamped sentiment…

Hershey Kisses Cutout Card Inside
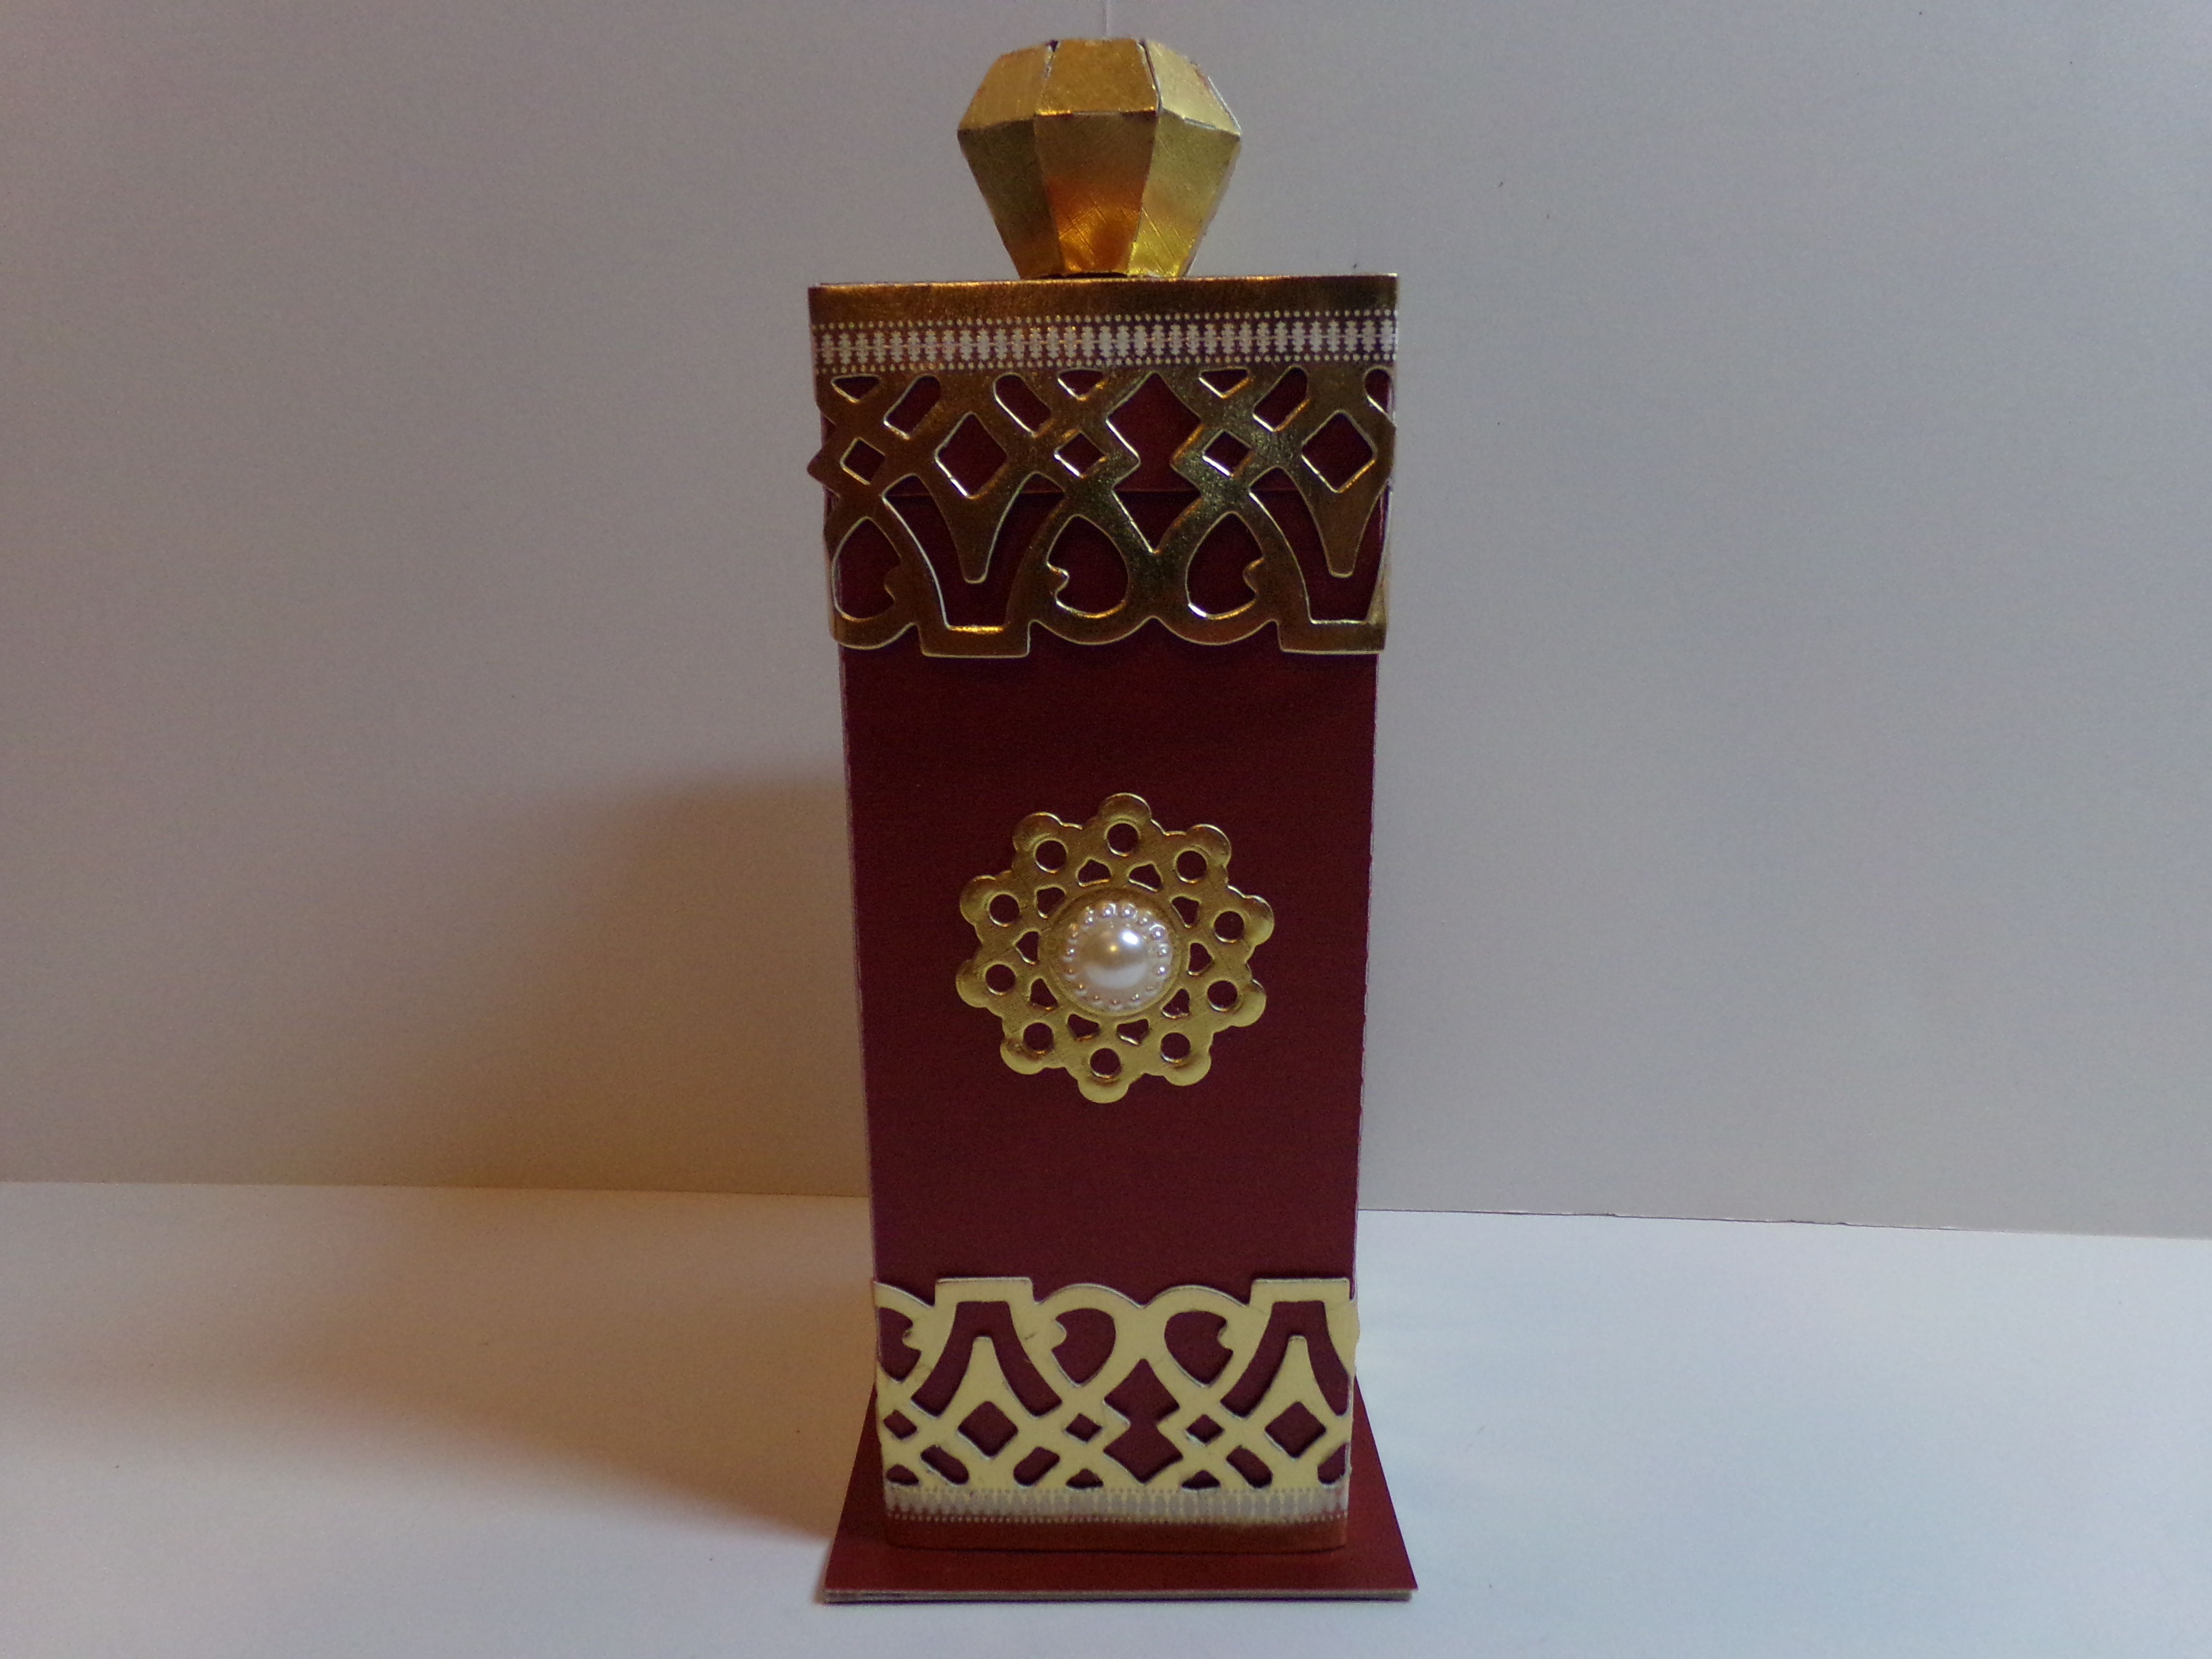
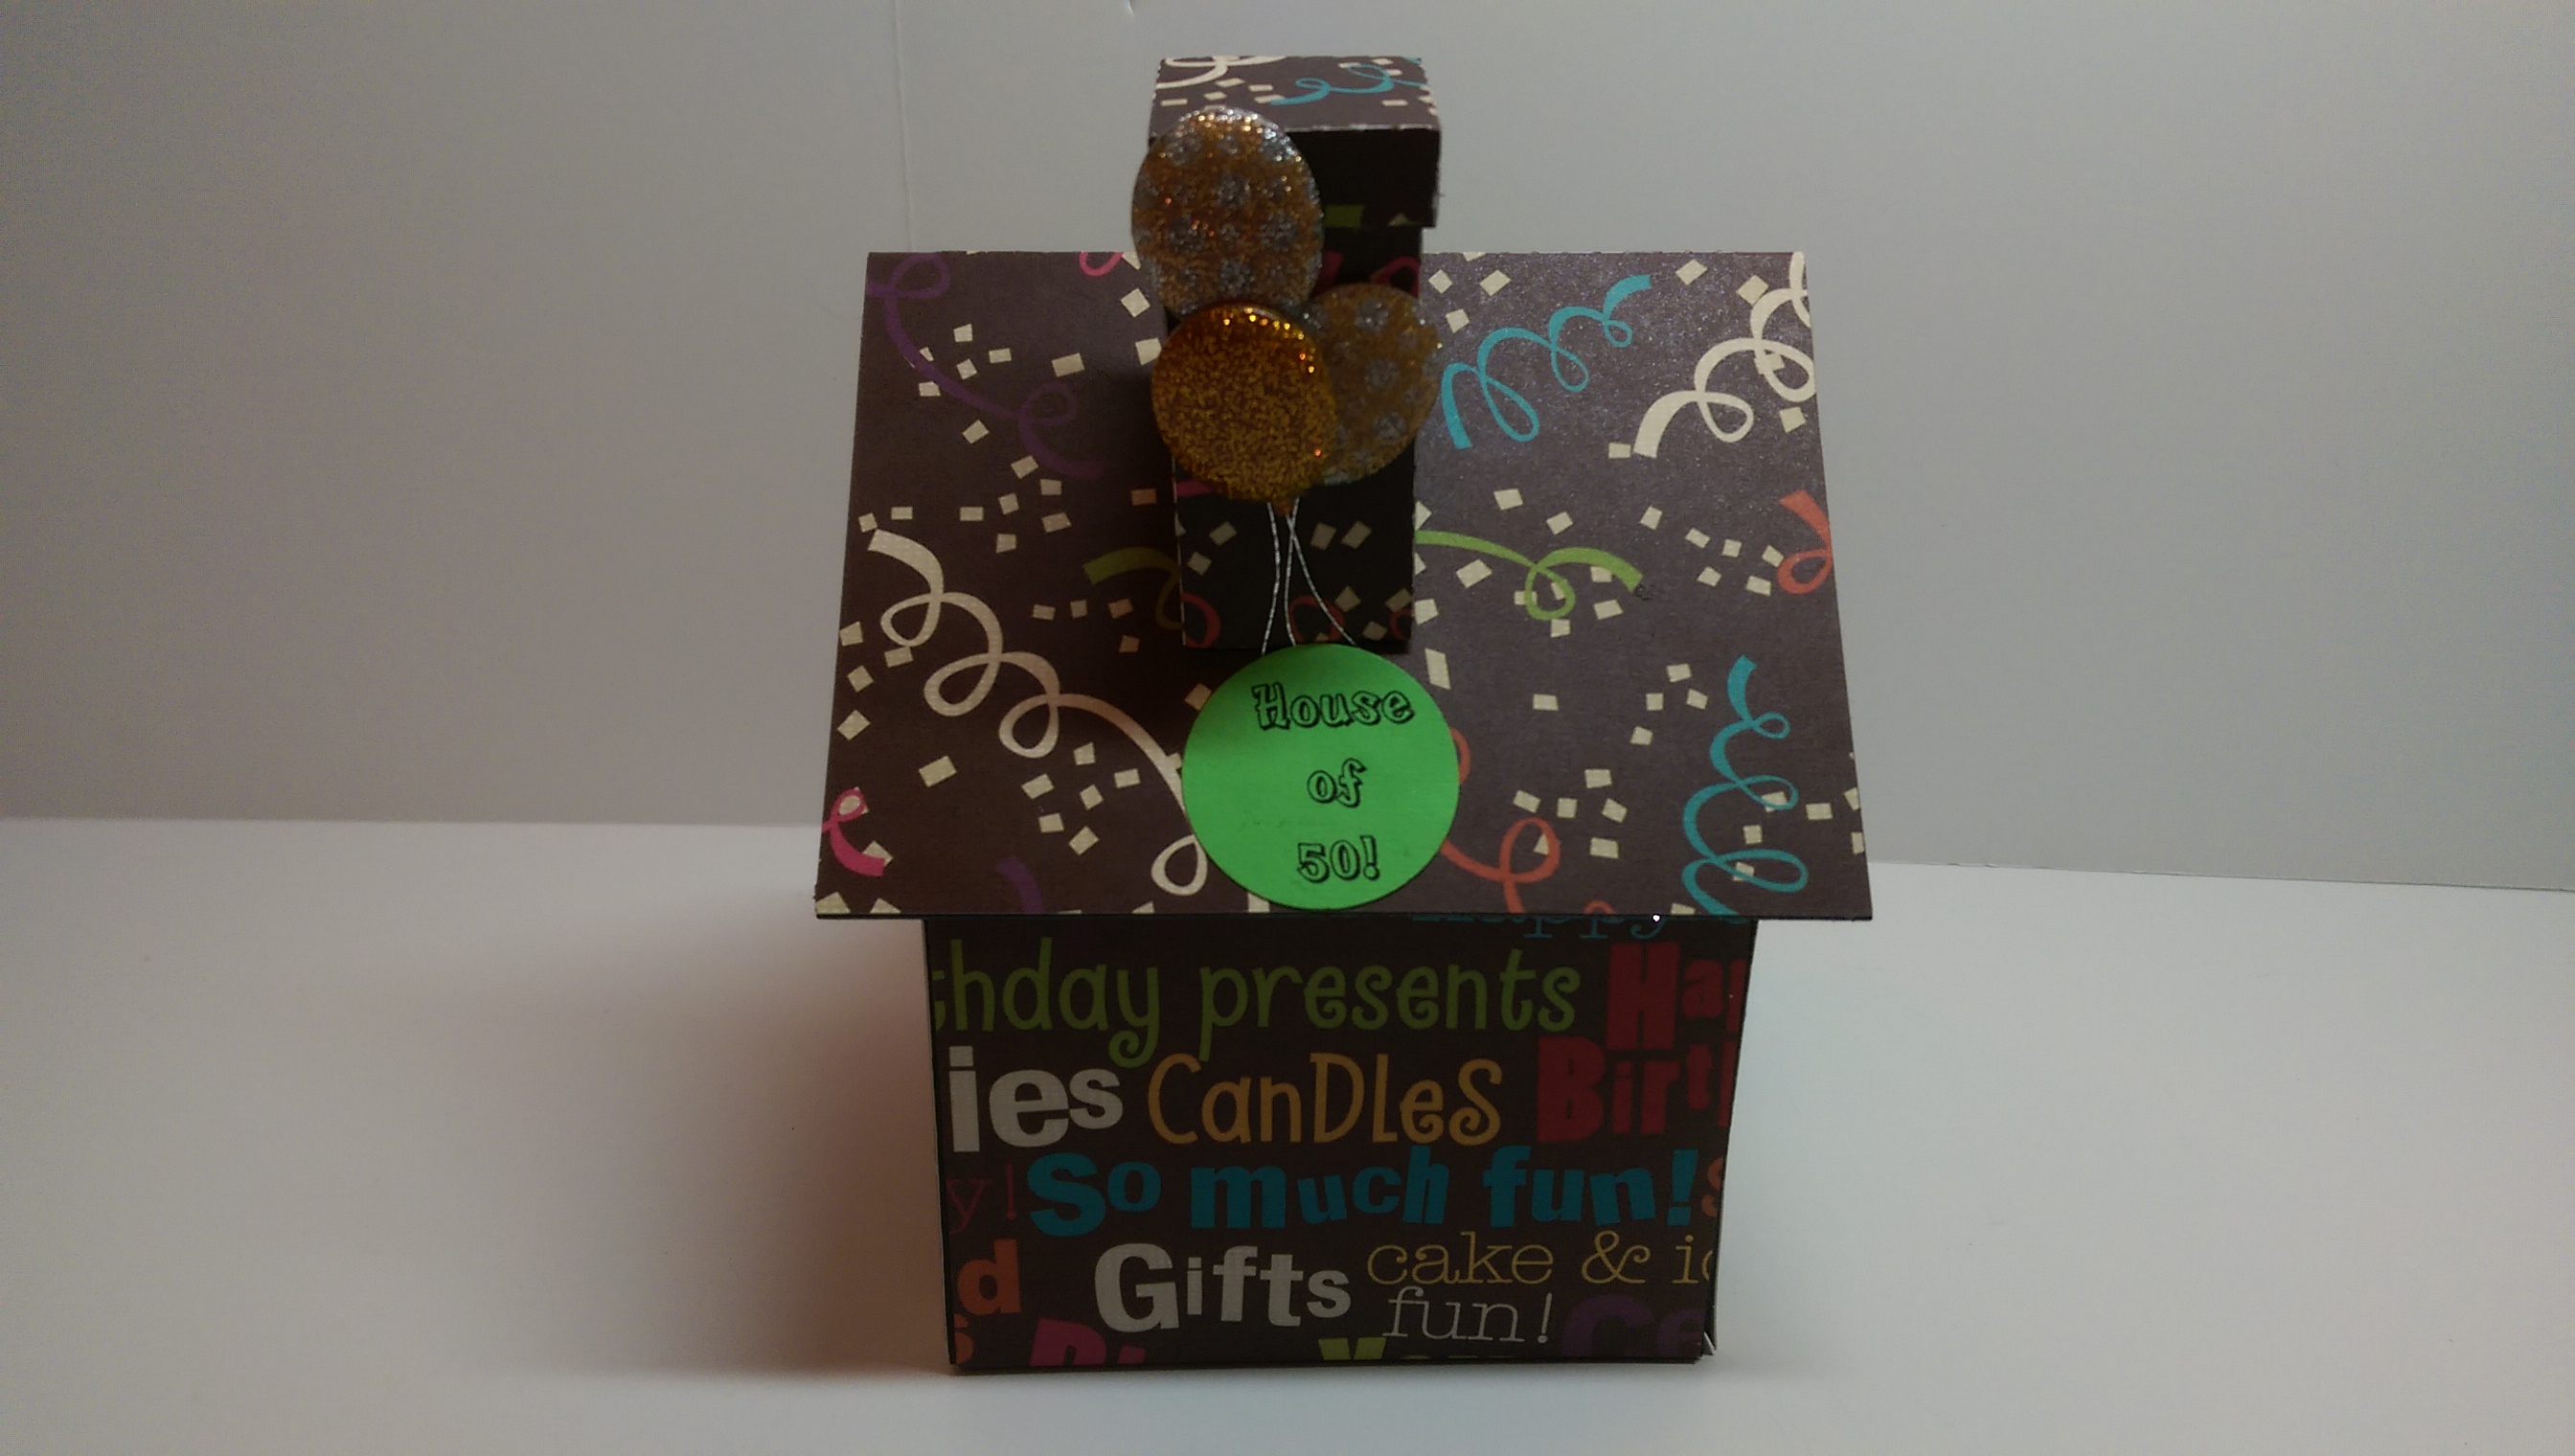
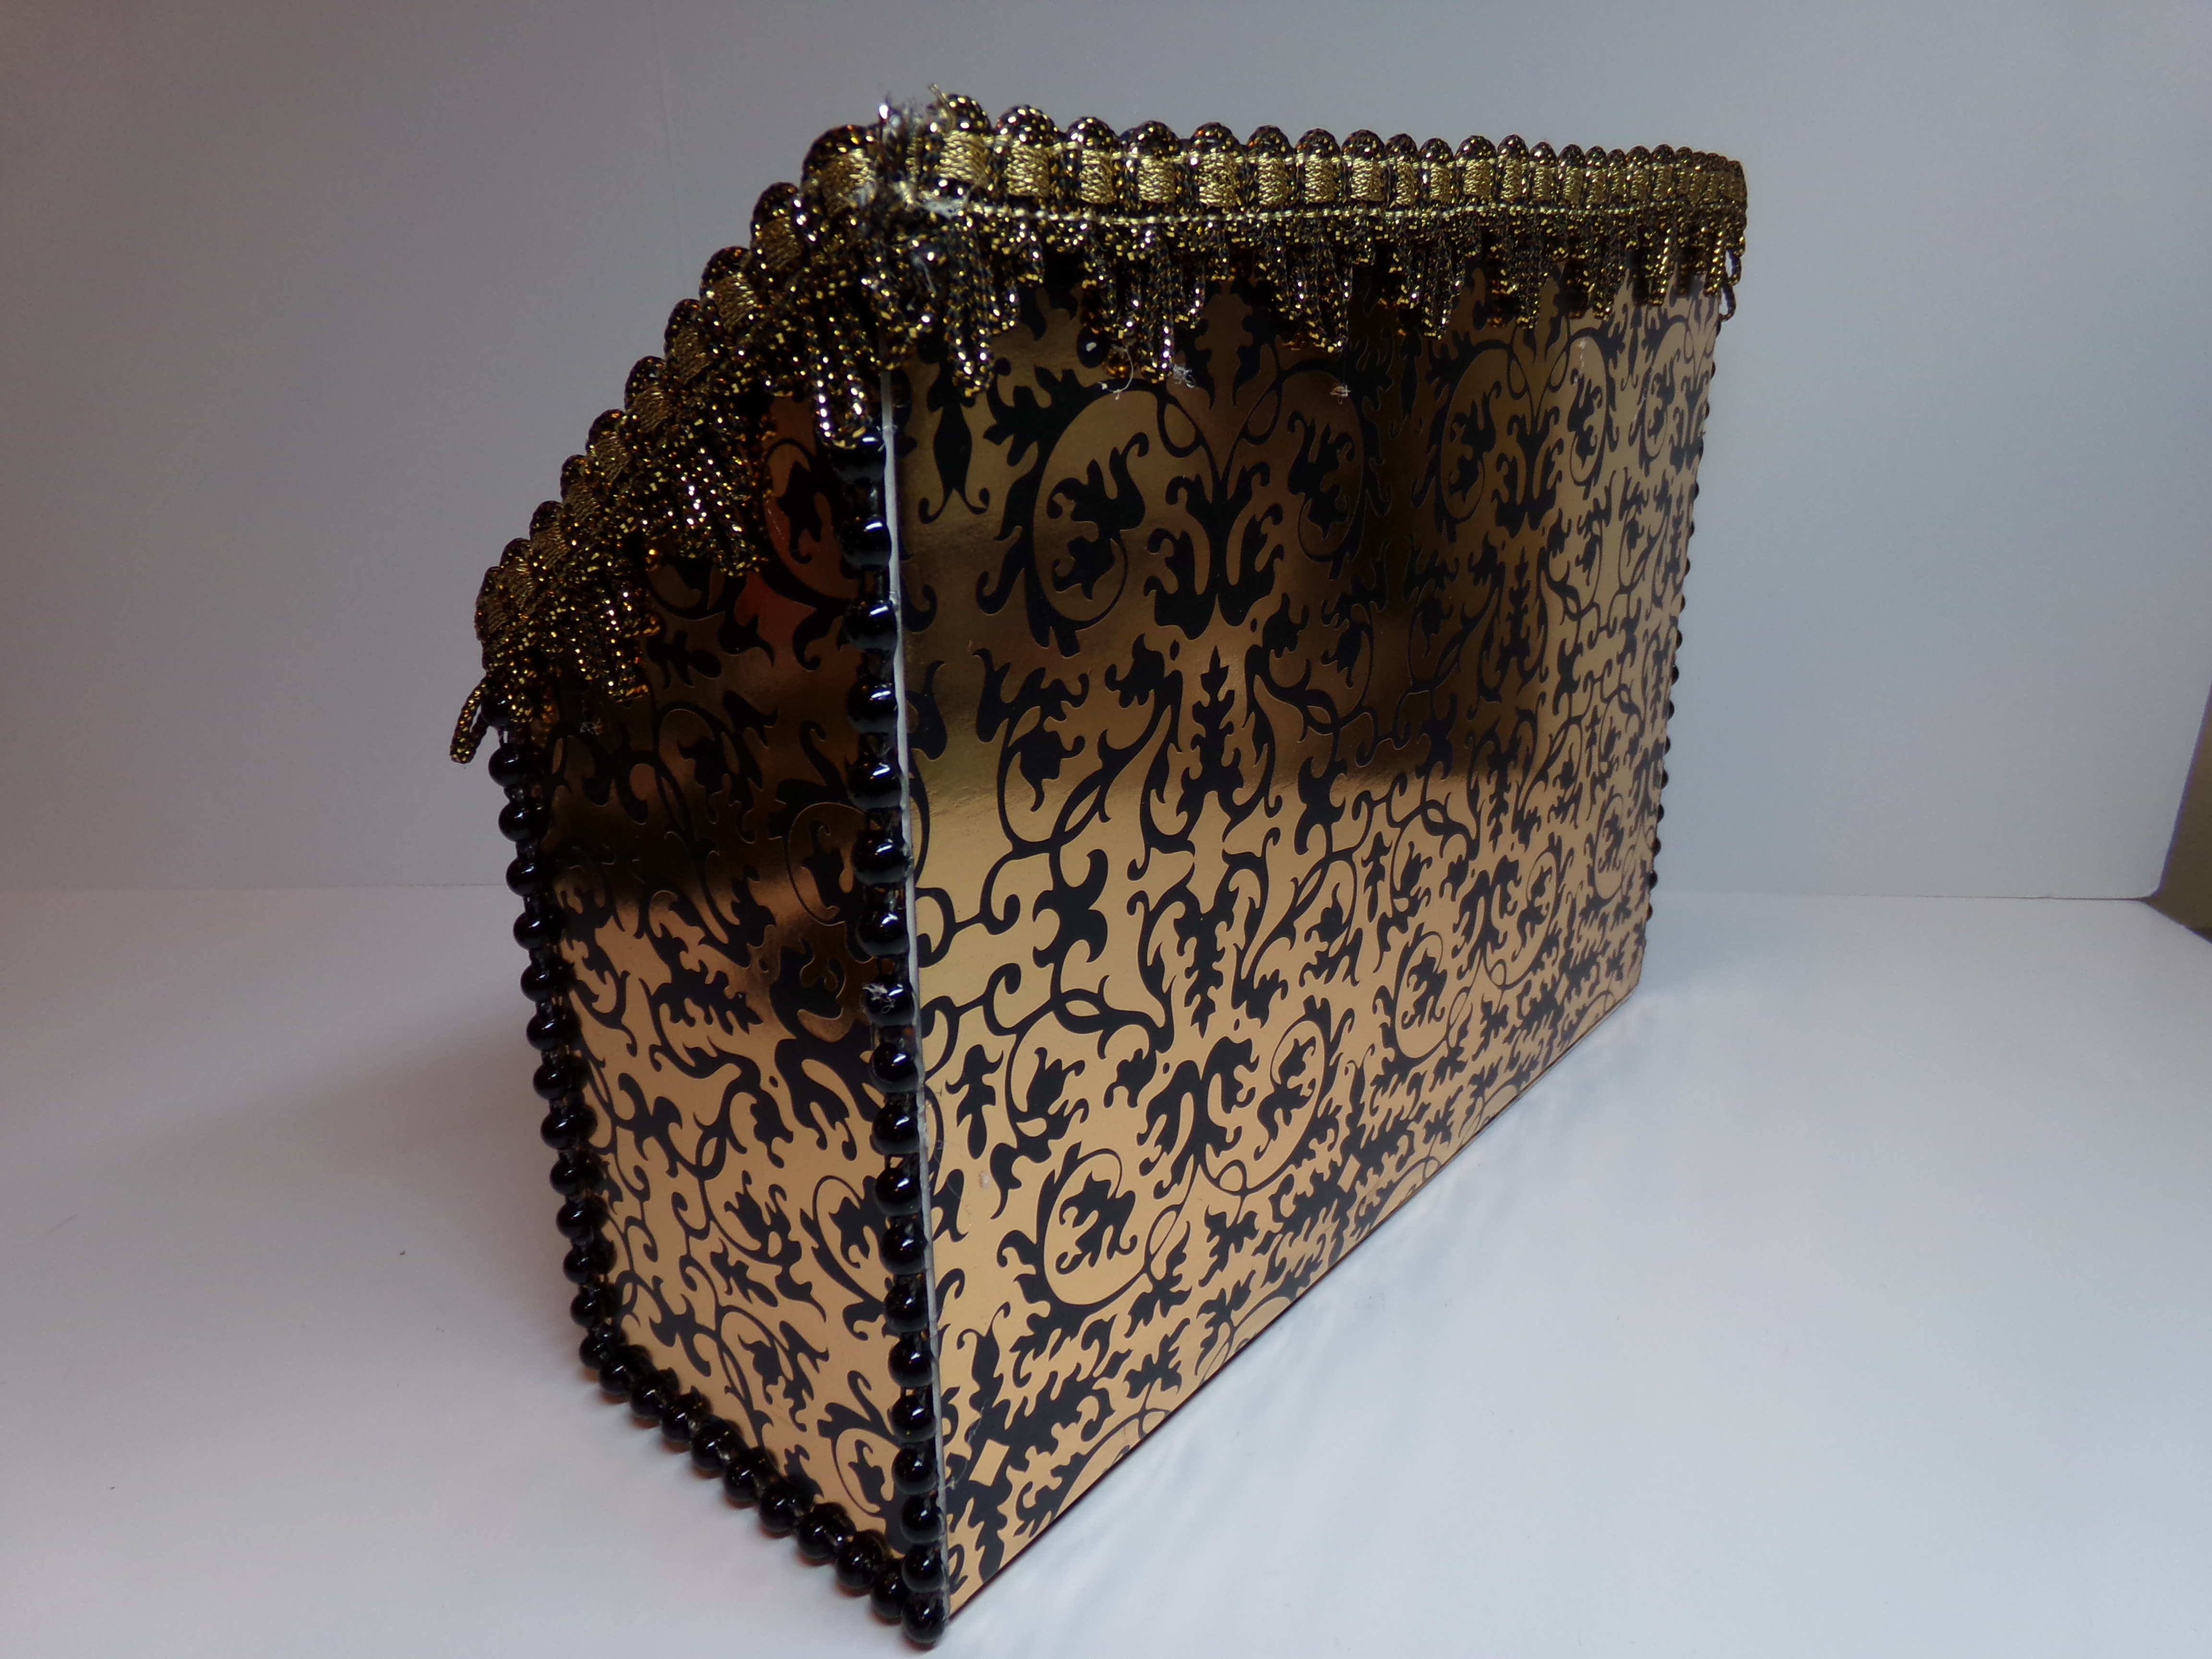
Next I made treat holders using the Sweet Kisses Tube Box file…

Sweet Kisses Tube Boxes

Those hearts on the inside of my card were the cutouts from the box and the card and I used another sentiment on the front of the boxes, and I randomly added little dots of Stickles on the front of the boxes for a bit of added bling…

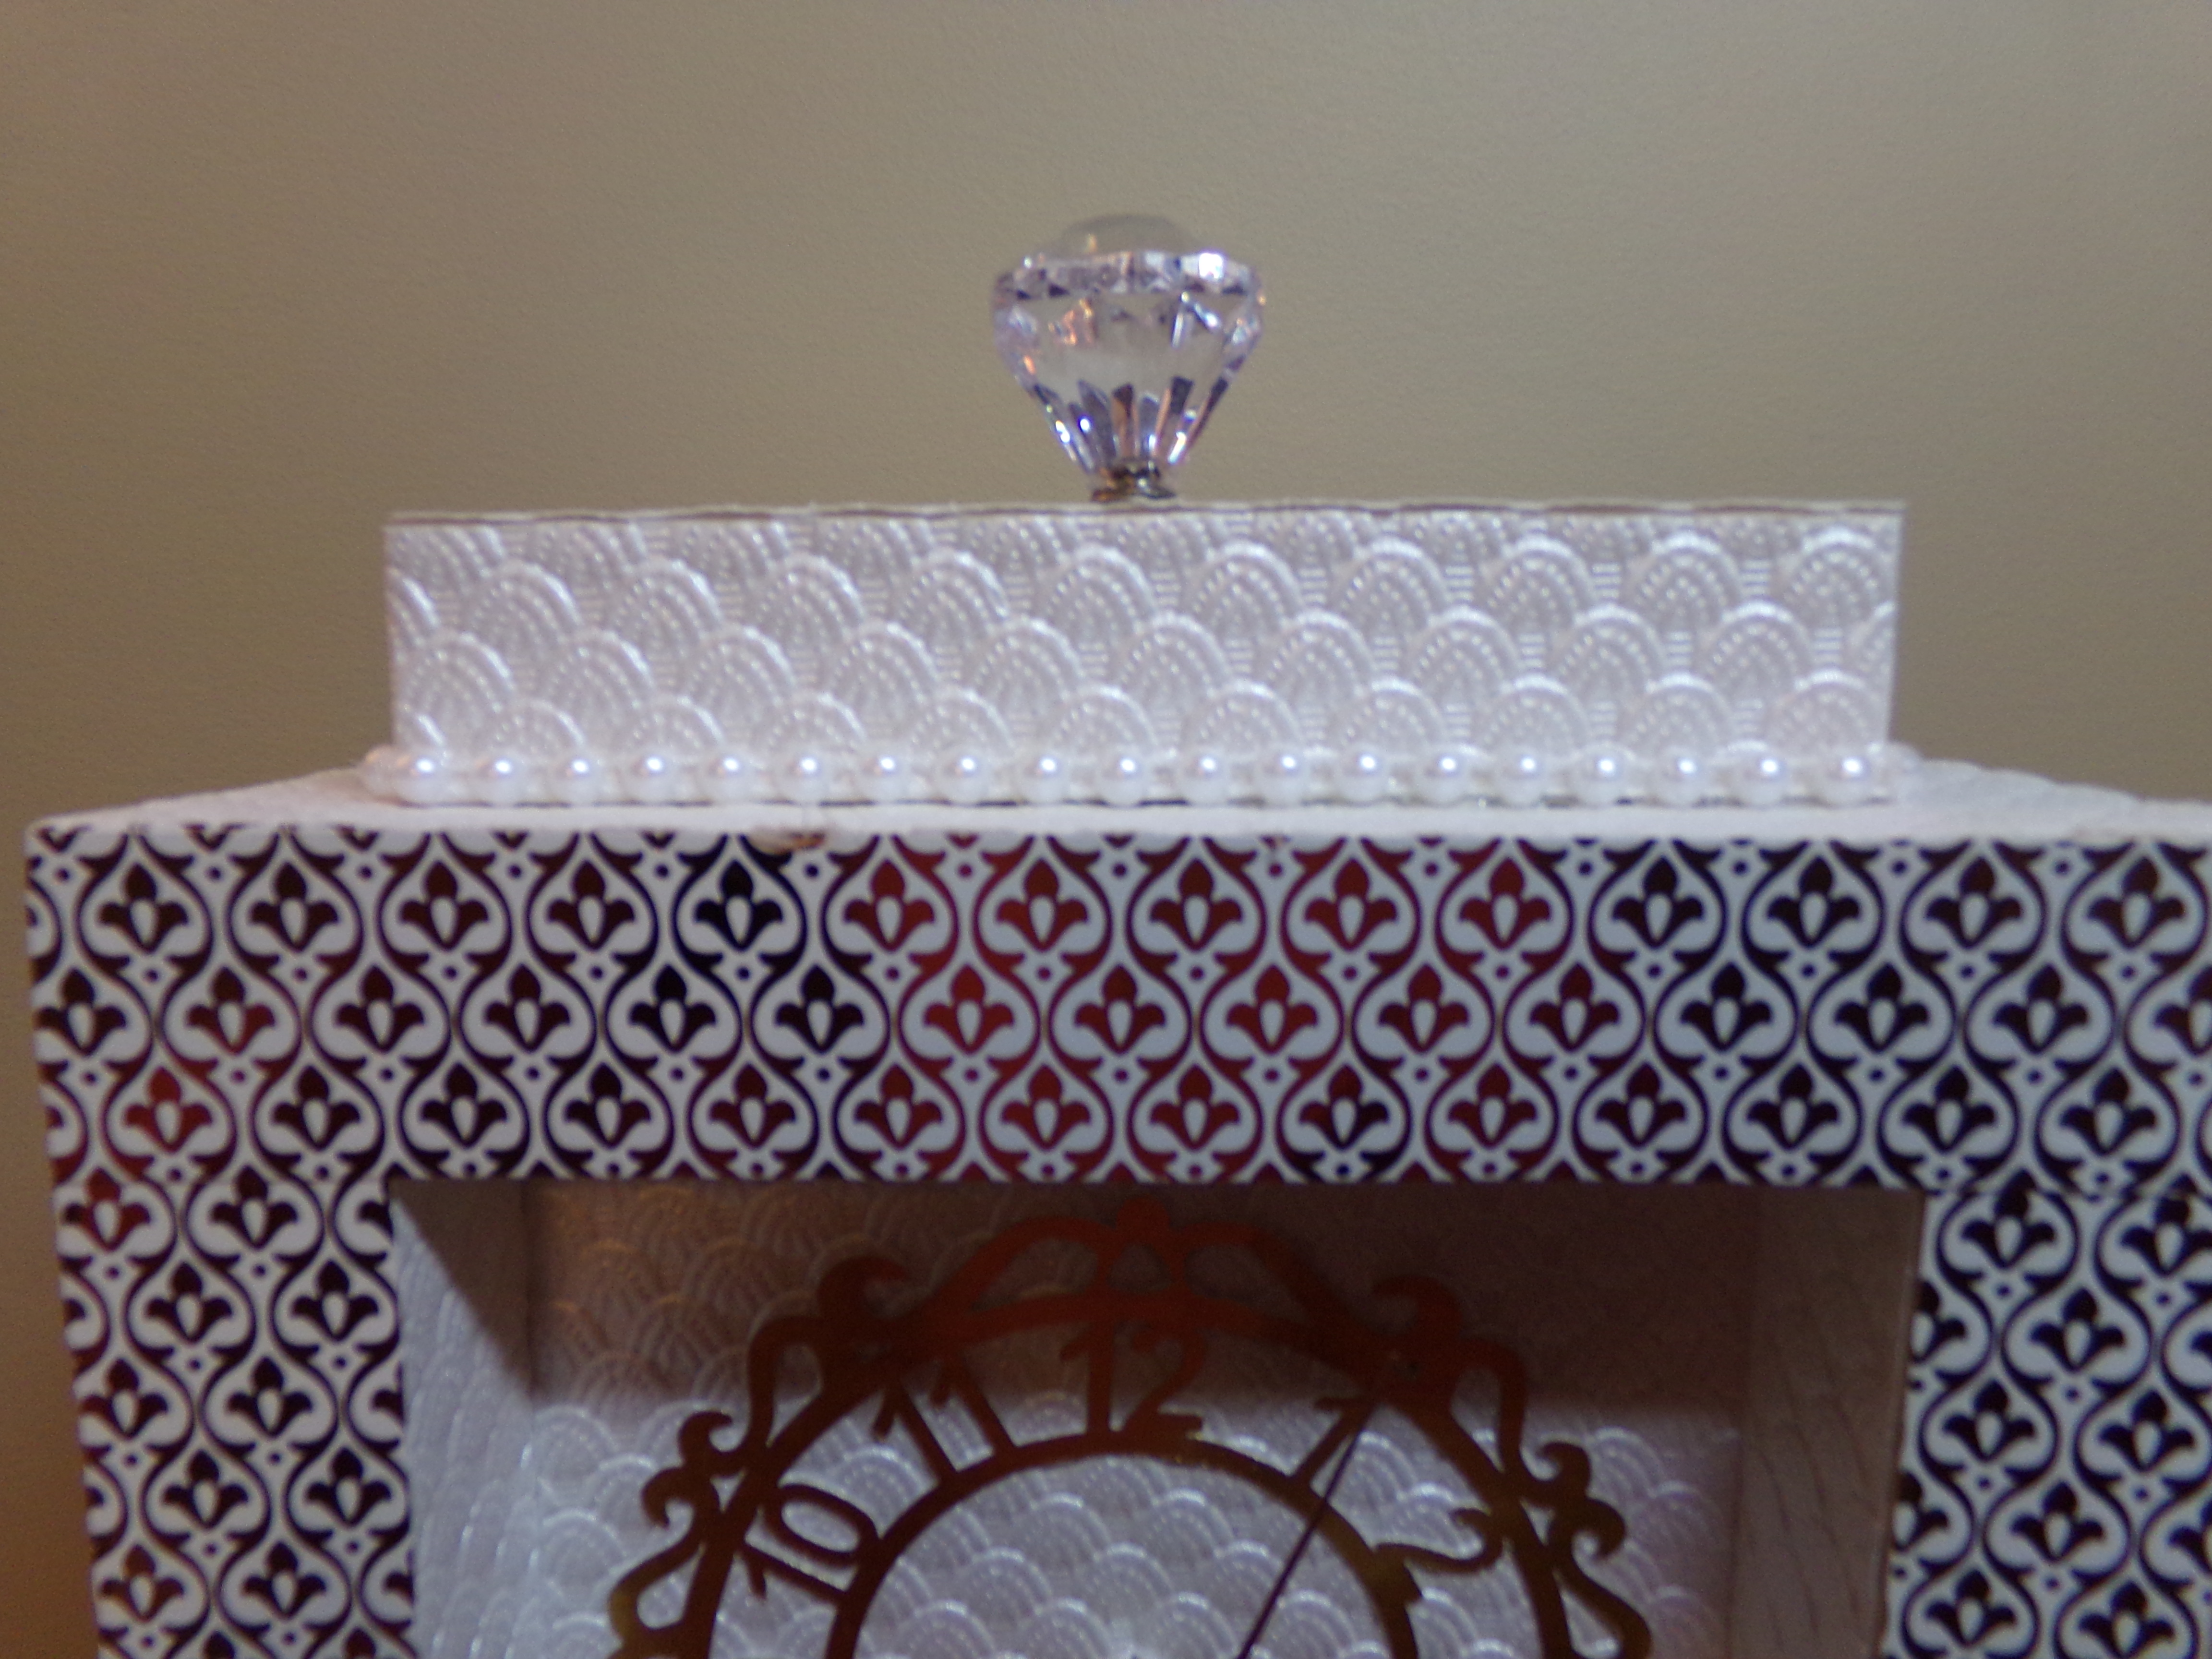
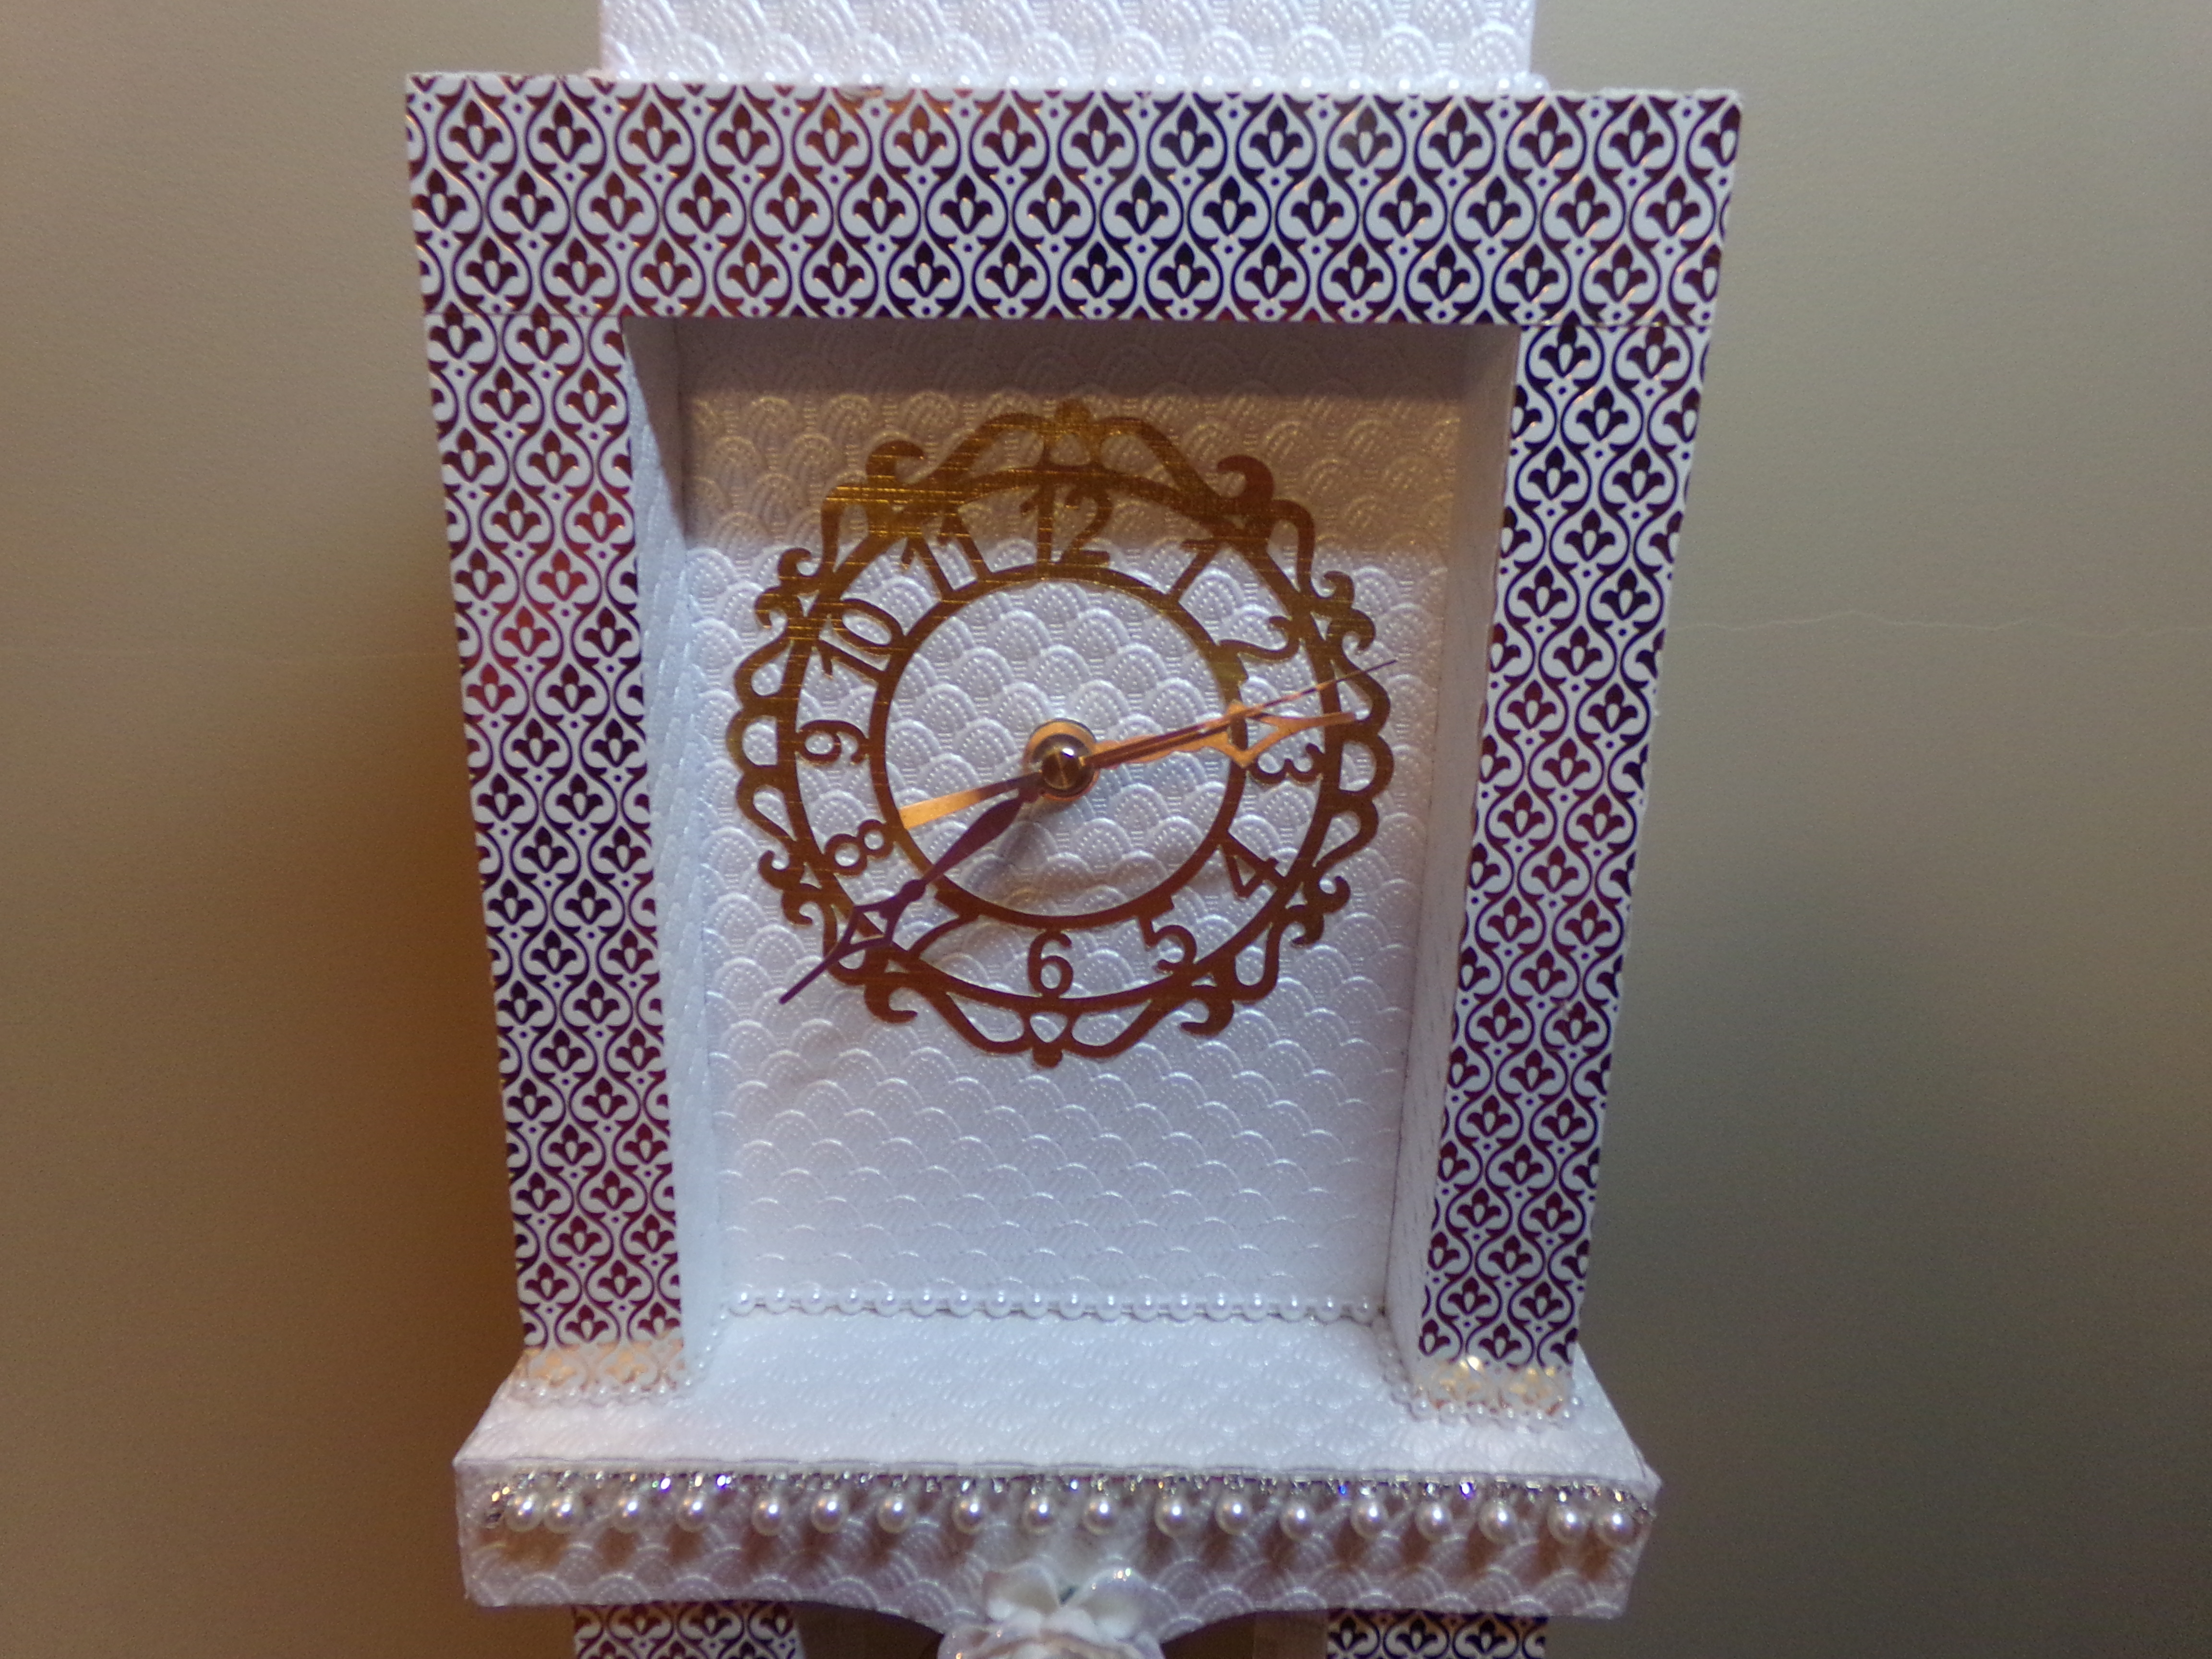
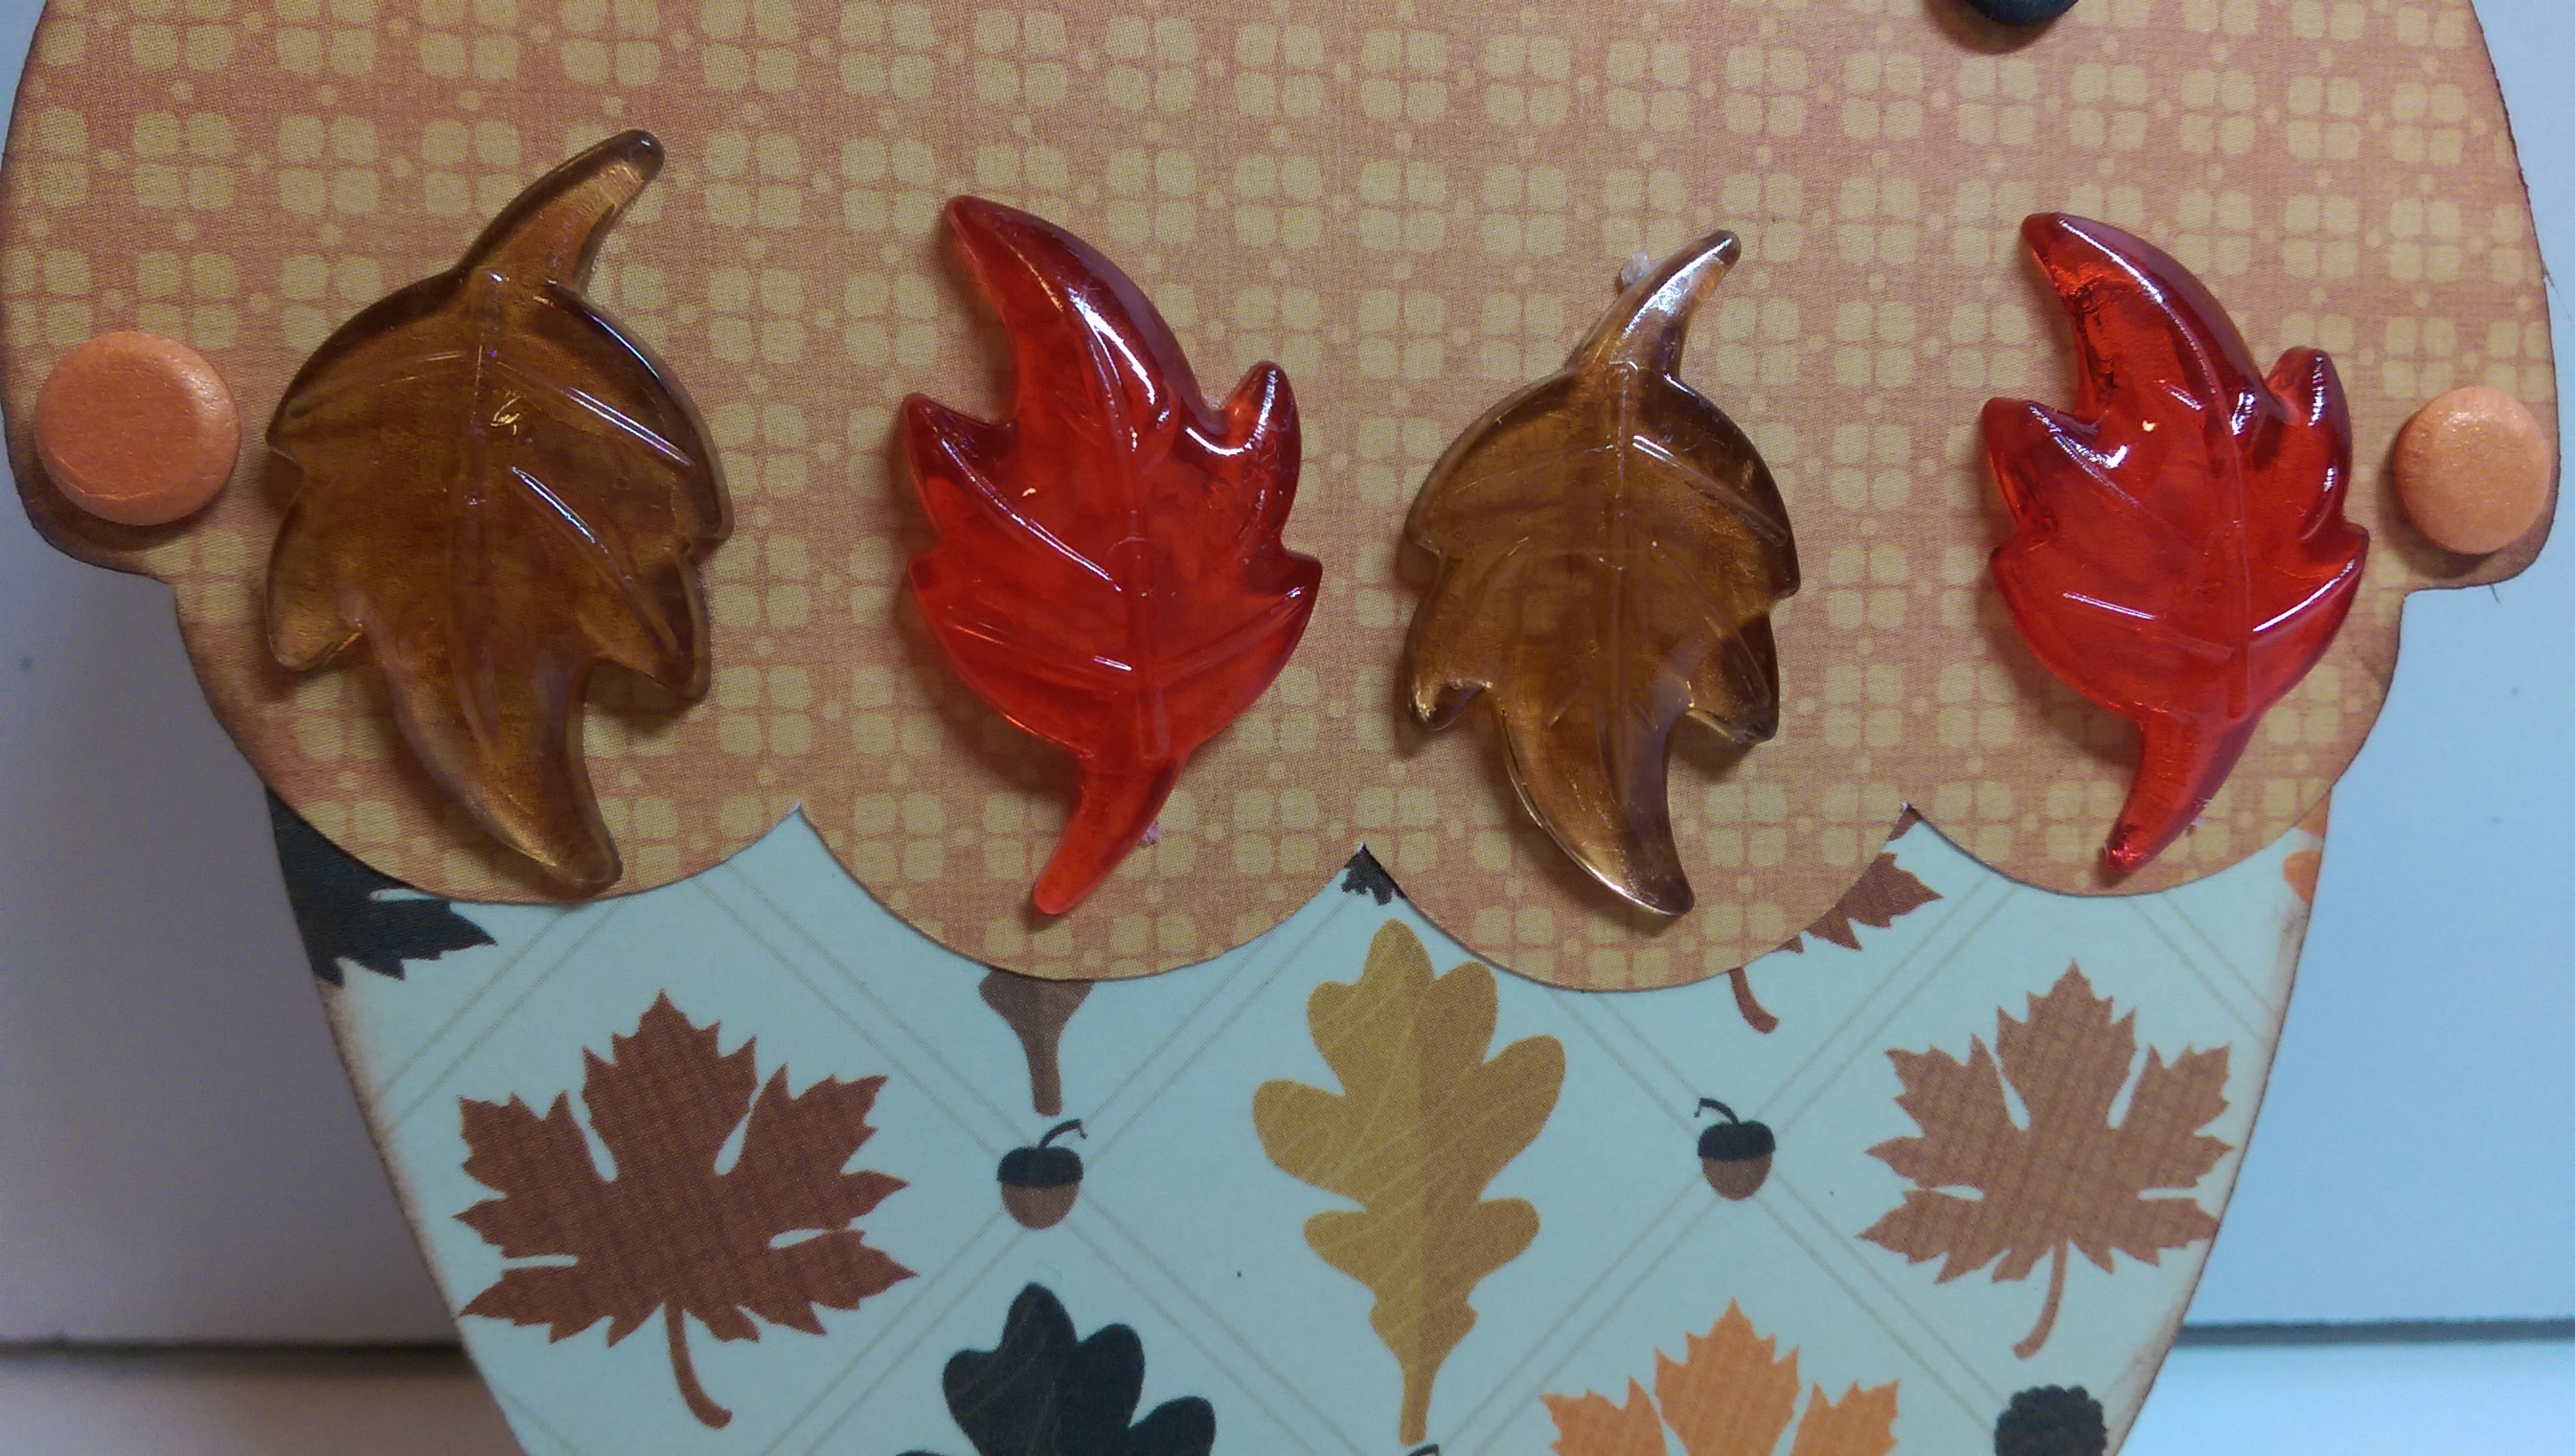
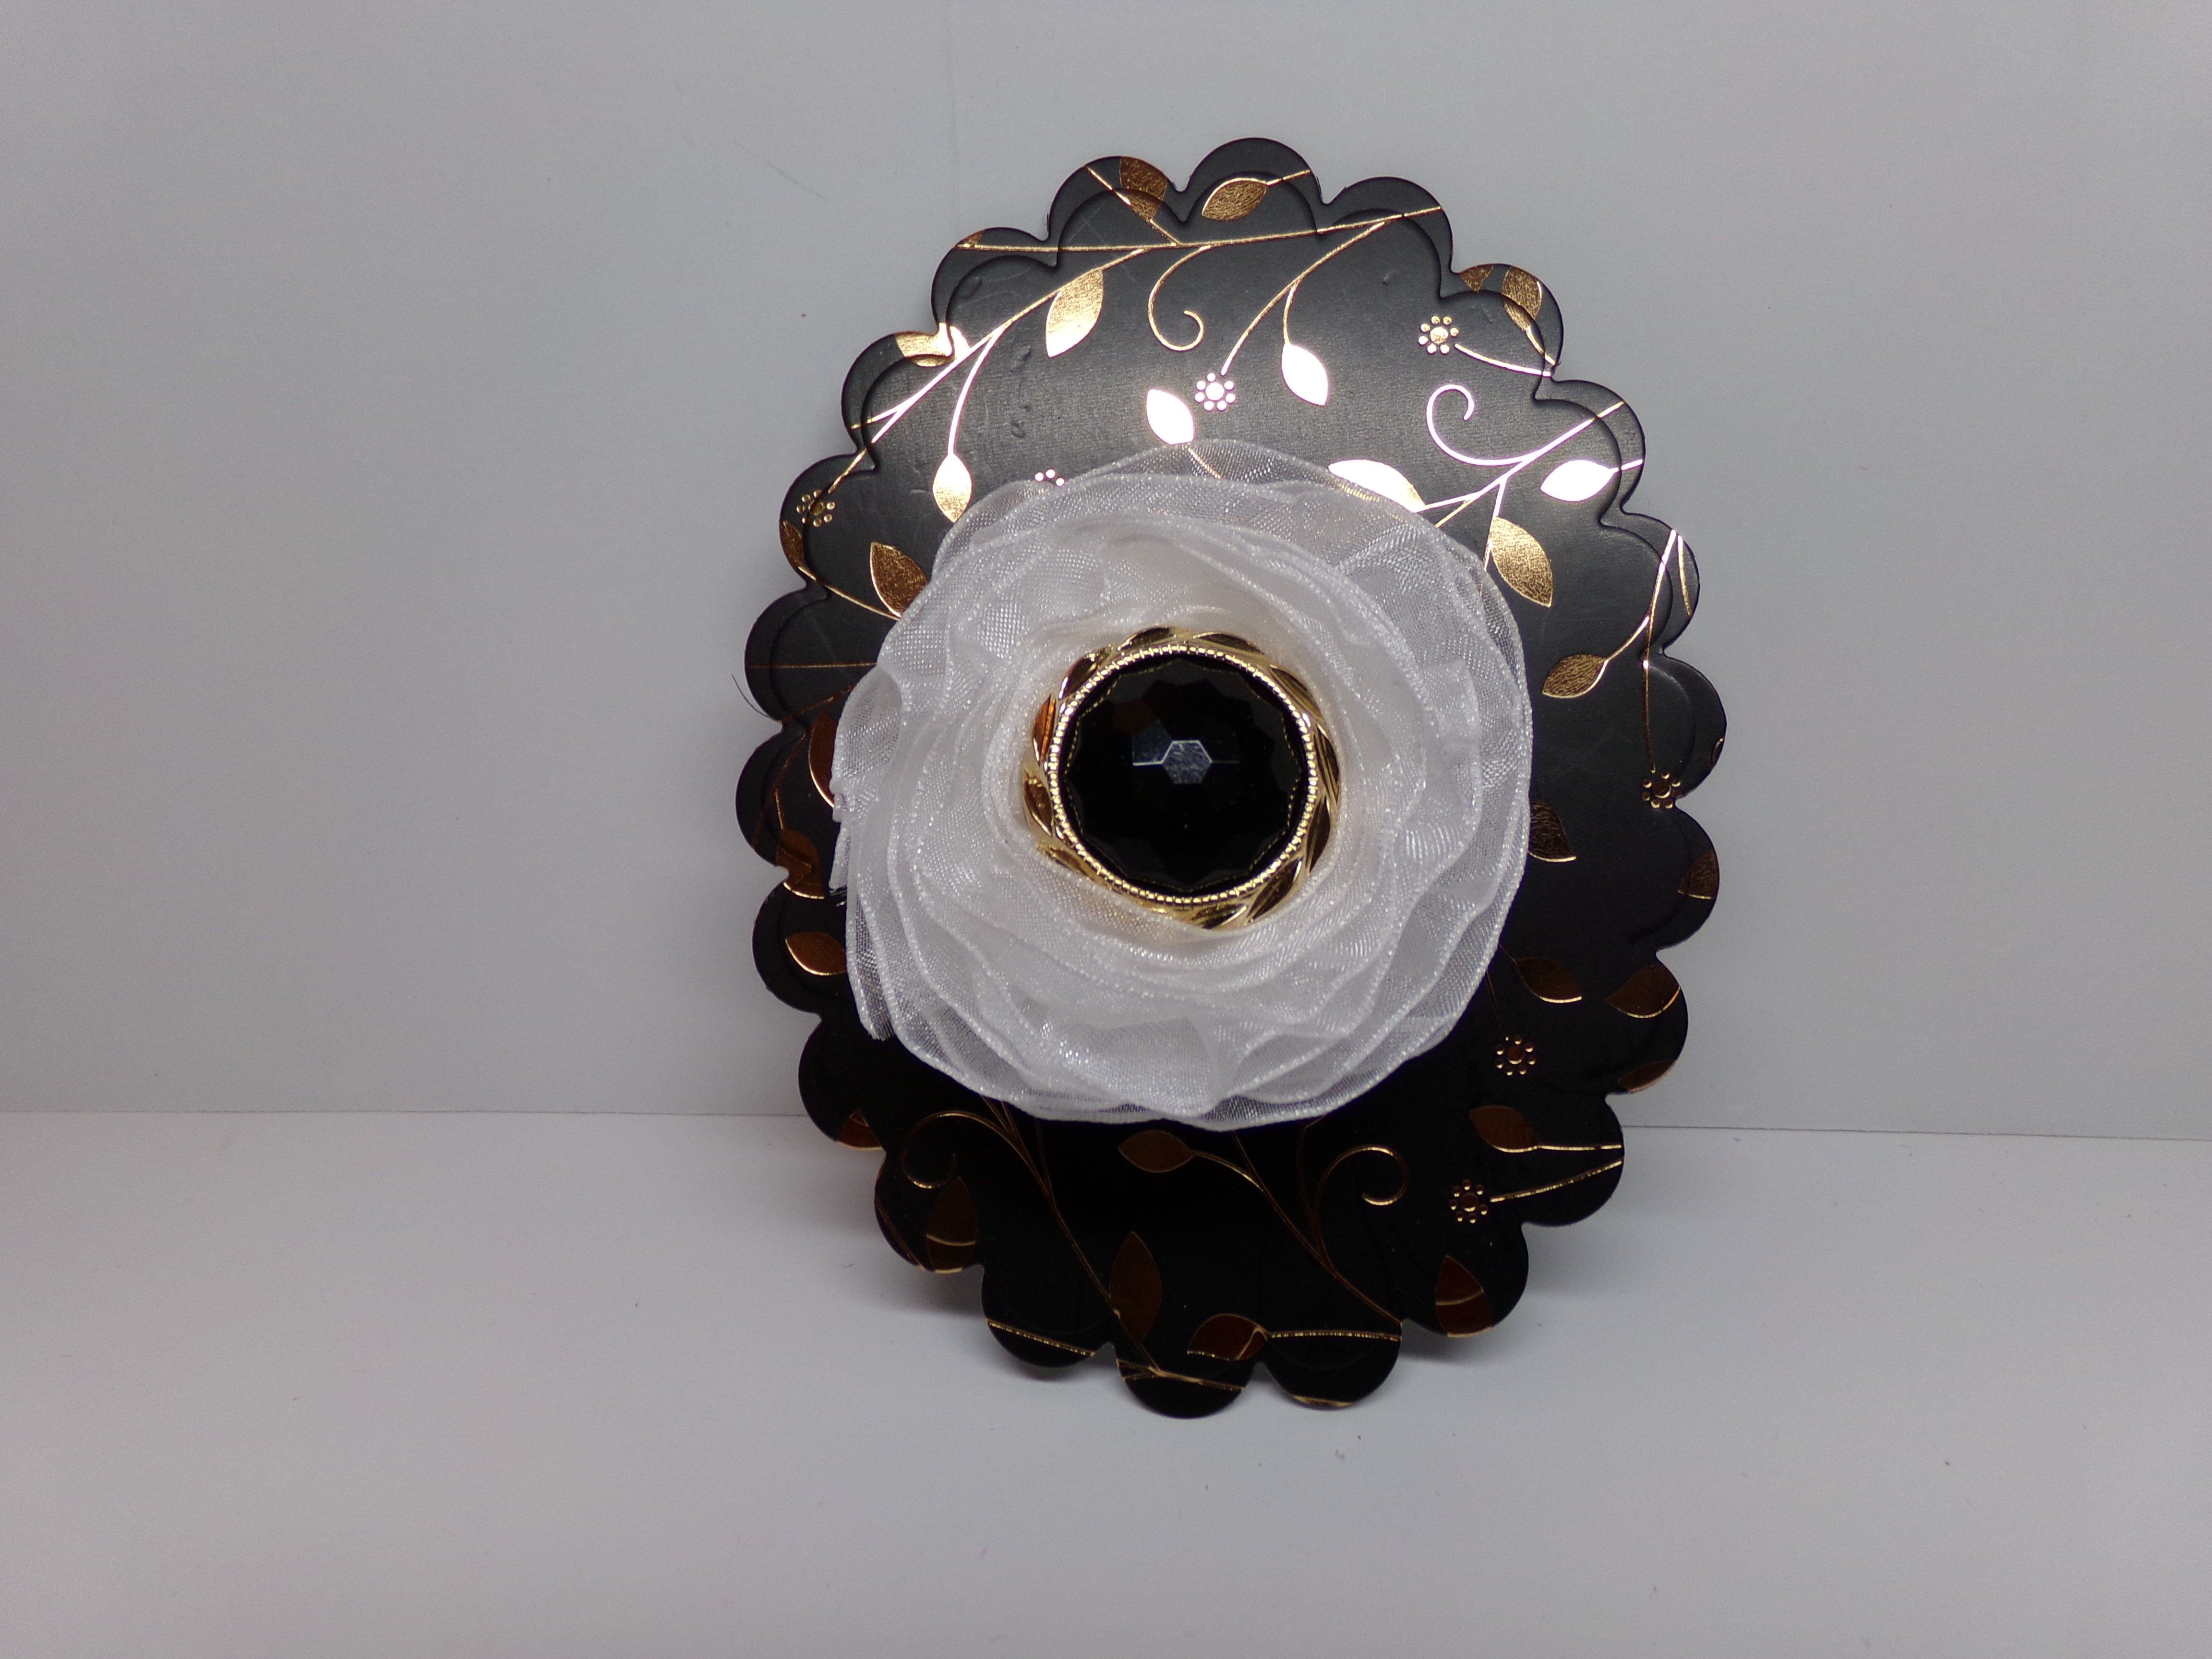
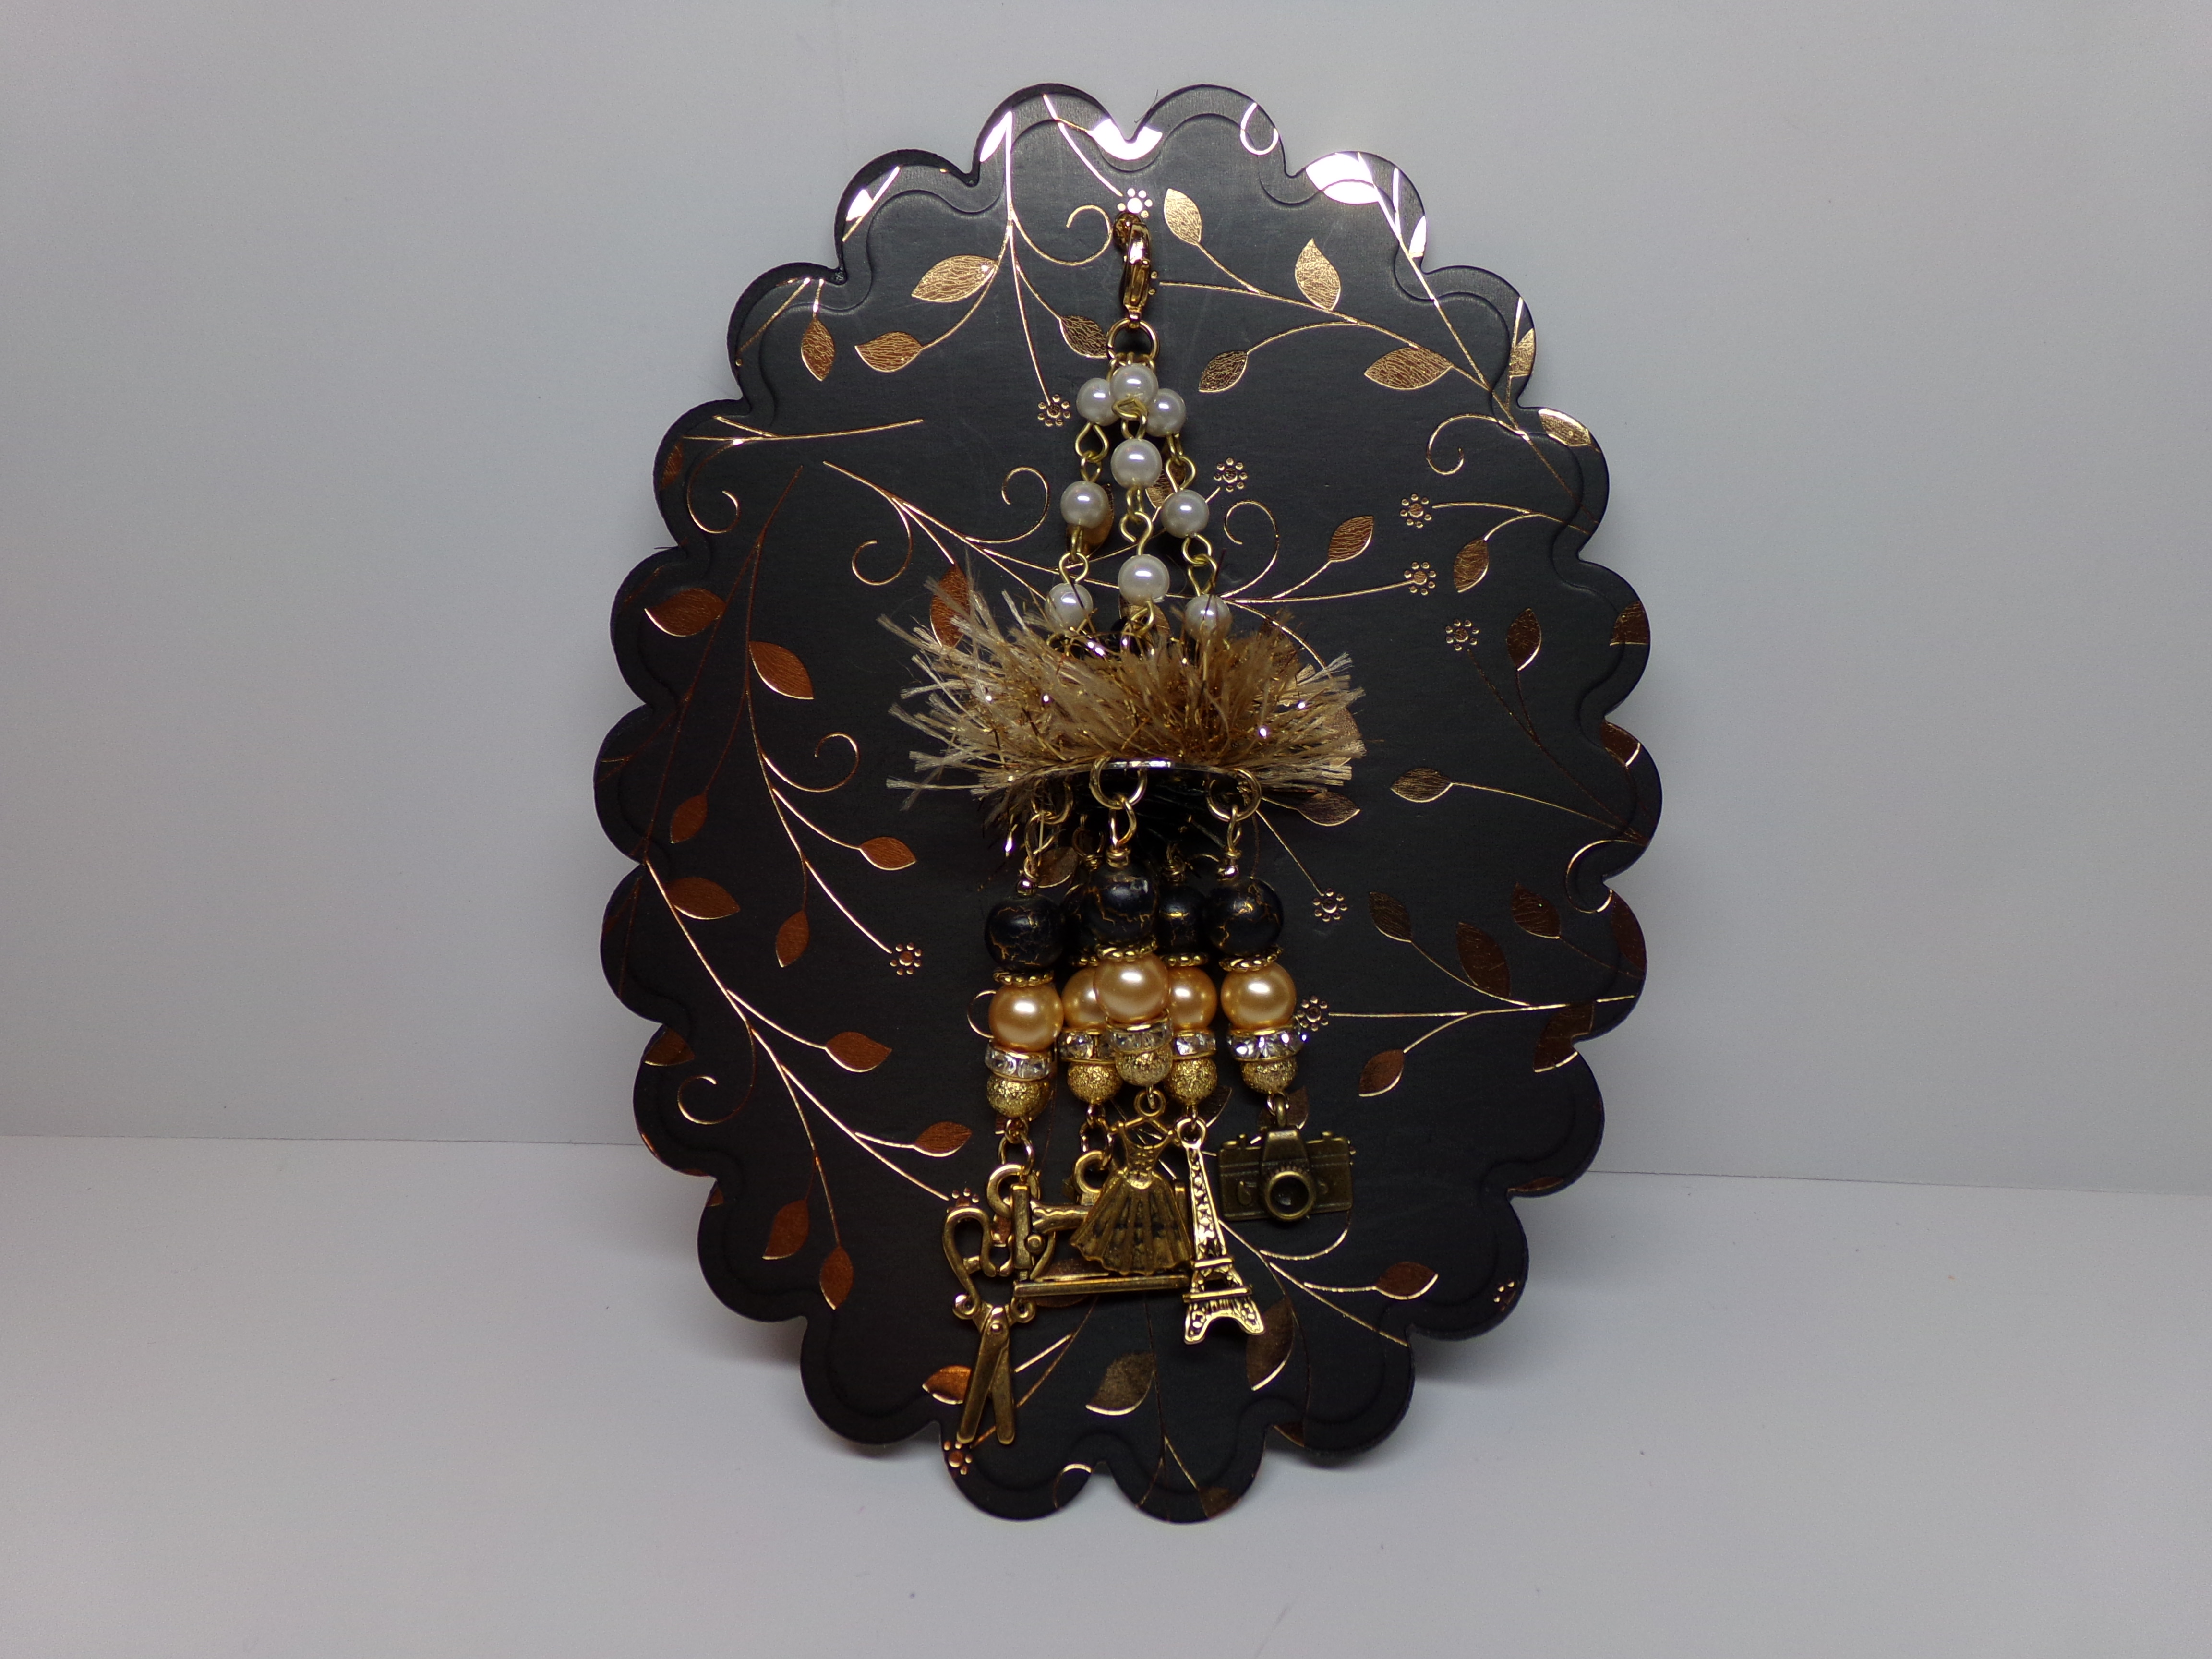
Here are a few more close up shots of the tops…

Sweet Kisses Tube Boxes Top Embellishment

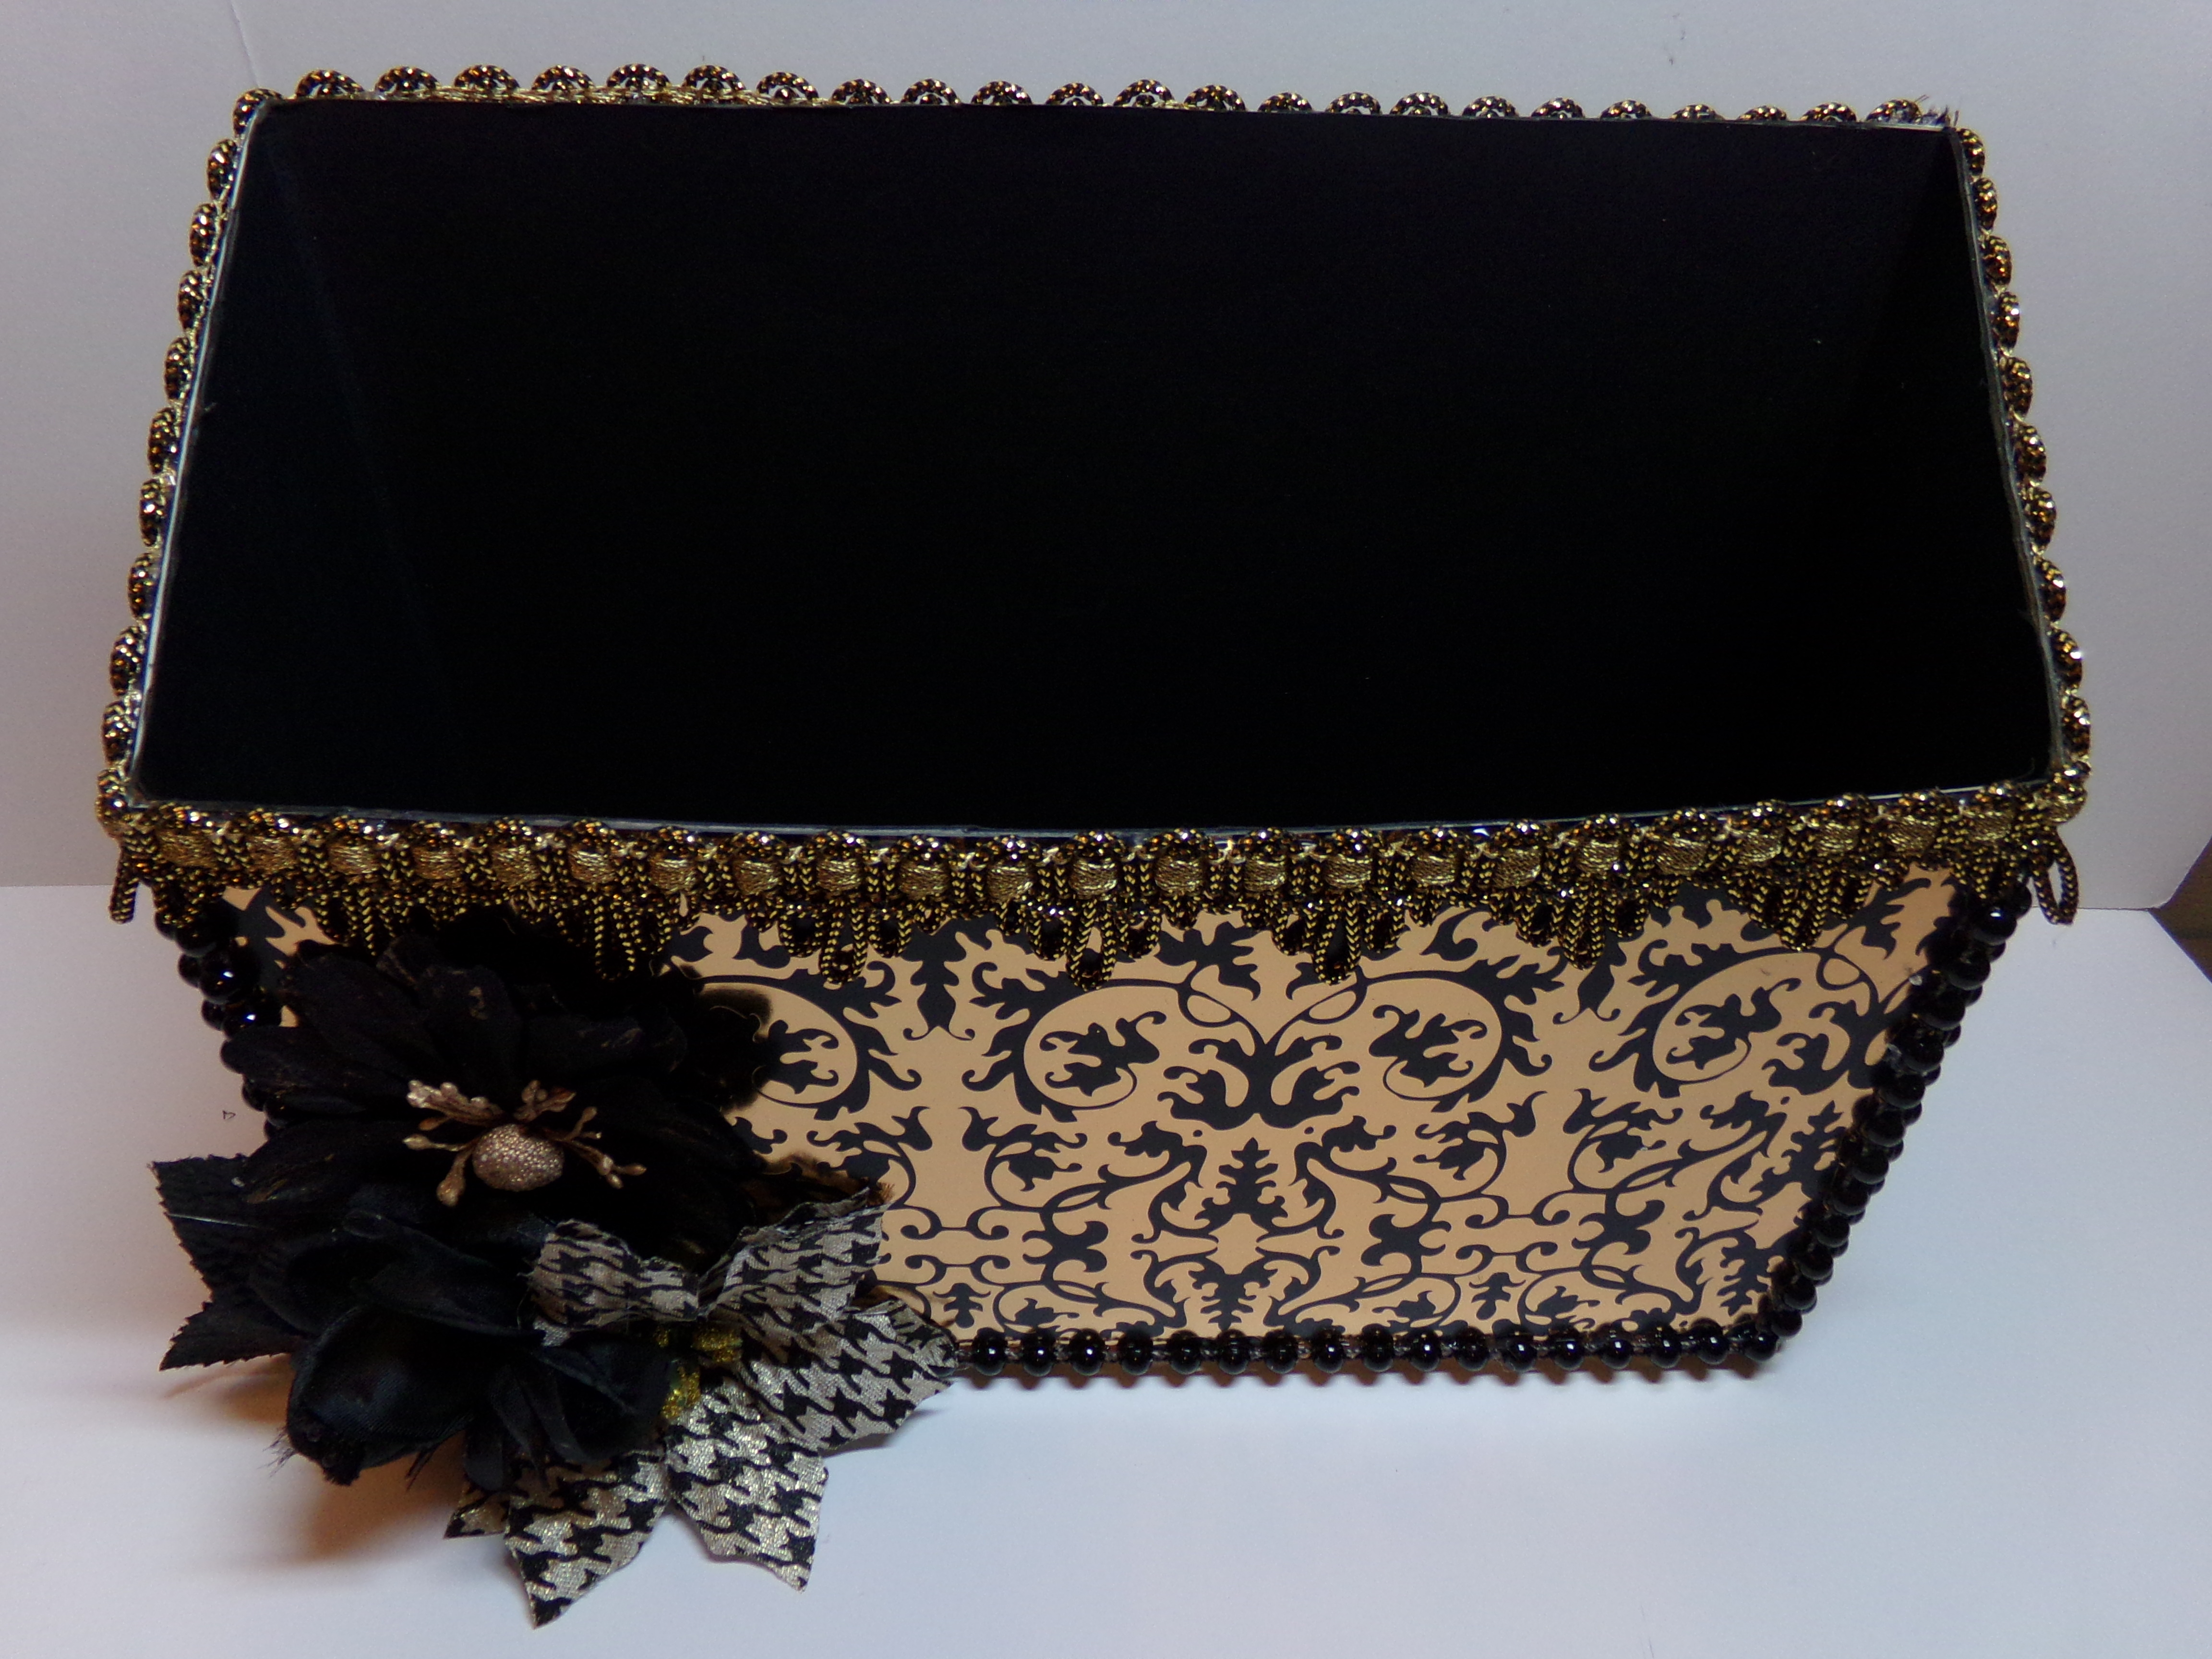
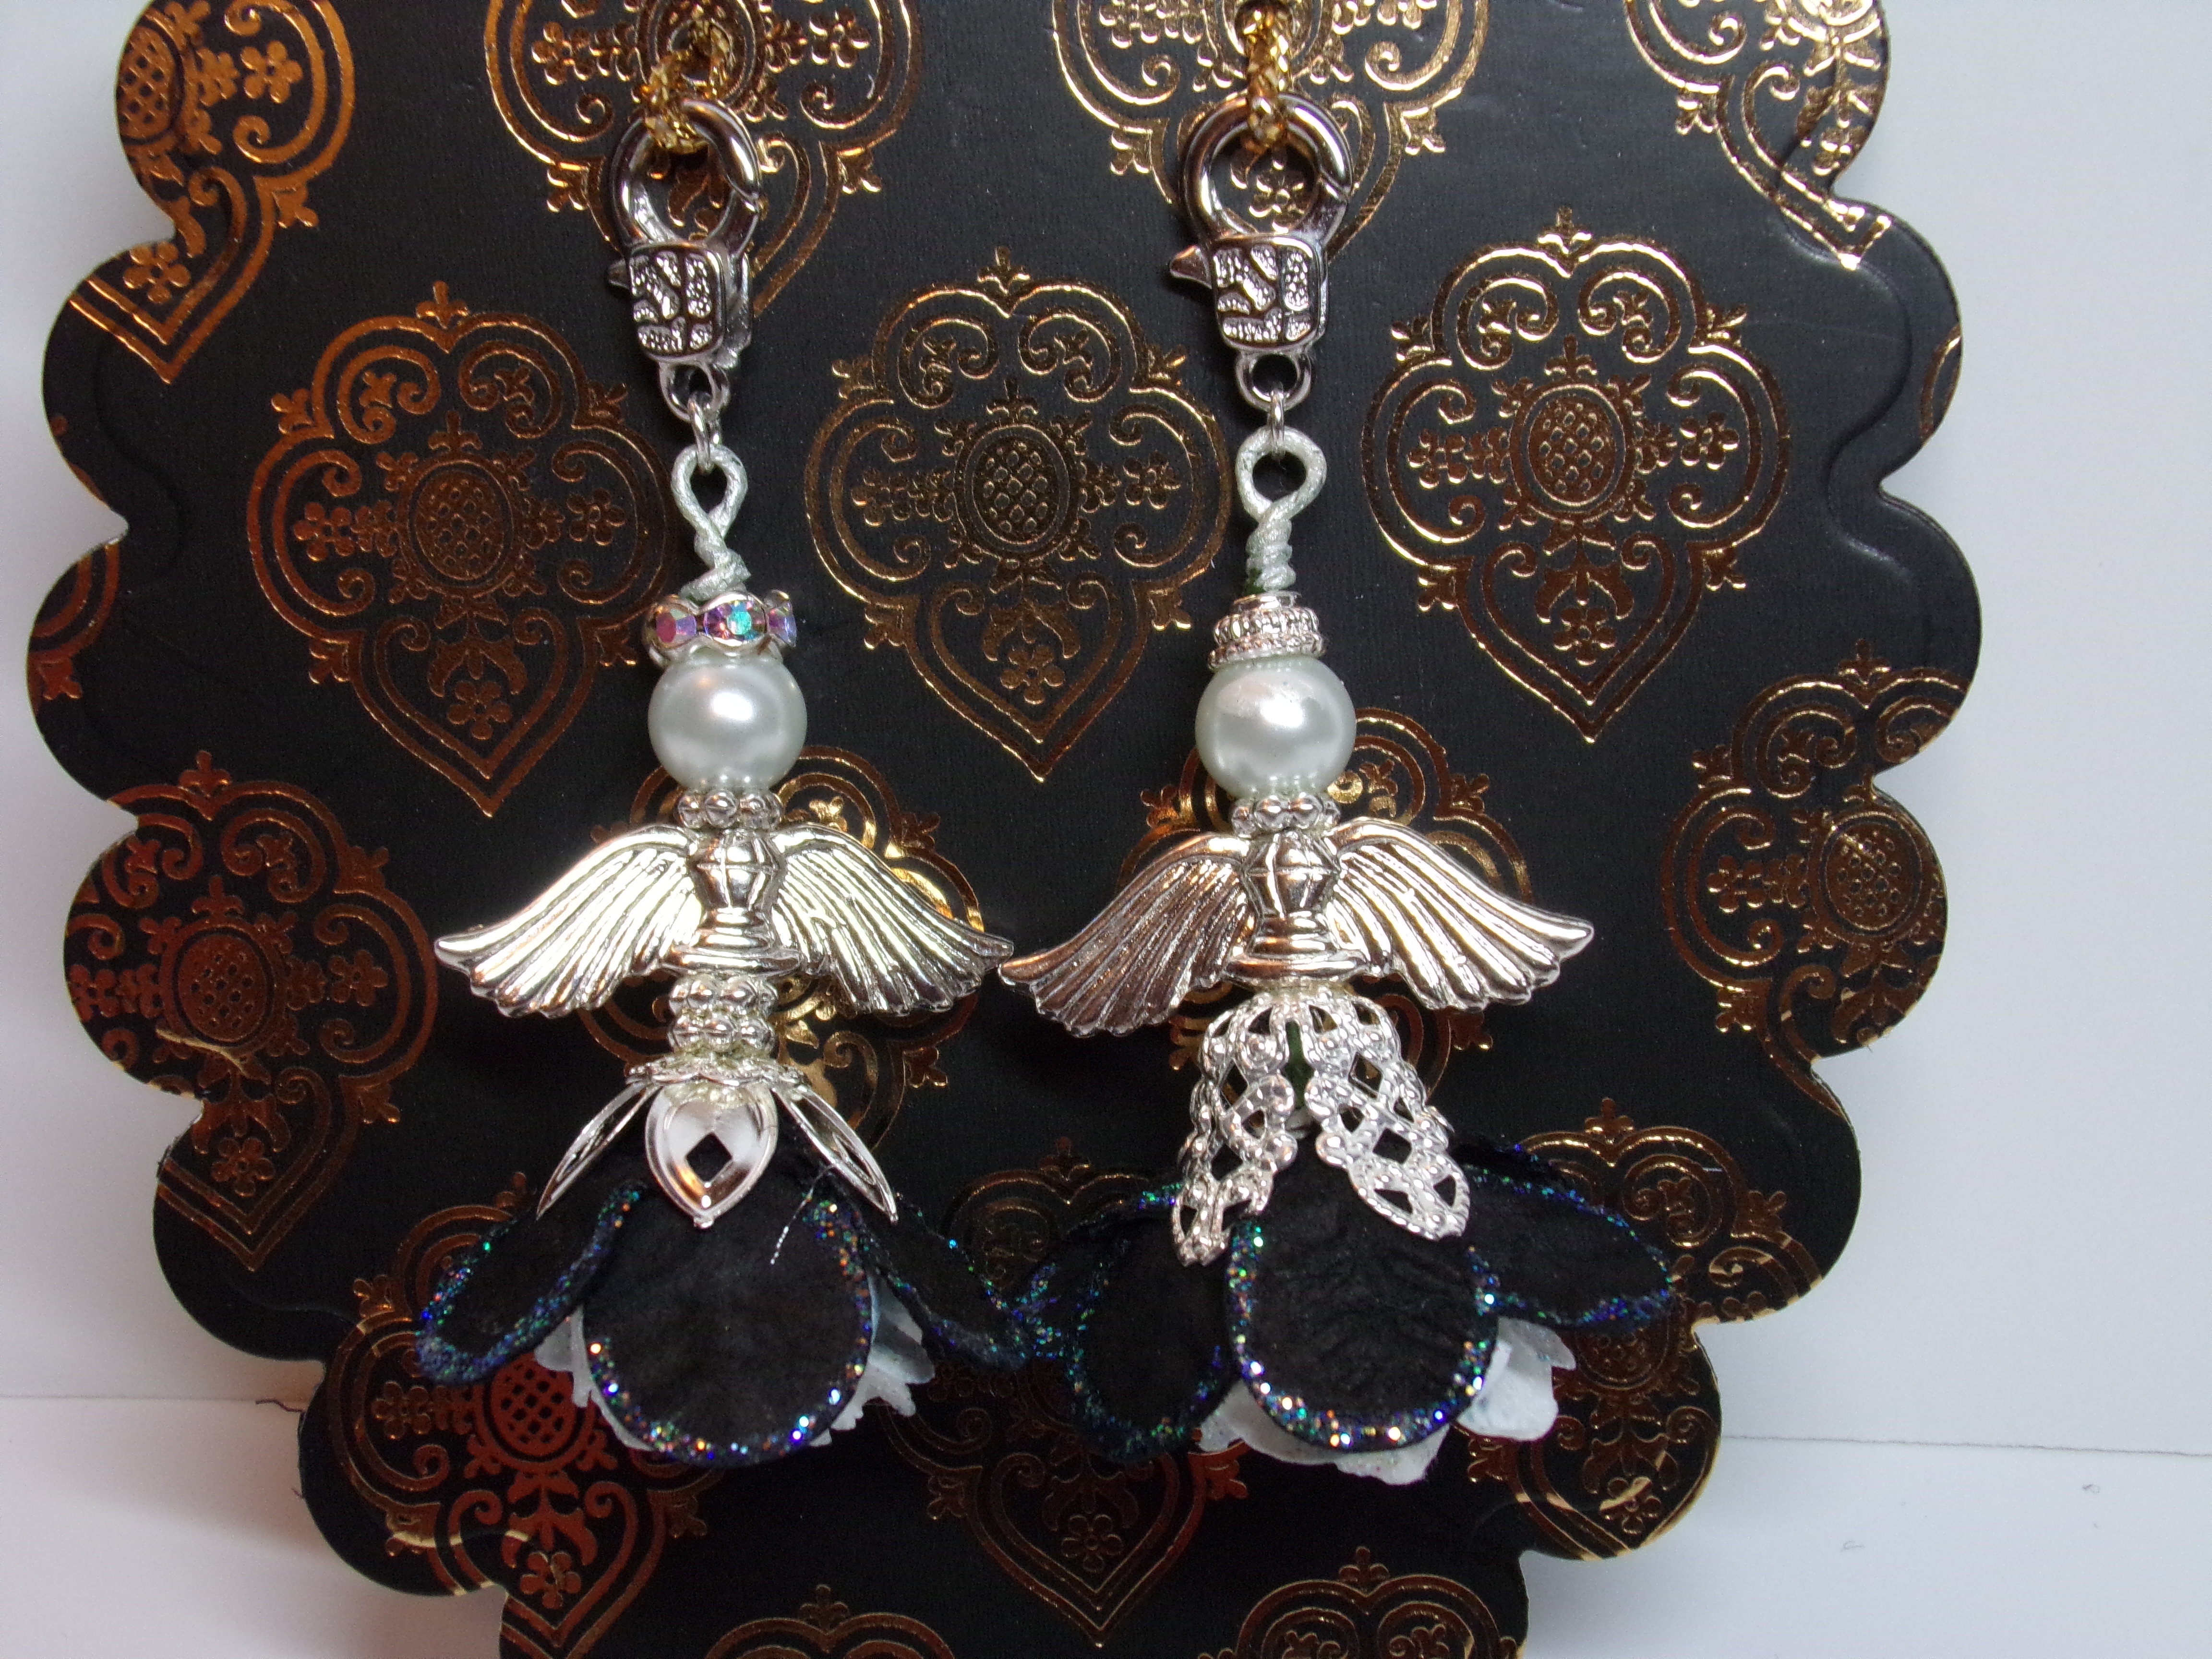
Lastly I attached bottoms to the kisses which are inside the boxes using the Hershey Kiss Thoughts of You Bottoms…
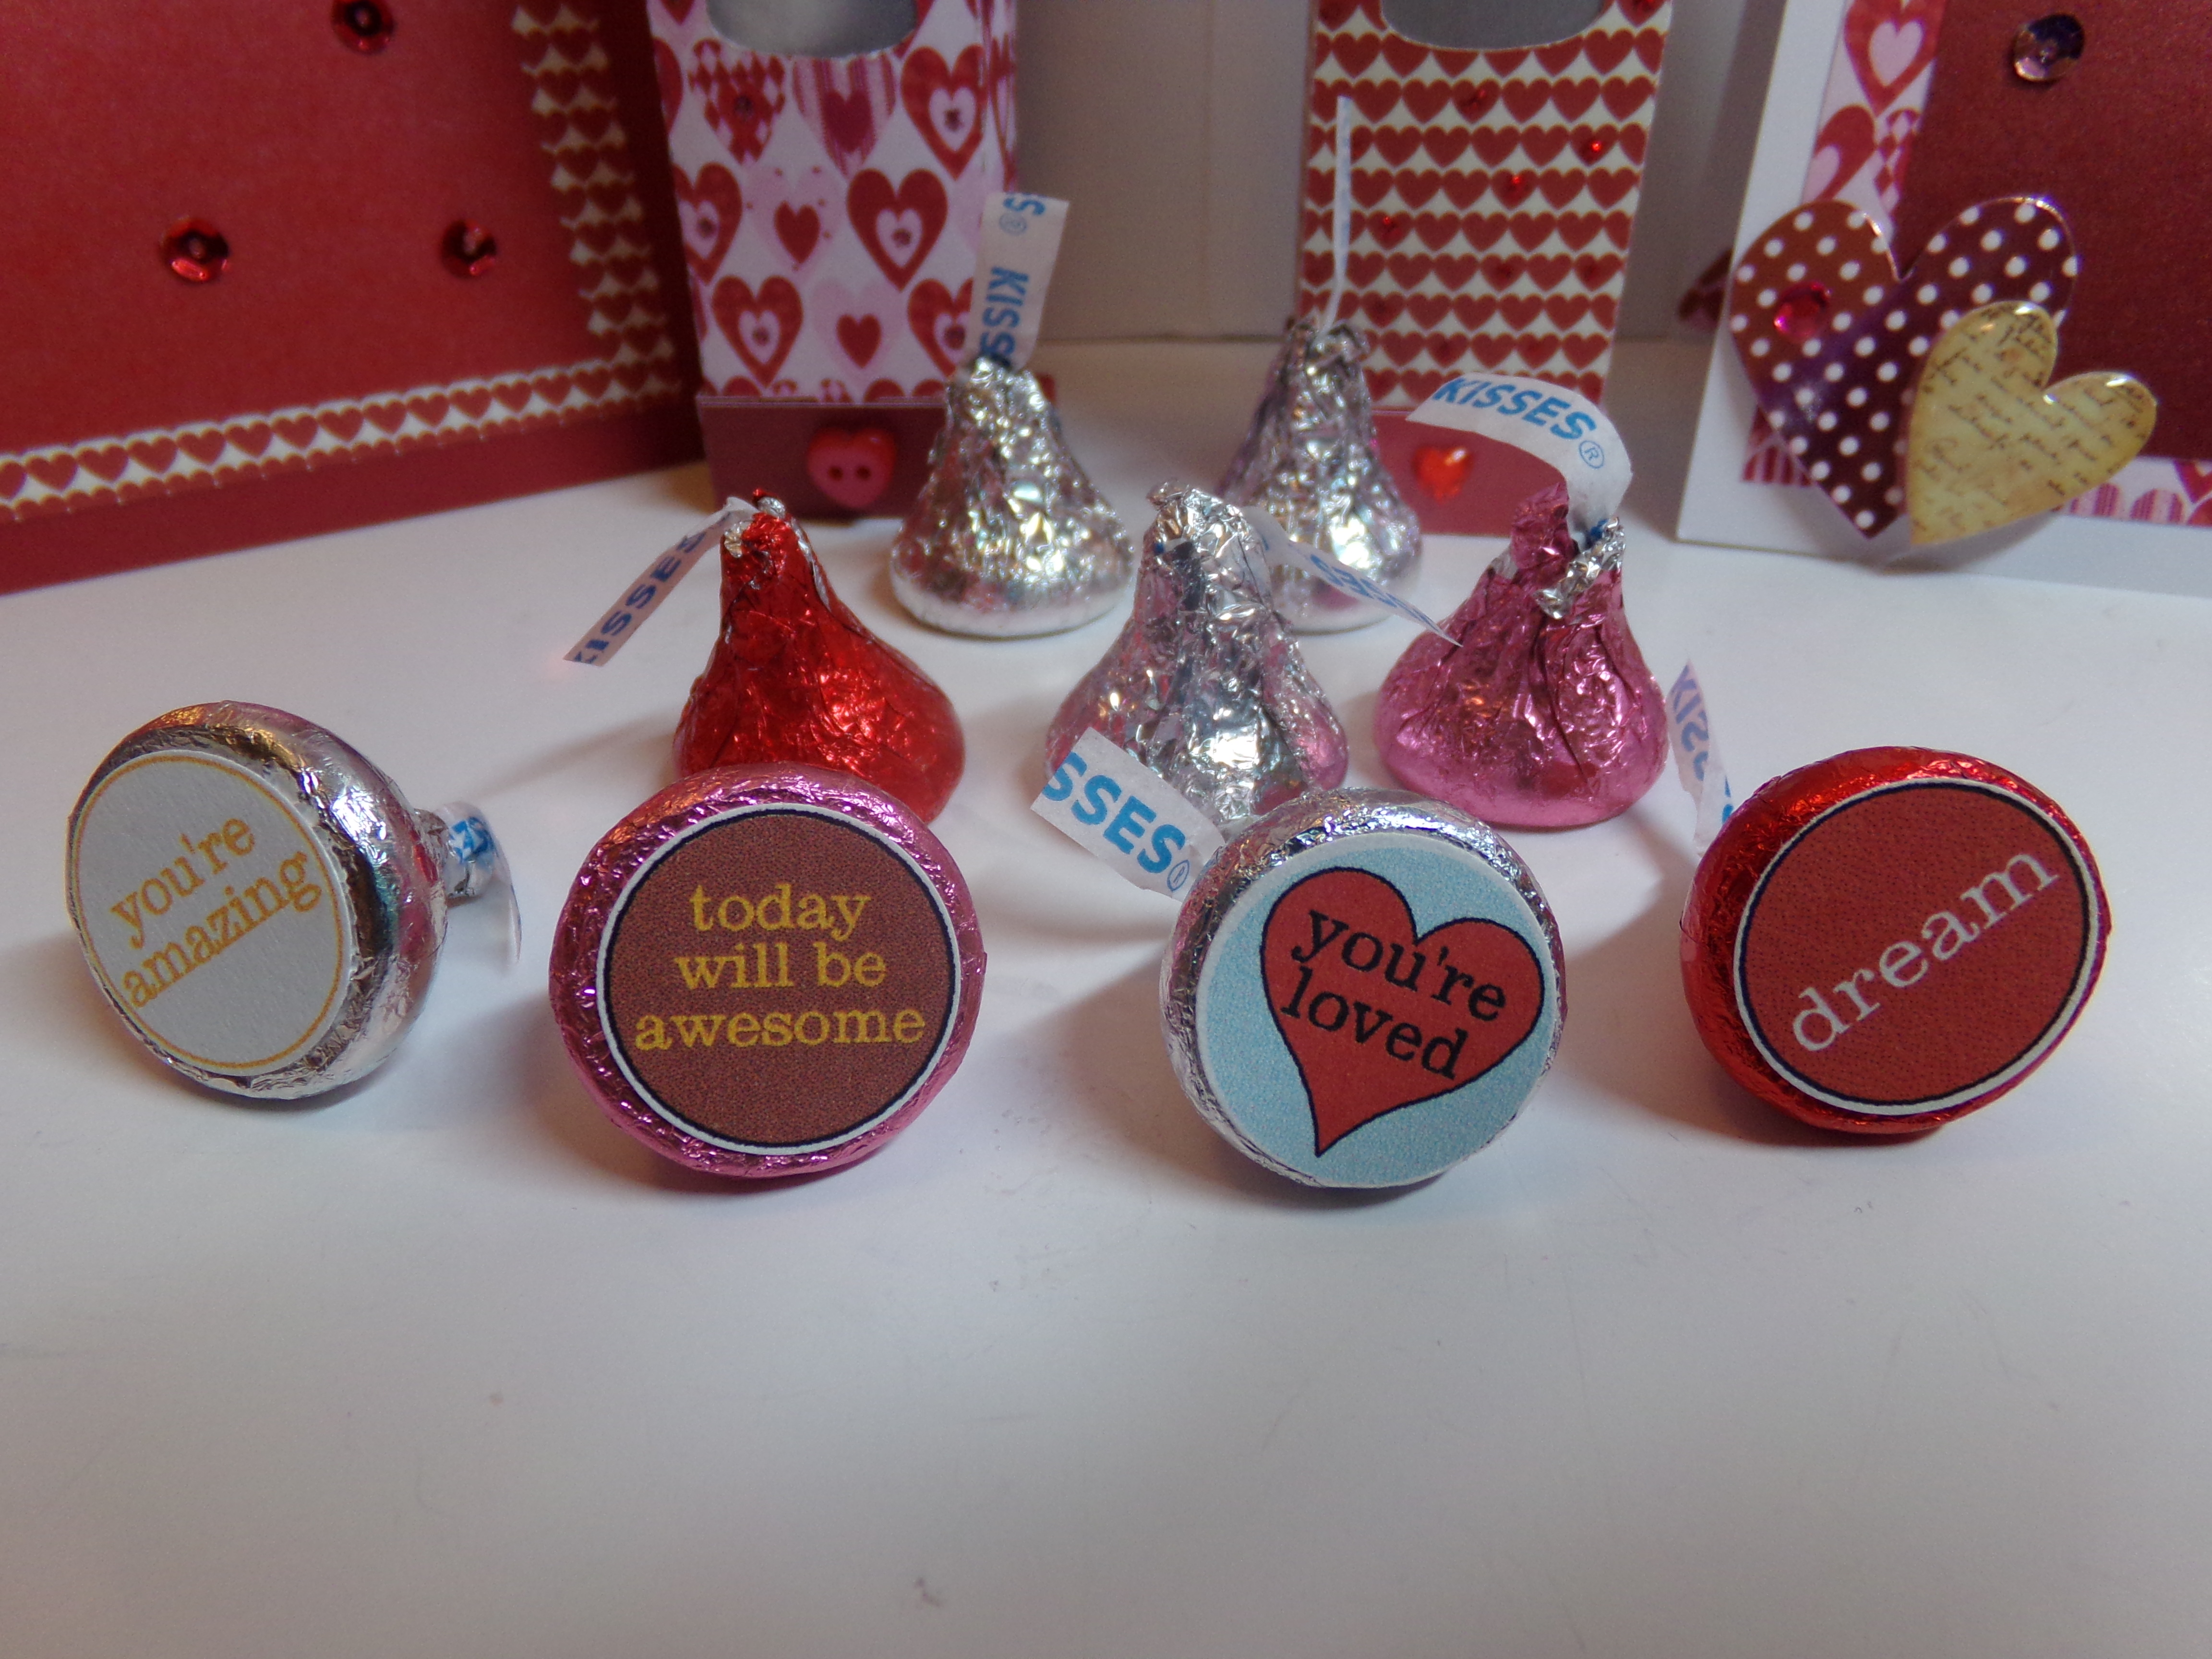
Hershey Kisses Bottoms
Thanks so much for stopping by! As usual, I have a video for you before you leave…