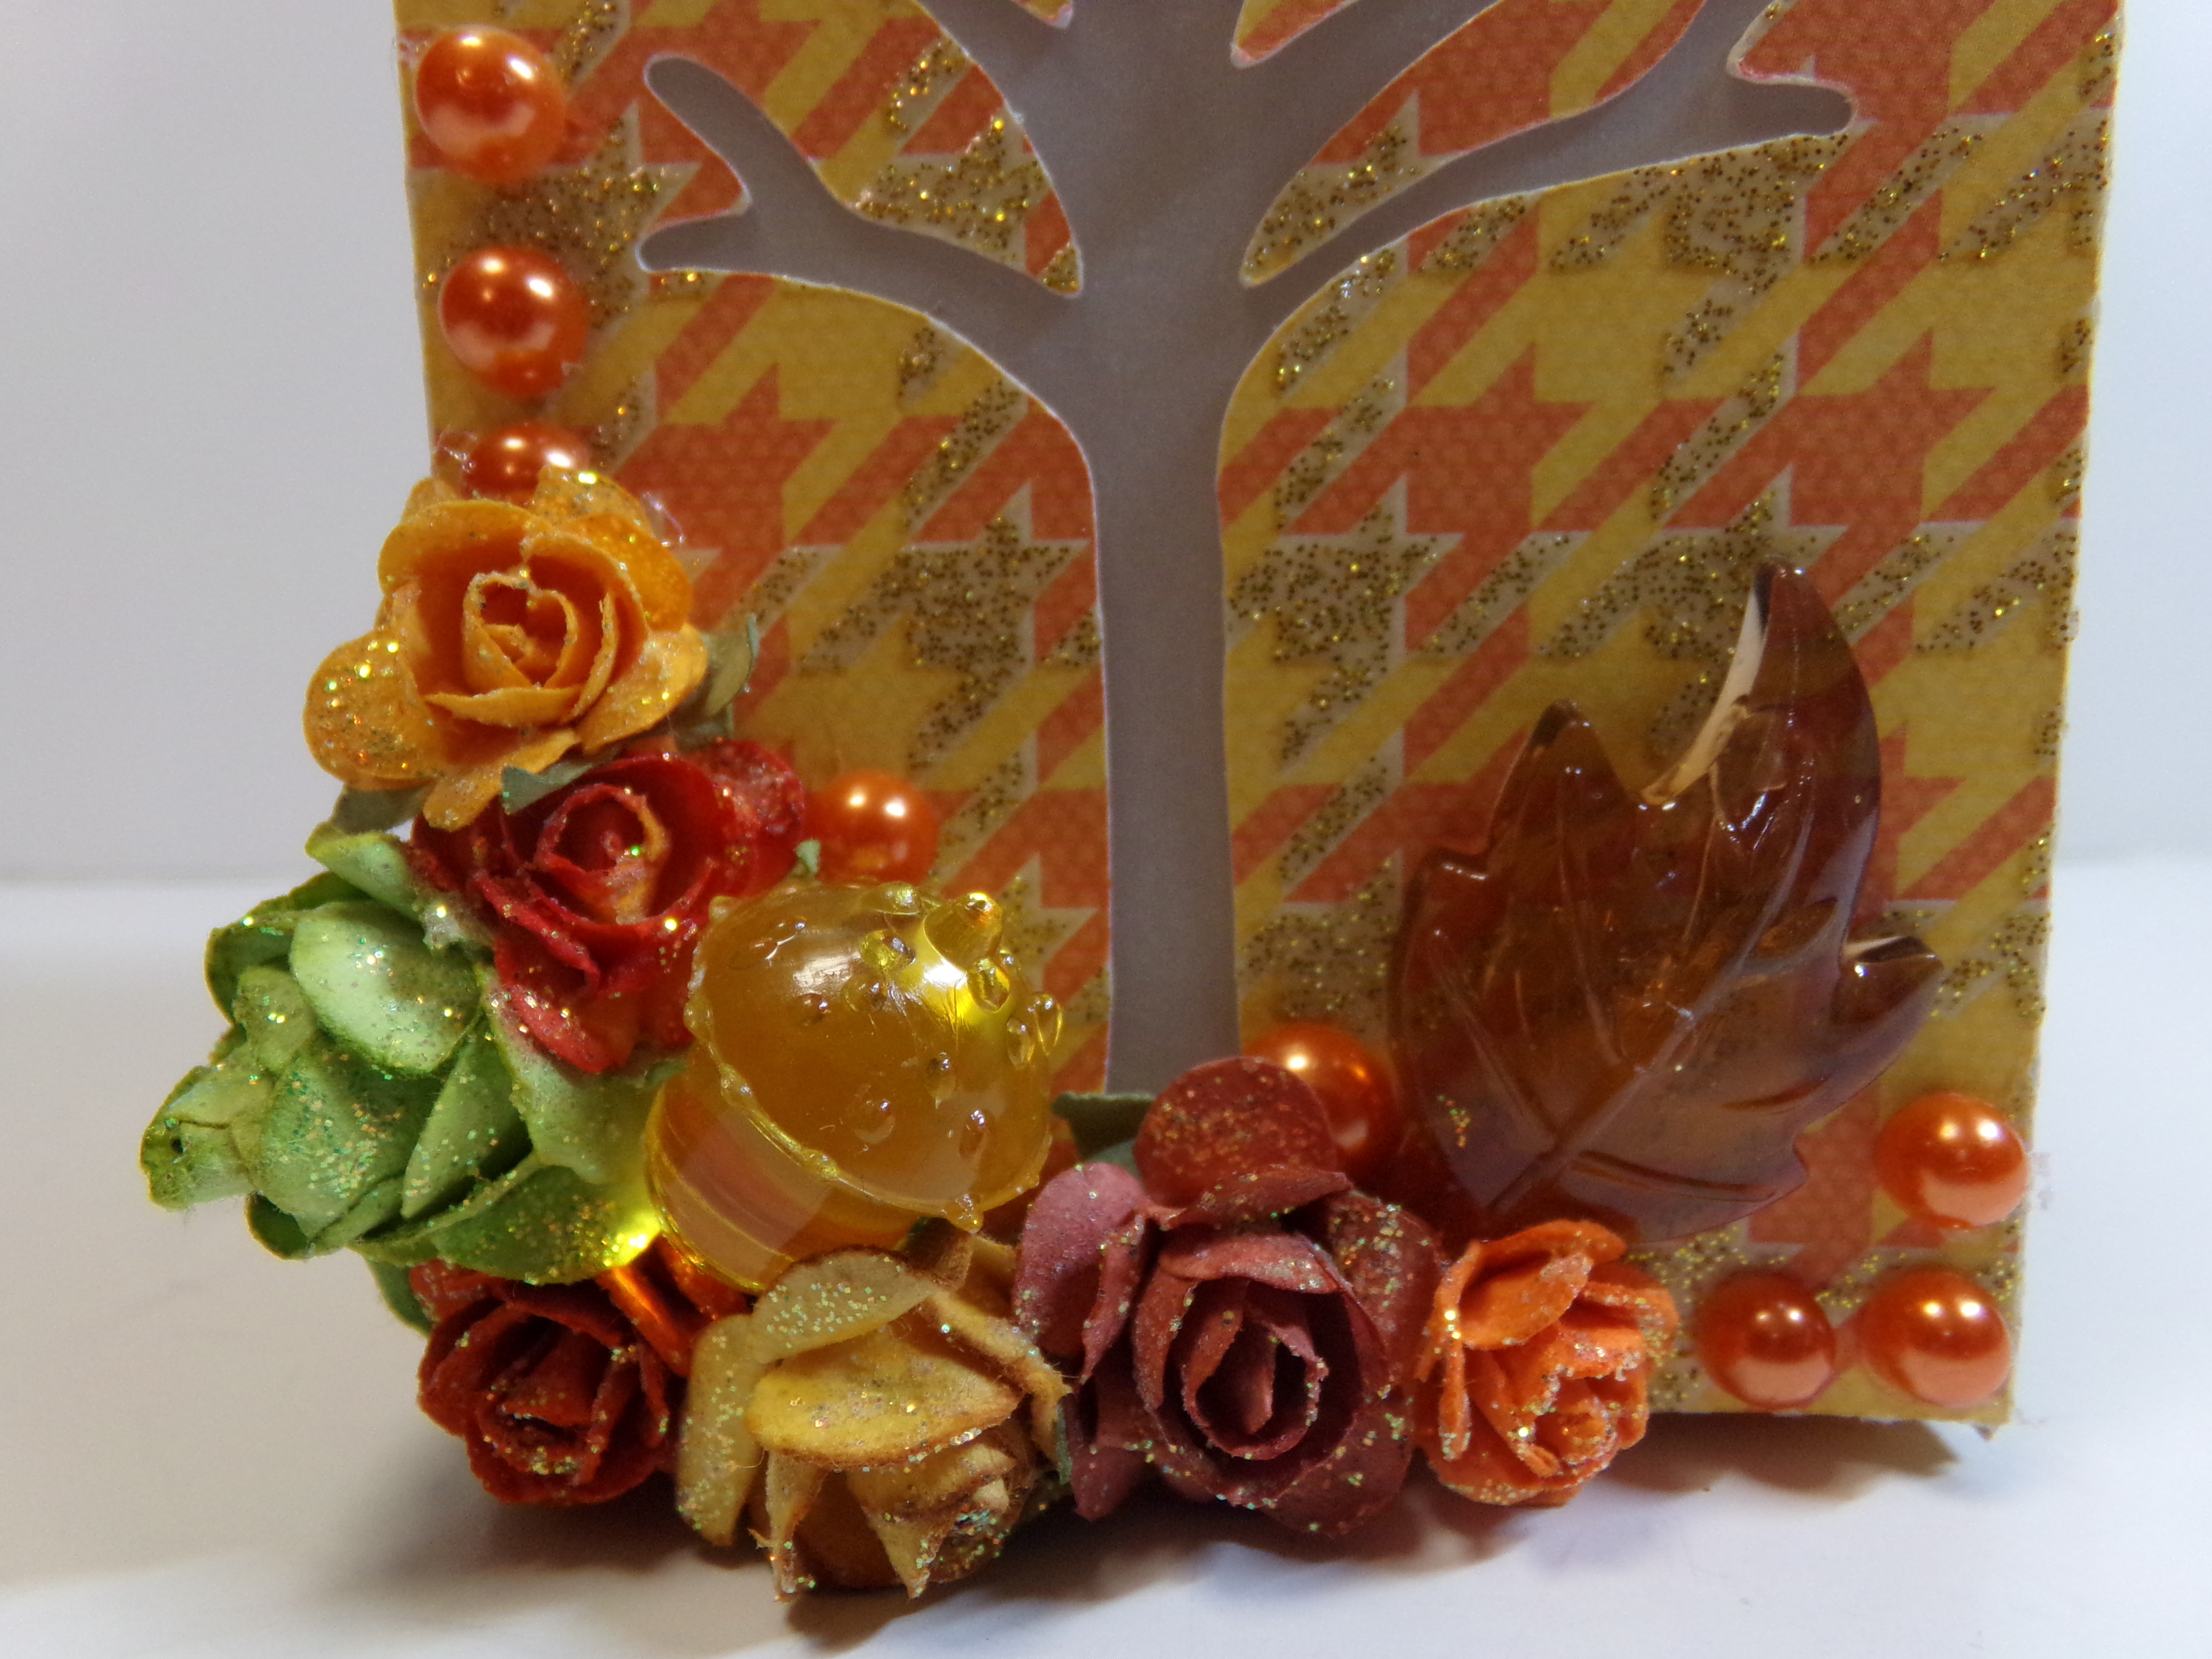
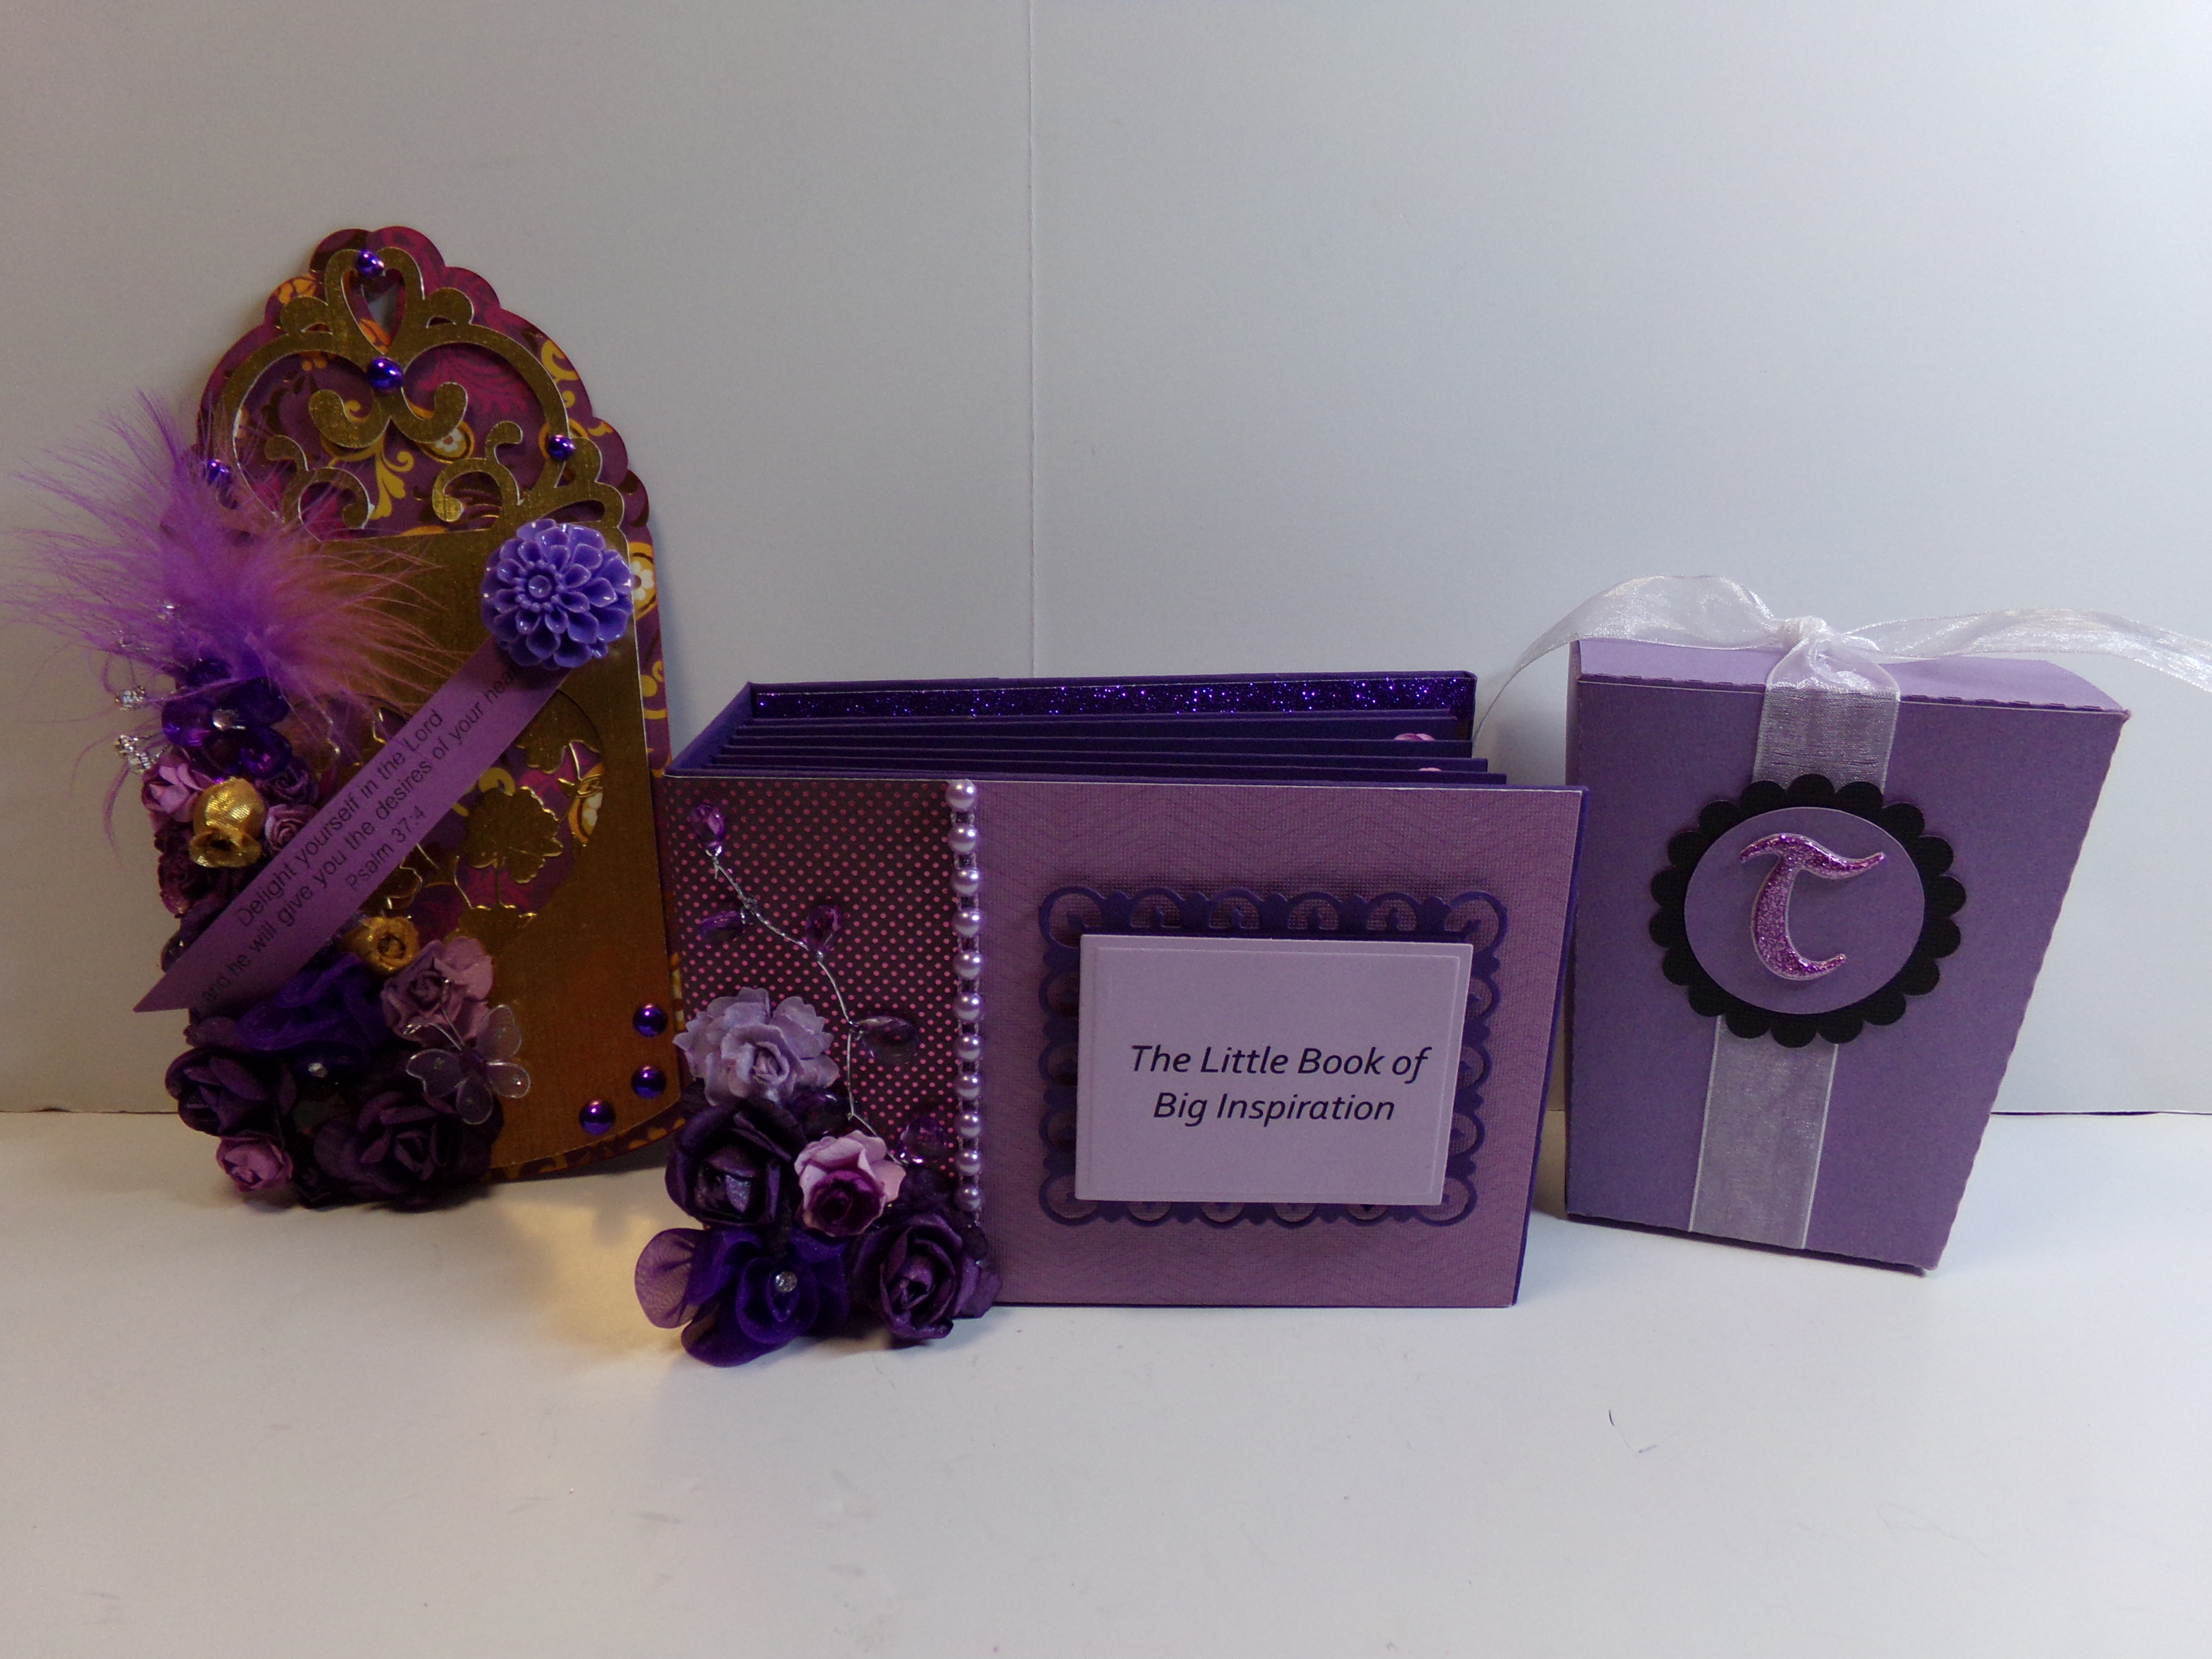
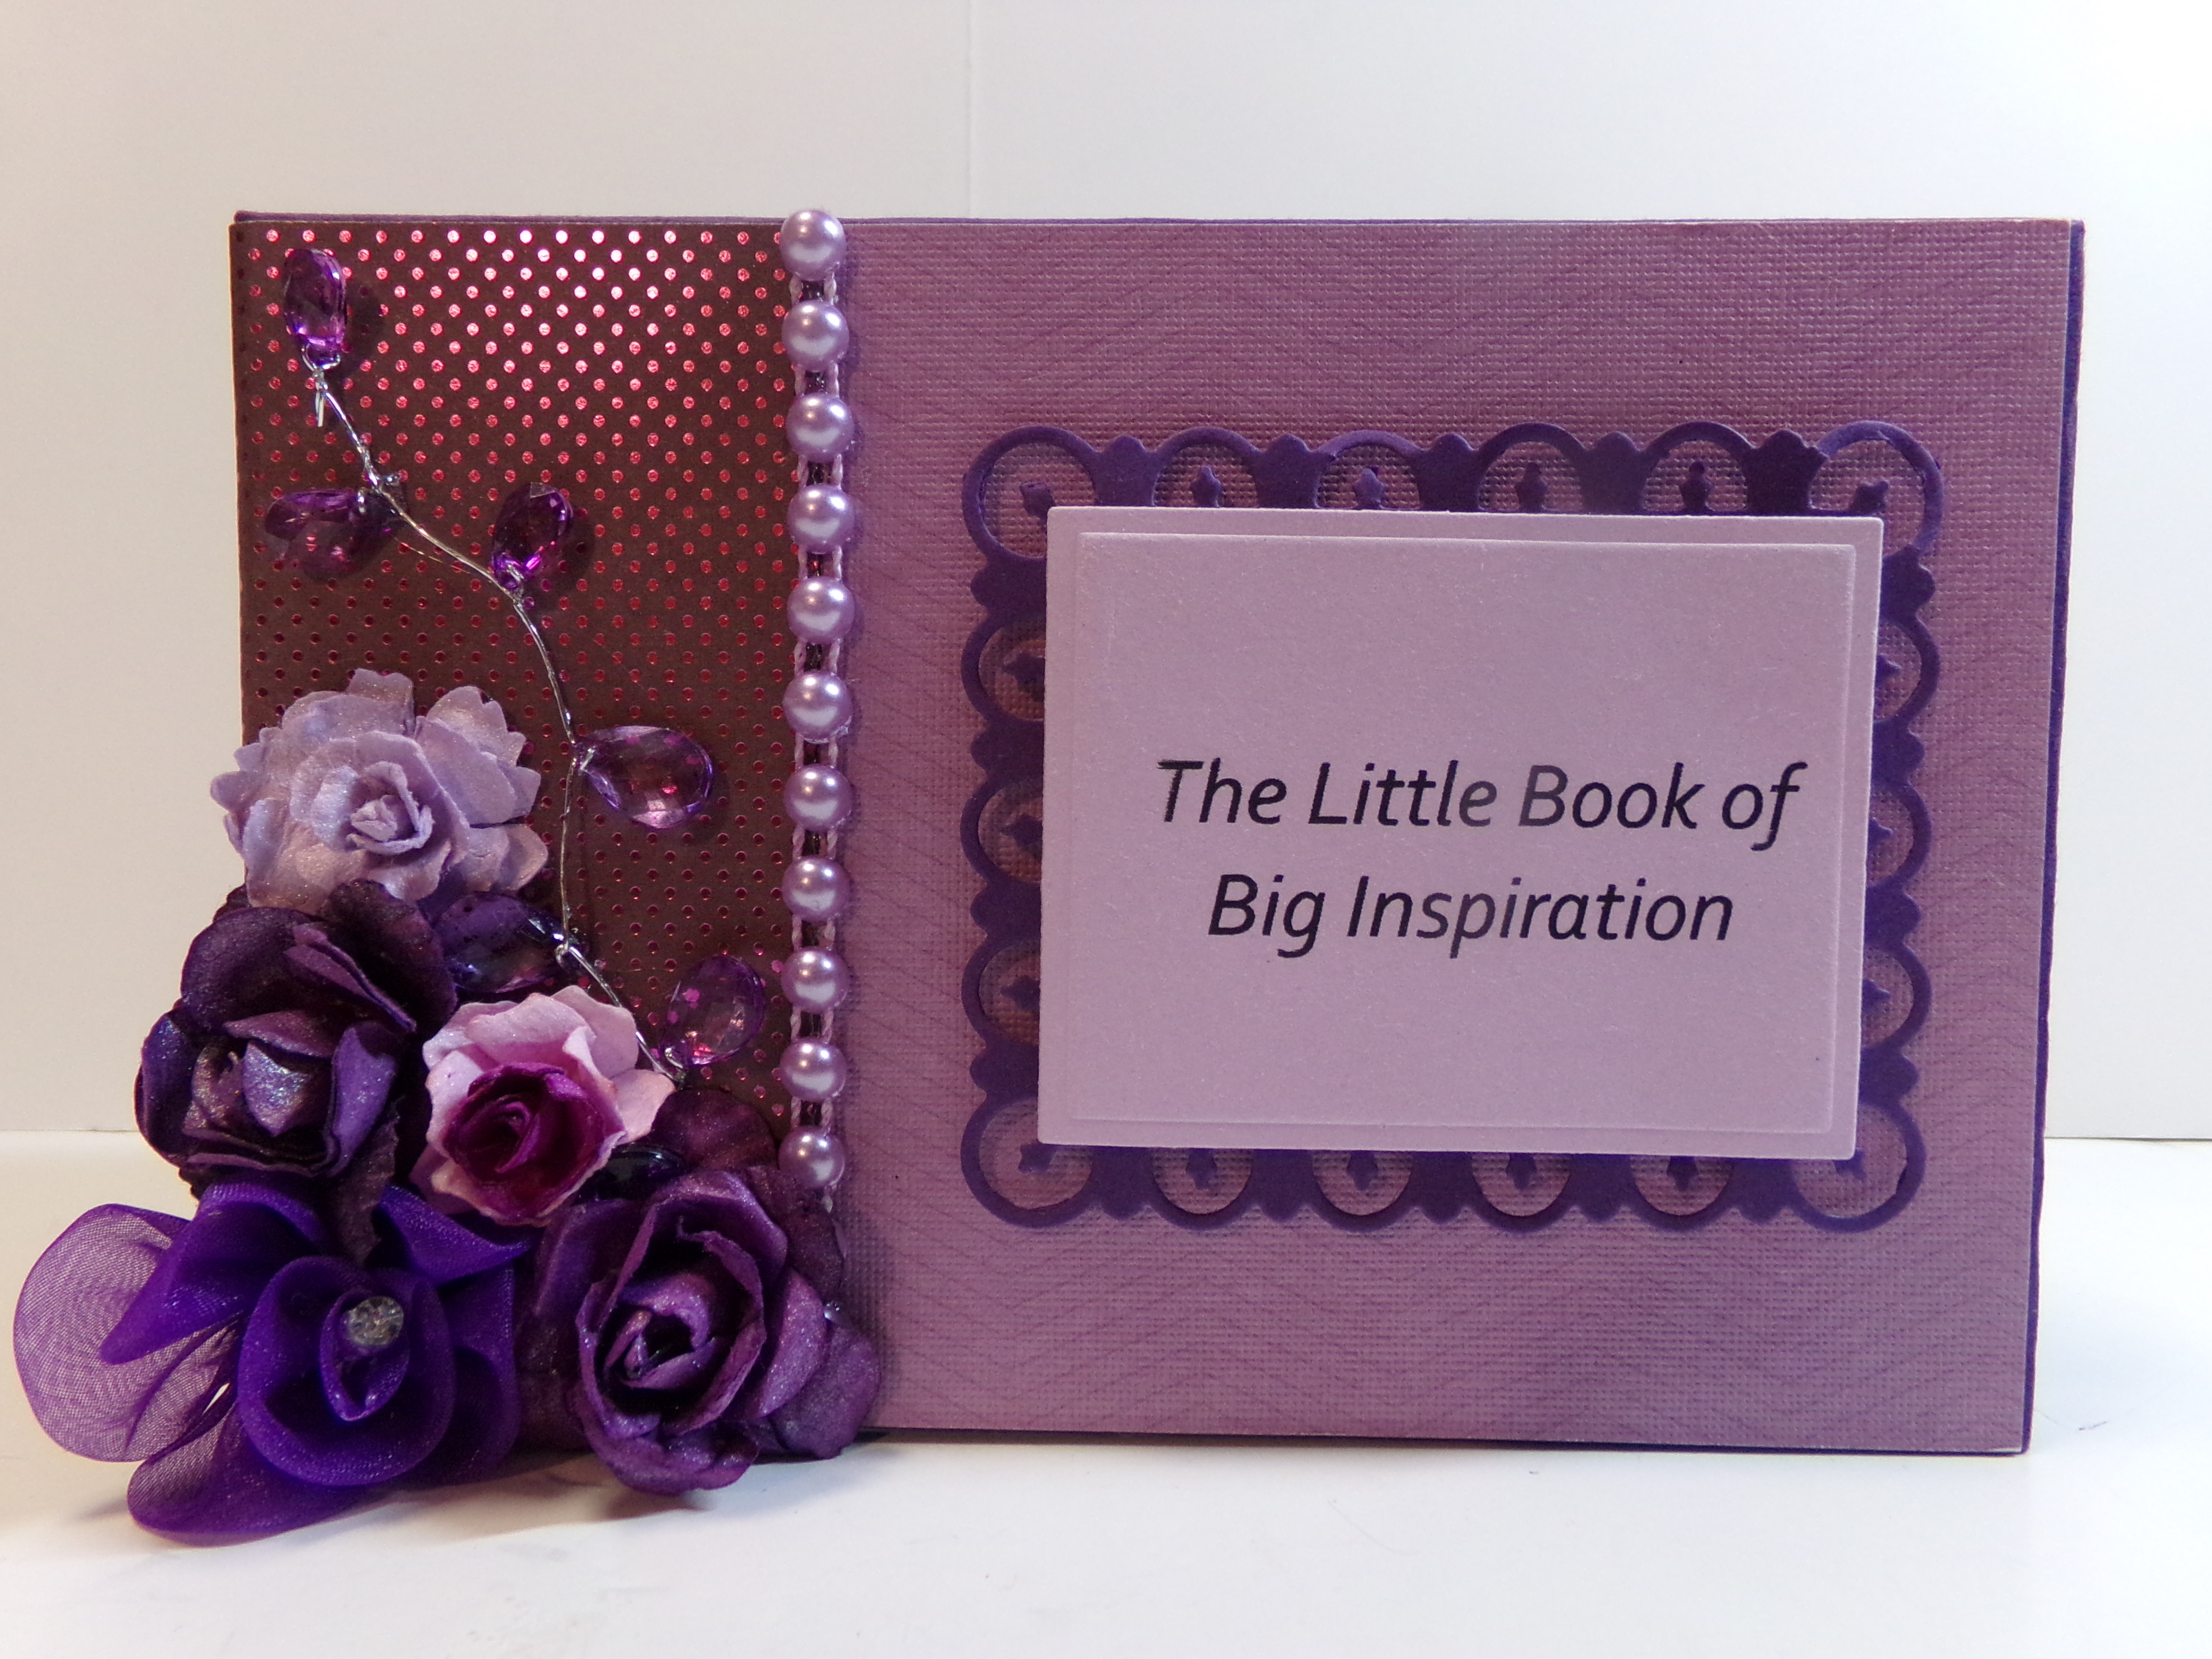
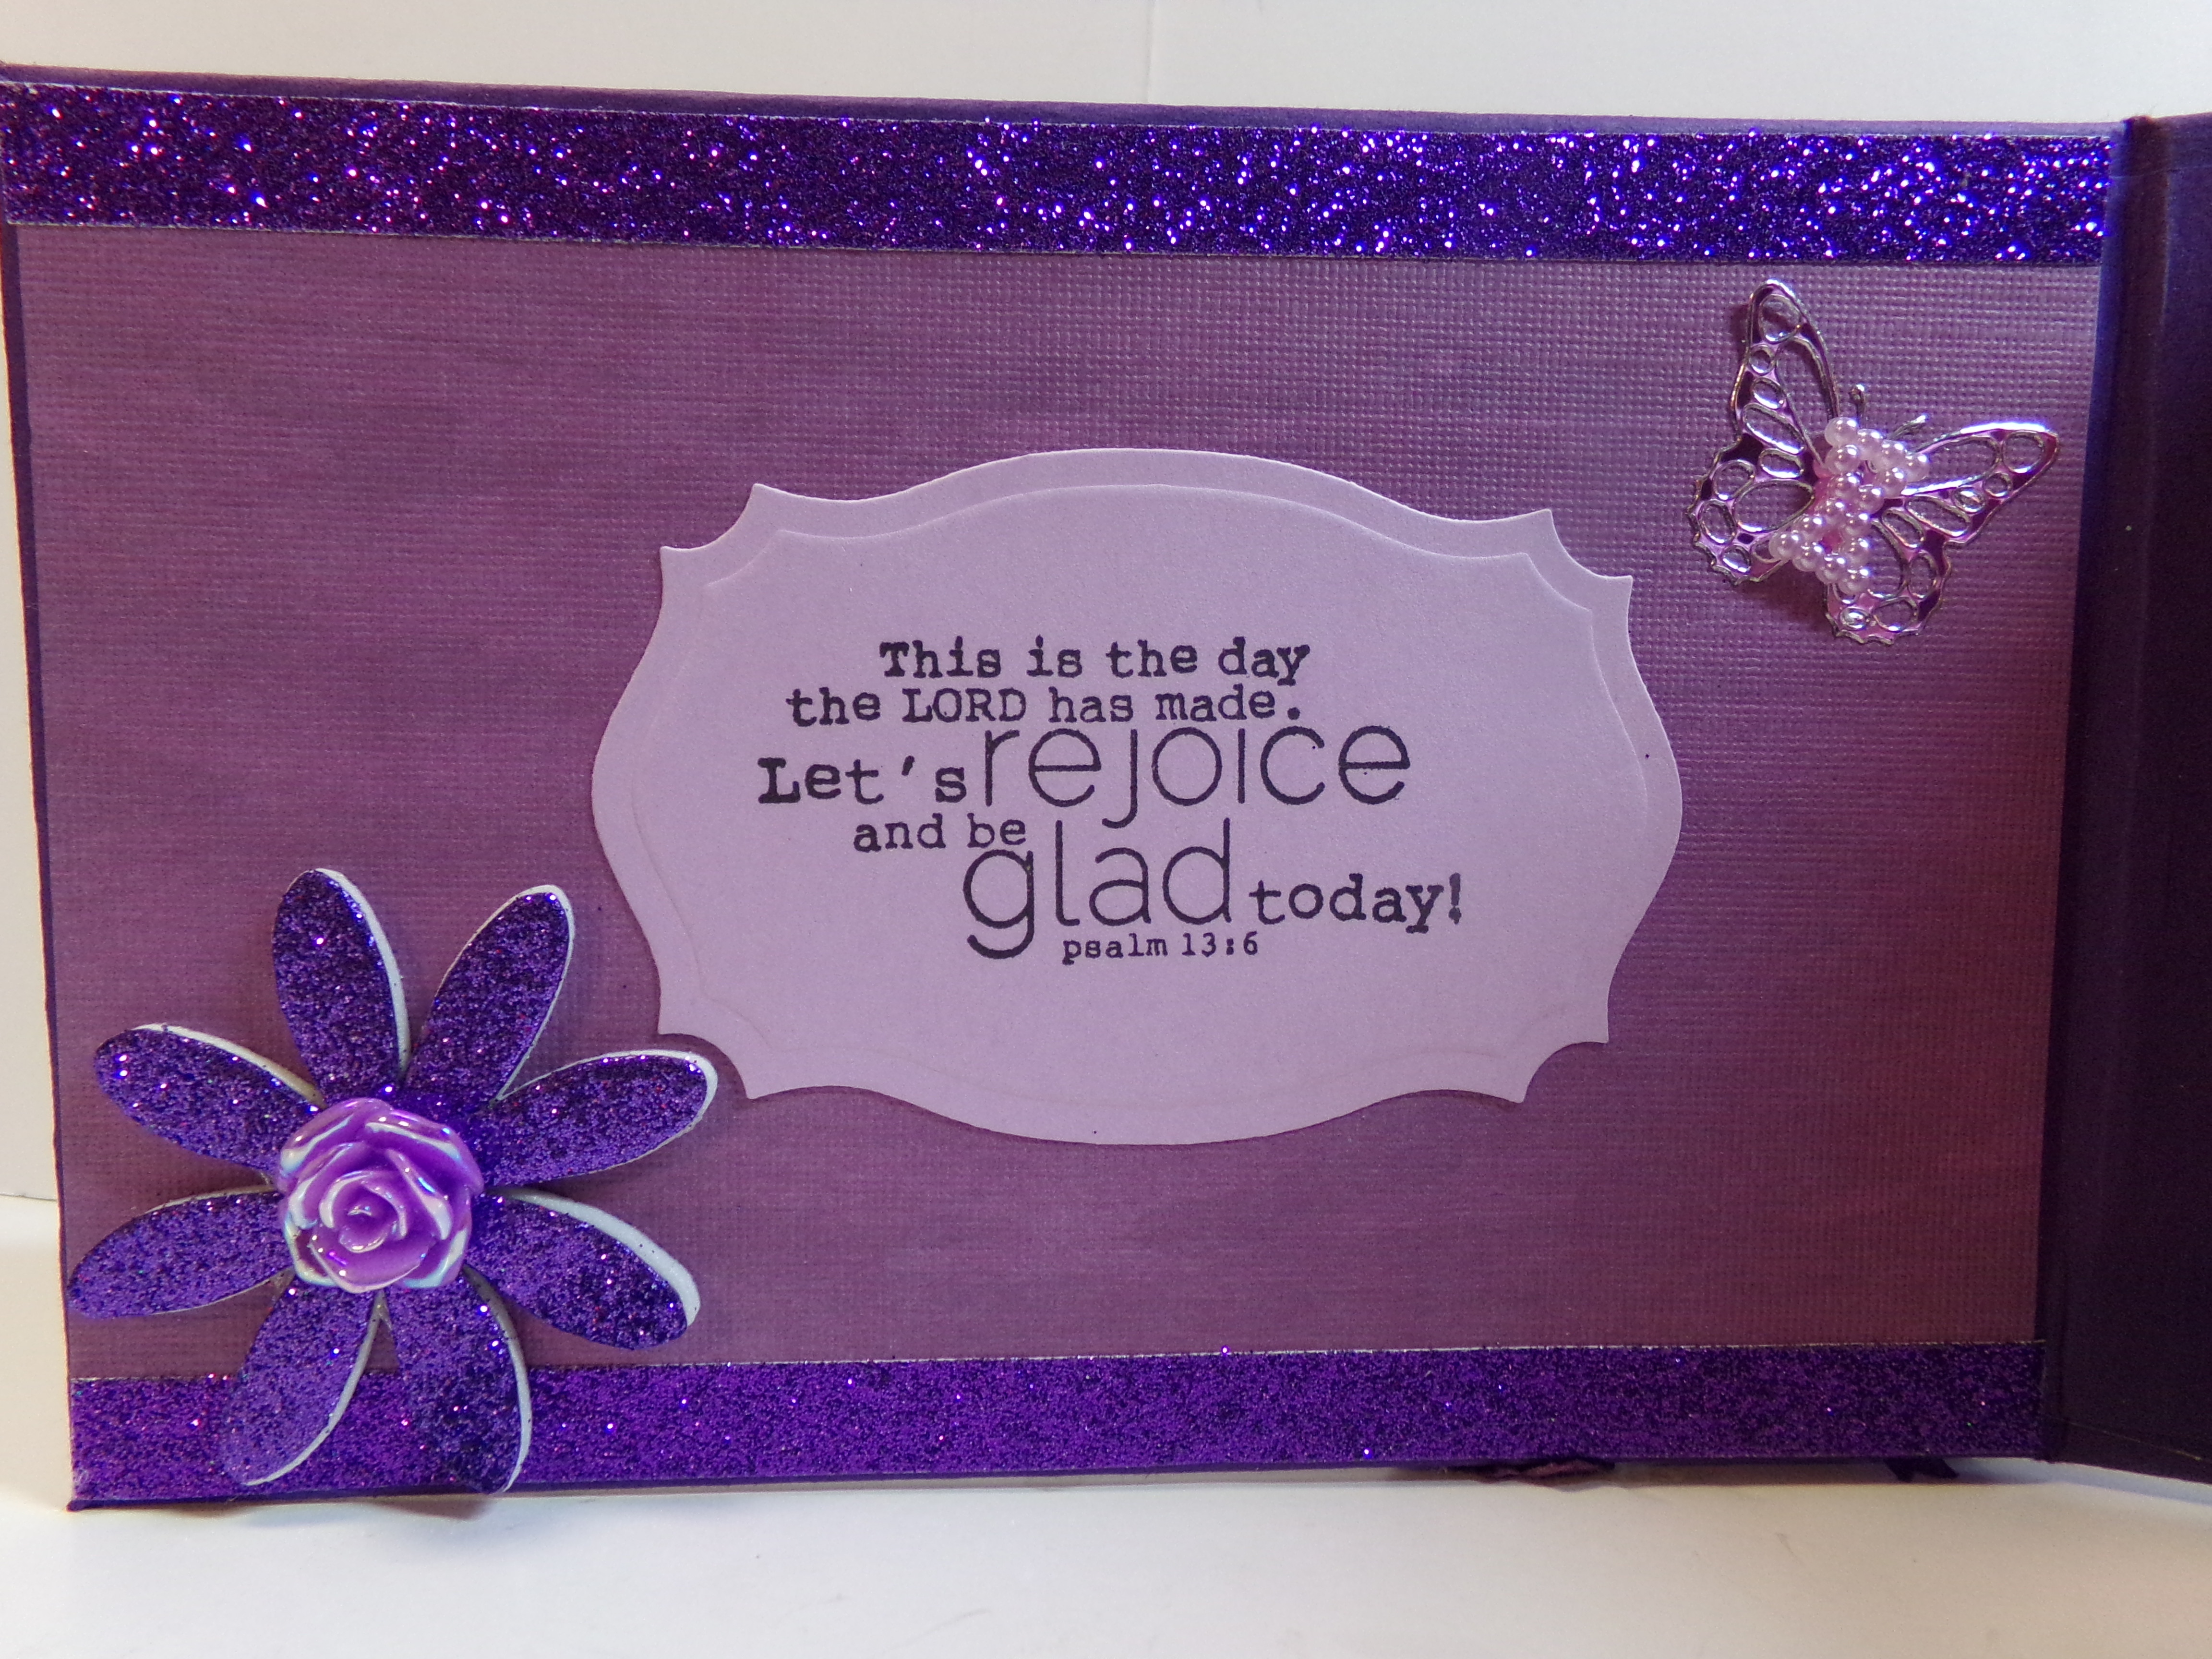
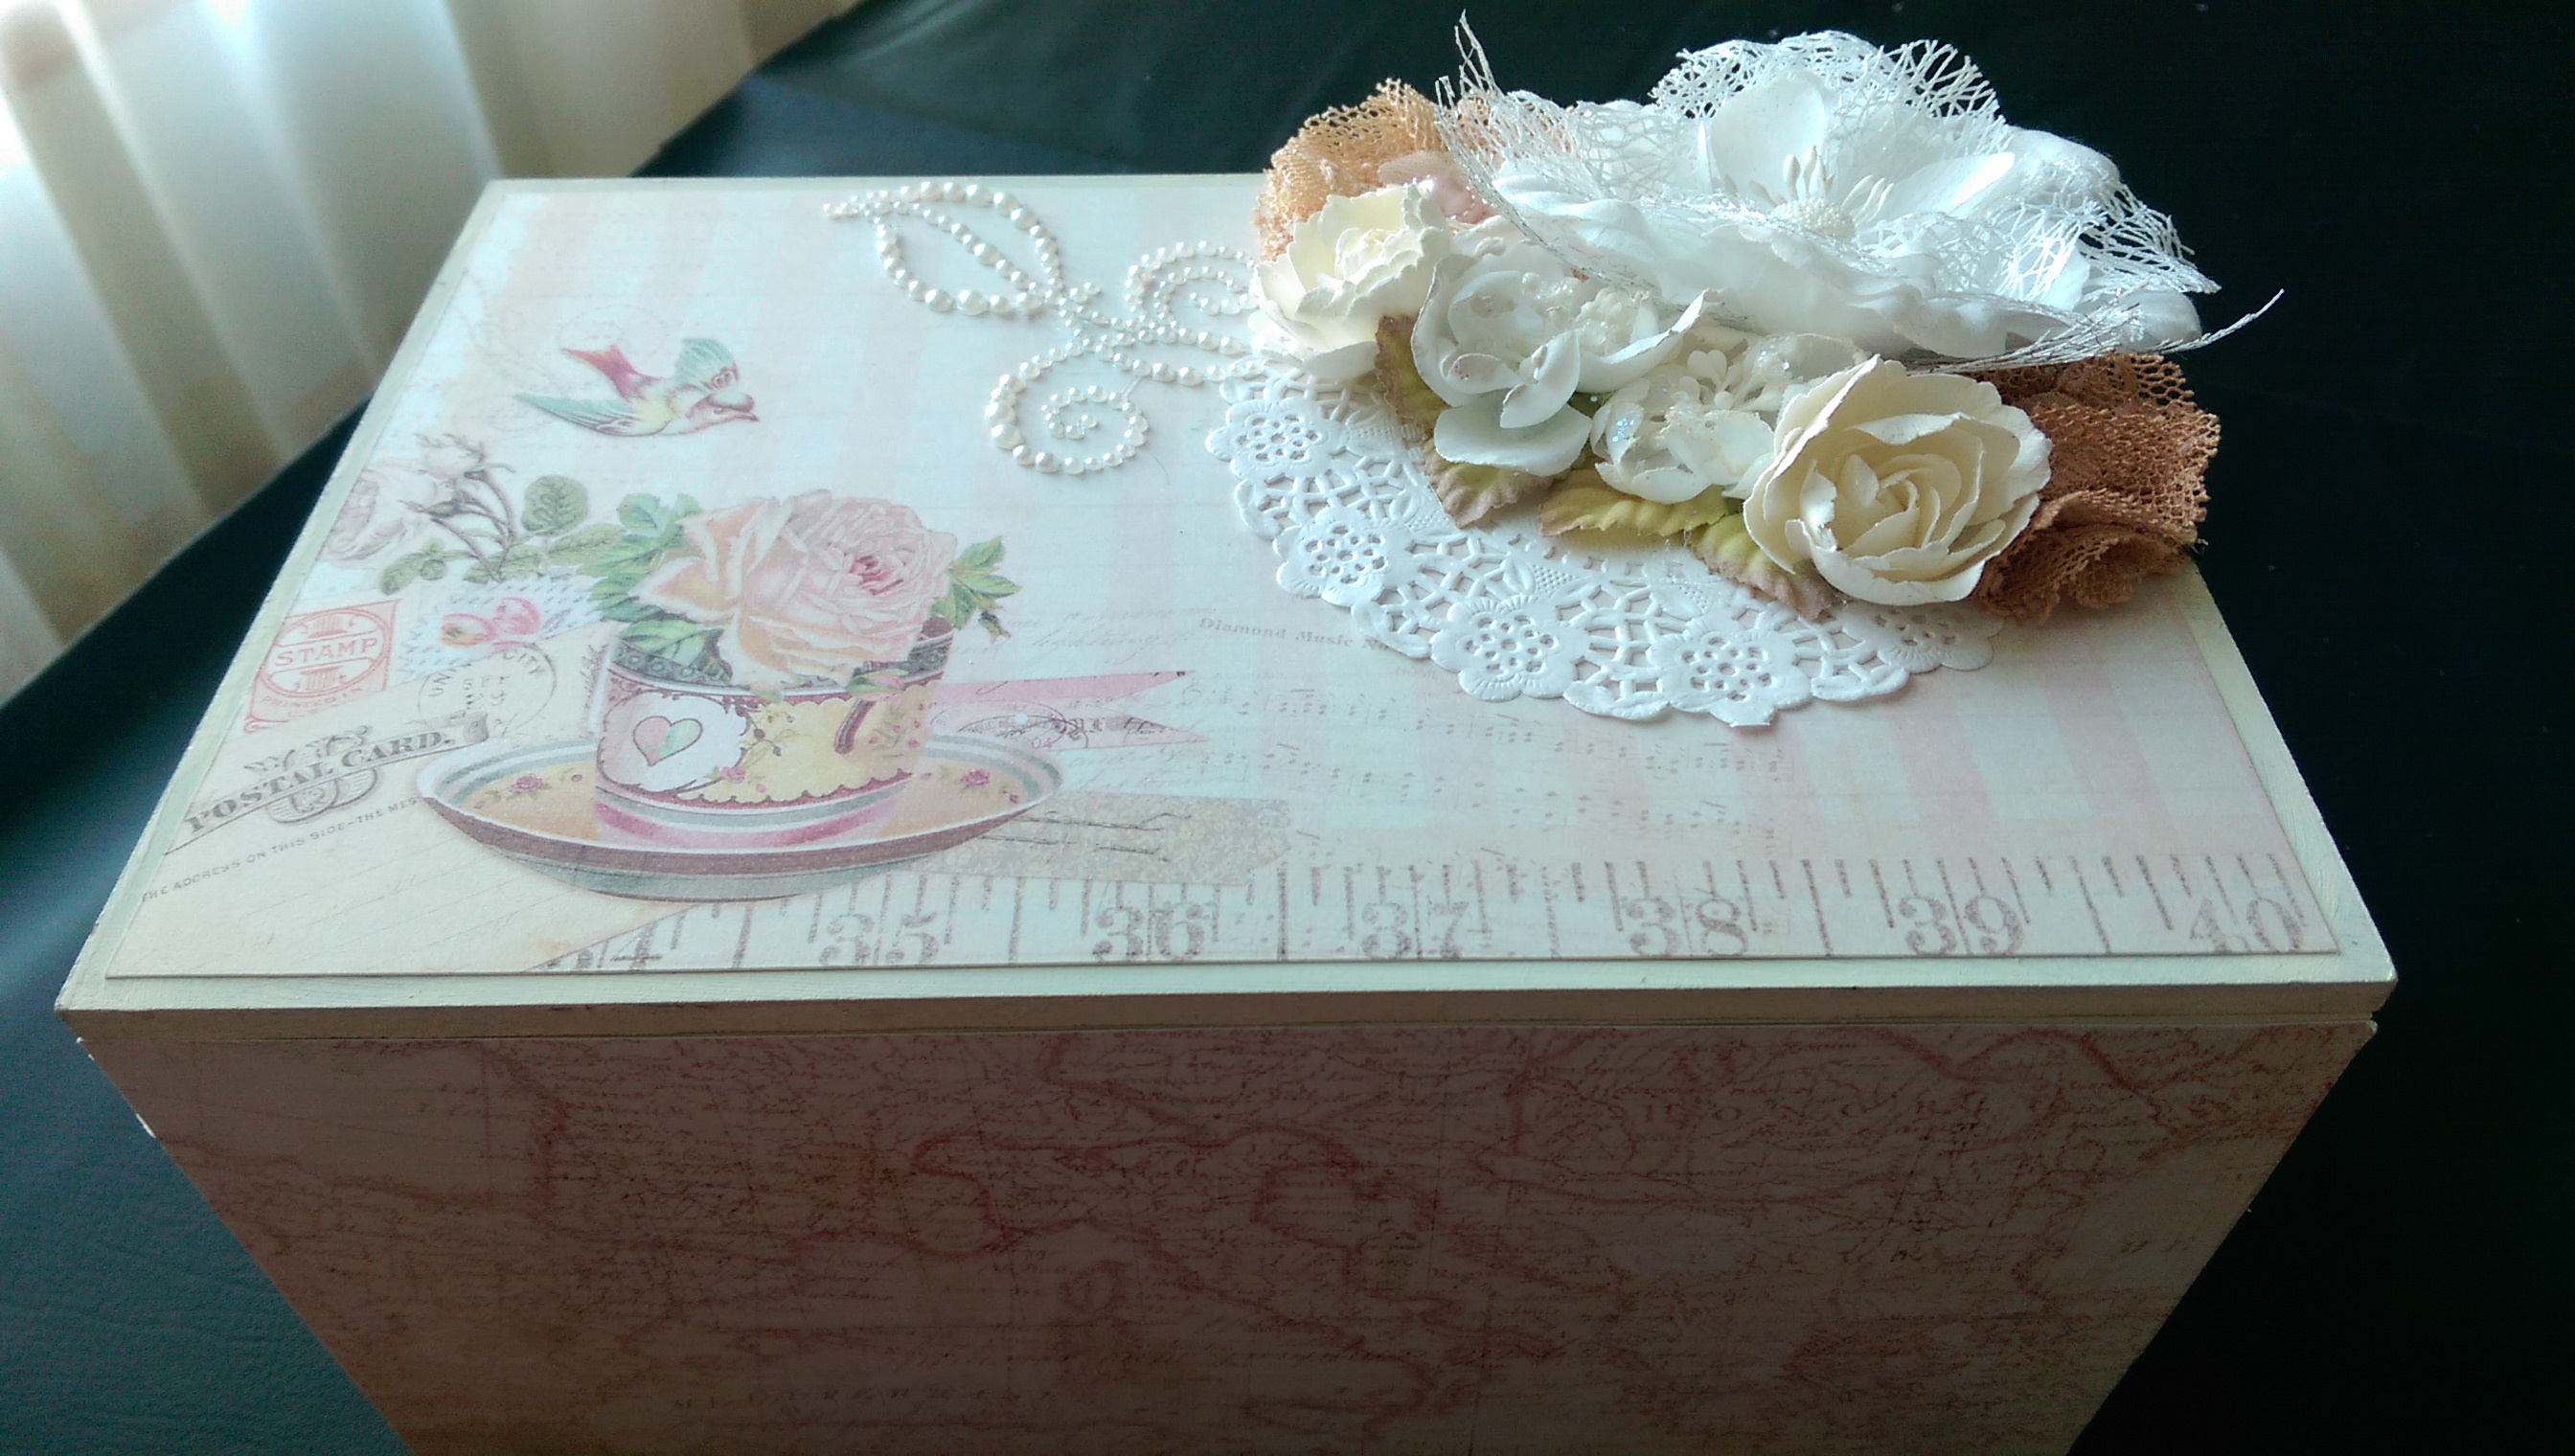
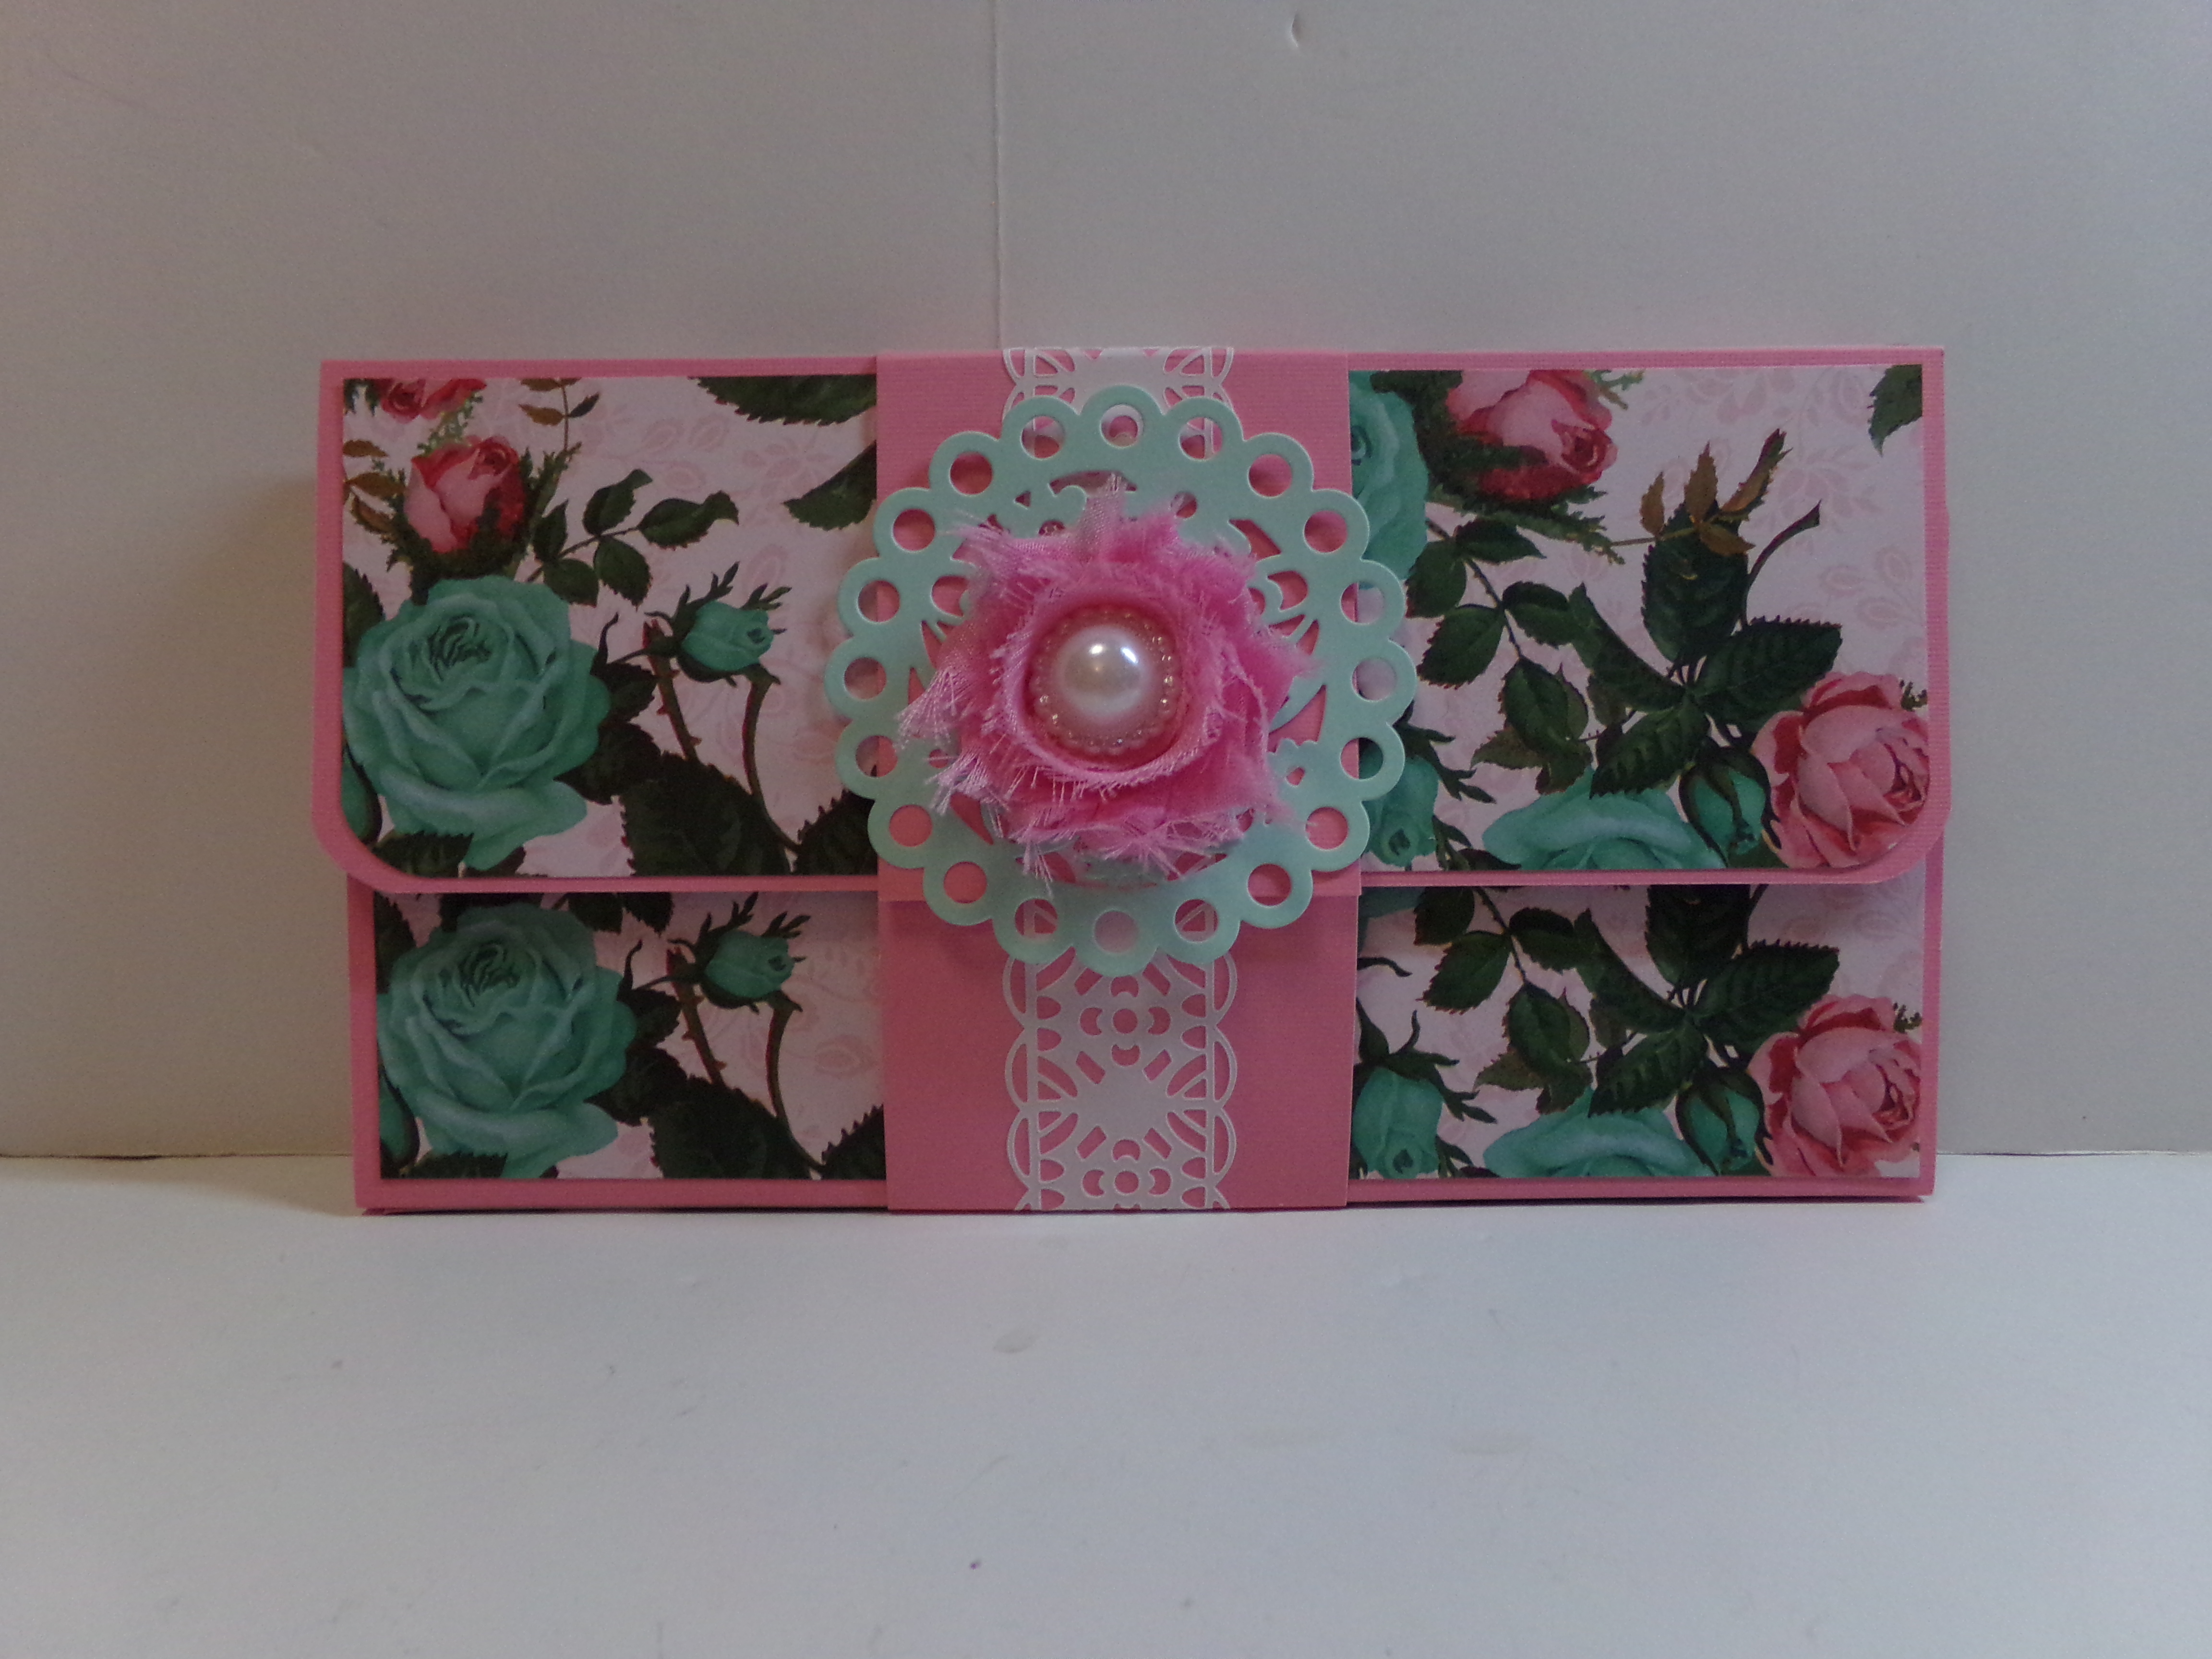
I entered a challenge on YouTube held by Christy, who is twins4me2. She had you watch a Wallet Mini Album Tutorial by Mariescrapbooking. It is an easy mini to make and is great for gifts. I think I will make several more for Christmas gifts.
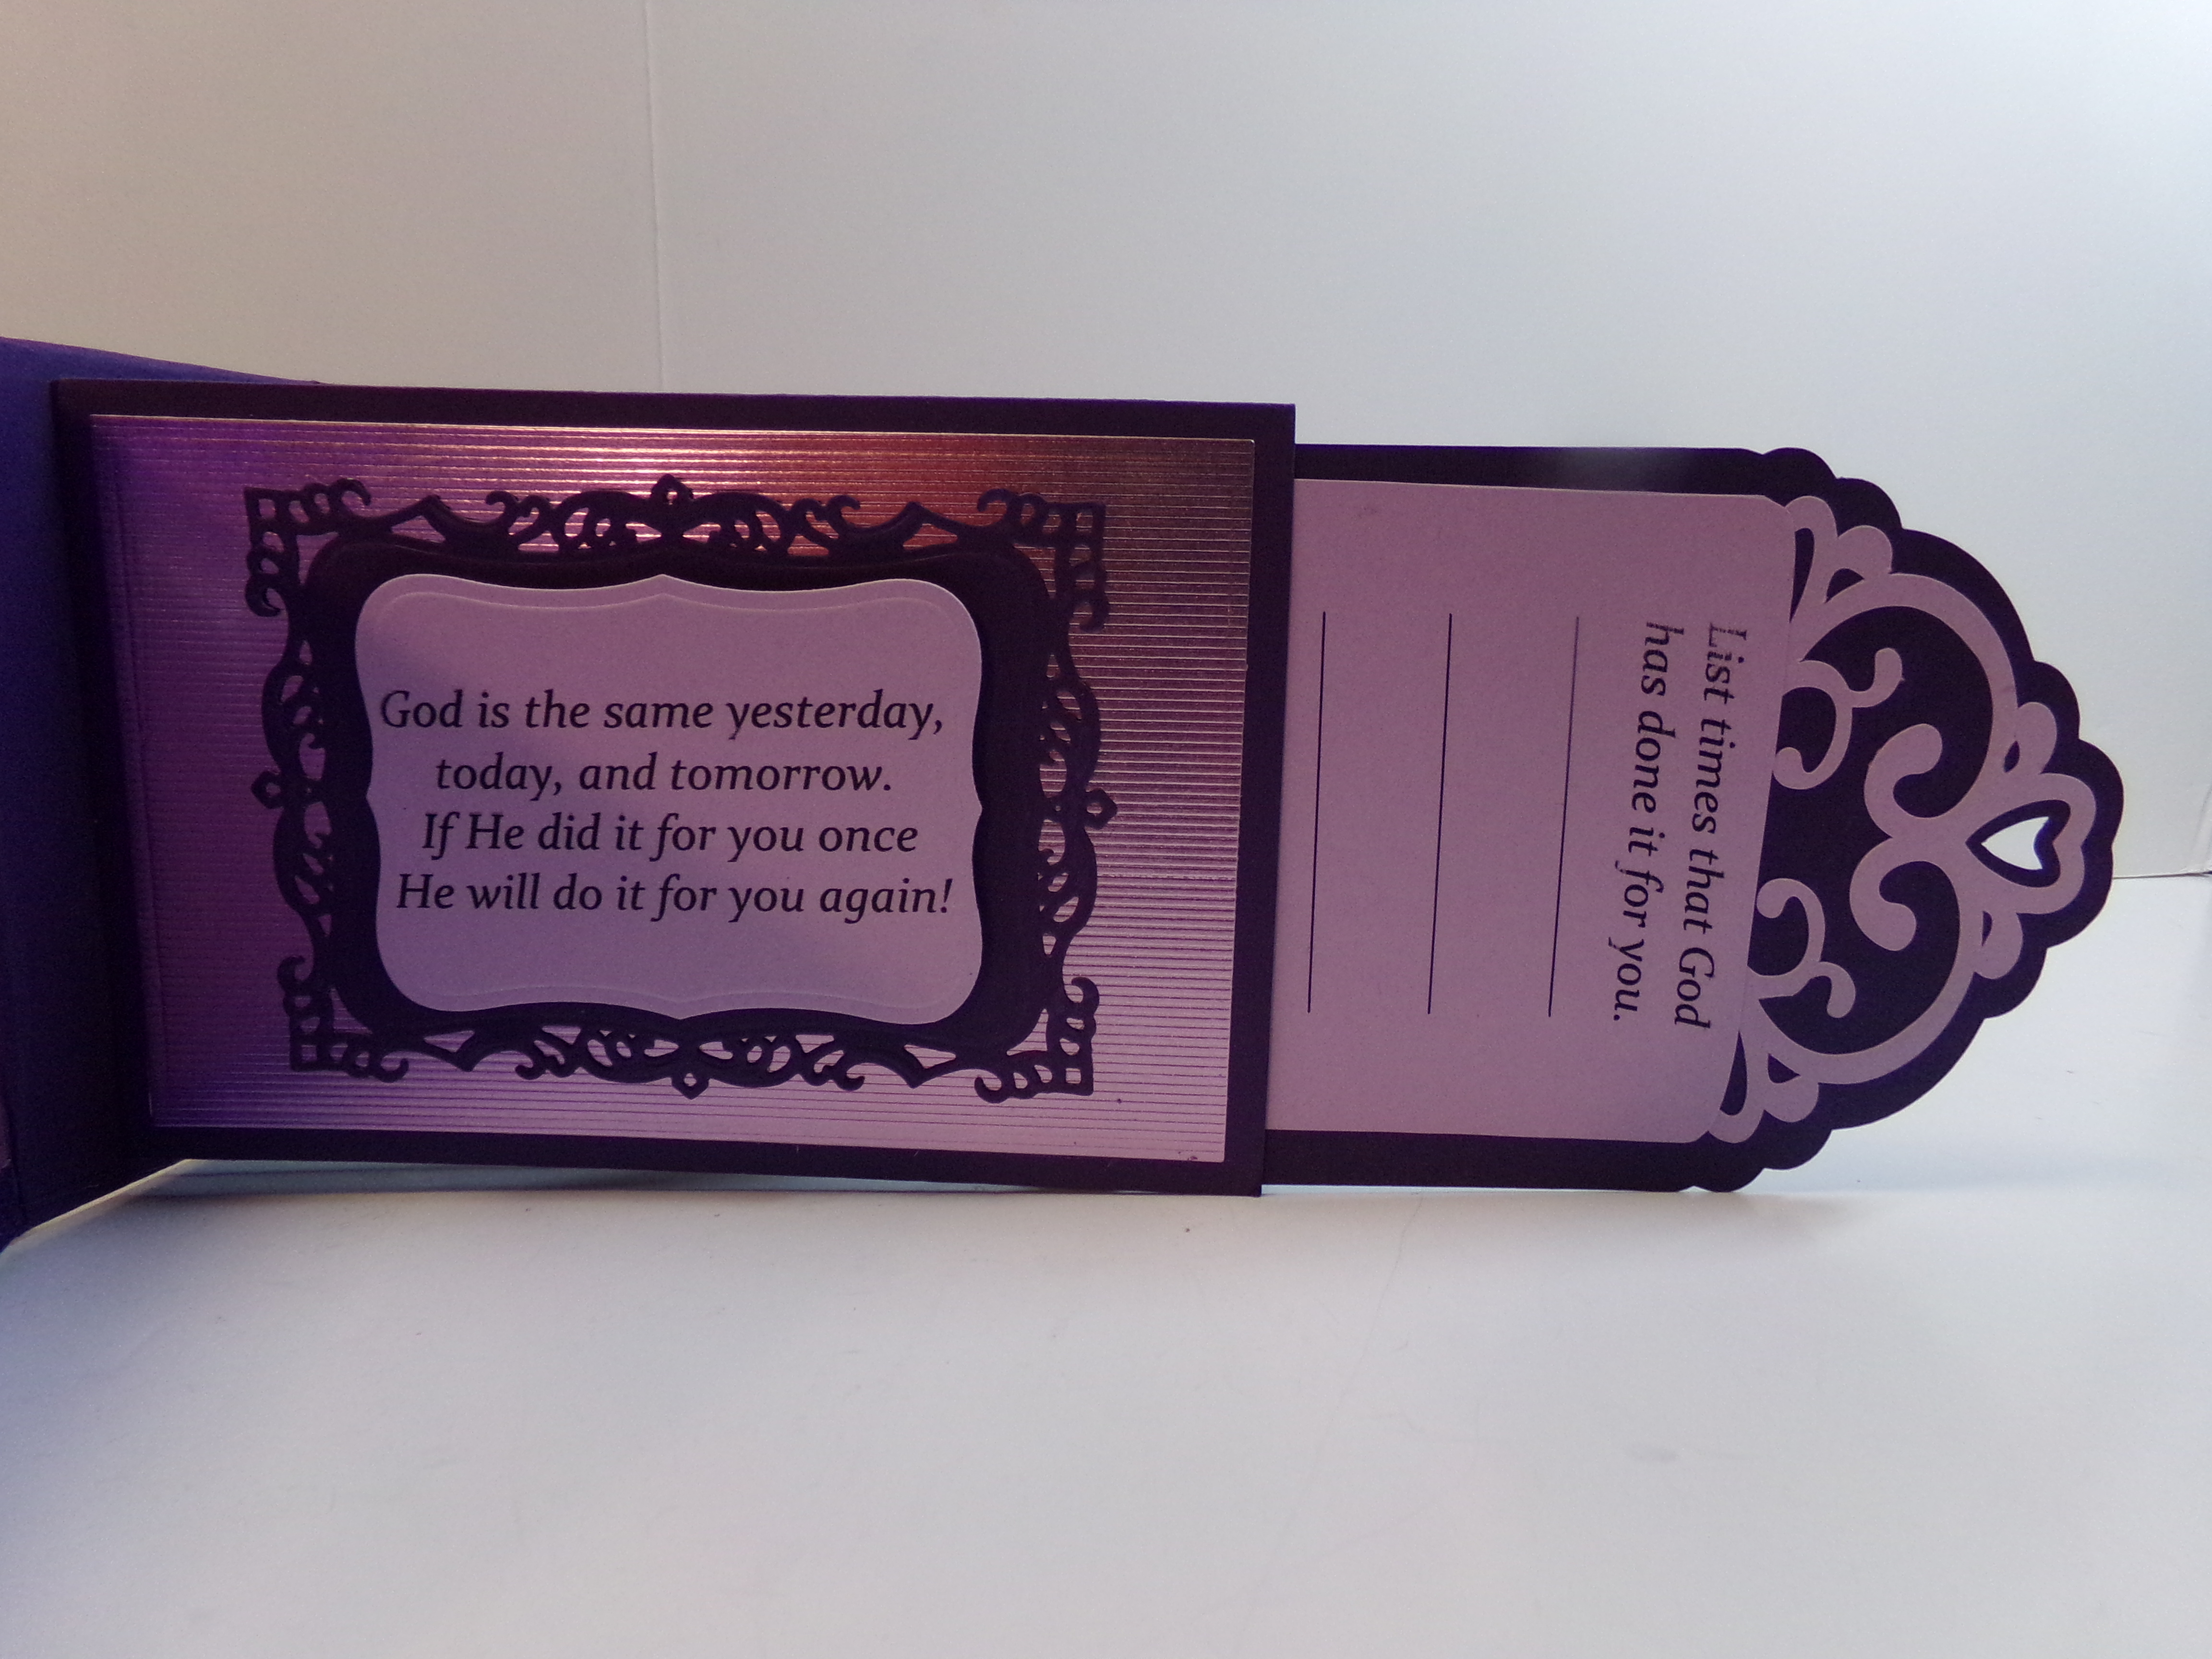
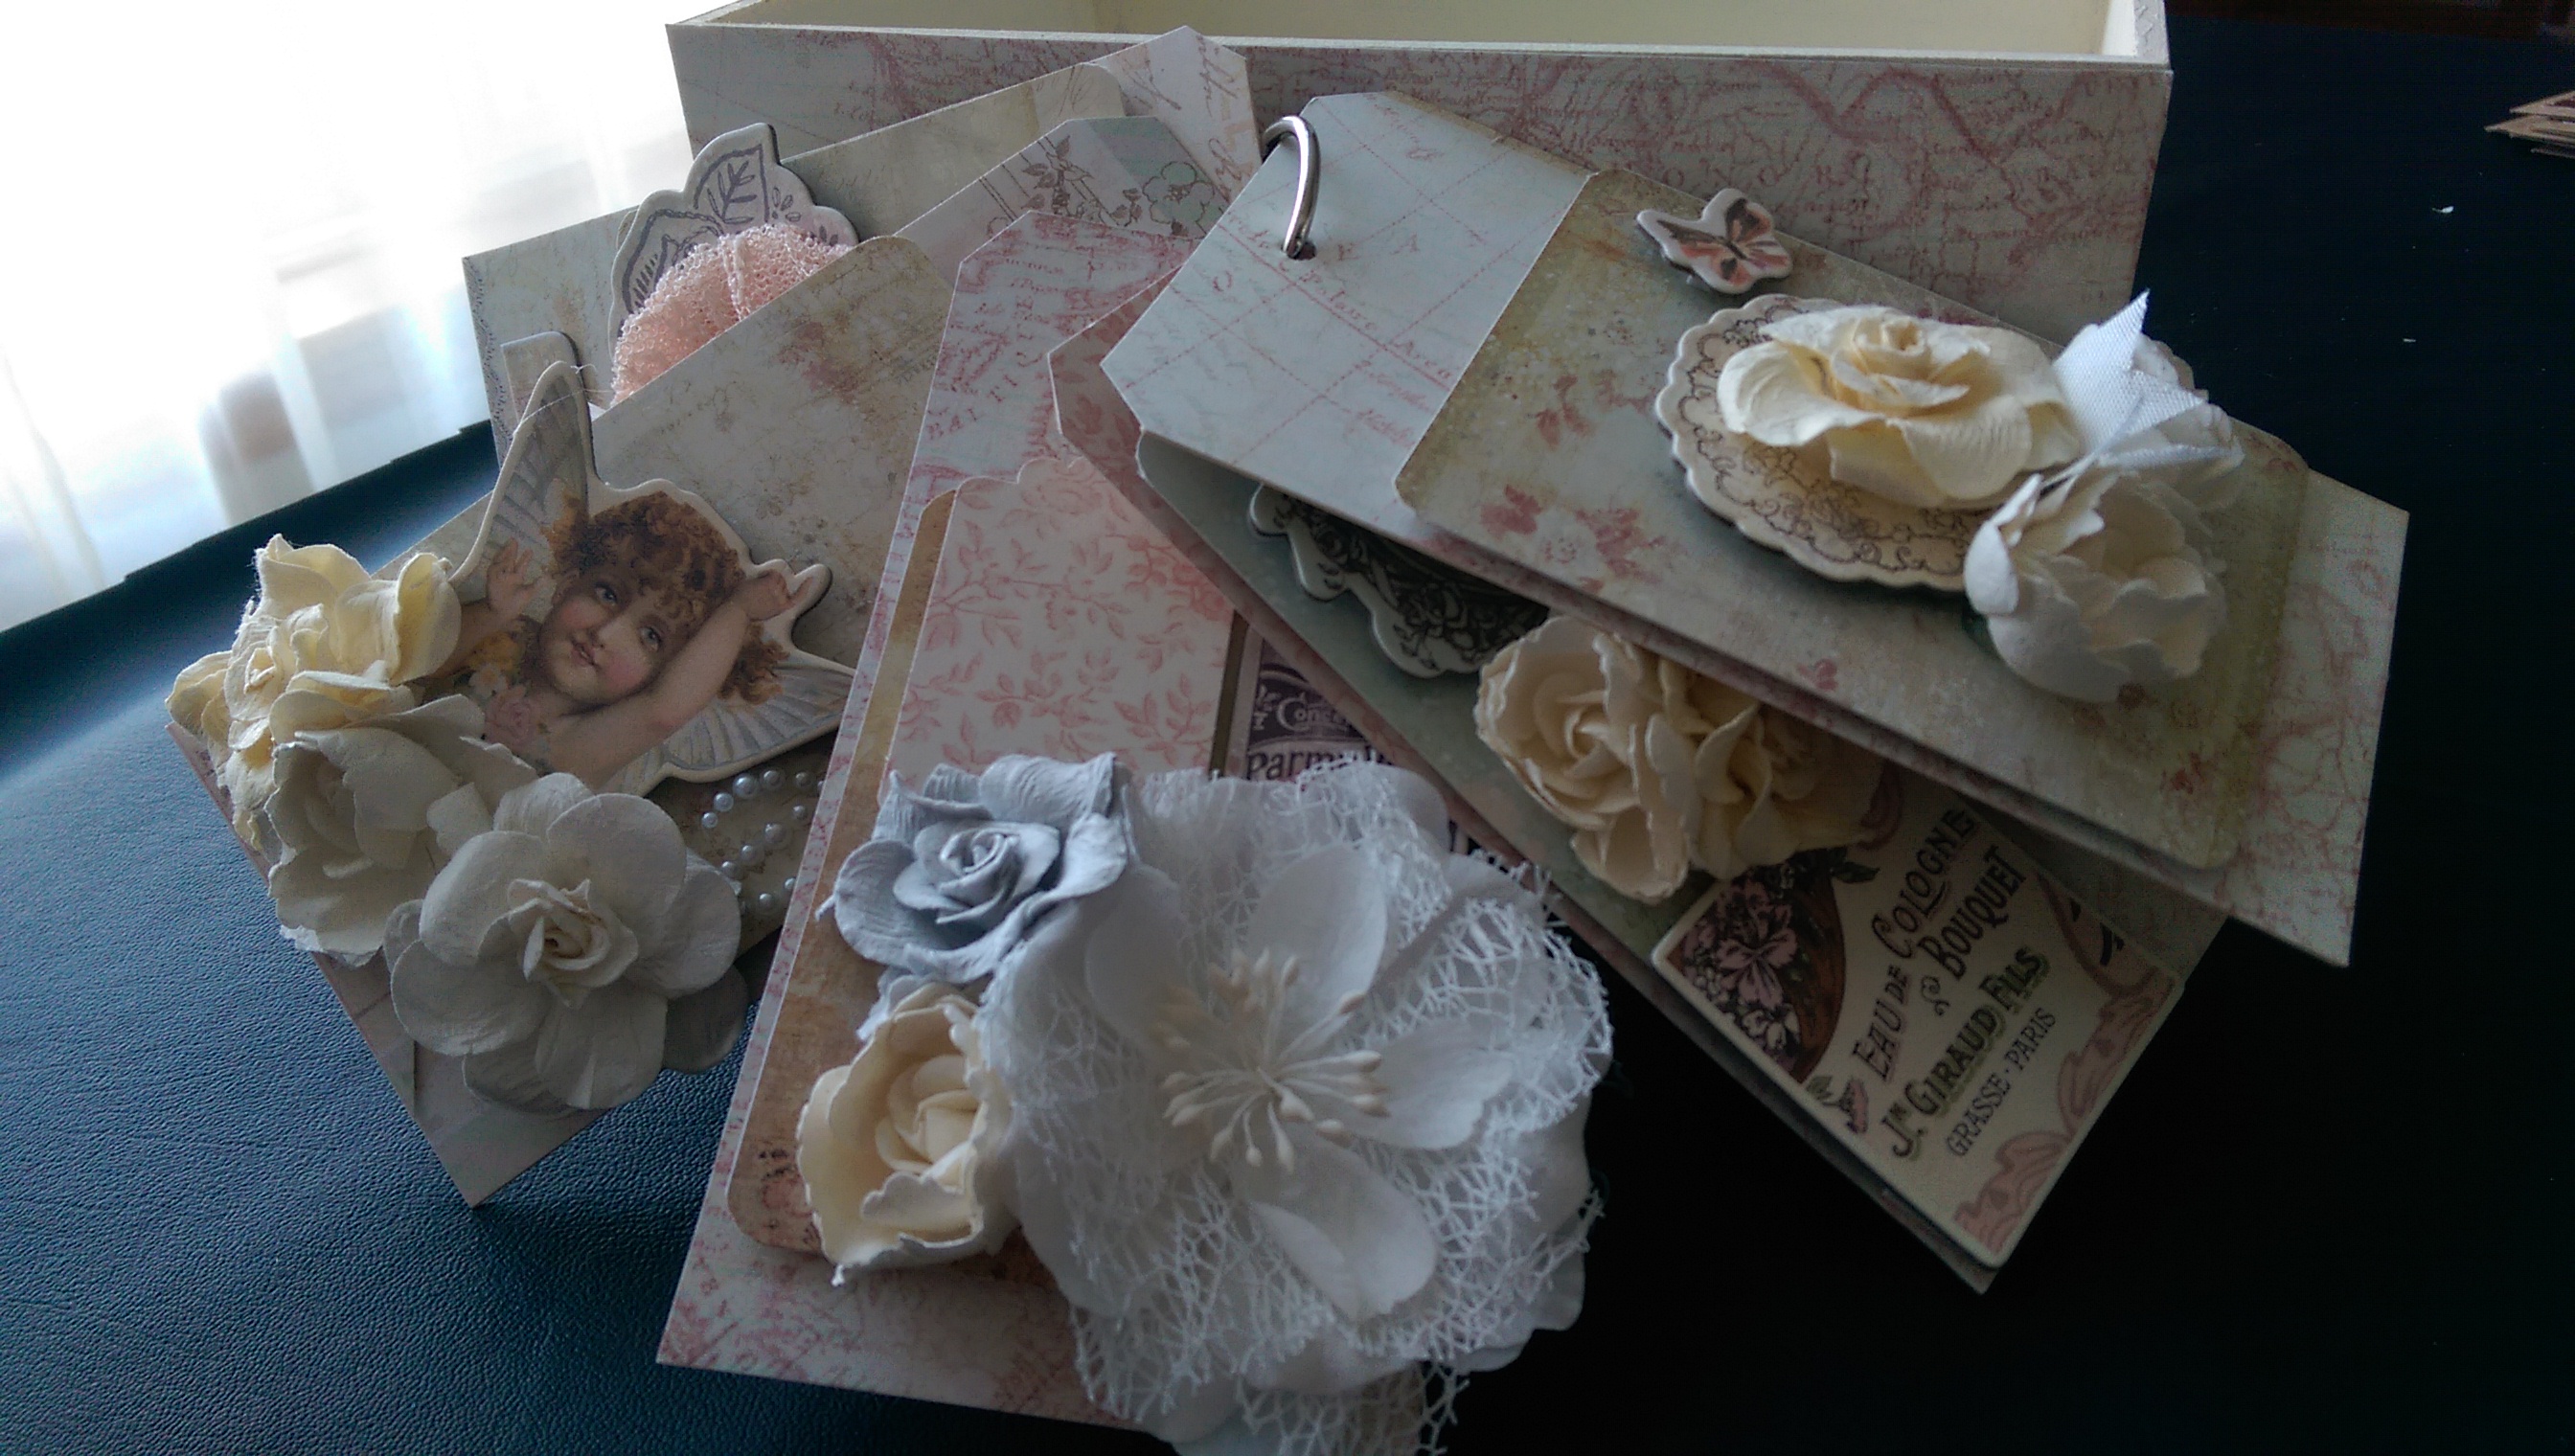
There are three pocket flaps on the inside, each made with envelopes.
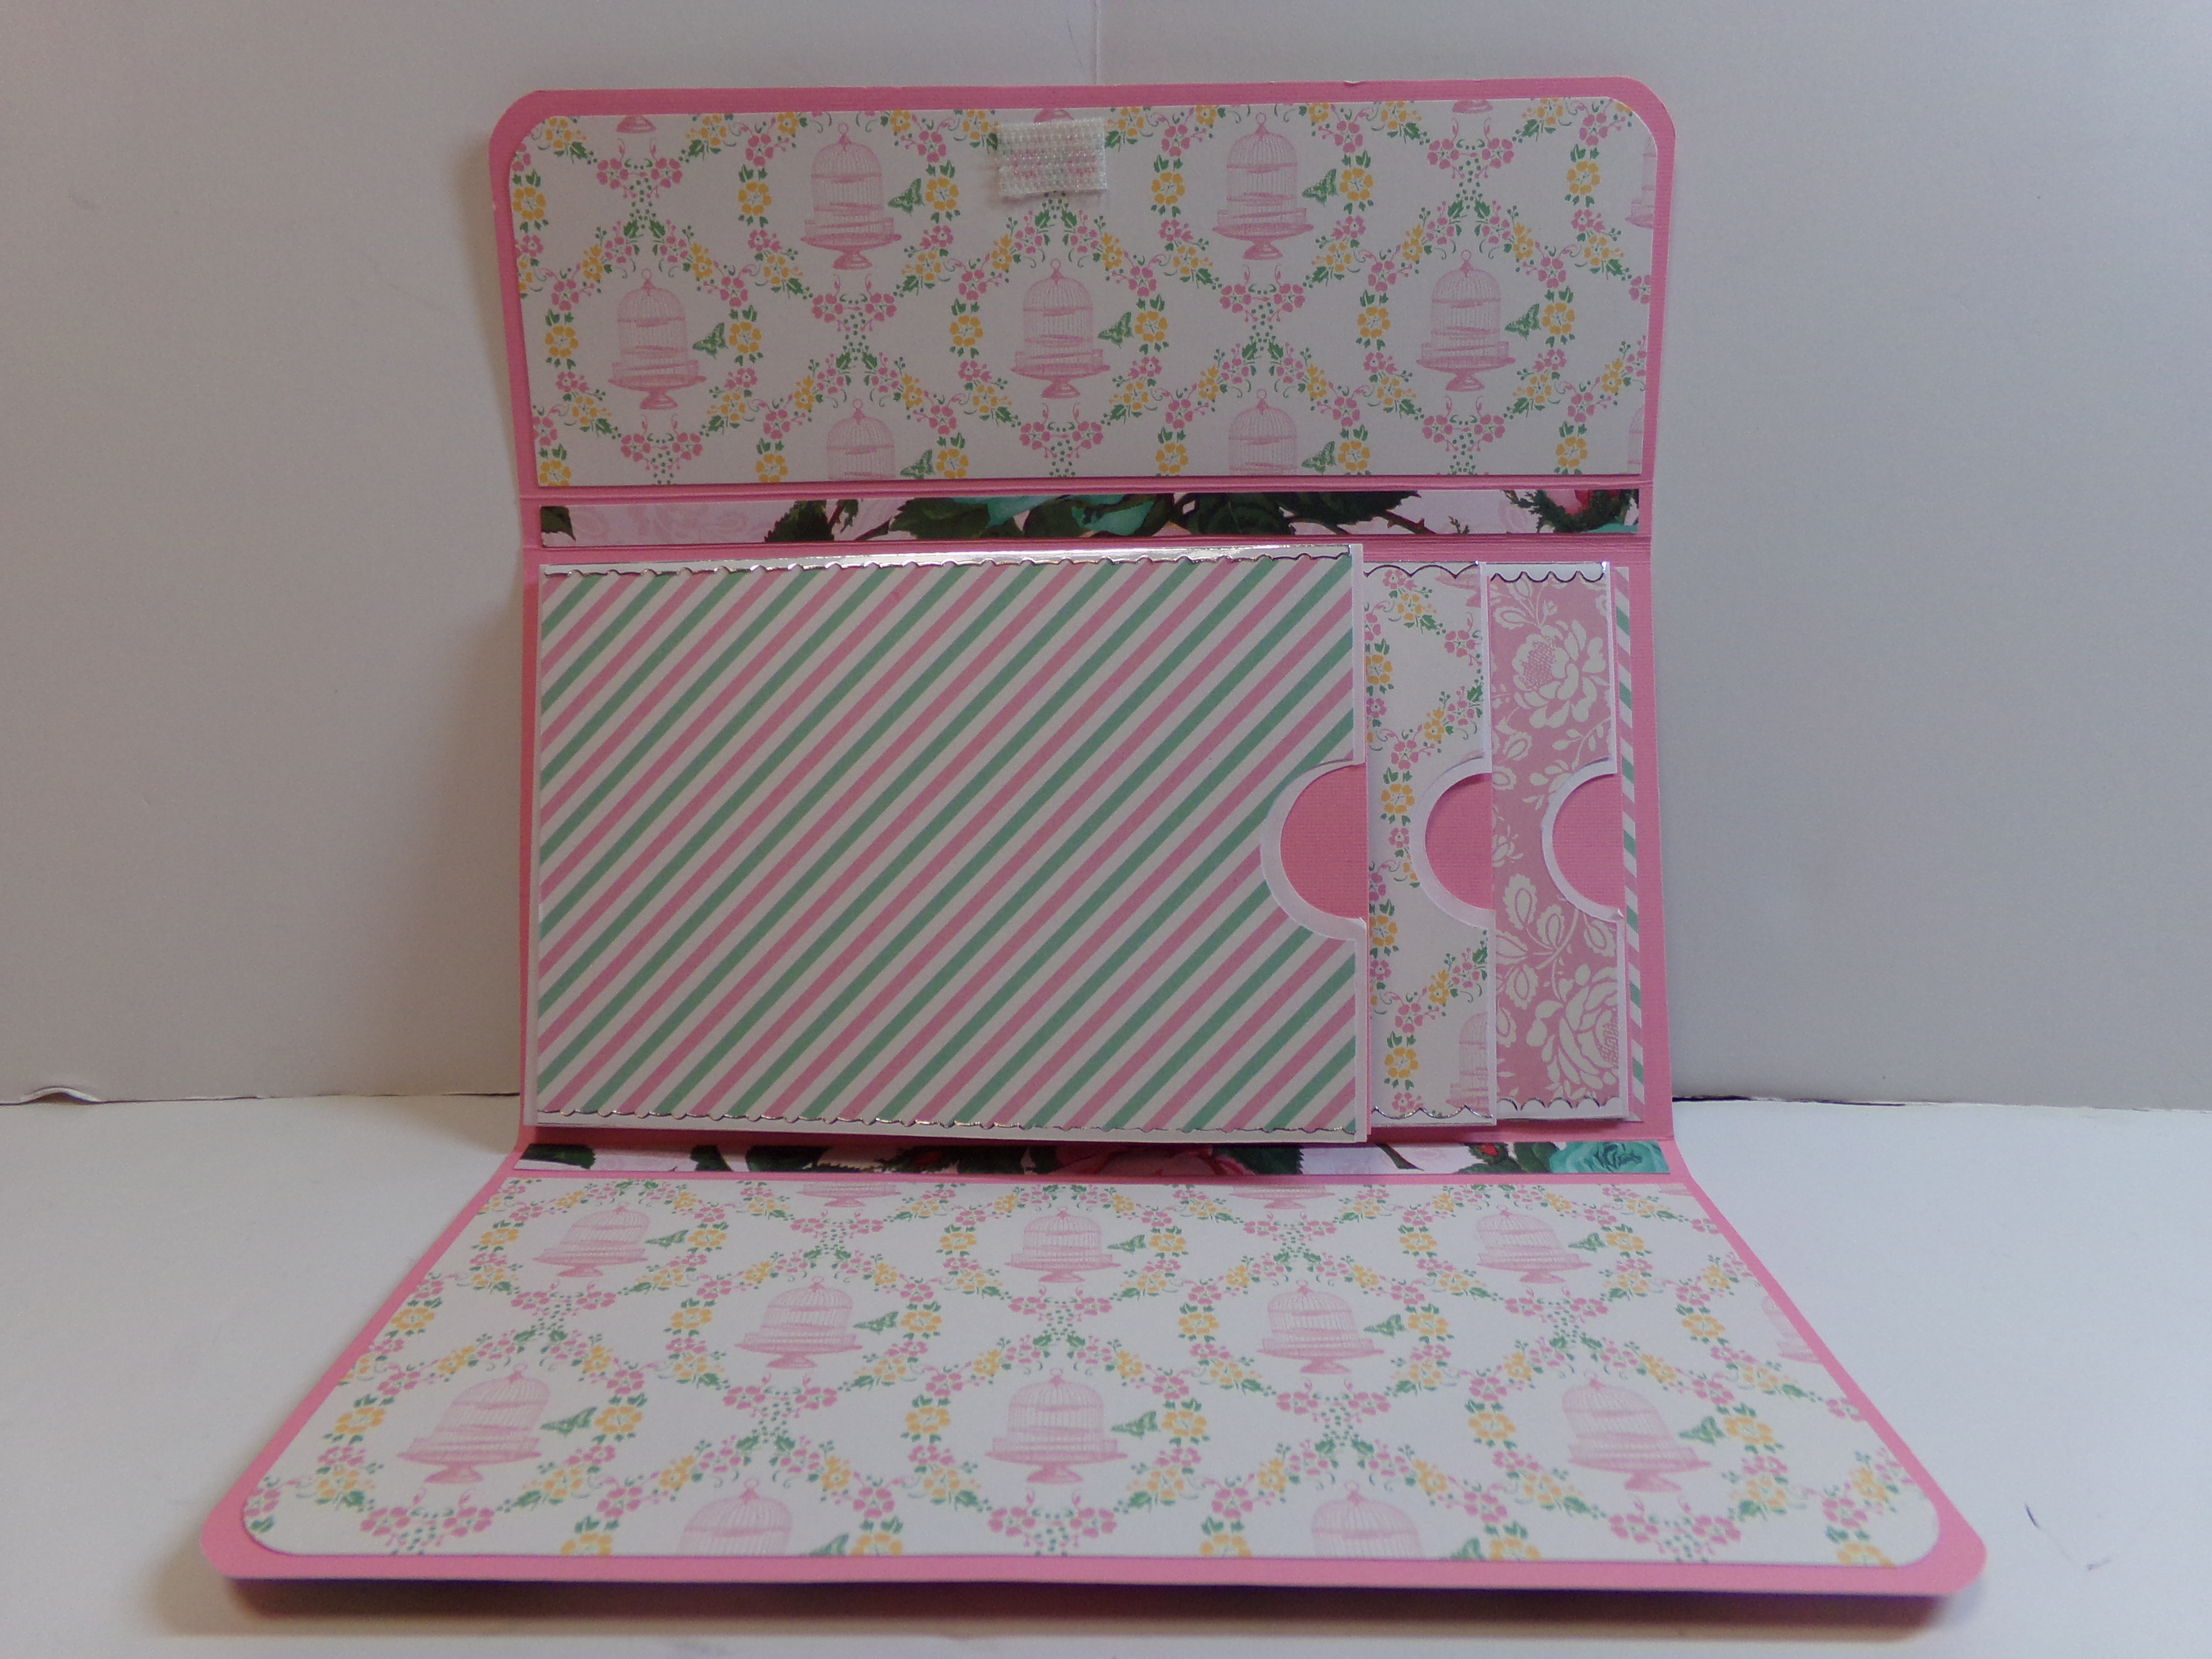
There are three flap pockets which are made from #10 envelopes.
Here is a top view with the pockets fanned out.
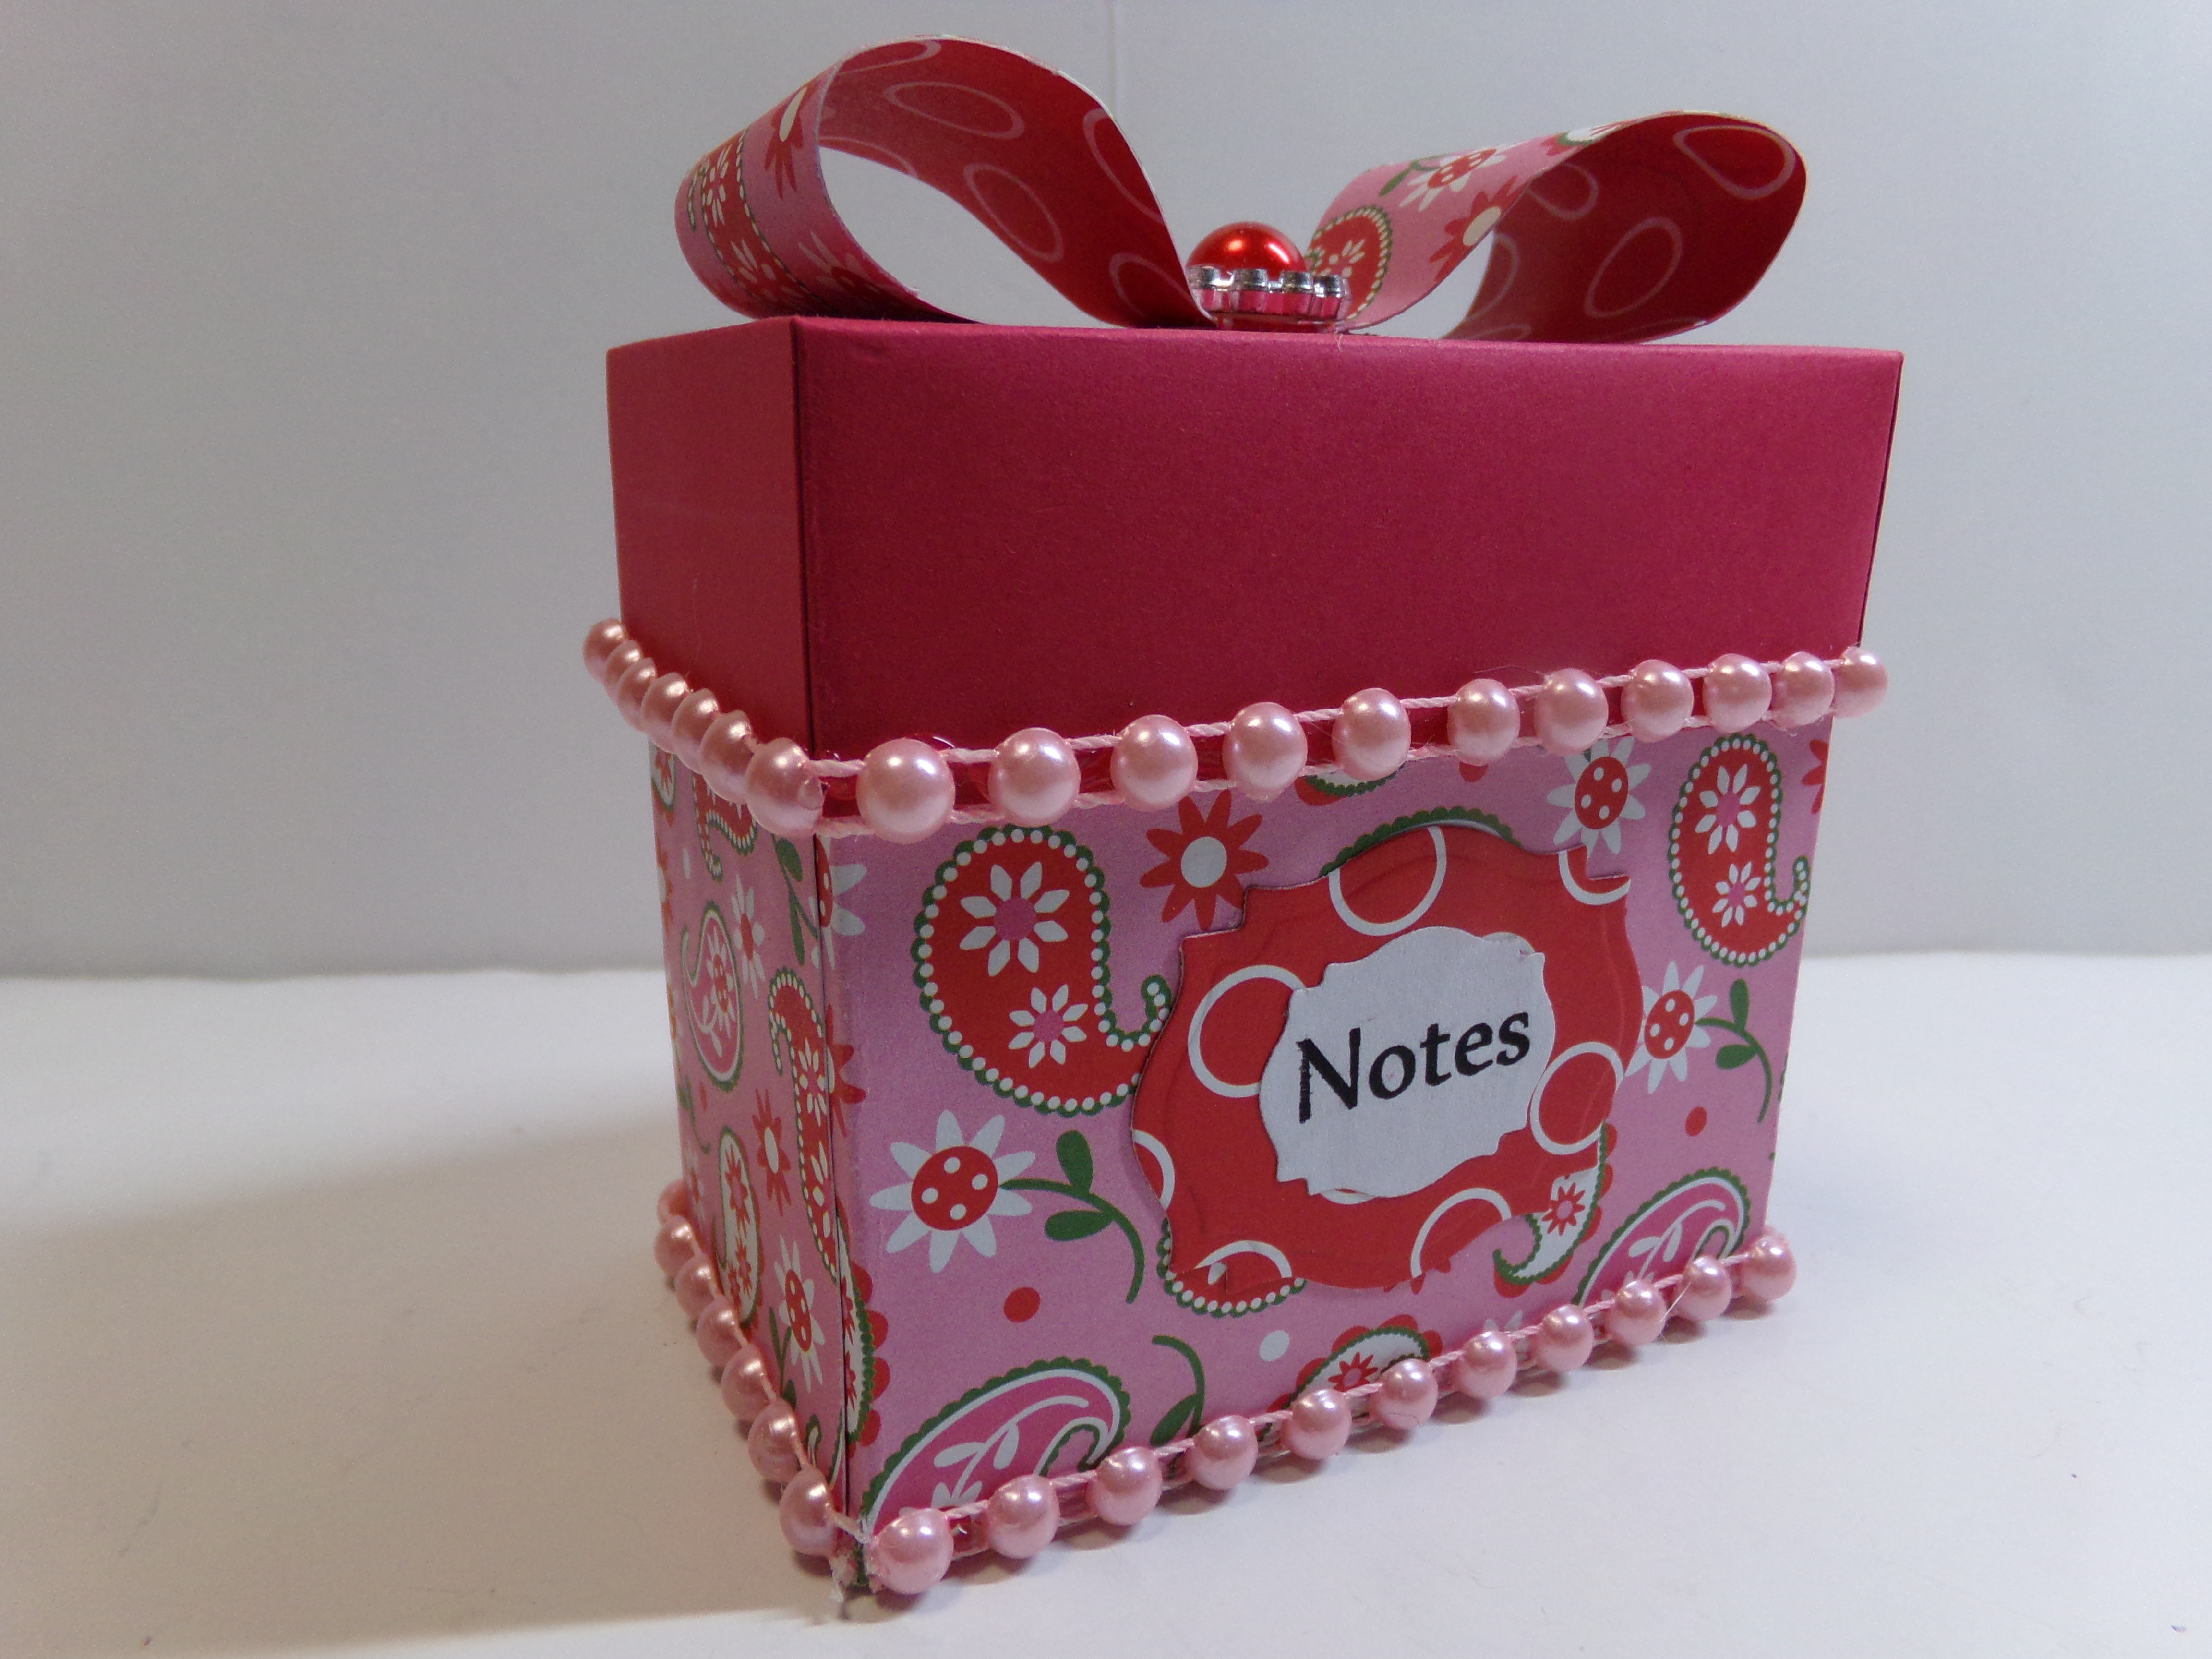
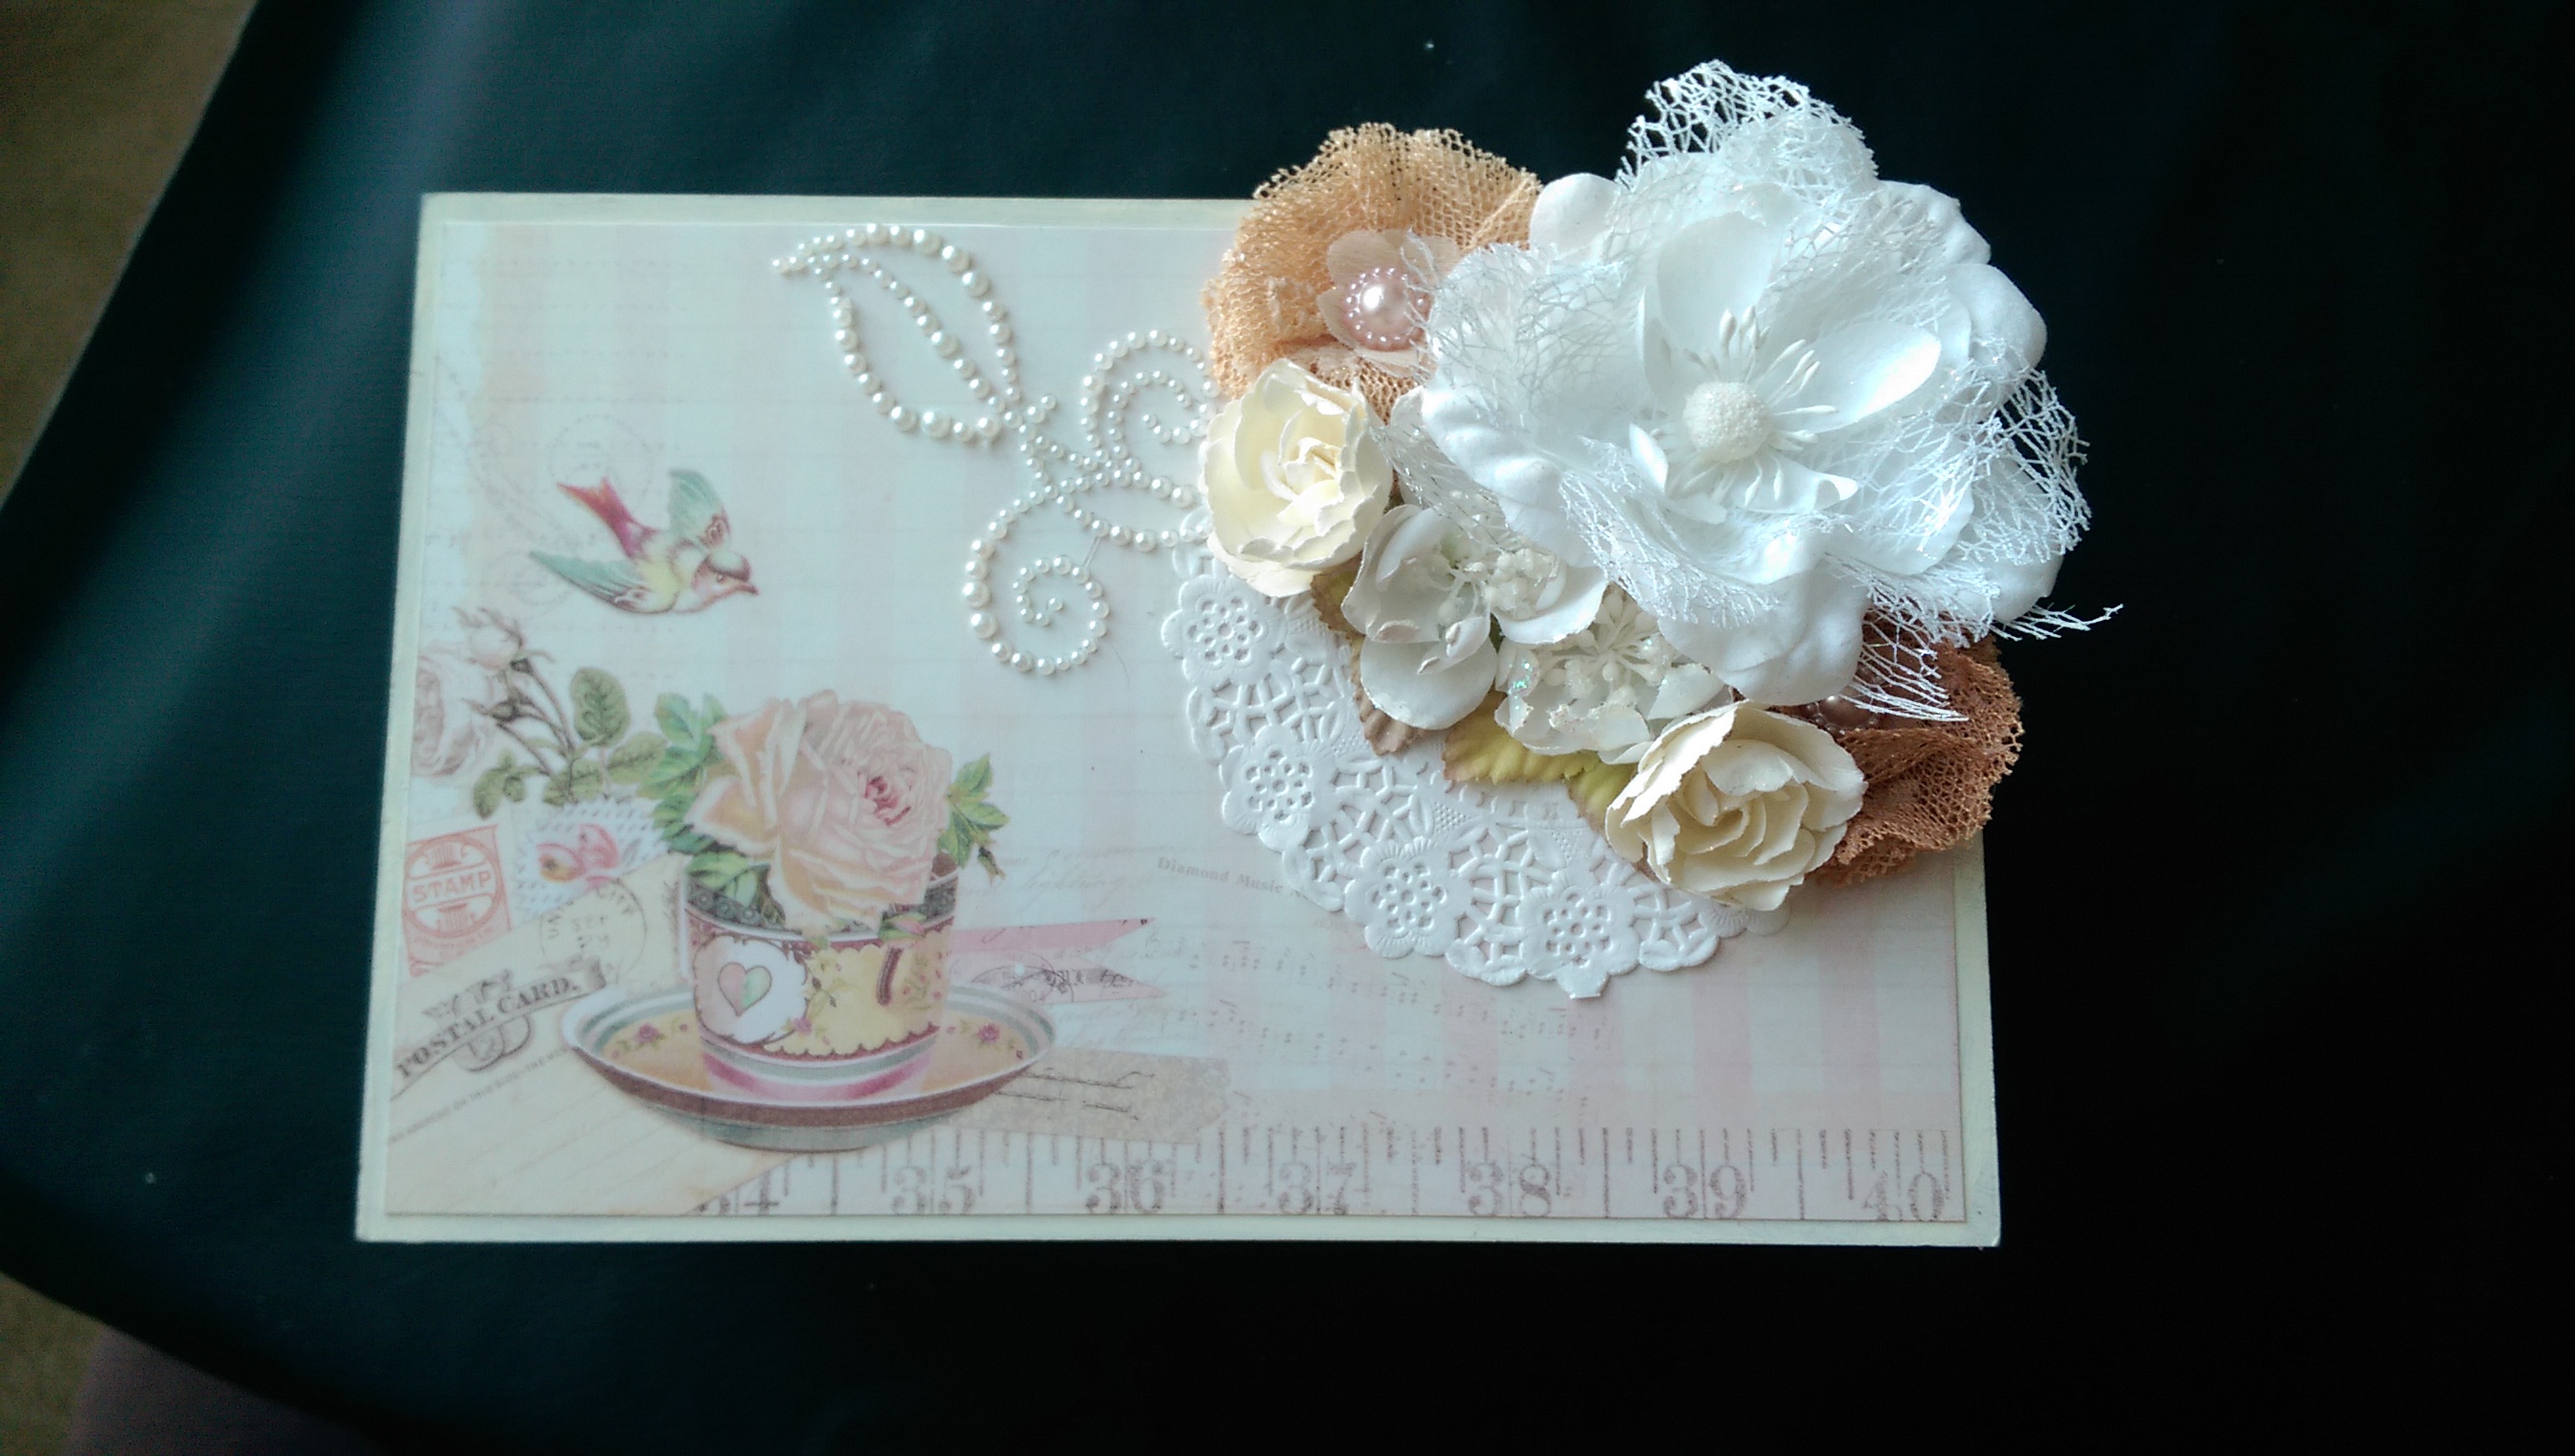
After I finished it, I decided to add pearl trim to the belly band…
After I thought about it, I decided to add pink flat back pearl trim to the belly band.
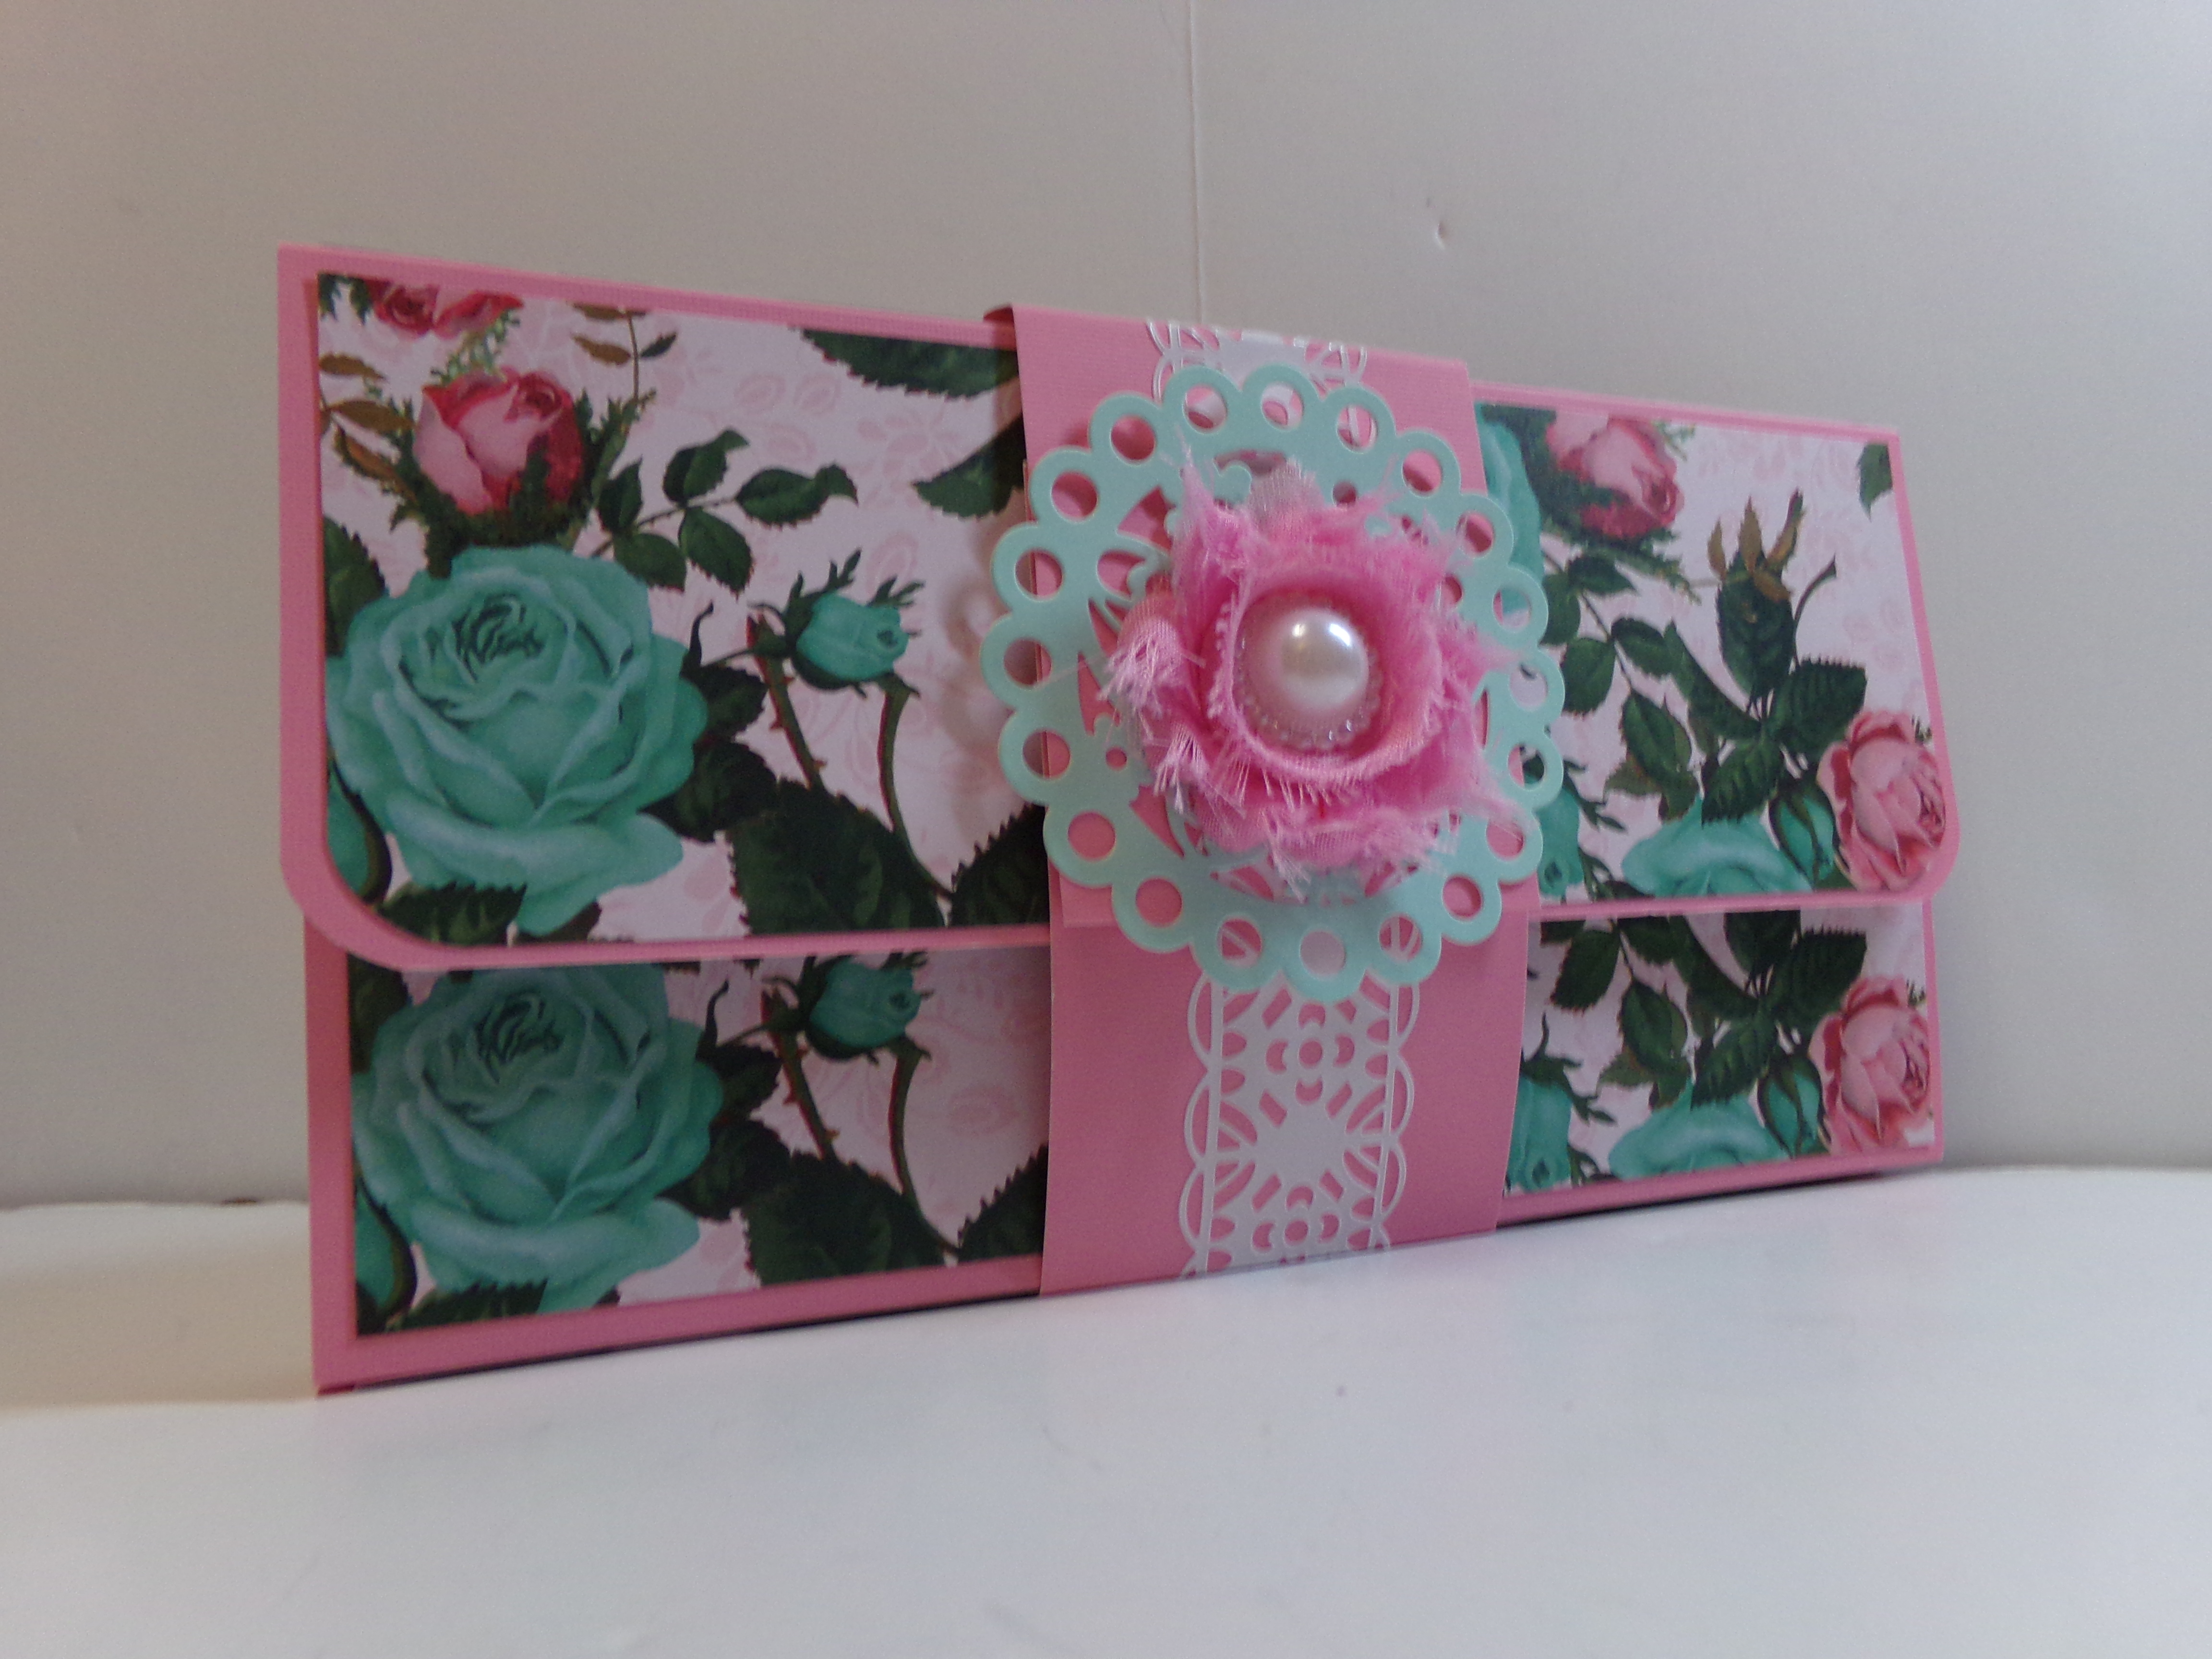
And here is the back with the pearls.
Thanks for stopping by. Before you go here is my video…
I managed to get one project done in my quest to finish seven started but yet unfinished mini albums. This week was hard as I was in Lincoln, NE from Sunday through Thursday afternoon for work. So there was no crafting time.
But tonight I managed to get to my craft room and get the cover and spine on this one. The rest was done.
Masculine Mini Album – First Type of Pages
Masculine Mini Album – Second Type of Pages
I used a tutorial on YouTube from Papercrafter 45. It is made with the envelope punch board and it has a scored spine, which I had never done.
Masculine Mini Album – Scored Spine
I have several people who are playing along. I have a challenge with a giveaway for those playing along. You get projects finished and have an opportunity to win a fabulous prize package! How cool is that?! Thanks for stopping by! Before you go, take a look at the video for this project…
This week I was able to complete one project, again at the last minute. Actually the video is still uploading as I type at 11:55 p.m. CDT!!! But it is finished! I am so thrilled that many others have joined in on the fun. I finished one of the mini albums and will probably gift it to my mom. Thanks for stopping by!
It’s milk cartons galore for The Cutting Cafe’s Design Team this week! We were asked to use one of three milk carton cutting files for our projects this time. These cute cartons can be used for candy, little embellishments, jewelry, or whatever you would like to put in them. I used the Halloween and Fall Milk Carton and I am just using it as a decoration for my desk at work for fall.
Front
The file comes together very quickly. If you don’t have an electronic cutting machine, you have the option of cutting by hand as the files all come in a PDF format.
View of side and back
Close up view of the flower cluster
Be sure to visit the The Cutting Cafe blog on the 7th and 21st of each month as that is when the design team posting go up. Be sure to leave a comment as a name is pulled each posting from the previous post’s comments. That person wins three files of their choice from The Cutting Cafe! Plus we love reading your comments!
Thanks for stopping by. Before you go, I have a video of my project which gives you more detail of what I used…
I was approached by a fellow YouTuber, Tina, who is TellHimThankU on YouTube to see if I would like to do a one-on-one swap. I agreed. I suggested an inspirational mini album and she suggested a tag instead of a card. We also were to swap goodies of around $10.
Below are pictures of the mini album and of the tag. The tag was one of my Cutting Cafe projects a few weeks ago so check out my older posts for more detail. After the pictures, I will also have both the album and the tag videos which will give you more detail. Thanks for stopping by!
Inspirational Mini Album Front Cover
Back Cover
Spine
This view shows how chunky the album is.
The inside covers front and back look like this, with different verses.
Here is the first page with the tag pulled out.
Some of the pages were a metallic mat with a patterned paper diecut.
The other pages were a patterned paper mat with a metallic paper die cut.
Here is one of the pull out tags front and back. Each page has a tag.
Make sure you visit The Cutting Cafe Blog on the 7th and 21st of each month as our design team projects are posted those dates. Leave a comment and you will be entered into a drawing to win three files of your choice! Plus we love reading your comments!
I had paper in my stash that was double-sided and the color combo was a bit different so I thought I might as well pull something old out to use it. The red with white circles used on the label on the front is the other side of the pink paisley paper. So the inside is finished instead of just being white.
Here are a few different views…
Thanks so much for stopping by and taking a look! Before you go, here is a video showing the project details…
Hello! Last weekend my friend Tmika…Scrapdaworld on YouTube…came to visit. It was a great weekend of shopping, crafting, and just hanging out! Here we are before we hit the stores…
Of course Tmika came bearing gifts. She made some awesome handmade embellishments and brought me animal print papers to craft with since I love animal prints! But she also made and brought me what became our theme of the weekend…a shabby chic box and it is lovely…
Then we attended a Prima Class taught by Frank Garcia. Here is the shabby chic box and tag mini album we created in class…
And lastly, I made a little shabby chic box to give to Tmika with some crafting goodies…
We had such a great weekend! Thanks Tmika and I can’t wait to do it again! Be sure to check her channel out on YouTube if you have not done so before. She is an awesome crafter!
I am an association management professional who has always loved fashion, sewing, crafting, writing, cooking, and shopping. I am married to a wonderful man and have a great family foundation. I like to share inspiration with as well as get information from others and hope this site will let me do just that. Happy crafting!