This week for The Cutting Cafe design team, we worked with the Big Expression files which have both printable stamps and cutting elements to them.
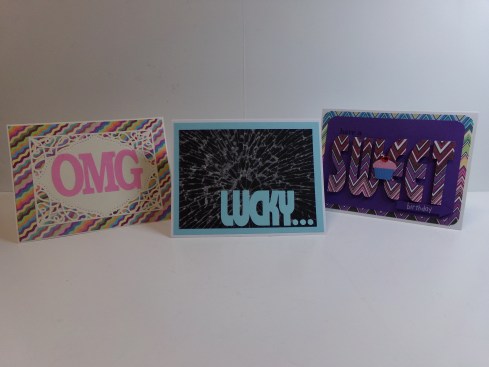
There are four different ones and I used three of them using various techniques…
Sweet Big Expressions Birthday Card
OMG Big Expressions Birthday Card
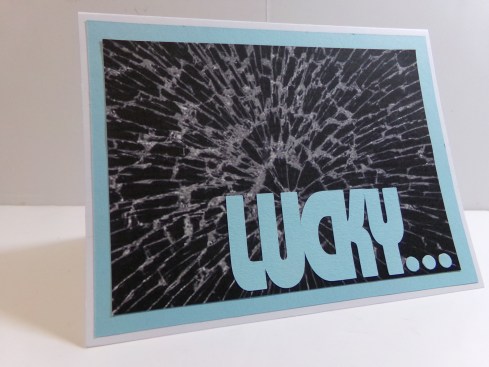
Lucky Big Expressions Card
Make sure you visit The Cutting Cafe Blog to see the rest of the design team projects. We post them on the 7th and 21st of each month. Leave a comment and you will be eligible to win three free files in a random drawing on the next design team post date.
Thank you for stopping by. Here is a video showing my cards in greater detail…
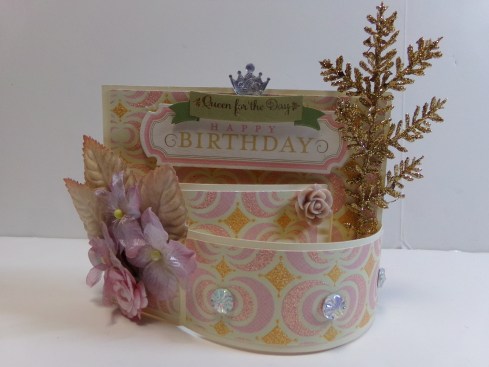
Bendi cards feature bands that bend or arc out from the base of a card. The ways that people decorate them are endless. You will see quite a variety of designs this week from the Design Team members of The Cutting Cafe as we used the Bendi – Bendy Card Template and Cutting File for our projects.
I stayed relatively simple for my birthday card. I just added flowers, a gold glittered branch piece, and an Anna Griffin layered sticker. I also added some acrylic bling dots and a crown which goes well with the queen for a day sentiment on the sticker.
Looking down on the card, you can see what the curved bands/flaps look like. Unfortunately I forgot to take a picture of the card with the bands opened up. They essentially are flaps that tuck into slots on each side of the card, causing the bending of the flaps.
A look from the top shows the curved bands.
Here is another view…
Birthday Bendi Card Front View
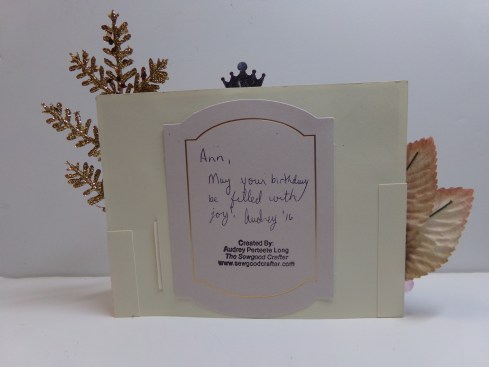
I used the back to house my sentiment, but you could also put it on the inside.
A journaling card is used in back for the sentiment.
Be sure to head over to The Cutting Cafe Blog on to see all the design team projects. We post on the 7th and 21st of each month. Make sure you comment on the posts for a chance to win three free files!
Thanks so much for stopping by! Here is a video of my project…
Christmas Treat Bag Toppers and Hershey Kiss Bottoms
Merry Christmas just a bit early! If you are looking for a last minute cute little gift, these Treat Bag Toppers from The Cutting Cafe will fit the bill! This file is packed with variations galore! It has two size bags, with or without a window, and 17 different topper options! I am showing you three but I am making 30 for staff and co-worker gifts!
Here is the tree version…
Christmas Tree Treat Bag Topper Front
There are overlays in the file, which the tree is cut from a different color. I chose only to put one on the front.
Here is the back.
One could be added to the back if you wanted to which would cover up the part that folds down in the back.
I also used the Christmas Hershey Kiss Bottoms Printable Stamp set on the kisses I filled the bag with.
Make sure you stop by The Cutting Cafe Blog on the 7th and 21st of each month to check out the design team posts. Today’s post will show a wide range as everyone got to choose which Christmas files they wanted to work with! Leave a comment as you will be eligible to win three free files in a drawing on the 7th.
Thanks for stopping by. Here is a video of my project and it shows the process and pieces of the files and the other 27 toppers I have made!
This week’s project for The Cutting Cafe is made from the Christmas Treat Cup Cards file, but this is a bonus ornament that is not a card! It is so cute and I can see many thing other than an ornament. If you add some hands and numbers around the rim, it could be a clock!
Side View
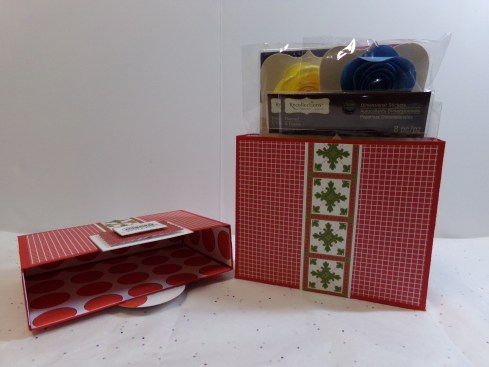
It has a nice depth to it so you can get a good number of treats in it. You can use resin pieces like I did or you can add candy or nuts also.
The back has a slide up tab to allow the goodies to come out.
This is very easy to make and the card versions are also easy to do. You can make these without an electronic cutting machine as they come in PDF versions also!
Make sure you stop by The Cutting Cafe Blog on the 7th and 21st of each month to see our design team posts. Leave a comment and you will be included in a drawing to win three free files!
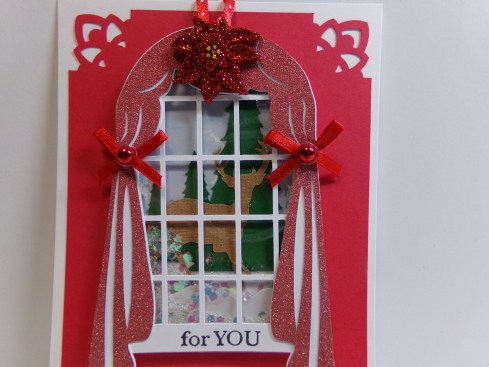
My friend Tmika who is Scrapdaworld on YouTube hosted another great swap featuring gift tags. I made a shaker window scene for my tag, including curtains, snow, and a deer.
Window Scene Tag
Back of tag
Basically we had to make a shaped tag using at least two embellishments and it had to have to and from on the back. I placed my tags on a matted card.
The deer is more visible in this picture.
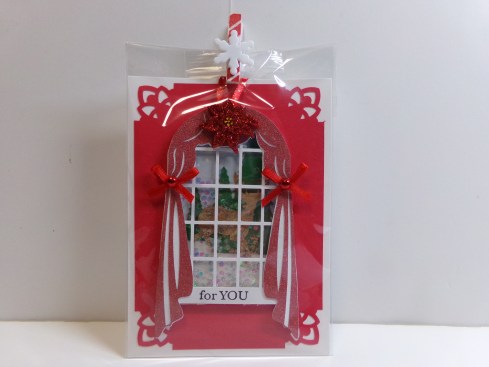
Then, I bagged it in a clear bag and added a candy cane striped clothes pin with a snowflake added to it. In the back a bag of goodies is attached.
This is how the tags were packaged.
I really like how my tags came out and I hope the ladies in my swap group like them too. Thanks for stopping by. Here’s my video giving more details…
It is time for another design team post for The Cutting Cafe! Make sure you stop by to visit the blog on the 7th and 21st of each month. You will find plenty of inspiration from our team and if you leave a comment, you will be eligible to win three files of your choice in a random drawing on the next design team post!
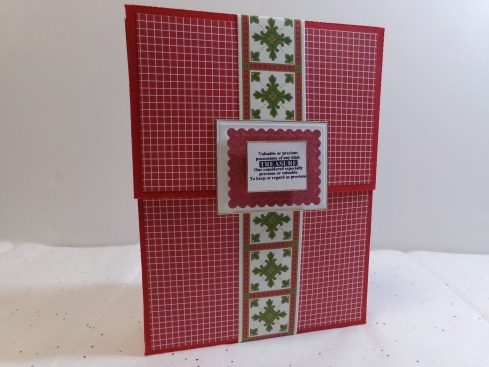
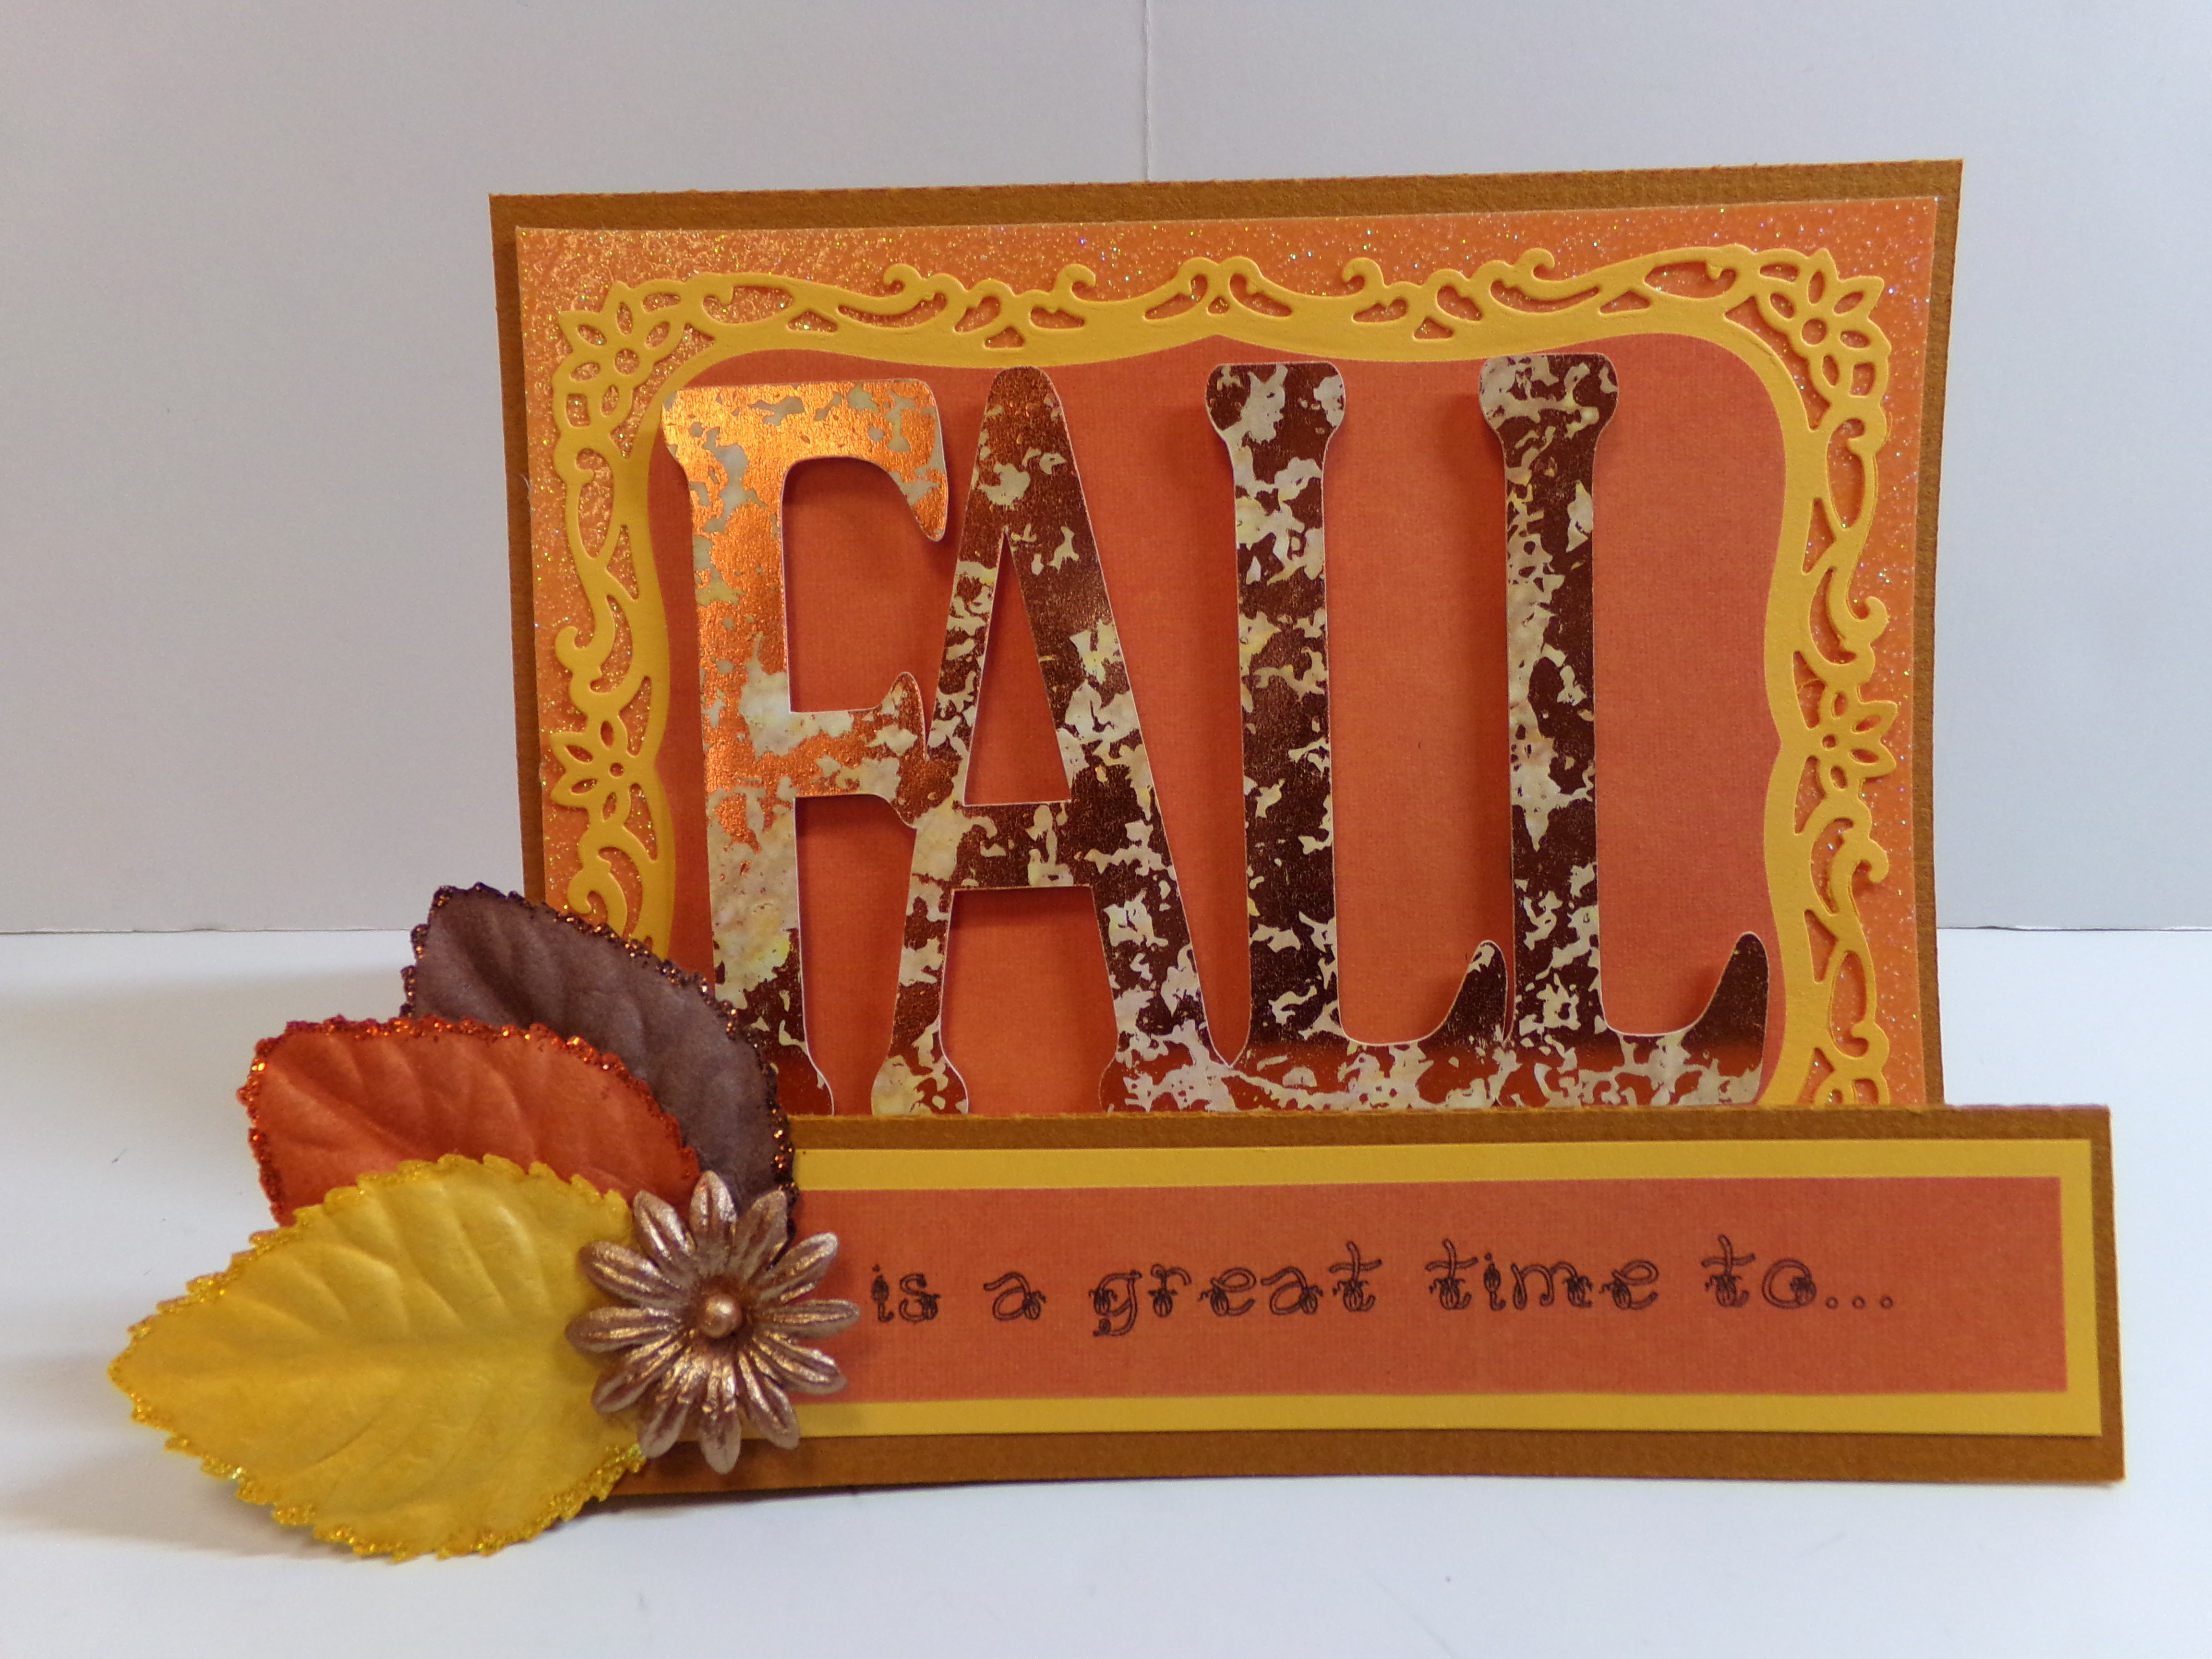
The focus of the projects for this post is the With Gratitude Printable Stamp Set. This file has over 70 images including many sentiments in square, round, and rectangle shapes, background images, and borders. Some come in color as well as black and white and some come in a couple different sizes.
Make sure you stop by The Cutting Cafe Blog to see all of the design team projects today. They are posted on the 7th and 21st of each month. Leave a comment to be eligible to win 3 files of your choice!
Thanks for stopping by and before you go, here is my video…
Make sure you visit The Cutting Cafe Blog on the 7th and 21st of each month as our design team projects are posted those dates. Leave a comment and you will be entered into a drawing to win three files of your choice! Plus we love reading your comments!
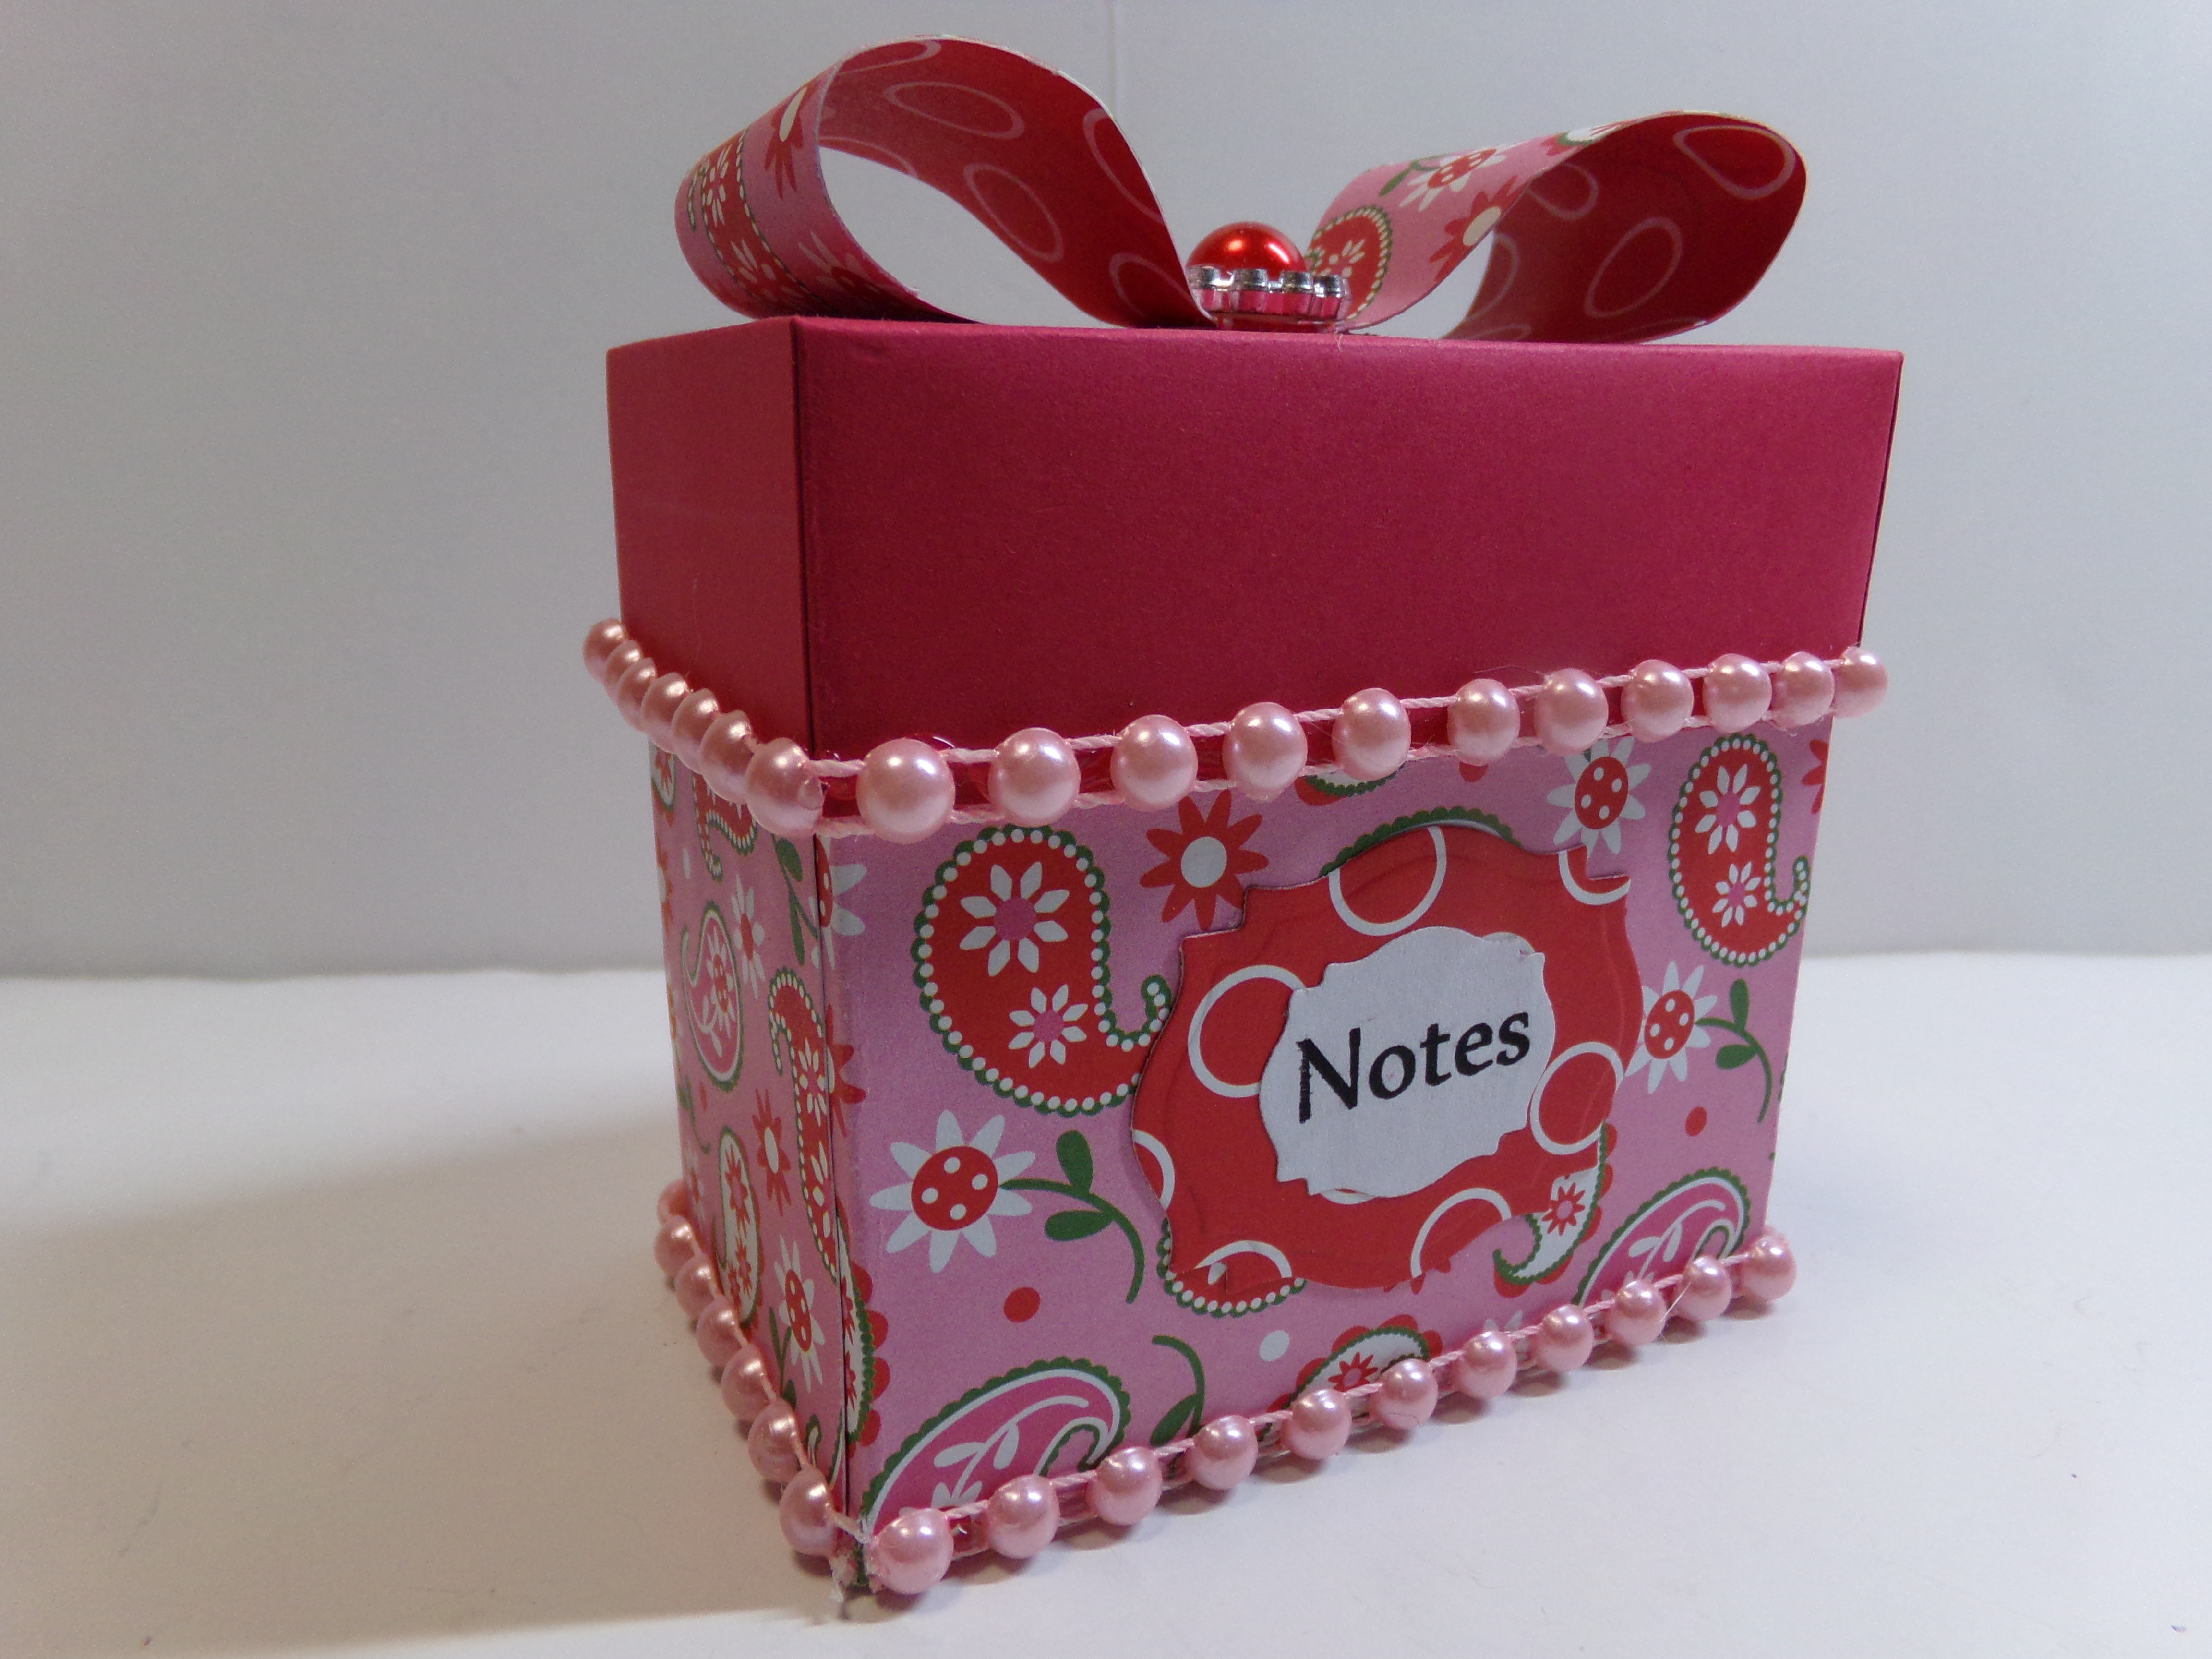
I had paper in my stash that was double-sided and the color combo was a bit different so I thought I might as well pull something old out to use it. The red with white circles used on the label on the front is the other side of the pink paisley paper. So the inside is finished instead of just being white.
Here are a few different views…
Thanks so much for stopping by and taking a look! Before you go, here is a video showing the project details…
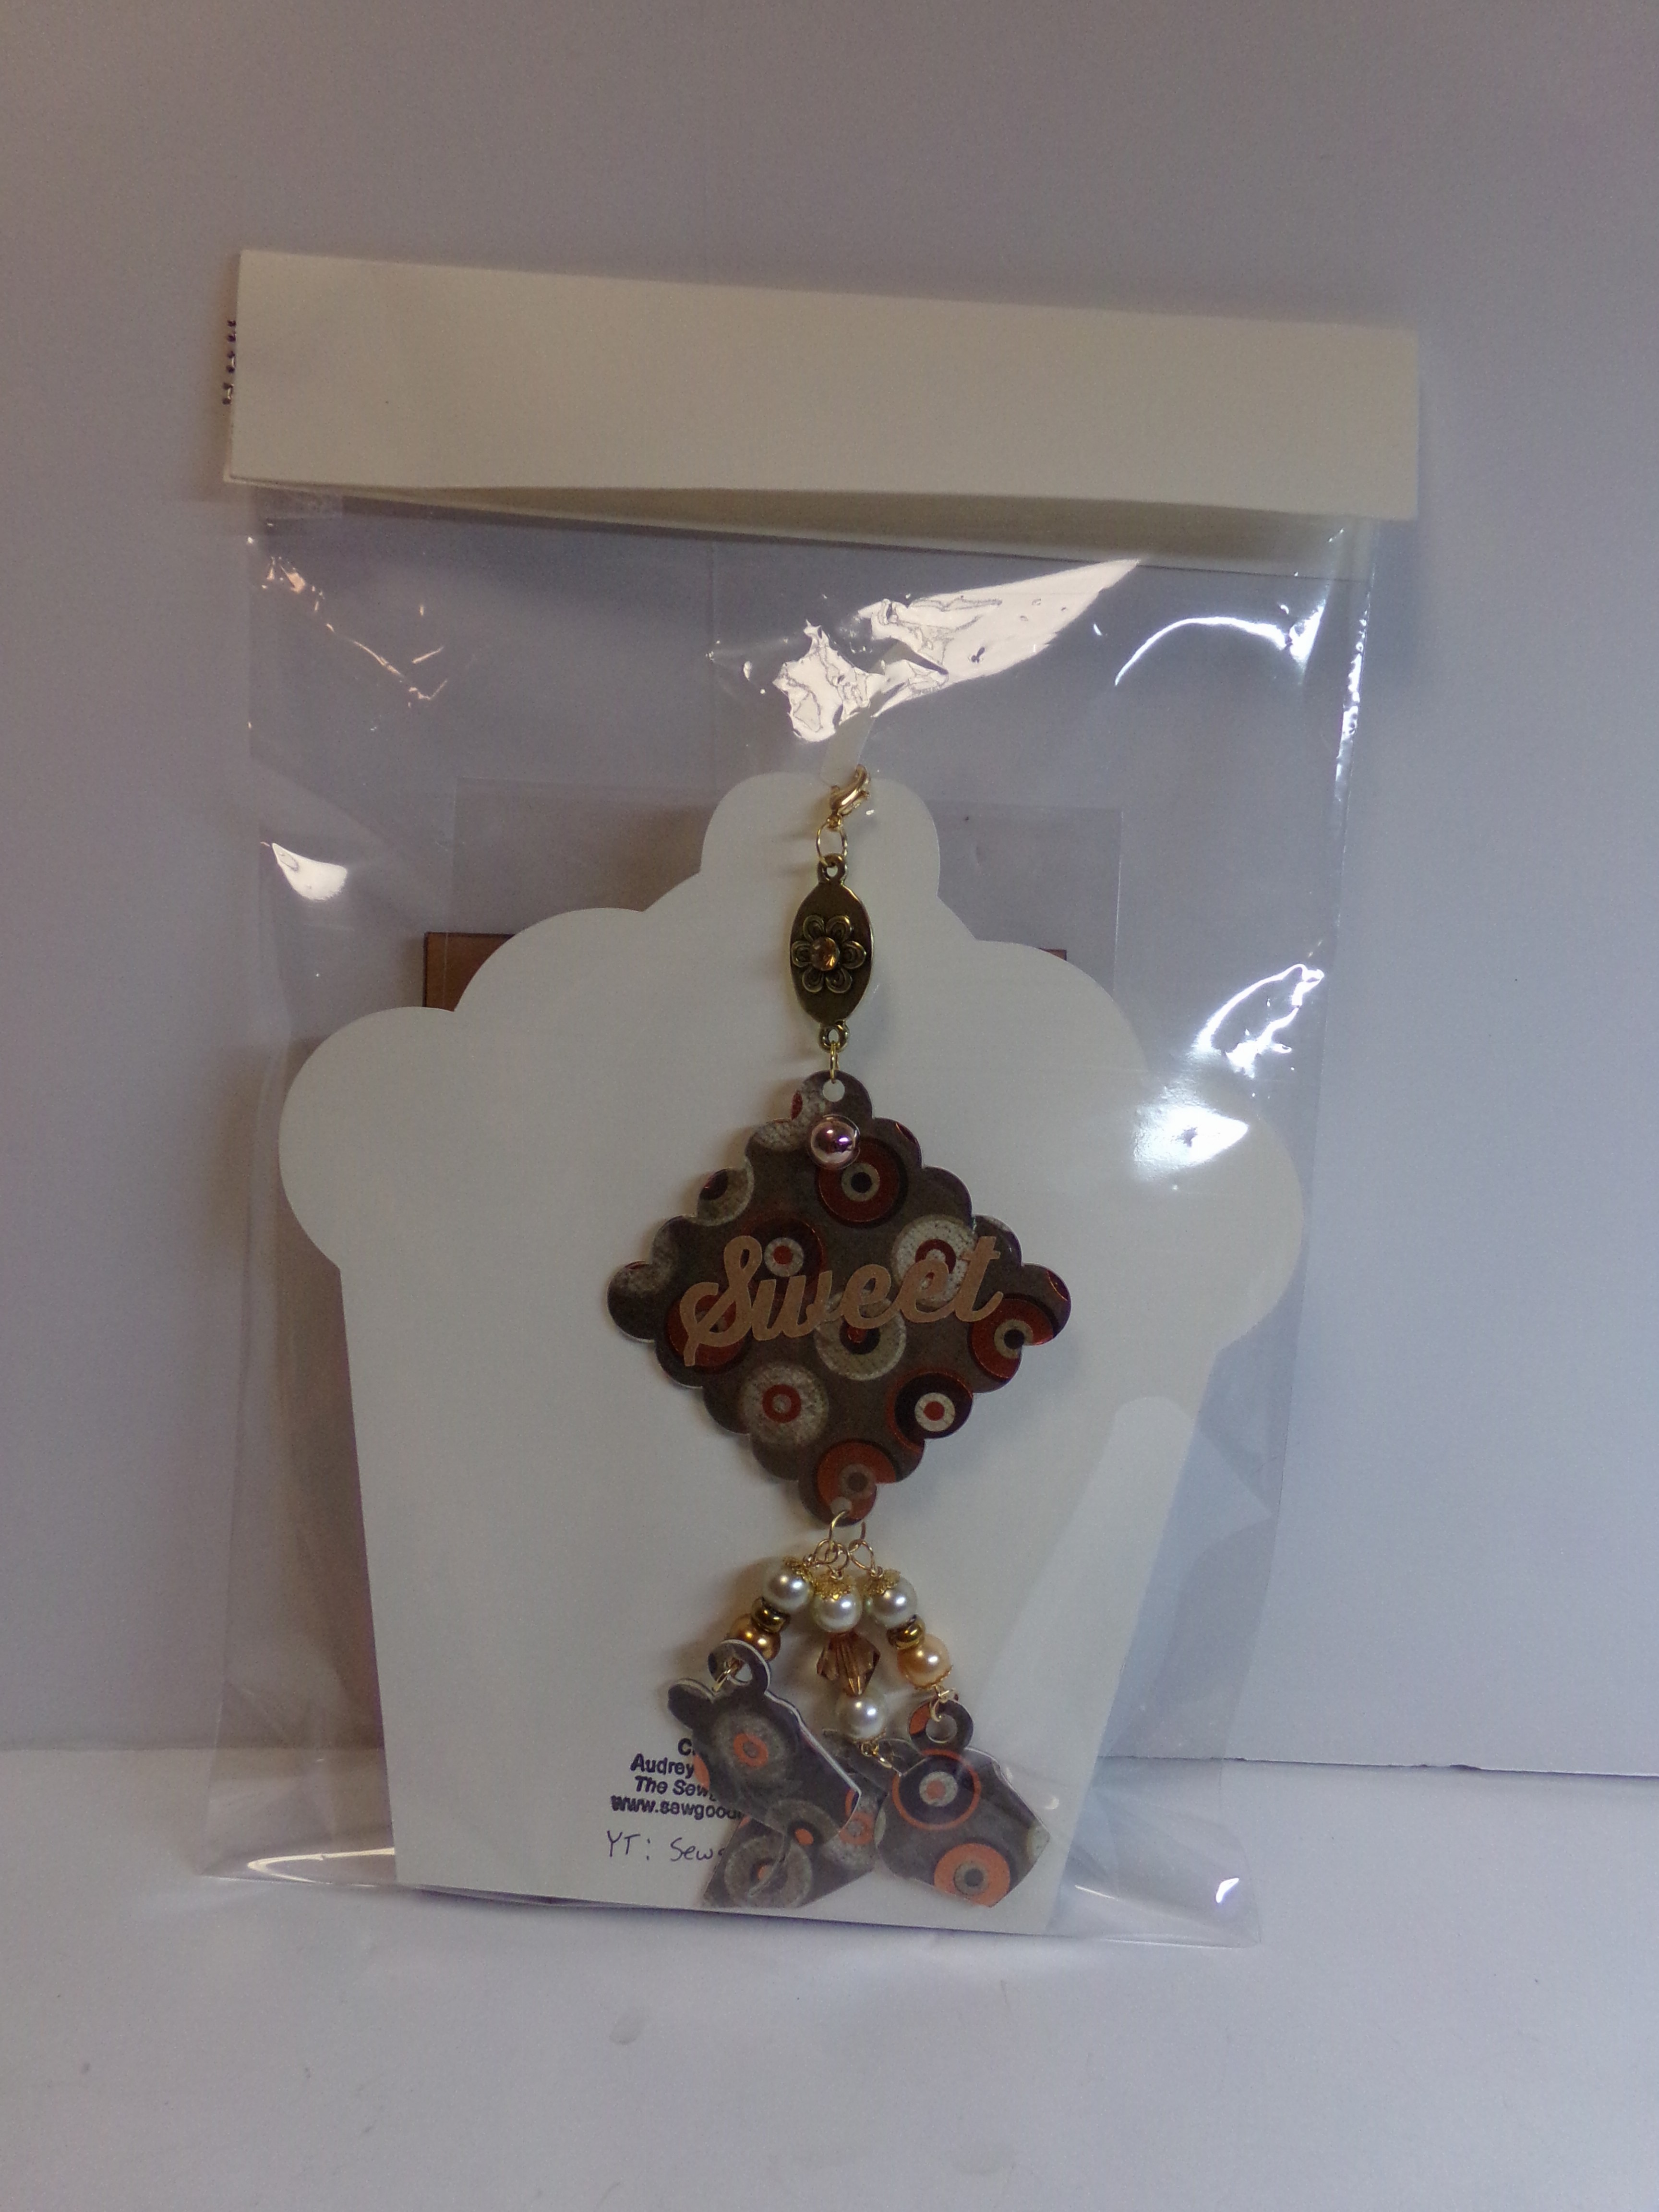
I entered a swap hosted by my friend Tmika who is Scrapdaworld on YouTube. It was the sweet treat postcard and dangle swap and we had to make a 4 x 6 postcard with a sweet treat theme and a coordinating dangle. Here is what I came up with.
The charm is something I have never done. The scalloped diamond and the cake charms are made from patterned paper cut out on, my Silhouette Cameo. I cut each twice and then cut acetate pieces to cover it an make it sturdy.
Coordinating dangle charm made with patterned paper and acetate sheets cut out on the Cameo.
Sentiment
I packaged it very simply…
Packaged
Packaging Back
Thanks for stopping by. Here is my video on this project…
It’s Christmas in July time at The Cutting Cafe and the design team is going to give you plenty of inspiration to get you thinking about projects you would like to make for Christmas! Yep, it will be here before you know it!
Be sure to visit The Cutting Cafe Blog on the 7th and 21st of each month to see the projects. Leave a comment and you will be entered into a drawing to win three files of your choice which will be announced on the next posting date!
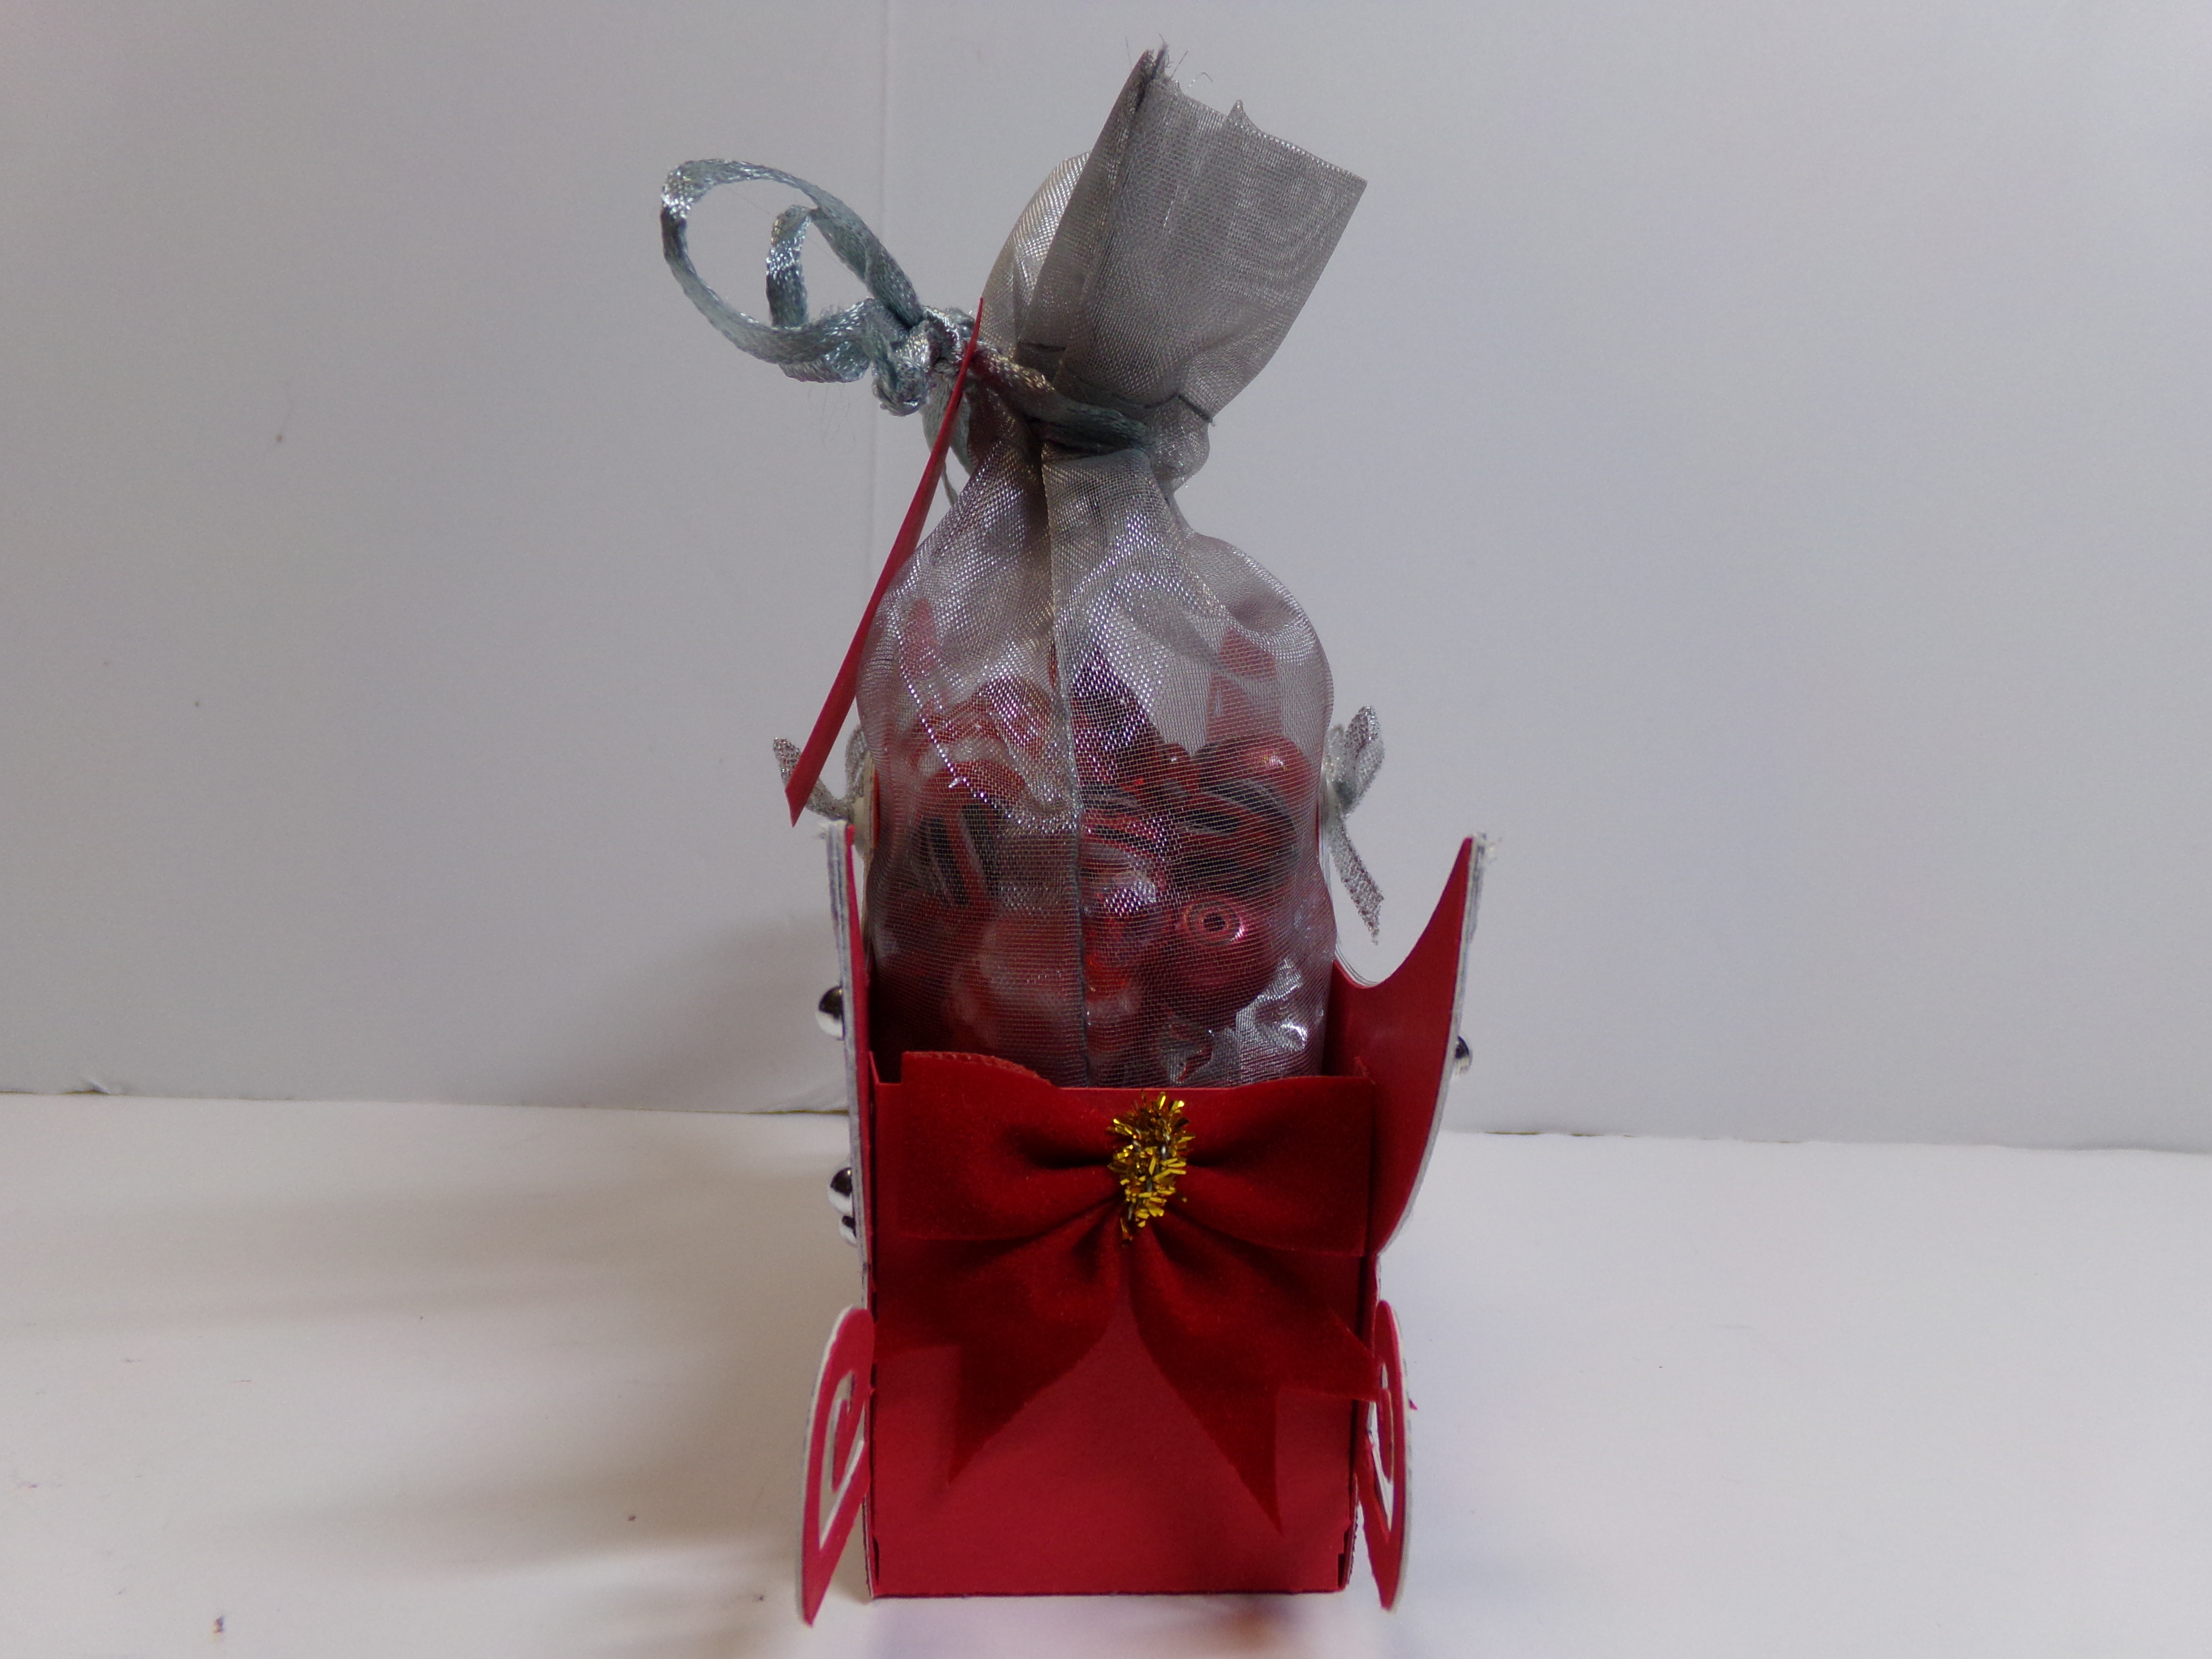
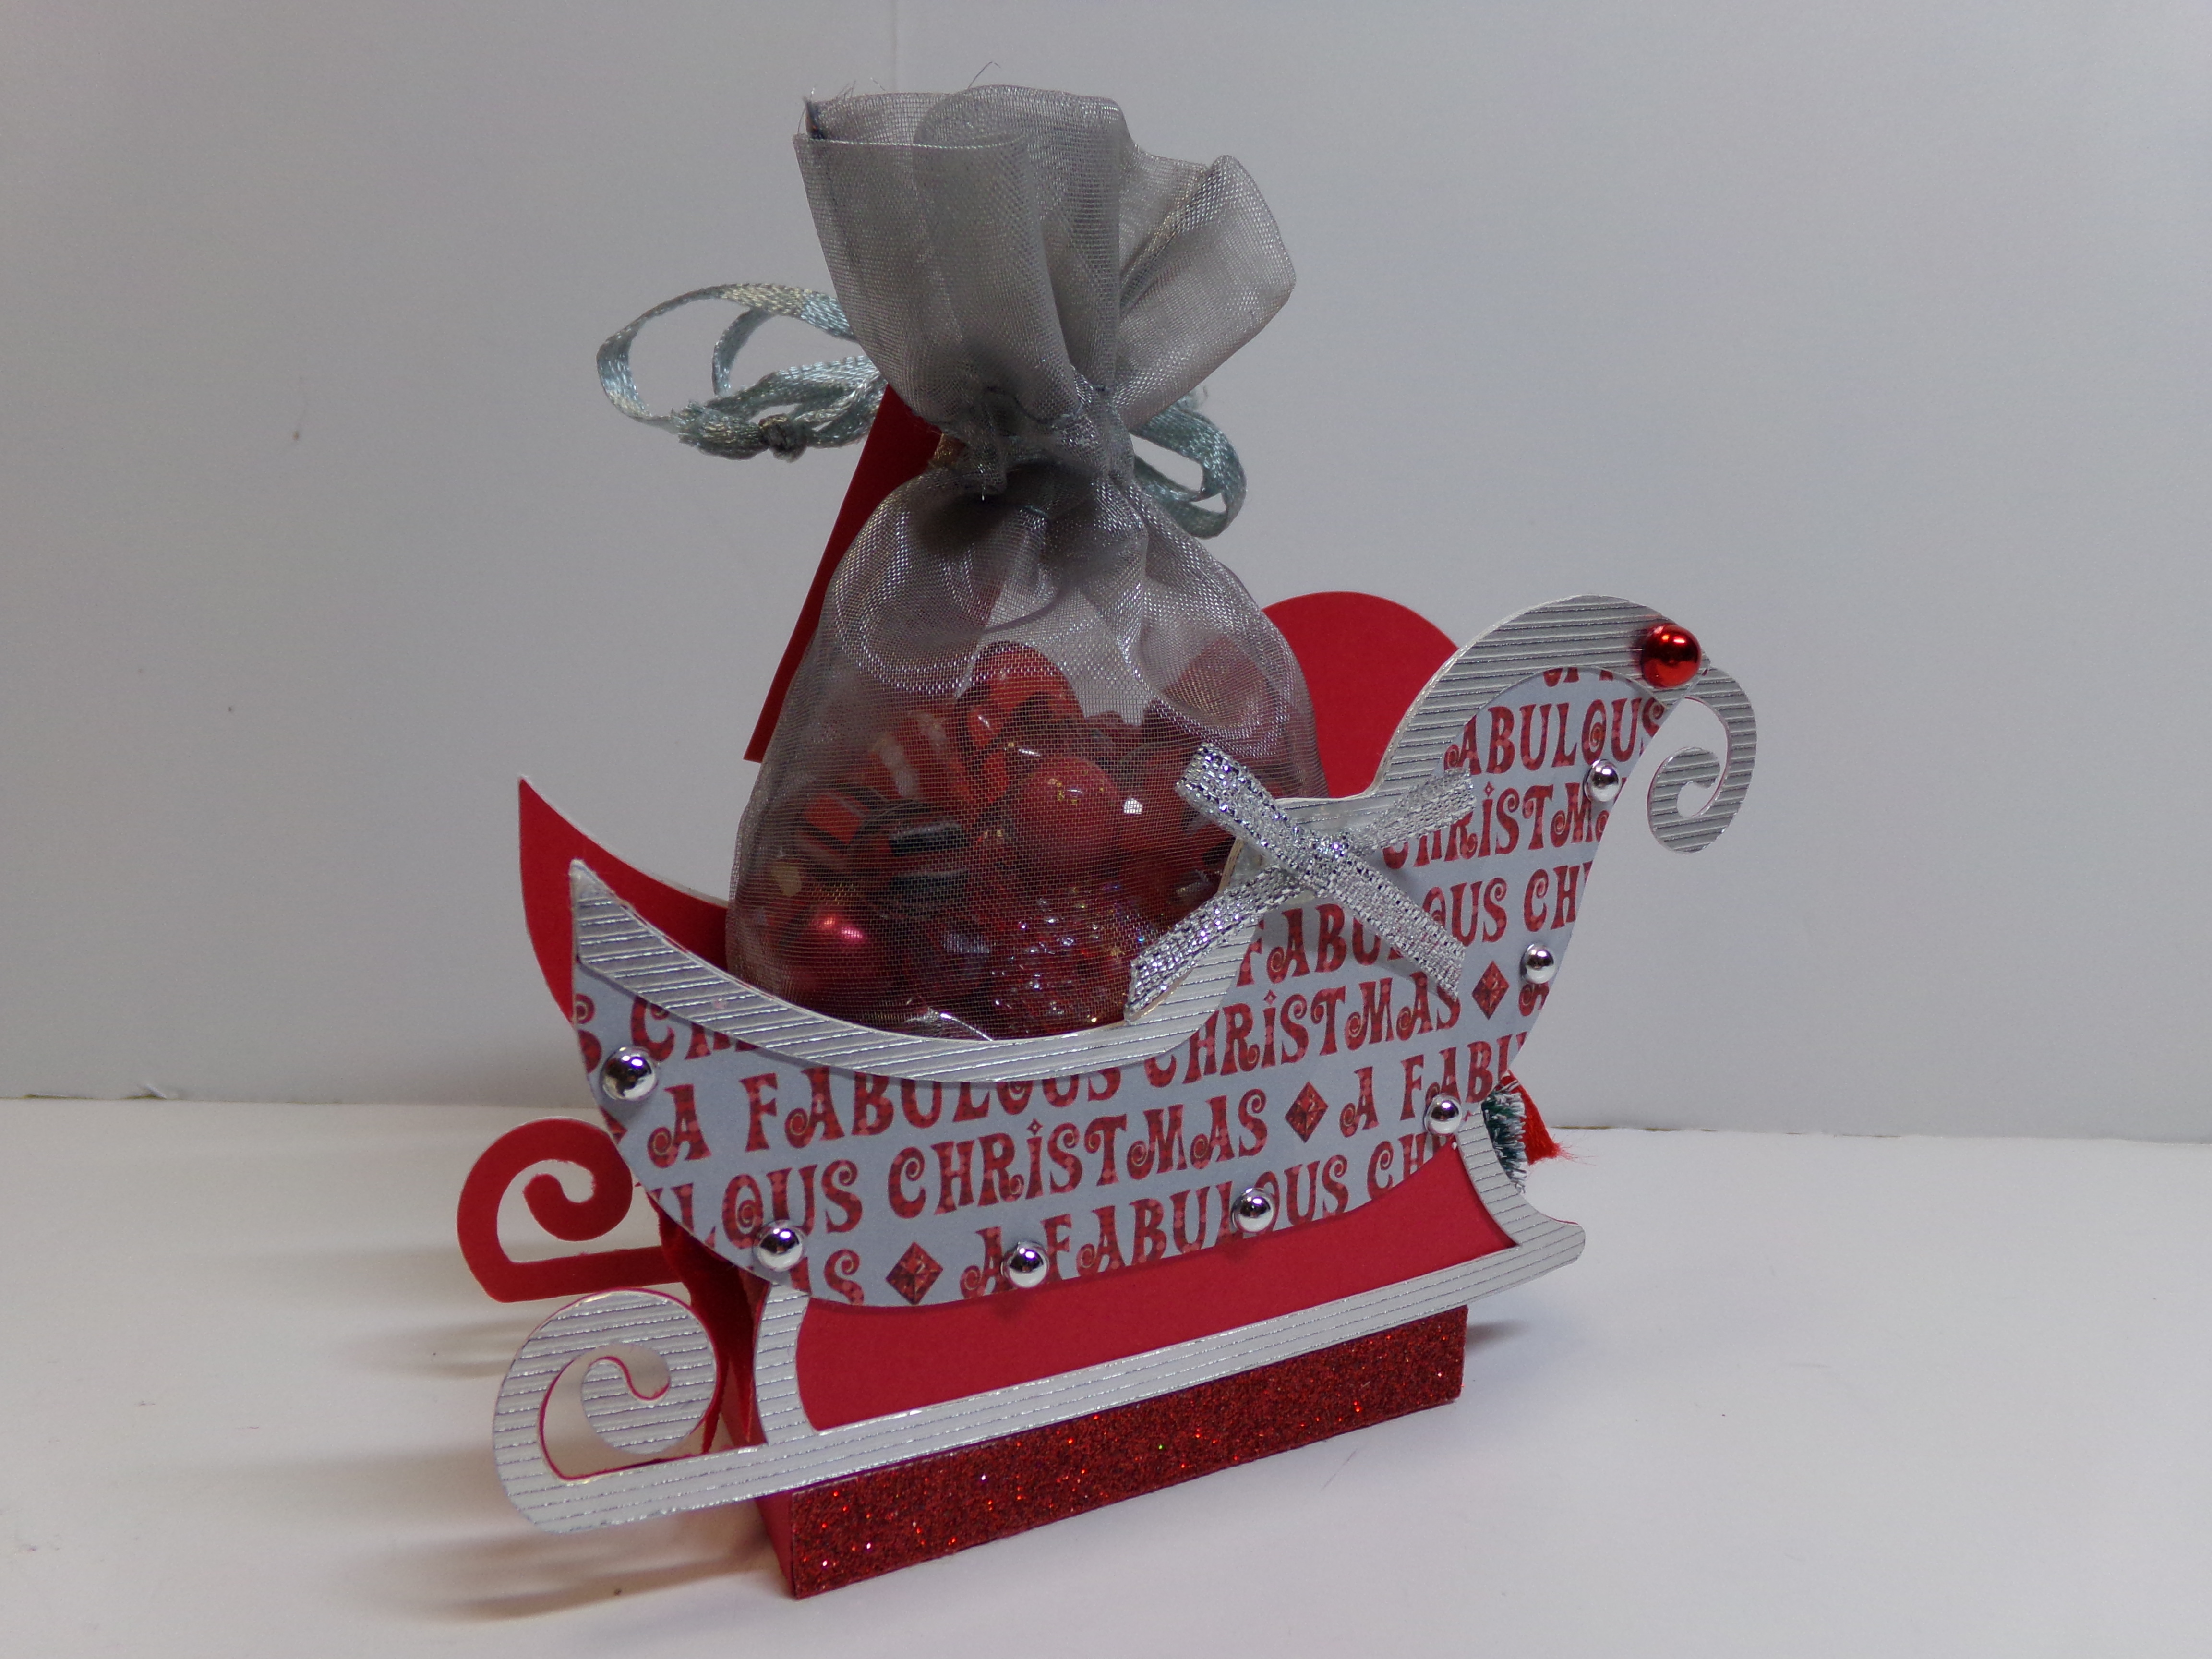
For my project, I made the Sleigh Treat Box. We could choose any Christmas file we wanted to and I had not done this one and thought it would make a good gift for a co-worker during the holidays. You can fill it with candy or a gift card. The file comes with may layers to give you variety. It also comes with sentiment tags (I made my own from a stamp as my printer was not cooperating) and several sizes of a flower.Here are a few other views of it…
Sleigh Treat Box Front
Sleigh Treat Box Other Side
Sleigh Treat Box Back
Thanks for stopping by! I do have a video for you…
I am an association management professional who has always loved fashion, sewing, crafting, writing, cooking, and shopping. I am married to a wonderful man and have a great family foundation. I like to share inspiration with as well as get information from others and hope this site will let me do just that. Happy crafting!