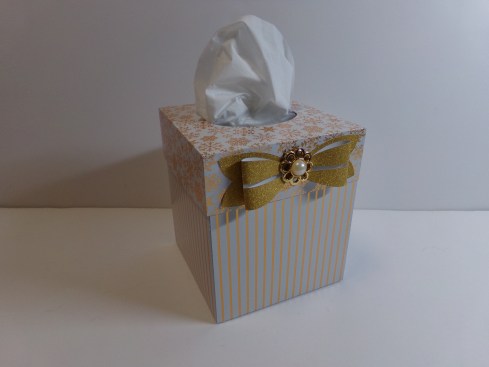
This week for our design team project for The Cutting Cafe, we were to use the Tissue Box Cover Template. I needed something elegant in white and gold to use in my office for Christmas as my decorations are white and gold. This fits the bill perfectly. I also used the Bow with Slit Template File to make the glitter bow.
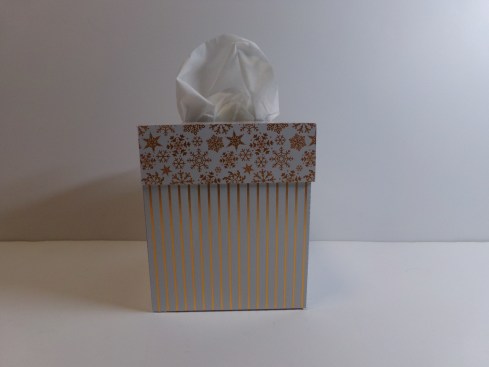
Here is a view of the back…
Back
Be sure to stop by The Cutting Cafe Blog on the 7th and 21st of each month to see all the design team projects. Leave a comment and you just might win three files of your choice!
Thanks so much for stopping by. Before you go, here is a short video showcasing my project…
We are doing a blog hop at the Cutting Cafe! You should begin the blog with Regina, the owner at her Blog, Hand to Paper. And, if you are following along, you should have come to my blog from Tmika, who is Scrapdaworld on her blog and on Scrapdaworld YouTube Channel.
Each design team member got to choose the file they wanted to use and you have a chance to win! Each design team member is giving away the file that they used. You must follow their requirements to win.
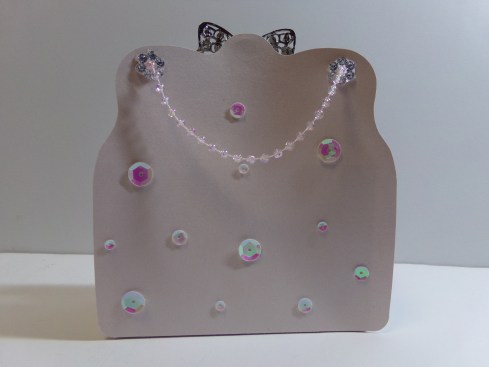
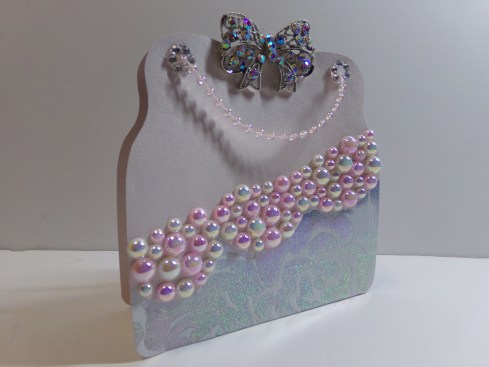
I used the Assorted Purse Box Template which is a versatile file featuring so many options. There are five purse styles with multiple options such as background paper, different handles, tags and sentiments, and more!
Back
I love the way mine turned out! Here are a couple more pictures…
Side VIew
Elegant Purse Box
Here is a video of my project explaining it in more detail…
Now on to details on how to win this wonderful file…first be a subscriber to this blog if you comment here, or be a subscriber to my YouTube channel if you comment there. In your comment you must answer three things:
Tell me what you think/like about my project
Tell me if you have ever used files from The Cutting Cafe
Tell me what you like about The Cutting Cafe files if you use them or what you think you will like if you haven’t used them.
I will pull a winner on Sunday, September 10 after 5:00 p.m. Central.
Remember that we post our projects on the 7th and 21st of every month on the Cutting Cafe Blog. Leave a comment and you can win three free files of your choice if your name is drawn from the comment!
Now on to Patti who is the next person in the hop. Her blog is Cherish Each Precious Day. Here is the entire line up:
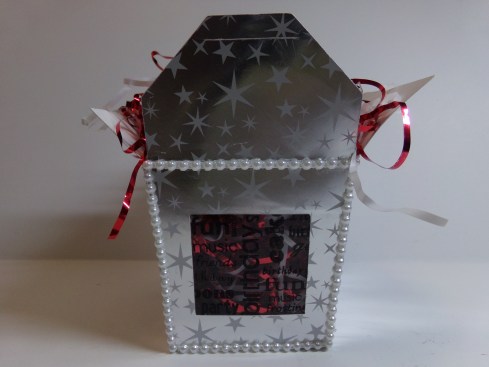
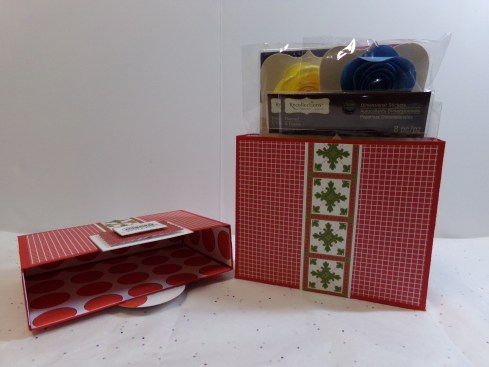
The Cutting Cafe Shop is the sister store to The Cutting Cafe. The shop sells paper, ribbon, and stamp sets like the Birthday Party Background one that I have used here. I stamped it with Staz On ink onto clear cardstock, which is also sold at the shop. I used white paper to better show the stamp but here is what it looks like without it…
This shows the window in the box without the white card that I used to help show the words better.
The actual box is made with the Chinese Take Out Box cutting template. This can hold candy or a little gift. And it is quick and easy to do! I just added flowers on the sides but you can attach a handle using brads as the file even cuts the holes for you to use.
I added a flower to the side but you can attach a handle to each side if you choose.
Thanks for stopping by! Here is a video before you go…
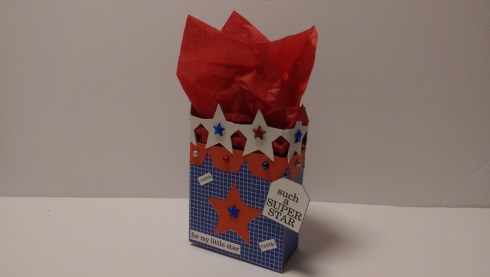
Hey Everybody! The 4th of July is coming soon and we got to design in red, white, and blue for out design team project for The Cutting Cafe! I chose to use the Star Box. It came out so cute! You can give little treats as gifts for adults or kids.
Back of box
Be sure to stop by The Cutting Cafe Blog on the 21st and 7th of each month for our design team postings. You will find lots of crafting inspiration and if you leave a comment, you will be entered into a drawing to win three files of your choice!
Thanks for stopping by! Here is my video for more details on this great star box:
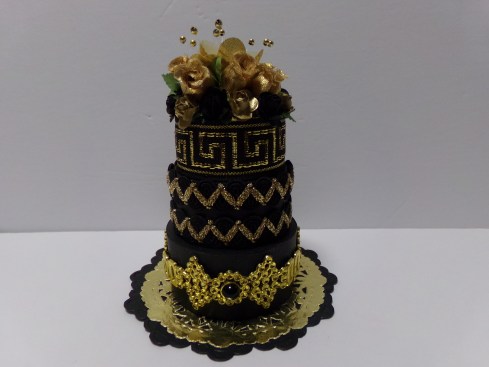
Hey everyone! I am excited about this project for The Cutting Cafe! The design team was given this cute 3 Tier Cake Box file to use. It is so much fun to do. I used to decorate cakes so this was just up my alley!
The layers actually open so you can put a little something something in them as a gift. Check out my video below to see how the layers open. Here are more views of it…
Close up of flowers
You can see the center flower here.
Be sure to stop by The Cutting Cafe Blog this week to see all the fantastic design team versions of this file. They are amazing! Leave a comment and you might win three files of your choice!
Thanks so much for stopping by and here is that video I mentioned…
This week’s project for The Cutting Cafe is made from the Christmas Treat Cup Cards file, but this is a bonus ornament that is not a card! It is so cute and I can see many thing other than an ornament. If you add some hands and numbers around the rim, it could be a clock!
Side View
It has a nice depth to it so you can get a good number of treats in it. You can use resin pieces like I did or you can add candy or nuts also.
The back has a slide up tab to allow the goodies to come out.
This is very easy to make and the card versions are also easy to do. You can make these without an electronic cutting machine as they come in PDF versions also!
Make sure you stop by The Cutting Cafe Blog on the 7th and 21st of each month to see our design team posts. Leave a comment and you will be included in a drawing to win three free files!
It is time for another design team post for The Cutting Cafe! Make sure you stop by to visit the blog on the 7th and 21st of each month. You will find plenty of inspiration from our team and if you leave a comment, you will be eligible to win three files of your choice in a random drawing on the next design team post!
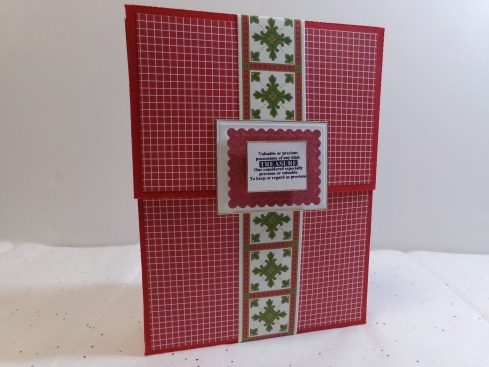
The focus of the projects for this post is the With Gratitude Printable Stamp Set. This file has over 70 images including many sentiments in square, round, and rectangle shapes, background images, and borders. Some come in color as well as black and white and some come in a couple different sizes.
Make sure you visit The Cutting Cafe Blog on the 7th and 21st of each month as our design team projects are posted those dates. Leave a comment and you will be entered into a drawing to win three files of your choice! Plus we love reading your comments!
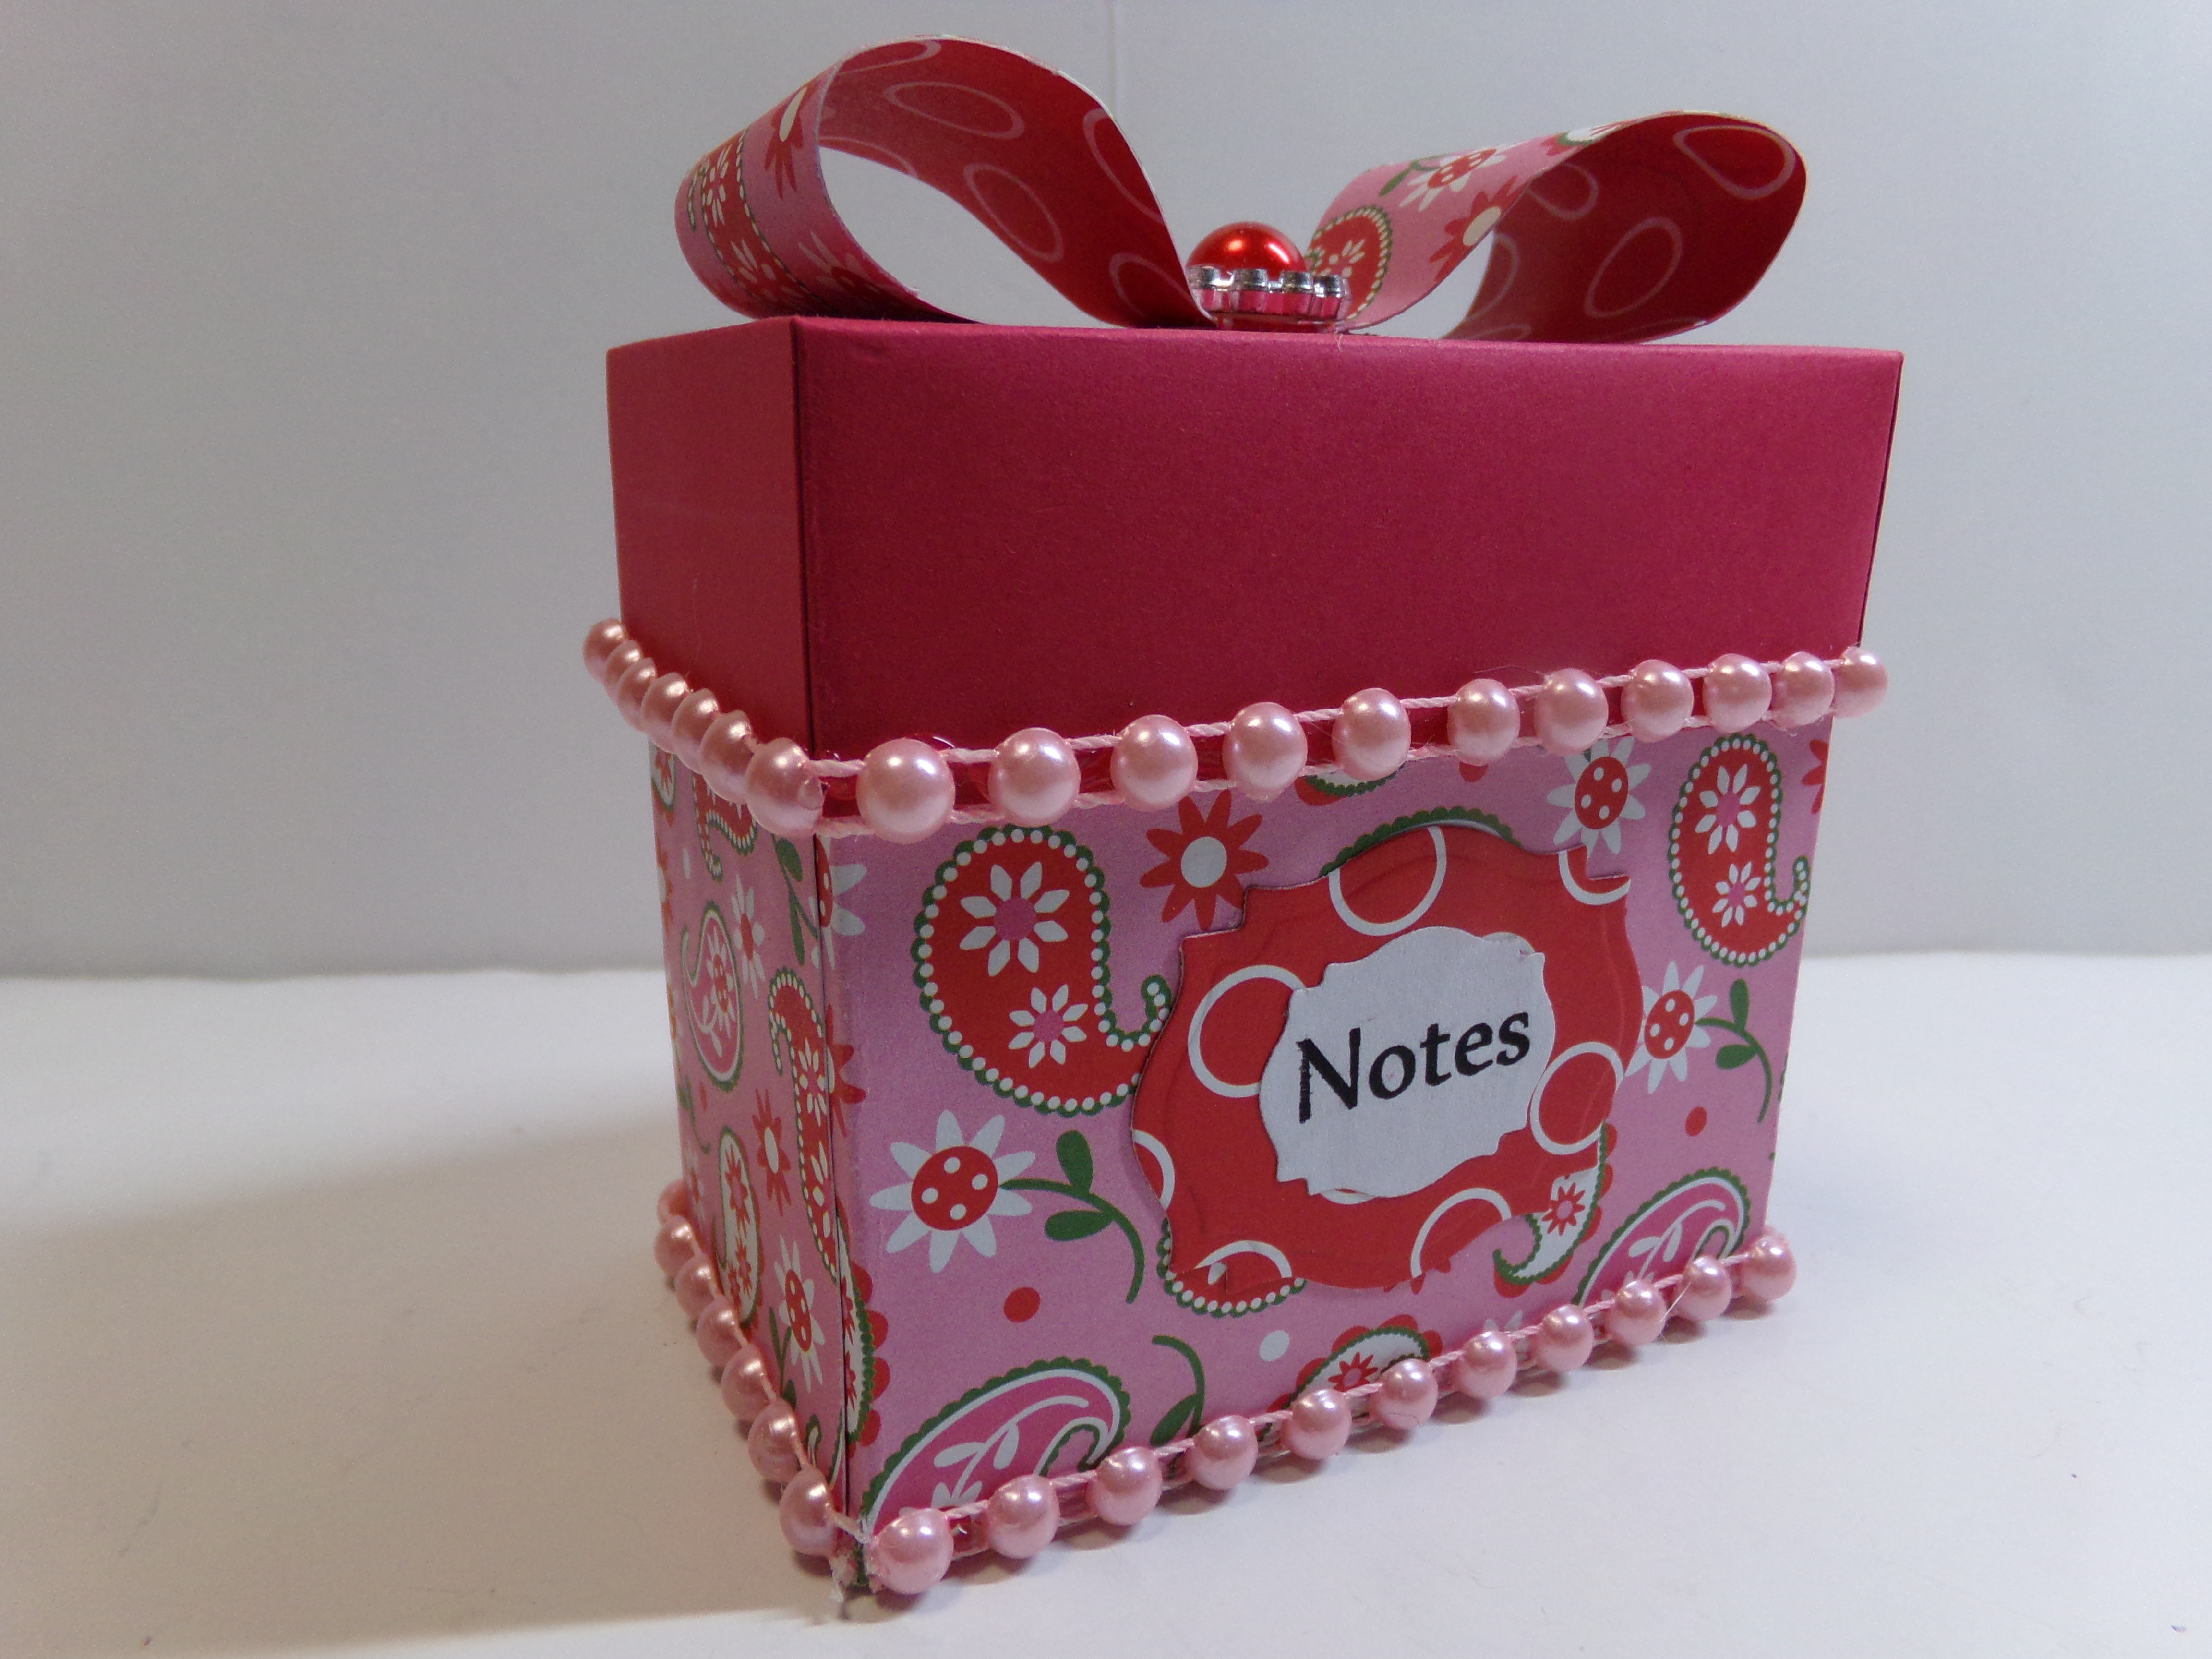
I had paper in my stash that was double-sided and the color combo was a bit different so I thought I might as well pull something old out to use it. The red with white circles used on the label on the front is the other side of the pink paisley paper. So the inside is finished instead of just being white.
Here are a few different views…
Thanks so much for stopping by and taking a look! Before you go, here is a video showing the project details…
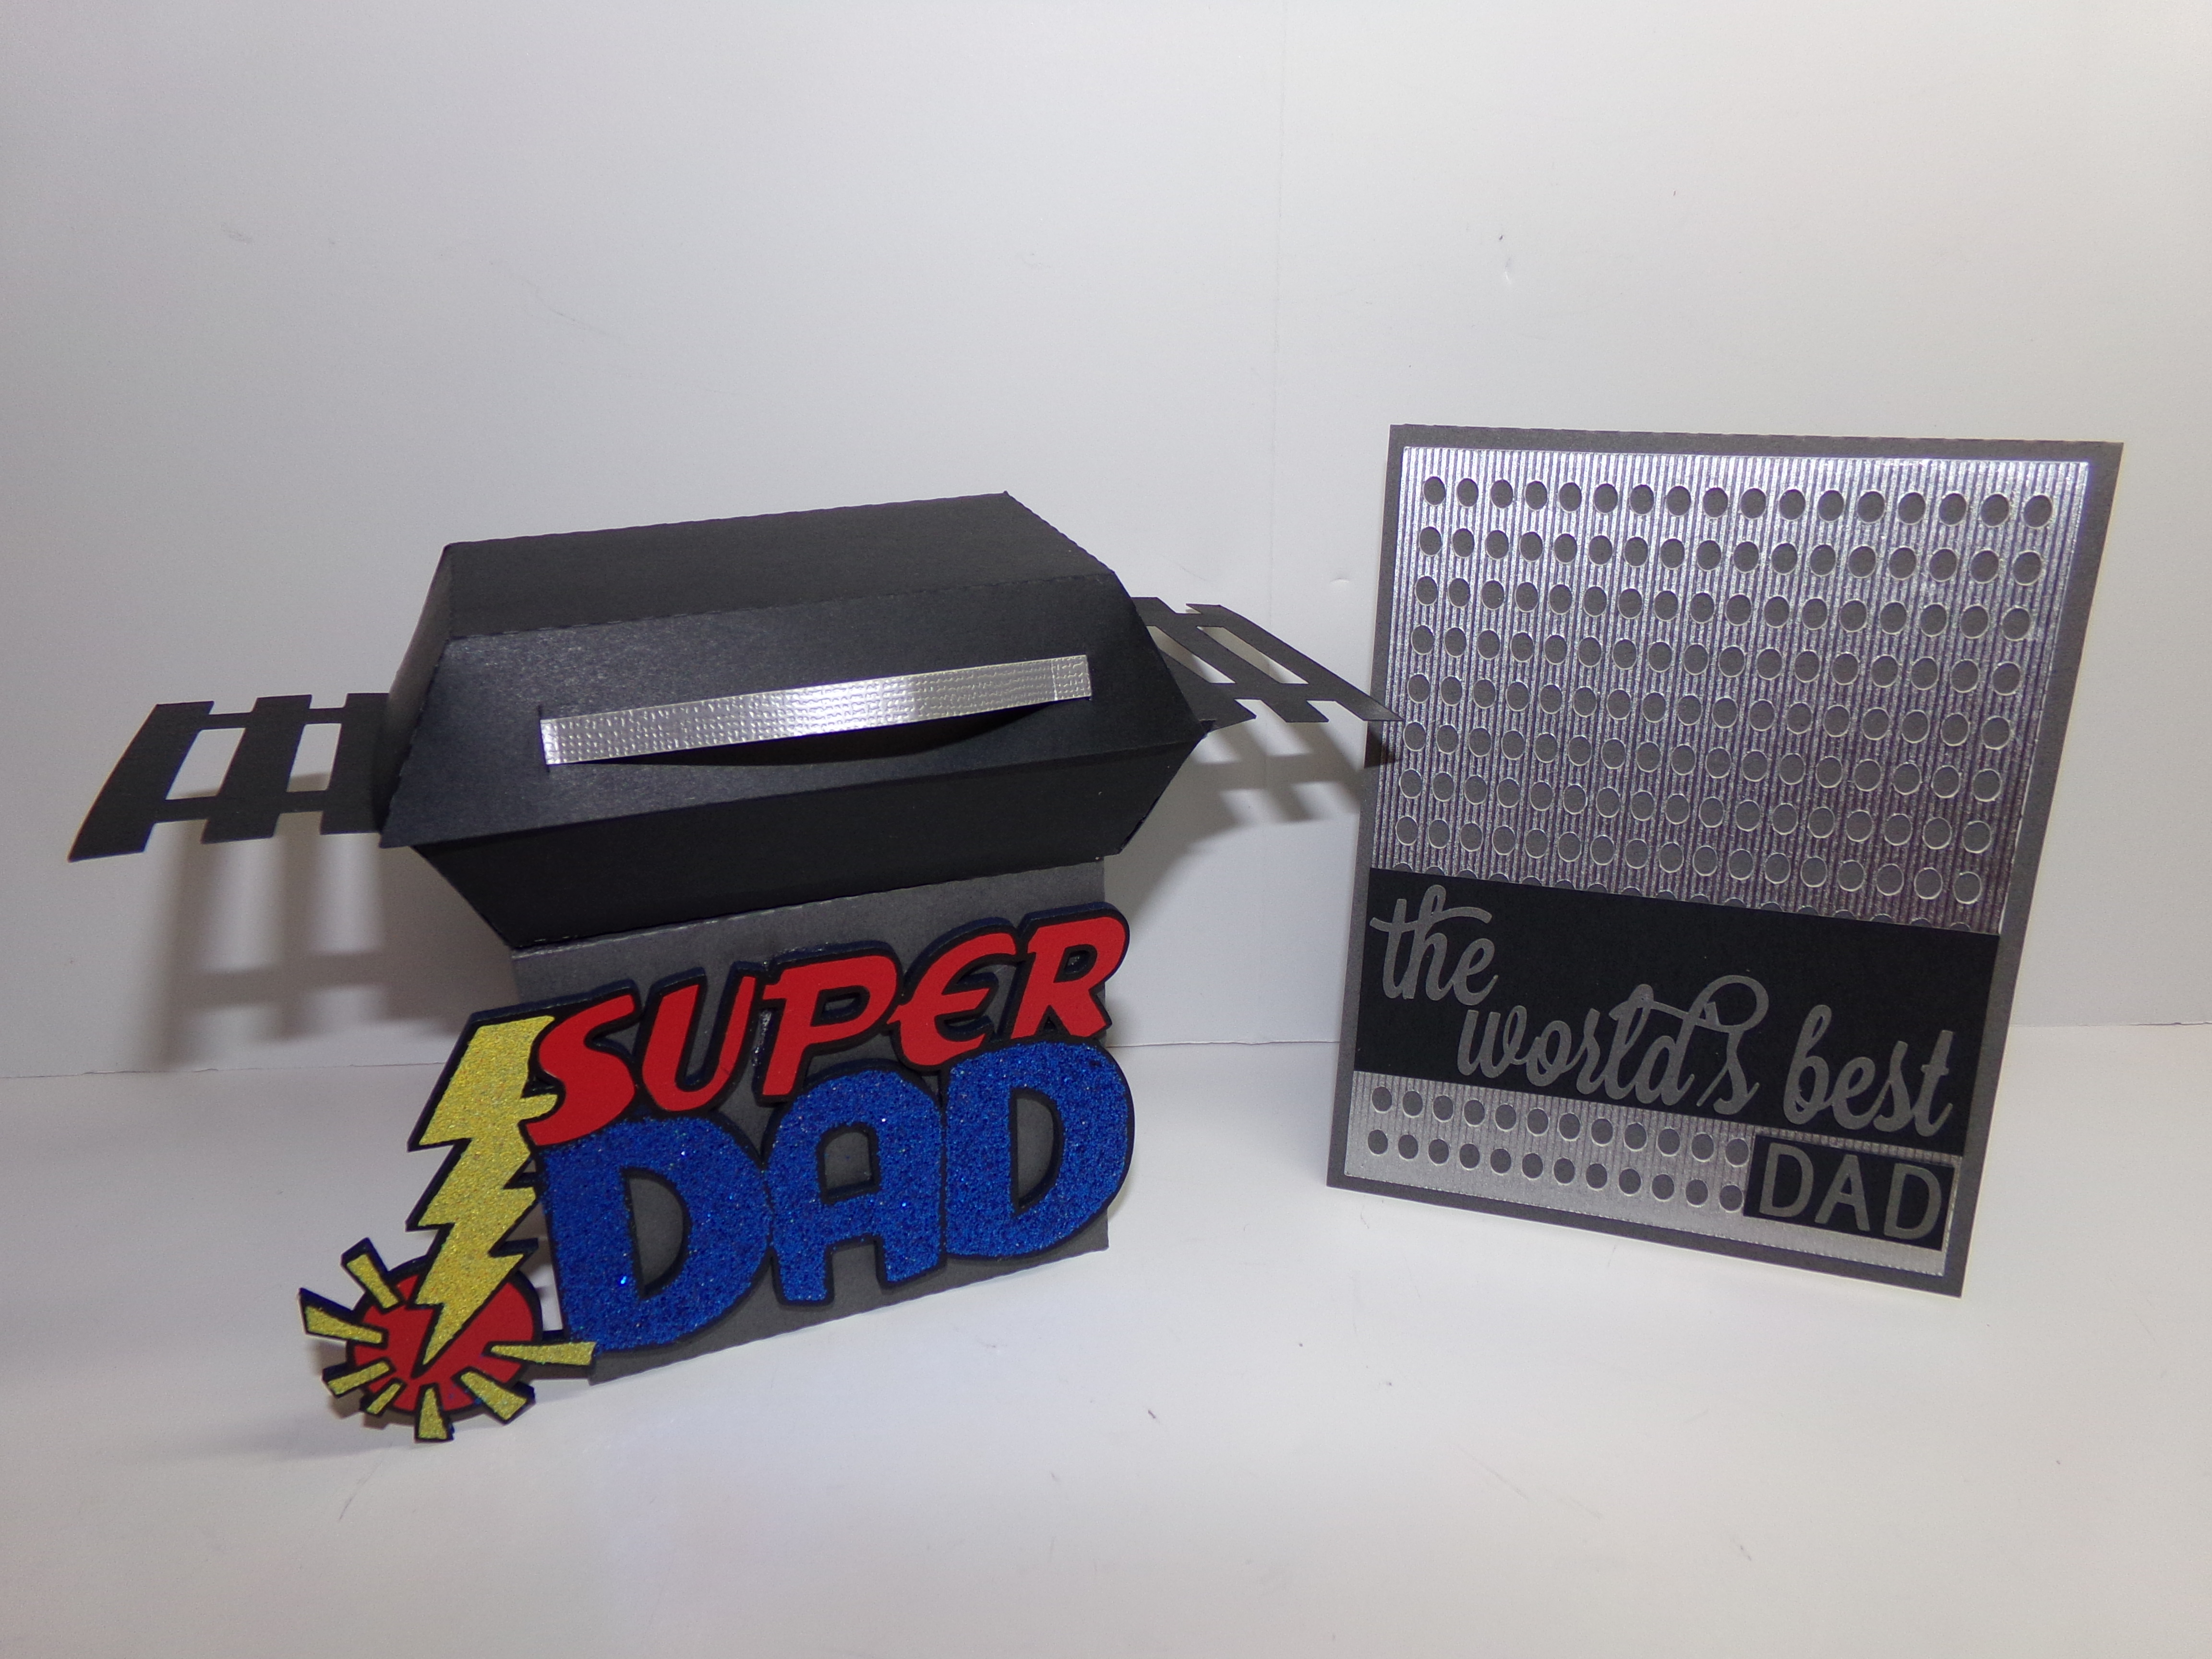
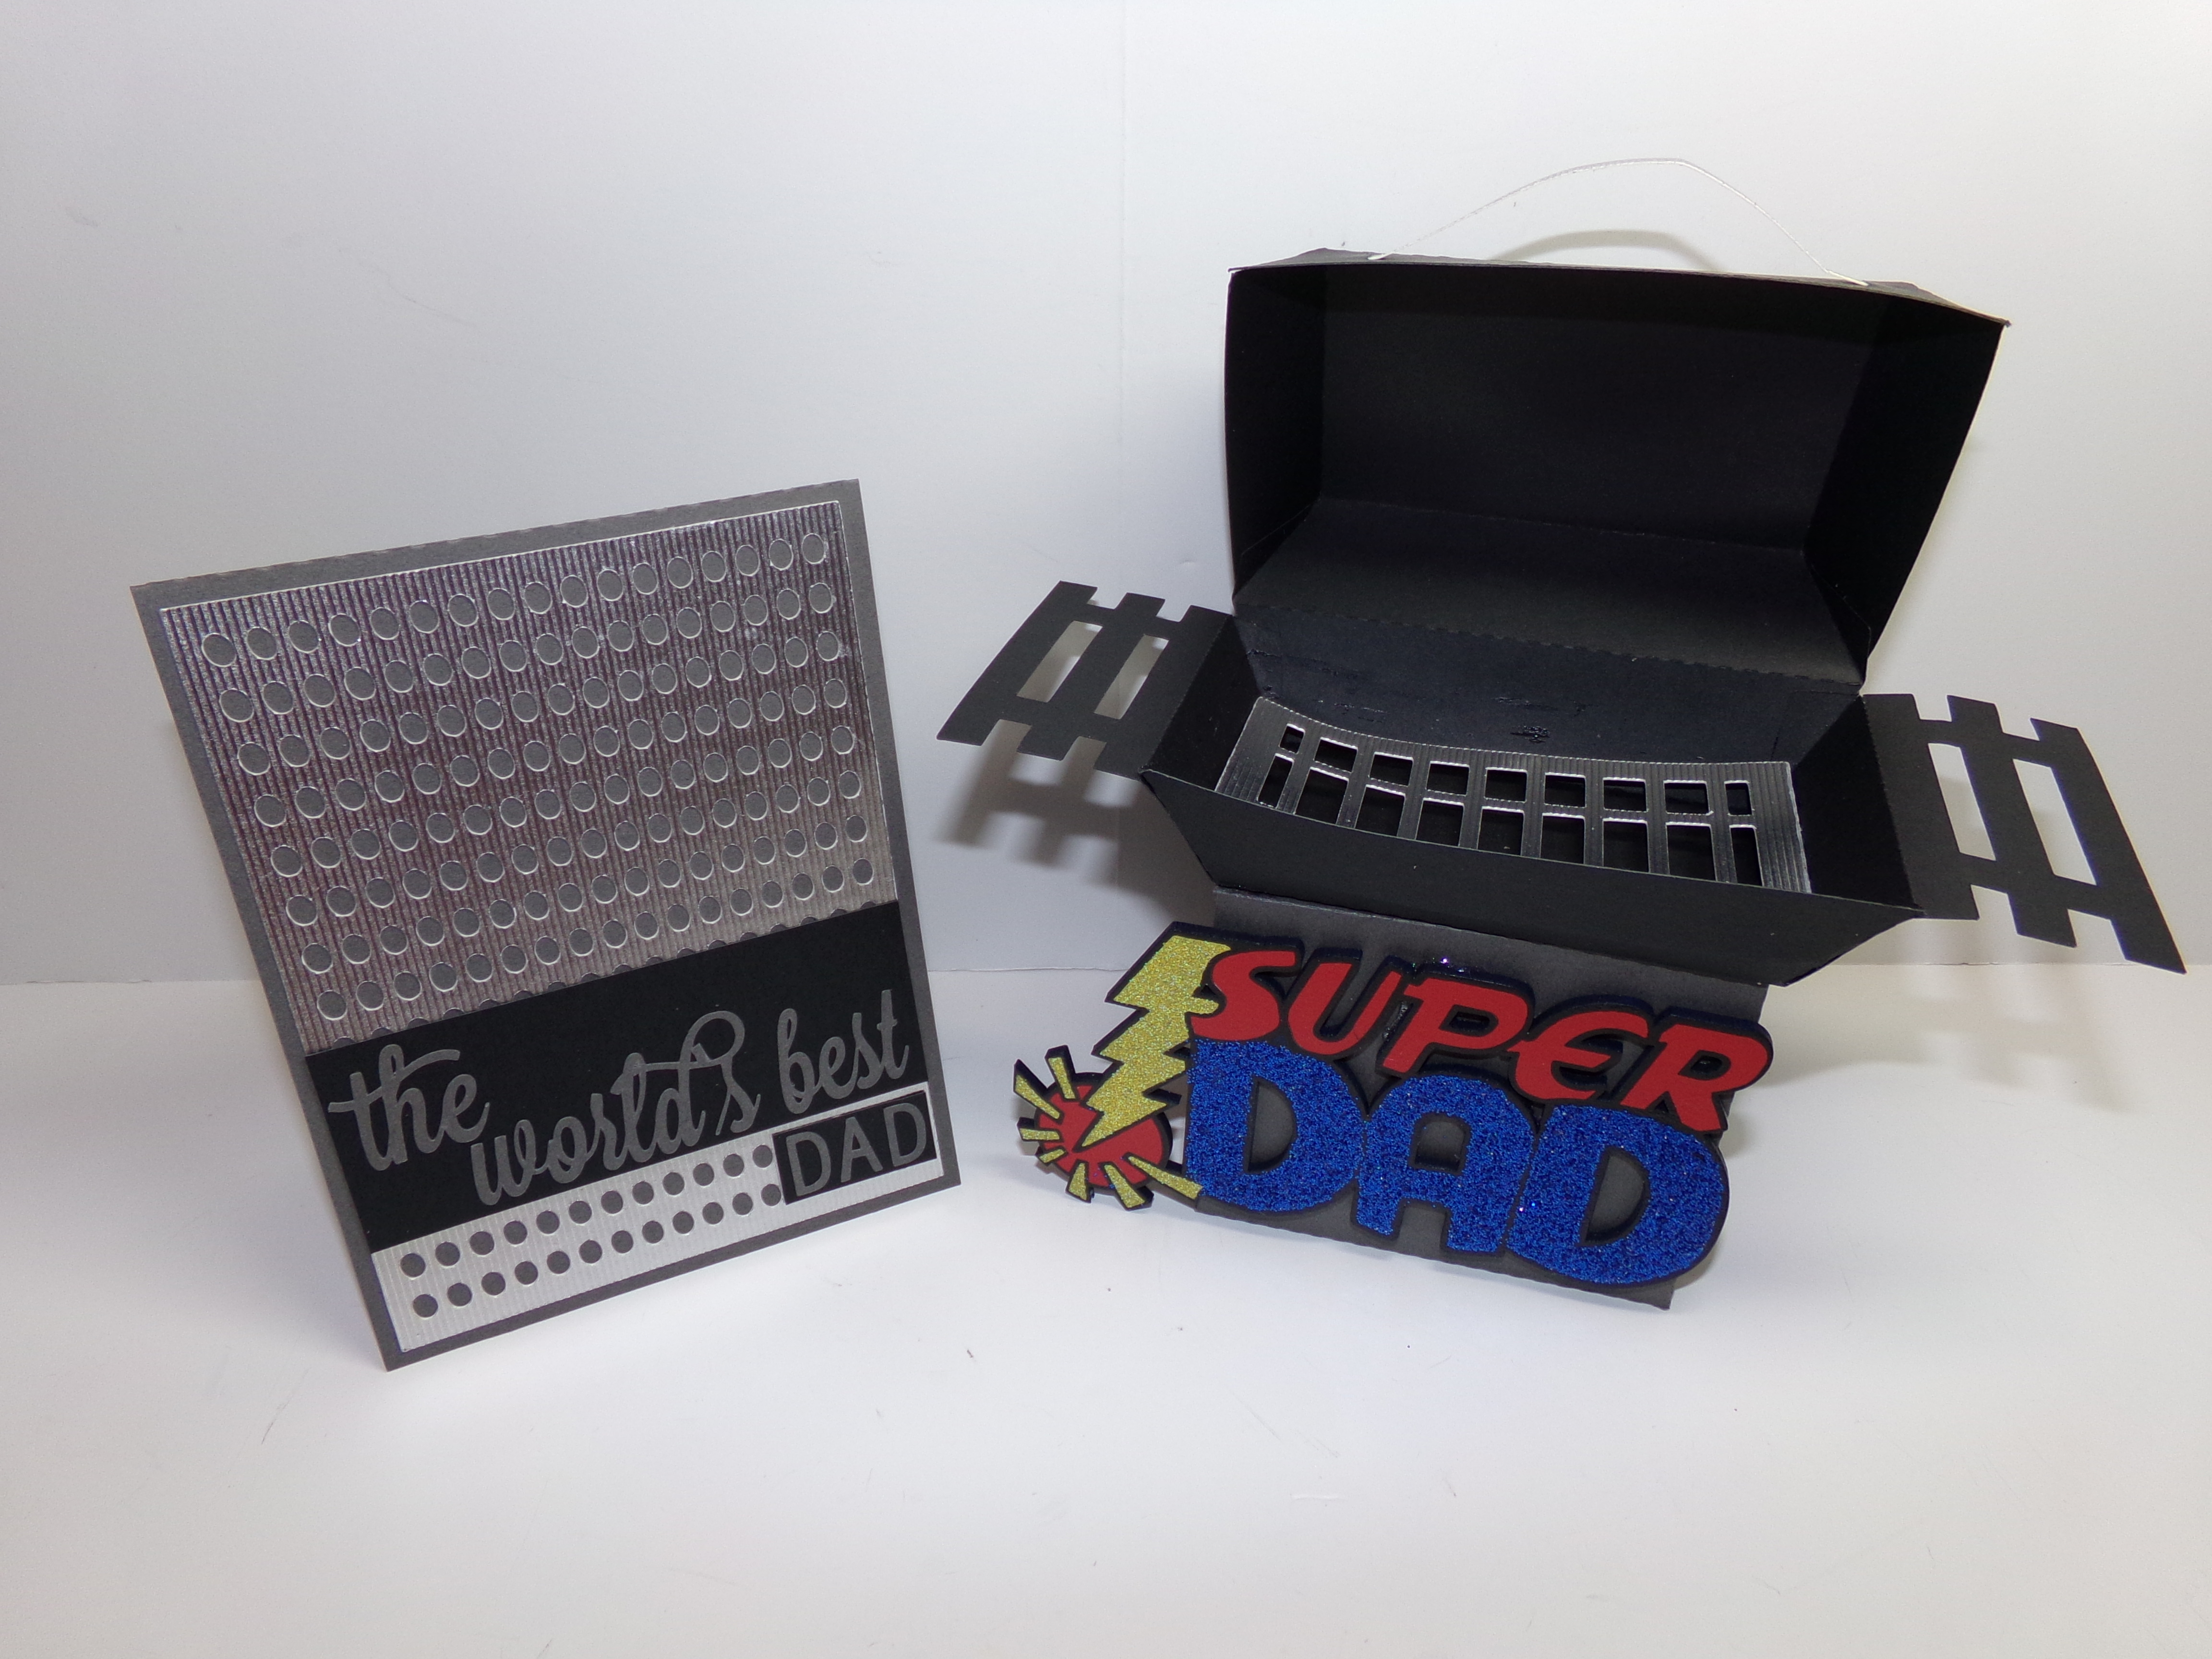
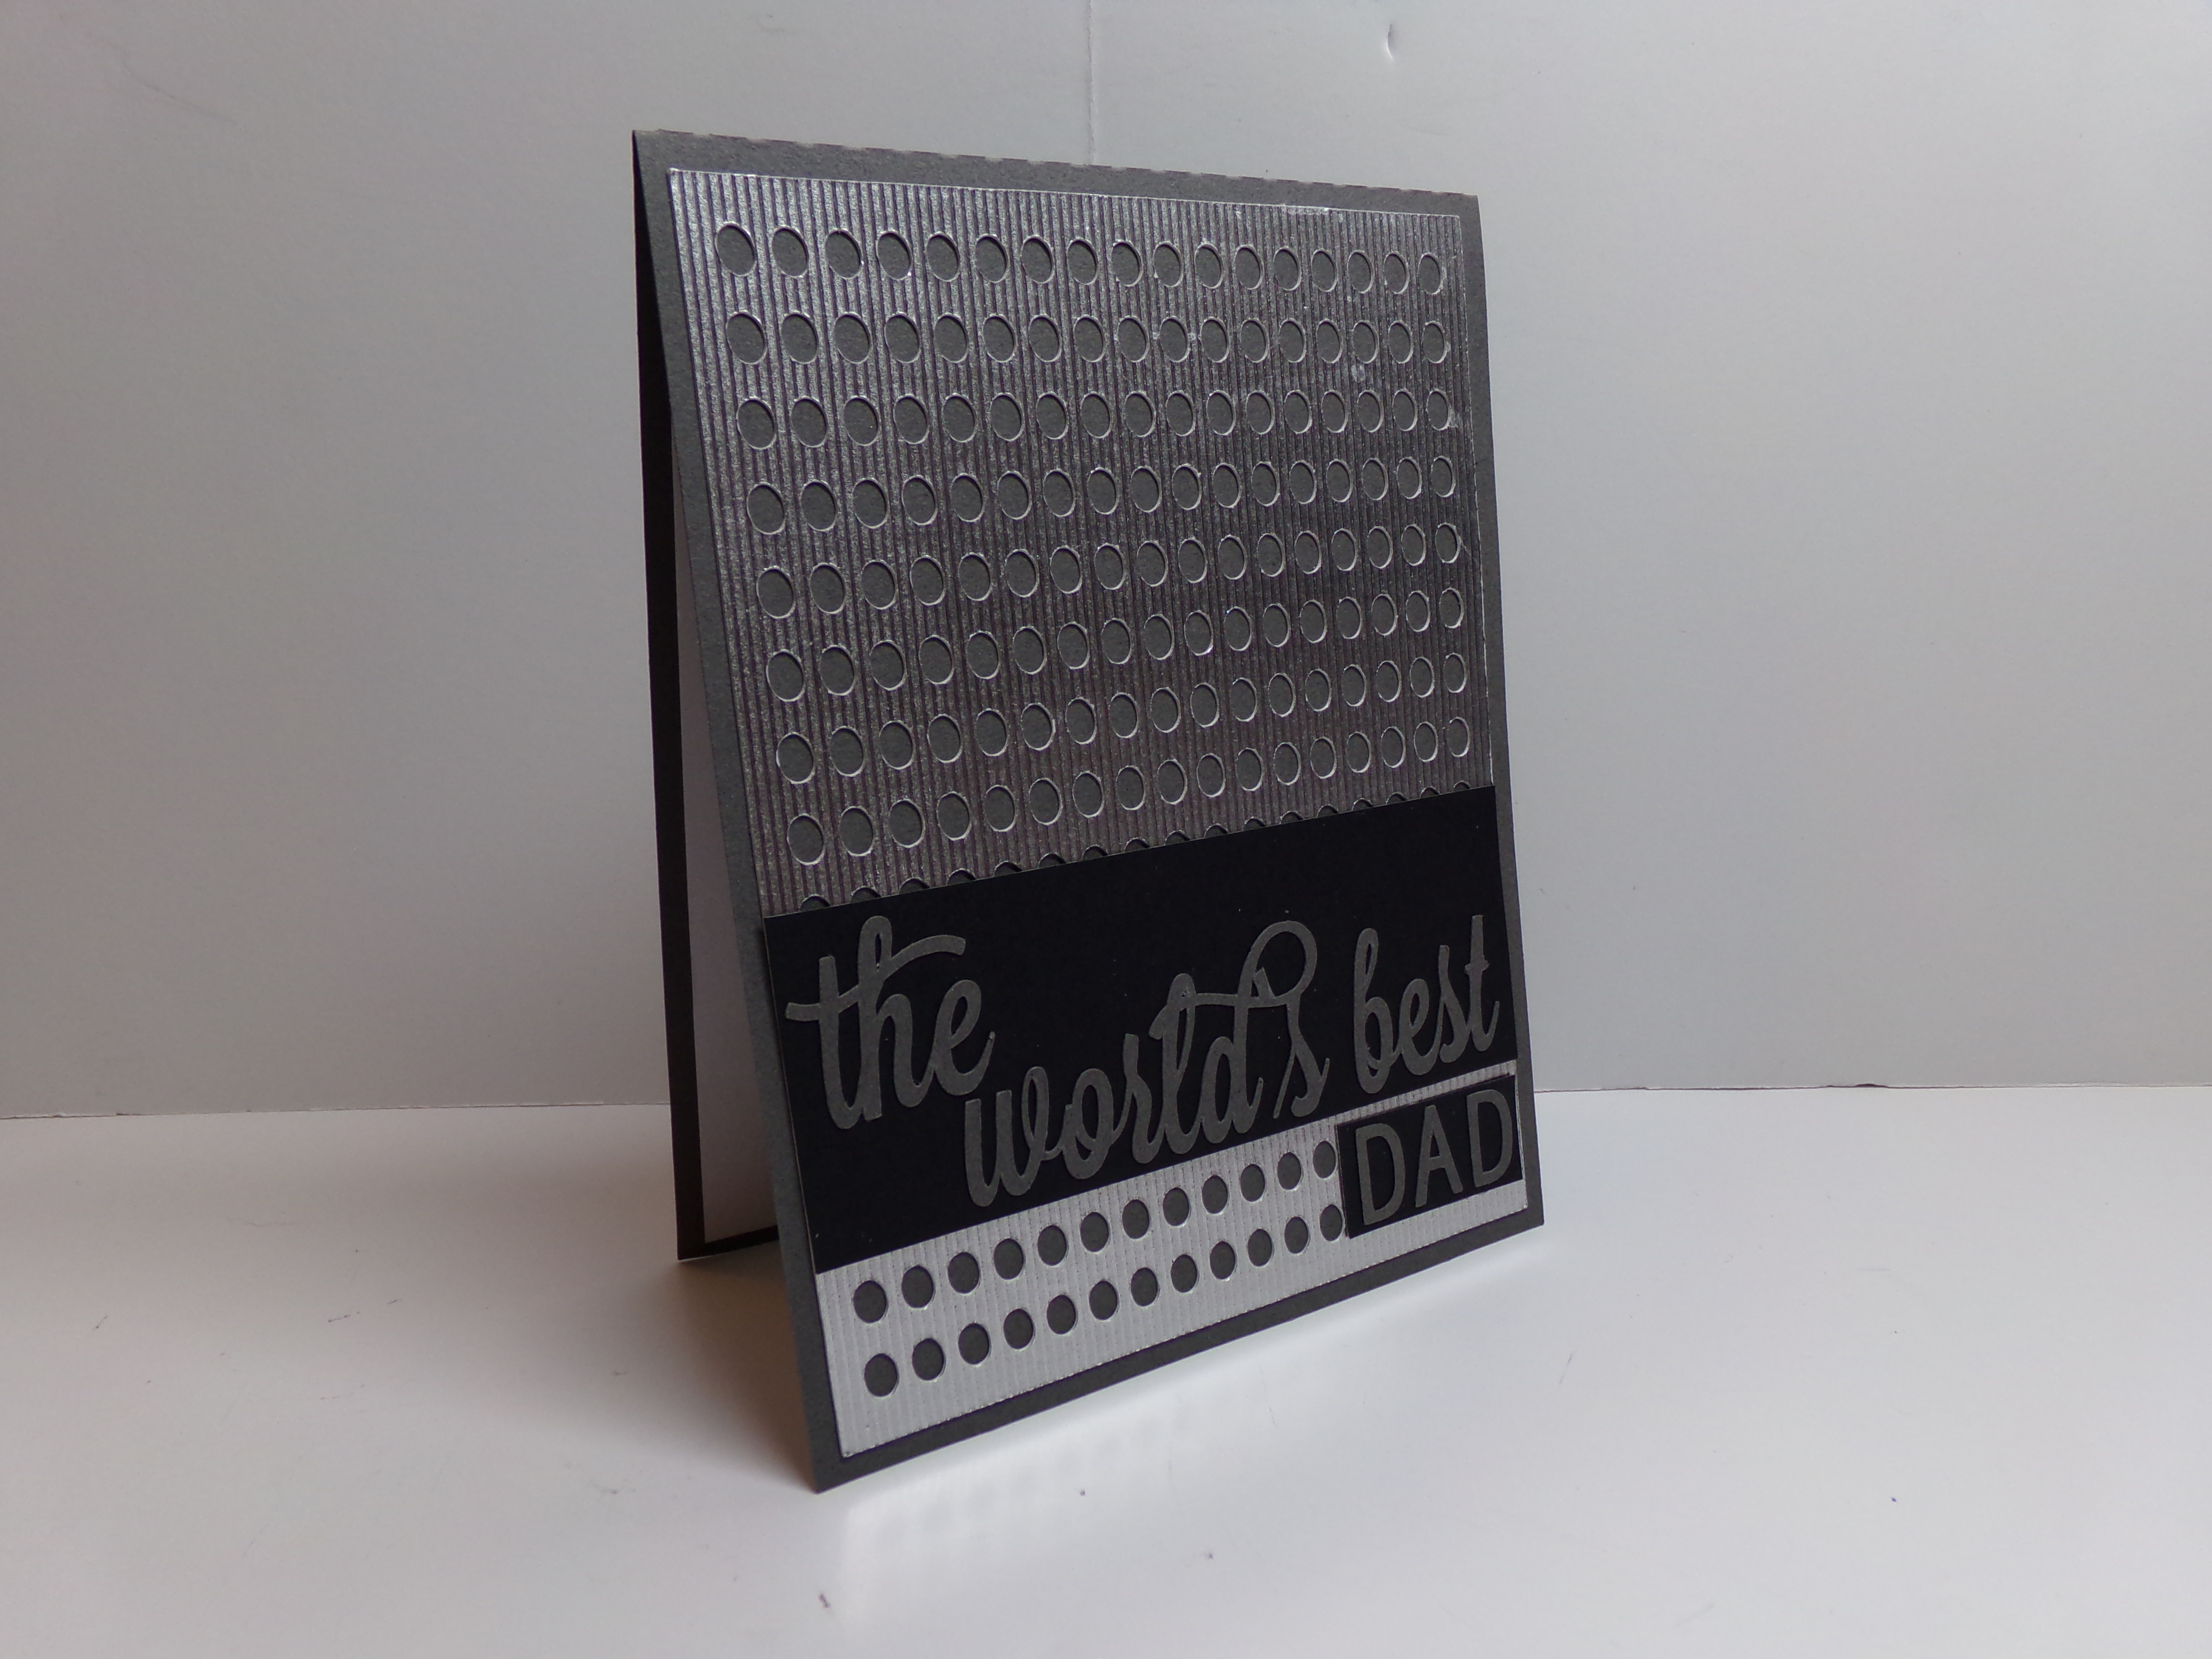
Although Father’s Day has past, I wanted to show the cute card and gift card holder I made for my dad! The gift card holder was a 3D grill! I made the card with an overlay that looked like a grilling sheet. I loved it and so did he! Here is a view of it opened…
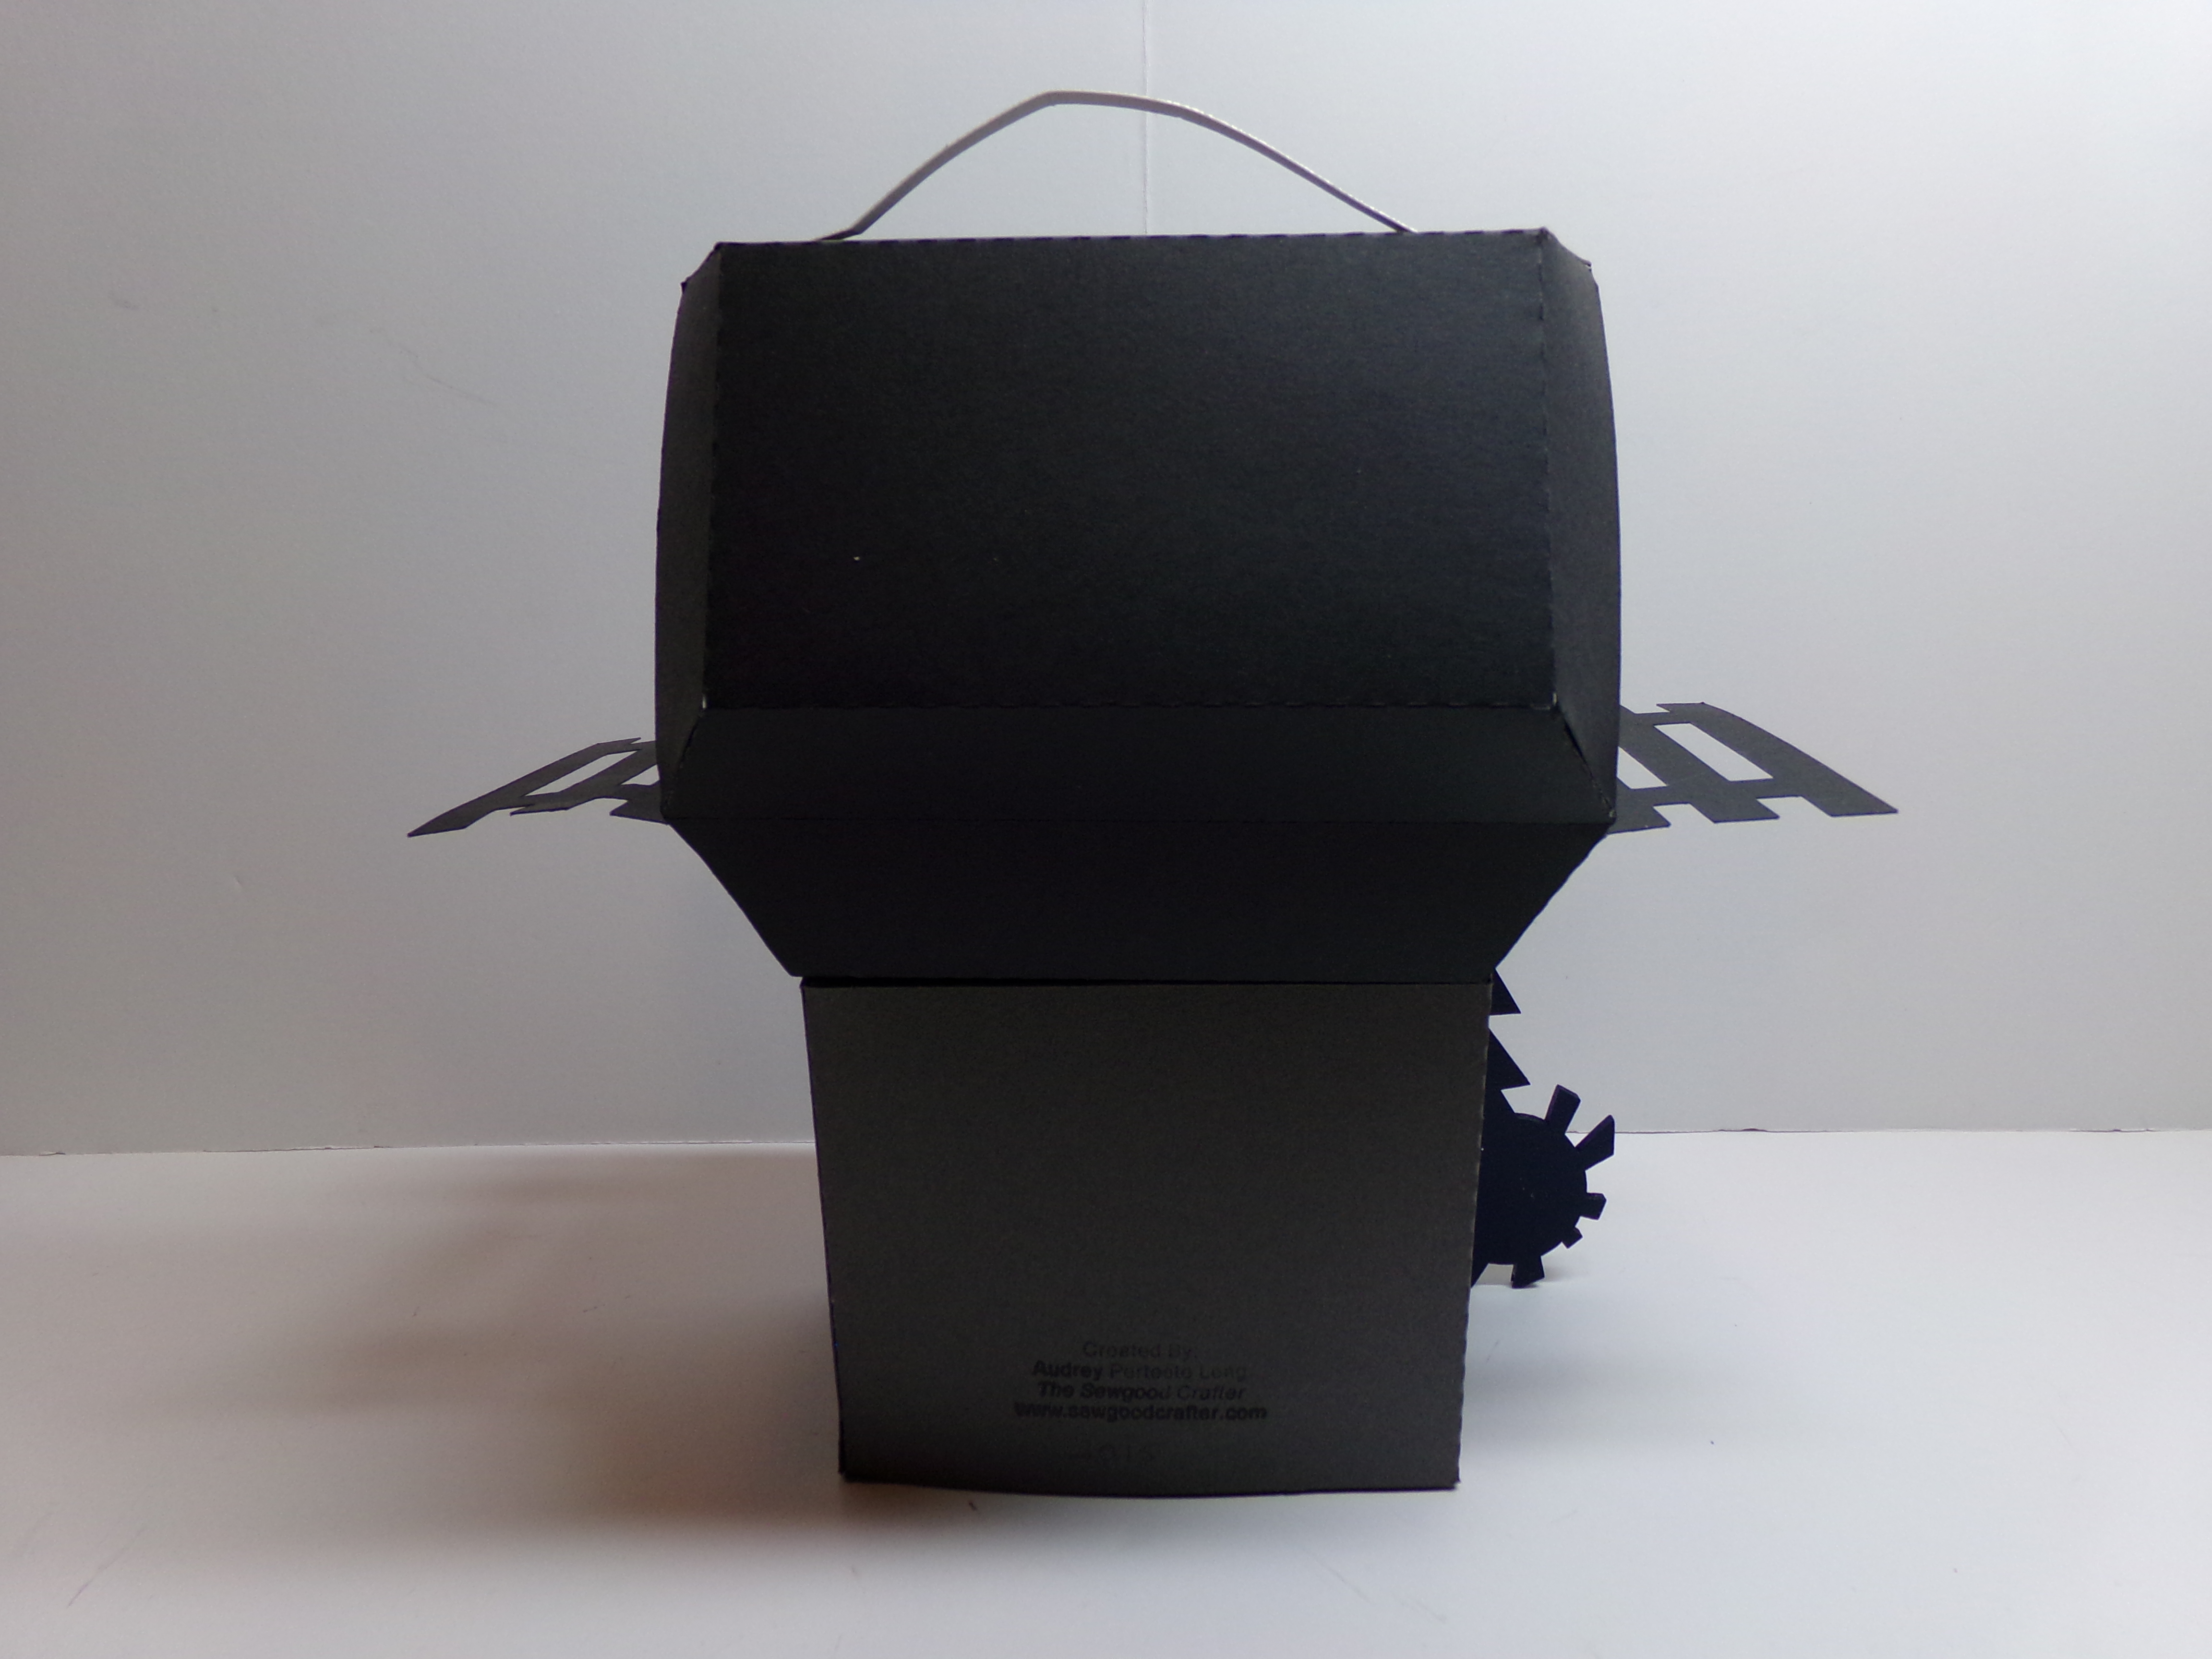
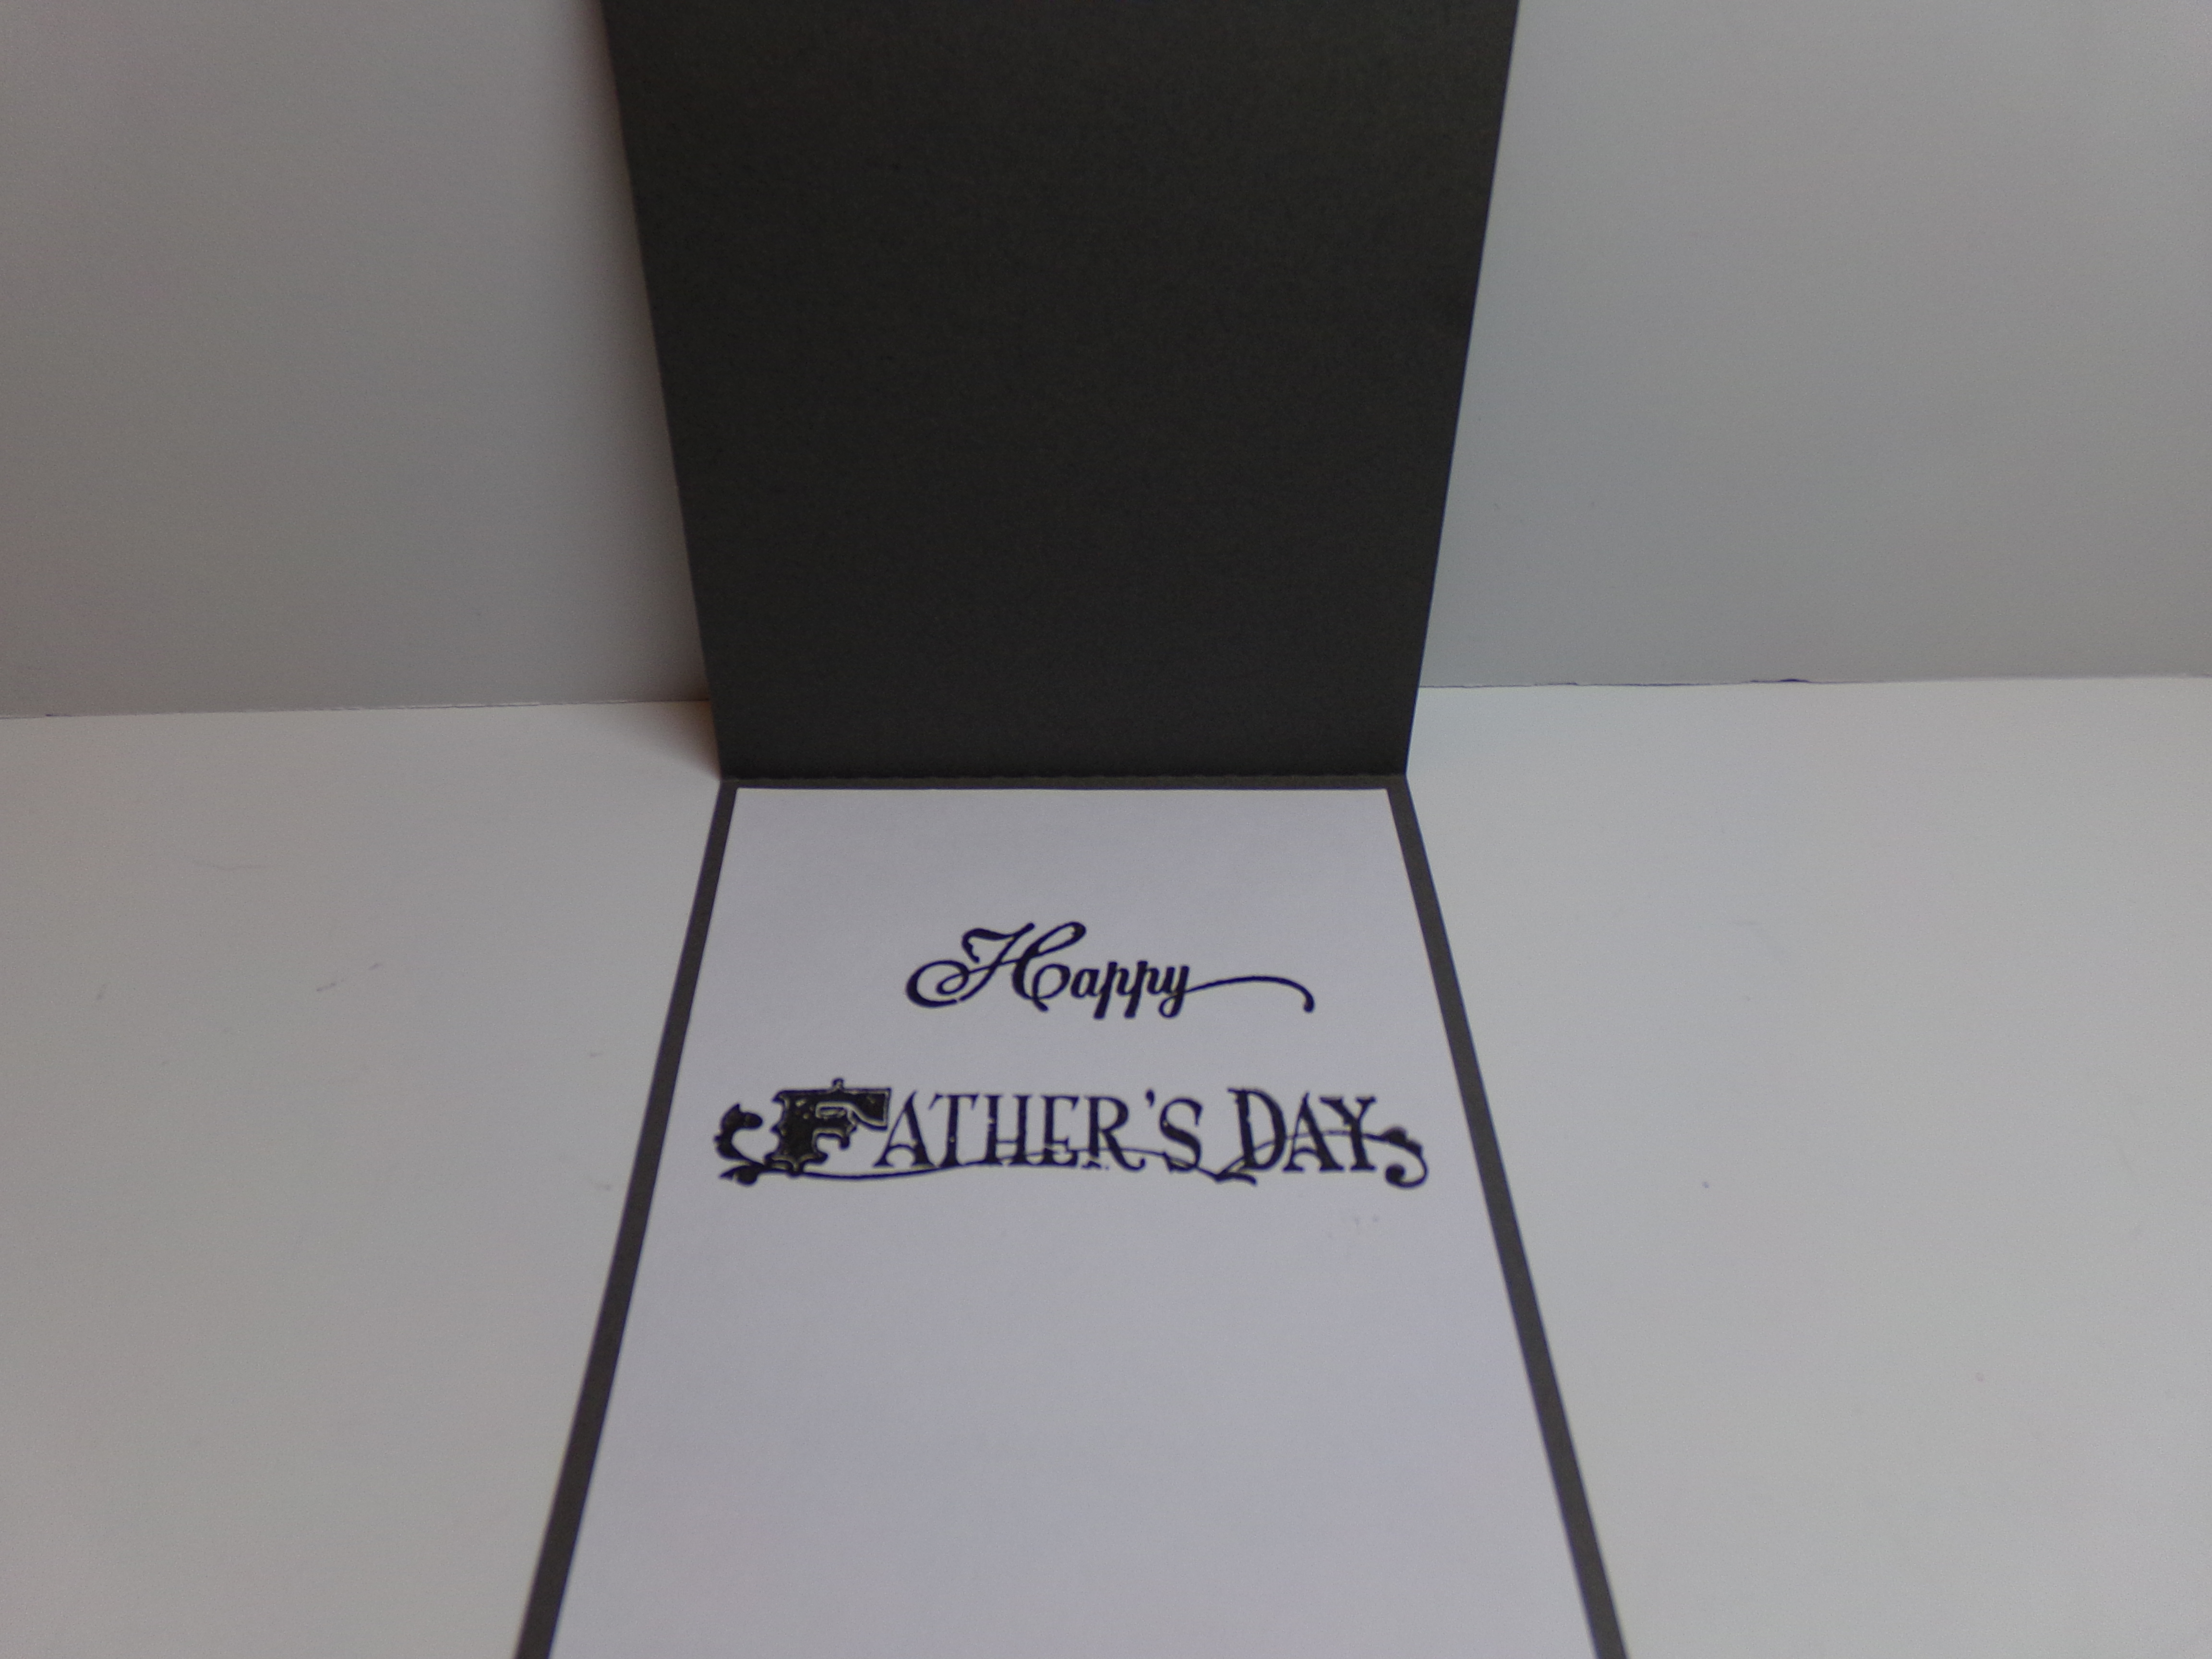
Here is the back of the grill and a close up of the card and the inside of the card…
Back view of grill
Thanks for stopping by! Here is a video of the projects…
My husband asked me to make a thank you card for his outgoing board chair. I made a cream and gold shadow box card. I really like the way it turned out and so did he. I thought I would share it here.
Because of the thickness, an envelope was not the answer. So a box was born! I used the 8 x 5.5. Box with Dividers file from The Cutting Cafe to make the box. I just did not use the dividers.
Since the card is thick I made a box as it won’t fit in an envelope. This is the top of the box.
Here is a picture of the two together…
Thanks for stopping by! Here is a video of the project for you…
I am an association management professional who has always loved fashion, sewing, crafting, writing, cooking, and shopping. I am married to a wonderful man and have a great family foundation. I like to share inspiration with as well as get information from others and hope this site will let me do just that. Happy crafting!

 We are doing a blog hop at the Cutting Cafe! You should begin the blog with Regina, the owner at her Blog,